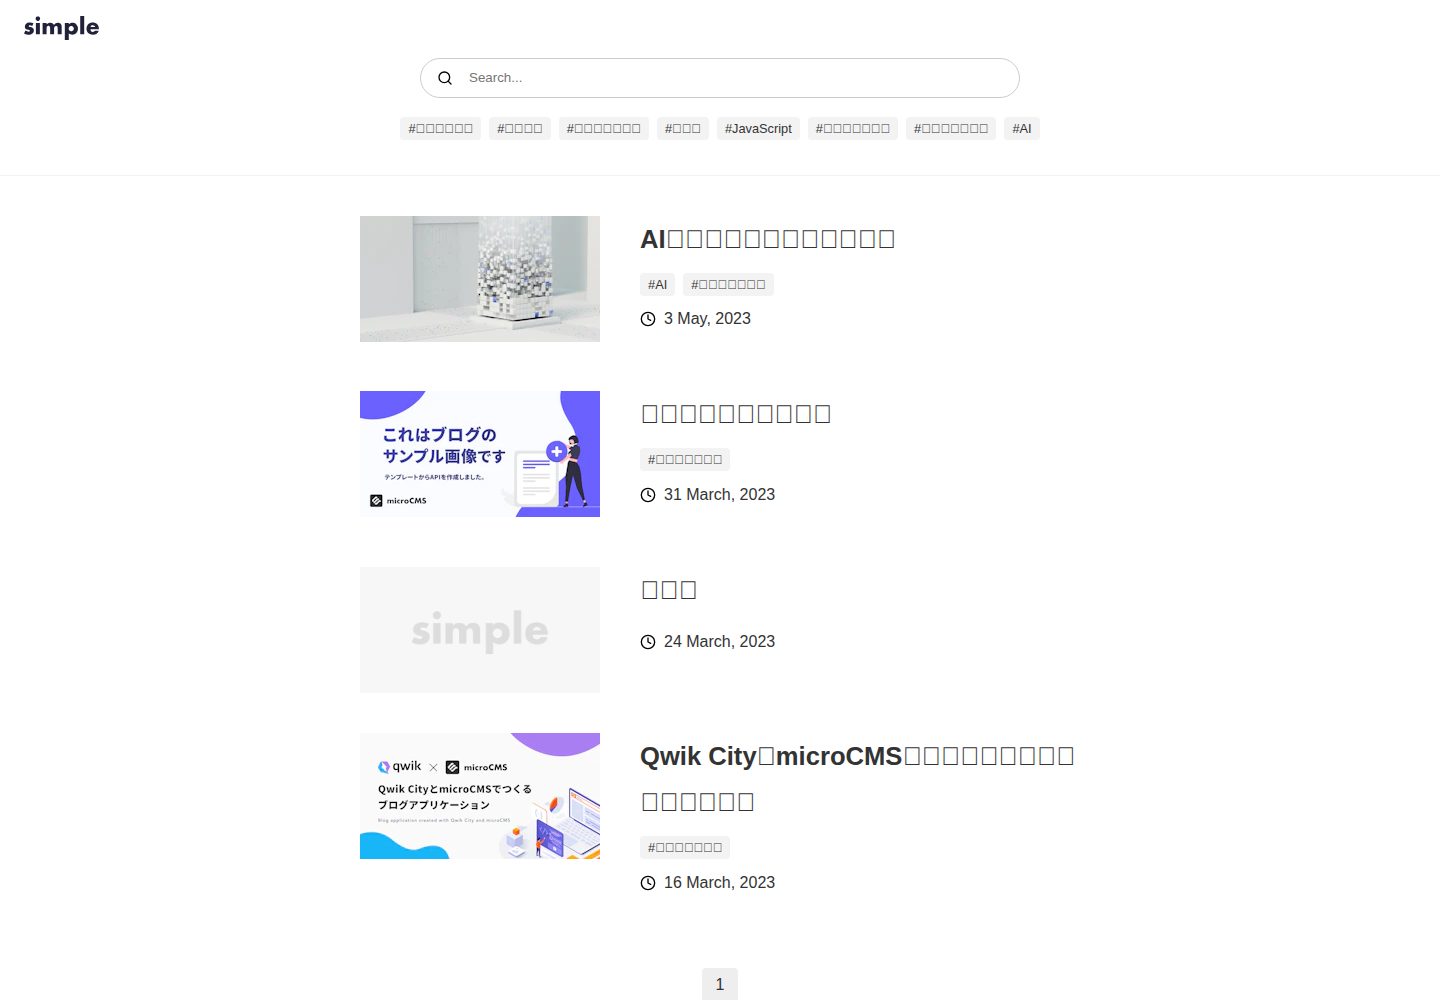
A simple blog template published by microCMS, with content provided through the microCMS API
Next.jsReactBlog
nextjs-simple-blog-template — Next.js Blog Template
By microcmsio
A simple blog template from microCMS, built with Next.js, connecting to the microCMS content API via environment variables, with draft preview and Vercel deployment support.
Explore the design
Compare the page layouts and mobile experience. Open any screenshot for a closer look.
Desktop homepage1 / 3
Desktop captureTop of page
Actual screenshot captured by the server browser.
All pages & views 3
Screenshots show visual appearance; interactive behavior may differ.
Recorded 2026-10-02View source
What stands out
A quick read of the recorded project description.
Uses .env to configure three environment variables: MICROCMS_API_KEY, MICROCMS_SERVICE_DOMAIN, and BASE_URL
Supports configuring screen preview in the microCMS admin panel to view draft content
Includes Playwright E2E tests that run automatically via GitHub Actions on push or pull request
The repository includes .npmrc with min-release-age and secure registry settings enabled
Uses the MIT License, allowing free use, modification, commercial use, and distribution
Template Details
This is a simple blog template published by microCMS, built with Next.js, with content data coming from the microCMS API. The repository README describes its positioning as a "simple blog" (シンプルなブログ), and the demo site is deployed on Vercel.
The template reads three environment variables from a .env file in the root directory: MICROCMS_API_KEY, MICROCMS_SERVICE_DOMAIN, and BASE_URL, corresponding to the microCMS API key, service domain, and deployment address, respectively. During development, use npm install to install dependencies, npm run dev to start the local service, and access localhost:3000.
The repository includes E2E tests written with Playwright, which run automatically when pushing to GitHub or creating a pull request. MICROCMS_API_KEY and MICROCMS_SERVICE_DOMAIN need to be configured in GitHub Actions Secrets. To preview draft content in the microCMS admin panel, you also need to enter the deployment domain in the blog API's "API Settings > Screen Preview".
The runtime requires Node.js 24 or later. The .npmrc included in the repository enables min-release-age=7 and a registry setting pointing to Takumi Guard, used to filter newly published or known-risky npm packages during installation; the README states these values can be modified or removed as needed for the project.
Regarding licensing, the repository uses the MIT License, allowing free use, modification, commercial use, and distribution of this version of the code, provided the copyright notice and license notice are retained when distributing. Third-party assets such as demo images, fonts, and icons, as well as external services such as microCMS and hosting, require separate verification of their respective licenses and fees.
Next.jsBlog
Is it right for your project?
Use Cases
- Building a simply structured blog frontend for an existing microCMS service
- A microCMS content publishing workflow that requires draft preview capability
- A blog project that wants to use Playwright for end-to-end testing
- A site planned for deployment on Vercel with a microCMS content source
Suitable For
- Developers using microCMS as a content management backend
- Individuals or teams needing a Next.js blog starter template
- Developers who want to refer to an official example to understand how to integrate the microCMS API
Getting started & customization
Use these recorded setup notes alongside the repository instructions for your chosen version.
- 1
Runtime requires Node.js 24 or later
- 2
Create a .env in the root directory and fill in MICROCMS_API_KEY, MICROCMS_SERVICE_DOMAIN, and BASE_URL
- 3
Run npm install to install dependencies, npm run dev to start the development environment, and access localhost:3000
- 4
For draft preview, enter the deployment domain in the microCMS blog API's "API Settings > Screen Preview"
- 5
To run the E2E tests in GitHub Actions, configure MICROCMS_API_KEY and MICROCMS_SERVICE_DOMAIN in the repository Secrets
License & source material
Usage conditions & limitations
Free to use · keep license noticeThis entry covers the free version under the MIT License in the public repository; the free scope is the code of this version and does not mean external services or third-party assets are free.
Must comply with when using
- Free use, modification, commercial use, and distribution of this version of the code are permitted.
- When distributing copies or substantial portions of the code, retain the original author's copyright notice and the full MIT License notice.
- The code is provided as is; warranties and limitations of liability are governed by the original license and applicable law.
Additional costs & items to verify
- Using this template requires a microCMS account and configuration of the API key and service domain; content data depends on the external microCMS service and cannot run independently without it.
- The API key must be obtained from the microCMS admin panel, meaning you must register for and use the microCMS service, which may involve that service's account and fee conditions.
- The draft preview feature requires manual configuration of screen preview in the microCMS admin panel, an additional setup step that depends on an external service.
- Running the E2E tests requires configuring the microCMS key in GitHub Actions Secrets, depending on the GitHub platform and external credentials.
- Dependency installation by default goes through the third-party npm security proxy Takumi Guard, an external service dependency; this configuration can be modified or removed as needed.
- Demo images, fonts, icons, and other third-party assets must be checked against their respective licenses and cannot be judged solely by the code's MIT License.
- External services such as domains, hosting, databases, payments, or AI may incur additional fees.
View Original Text Basis
Permission is hereby granted, free of charge
Original License Text
MICROCMS_API_KEY=xxxxxxxxxx MICROCMS_SERVICE_DOMAIN=xxxxxxxxxx
Original README
microCMS 管理画面の「サービス設定 > API キー」から確認することができます。
Original README
下書き状態のコンテンツをプレビューするために、microCMS管理画面にて画面プレビューの設定が必要です。
Original README
利用するにはGitHub Actionsのシークレットへの設定が必要です。
Original README
https://github.com/microcmsio/nextjs-simple-blog-template/blob/main/LICENSEhttps://github.com/microcmsio/nextjs-simple-blog-template/blob/main/README.mdregistry=https://npm.flatt.tech
Original README
Compiled by DeepSeek based on repository license and README ·2026-10-02. Results only cover the materials read; dependencies, images, fonts, and subsequent term changes are subject to their respective original texts.
Project checks & description sources
Template Information
- Source platforms
- GitHub
- Documentation and maintenance reference score
- More documented · 87 / 100
- Technologies
- Next.js · React
- Website type
- Blog
How this score is calculated
Our heuristic uses license records (up to 30), a demo link (12), a preview (10), stars (15), recorded maintenance (15), description completeness (8), feature records (5) and classification data (5). It is not a code, security or performance test, or a Google score. A link does not establish tested functionality.
What to verify for this project
- Repository update recorded
- 2026-10-01
- Screenshot last checked
- 2026-10-02
A demo link is listed. Check it with your own content and viewport sizes; its presence does not confirm that forms, authentication or payments work.
The catalog identifies Next.js as the primary stack. Check the actual dependency manifest and lockfile for versions and hosting requirements. These notes use recorded metadata, not a code audit or a deployment test.
Use a selection guide →How this description was prepared
AI-assisted description based on catalog records and repository material. Repository authors are not automatically the reviewers of this description.
Automatically checked against source and license rules; no manual editorial review.
Inspect the recorded source material
SHA-256: 90fcf0f1f71a8d6ad767ef87ca4978f80e94143be7fc2ecd481172ea6c8e8a93
2026-10-02T20:47:10.307Z
Source file / repository# シンプルなブログ  microCMS 公式のシンプルなブログのテンプレートです。 ## 動作環境 Node.js 24 以上 ## 環境変数の設定 ルート直下に`.env`ファイルを作成し、下記の情報を入力してください。 ``` MICROCMS_API_KEY=xxxxxxxxxx MICROCMS_SERVICE_DOMAIN=xxxxxxxxxx BASE_URL=xxxxxxxxxx ``` `MICROCMS_API_KEY` microCMS 管理画面の「サービス設定 > API キー」から確認することができます。 `MICROCMS_SERVICE_DOMAIN` microCMS 管理画面の URL(https://xxxxxxxx.microcms.io)の xxxxxxxx の部分です。 `BASE_URL` デプロイ先の URL です。プロトコルから記載してください。 例) 開発環境 → http://localhost:3000 本番環境 → https://xxxxxxxx.vercel.app/ など ### GitHub Actionsへの環境変数の設定 このリポジトリではPlaywrightによるE2Eテストが実装されています。 GitHubに変更をプッシュする、あるいはPull Requestを作成すると自動でテストが実行されます。 利用するにはGitHub Actionsのシークレットへの設定が必要です。 [こちらの手順](https://docs.github.com/ja/actions/how-tos/write-workflows/choose-what-workflows-do/use-secrets)に従って、`MICROCMS_API_KEY`と`MICROCMS_SERVICE_DOMAIN`をシークレットに設定してください。 ## 開発の仕方 1. パッケージのインストール ```bash npm install ``` 2. 開発環境の起動 ```bash npm run dev ``` 3. 開発環境へのアクセス [http://localhost:3000](http://localhost:3000)にアクセス ## 画面プレビューの設定 下書き状態のコンテンツをプレビューするために、microCMS管理画面にて画面プレビューの設定が必要です。 ブログAPIの「API設定 > 画面プレビュー」に下記のように設定してください。 ※`your-domain`部分はデプロイ先のドメインに置き換えてください。(localhost指定でも動作します)  設定後はコンテンツ編集画面にて画面プレビューボタンが利用可能になります。 ## Vercel へのデプロイ [Vercel Platform](https://vercel.com/new?utm_medium=default-template&filter=next.js&utm_source=create-next-app&utm_campaign=create-next-app-readme)から簡単にデプロイが可能です。 リポジトリを紐付け、環境変数を `Environment Variables` に登録後、デプロイしてみましょう。  ## Node.js のバージョンについて このテンプレートは **Node.js 24 以上**を前提としています。 Node.js では定期的にセキュリティアップデートが提供されています。 安全にご利用いただくため、Node.js を利用する際は **利用中のメジャーバージョン(例: 24.x)の最新パッチバージョンを使用することを推奨します。** 最新のセキュリティ情報については、以下をご参照ください。 https://nodejs.org/ja/blog/vulnerability/ ## このテンプレートに含まれる `.npmrc` について このテンプレートには、npm の `min-release-age` と `registry` 設定を有効にするための `.npmrc` ファイルが含まれています。 ```ini min-release-age=7 registry=https://npm.flatt.tech ``` `min-release-age` はサプライチェーン攻撃対策の一環として設定しているもので、公開から7日未満の npm パッケージバージョンをインストール対象から除外します。これにより、悪意のあるパッケージや改ざんされたパッケージが公開直後に利用されるリスクを軽減できます。 `registry` はレジストリを [Takumi Guard](https://flatt.tech/takumi/features/guard)(GMO Flatt Security が提供する npm セキュリティプロキシ)に向けるもので、`npm install` 時にパッケージを既知の脅威データベースと照合し、悪意のあるパッケージのインストールをブロックします。トークンなしの匿名利用で有効になり、追加の設定は不要です。この設定はローカルだけでなく、GitHub Actions や Dependabot による依存更新にも適用されます。 プロジェクトの要件や運用方針に応じて、これらの値を変更したり、設定を削除したりすることも可能です。
Explore similar templates
Compare previews and descriptions within the same stack and category.

tailwind-nextjs-starter-blog
A Next.js and Tailwind CSS blog starter template using Contentlayer for Markdown/MDX, with built-in SEO, code highlighting, and tags. It targets personal technical blogs and migration from Jekyll/Hugo to React, and supports one-click Vercel deployment.
Next.js · Blog
Nextjs-tailwindcss-blog-template
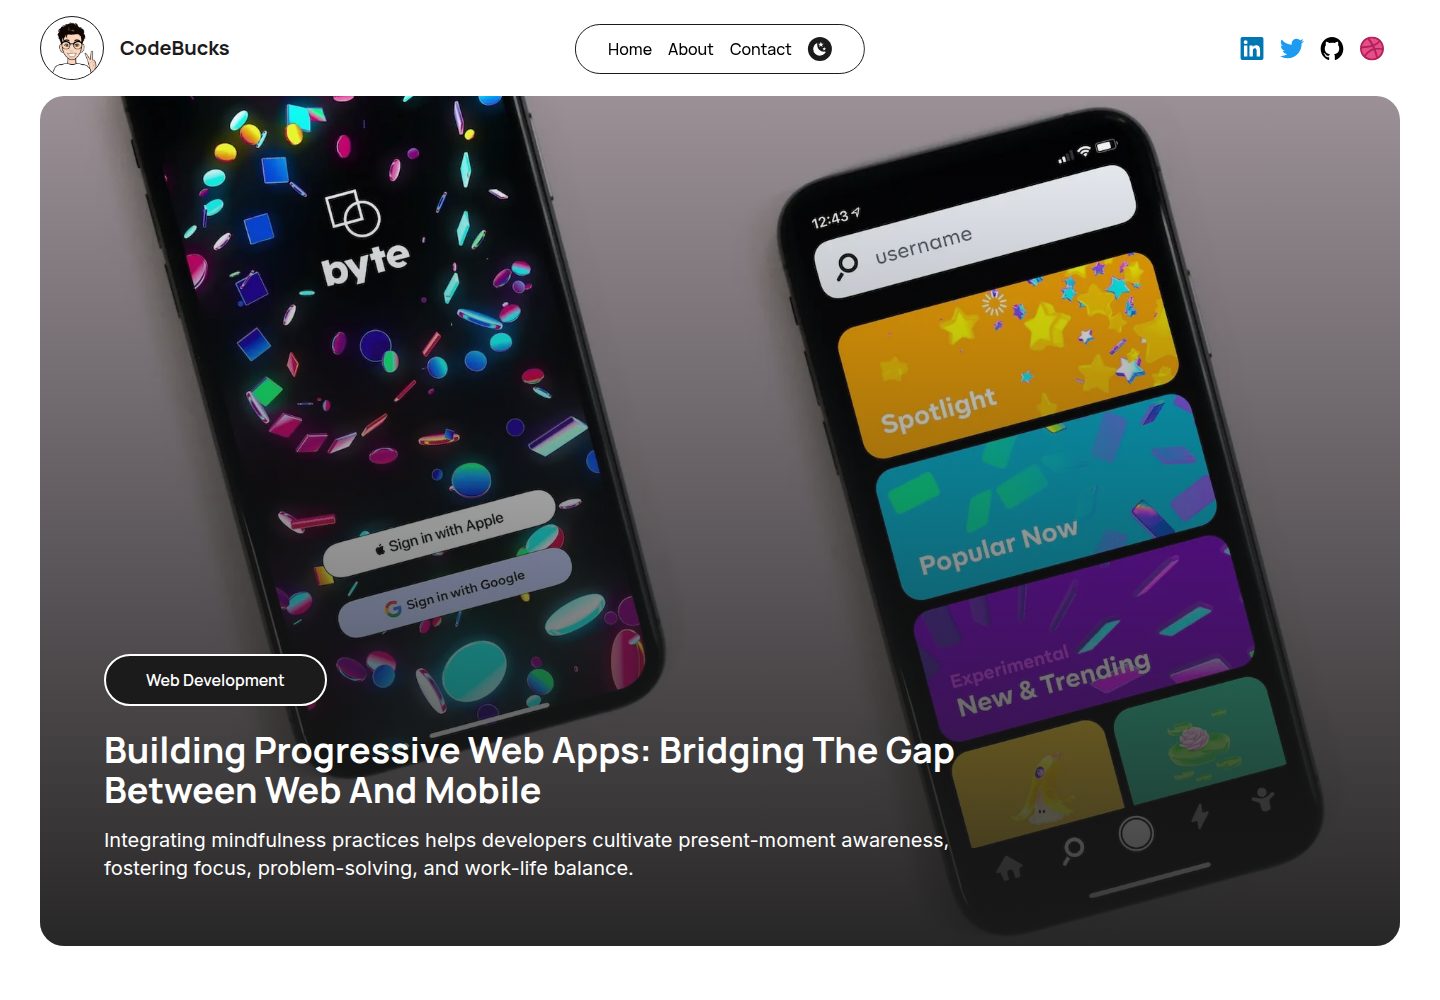
A personal blog template built with Next.js and Tailwind CSS, using Velite to process Markdown content. It includes home, about, contact and article pages, with a demo site and a companion YouTube tutorial.
Next.js · Blog
Next-js-Blog-Boilerplate
A blog starter built on Next.js 12 and Tailwind CSS 3, integrating TypeScript, ESLint, Prettier, and PostCSS.
Next.js · Blog
nextjs-blog-theme
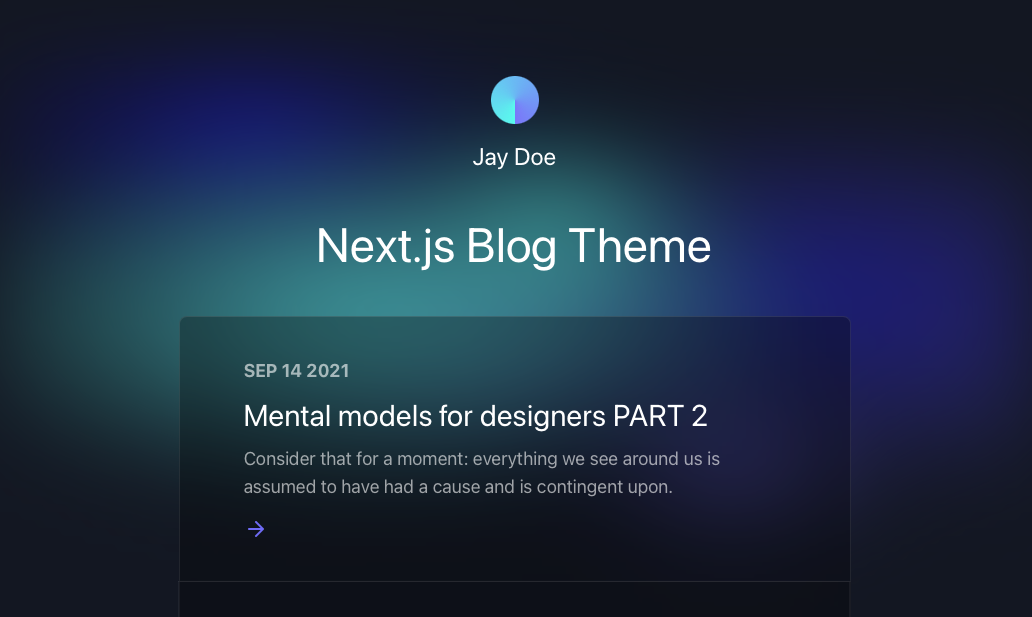
A Next.js 15 and Tailwind CSS 4.x blog starter by Netlify, designed by Bejamas, with MDX support, dark/light theme switching, and environment-variable configuration. It includes a visual setup wizard for deploying to Netlify and manages content via local .mdx files.
Next.js · Blog
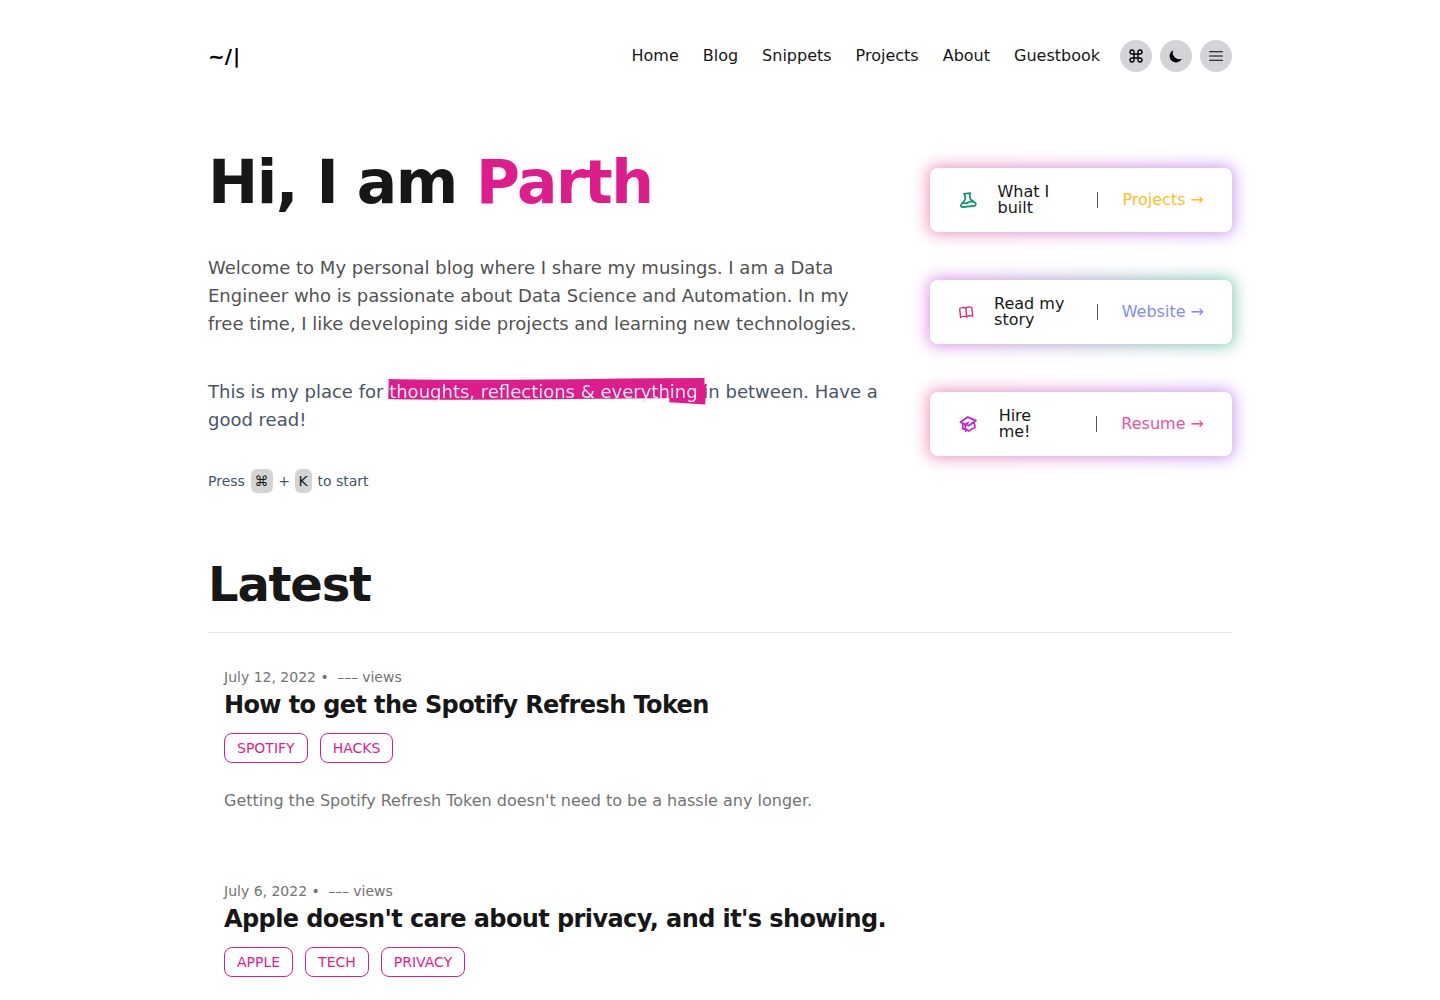
blog
A personal blog forked from Timlrx's tailwind-nextjs-starter-blog, built with Next.js, React, and Tailwind CSS. Content is stored as Markdown/MDX under data/, with site, author, navigation, and project data in separate files.
Next.js · Blog
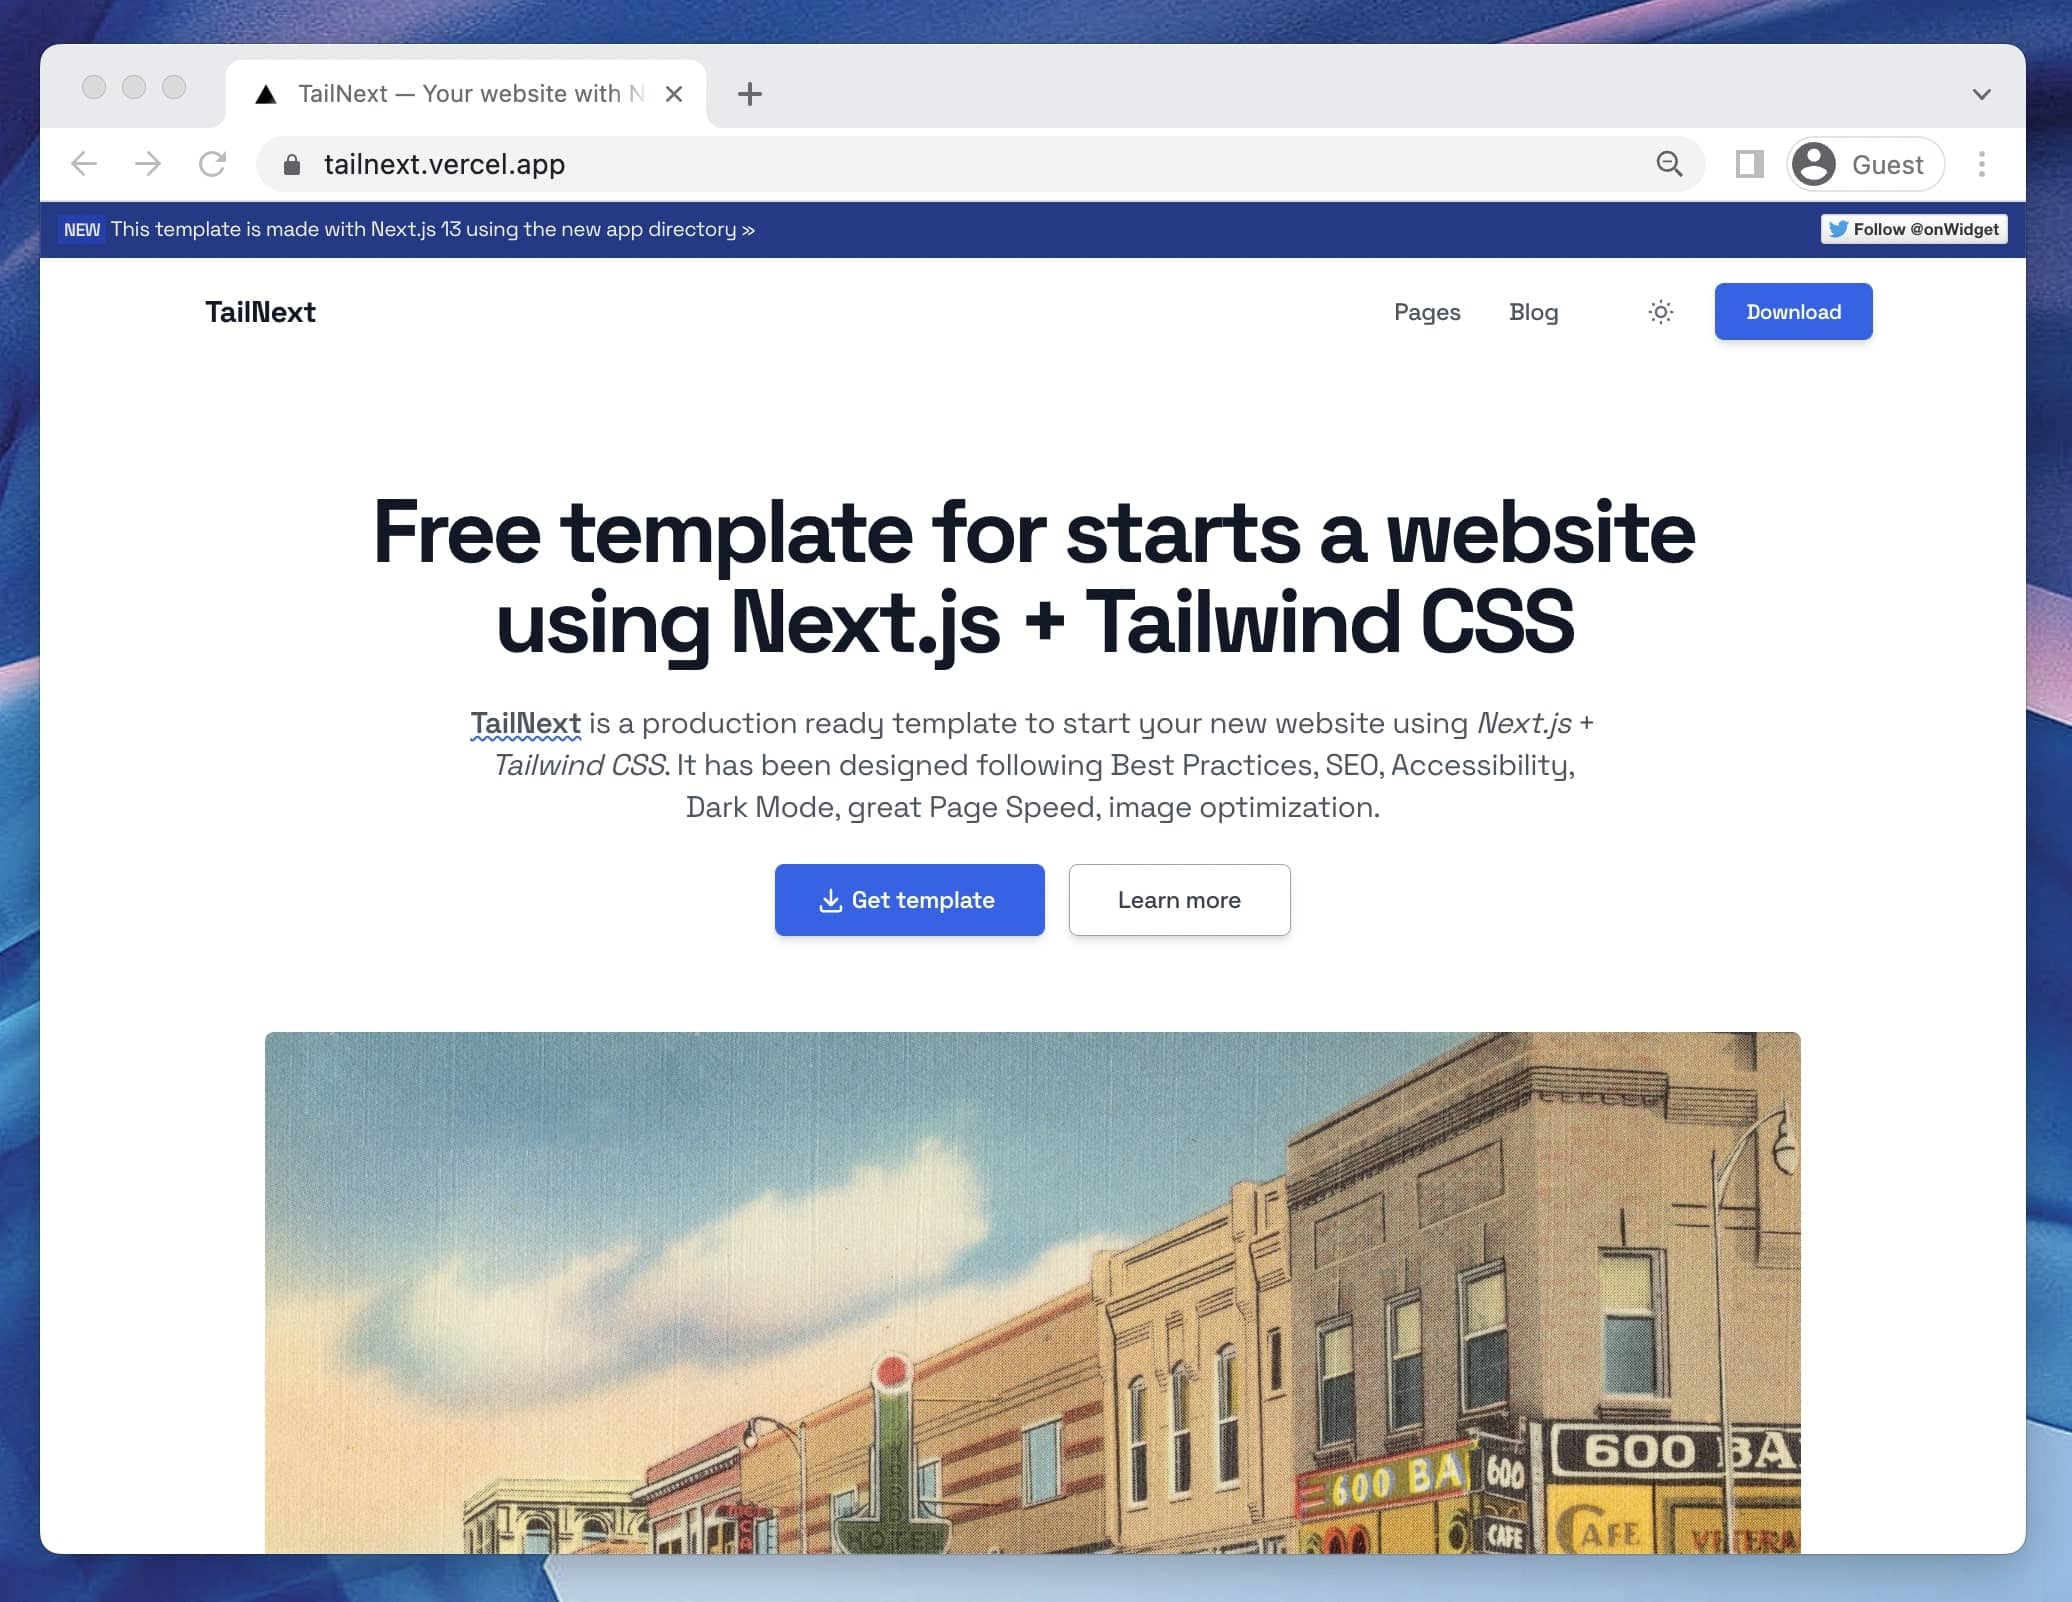
tailnext
Tailnext is a free, open-source template built on the Next.js 14 App Router and Tailwind CSS, created by the onWidget team.
Next.js · Blog