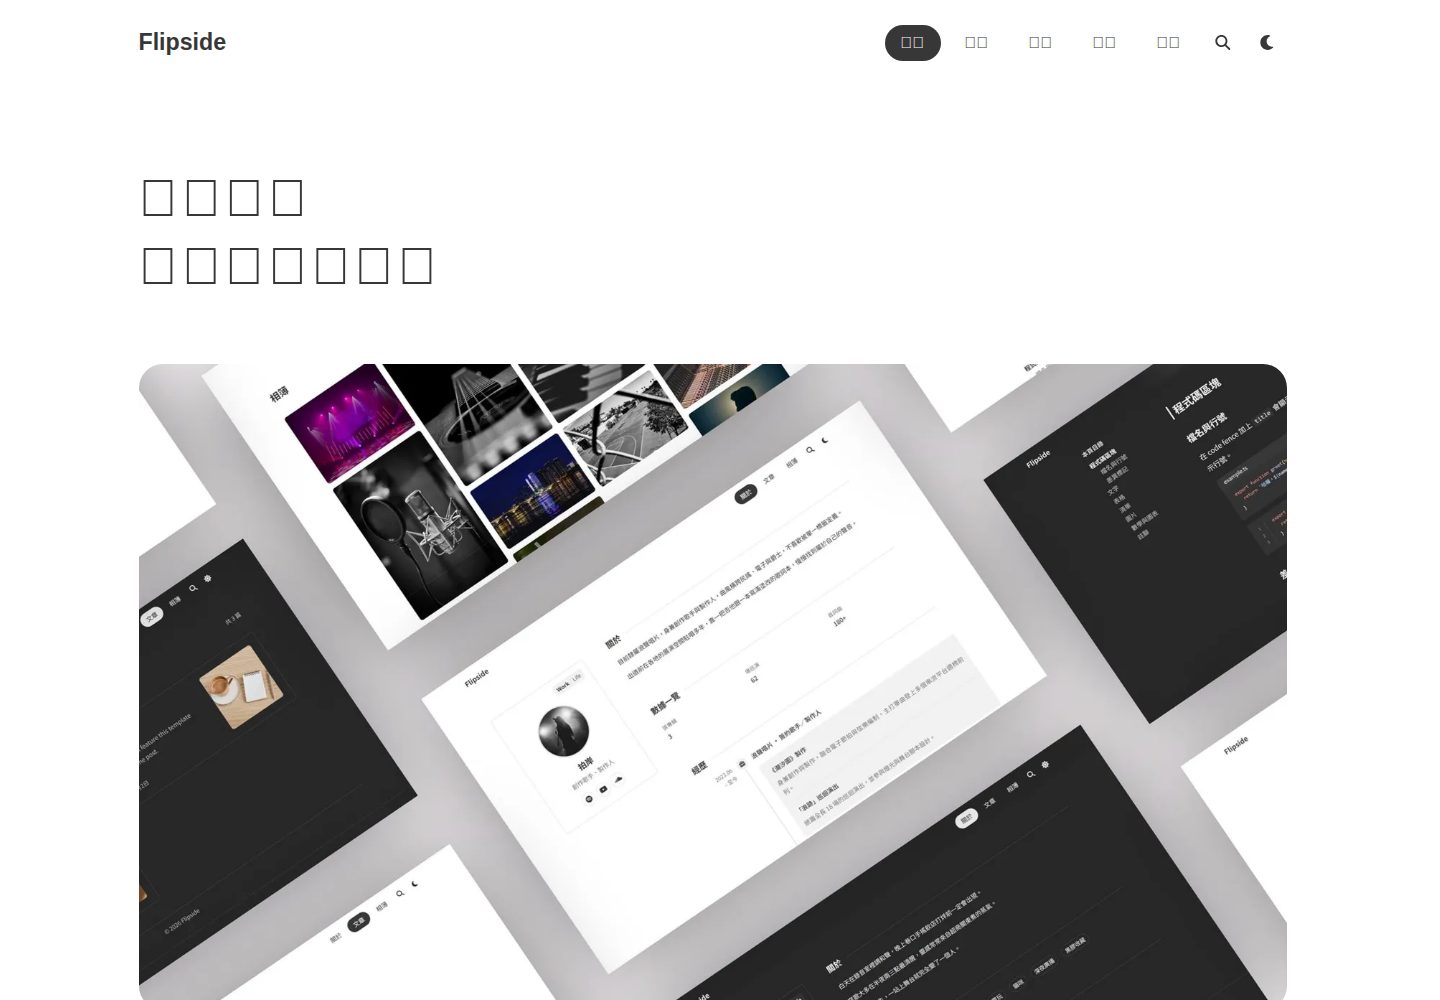
Dual Work and Life structure, switching between professional and personal content perspectives within the same site
AstroPortfolioBlog
astro-flipside — Astro Portfolio Template
By nagameTW
A Chinese-friendly blog and portfolio theme built on Astro, using a dual Work and Life structure to present professional and personal content on the same site.
Explore the design
Compare the page layouts and mobile experience. Open any screenshot for a closer look.
Desktop homepage1 / 3
Desktop captureTop of page
Actual screenshot captured by the server browser.
All pages & views 3
Screenshots show visual appearance; interactive behavior may differ.
Recorded 2026-10-03View source
What stands out
A quick read of the recorded project description.
Default Traditional Chinese interface, with dictionaries centralized in src/locales, switchable to English or extendable to other languages
Blog posts support Markdown and MDX, including frontmatter fields for drafts, tags, cover images, and update dates
Project, photo album, and About page content are driven by data files under src/data
After build, Pagefind generates a pure static full-text search index
Provides a GitHub Pages Actions deployment workflow, automatically building and publishing on push to main
Template Details
Flipside is an Astro static site theme positioned as a personal blog and portfolio. It divides content into Work (professional) and Life (personal) sides, allowing visitors to switch perspectives within the same site to view projects, articles, photo albums, and personal introductions. The theme's default language is Traditional Chinese, with interface dictionaries located in src/locales, which can be switched to English or extended to other languages using the same key structure.
For content organization, blog posts are placed in src/content/blog, supporting Markdown and MDX, with frontmatter fields for title, summary, publication date, update date, cover image, tags, and draft status; drafts are only displayed in the development environment and automatically excluded during builds. The project list is in src/data/projects.ts, the photo album is in src/data/gallery.ts, and content for the About and Life pages is also maintained under src/data. Relative path images within articles are processed into webp and responsive sizes are generated.
Technically, the theme uses Astro for static output, the interface is based on Tocas UI, code blocks are rendered by Expressive Code, and full-text search is generated as a static index by Pagefind after build. Site configuration is centralized in src/config.ts. When deploying to GitHub Pages, the site and base must correspond to the repository type, otherwise styles and images may fail to load. The README provides deployment paths for GitHub Pages, Vercel, Netlify, and Cloudflare Pages, with GitHub Pages using an Actions workflow in the repository to run type checking and build before publishing on push to main.
In terms of limitations, this inclusion covers the free version under the MIT license in the public repository; the free scope refers only to the code of this version. Third-party assets such as demo images, fonts, and icons must be checked separately under their respective licenses, and external services like domains and hosting may incur additional charges. The theme's style, specific component list, and configurable options are subject to the actual files in the repository; this introduction does not cover details not confirmed by the materials.
AstroPortfolioBlog
Is it right for your project?
Use Cases
- A personal homepage that needs to showcase both professional projects and personal hobbies without splitting into two websites
- A blog primarily written in Chinese, with interface text that can be switched or extended to other languages
- A portfolio site that maintains project lists and photo albums via data files, with articles written in Markdown
- An Astro project intended for deployment to static hosting platforms like GitHub Pages or Vercel
Suitable For
- Developers familiar with Markdown and basic front-end configuration who want to quickly set up a personal site
- Bloggers who need Chinese typography and multilingual interface switching
- Creators who want to place their portfolio and life records on the same site
Getting started & customization
Use these recorded setup notes alongside the repository instructions for your chosen version.
- 1
Create a repository via GitHub's Use this template or gh repo create --template, then run npm install and npm run dev
- 2
Edit the site and base at the top of src/config.ts to match the deployment method, otherwise styles and images may fail to load
- 3
To deploy to GitHub Pages, set Source to GitHub Actions in the repository's Settings → Pages
- 4
Add new articles to src/content/blog, edit src/data/projects.ts for new projects, and edit src/data/gallery.ts for new photo album images
- 5
Third-party assets such as demo images, fonts, and icons must be checked separately under their respective licenses; do not judge solely based on the code's MIT license
License & source material
Usage conditions & limitations
Free to use · keep license noticeThis inclusion covers the free version under the MIT license in the public repository; the free scope is limited to the code of this version and does not imply that external services or third-party assets are free.
Must comply with when using
- Free use, modification, commercial use, and distribution of this version's code are permitted.
- When distributing copies or substantial portions of the code, retain the original author's copyright notice and the full MIT license notice.
- The code is provided as is; warranties and limitations of liability are governed by the original license and applicable law.
Additional costs & items to verify
- Demo images, fonts, icons, and other third-party assets must be checked under their respective licenses; do not judge solely based on the code's MIT license.
- External services such as domains, hosting, databases, payments, or AI may incur additional charges.
View Original Text Basis
https://github.com/nagameTW/astro-flipside/blob/main/LICENSEhttps://github.com/nagameTW/astro-flipside/blob/main/README.mdPermission is hereby granted, free of charge
Original License Text
Compiled by DeepSeek based on repository license and README ·2026-10-03. Results only cover the materials read; dependencies, images, fonts, and subsequent term changes are subject to their respective original texts.
Project checks & description sources
Template Information
- Source platforms
- GitHub
- Documentation and maintenance reference score
- More documented · 88 / 100
- Technologies
- Astro
- Website type
- Portfolio · Blog
How this score is calculated
Our heuristic uses license records (up to 30), a demo link (12), a preview (10), stars (15), recorded maintenance (15), description completeness (8), feature records (5) and classification data (5). It is not a code, security or performance test, or a Google score. A link does not establish tested functionality.
What to verify for this project
- Repository update recorded
- 2026-09-06
- Screenshot last checked
- 2026-10-03
A demo link is listed. Check it with your own content and viewport sizes; its presence does not confirm that forms, authentication or payments work.
The catalog identifies Astro as the primary stack. Check the actual dependency manifest and lockfile for versions and hosting requirements. These notes use recorded metadata, not a code audit or a deployment test.
Use a selection guide →How this description was prepared
AI-assisted description based on catalog records and repository material. Repository authors are not automatically the reviewers of this description.
Automatically checked against source and license rules; no manual editorial review.
Inspect the recorded source material
SHA-256: 5efcd3e4cd28673199ddb41f7fd1f2d9b01f0b6ce93eaa1f5b6818d82895bea7
2026-10-03T00:44:26.768Z
Source file / repository<div align="center">
[](https://github.com/nagameTW/astro-flipside/actions/workflows/ci.yml)
[](LICENSE)

[](https://tocas-ui.com/)

[](CONTRIBUTING.md)
<img src="docs/hero.jpg" alt="Flipside 頁面總覽,包含 Work 與 Life 兩面、相簿、文章列表、程式碼區塊與暗色主題">
<h3 align="center">Flipside</h3>
<p align="center">
翻個面,認識另一個你。
<br />
<br />
<a href="https://astro-flipside.vercel.app/">線上示範</a>
·
<a href="../../issues/new/choose">回報問題</a>
·
<a href="../../issues/new/choose">功能許願</a>
<br />
README in <strong>繁體中文</strong> / <a href="docs/README.en.md">English</a>
</p>
</div>
<details>
<summary>目錄</summary>
<ol>
<li><a href="#關於-flipside">關於 Flipside</a></li>
<li><a href="#lighthouse-分數">Lighthouse 分數</a></li>
<li><a href="#快速開始">快速開始</a></li>
<li><a href="#指令">指令</a></li>
<li><a href="#專案結構">專案結構</a></li>
<li><a href="#部署">部署</a></li>
<li><a href="#語言">語言</a></li>
<li><a href="#參與貢獻">參與貢獻</a></li>
<li><a href="#授權">授權</a></li>
<li><a href="#致謝">致謝</a></li>
</ol>
</details>
## 關於 Flipside
白天,你穿梭在信件與會議之中,用名片上的頭銜介紹自己;夜晚,你練琴、打球,或者換上一個只有同好才懂的 ID 上線。
這兩個都是真實的你,卻鮮少能在同一個空間裡並存。
多數個人網站受限於單一版型與敘事方式,逼得我們總得面臨取捨,該展現專業,還是分享熱愛?最終,往往只能妥協讓其中一面代表自己。
但是,何必妥協?
宛如一枚硬幣,正面是專業,反面是熱愛。兩面皆是真實的你,只需輕輕翻轉,就能讓訪客從截然不同的視角,認識更完整的你。
這就是「Flipside」,一款設計簡潔、且對中文排版高度友善的 Astro 主題。他源自我的個人網站,在剔除私人內容後,萃取了開發過程中累積的巧思,淬鍊成一個隨開即用的網站起點。希望幫助更多人,輕鬆打造出既能彰顯專業能力,又能盡情展現個人特色的專屬空間。
- [Astro](https://astro.build/) — 靜態輸出的網站框架
- [Tocas UI](https://tocas-ui.com/) — 為中文設計的 UI 框架
- [Expressive Code](https://expressive-code.com/) — 程式碼區塊
- [Pagefind](https://pagefind.app/) — 純靜態全文搜尋
## Lighthouse 分數
<p align="center">
<a href="https://pagespeed.web.dev/analysis?url=https%3A%2F%2Fastro-flipside.vercel.app%2F&form_factor=mobile">
<img width="720" alt="Lighthouse 行動裝置分數:效能、無障礙、最佳做法、SEO 皆為 100" src="docs/lighthouse-score.svg">
</a>
</p>
## 快速開始
**1. 建立你的 repo**
點上方 **Use this template**,或用 GitHub CLI:
```bash
gh repo create my-site --template nagameTW/astro-flipside --public --clone
```
**2. 本機執行**
```bash
cd my-site
npm install
npm run dev # 開 http://localhost:4321,改檔即時更新
```
**3. 填你的網址**
編輯 `src/config.ts` 最上面兩欄,照第 1 步的網址填:
```ts
site: "https://<帳號>.github.io",
base: "/my-site", // repo 叫 <帳號>.github.io 的話,這裡留 ""
```
**4. 開啟 GitHub Pages**
到 repo 的 **Settings → Pages**,把 **Source** 選成 **GitHub Actions**。設一次就好。
**5. 部署**
```bash
git add -A
git commit -m "first deploy"
git push # Actions 自動建置,約一分鐘後網站上線
```
之後 push 到 `main`,自動重新部署。
樣式或圖片全不見了?回第 3 步,檢查 `base`。內容怎麼加,看[新增內容](#新增內容)的三個範例。
Netlify、Vercel、Cloudflare Pages 也行。做法見 [Astro 部署指南](https://docs.astro.build/en/guides/deploy/)。
## 新增內容
- 文章 → `src/content/blog/`
- 專案 → `src/data/projects.ts`
- 相簿 → `src/data/gallery.ts`
存檔後,`npm run dev` 立刻更新。
**寫一篇文章**
在 `src/content/blog/` 新增 `.md` 或 `.mdx` 檔,圖片放在文章旁邊、用相對路徑引用:
```md
---
title: "文章標題"
description: "列表與搜尋結果顯示的摘要" # 可省略
pubDate: "2026-07-13"
updatedDate: "2026-07-20" # 可省略
heroImage: "./cover.jpg" # 可省略;文章頁大圖,兼列表縮圖
tags: ["life", "music"] # 可省略
draft: true # 草稿只在 dev 顯示,建置自動排除
---
內文就是一般 Markdown。相對路徑的圖片 `` 會自動轉
webp 並產生響應式尺寸;程式碼區塊、表格、目錄、標籤都是內建。
```
想看全部排版,對照範例文章「功能總覽」(`src/content/blog/kitchen-sink-zh.md`)最快。
**加一個專案**
在 `src/data/projects.ts` 的 `PROJECTS` 陣列加一筆:
```ts
{
name: "專案名稱",
description: "一句話說明。",
tech: ["Astro", "TypeScript"], // 顯示成技術標籤
url: "https://github.com/you/repo", // 整個區塊都連到這裡
img: cover, // 可省略;檔案頂部 import 的圖或 https URL
},
```
**加一張照片**
圖檔放進 `src/assets/gallery/`,在 `src/data/gallery.ts` import 後加一筆:
```ts
{
src: photo, // import 的圖或 https URL
alt: "給讀屏器與搜尋引擎的描述", // 必填
caption: "圖下與燈箱顯示的說明", // 可省略
},
```
陣列順序就是顯示順序。
## 指令
在專案根目錄執行:
| 指令 | 說明 |
| :---------------- | :----------------------------------------------- |
| `npm run dev` | 在 `localhost:4321` 啟動本機開發伺服器 |
| `npm run build` | 建置正式版網站到 `dist/`,再用 Pagefind 建立索引 |
| `npm run preview` | 在本機預覽正式版建置結果 |
| `npm run check` | 對專案做型別檢查 |
| `npm test` | 執行 `plugins/*.test.mjs` 的單元測試 |
| `npm run fmt` | 用 Prettier 格式化程式碼 |
## 專案結構
```
src/
├── components/ # Astro 元件:Navbar、Footer、FaceToggle、blocks/ 等
├── content/blog/ # ← 部落格文章(.md / .mdx)
├── data/ # ← 關於/Life 頁內容、相簿、作品集、獎盃牆
├── layouts/ # Layout.astro、BlogPost.astro
├── locales/ # en.ts/zh-TW.ts 介面字串字典
├── pages/ # 路由:首頁、關於、部落格、標籤、相簿、專案、RSS
├── styles/ # global.css
├── utils/ # 文章、時間軸、URL、對話框工具函式
└── config.ts # ← 網站設定的唯一來源
```
箭頭標示的地方是架設新站時真正要編輯的內容。
## 部署
`.github/workflows/deploy.yml`:每次 push 到 `main`,跑 `npm run check && npm run build`,再用 GitHub Pages 原生的 Actions 發布。設定一次就好:**Settings → Pages → Build and deployment → Source: GitHub Actions**。
`site` 和 `base` 要對上部署方式:
| 部署方式 | Repo 名稱 | `site` | `base` | 結果網址 |
| ---------------- | ------------------ | ---------------------------- | ---------------- | --------------------------------------- |
| Project page | 任意 | `"https://<user>.github.io"` | `"/<repo-name>"` | `https://<user>.github.io/<repo-name>/` |
| 使用者/組織首頁 | `<user>.github.io` | `"https://<user>.github.io"` | `""` | `https://<user>.github.io/` |
### 部署到 Vercel
匯入 repo 就好,設定不用動。
到 [vercel.com](https://vercel.com) 用 GitHub 登入,**Add New → Project**,匯入 repo,按 **Deploy**。
之後每次 push 到 `main` 自動重新部署,開 PR 會附一個預覽網址。純靜態輸出,免費的 Hobby 方案就夠,不需要任何 adapter。
## 語言
預設 `"zh-TW"`。想改英文的話,把 `src/config.ts` 的 `locale` 設成 `"en"` 即可。
字典在 `src/locales/`。要加新語言,複製 `en.ts` 的 key,照著填就行。
## 參與貢獻
歡迎 issue 和 PR。回報問題、許願功能請走 [issue 表單](../../issues/new/choose)。小修正直接開 PR;大改動則先開 issue 聊聊方向。
開發環境與慣例,見 [CONTRIBUTING.md](CONTRIBUTING.md)。
## 授權
MIT。詳見 [LICENSE](LICENSE)。
## 致謝
底層是 [Tocas UI](https://tocas-ui.com/)。部落格骨架依循 Astro 官方 blog starter。
Explore similar templates
Compare previews and descriptions within the same stack and category.
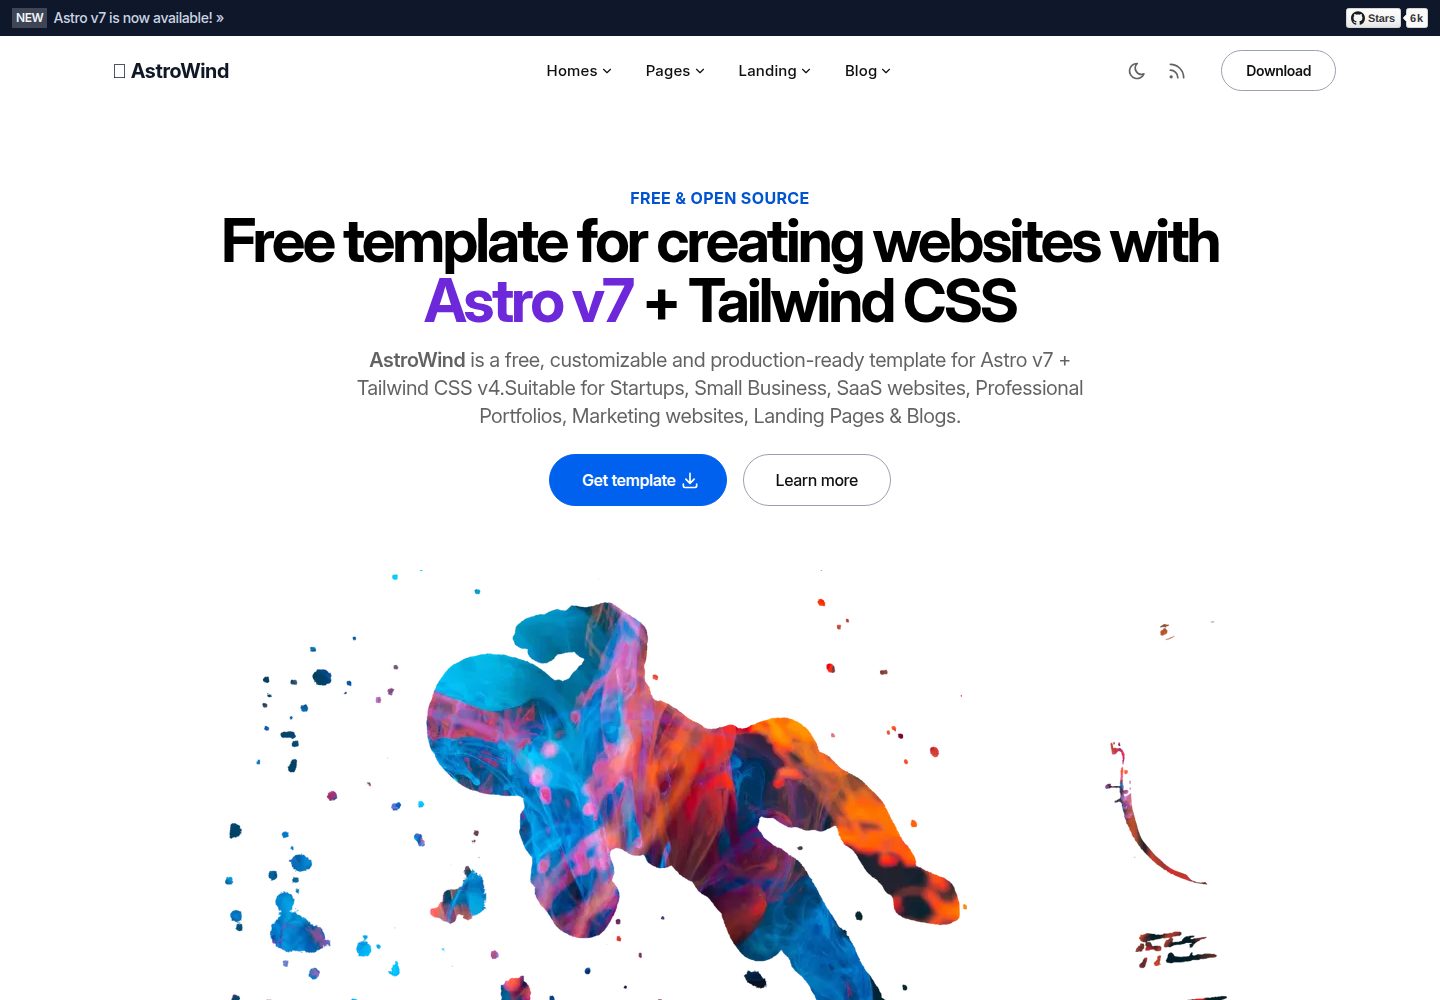
astrowind
AstroWind is a free, open-source Astro starter theme using Astro and Tailwind CSS, released under the MIT license.
Astro · Blog
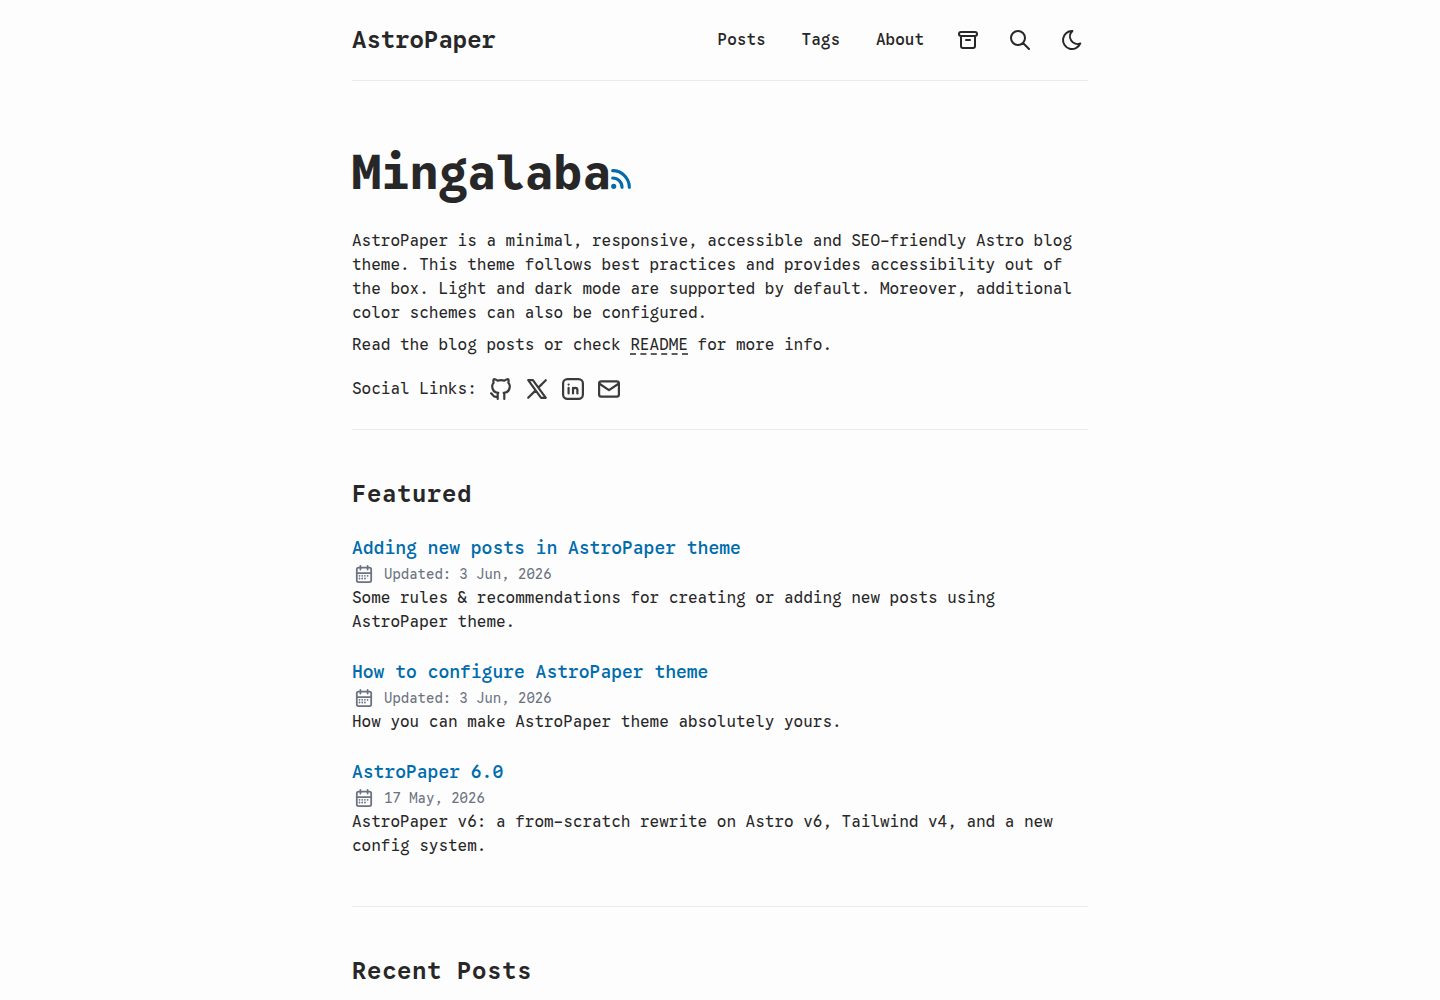
astro-paper
AstroPaper is a minimal, responsive, accessible, and SEO-friendly Astro blog theme. Articles are stored as Markdown/MDX in src/content/posts/, with subdirectories affecting URLs.
Astro · Blog
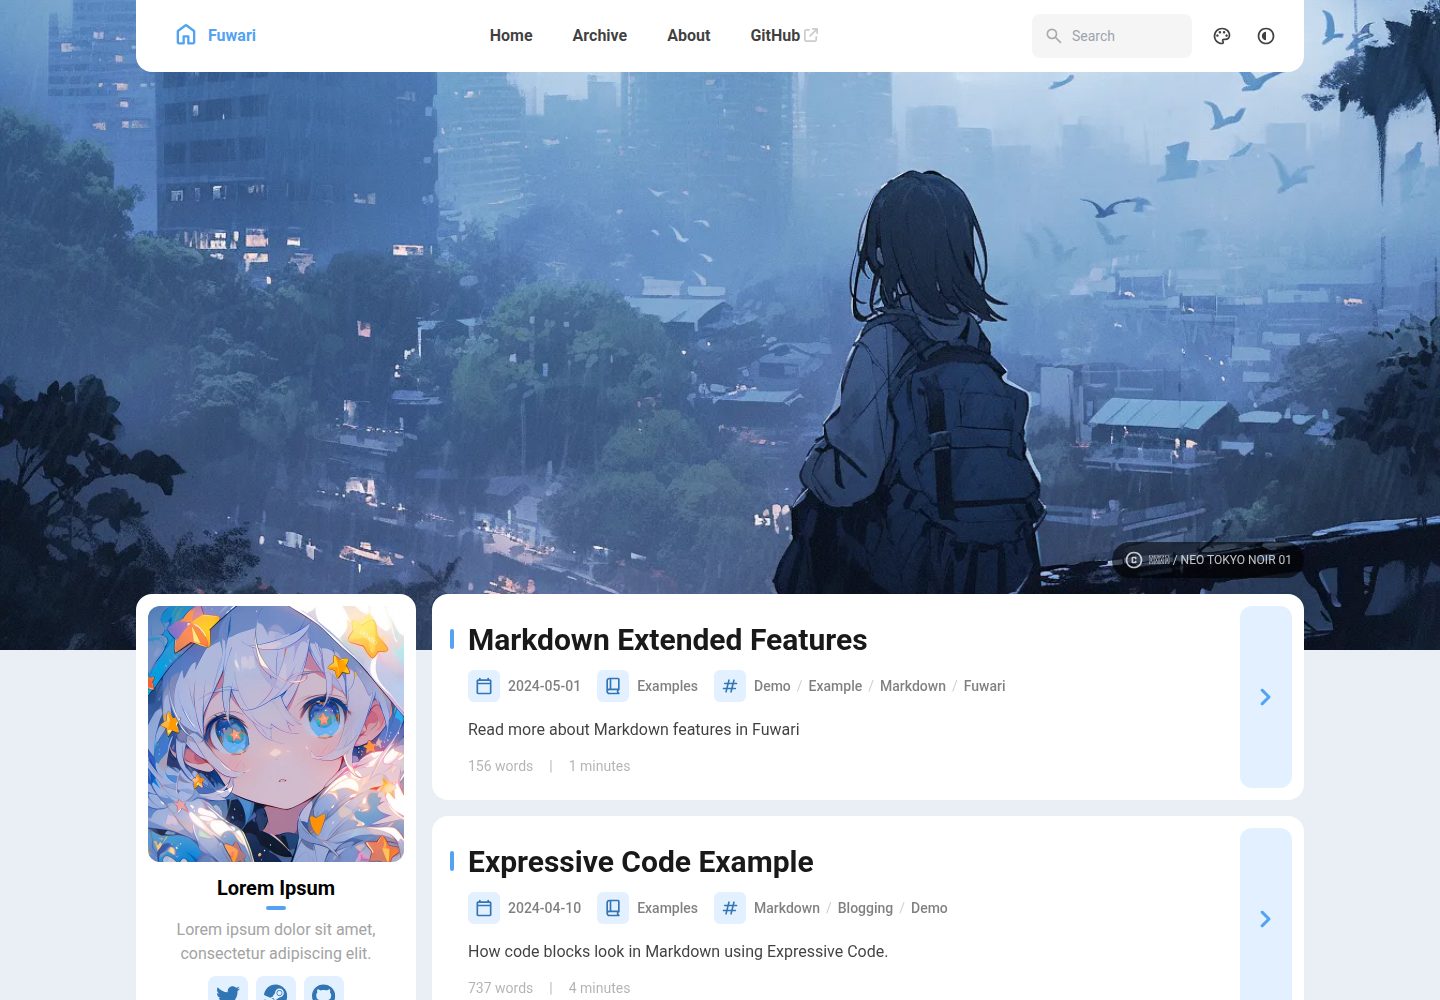
fuwari
Fuwari is a static blog template built with Astro and Tailwind CSS for personal blogs. It manages posts as Markdown files in src/content/posts/, with frontmatter for title, date, description, cover, tags, categories, draft status, and language.
Astro · Blog
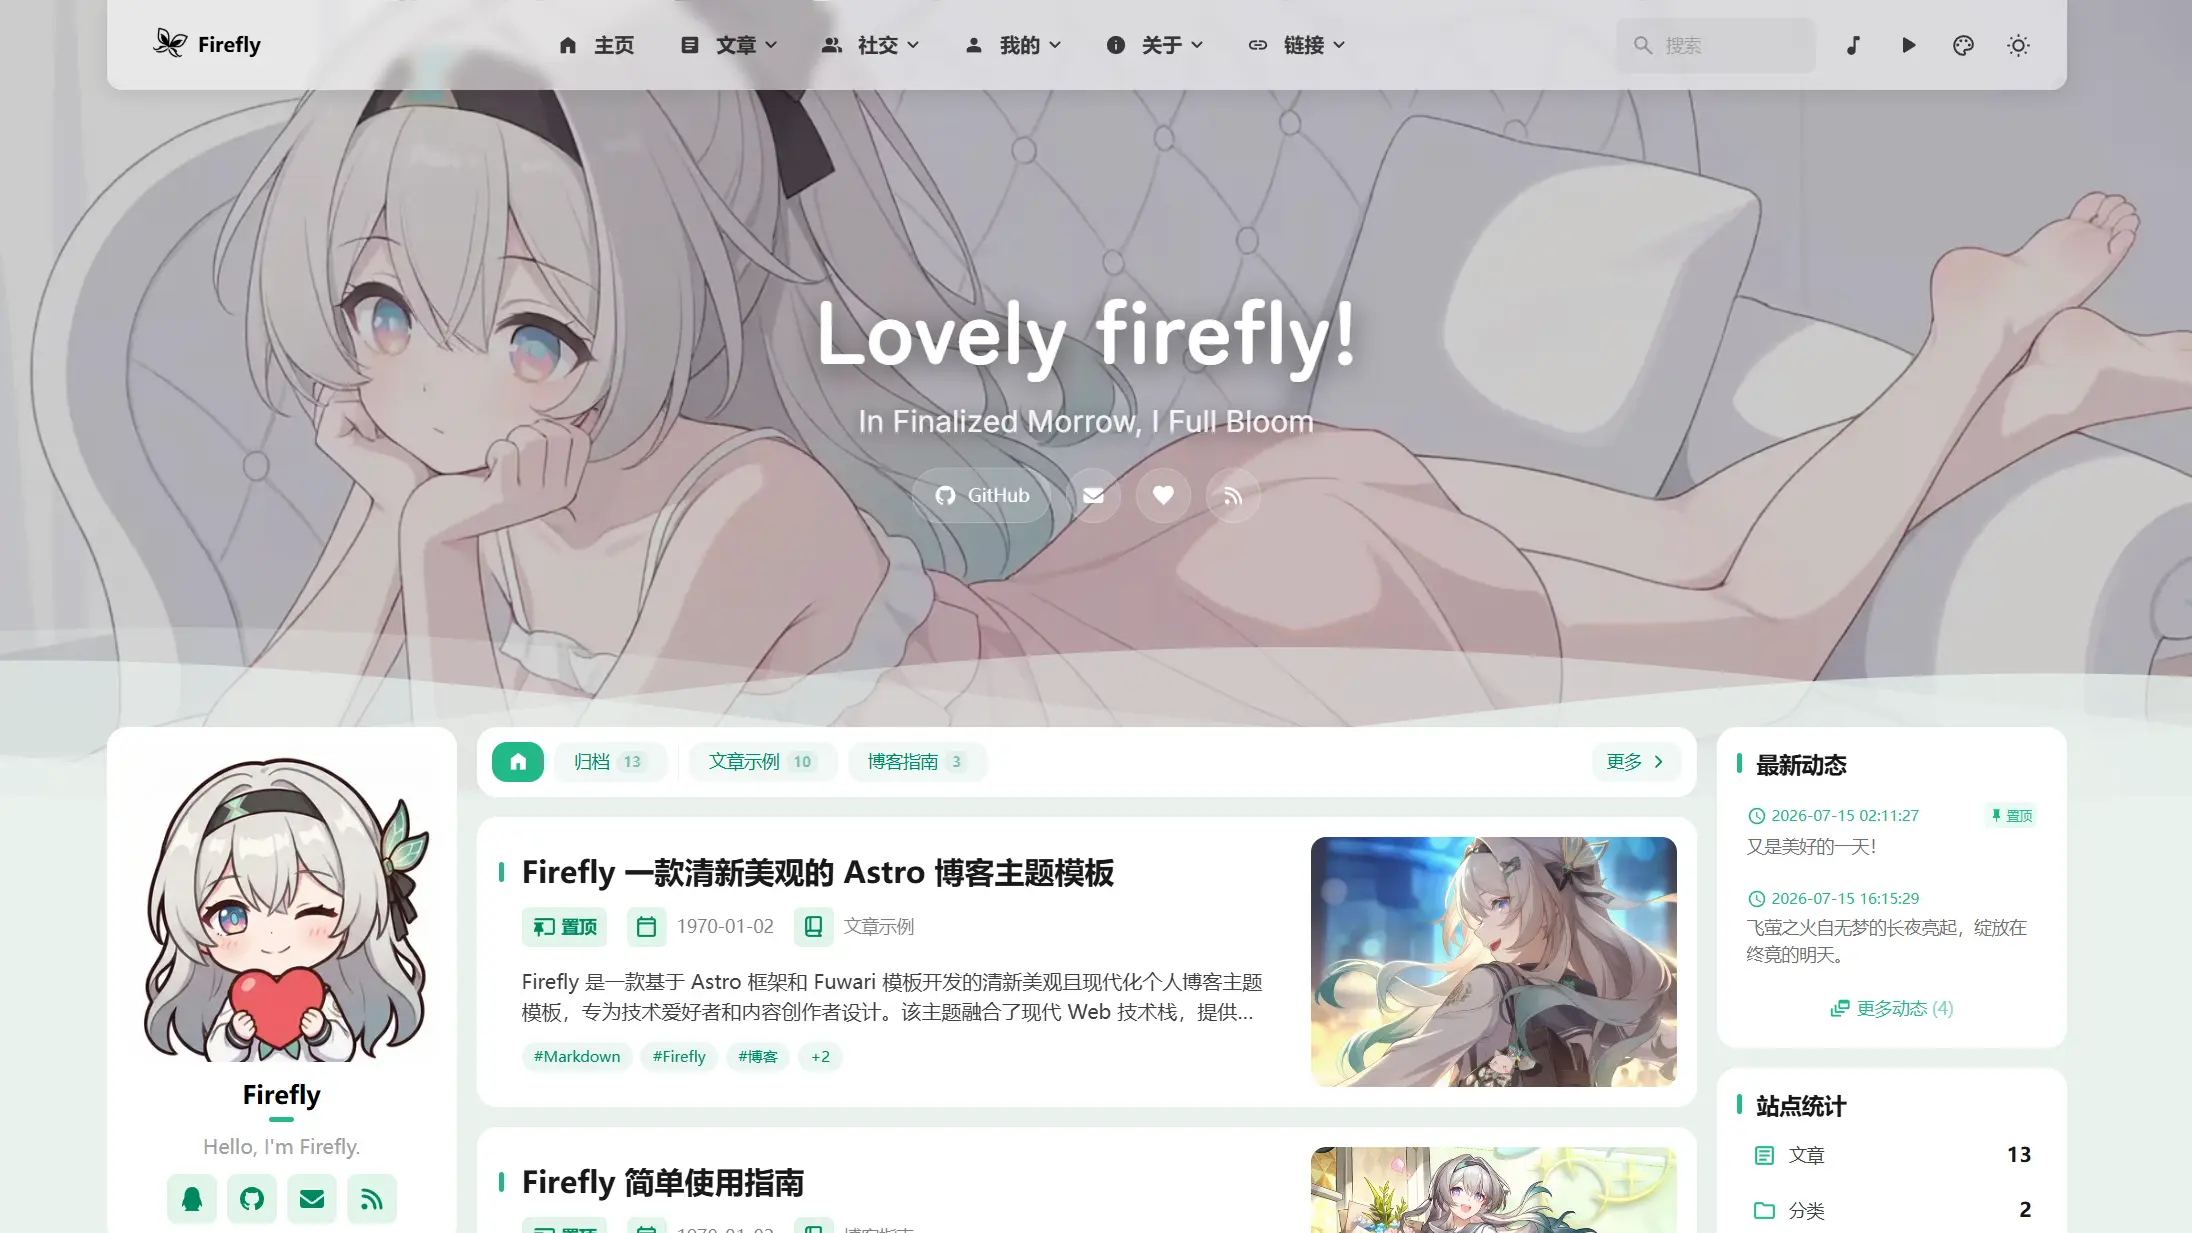
Firefly
Firefly is a clean personal blog theme forked from Astro and Fuwari, offering four background modes, single/double sidebar and list/grid layouts, Pagefind client-side full-text search, and a six-language UI.
Astro · Blog
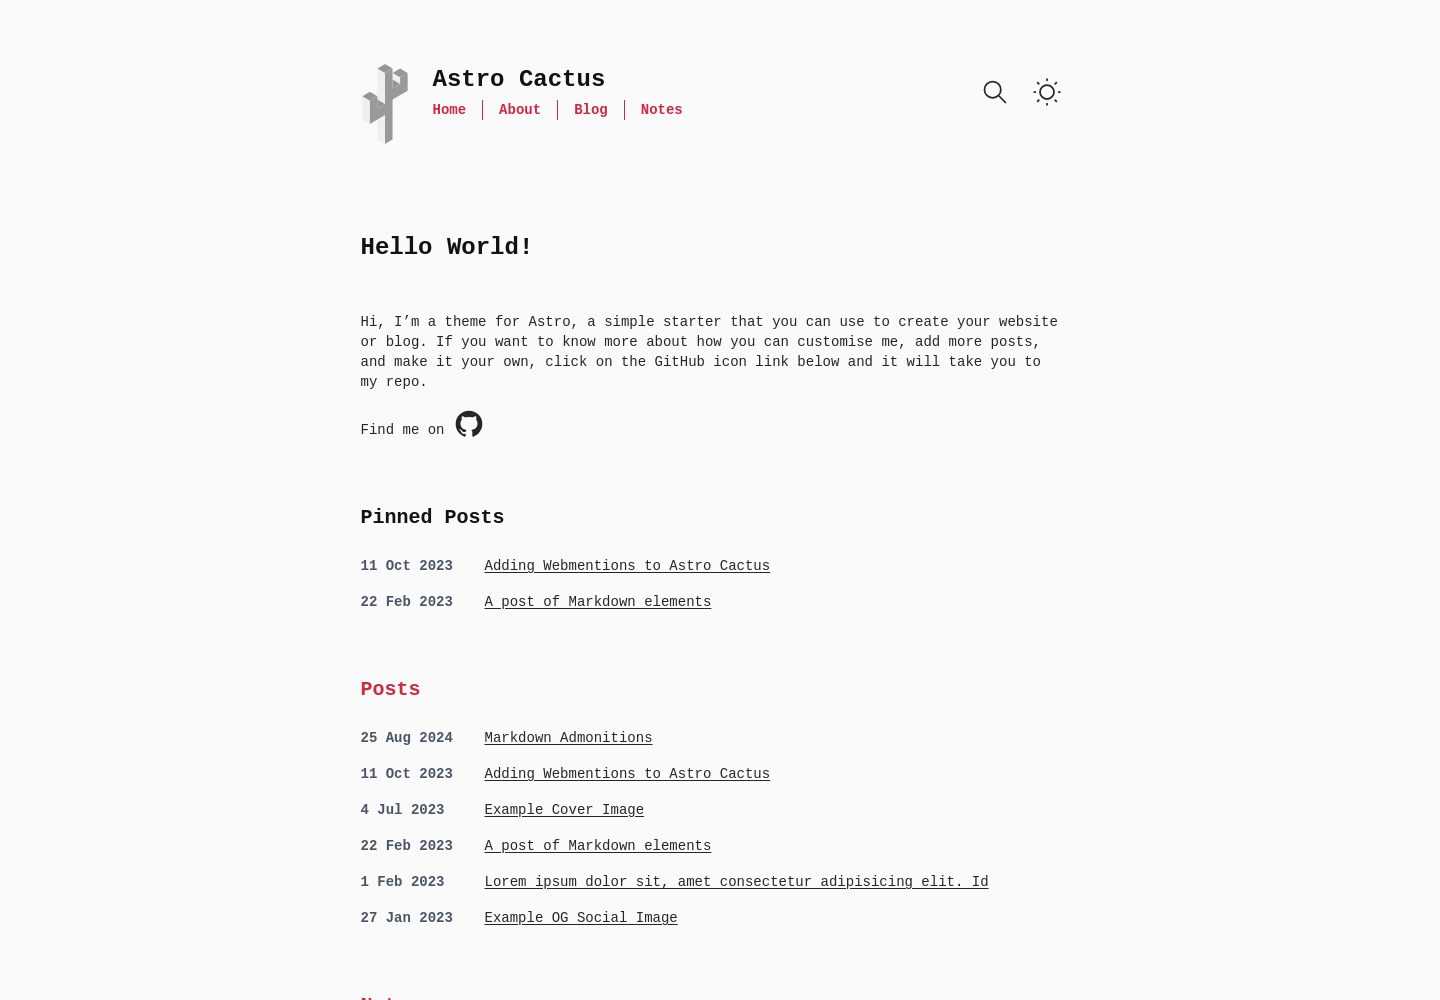
astro-theme-cactus
Astro Cactus is an Astro-based blog and portfolio theme that uses Markdown/MDX content collections to manage posts, notes, and tags, with frontmatter type-checked by a schema.
Astro · Portfolio
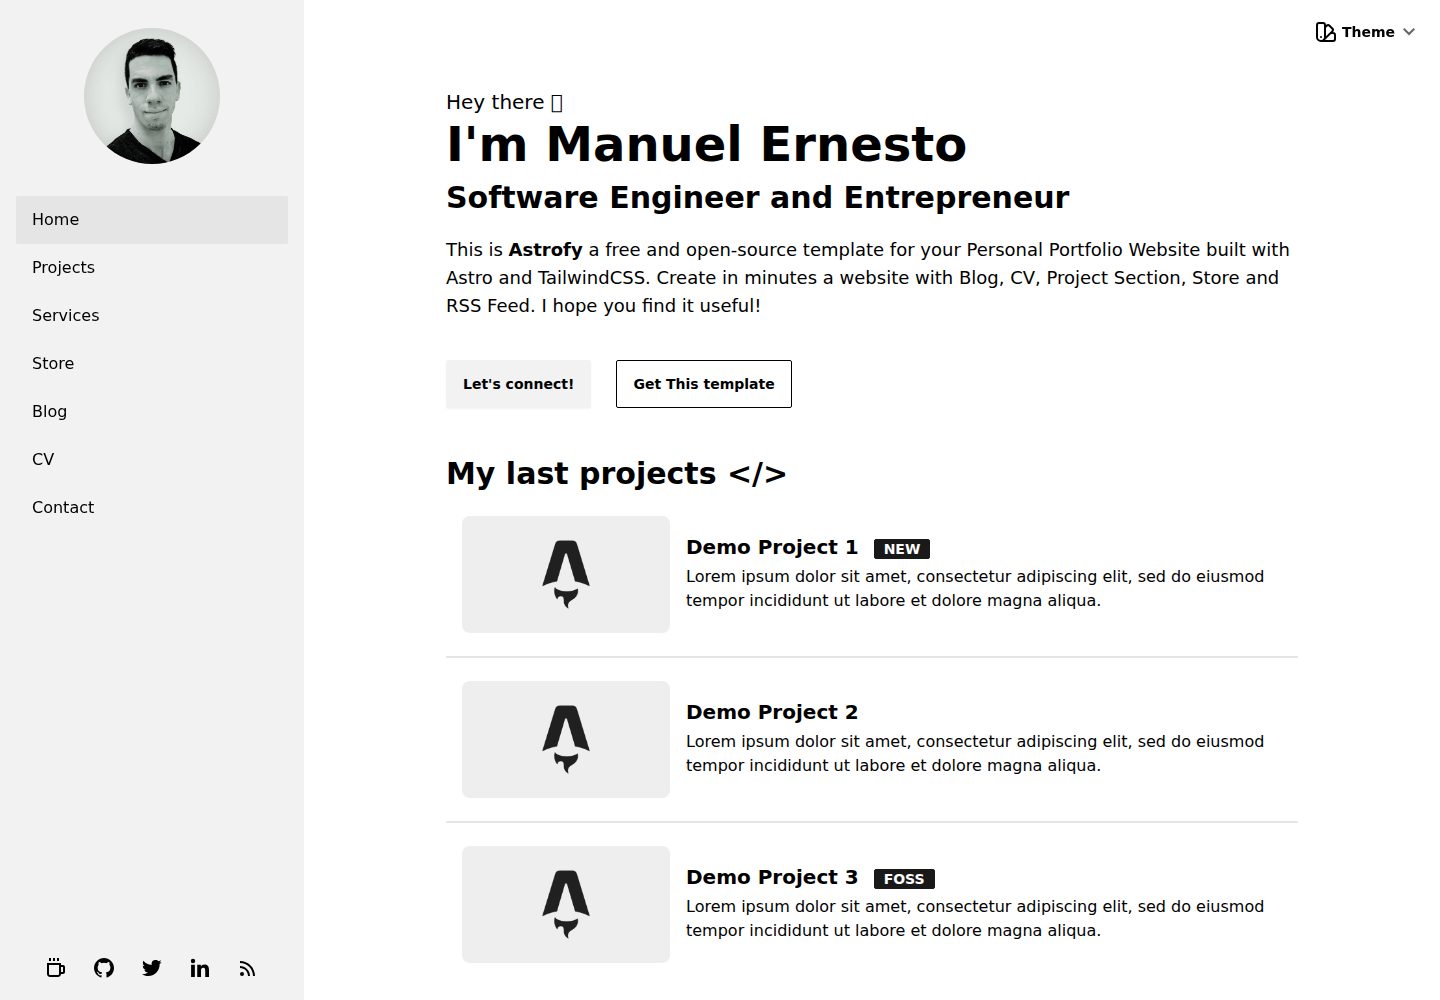
astrofy
Astrofy is a free and open-source personal portfolio website template built with Astro and TailwindCSS, with built-in blog, CV timeline, project showcase, store, and RSS feed modules.
Astro · Portfolio