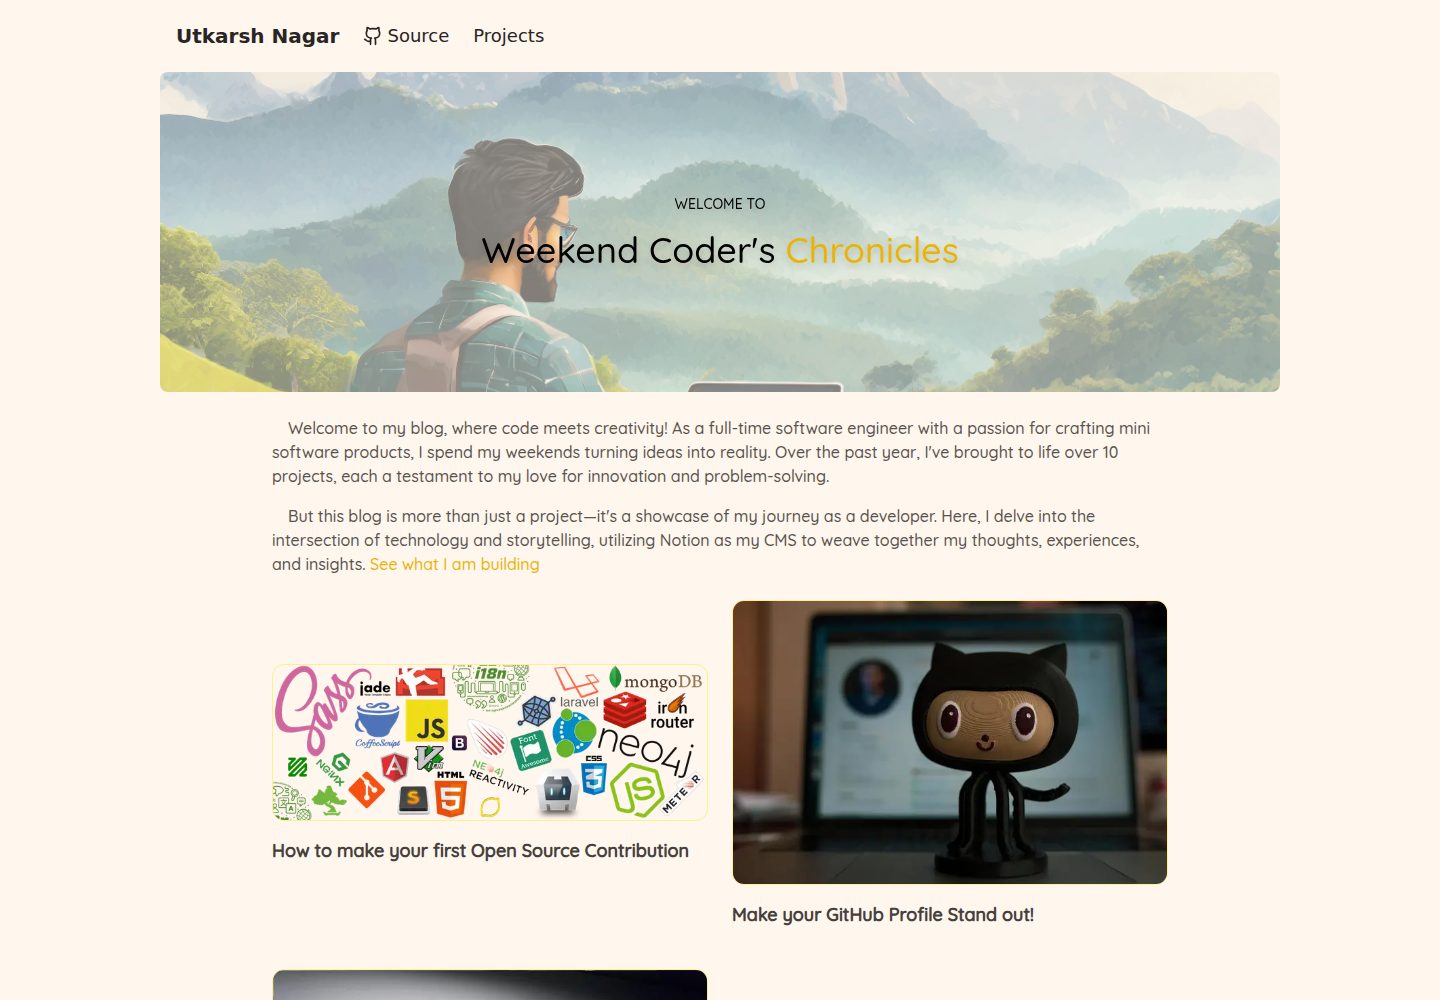
Uses a Notion database as the blog content source; posts are written and maintained in Notion
Next.jsReactBlog
notion-blog — Next.js Blog Template
By Utkarshn10
A blog template built with Next.js that uses a Notion database as its content source, reading post lists and bodies through a Notion integration.
Explore the design
Compare the page layouts and mobile experience. Open any screenshot for a closer look.
Desktop homepage1 / 3
Desktop captureTop of page
Actual screenshot captured by the server browser.
All pages & views 3
Screenshots show visual appearance; interactive behavior may differ.
Recorded 2026-10-03View source
What stands out
A quick read of the recorded project description.
Reads data through the Notion integration API; the database must be connected to the corresponding integration in Notion
Uses two environment variables to store the Notion key and the blog database ID
Provides a centralized site configuration file for setting the title, description, keywords, author, and site URL
Template Details
This template treats Notion as the blog's CMS: posts are stored in a Notion database, and pages read that content via the Notion integration API and render it as a blog. The repository instructions outline a three-step setup: first create a Notion integration and connect the target database to it, then configure two environment variables—the Notion key and the blog database ID—and finally fill in the site title, description, keywords, author, and site URL in the configuration file.
The template is based on Next.js, tagged as a blog category, and the demo site is deployed on Vercel. The README only covers connecting to Notion and configuring basic site information; it does not describe theme styling, routing structure, pagination, categories, or comments—these require checking the source code.
Next.jsBlog
Is it right for your project?
Use Cases
- You want to write and format posts in Notion while providing a separate public blog page
- You need a lightweight Next.js blog starting point to extend with your own pages and styles
- You want to publish content from an existing Notion database as an accessible website
Suitable For
- Users familiar with basic Notion operations who can create an integration
- Developers who can configure environment variables and deploy a Next.js project
- Personal bloggers who want to separate content from code and write in Notion
Getting started & customization
Use these recorded setup notes alongside the repository instructions for your chosen version.
- 1
Create an integration following Notion's official documentation, and connect it in the target database's Connections
- 2
Configure the integration key as NEXT_PUBLIC_NOTION_KEY and the blog database ID as NEXT_PUBLIC_NOTION_BLOG_ID
- 3
Fill in SITE_TITLE, SITE_DESCRIPTION, SITE_KEYWORDS, SITE_AUTHOR, and SITE_URL in the configuration file
- 4
The repository uses the Apache-2.0 license; distribution requires including the license and retaining attribution notices; third-party assets such as demo images must be checked separately for licensing
License & source material
Usage conditions & limitations
Free to use · keep license noticeThis entry covers the free version under the Apache-2.0 license in the public repository; the free scope applies to that version's code and does not imply that external services or third-party assets are free.
Must comply with when using
- Free use, modification, commercial use, and distribution are permitted; distribution requires including the Apache-2.0 license.
- Modified files must be prominently marked as changed, and relevant copyright, patent, trademark, and attribution notices must be retained.
- If the original project includes a NOTICE file, applicable attribution notices must be retained when distributing derivative works.
- The license includes an applicable contributor patent grant; initiating patent litigation as described in the license terminates that patent grant, and no trademark rights are granted.
- The code is provided as-is; warranties and limitations of liability are governed by the original license and applicable law.
Additional costs & items to verify
- Using this template requires first creating an integration in Notion, which is an external service dependency; you must register a Notion account and complete the integration setup yourself.
- A Notion integration key (API key) must be provided to read content; the key is applied for and kept by the user on the Notion side.
- The Notion key environment variable must be configured; without it, blog data cannot be fetched; this key is exposed in a public frontend variable.
- A Notion blog database ID must be provided; the content source is bound to a specific Notion database and cannot run independently of Notion.
- Posts must be stored in a Notion database; content management depends on the Notion platform, which is an external service usage limitation.
- Demo images, fonts, icons, and other third-party assets must be checked under their respective licenses; they cannot be judged solely by the code's Apache-2.0 license.
- External services such as domains, hosting, databases, payments, or AI may incur additional charges.
View Original Text Basis
no-charge, royalty-free, irrevocable copyright license
Original License Text
Go to https://developers.notion.com/docs/create-a-notion-integration and create your integration
Original README
Use your integration key as the NOTION_KEY
Original README
NEXT_PUBLIC_NOTION_KEY = YOUR_NOTION_KEY
Original README
NEXT_PUBLIC_NOTION_BLOG_ID = YOUR_BLOG_DB_ID
Original README
https://github.com/Utkarshn10/notion-blog/blob/main/LICENSEhttps://github.com/Utkarshn10/notion-blog/blob/main/README.mdGo to your notion database (where you will be storing all the blogs) and click on the 3 dots and the top right corner
Original README
Compiled by DeepSeek based on repository license and README ·2026-10-03. Results only cover the materials read; dependencies, images, fonts, and subsequent term changes are subject to their respective original texts.
Project checks & description sources
Template Information
- Source platforms
- GitHub
- Documentation and maintenance reference score
- Partly documented · 72 / 100
- Technologies
- Next.js · React
- Website type
- Blog
How this score is calculated
Our heuristic uses license records (up to 30), a demo link (12), a preview (10), stars (15), recorded maintenance (15), description completeness (8), feature records (5) and classification data (5). It is not a code, security or performance test, or a Google score. A link does not establish tested functionality.
What to verify for this project
- Repository update recorded
- 2024-10-09
- Screenshot last checked
- 2026-10-03
A demo link is listed. Check it with your own content and viewport sizes; its presence does not confirm that forms, authentication or payments work.
The catalog identifies Next.js as the primary stack. Check the actual dependency manifest and lockfile for versions and hosting requirements. These notes use recorded metadata, not a code audit or a deployment test.
Use a selection guide →How this description was prepared
AI-assisted description based on catalog records and repository material. Repository authors are not automatically the reviewers of this description.
Review declaration: [email protected] · 2026-10-04
Inspect the recorded source material
SHA-256: 093f2f494e25ff86d1d6564cb38a631b4cd3977b319c596ab6d8fbc2bb83f0e0
2026-10-03T21:00:01.544Z
Source file / repository## From Notion to Blog Simple template for blogs using Notion as a CMS <img width="1037" alt="Screenshot 2024-04-21 at 12 34 05 PM" src="https://github.com/Utkarshn10/notion-blog/assets/58587256/5ce68b10-c086-4db5-9c22-12be26a9af7b"> ## How to use the boilerplate ### Step 1 - Create an integration via Notion - Go to https://developers.notion.com/docs/create-a-notion-integration and create your integration - Go to your notion database (where you will be storing all the blogs) and click on the 3 dots and the top right corner - In the menu go to "Connections" and click on "Connect to" - Select your integration ### Step 2 - Setting up the environment - Use your integration key as the NOTION_KEY - To get your Blog DB ID you can take a look at [this](https://developers.notion.com/reference/retrieve-a-database). ``` NEXT_PUBLIC_NOTION_KEY = YOUR_NOTION_KEY NEXT_PUBLIC_NOTION_BLOG_ID = YOUR_BLOG_DB_ID ``` ### Step 3 - Setting the config file ```javascript export const SITE_TITLE = "" export const SITE_DESCRIPTION = '' export const SITE_KEYWORDS = '' export const SITE_AUTHOR = '' export const SITE_URL = '' ```
Explore similar templates
Compare previews and descriptions within the same stack and category.

tailwind-nextjs-starter-blog
A Next.js and Tailwind CSS blog starter template using Contentlayer for Markdown/MDX, with built-in SEO, code highlighting, and tags. It targets personal technical blogs and migration from Jekyll/Hugo to React, and supports one-click Vercel deployment.
Next.js · Blog
Nextjs-tailwindcss-blog-template
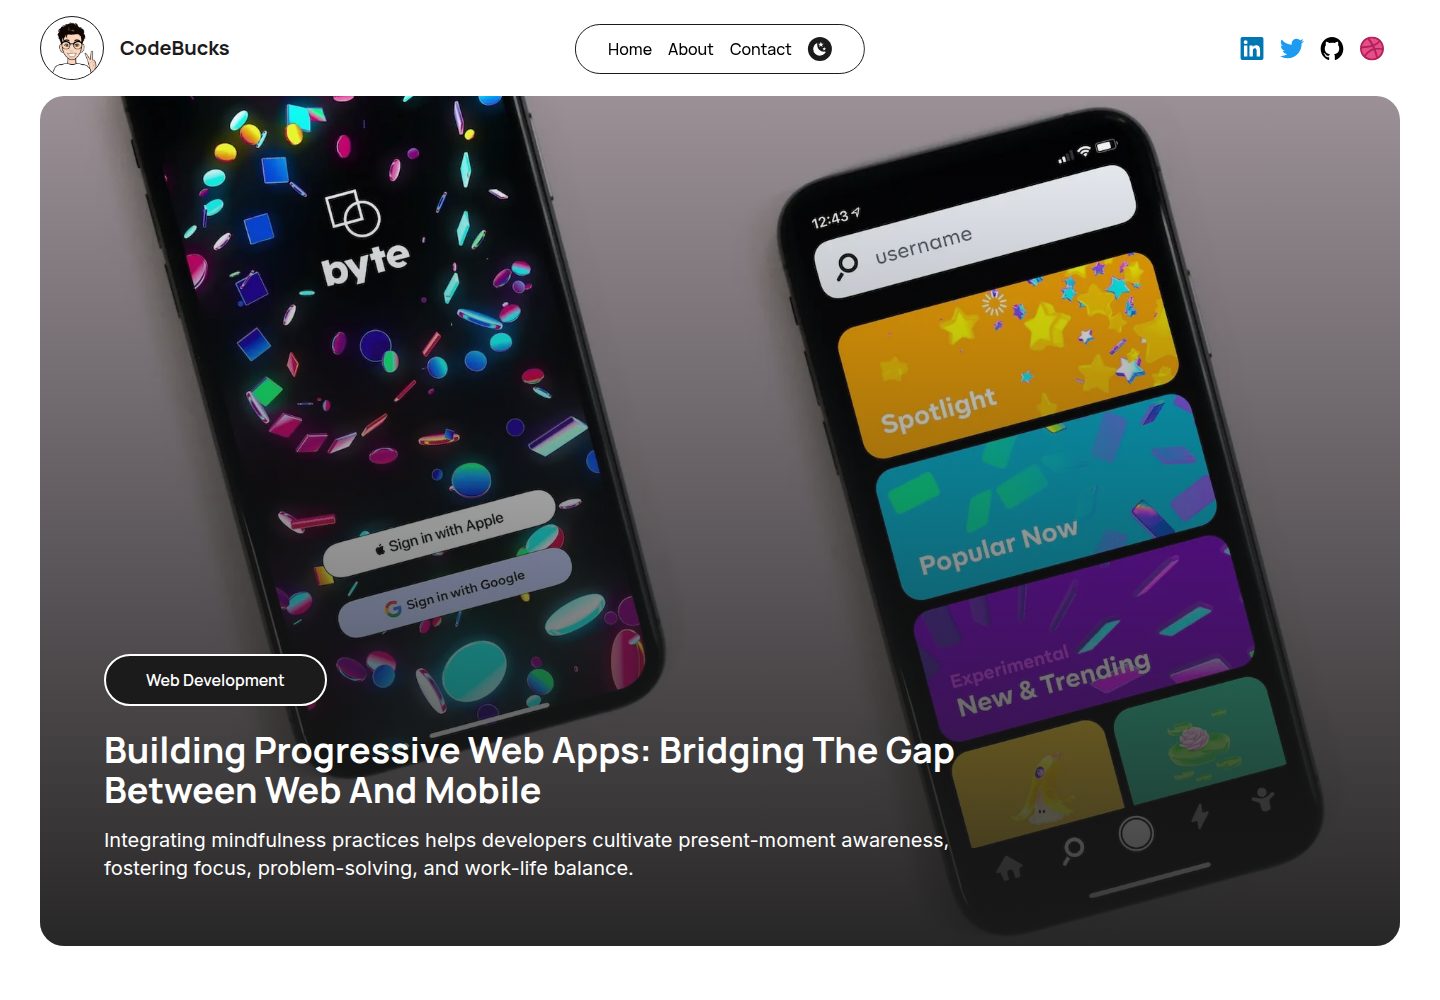
A personal blog template built with Next.js and Tailwind CSS, using Velite to process Markdown content. It includes home, about, contact and article pages, with a demo site and a companion YouTube tutorial.
Next.js · Blog
Next-js-Blog-Boilerplate
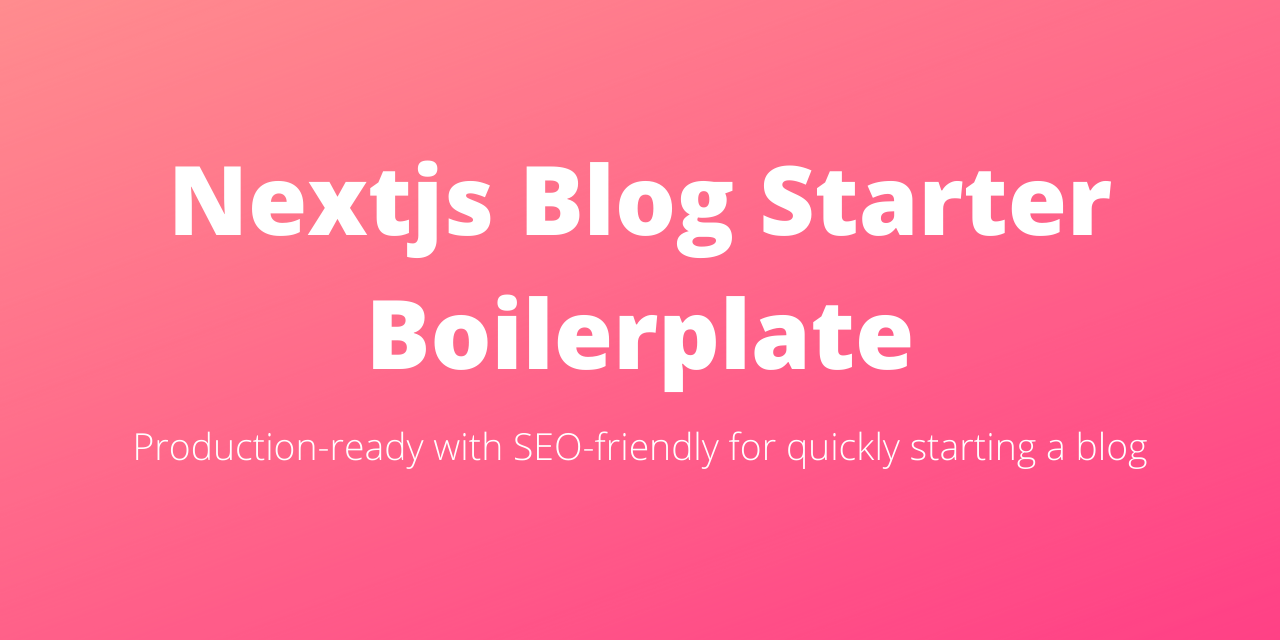
A blog starter built on Next.js 12 and Tailwind CSS 3, integrating TypeScript, ESLint, Prettier, and PostCSS.
Next.js · Blog
nextjs-blog-theme
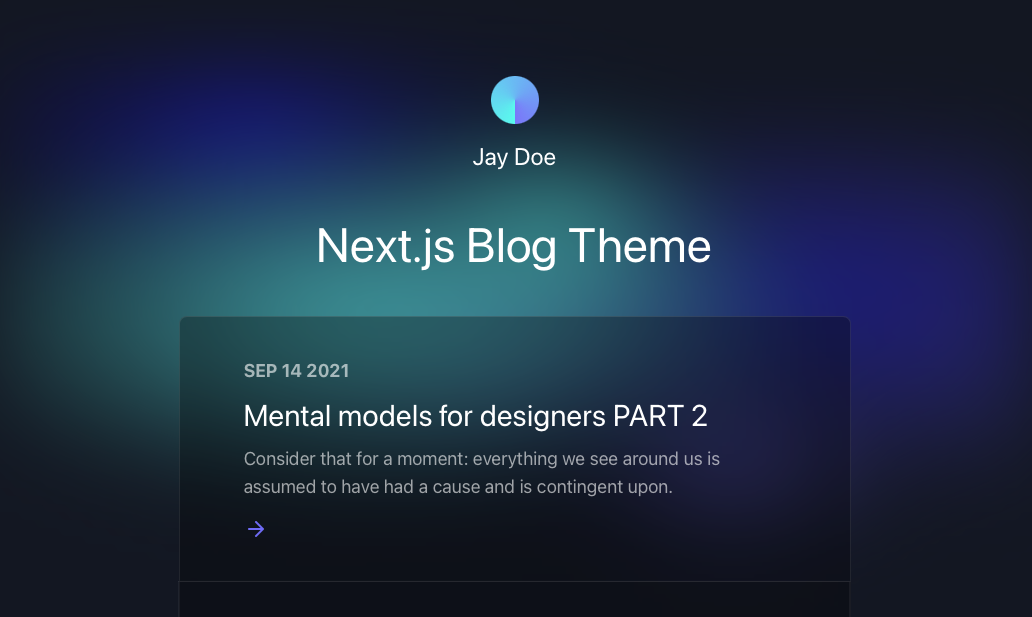
A Next.js 15 and Tailwind CSS 4.x blog starter by Netlify, designed by Bejamas, with MDX support, dark/light theme switching, and environment-variable configuration. It includes a visual setup wizard for deploying to Netlify and manages content via local .mdx files.
Next.js · Blog
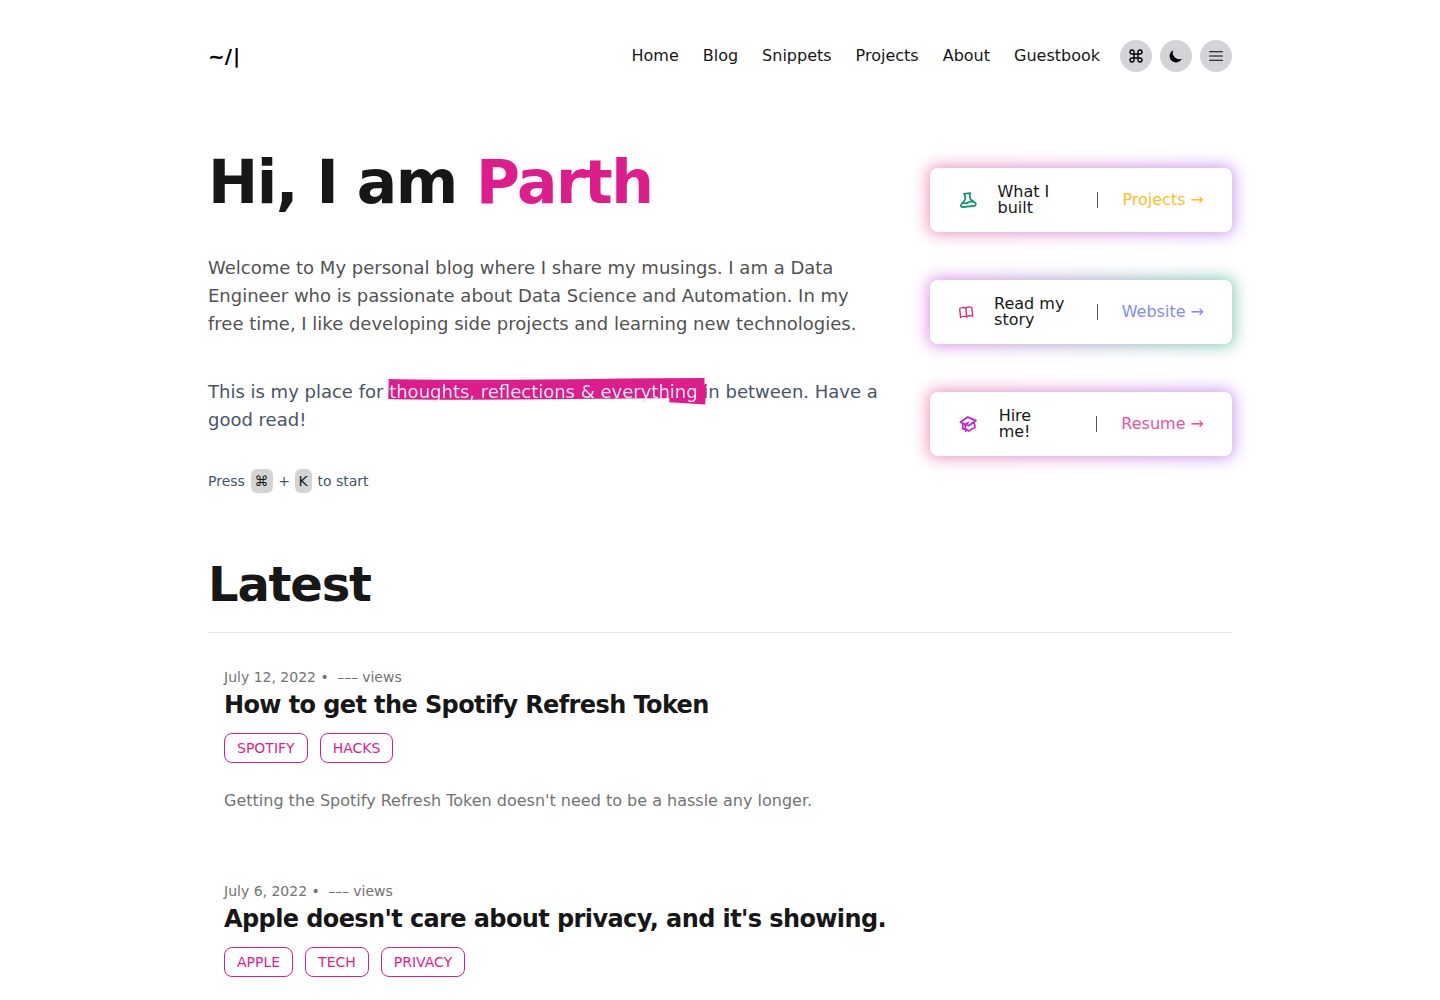
blog
A personal blog forked from Timlrx's tailwind-nextjs-starter-blog, built with Next.js, React, and Tailwind CSS. Content is stored as Markdown/MDX under data/, with site, author, navigation, and project data in separate files.
Next.js · Blog
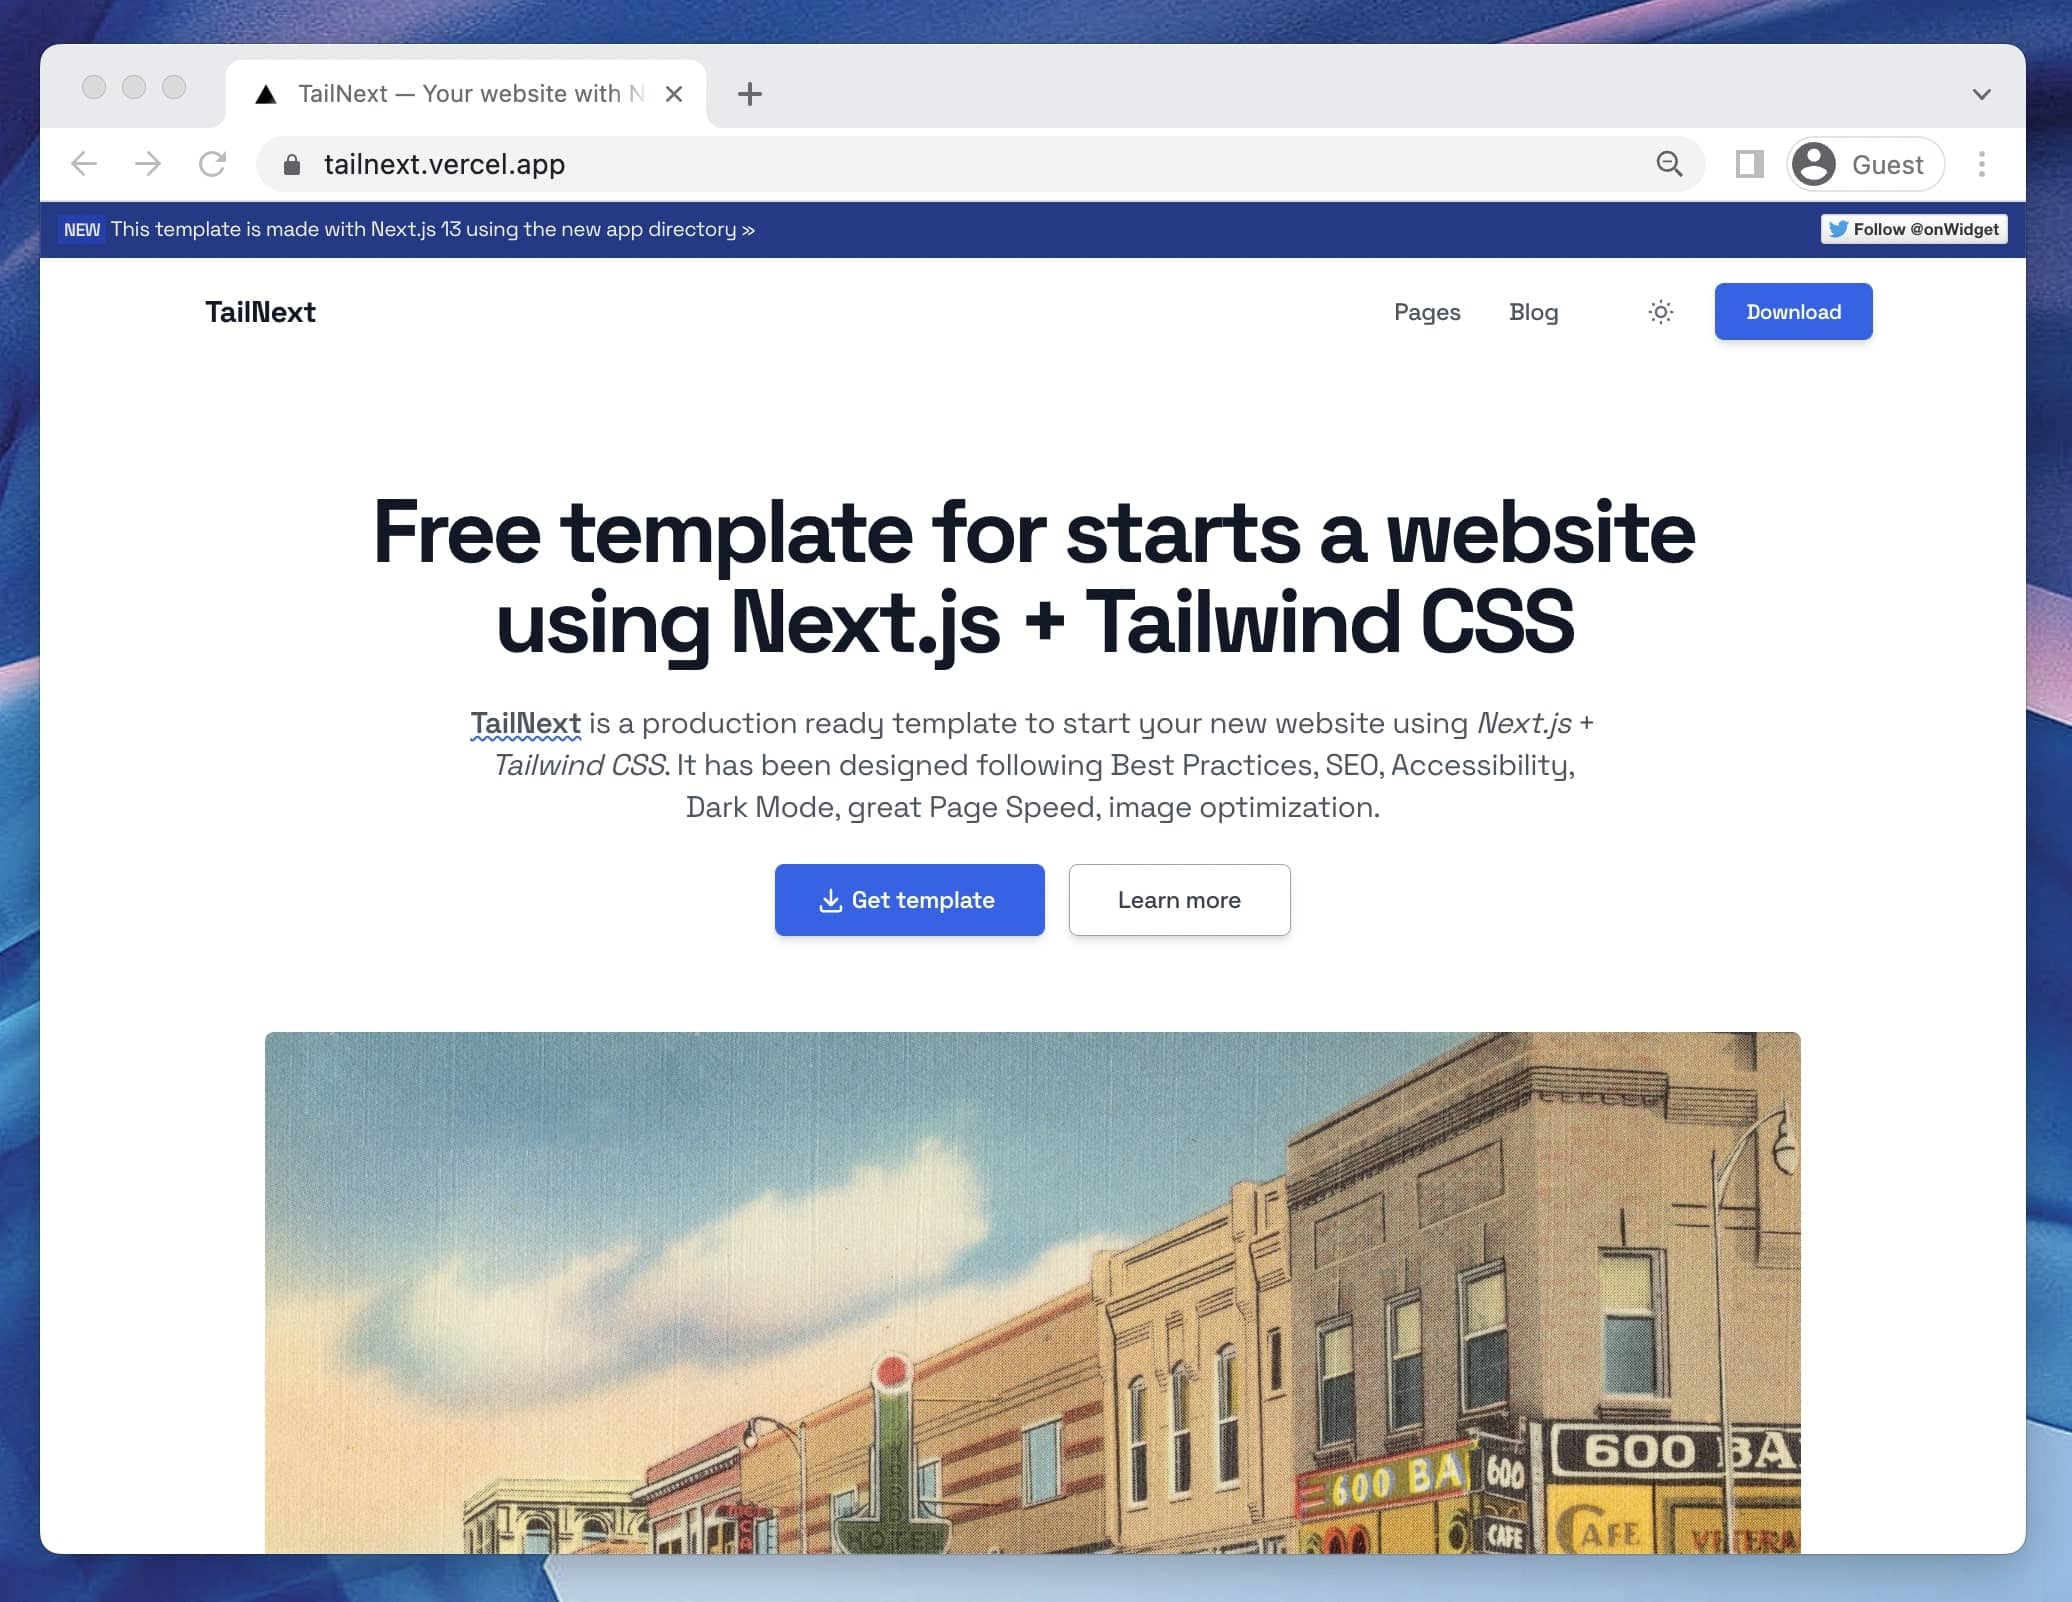
tailnext
Tailnext is a free, open-source template built on the Next.js 14 App Router and Tailwind CSS, created by the onWidget team.
Next.js · Blog