
前后端分离:Strapi 5 作为无头 CMS 后端,Next.js 作为前端,PostgreSQL 17 存储数据
React启动器
bitmutex-website — React 启动器模板
作者 aamitn
BM Site 是一个基于 Strapi 5、Next.js 与 React 的企业网站启动模板,前后端分离,内置 SEO、可复用区块、实时访客计数与 Discord 实时聊天,并提供 Docker、K8s/Helm 与 PM2 部署脚本。
看看你的网站会是什么样
浏览真实页面截图,比较内容排版与手机效果。点击下方缩略图切换,放大查看整页细节。
全部页面与视图 3
截图用于了解视觉与布局,交互效果请以实际项目为准。
采集于 2026-10-02查看来源
值得关注的模板亮点
从已有项目资料中,快速了解它的特点。
内置 Strapi SEO 插件实现全站动态 SEO,并提供多个自定义集合类型、可复用区块与单类型
通过 Socket.IO 在 Strapi 内实现与 Discord 对接的实时聊天,不依赖第三方聊天组件或嵌入挂件
提供实时网站访客计数、Strapi 首次运行自动创建管理员用户、健康检查与自动重启
部署方式覆盖 docker compose、Kubernetes/Helm 文档、PM2 配置以及 install.sh / install.ps1 单命令安装脚本
根目录 pnpm 脚本统一管理前后端依赖安装、开发、构建、启动、seed 导入导出与备份
模板详细介绍
BM Site(bitmutex-website)是一个面向企业官网的启动模板,采用前后端分离结构:server 目录为 Strapi 5 无头 CMS 后端,client 目录为 Next.js 前端,数据库使用 PostgreSQL 17,并通过 Socket.IO 在 Strapi 内实现与 Discord 对接的实时聊天,不依赖第三方聊天组件。项目仓库根目录提供 pnpm 脚本统一管理前后端的安装、开发、构建与启动,并附带 seed-data.tar.gz 用于导入初始数据库内容。
模板内置的功能包括:Strapi SEO 插件驱动的全站动态 SEO、多个自定义集合类型与可复用区块、单类型内容、首次运行自动创建 Strapi 管理员用户、健康检查与自动重启、实时网站访客计数。部署方式覆盖 docker compose 一键启动、Kubernetes 与 Helm 说明文档、PM2 的 ecosystem.config.cjs 配置,以及通过 install.sh / install.ps1 执行的单命令安装脚本。
使用前需要注意:本地开发时需在 server/config/server.ts 中注释掉指向生产域名的 url 配置;数据库连接信息在 server/config/database.ts 中填写;低于 2.8.40 的版本需要手动下载并放置 seed 数据到仓库根目录。仓库以 Apache-2.0 许可发布,但演示图片、字体、图标等第三方素材的许可需单独核对,域名、托管、数据库等外部服务可能产生额外费用。
React启动器
适合你的项目吗?
适用场景
- 搭建企业官网或业务展示站点,并需要后台内容管理
- 需要将网站内容以无头 CMS 形式提供给前端渲染
- 希望在网站中集成与 Discord 打通的实时客服聊天
- 需要以 Docker、Kubernetes 或 PM2 方式部署前后端应用
适合人群
- 需要 Strapi 与 Next.js 组合的企业网站项目
- 希望以无头 CMS 管理内容并自行控制前端的团队
- 需要容器化或云原生部署路径的开发者
- 需要内置 SEO 与可复用内容区块的站点搭建者
上手与定制指南
结合仓库当前版本的说明,按下面的资料检查内容、配置与运行要求。
- 1
克隆仓库后运行 pnpm spawn 安装前后端依赖并自动生成 .env 文件,再按需填写环境变量
- 2
在 server/config/database.ts 中配置数据库凭据,并设置 DATABASE_CLIENT 为 postgres、mysql 或 sqlite
- 3
本地开发需在 server/config/server.ts 中注释掉指向生产域名的 url 配置
- 4
低于 2.8.40 的版本需手动下载 seed-data.tar.gz 并放置到仓库根目录,再运行 pnpm seed 导入
- 5
生产环境可使用 pm2 start ecosystem.config.cjs 启动,并通过 pm2 save 与 pm2 startup 配置开机自启
授权与来源资料
使用条件与限制
免费使用 · 保留许可声明本次收录的是公开仓库中采用 Apache-2.0 许可的免费版本;免费范围为该版本代码,不代表外部服务或第三方素材免费。
使用时需要遵守
- 允许免费使用、修改、商用和分发;分发时需随附 Apache-2.0 许可证。
- 修改过的文件需显著标明改动,并保留相关版权、专利、商标及归属声明。
- 若原项目附有 NOTICE 文件,分发衍生作品时需保留其中适用的归属声明。
- 许可包含适用的贡献者专利授权;发起许可所述专利诉讼会终止该专利授权,且不授予商标使用权。
- 代码按现状提供;担保与责任限制以原许可证及适用法律为准。
额外费用与待核对事项
- 低于 2.8.40 的版本必须手动下载 seed-data.tar.gz 并放置到仓库根目录,否则无法导入初始数据。
- 本地开发需手动编辑 server/config/server.ts,注释掉指向生产域名的 url 配置,否则本地访问会受影响。
- 必须自行准备数据库并在 server/config/database.ts 中填写凭据,模板不包含托管数据库服务。
- 首次登录使用默认管理员账号 [email protected] / strapiadmin,必须立即修改密码。
- 实时聊天功能依赖 Discord 作为外部服务,需自行配置 Discord 相关凭据才能使用。
- 备份命令依赖 Cloudflare R2 存储服务,使用该功能需自备 R2 账号并可能产生费用。
- 演示图片、字体、图标及其他第三方素材需按各自许可核对,不能仅凭代码的 Apache-2.0 许可判断。
- 域名、托管、数据库、支付或 AI 等外部服务可能另外收费。
查看原文依据
no-charge, royalty-free, irrevocable copyright license
许可证原文
Manually [DOWNLOAD](https://github.com/aamitn/bitmutex-website/releases/download/INTERNAL-0/seed-data.tar.gz) INIT SEED DATA and `must be placed in repo root` for versions below `2.8.40`
README 原文
For Local Dev , in /server (Strapi) folder , edit `config/server.ts` and comment out the below line:
README 原文
- Set `DATABASE_CLIENT=postgres/mysql/sqlite` - Go to `/server/config/database.ts` and provide DB Credentials there
README 原文
- **Email**: `[email protected]` - **Password**: `strapiadmin` 🚨 **Change the default password after the first login!**
README 原文
- **Native Built-In Live Chat to Discord** (Powered by Socket.io integrated within strapi, No 3rd Party Service/Embed/Widgets)
README 原文
https://github.com/aamitn/bitmutex-website/blob/main/LICENSEhttps://github.com/aamitn/bitmutex-website/blob/main/README.md| | `pnpm backup` | Uploads Strapi export `seed-data.tar.gz` to Cloudflare R2 Storage |
README 原文
DeepSeek 根据仓库许可证和 README 整理 ·2026-10-02。结果仅覆盖已读取资料,依赖、图片、字体及后续条款变更以各自原文为准。
项目核对记录与介绍依据
模板资料
- 来源平台
- GitHub
- 资料与维护参考分
- 资料较完整 · 87 / 100
- 技术栈
- React
- 网站类型
- 启动器
这个分数如何计算
本站按许可资料(最高30分)、演示链接(12分)、预览图(10分)、Star数(15分)、记录的维护时间(15分)、描述完整度(8分)、功能记录(5分)和分类资料(5分)计算。它不是代码、安全或性能测试,也不是 Google 评分;有链接不代表已实测可用。
这个项目需要核对什么
- 记录的仓库更新时间
- 2026-05-23
- 截图检查日期
- 2026-10-02
已收录演示链接。请用你的内容与屏幕尺寸检查;有演示不代表表单、认证或支付已经可用。
目录记录的主要技术栈是 React。请通过依赖清单和锁文件核对实际版本与托管要求。这些说明基于收录资料,不代表代码审计或部署实测。
查看具体选型方法 →介绍的制作与核对状态
介绍由 AI 辅助整理目录与仓库资料。仓库作者不等于这篇介绍的审核者。
已完成服务器许可规则与 AI 来源核对;未经过人工编辑审核。
查看当时使用的来源资料
SHA-256: c86877e704f82d4750a4ff601e08e97381bfead8defe93ec43ab062e9587c154
2026-10-02T08:17:27.470Z
来源文件 / 仓库# BM Site - Batteries Included Business Starter Template : Strapi5 + Next16 + React19 + Postgres17 + SocketIO + SSR & RSC Goodness **Bitmutex-Website** - A **`modern`**, **`cloud-native`** **`ready-to-use`** business website **`starter template`** with all the batteries included from SEO to Reusable Blocks. Built using **`Strapi 5`** at Backend and **`NextJs 16 SSR/AppRouter/RSC`** with **`React 19`** in Frontend as a BFF (Backend For Frontend) alongside **`Postgres17`** as DB. Supports Latest Node 24 LTS with cloud native(Docker, K8s, Helm) and bare-metal deployment options. [](https://uptime.betterstack.com/?utm_source=status_badge) [](https://github.com/aamitn/bitmutex-website/actions/workflows/deploy.yml) [](https://github.com/aamitn/bitmutex-website/actions/workflows/docker_publish.yml) [](https://sonarcloud.io/summary/new_code?id=aamitn_bitmutex-website) [](https://sonarcloud.io/summary/new_code?id=aamitn_bitmutex-website) [](https://sonarcloud.io/summary/new_code?id=aamitn_bitmutex-website) [](https://hub.docker.com/r/bitmutex/bm-site)   [](https://sonarcloud.io/summary/new_code?id=aamitn_bitmutex-website) [](https://github.com/aamitn/bitmutex-website/releases/latest) [](https://aamitn.github.io/bitmutex-website/) [](https://aamitn.github.io/bitmutex-website/unit-coverage) <!-- [](https://sonarcloud.io/summary/new_code?id=aamitn_bitmutex-website) --> Manually [DOWNLOAD](https://github.com/aamitn/bitmutex-website/releases/download/INTERNAL-0/seed-data.tar.gz) INIT SEED DATA and `must be placed in repo root` for versions below `2.8.40` . Data in [this](https://github.com/aamitn/bitmutex-website/releases/tag/INTERNAL-0) internal releae ## SINGLE COMMAND DEPLOY 🛠️📦🚀 - For macOS / Linux(Bash) ```sh curl -sL https://raw.githubusercontent.com/aamitn/bitmutex-website/main/scripts/install.sh | bash ``` - For Windows (PowerShell) ```sh irm https://raw.githubusercontent.com/aamitn/bitmutex-website/main/scripts/install.ps1 | iex ``` - For Windows (CMD) ```sh powershell -ExecutionPolicy Bypass -NoProfile -Command "irm https://raw.githubusercontent.com/aamitn/bitmutex-website/main/scripts/install.ps1 | iex" OR curl -fsSL https://raw.githubusercontent.com/aamitn/bitmutex-website/main/scripts/install.ps1 | powershell -ExecutionPolicy Bypass -NoProfile - ``` ### **Lighthouse Performance :** <img src="https://gitlab.com/aamitn/assets/-/raw/main/bm-site-data/lighthouse.png" width="450" height="auto"> | Screenshot | Illustration | |------------|--------------| | <img src="https://gitlab.com/aamitn/assets/-/raw/main/bm-site-data/ss.png" width="450" height="250"> | <img src="https://github.com/aamitn/bitmutex-website/releases/download/INTERNAL-0/illustration.gif" width="450" height="250"> | <img src="https://gitlab.com/aamitn/assets/-/raw/main/bm-site-data/ER_Diagram.png" width="800" height="auto"> ## 🚀 Features - **Strapi 5 CMS** (Headless API-driven backend) - **Next.js 16** (Fast, SSR-capable frontend) - **PostgreSQL 17** (Database for Strapi) - **Docker-Compose Support** (For seamless development & deployment) - **Native Built-In Live Chat to Discord** (Powered by Socket.io integrated within strapi, No 3rd Party Service/Embed/Widgets) - **Strapi Auto-Admin User Creation** (Creates admin user on first run) - **Health Check & Auto-Restart** (Ensures services stay healthy) - **Sitewide Dynamic SEO** (with Strapi SEO Plugin Integration) - **Multiple Custom Collections, Reusable Blocks and Single Types** - **Real-Time Features** (Provides live website visitor count) ## 📂 Project Structure ``` 📦 bitmutex-website ├── 📂 client # Next.js frontend ├── Dockerfile ├── 📂 server # Strapi backend (Backend CMS) ├── Dockerfile ├── 📜 copy-env.mts # Used by root level project package.json for auto copying of .env.example to .env in both `client` and `server` folders ├── 📜 docker-compose.yml # Container configuration ├── 📜 seed-data.tar.gz # Database seed (must be imported manually for data reproducability) ├── 📜 ecosystem.config.cjs (Used for production deployments with PM2) ├── 📜 package.json (root level dependencies to initialize setup of client and server apps) ├── 📜 package.lock.json (npm lockfile) ├── 📜 yarn.lock(yarn lockfile, YARN is preferred for this project ) └── 📜 README.md # This file ``` ## Available Commands | Location | Command | Description | |-----------------|----------------------|-------------| | **Project Root** | `pnpm client` | Run the **client** development server from the project root. | | | `pnpm server` | Run the **server** development server from the project root. | | | `pnpm setup:client` | Install dependencies for the client and copy `.env` file. | | | `pnpm setup:server` | Install dependencies for the server and copy `.env` file. | | | `pnpm spawn` | Install dependencies for root, client, and server in one go. | | | `pnpm dev` | Start **Strapi** (server) and **Next.js** (client) in parallel for development. | | | `pnpm build` | Build both server and client in parallel, start server, and exit on build result. | | | `pnpm start` | Start server and client in parallel (production mode). | | | `pnpm seed` | Import seed data into Strapi from `seed-data.tar.gz`. | | | `pnpm export` | Export Strapi data without encryption to `seed-data`. | | | `pnpm repo:upstream` | Fetch and merge latest changes from `upstream/main`. | | | `pnpm repo:sync` | Pull the latest changes from `origin/main`. | | | `pnpm backup` | Uploads Strapi export `seed-data.tar.gz` to Cloudflare R2 Storage | | | `pnpm clean` | Removes root and client , server folder's node_modules, dist, build, .turbo and other static folders | | | `pnpm deepclean` | Same as clean with added lockfile removal | | **Backend Server** | `pnpm develop` | Start Strapi in development mode. | | | `pnpm start` | Start Strapi in production mode. | | | `pnpm build` | Build Strapi project. | | | `pnpm strapi` | Run Strapi CLI commands. | | | `pnpm deploy` | Deploy the Strapi project. | | **Frontend Client** | `pnpm dev` | Start Next.js in development mode using Turbopack. | | | `pnpm build` | Build the Next.js application for production. | | | `pnpm start` | Start Next.js in production mode. | | | `pnpm lint` | Run ESLint to check for code quality issues. | ## ⚙️Setup Instructions 0️⃣ 1-Step Docker Deploy ```sh git clone --depth=1 https://github.com/aamitn/bitmutex-website.git && cd bitmutex-website && docker compose up ``` ##### Read docker build instructions [DOCKER.md](/DOCKER.md) , for Kubernetes Deployments and Helm Charts Read [K8S.md](/K8S.md) ### 1️⃣ **Clone the Repository** ```sh git clone --depth=1 https://github.com/aamitn/bitmutex-website.git cd bitmutex-website ``` ##### omit the `--depth=1` if you want to download the repo with lifetime git history , genrally required for devs contributing to this project ### 2️⃣ **Install Dependencies and Setup Env File** ```sh pnpm spawn ``` This will run pnpm install and also copies .env.example to .env on both `client` and `server` directories. After this step `setup your .env` vars accordingly on the auto-generated file. Create your databases as required. Schema will be auto-generated by Strapi. - Set `DATABASE_CLIENT=postgres/mysql/sqlite` - Go to `/server/config/database.ts` and provide DB Credentials there ### 3️⃣ **Run Strapi and Next initially to create strapi DB schemas** ``` pnpm dev ``` - After running this strapi should start, go to `http://localhost:1337` and create admin user - Ctrl-C to stop both strapi and next - For Local Dev , in /server (Strapi) folder , edit `config/server.ts` and comment out the below line: ```bash url: 'https://strapiadmin.bitmutex.com', //backend fqdn url //comment for local-dev ``` ### 4️⃣ **Import/Seed DB** You may run this on the project root, ``` pnpm seed ``` or you may run this in `server` directory by doing `cd server` ```sh pnpm strapi import -f ../seed-data.tar.gz --force ``` After running this strapi should strart, go to `http://localhost:1337` and create admin user ### 5️⃣.1️⃣ **Finally Start the application for development** ```sh pnpm dev ``` This will start both strapi and nextjs in development mode (next will have `live refresh` and `watch` enabled) ### 5️⃣.1️⃣ **Start the application in prod mode** ```sh pnpm build OR pnpm turbo build --no-cache pnpm start ``` This will start both strapi and nextjs in production mode, no debugging. ### 6️⃣ **Build for Production** - Change your .env vars accordingly for production use case - Go to project root and run `pnpm build` - Ensure build is successful adn run `pnpm start` > To run in cloud VPS/Hosting, use `pm2` , just close any other running instances -- Navigate to project root and run `pm2 start ecosystem.config.cjs` -- Run `pm2 list` to check status and go to [`http://localhost:1337] and [http://localhost:3001]` -- If all started successfully, then autostart the app on machine restart using `pm2 save` and `pm2 startup` > If using `oxmgr` , just close any other running instances -- Navigate to project root and run `oxmgr apply oxfile.toml` -- Run `pm2 list` to check status and go to [`http://localhost:1337] and [http://localhost:3001]` -- If all started successfully, then autostart the app on machine restart using `oxmgr service install` and `oxmgr ui` to monitor. commands. > Use `/server/src/admin/vite.config.ts` `/server/config/server.ts` to control admin dashboard domain access ### 7️⃣ **Upgrade Strapi to Latest Version** ```sh npx @strapi/upgrade latest OR pnpx @strapi/upgrade latest ``` This will upgrade strapi to its latest version. More info [here](https://docs.strapi.io/cms/upgrade-tool) ### 8️⃣ **Export DB** You may run this on the project root, ``` pnpm export ``` or you may run this in `server` directory by doing `cd server` ```sh pnpm strapi export --no-encrypt -f ../seed-data ``` After running this a file named `seed-data.tar.gz` will be created at project root ## ☁️ Cloud Native Setup Instructions ```sh docker-compose up --build ``` This will start: - PostgreSQL at `localhost:5432` - Strapi CMS at `http://localhost:1337` - Next.js Frontend at `http://localhost:3000` ## 🔑 Default Admin Credentials > These credentials are created automatically when `AUTO_CREATE_ADMIN=true` in `docker-compose.yml` or `.env` inside `server` directory. - **Email**: `[email protected]` - **Password**: `strapiadmin` 🚨 **Change the default password after the first login!** ## 📞 Support If you encounter issues, feel free to [ open an issue](https://github.com/aamitn/bitmutex-website/issues/new/choose). Designed, Developed and Maintained by `Bitmutex Technologies`
看看同类模板
对比同技术栈与用途的模板,找到更适合的视觉与内容结构。
ant-design-pro
Ant Design Pro 是 Ant Design 官方推出的企业级中后台前端脚手架,基于 React 19、Umi Max 4 和 antd 6 构建,内置 TypeScript 支持。
React · 后台

react-boilerplate
react-boilerplate 是一个为有一定 React 和 Redux 经验的开发者设计的启动器,目标是快速搭建可扩展、离线优先的 Web 应用。
React · 启动器
fastapi-react
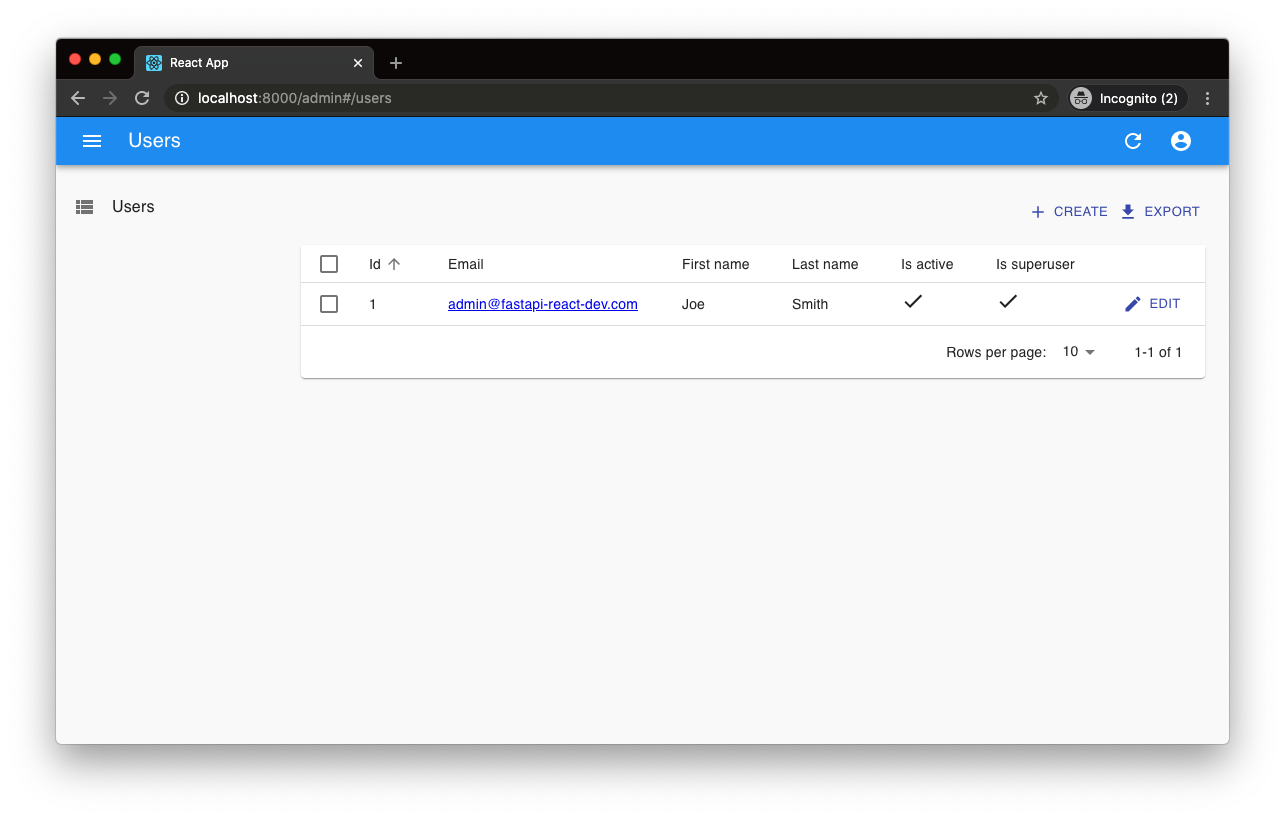
fastapi-react 是一个基于 Cookiecutter 的模板,用于快速搭建 FastAPI 与 React(TypeScript)的全栈项目。
React · 后台
shadcn-landing-page
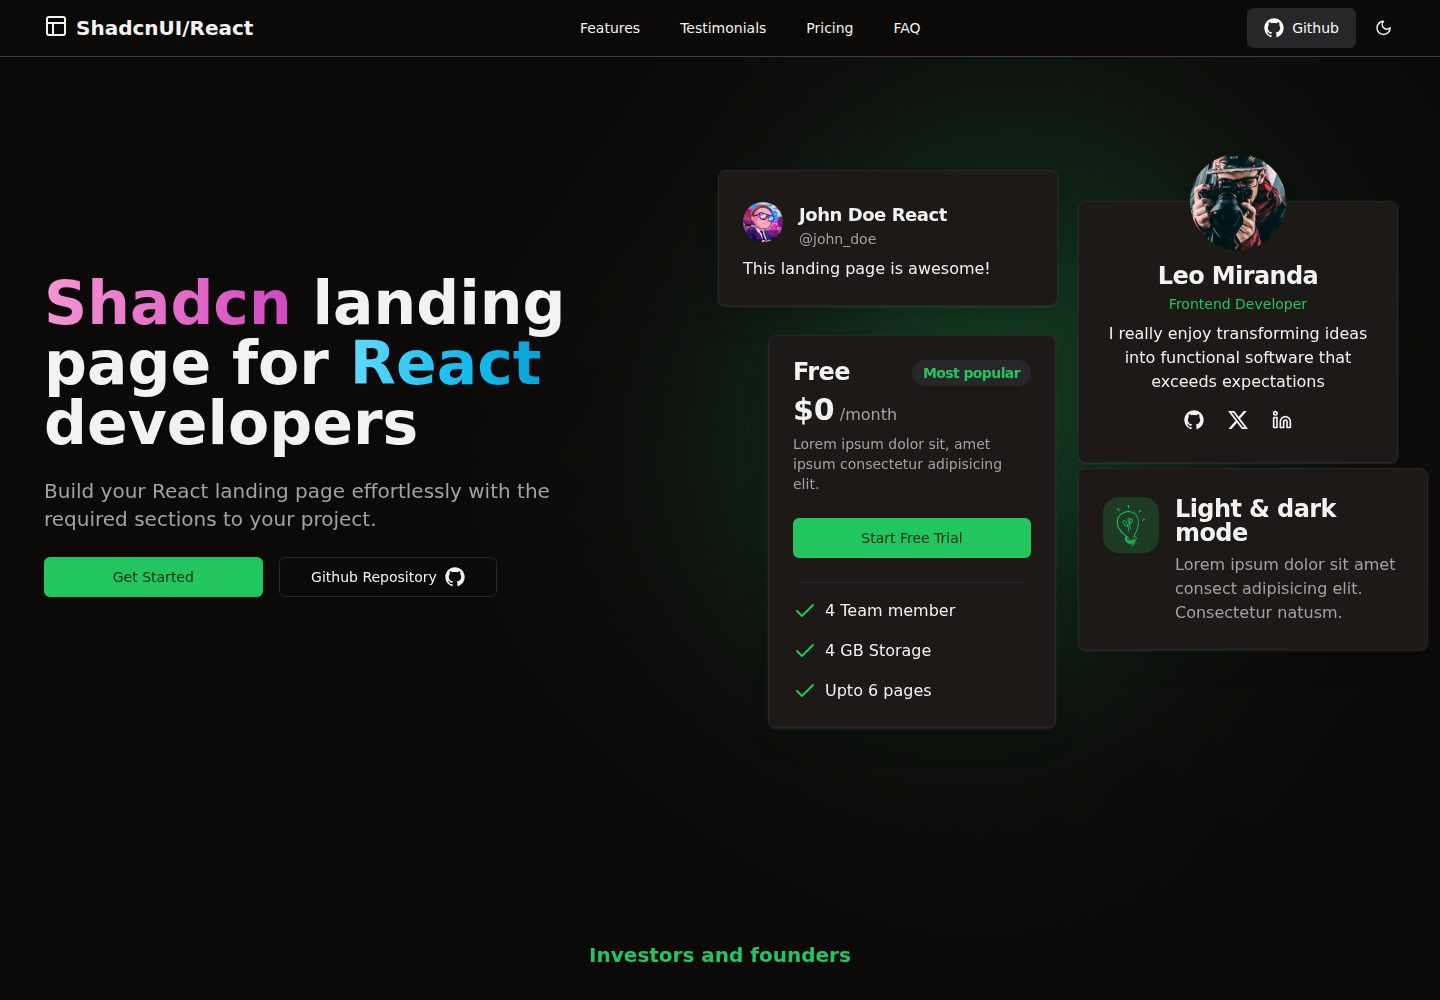
Free Landing page template using Shadcn, React, Typescript and Tailwind
React · 企业官网

start-ui-web
Start UI [web] 是 BearStudio 团队维护的一个有主见的全栈启动器,用于快速搭建 Web 应用。
React · 启动器

React-Landing-Page-Template
A simple react one page landing page templates for startups/companies
React · 企业官网