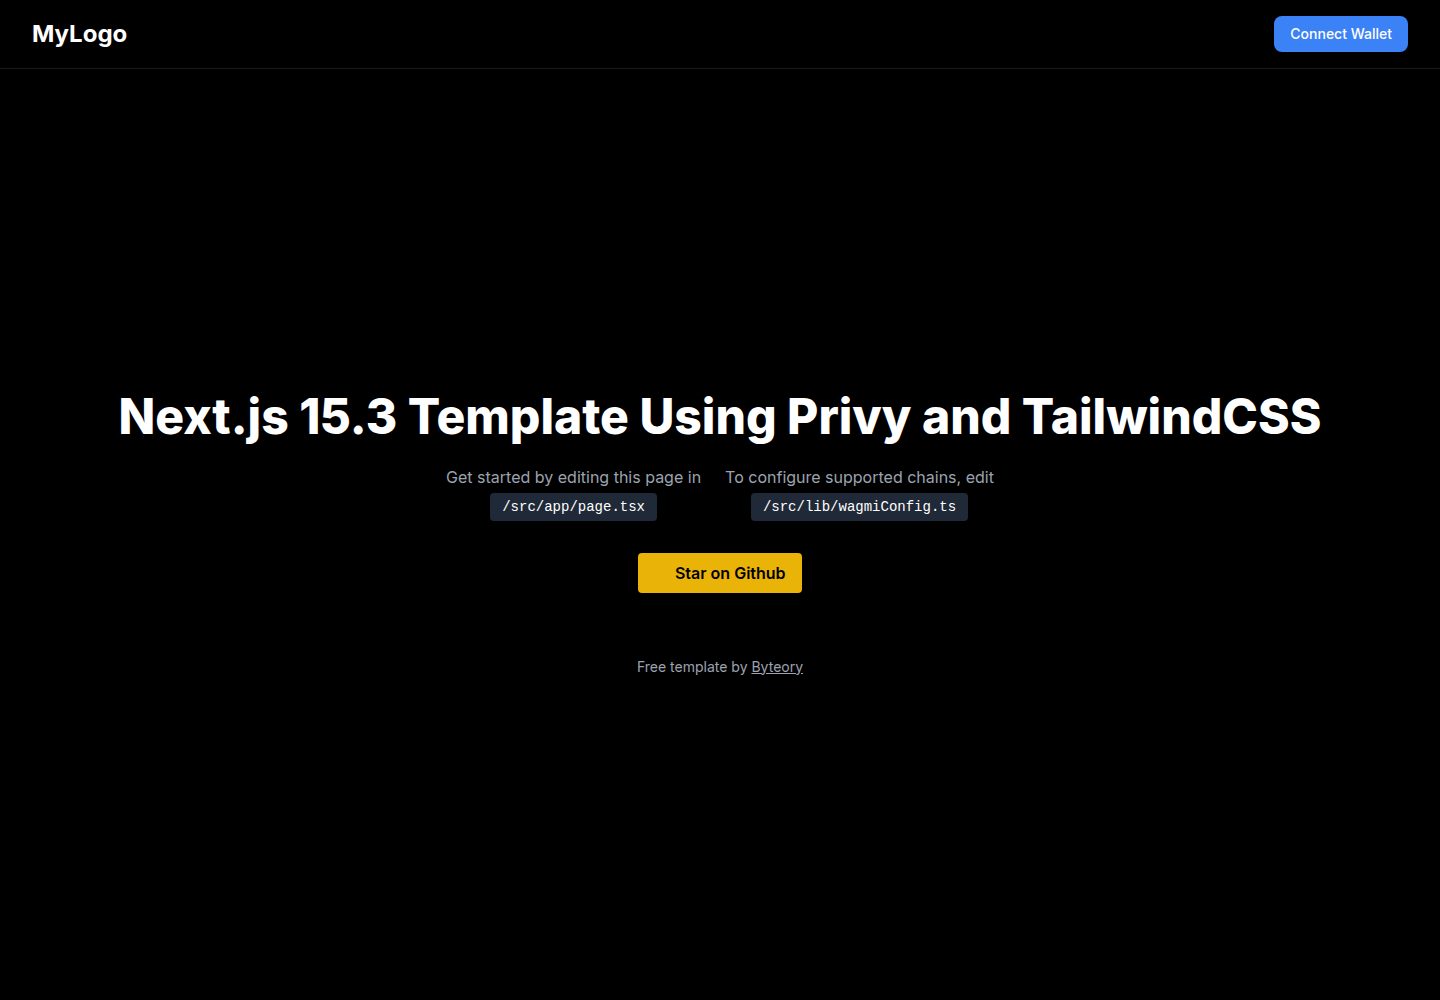
使用 Next.js 15.3 App Router 组织页面与路由
Next.jsReact启动器
nextjs-privy-wallet-template — Next.js 启动器模板
作者 an-ordinary-dev
基于 Next.js 15.3 App Router 的 Web3 入门模板,集成 Privy 登录、Wagmi 与 Viem,默认支持以太坊主网,使用 Tailwind CSS 与 TypeScript 构建。
看看你的网站会是什么样
浏览真实页面截图,比较内容排版与手机效果。点击下方缩略图切换,放大查看整页细节。
全部页面与视图 2
截图用于了解视觉与布局,交互效果请以实际项目为准。
采集于 2026-10-14查看来源
值得关注的模板亮点
从已有项目资料中,快速了解它的特点。
通过 Privy 同时支持钱包连接与社交登录(Google、Twitter、Discord 等)
集成 Wagmi 与 Viem 处理 EVM 链交互,默认仅配置以太坊主网
使用 Tailwind CSS 构建界面,默认深色模式
使用 TypeScript 提供类型安全
提供 PrivyProvider 与 ConnectButton 等基础组件与配置示例
模板详细介绍
该模板面向需要快速搭建 Web3 前端界面的开发者,README 说明其基于 Next.js 15.3 的 App Router 结构,使用 Privy 处理钱包连接与社交登录,Wagmi 与 Viem 提供 Web3 hooks 和工具函数,样式采用 Tailwind CSS,语言为 TypeScript。默认配置支持以太坊主网,链配置集中在 src/lib/wagmiConfig.ts,可通过从 viem/chains 导入并加入 chains 数组来扩展其他 EVM 链。登录方式在 src/lib/privy.ts 中配置,涵盖邮箱、短信、社交(Google、Twitter、Discord 等)以及钱包连接。项目默认启用深色模式,主界面位于 src/app/page.tsx,Privy 连接按钮位于 src/components/ConnectButton.tsx。README 未提供关于测试、性能、生产环境部署或安全审计的说明。
Next.js启动器
适合你的项目吗?
适用场景
- 需要快速搭建带钱包连接和社交登录的 Web3 前端界面
- 在 Next.js App Router 项目中集成 Privy 作为认证方案
- 使用 Wagmi 与 Viem 配置 EVM 链并接入 Web3 hooks
- 基于 Tailwind CSS 定制深色风格的 Web3 应用界面
适合人群
- 熟悉 Next.js 与 TypeScript 的前端开发者
- 需要 Privy 登录与 EVM 链交互示例的 Web3 项目
- 希望以模板为起点定制 UI 和链配置的开发者
上手与定制指南
结合仓库当前版本的说明,按下面的资料检查内容、配置与运行要求。
- 1
在根目录创建 .env.local 并设置 NEXT_PUBLIC_PRIVY_APP_ID,值从 Privy Console 获取
- 2
在 Privy Console 中配置允许的来源域名、OAuth 提供商和钱包连接偏好
- 3
使用 npm install 或 yarn install 安装依赖,然后运行 npm run dev 或 yarn dev 启动开发服务器
- 4
默认链配置位于 src/lib/wagmiConfig.ts,如需其他链需从 viem/chains 导入并加入 chains 数组
- 5
README 未提供生产环境部署、测试或安全审计的具体步骤
授权与来源资料
使用条件与限制
免费使用 · 保留许可声明本次收录的是公开仓库中采用 MIT 许可的免费版本;免费范围为该版本代码,不代表外部服务或第三方素材免费。
使用时需要遵守
- 允许免费使用、修改、商用和分发该版本代码。
- 分发代码副本或实质性部分时,保留原作者版权声明和完整 MIT 许可声明。
- 代码按现状提供;担保与责任限制以原许可证及适用法律为准。
额外费用与待核对事项
- 演示图片、字体、图标及其他第三方素材需按各自许可核对,不能仅凭代码的 MIT 许可判断。
- 域名、托管、数据库、支付或 AI 等外部服务可能另外收费。
- 使用该模板需要自行注册 Privy 账号并获取 App ID,配置到环境变量中才能运行。
- 需要在 Privy Console 创建账号并新建项目以获取 App ID。
- 需要在 Privy Console 中将你的域名加入允许来源,否则登录功能无法正常工作。
- 社交登录(Google、Twitter 等)需要在 Privy Console 中自行配置对应的 OAuth 提供商。
查看原文依据
Permission is hereby granted, free of charge
许可证原文
# Get your Privy App ID from https://console.privy.io
README 原文
1. Create an account at [Privy Console](https://console.privy.io)
README 原文
- Add your domain to allowed origins
README 原文
https://github.com/an-ordinary-dev/nextjs-privy-wallet-template/blob/main/LICENSEhttps://github.com/an-ordinary-dev/nextjs-privy-wallet-template/blob/main/README.md- Configure OAuth providers (Google, Twitter, etc.)
README 原文
DeepSeek 根据仓库许可证和 README 整理 ·2026-10-14。结果仅覆盖已读取资料,依赖、图片、字体及后续条款变更以各自原文为准。
项目核对记录与介绍依据
模板资料
- 来源平台
- GitHub
- 资料与维护参考分
- 资料一般 · 74 / 100
- 技术栈
- Next.js · React
- 网站类型
- 启动器
这个分数如何计算
本站按许可资料(最高30分)、演示链接(12分)、预览图(10分)、Star数(15分)、记录的维护时间(15分)、描述完整度(8分)、功能记录(5分)和分类资料(5分)计算。它不是代码、安全或性能测试,也不是 Google 评分;有链接不代表已实测可用。
这个项目需要核对什么
- 记录的仓库更新时间
- 2025-07-02
- 截图检查日期
- 2026-10-14
已收录演示链接。请用你的内容与屏幕尺寸检查;有演示不代表表单、认证或支付已经可用。
目录记录的主要技术栈是 Next.js。请通过依赖清单和锁文件核对实际版本与托管要求。这些说明基于收录资料,不代表代码审计或部署实测。
查看具体选型方法 →介绍的制作与核对状态
介绍由 AI 辅助整理目录与仓库资料。仓库作者不等于这篇介绍的审核者。
审核声明: codex-user-requested-batch-review-20261015 · 2026-10-15
查看当时使用的来源资料
SHA-256: 6704e706c178ef39bbb5a0bcab857f39607a0fe02dd31a321e82ed7d287b1592
2026-10-14T09:12:34.839Z
来源文件 / 仓库# 🛡️ Next.js 15.3 + Privy Web3 Starter Template
A sleek starter template built with **Next.js 15.3**, **Privy** (for wallet & social login), **Wagmi**, **Tailwind CSS**, and **TypeScript** — ideal for modern Web3 dApps.
> 🔥 Perfect for wallet connection, social login, EVM chain support, and rapid UI customization.
## 🖼️ Preview

---
## 🚀 Tech Stack
- **Next.js 15.3 (App Router)** - Latest Next.js with App Router
- **Privy** – Web3 authentication (wallet + social login)
- **Wagmi + Viem** – Web3 hooks and utilities
- **Tailwind CSS** – Utility-first styling
- **TypeScript** – For type safety
---
## 📂 File Structure
```
src/
├─ app/ → App Router structure
│ └─ page.tsx → Main UI page
├─ lib/
│ ├─ privy.ts → Privy configuration
│ └─ wagmiConfig.ts → Chain configuration
├─ components/ → UI components
│ └─ ConnectButton.tsx → Privy connect button
├─ providers/ → React context providers
│ └─ PrivyProvider.tsx → Privy provider setup
```
---
## 🔧 Configuration
### Environment Variables
Create a `.env.local` file in the root directory with the following:
```env
# Get your Privy App ID from https://console.privy.io
NEXT_PUBLIC_PRIVY_APP_ID=your-privy-app-id-here
```
### Privy Setup & Verification
1. Create an account at [Privy Console](https://console.privy.io)
2. Create a new project and get your App ID
3. Add your App ID to `.env.local`
4. Configure your project in Privy Console:
- Add your domain to allowed origins
- Configure OAuth providers (Google, Twitter, etc.)
- Set up wallet connection preferences
### Supported Chains
The template supports Ethereum mainnet by default:
```ts
// src/lib/wagmiConfig.ts
import { mainnet } from 'viem/chains';
import { http } from 'wagmi';
import { createConfig } from '@privy-io/wagmi';
export const wagmiConfig = createConfig({
chains: [mainnet],
transports: {
[mainnet.id]: http(),
},
});
```
To add more chains, import them from 'viem/chains' and add them to the chains array.
### Login Methods
The template includes various login methods configured in `src/lib/privy.ts`:
- Email
- SMS
- Social (Google, Twitter, Discord, etc.)
- Wallet connection
---
## 💡 Features
- Wallet & social login via Privy
- Dark mode by default
- Clean, modern UI with Tailwind CSS
- Type-safe development with TypeScript
- Easy chain configuration
- Responsive design
---
## 📦 Getting Started
```bash
# Install dependencies
npm install
# or
yarn install
# Start development server
npm run dev
# or
yarn dev
```
Open [http://localhost:3000](http://localhost:3000) to view your app.
---
## 🔍 Customization
To start customizing:
1. Edit `/src/app/page.tsx` for main UI
2. Modify `/src/lib/privy.ts` for Privy configuration
3. Update `/src/lib/wagmiConfig.ts` for chain support
4. Add new components in `/src/components/`
---
Don't forget to 🌟 the repo if you found it useful!
---
## 📜 License
MIT — free to use and modify.
看看同类模板
对比同技术栈与用途的模板,找到更适合的视觉与内容结构。
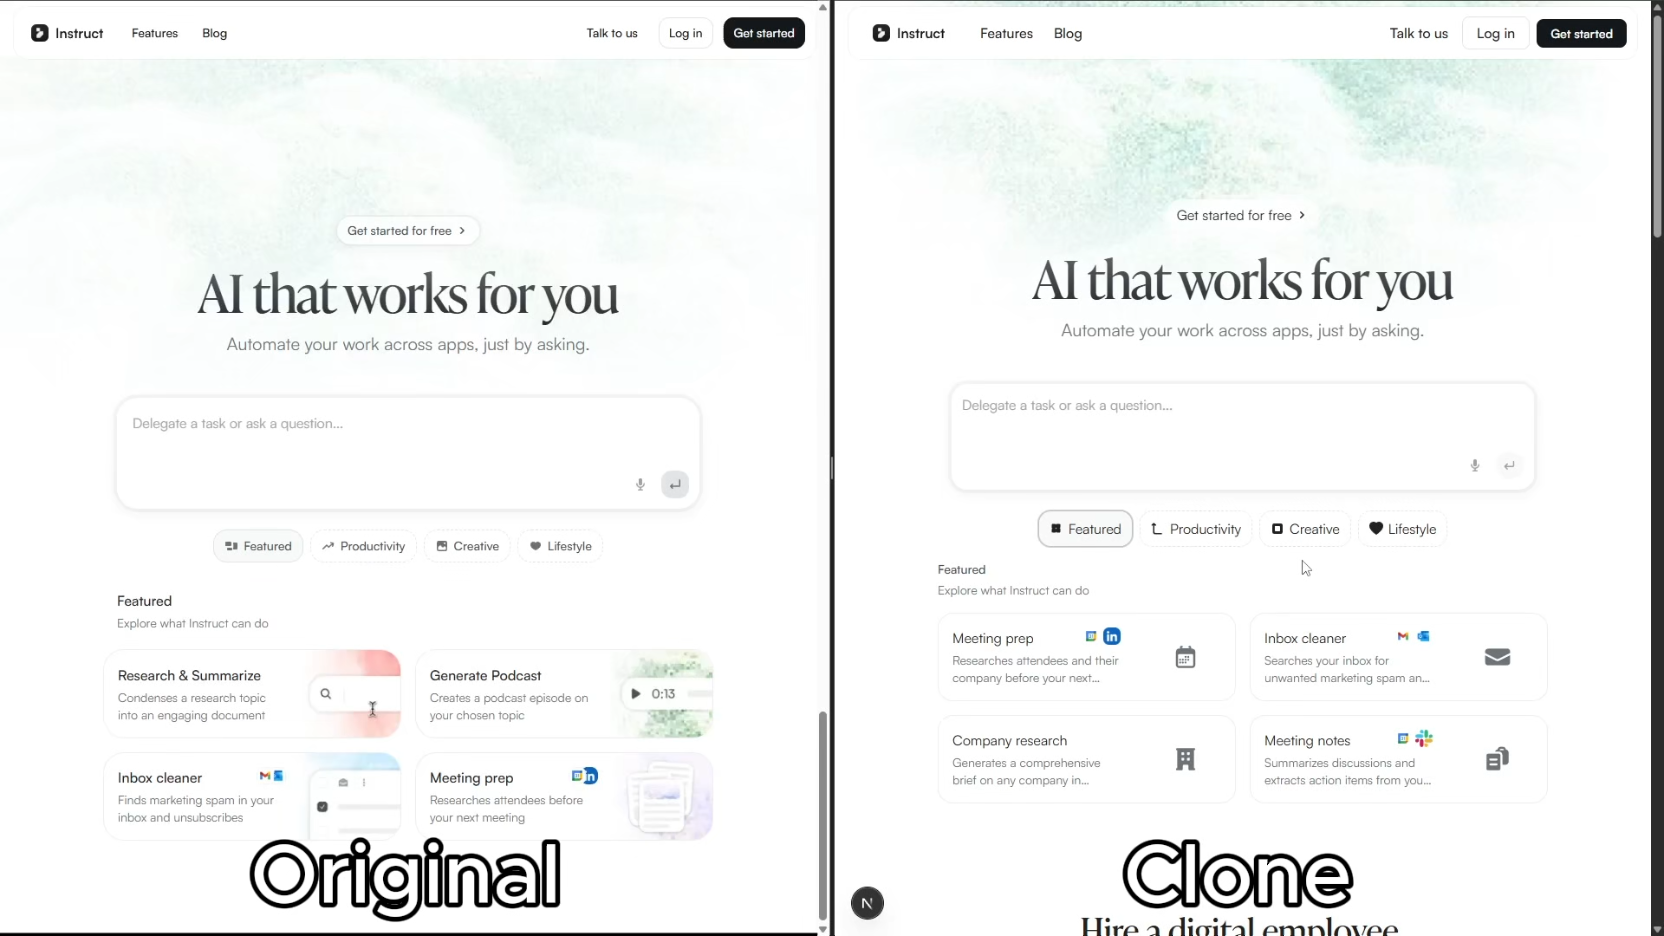
ai-website-cloner-template
Clone any website with one command using AI coding agents
Next.js · 启动器
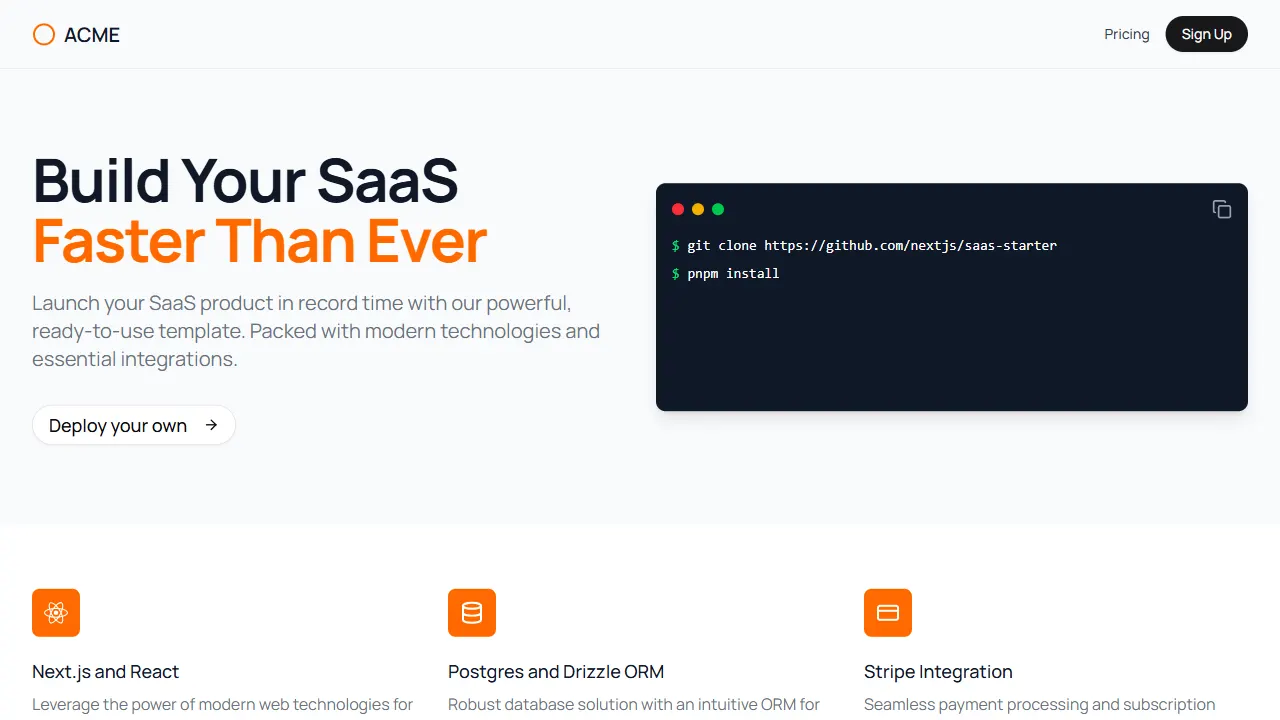
Next.js SaaS Starter
Next.js SaaS Starter 是 Next.js 官方维护的 SaaS 起点模板,定位介于学习资源和可直接部署的脚手架之间。
Next.js · SaaS
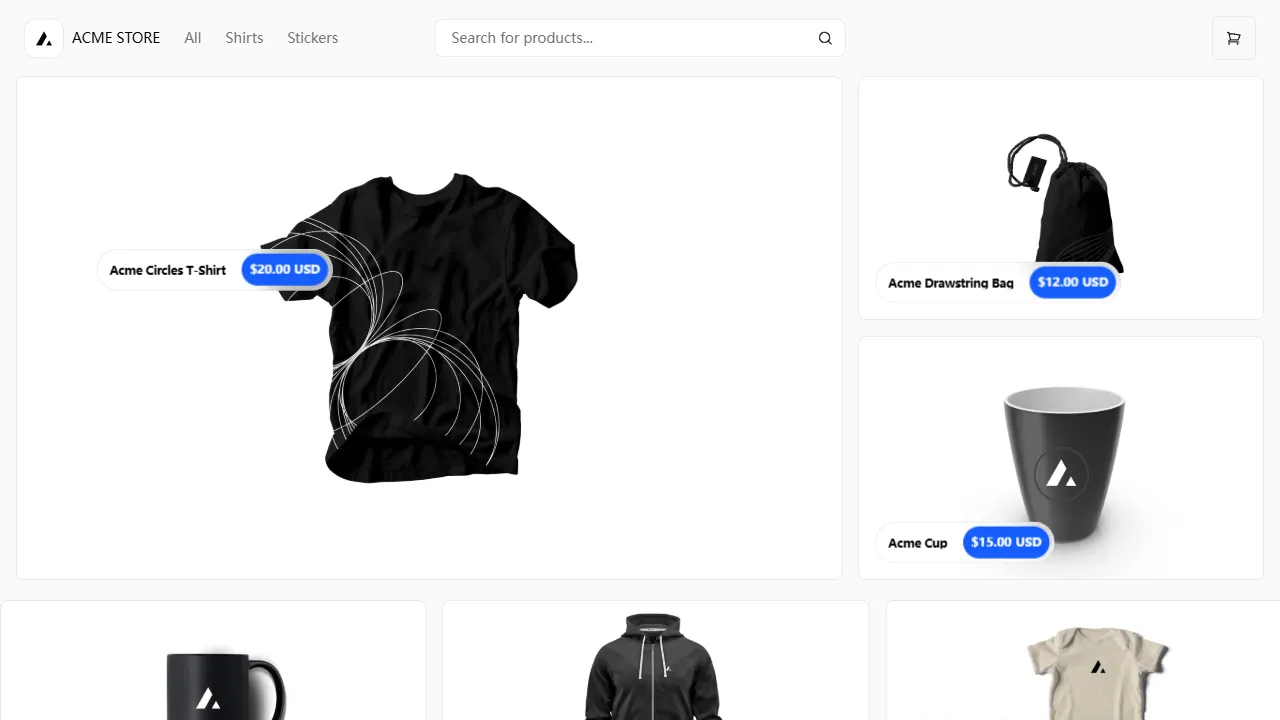
Next.js Commerce
Next.js Commerce 是 Vercel 团队维护的电商启动模板,基于 Next.js App Router 构建,采用服务端渲染、React Server Components、Server Actions …
Next.js · 电商
Next-js-Boilerplate
Next-js-Boilerplate 是一个面向 Next.js 16、Tailwind CSS 4 和 TypeScript 的启动器,核心定位是开发者体验优先。
Next.js · 启动器

tailwind-nextjs-starter-blog
tailwind-nextjs-starter-blog 是一个面向个人技术博客的 Next.js 与 Tailwind CSS 启动模板,其 v2 版本基于 App Router 与 React Server Comp…
Next.js · 博客
next-forge
Production-grade Turborepo template for Next.js apps.
Next.js · 启动器