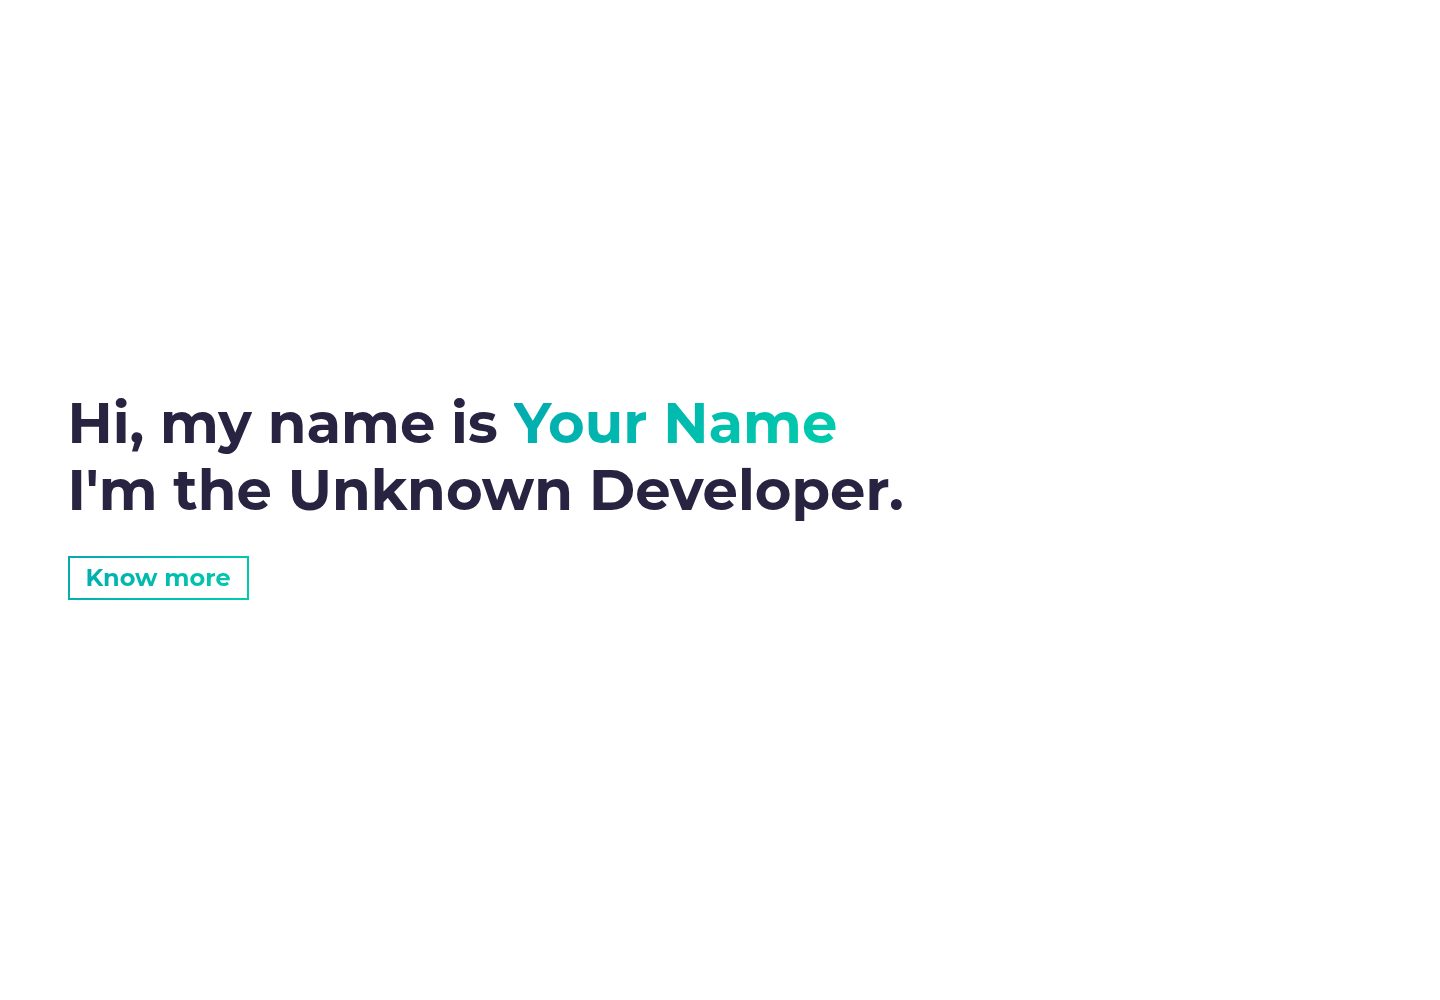
单页布局,包含 Hero、About、Projects、Contact 与 Footer 五个区块
HTML作品集
simplefolio — HTML 作品集模板
作者 cobiwave
Simplefolio 是一个面向开发者的极简单页作品集模板,使用 HTML、Bootstrap、SCSS 与 Parcel 构建,采用 MIT 许可,可直接修改源码中的个人信息、项目与联系方式。
看看你的网站会是什么样
浏览真实页面截图,比较内容排版与手机效果。点击下方缩略图切换,放大查看整页细节。
全部页面与视图 2
截图用于了解视觉与布局,交互效果请以实际项目为准。
采集于 2026-09-30查看来源
值得关注的模板亮点
从已有项目资料中,快速了解它的特点。
使用 Bootstrap 与自定义 SCSS,主题渐变由两个颜色变量控制
使用 Parcel 作为构建工具,提供本地开发服务器
集成 ScrollReveal.js 滚动显现动画与 Tilt.js 缩略图倾斜效果
README 按区块说明 HTML 结构、图片与简历文件的放置位置
采用 MIT 许可,允许免费使用、修改、商用与分发
模板详细介绍
Simplefolio 是一个面向开发者的极简作品集模板,仓库为 cobiwave/simplefolio,采用 MIT 许可,演示站点部署在 Netlify。模板为单页布局,包含 Hero、About、Projects、Contact 与 Footer 五个区块,内容集中在 /src/index.html 中修改。样式使用 Bootstrap 与自定义 SCSS,主题色通过 /src/sass/abstracts/_variables.scss 中的 $main-color 与 $secondary-color 两个变量控制渐变。构建工具为 Parcel,依赖 Node.js 与 npm(或 Yarn),本地开发服务器默认运行在 http://localhost:1234/。模板还使用 ScrollReveal.js 实现滚动显现动画、Tilt.js 实现项目缩略图的倾斜效果,图标来自 Font Awesome。README 提供了各区块的 HTML 结构说明、图片与简历 PDF 的存放位置(/src/assets/)以及项目图片的推荐尺寸。除原始 HTML 版本外,仓库还列出了 Gatsby 与 Ember.js 的社区移植版本。
HTML作品集
适合你的项目吗?
适用场景
- 开发者需要快速搭建个人作品集单页,展示简介、项目与联系方式
- 希望直接编辑 HTML 与 SCSS 控制内容与主题色,而不是使用可视化编辑器
- 需要将简历 PDF 与项目截图放在本地 assets 目录并链接到页面
- 准备将静态作品集部署到 Netlify 等静态托管服务
适合人群
- 熟悉 HTML 与基础 SCSS、愿意直接修改源码的开发者
- 需要单页作品集而非多页博客或复杂站点的个人
- 接受使用 Bootstrap 与 Parcel 构建流程的前端使用者
- 需要 MIT 许可下可自由修改与分发的模板的开发者
上手与定制指南
结合仓库当前版本的说明,按下面的资料检查内容、配置与运行要求。
- 1
需要预先安装 Git 与 Node.js(含 npm),也可改用 Yarn。
- 2
克隆仓库后建议移除原有 origin 远程,再安装依赖并启动开发服务器。
- 3
使用 npm 时 README 建议先执行 npm audit fix 并安装 @parcel/transformer-sass。
- 4
本地开发服务器默认地址为 http://localhost:1234/。
- 5
个人图片、项目图片与简历 PDF 需放入 /src/assets/ 目录,项目图片推荐尺寸为 1366 x 767。
授权与来源资料
使用条件与限制
免费使用 · 保留许可声明本次收录的是公开仓库中采用 MIT 许可的免费版本;免费范围为该版本代码,不代表外部服务或第三方素材免费。
使用时需要遵守
- 允许免费使用、修改、商用和分发该版本代码。
- 分发代码副本或实质性部分时,保留原作者版权声明和完整 MIT 许可声明。
- 代码按现状提供;担保与责任限制以原许可证及适用法律为准。
额外费用与待核对事项
- 部署环节推荐使用 Netlify 等第三方静态托管服务,属于外部服务,可能涉及该服务自身的账号、条款与费用,与 MIT 代码许可无关。
- 使用模板需自行安装 Git 与 Node.js(含 npm),或改用 Yarn,属于本地开发环境的外部依赖要求。
- 页脚图标依赖 Font Awesome 图标库,其图标资源可能适用独立许可,需自行核实后再使用。
- 演示图片、字体、图标及其他第三方素材需按各自许可核对,不能仅凭代码的 MIT 许可判断。
- 域名、托管、数据库、支付或 AI 等外部服务可能另外收费。
查看原文依据
Permission is hereby granted, free of charge
许可证原文
I highly recommend to use [Netlify](https://netlify.com) because it is super easy.
README 原文
You'll need [Git](https://git-scm.com) and [Node.js](https://nodejs.org/en/download/) (which comes with [NPM](http://npmjs.com)) installed on your computer.
README 原文
https://github.com/cobiwave/simplefolio/blob/master/LICENSE.mdhttps://github.com/cobiwave/simplefolio/blob/master/README.mdIf you an additional Social Media account different than Twitter, Linkedin or GitHub, then go to [Font Awesome Icons](https://fontawesome.com/v4.7.0/icons/)
README 原文
DeepSeek 根据仓库许可证和 README 整理 ·2026-09-30。结果仅覆盖已读取资料,依赖、图片、字体及后续条款变更以各自原文为准。
项目核对记录与介绍依据
模板资料
- 来源平台
- GitHub
- 资料与维护参考分
- 资料较完整 · 95 / 100
- 技术栈
- HTML
- 网站类型
- 作品集
这个分数如何计算
本站按许可资料(最高30分)、演示链接(12分)、预览图(10分)、Star数(15分)、记录的维护时间(15分)、描述完整度(8分)、功能记录(5分)和分类资料(5分)计算。它不是代码、安全或性能测试,也不是 Google 评分;有链接不代表已实测可用。
这个项目需要核对什么
- 记录的仓库更新时间
- 2026-01-21
- 截图检查日期
- 2026-09-30
已收录演示链接。请用你的内容与屏幕尺寸检查;有演示不代表表单、认证或支付已经可用。
目录记录的主要技术栈是 HTML。请通过依赖清单和锁文件核对实际版本与托管要求。这些说明基于收录资料,不代表代码审计或部署实测。
查看具体选型方法 →介绍的制作与核对状态
介绍由 AI 辅助整理目录与仓库资料。仓库作者不等于这篇介绍的审核者。
已完成服务器许可规则与 AI 来源核对;未经过人工编辑审核。
查看当时使用的来源资料
SHA-256: 8000d7a52fc790d488196f16301642172417e057267bddcdd44fbe42200600a8
2026-09-30T10:54:47.014Z
来源文件 / 仓库# Simplefolio ⚡️ [](https://github.com/cobiwave/simplefolio/blob/master/LICENSE.md)   ## A minimal portfolio template for Developers! <h2 align="center"> <img src="https://github.com/cobiwave/gatsby-simplefolio/blob/master/examples/example.gif" alt="Simplefolio" width="600px" /> <br> </h2> ## Features ⚡️ Modern UI Design + Reveal Animations\ ⚡️ One Page Layout\ ⚡️ Styled with Bootstrap v4.3 + Custom SCSS\ ⚡️ Fully Responsive\ ⚡️ Valid HTML5 & CSS3\ ⚡️ Optimized with Parcel\ ⚡️ Well organized documentation To view the demo: **[click here](https://the-simplefolio.netlify.app/)** --- ## Why do you need a portfolio? ☝️ - Professional way to showcase your work - Increases your visibility and online presence - Shows you’re more than just a resume ## Getting Started 🚀 These instructions will get you a copy of the project up and running on your local machine for development and testing purposes. See deployment for notes on how to deploy the project on a live system. ### Prerequisites 📋 You'll need [Git](https://git-scm.com) and [Node.js](https://nodejs.org/en/download/) (which comes with [NPM](http://npmjs.com)) installed on your computer. ``` [email protected] or higher [email protected] or higher [email protected] or higher ``` Also, you can use [Yarn](https://yarnpkg.com/) instead of NPM ☝️ ``` [email protected] or higher ``` --- ## How To Use 🔧 From your command line, first clone Simplefolio: ```bash # Clone the repository $ git clone https://github.com/cobiwave/simplefolio # Move into the repository $ cd simplefolio # Remove the current origin repository $ git remote remove origin ``` After that, you can install the dependencies either using NPM or Yarn. Using NPM: Simply run the below commands. ```bash # 2022 Update - Fix Dependencies $ npm audit fix $ npm i @parcel/transformer-sass # Install dependencies $ npm install # Start the development server $ npm start ``` Using Yarn: Be aware of that you'll need to delete the `package-lock.json` file before executing the below commands. ```bash # Install dependencies $ yarn # Start the development server $ yarn start ``` **NOTE**: If your run into issues installing the dependencies with NPM, use this below command: ```bash # Install dependencies with all permissions $ sudo npm install --unsafe-perm=true --allow-root ``` Once your server has started, go to this url `http://localhost:1234/` to see the portfolio locally. It should look like the below screenshot. <h2 align="center"> <img src="https://github.com/cobiwave/gatsby-simplefolio/blob/master/examples/example.png" alt="Simplefolio" width="100%"> </h2> --- ## Template Instructions: ### Step 1 - STRUCTURE Go to `/src/index.html` and put your information, there are 5 sections: ### (1) Hero Section - On `.hero-title`, put your custom portfolio title. - On `.hero-cta`, put your custom button label. ```html <!-- **** Hero Section **** --> <section id="hero" class="jumbotron"> <div class="container"> <h1 class="hero-title load-hidden"> Hi, my name is <span class="text-color-main">Your Name</span> <br /> I'm the Unknown Developer. </h1> <p class="hero-cta load-hidden"> <a rel="noreferrer" class="cta-btn cta-btn--hero" href="#about"> Know more </a> </p> </div> </section> <!-- /END Hero Section --> ``` ### (2) About Section - On `<img>` tag, fill the `src` property with your profile picture path, your picture must be located inside `/src/assets/` folder. - On `<p>` tag with class name `.about-wrapper__info-text`, include information about you, I recommend to put 2 paragraphs in order to work well and a maximum of 3 paragraphs. - On last `<a>` tag, include your CV (.pdf) path on `href` property, your resume CV must be located inside `/src/assets/` folder. ```html <!-- **** About Section **** --> <section id="about"> <div class="container"> <h2 class="section-title load-hidden">About me</h2> <div class="row about-wrapper"> <div class="col-md-6 col-sm-12"> <div class="about-wrapper__image load-hidden"> <img alt="Profile Image" class="img-fluid rounded shadow-lg" height="auto" width="300px" src="assets/profile.jpg" alt="Profile Image" /> </div> </div> <div class="col-md-6 col-sm-12"> <div class="about-wrapper__info load-hidden"> <p class="about-wrapper__info-text"> This is where you can describe about yourself. The more you describe about yourself, the more chances you can! </p> <p class="about-wrapper__info-text"> Extra Information about you! like hobbies and your goals. </p> <span class="d-flex mt-3"> <a rel="noreferrer" target="_blank" class="cta-btn cta-btn--resume" href="assets/resume.pdf" > View Resume </a> </span> </div> </div> </div> </div> </section> <!-- /END About Section --> ``` ### (3) Projects Section - Each project lives inside a `row`. - On `<h3>` tag with class name `.project-wrapper__text-title`, include your project title. - On `<p>` tag with `loremp ipsum` text, include your project description. - On first `<a>` tag, put your project url on `href` property. - On second `<a>` tag, put your project repository url on `href` property. --- - Inside `<div>` tag with class name `.project-wrapper__image`, put your project image url on the `src` of the `<img>` and put again your project url in the `href` property of the `<a>` tag. - Recommended size for project image (1366 x 767), your project image must be located inside `/src/assets/` folder. ```html <!-- **** Projects Section **** --> <section id="projects"> ... <!-- Notice: each .row is a project --> <div class="row"> <div class="col-lg-4 col-sm-12"> <div class="project-wrapper__text load-hidden"> <h3 class="project-wrapper__text-title">Project Title</h3> <div> <p class="mb-4"> Lorem ipsum dolor sit, amet consectetur adipisicing elit. Excepturi neque, ipsa animi maiores repellendus distinctio aperiam earum dolor voluptatum consequatur blanditiis inventore debitis fuga numquam voluptate ex architecto itaque molestiae. </p> </div> <a rel="noreferrer" target="_blank" class="cta-btn cta-btn--hero" href="#!" > See Live </a> <a rel="noreferrer" target="_blank" class="cta-btn text-color-main" href="#!" > Source Code </a> </div> </div> <div class="col-lg-8 col-sm-12"> <div class="project-wrapper__image load-hidden"> <a rel="noreferrer" href="#!" target="_blank"> <div data-tilt data-tilt-max="4" data-tilt-glare="true" data-tilt-max-glare="0.5" class="thumbnail rounded js-tilt" > <img alt="Project Image" class="img-fluid" src="assets/project.jpg" /> </div> </a> </div> </div> </div> <!-- /END Project --> ... </section> ``` ### (4) Contact Section - On `<p>` tag with class name `.contact-wrapper__text`, include some custom call-to-action message. - On `<a>` tag, put your email address on `href` property. ```html <!-- **** Contact Section **** --> <section id="contact"> <div class="container"> <h2 class="section-title">Contact</h2> <div class="contact-wrapper load-hidden"> <p class="contact-wrapper__text">[Put your call to action here]</p> <a rel="noreferrer" target="_blank" class="cta-btn cta-btn--resume" href="mailto:[email protected]" >Call to Action</a > </div> </div> </section> <!-- /END Contact Section --> ``` ### (5) Footer Section - Put your Social Media URL on each `href` attribute of the `<a>` tags. - If you an additional Social Media account different than Twitter, Linkedin or GitHub, then go to [Font Awesome Icons](https://fontawesome.com/v4.7.0/icons/) and search for the icon's class name you are looking. - You can delete or add as many `<a>` tags your want. ```html <footer class="footer navbar-static-bottom"> ... <div class="social-links"> <a href="#!" target="_blank"> <i class="fa fa-twitter fa-inverse"></i> </a> <a href="#!" target="_blank"> <i class="fa fa-linkedin fa-inverse"></i> </a> <a href="#!" target="_blank"> <i class="fa fa-github fa-inverse"></i> </a> </div> ... </footer> ``` ### Step 2 - STYLES Change the color theme of the website - (choose 2 colors to create a gradient) Go to `/src/sass/abstracts/_variables.scss` and only change the values for this variables `$main-color` and `$secondary-color` with your prefered HEX color. If you want to get some gradients inspiration I highly recommend you to check this website [UI Gradient](https://uigradients.com/#BrightVault) ```scss // Default values $main-color: #02aab0; $secondary-color: #00cdac; ``` --- ## Deployment 📦 Once you finish your setup. You need to put your website online! I highly recommend to use [Netlify](https://netlify.com) because it is super easy. ## Others versions 👥 [Gatsby Simplefolio](https://github.com/cobiwave/gatsby-simplefolio) by [Jacobo Martinez](https://github.com/cobiwave)\ [Ember.js Simplefolio](https://github.com/sernadesigns/simplefolio-ember) by [Michael Serna](https://github.com/sernadesigns) ## Technologies used 🛠️ - [Parcel](https://parceljs.org/) - Bundler - [Bootstrap 4](https://getbootstrap.com/docs/4.3/getting-started/introduction/) - Frontend component library - [Sass](https://sass-lang.com/documentation) - CSS extension language - [ScrollReveal.js](https://scrollrevealjs.org/) - JavaScript library - [Tilt.js](https://gijsroge.github.io/tilt.js/) - JavaScript tiny parallax library ## Authors - **Jacobo Martinez** - [https://github.com/cobiwave](https://github.com/cobiwave) ## Status [](https://app.netlify.com/sites/the-simplefolio/deploys) ## License 📄 This project is licensed under the MIT License - see the [LICENSE.md](LICENSE.md) file for details ## Acknowledgments 🎁 I was motivated to create this project because I wanted to contribute on something useful for the dev community, thanks to [ZTM Community](https://github.com/zero-to-mastery) and [Andrei](https://github.com/aneagoie)
看看同类模板
对比同技术栈与用途的模板,找到更适合的视觉与内容结构。
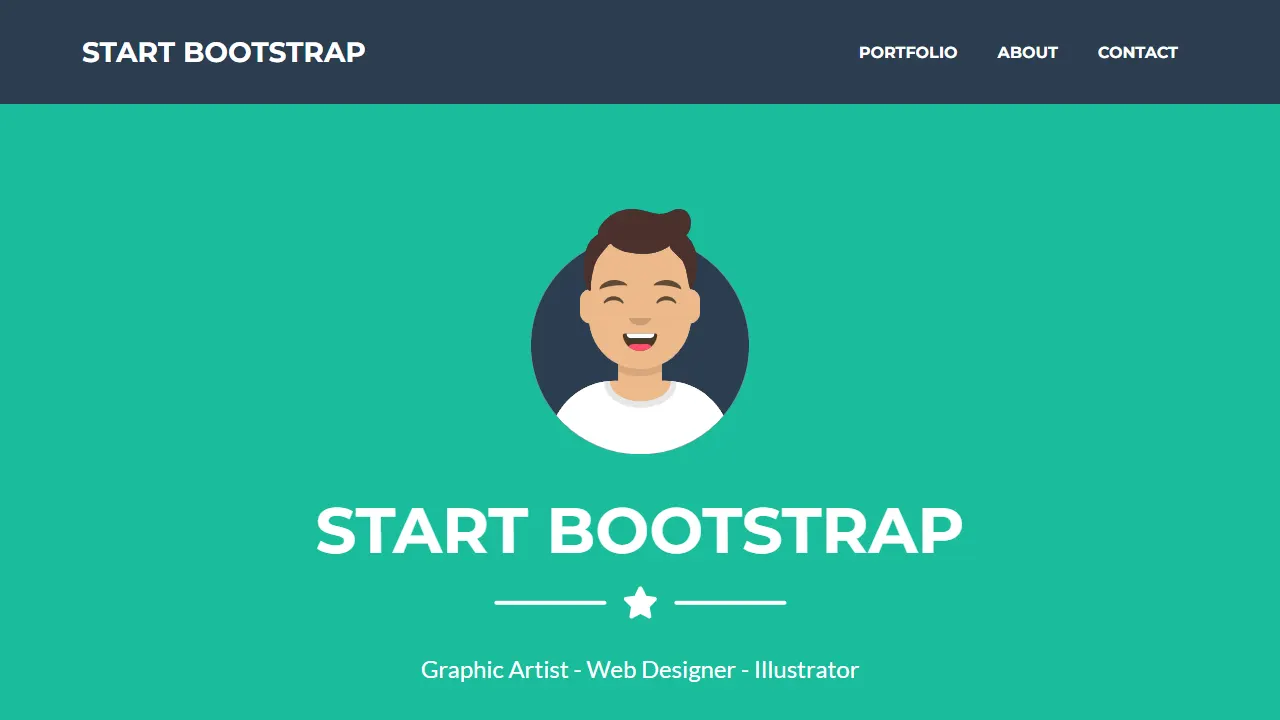
Freelancer
Freelancer 是 Start Bootstrap 出品的单页作品集模板,专为自由职业者、设计师和小型工作室设计。 页面结构清晰,包含多个内容区块、响应式作品集网格,每个作品项目配有模态窗口展示详情。
HTML · 作品集
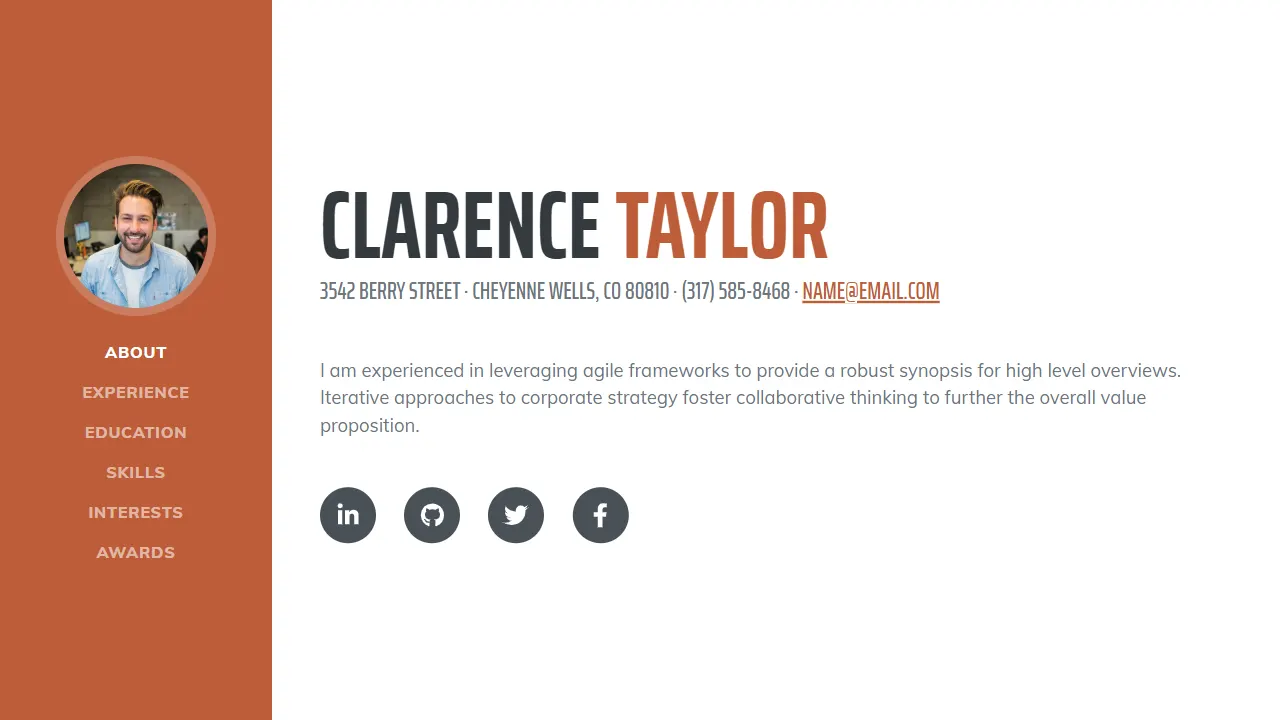
Resume
Resume 是 Start Bootstrap 推出的简历与 CV 主题,基于 Bootstrap 构建,采用固定侧边栏加内容区块的结构。
HTML · 作品集
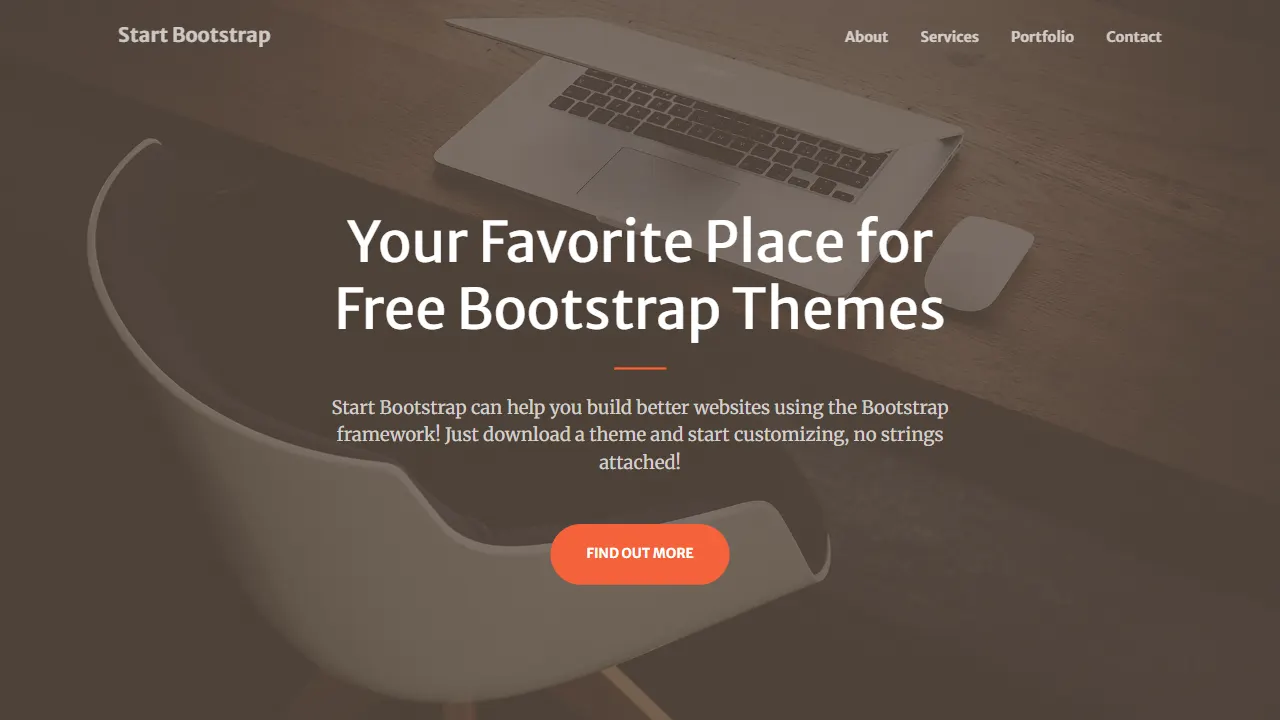
Creative
Creative 是 Start Bootstrap 团队维护的一款单页营销模板,定位明确:为创意机构或产品服务提供一个以作品展示和行动号召为核心的落地页。
HTML · 企业官网
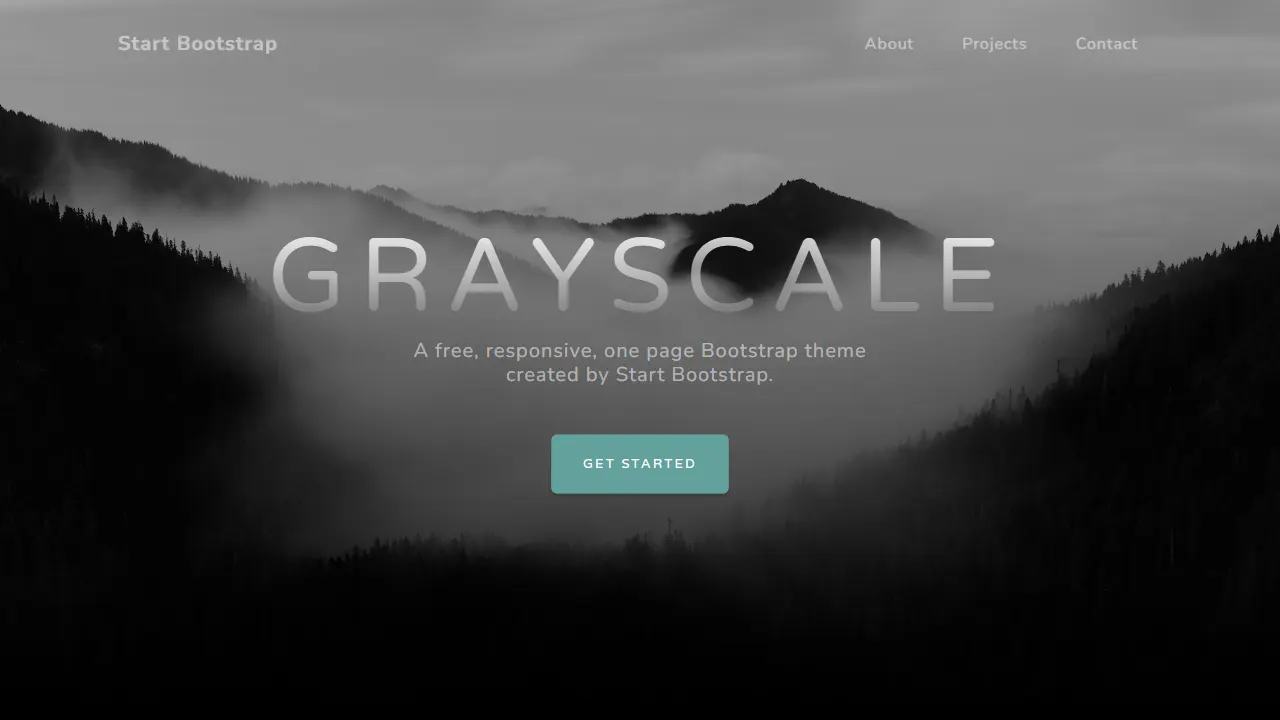
Grayscale
Grayscale 是 Start Bootstrap 出品的深色系单页 HTML 模板,基于 Bootstrap 构建。 它的视觉重心放在大尺寸首屏和清晰的内容分区上,整体氛围偏暗,适合摄影、活动或品牌叙事类网站。
HTML · 企业官网
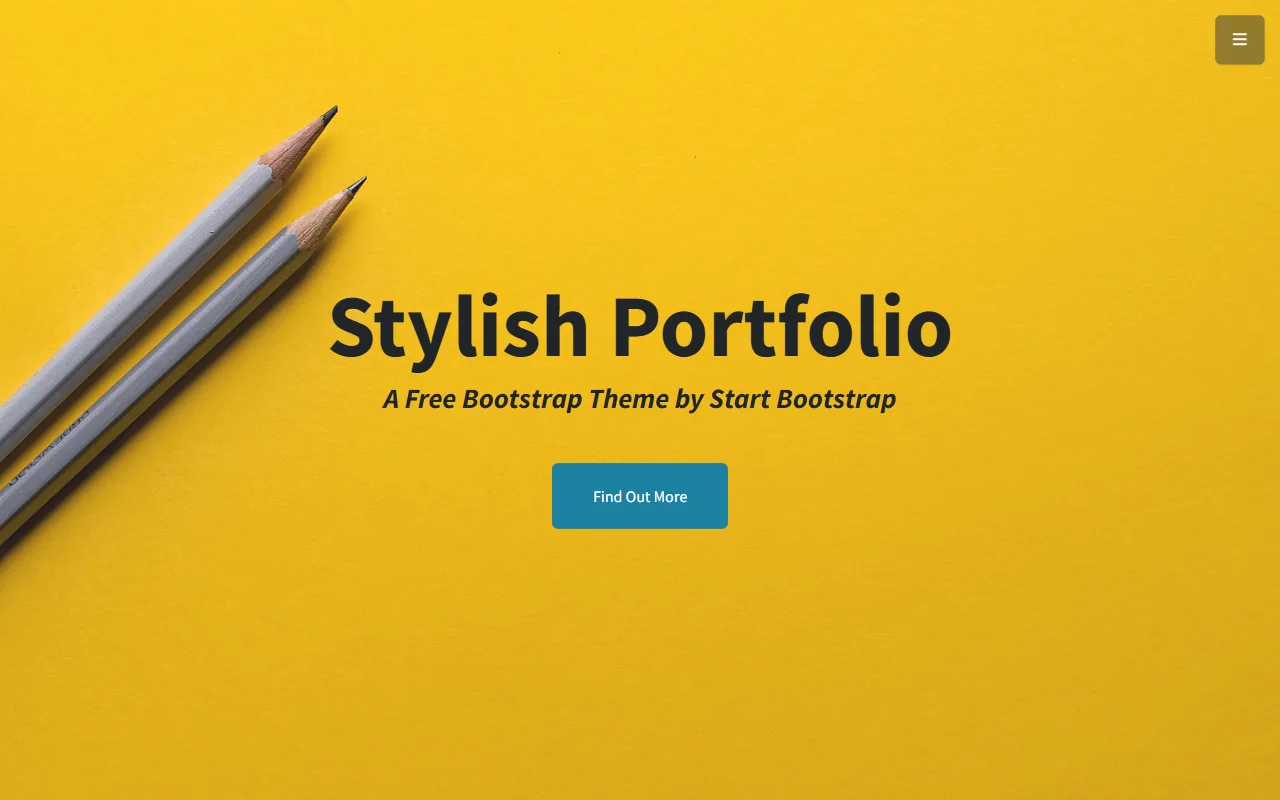
startbootstrap-stylish-portfolio
Stylish Portfolio 是 Start Bootstrap 维护的单页作品集主题,基于 Bootstrap 构建,采用多个内容区块加离屏导航菜单的结构。
HTML · 作品集
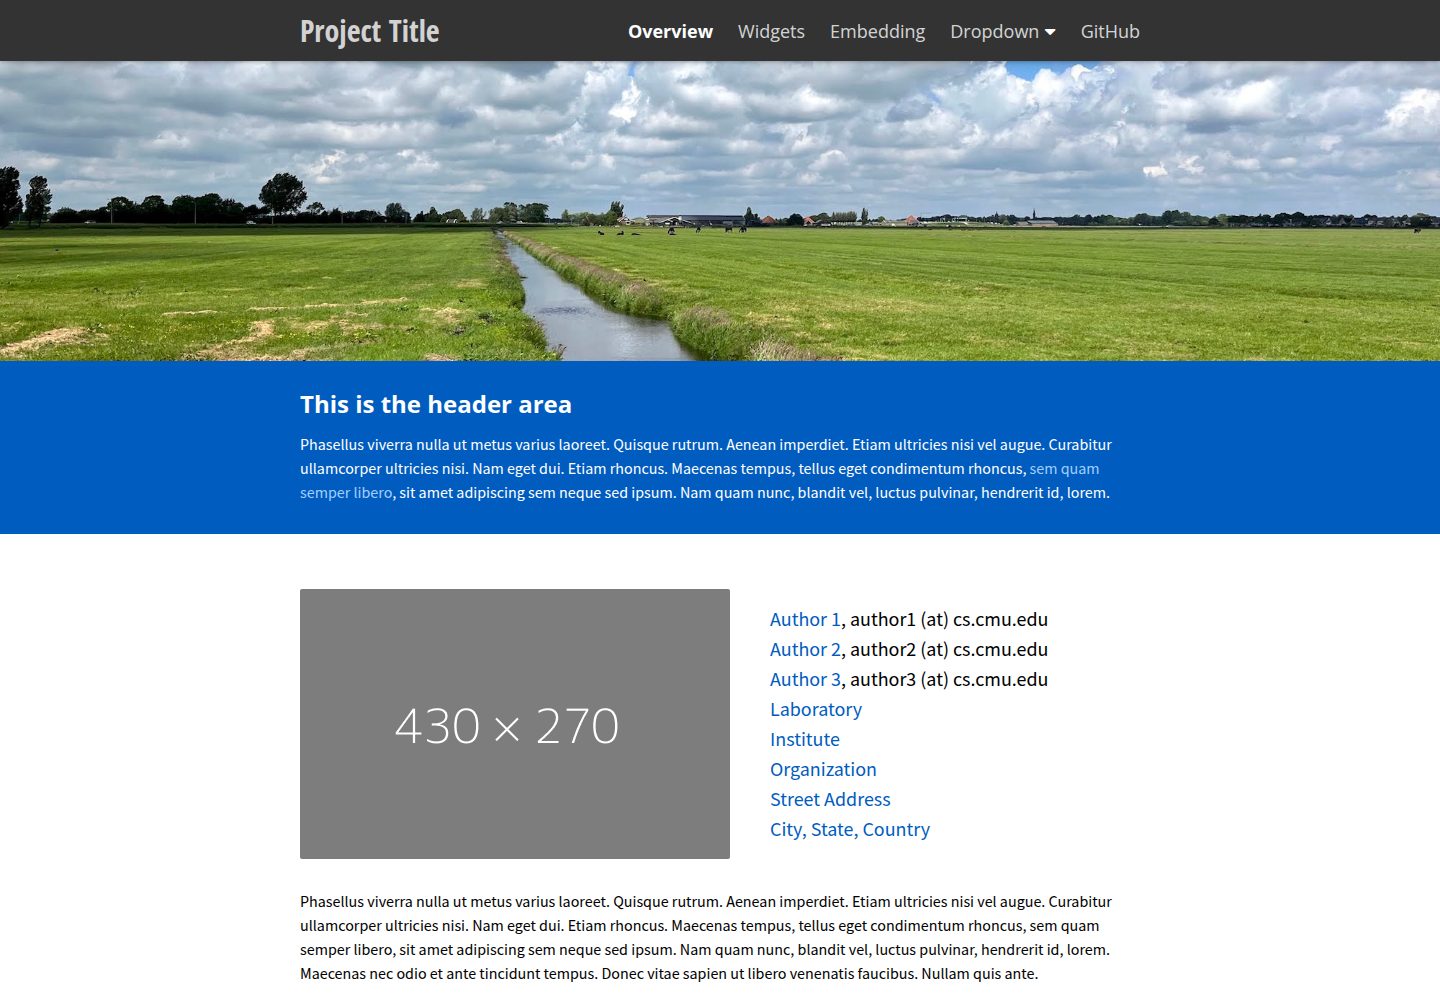
project-website-template
A HTML/CSS Template for Building Projects or Personal Websites
HTML · 作品集