每租户独立数据库,创建租户时自动建库并执行租户迁移
LaravelSaaS启动器
tenancy-starterkit — Laravel SaaS模板
作者 danihidayatx
基于 Laravel 的多租户 SaaS 启动套件,集成 stancl/tenancy 与 Filament 中央管理面板,预置租户、订阅与账单管理。
看看你的网站会是什么样
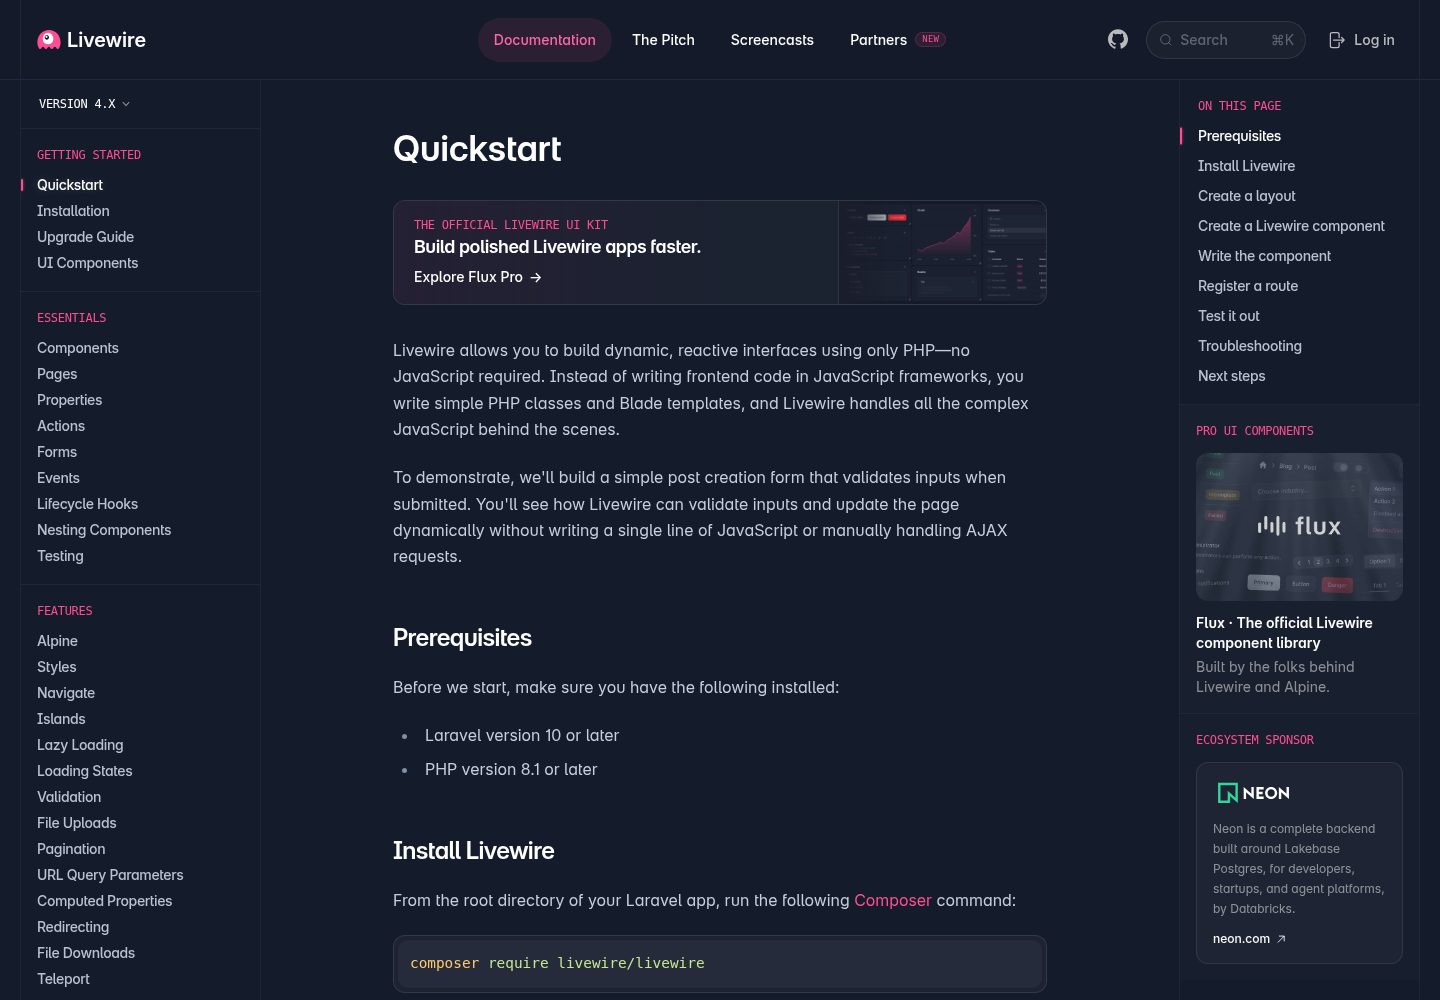
浏览真实页面截图,比较内容排版与手机效果。点击下方缩略图切换,放大查看整页细节。
全部页面与视图 2
截图用于了解视觉与布局,交互效果请以实际项目为准。
采集于 2026-10-03查看来源
值得关注的模板亮点
从已有项目资料中,快速了解它的特点。
通过域名或子域名识别租户,文件系统、缓存、队列与 Redis 按租户隔离
Filament 中央管理面板,可管理租户、订阅计划、订阅状态与账单
集成 Filament Shield 实现基于角色的细粒度权限控制
区分中央与租户两套模型、迁移和路由结构,租户侧为空白模板待扩展
自带 Pest 测试骨架,覆盖租户生命周期、订阅、账单与用户管理
模板详细介绍
这是一个面向多租户 SaaS 的 Laravel 启动套件,核心是 stancl/tenancy 提供的「每租户独立数据库」模式:创建租户时自动建库、执行租户迁移并写入域名记录,租户通过域名或子域名识别,文件系统、缓存、队列与 Redis 均按租户隔离。中央管理端基于 Filament 构建,可在面板内创建、更新、删除租户,管理订阅计划、跟踪订阅状态并生成账单,权限控制接入 Filament Shield。项目自带 Pest 测试骨架,覆盖租户生命周期、订阅、账单与用户管理等中央功能,租户侧仅有一个基础加载测试。代码结构区分中央上下文(App\Models\Central,含 User、Tenant、Domain、Plan、Subscription、Invoice)与租户上下文(App\Models\Tenant,目前为空模板),路由分为 routes/web.php 与 routes/tenant.php。README 以 Stripe 为例说明如何通过 webhook 在支付成功后创建 Tenant 记录,从而触发自动开通流程,但该集成未包含在仓库中,需要自行安装 Laravel Cashier 并编写控制器与前端购买页面。项目采用 MIT 许可,可免费使用、修改与商用,但演示图片、字体、图标等第三方素材需单独核对许可,域名、托管、数据库、支付等外部服务可能另行收费。
LaravelSaaS启动器
适合你的项目吗?
适用场景
- 需要为每个客户提供独立数据库的 B2B SaaS 项目起步
- 希望用 Filament 快速搭建中央管理后台来管理租户与订阅
- 计划以 Stripe 等支付网关实现付款后自动开通租户的 SaaS 产品
- 需要域名或子域名区分租户访问入口的多租户应用
适合人群
- 熟悉 Laravel 与 Filament、准备搭建多租户 SaaS 的开发者
- 需要中央管理面板统一管理租户、订阅和账单的团队
- 希望以 MIT 许可代码为基础进行二次开发的个人或公司
上手与定制指南
结合仓库当前版本的说明,按下面的资料检查内容、配置与运行要求。
- 1
需 PHP 8.2+、Composer、Node.js 与 NPM,数据库推荐 MySQL 8.0+ 或 SQLite,并需要 Redis
- 2
克隆仓库后依次执行 composer install、npm install,复制 .env.example 并生成应用密钥
- 3
配置中央数据库连接后运行 php artisan migrate --seed,再执行 npm run build
- 4
运行 php artisan shield:generate --all 生成权限,并用 php artisan shield:super-admin 分配超级管理员角色
- 5
本地涉及子域名时推荐使用 Laravel Valet 或 Laravel Herd 处理 *.test 域名
授权与来源资料
使用条件与限制
免费使用 · 保留许可声明本次收录的是公开仓库中采用 MIT 许可的免费版本;免费范围为该版本代码,不代表外部服务或第三方素材免费。
使用时需要遵守
- 允许免费使用、修改、商用和分发该版本代码。
- 分发代码副本或实质性部分时,保留原作者版权声明和完整 MIT 许可声明。
- 代码按现状提供;担保与责任限制以原许可证及适用法律为准。
额外费用与待核对事项
- Stripe 支付自动开通租户仅为文档示例,仓库未包含该集成;需自行安装 Laravel Cashier、配置 Stripe 密钥与 webhook 并编写控制器和前端购买页面。
- 使用支付自动开通功能需自备 Stripe 账户与 API 密钥(STRIPE_KEY、STRIPE_SECRET、STRIPE_WEBHOOK_SECRET),属外部付费服务。
- 运行需自备数据库(推荐 MySQL 8.0+ 或 SQLite)及 Redis,相关托管与运维成本由使用者承担。
- 作者提供付费定制开发服务,属可选商业服务,不影响 MIT 免费代码的使用。
- 演示图片、字体、图标及其他第三方素材需按各自许可核对,不能仅凭代码的 MIT 许可判断。
- 域名、托管、数据库、支付或 AI 等外部服务可能另外收费。
查看原文依据
Permission is hereby granted, free of charge
许可证原文
A key feature of a SaaS application is automatically provisioning a new tenant account after a successful payment. Here’s a high-level guide on how to implement this using Stripe and Laravel Cashier.
README 原文
Add your Stripe keys and a webhook secret to your `.env` file.
README 原文
MySQL 8.0+ (Recommended) or SQLite
README 原文
https://github.com/danihidayatx/tenancy-starterkit/blob/main/LICENSE.mdhttps://github.com/danihidayatx/tenancy-starterkit/blob/main/README.mdI offer custom development services to help you bring your project vision to life.
README 原文
DeepSeek 根据仓库许可证和 README 整理 ·2026-10-03。结果仅覆盖已读取资料,依赖、图片、字体及后续条款变更以各自原文为准。
项目核对记录与介绍依据
模板资料
- 来源平台
- GitHub
- 资料与维护参考分
- 资料较完整 · 88 / 100
- 技术栈
- Laravel
- 网站类型
- SaaS · 启动器
这个分数如何计算
本站按许可资料(最高30分)、演示链接(12分)、预览图(10分)、Star数(15分)、记录的维护时间(15分)、描述完整度(8分)、功能记录(5分)和分类资料(5分)计算。它不是代码、安全或性能测试,也不是 Google 评分;有链接不代表已实测可用。
这个项目需要核对什么
- 记录的仓库更新时间
- 2026-02-13
- 截图检查日期
- 2026-10-03
已收录演示链接。请用你的内容与屏幕尺寸检查;有演示不代表表单、认证或支付已经可用。
目录记录的主要技术栈是 Laravel。请通过依赖清单和锁文件核对实际版本与托管要求。这些说明基于收录资料,不代表代码审计或部署实测。
查看具体选型方法 →介绍的制作与核对状态
介绍由 AI 辅助整理目录与仓库资料。仓库作者不等于这篇介绍的审核者。
已完成服务器许可规则与 AI 来源核对;未经过人工编辑审核。
查看当时使用的来源资料
SHA-256: 373bd7b8cf197d792a38627697fe7e19e4668f14ea06f6e485f21b15b02af123
2026-10-03T03:25:49.035Z
来源文件 / 仓库# Laravel Tenancy Starter Kit
A robust, production-ready starter kit for building multi-tenant applications with [Laravel](https://laravel.com) and [stancl/tenancy](https://tenancyforlaravel.com). This boilerplate comes pre-configured with a powerful Central Admin Panel built on [Filament](https://filamentphp.com) to manage tenants, subscriptions, and billing.
**Built by and actively used at [quikpl.com](https://quikpl.com) to power our own SaaS platform.**
## Table of Contents
- [Features](#features)
- [Prerequisites](#prerequisites)
- [Installation](#installation)
- [Usage](#usage)
- [Automating Tenant Provisioning with Payments](#automating-tenant-provisioning-with-payments-stripe-example)
- [Testing](#testing)
- [Useful Documentation](#useful-documentation)
- [Architecture Overview](#architecture-overview)
- [Contributing](#contributing)
- [Custom Development Services](#custom-development-services)
- [License](#license)
## Features
### Multi-Tenancy (stancl/tenancy v3)
- **Database per Tenant:** Complete data isolation with automatic database creation and migration.
- **Domain Identification:** Tenants are identified by domains/subdomains.
- **Tenant Lifecycle Management:** Automated jobs for creating, migrating, and deleting tenant databases.
- **Tenant-Aware Services:** Filesystem, Cache, Queue, and Redis are configured to be tenant-aware.
### Central Administration (Filament v5)
- **Tenant Management:** Create, update, and delete tenants directly from the admin panel.
- **Subscription Billing:**
- **Plans Management:** Create and manage flexible subscription plans.
- **Subscription Tracking:** Monitor tenant subscriptions and statuses.
- **Invoicing:** Generate and manage invoices for tenants.
- **Role-Based Access Control:** integrated with Filament Shield (v3) for granular permissions.
### Modern Stack
- **Framework:** Laravel 12
- **Admin Panel:** Filament v5
- **Frontend:** Livewire v4 + Tailwind CSS v4
- **Testing:** Pest v4
- **Tooling:** Laravel Pint (Code Style), Laravel Sail (Docker)
## Prerequisites
- PHP 8.2+
- Composer
- Node.js & NPM
- MySQL 8.0+ (Recommended) or SQLite
- Redis
**Recommendation:** For local development, especially with subdomains, we highly recommend using [Laravel Valet](https://laravel.com/docs/valet) (macOS) or [Laravel Herd](https://herd.laravel.com/). These tools make handling `*.test` domains seamless.
## Installation
1. **Clone the repository**
```bash
git clone https://github.com/danihidayatx/tenancy-starterkit.git
cd tenancy-starterkit
```
2. **Install PHP dependencies**
```bash
composer install
```
3. **Install Node dependencies**
```bash
npm install
```
4. **Environment Configuration**
```bash
cp .env.example .env
php artisan key:generate
```
Update your `.env` file with your database credentials. Ensure you have a central database created.
```env
DB_CONNECTION=mysql
DB_HOST=127.0.0.1
DB_PORT=3306
DB_DATABASE=tenancy_central
DB_USERNAME=root
DB_PASSWORD=
```
5. **Run Migrations & Seeds**
This will migrate the central database and seed default roles/permissions.
```bash
php artisan migrate --seed
```
6. **Build Assets**
```bash
npm run build
```
7. **Generate Shield Permissions & Assign Super Admin**
First, generate all permissions for Filament Shield. When prompted, select `permissions` for what you'd like to manage.
```bash
php artisan shield:generate --all
```
Next, assign the `super_admin` role to a user. When prompted, choose the `admin` panel and then select the `UserID` of the super admin (usually `1`).
```bash
php artisan shield:super-admin
```
## Usage
### Local Development with Valet (Recommended)
If you are using Valet:
1. Park or link your directory: `valet link tenancy-starterkit`
2. Your app is now available at `http://tenancy-starterkit.test`.
### Accessing the Central Admin
Visit `http://tenancy-starterkit.test/admin` (or your configured domain) and log in with the admin user you created.
### Creating a Tenant
1. Navigate to the **Tenants** resource in the admin panel.
2. Click **New Tenant**.
3. Fill in the tenant details and assign a domain.
* *Tip: Use subdomains like `foo` to access `foo.tenancy-starterkit.test` automatically with Valet.*
4. The system will automatically:
- Create a new database for the tenant.
- Run tenant-specific migrations.
- Create the domain record.
### Accessing a Tenant
Once a tenant is created (e.g., with id `foo`), you can access their application at:
`http://foo.tenancy-starterkit.test`
## Automating Tenant Provisioning with Payments (Stripe Example)
A key feature of a SaaS application is automatically provisioning a new tenant account after a successful payment. Here’s a high-level guide on how to implement this using Stripe and Laravel Cashier.
The core idea is to create a Stripe webhook that, upon a successful payment, creates a `Tenant` model, which in turn triggers the automatic provisioning jobs.
1. **Install Laravel Cashier (Stripe)**
```bash
composer require laravel/cashier
php artisan cashier:install
php artisan migrate
```
2. **Configure Stripe**
Add your Stripe keys and a webhook secret to your `.env` file.
```env
STRIPE_KEY=pk_...
STRIPE_SECRET=sk_...
STRIPE_WEBHOOK_SECRET=whsec_...
```
3. **Create a Webhook Controller**
This controller will handle incoming events from Stripe.
```bash
php artisan make:controller StripeWebhookController
```
In your `StripeWebhookController.php`, create a method to handle the `checkout.session.completed` event. This is where the magic happens.
4. **Define the Webhook Route**
In `routes/web.php`, create a route that points to your new controller. Remember to exclude it from CSRF protection.
```php
Route::post(
'stripe/webhook',
[StripeWebhookController::class, 'handleWebhook']
)->name('cashier.webhook');
```
5. **Implement the Controller Logic**
Inside your `handleWebhook` method:
- Verify the webhook signature.
- Get the user and payment details from the Stripe session object.
- **Crucially, create the `Tenant` record.** You can pass user details or generate a unique ID.
```php
// Example logic in your controller
$session = $event->data['object'];
$user = User::find($session->client_reference_id);
$tenant = App\Models\Central\Tenant::create([
'id' => 'tenant-' . uniqid(),
'name' => $user->name . "'s Team",
'owner_id' => $user->id,
]);
$tenant->createDomain([
'domain' => strtolower(str_replace(' ', '', $user->name))
]);
```
6. **Automatic Provisioning**
That's it! The `TenancyServiceProvider` is already configured to listen for the `TenantCreated` event. Once the `Tenant` model is created in the webhook, the service provider will automatically trigger the job pipeline to:
- Create the tenant's database.
- Run the tenant's migrations.
- Perform any other setup jobs you've defined.
7. **Frontend Integration**
You will need to build a UI for users to select a plan and initiate the Stripe Checkout session. The `app/Filament/Pages/PurchasePlan.php` is a great starting point for this.
## Testing
This project uses **Pest** for testing and comes with a foundational test suite to ensure the core multi-tenancy and Filament features are working as expected. We highly recommend you extend this test suite as you build out your application.
### Running Tests
```bash
# Run all tests
php artisan test
# Run tests with a compact report
php artisan test --compact
# Run a specific test file (e.g., feature test)
php artisan test tests/Feature/Central/TenantLifecycleTest.php
# Run unit tests
php artisan test --group=unit
```
### Existing Test Structure
- **`tests/Feature/Central/`**: Contains feature tests for the central application, covering functionalities such as:
- `InvoiceTest.php`: Tests invoice-related features.
- `SubscriptionTest.php`: Tests subscription management.
- `TenantLifecycleTest.php`: Essential tests for tenant creation, migration, and deletion.
- `UserTest.php`: Tests user management and authentication.
- **`tests/Feature/Tenant/AppTest.php`**: A basic feature test for the tenant-specific application, ensuring it loads correctly. This is a good starting point for your tenant-specific feature tests.
- **`tests/Unit/ExampleTest.php`**: An example unit test.
### Extending Your Test Suite
- **Central Application Tests:** When adding new features to your central admin panel (e.g., new Filament resources, custom pages, or central API endpoints), create new feature tests in `tests/Feature/Central/`.
- **Tenant Application Tests:** For any features specific to the tenant application (e.g., tenant-specific models, controllers, or API endpoints), create feature tests in `tests/Feature/Tenant/`. Remember to leverage [Pest's multi-tenancy testing utilities](https://tenancyforlaravel.com/docs/v3/testing#testing-with-tenancy) when interacting with tenant contexts.
- **Unit Tests:** For isolated logic (e.g., service classes, complex helper functions, or model methods without database interaction), create unit tests in `tests/Unit/`.
## Useful Documentation
- **Laravel Tenancy (stancl/tenancy):** [https://tenancyforlaravel.com/docs/v3](https://tenancyforlaravel.com/docs/v3) - *The core multi-tenancy package.*
- **Filament PHP:** [https://filamentphp.com/docs](https://filamentphp.com/docs) - *The admin panel framework.*
- **Laravel Documentation:** [https://laravel.com/docs](https://laravel.com/docs) - *The PHP framework.*
- **Livewire:** [https://livewire.laravel.com/docs](https://livewire.laravel.com/docs) - *Dynamic frontend components.*
- **Tailwind CSS:** [https://tailwindcss.com/docs](https://tailwindcss.com/docs) - *Utility-first CSS framework.*
## Architecture Overview
### Central Context (`App\Models\Central`)
Models and logic related to the management of the SaaS platform itself.
- **User:** Administrators of the central application.
- **Tenant:** The entity representing a customer account.
- **Domain:** The domain(s) associated with a tenant.
- **Plan/Subscription/Invoice:** Billing-related models.
### Tenant Context (`App\Models\Tenant`)
Models and logic specific to the tenant's application.
- *Currently empty boilerplate.*
- Define your application's specific models here (e.g., `Product`, `Order`, `Post`).
- Migrations for these models go in `database/migrations/tenant`.
### Routing
- `routes/web.php`: Routes for the Central Application (Landing page, Admin Panel).
- `routes/tenant.php`: Routes for the Tenant Application (accessed via subdomain).
## Contributing
Contributions are welcome! Please feel free to submit a Pull Request.
1. Fork the project
2. Create your feature branch (`git checkout -b feature/AmazingFeature`)
3. Commit your changes (`git commit -m 'Add some AmazingFeature'`)
4. Push to the branch (`git push origin feature/AmazingFeature`)
5. Open a Pull Request
## Custom Development Services
Need custom features, additional integrations, or professional assistance in developing your multi-tenant application?
I offer custom development services to help you bring your project vision to life. Whether it's implementing new features, performance optimization, or technical support, feel free to contact me.
**Contact me to discuss your project needs!**
- **Email:** [email protected]
## License
This project is open-sourced software licensed under the [MIT license](https://opensource.org/licenses/MIT).看看同类模板
对比同技术栈与用途的模板,找到更适合的视觉与内容结构。
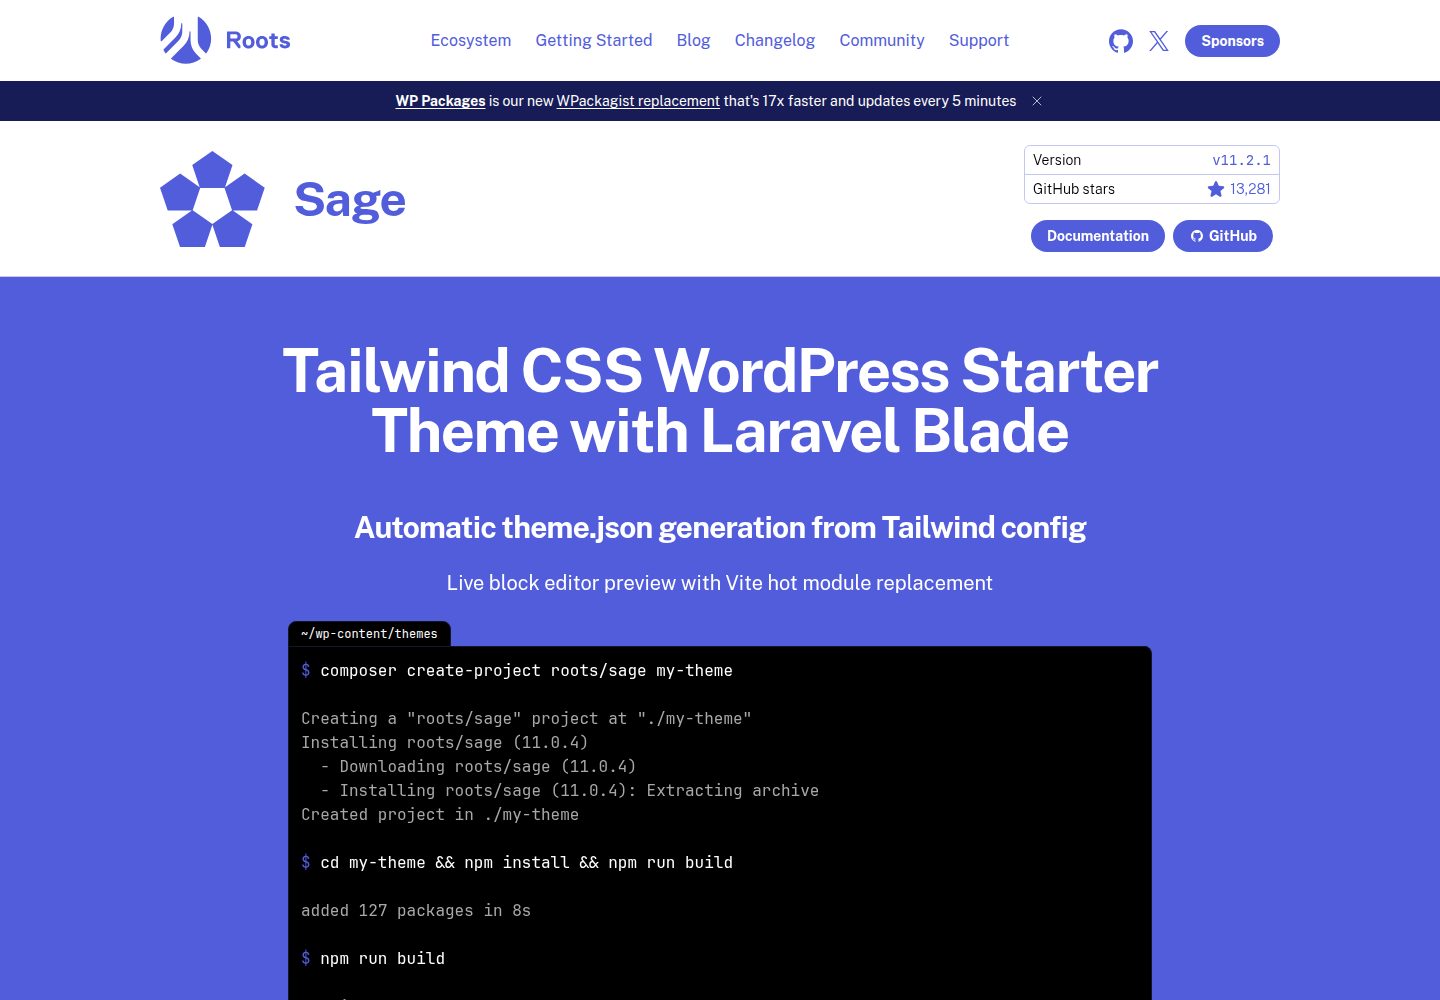
sage
WordPress starter theme with Laravel Blade components and templates, Tailwind CSS, and block editor support
Laravel · 启动器
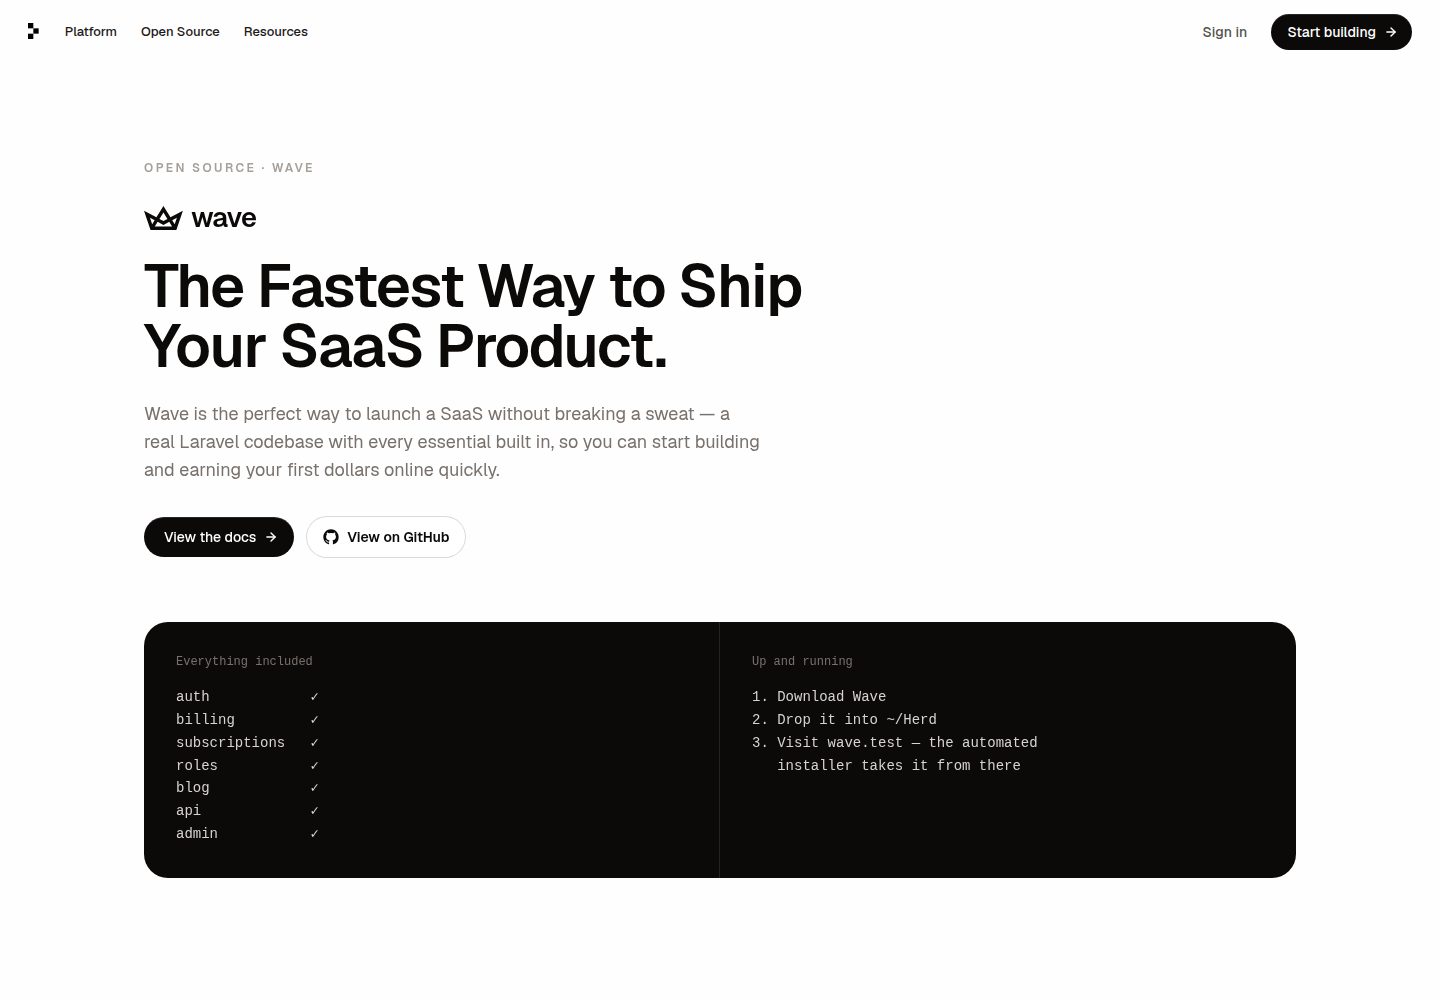
wave
Wave - The Software as a Service Starter Kit, designed to help you build the SAAS of your dreams 🚀 💰
Laravel · SaaS
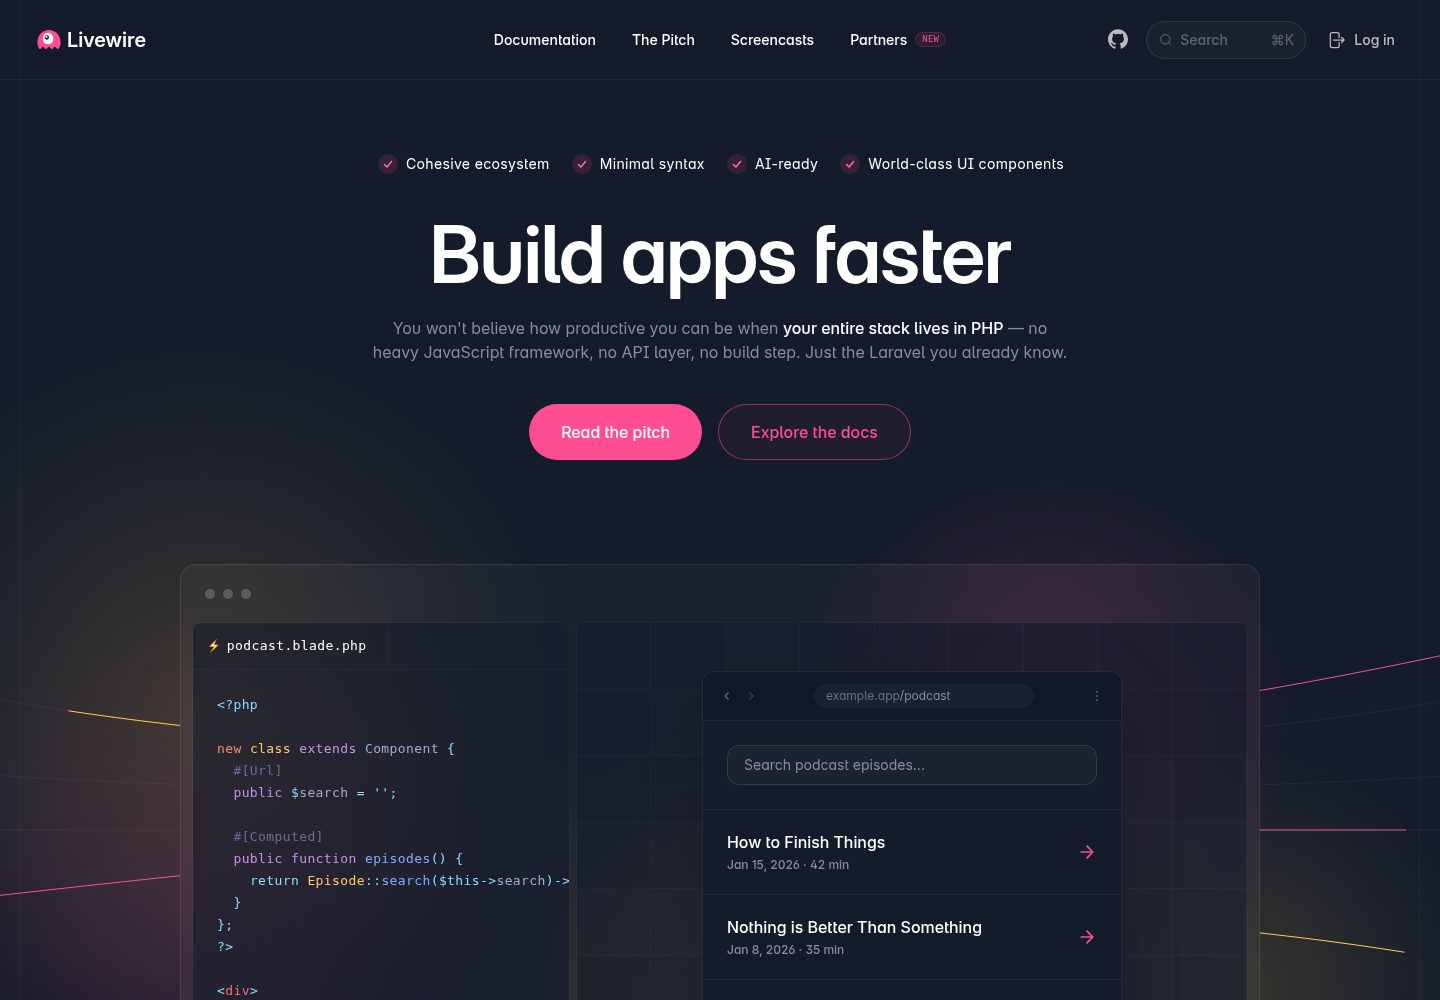
filament-starter
A beautiful starting point for your next TALL stack project using Filament. ⚡
Laravel · 启动器
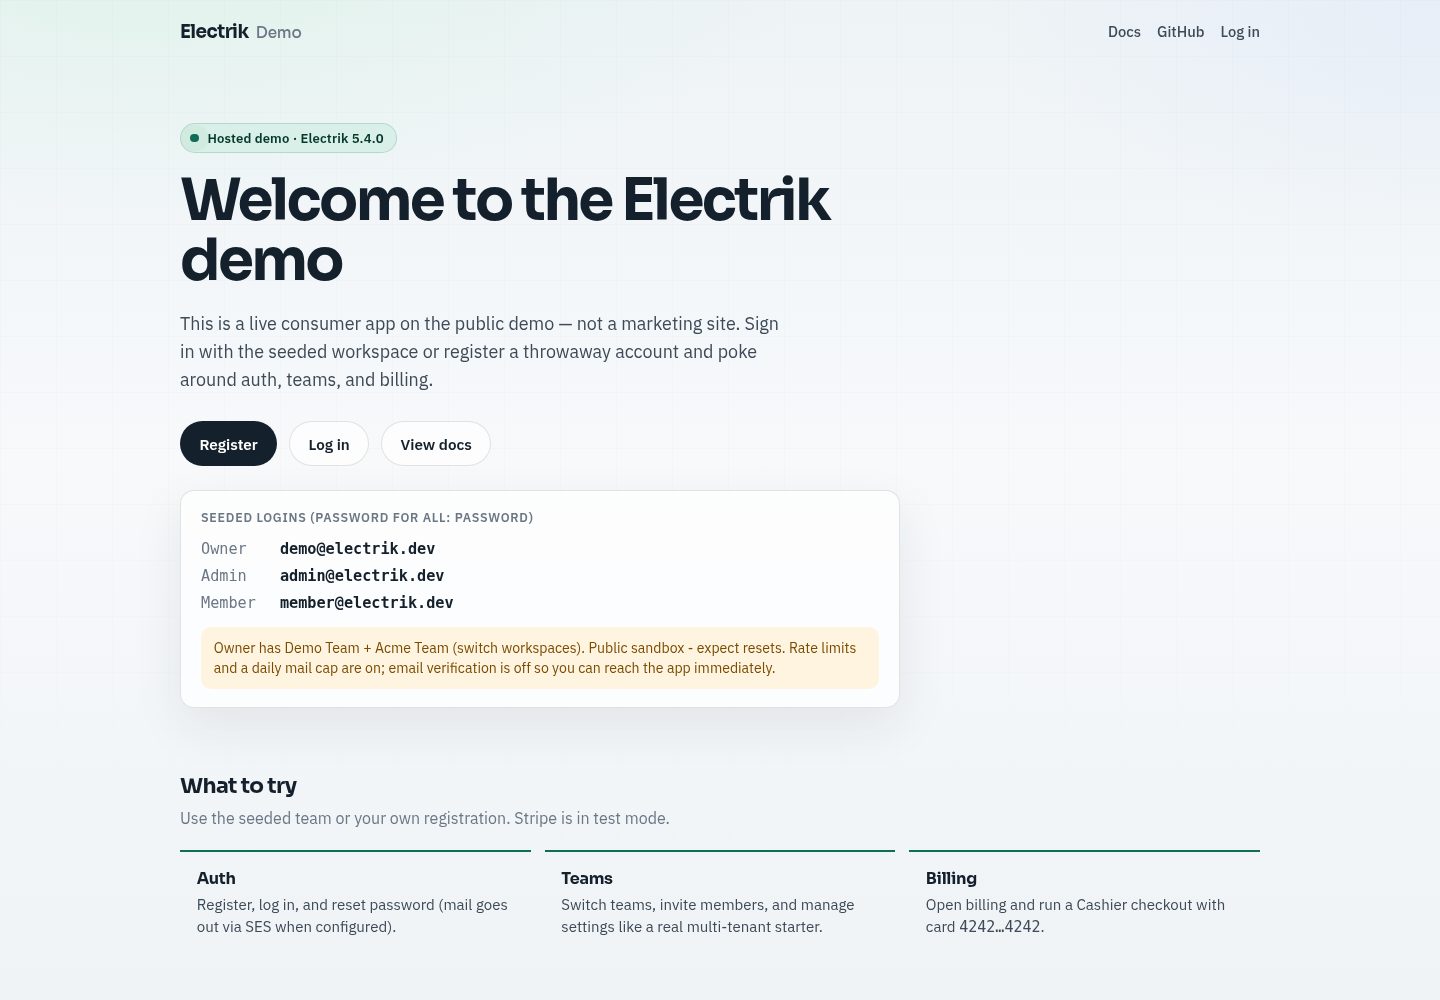
electrik
Laravel SaaS starter kit: auth, teams, Stripe billing, and Slate 3 — Composer package for Laravel 12
Laravel · SaaS
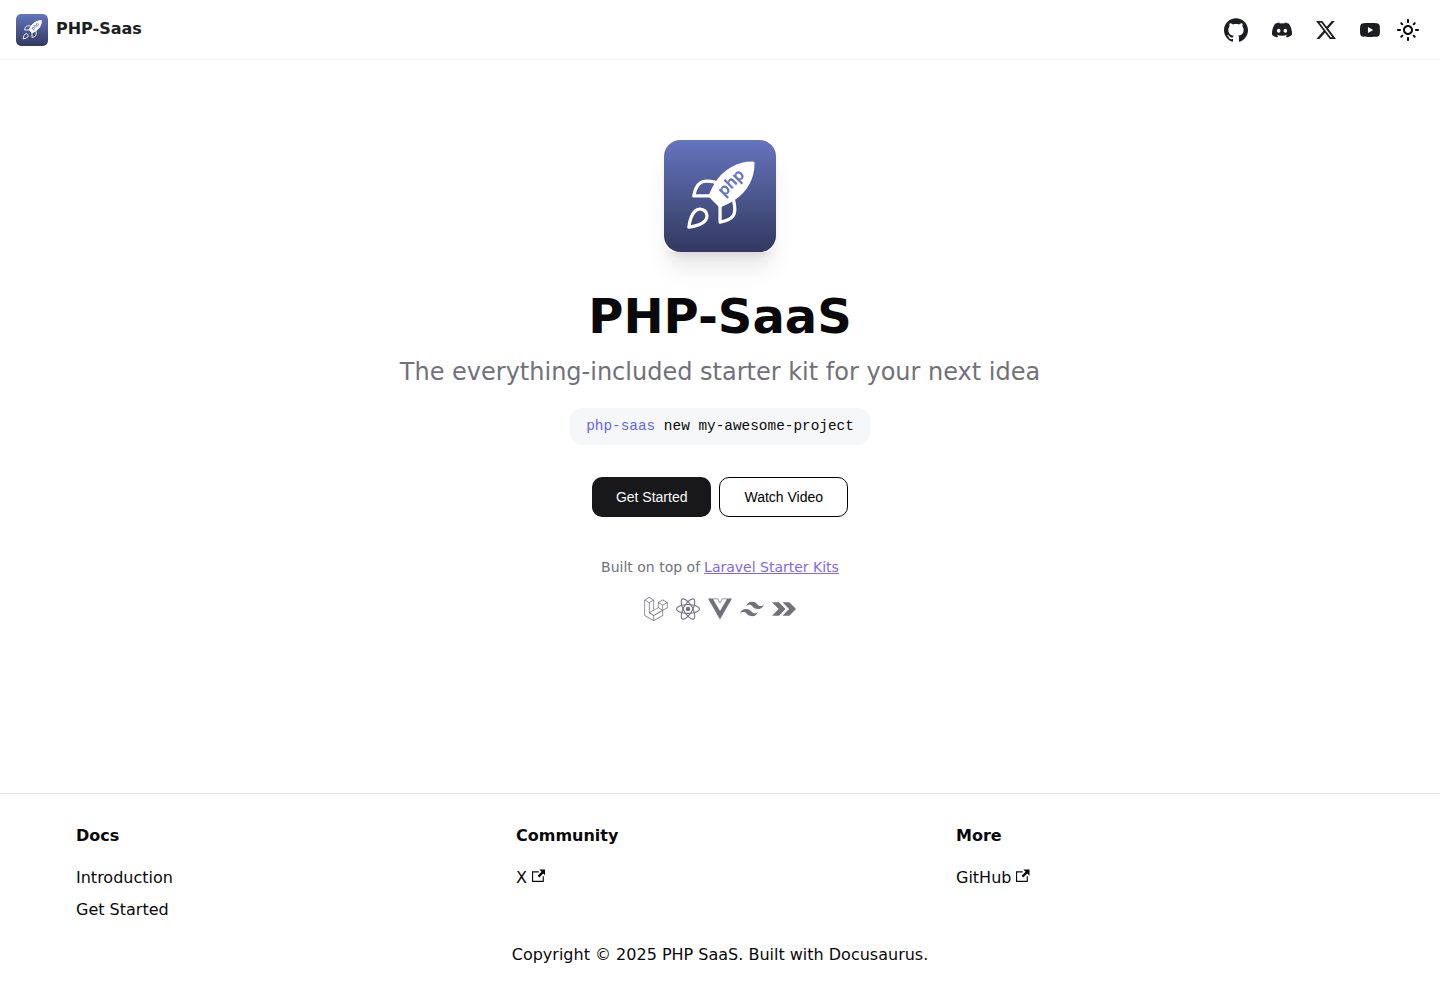
php-saas
The everything-included starter kit for your next idea
Laravel · SaaS
filament-jetstream
A Laravel starter kit built with Filament inspired by Jetstream.
Laravel · 启动器