
将 Start Bootstrap 的 Agency 单页主题原生集成到 Jekyll
JekyllHTML博客工具站企业官网
jekyll-startbootstrap-agency — Jekyll 博客模板
作者 davehorsfall
将 Start Bootstrap 的 Agency 单页主题移植到 Jekyll 的模板,用集合管理作品集与团队成员,适合机构或小企业搭建简洁官网。
看看你的网站会是什么样
浏览真实页面截图,比较内容排版与手机效果。点击下方缩略图切换,放大查看整页细节。
全部页面与视图 3
截图用于了解视觉与布局,交互效果请以实际项目为准。
采集于 2026-10-03查看来源
值得关注的模板亮点
从已有项目资料中,快速了解它的特点。
作品集与团队成员以 Jekyll 集合实现,新增条目只需添加 Markdown 文件
响应式顶部导航在页面滚动时折叠并改变样式
作品集网格为每个条目提供模态窗口以展示更详细内容
About 区块使用响应式时间线,团队成员区块含头像与社交链接
仓库提供 SCSS 与 Pug 源文件,便于进一步定制
模板详细介绍
这是 davehorsfall 维护的 Jekyll 模板,把 Start Bootstrap 的 Agency HTML 主题原生移植到 Jekyll 框架。Agency 本身是基于 Bootstrap 的 HTML/CSS 单页主题,面向机构或小企业搭建公司网站,也可按需调整用途。
模板保留了原主题的响应式顶部导航(滚动时折叠并改变样式)、平滑滚动、Font Awesome 图标、带模态窗口的作品集网格、响应式时间线形式的 About 区块、含头像与社交链接的团队成员区块,以及带社交链接、版权和附加页面链接的页脚。
在 Jekyll 侧,作品集和团队成员分别以集合实现,新增条目只需添加 Markdown 文件。仓库同时提供 SCSS 与 Pug 源文件,便于进一步定制。README 说明模板可在 Ruby 2 和 3 下工作,并给出 fork、克隆、bundle install、bundle exec jekyll serve 的本地流程,以及通过 GitHub Pages 与 Actions 部署的步骤。
JekyllHTML博客工具站企业官网
适合你的项目吗?
适用场景
- 为机构或小企业搭建简洁的单页公司官网
- 用作品集集合展示项目,并通过模态窗口呈现每个项目的详细内容
- 用团队成员集合维护成员头像与社交链接
- 在 GitHub Pages 上发布由 Jekyll 构建的静态站点
适合人群
- 希望以 Jekyll 起步新项目的 Web 开发者
- 需要简洁单页官网的机构或小企业
- 偏好通过 Markdown 文件维护作品集与团队信息的用户
- 打算使用 GitHub Pages 免费托管静态站点的个人或团队
上手与定制指南
结合仓库当前版本的说明,按下面的资料检查内容、配置与运行要求。
- 1
本地使用需先安装 Ruby 与 Git,再按 Jekyll 官方文档配置对应系统环境
- 2
fork 仓库后克隆到本地,执行 bundle install 安装 Gemfile 中的依赖
- 3
运行 bundle exec jekyll serve 启动开发服务器,默认地址为 http://127.0.0.1:4000/
- 4
部署到 GitHub Pages 时,在 Settings 的 Pages 中选择从 main 分支部署,并手动运行 deploy 工作流
- 5
演示图片、字体、图标等第三方素材需按各自许可核对,不能仅凭代码的 MIT 许可判断
授权与来源资料
使用条件与限制
免费使用 · 保留许可声明本次收录的是公开仓库中采用 MIT 许可的免费版本;免费范围为该版本代码,不代表外部服务或第三方素材免费。
使用时需要遵守
- 允许免费使用、修改、商用和分发该版本代码。
- 分发代码副本或实质性部分时,保留原作者版权声明和完整 MIT 许可声明。
- 代码按现状提供;担保与责任限制以原许可证及适用法律为准。
额外费用与待核对事项
- 本地使用该模板必须安装 Ruby 与 Jekyll 环境,无法仅靠静态文件直接运行。
- 按 README 的部署流程,需要安装 Git 才能将站点发布到 GitHub Pages。
- README 给出的免费发布方式依赖 GitHub Pages 与 GitHub Actions 这两项外部服务,需拥有 GitHub 账号。
- README 建议的使用方式是在 GitHub 上 fork 仓库,因此需要 GitHub 账号。
- 演示图片、字体、图标及其他第三方素材需按各自许可核对,不能仅凭代码的 MIT 许可判断。
- 域名、托管、数据库、支付或 AI 等外部服务可能另外收费。
查看原文依据
Permission is hereby granted, free of charge
许可证原文
You will need [Ruby](https://jekyllrb.com/docs/installation/) to use [Jekyll](https://jekyllrb.com/).
README 原文
You will need [Git](https://github.com/git-guides/install-git) installed to deploy your website to Github Pages.
README 原文
You can deploy your website for free using features of Github called [Pages](https://pages.github.com/) and [Actions](https://github.com/actions).
README 原文
https://github.com/davehorsfall/jekyll-startbootstrap-agency/blob/main/LICENSEhttps://github.com/davehorsfall/jekyll-startbootstrap-agency/blob/main/README.mdCreate your own copy by forking the repositry.
README 原文
DeepSeek 根据仓库许可证和 README 整理 ·2026-10-03。结果仅覆盖已读取资料,依赖、图片、字体及后续条款变更以各自原文为准。
项目核对记录与介绍依据
模板资料
- 来源平台
- GitHub
- 资料与维护参考分
- 资料一般 · 70 / 100
- 技术栈
- Jekyll · HTML
- 网站类型
- 博客 · 工具站 · 企业官网
这个分数如何计算
本站按许可资料(最高30分)、演示链接(12分)、预览图(10分)、Star数(15分)、记录的维护时间(15分)、描述完整度(8分)、功能记录(5分)和分类资料(5分)计算。它不是代码、安全或性能测试,也不是 Google 评分;有链接不代表已实测可用。
这个项目需要核对什么
- 记录的仓库更新时间
- 2023-01-04
- 截图检查日期
- 2026-10-03
已收录演示链接。请用你的内容与屏幕尺寸检查;有演示不代表表单、认证或支付已经可用。
目录记录的主要技术栈是 Jekyll。请通过依赖清单和锁文件核对实际版本与托管要求。这些说明基于收录资料,不代表代码审计或部署实测。
查看具体选型方法 →介绍的制作与核对状态
介绍由 AI 辅助整理目录与仓库资料。仓库作者不等于这篇介绍的审核者。
审核声明: [email protected] · 2026-10-04
查看当时使用的来源资料
SHA-256: 9d908806cc2f5aa3f70cd02e98e289fdec4775e2f5394839fde2e3e594cd2c9f
2026-10-03T15:37:00.168Z
来源文件 / 仓库[](https://github.com/davehorsfall/jekyll-startbootstrap-agency) # Jekyllised - Start Bootstrap Agency [](https://github.com/davehorsfall/jekyll-startbootstrap-agency/actions/workflows/jekyll.yml) [](LICENSE) [](https://davehorsfall.github.io/jekyll-startbootstrap-agency/) **Agency** is one of the most popular HTML themes offered by [Start Bootstrap](https://startbootstrap.com/). I have _**Jekyllised**_ this theme to give web developers and hobbyists a simple and clean implimentation in [Jekyll](https://jekyllrb.com/) for starting new projects. This template is free and open source, released under the [MIT license](LICENSE). # Description Agency is a HTML/CSS theme built with Bootstrap 5. This theme is perfect for agencies or small businesses looking to set up a simple website for their company. The theme can also be modified and adjusted to fit just about any purpose! ## Agency Features * Responsive top navigation that collapses and restyled when the page is scrolled * Smooth scrolling navigation to optimize the one page website user experience * Integration with Font Awesome Icons * Portfolio grid with modal windows for each item to showcase more detailed content for each portfolio item * About section with a responsive timeline * Team member section with profile images and social media links * Footer with social links, copyright information, and additional page links * SCSS and Pug files included in the source files on GitHub for deeper customization and development ## Jekyllised * The Agency HTML template has been natively integrated with the Jekyll framework * Works with Ruby 2 and 3 * Portfolio collection - just add new Markdown files to add new portfolio items * Team collection - just add new Markdown files to add new team members # Getting Started (i.e. setting up things on your own computer) ## Requirements * You will need [Ruby](https://jekyllrb.com/docs/installation/) to use [Jekyll](https://jekyllrb.com/). Follow [the guides](https://jekyllrb.com/docs/installation/) on the Jekyll website to install the requiremtns for your operating system. * You will need [Git](https://github.com/git-guides/install-git) installed to deploy your website to Github Pages. Follow [the guide](https://github.com/git-guides/install-git) on the Github website to set setup. ## Installation 1. Create your own copy by forking the repositry. [Click here](https://github.com/davehorsfall/jekyll-startbootstrap-agency/fork) to start a new fork. Afterwards, you will have your own version of the template under your Github username. > [](docs/screenshots/create-fork.png?raw=true) [](docs/screenshots/forked-repo.png?raw=true) 2. Clone your forked repositry. Replace `[USERNAME]` with your own Github username: ```sh $ git clone [email protected]:[USERNAME]/jekyll-startbootstrap-agency.git ``` 2. Change directory into the template: ```sh $ cd jekyll-startbootstrap-agency ``` 3. Install the dependancies in the `Gemfile`: ```sh $ bundle install ``` 4. Start the development server to serve the Jekyll website: ```sh $ bundle exec jekyll serve ``` The Jekyll website should now be avaliable for you view in your browser. The default location is http://127.0.0.1:4000/. # Deploymemt (i.e. publishing your website online for free using Github Pages) You can deploy your website for free using features of Github called [Pages](https://pages.github.com/) and [Actions](https://github.com/actions). Follow the instructions below to deploy your forked copy of the template. 1. In your forked copy of the repo, go to the `Settings` tab at the top, then click the `Pages` link on the left. Here, we see the options for hosting content from your repo. For the `Source` option, make sure **Deploy from a branch** is selected. Then for the `Branch` option, select the **main** branch, as shown in the screenshot below. > [](docs/screenshots/github-pages-setup.png?raw=true) 2. After you make these changes, Github Pages will be setup. By default, an Action called `pages build and deployment` will be run. You can view this under the `Actions` tab. However, this default Action will not build the website correctly. On the Actions tab, select the `deploy` action on the left, and then select `Run Workflow` and click on the **Run Workflow** button. See screenshots below for clarification. > [](docs/screenshots/github-actions-default.png?raw=true) [](docs/screenshots/github-actions-deploy.png?raw=true) [](docs/screenshots/github-actions-run-workflow.png?raw=true) 3. If everything has worked correctly, you will see your `deploy` Action is run successfully. > [](docs/screenshots/github-actions-deploy-success.png?raw=true) 4. After the `deploy` Action has successfully complete, you can return to the `Pages` link, to see a confirmation that your Jekyll website is live, along with a link to the website. You can make furhter changes to your Github Pages setup. For example, enforce HTTPS, or setup a custom domain. See the [Pages documentation](https://docs.github.com/en/pages) for more details. > [](docs/screenshots/github-pages-deploy.png?raw=true)
看看同类模板
对比同技术栈与用途的模板,找到更适合的视觉与内容结构。
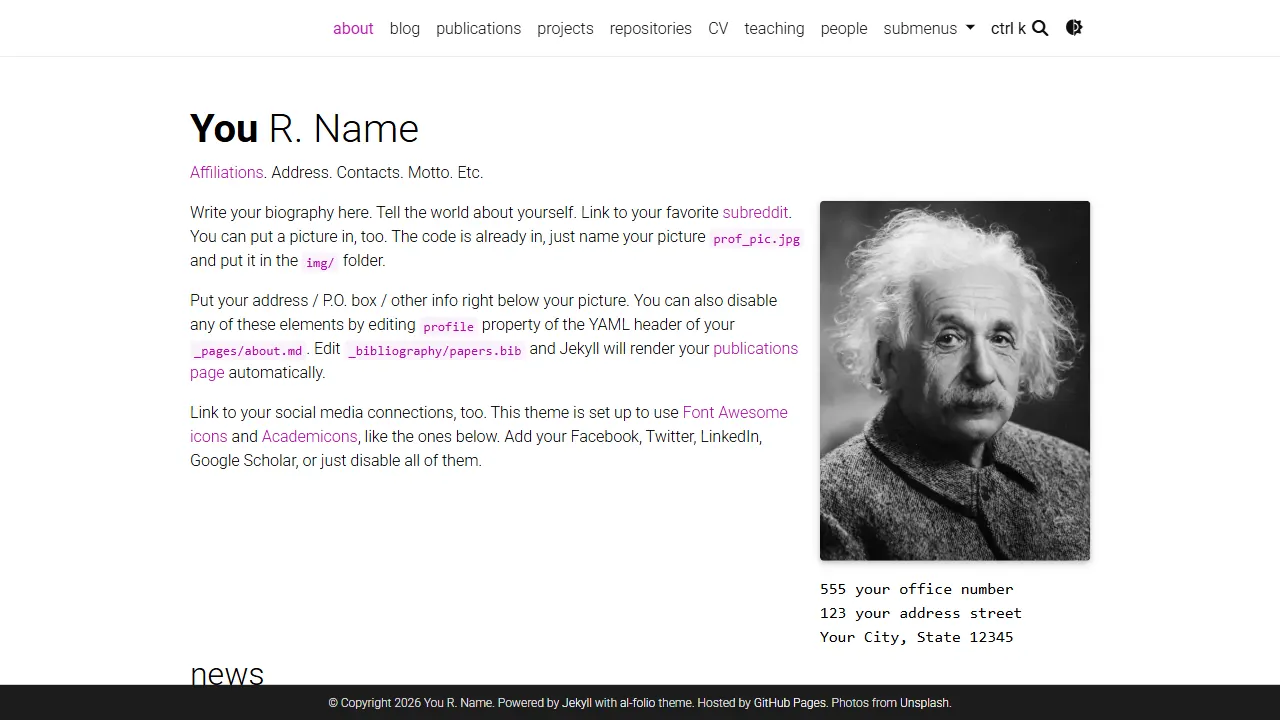
al-folio
al-folio 是一个面向学者与研究人员的 Jekyll 作品集主题,设计简洁、响应式,适合搭建个人学术主页。
Jekyll · 作品集
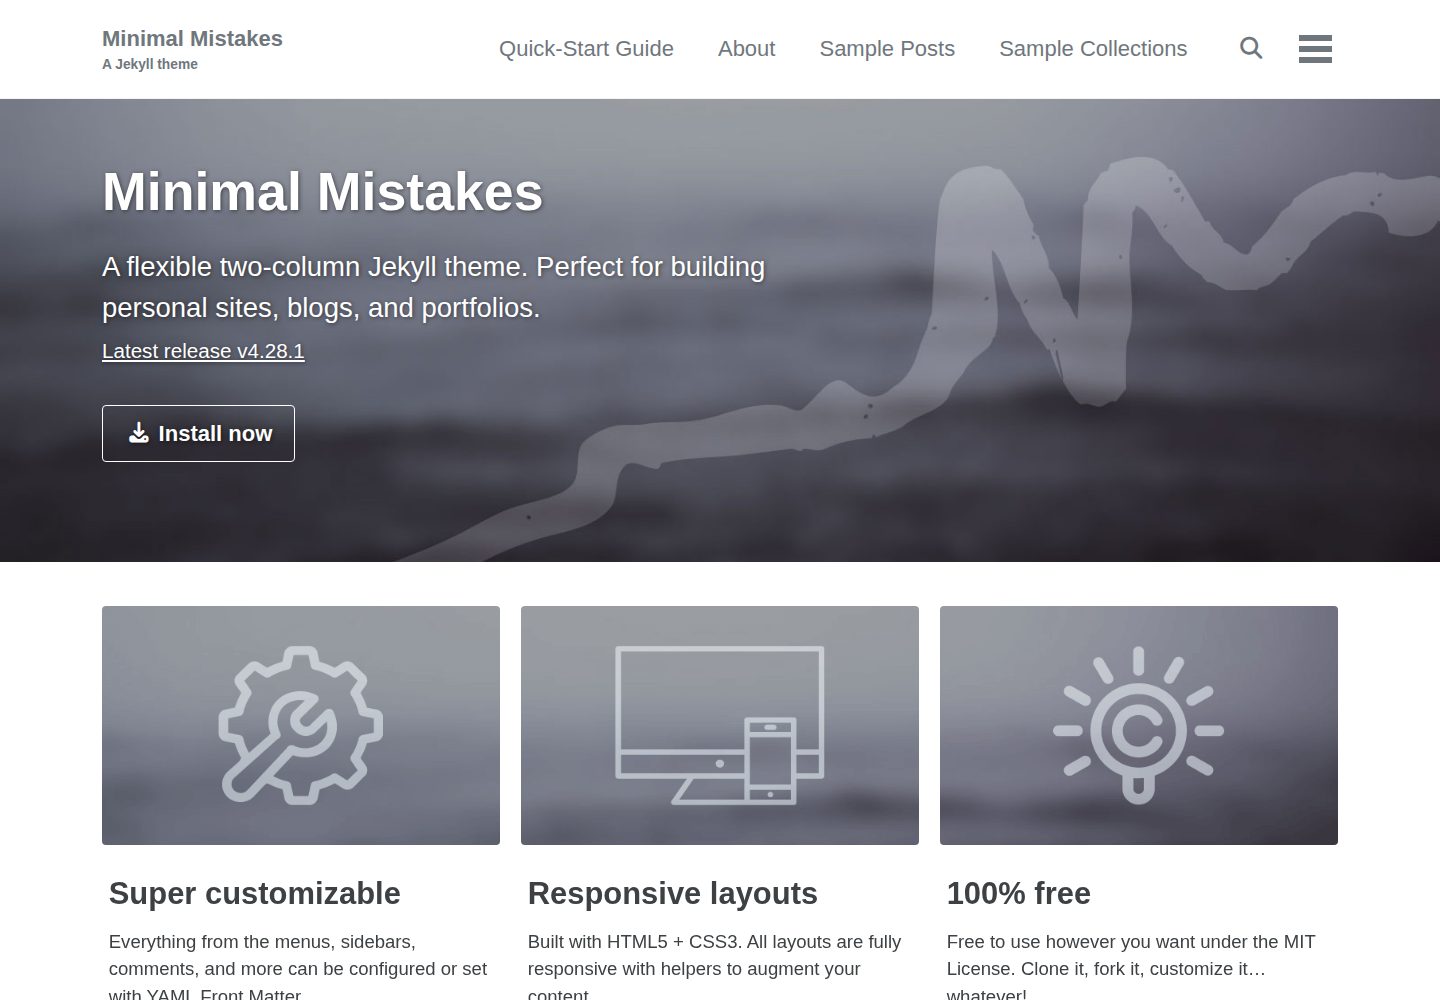
minimal-mistakes
:triangular_ruler: Jekyll theme for building a personal site, blog, project documentation, or portfolio.
Jekyll · 作品集
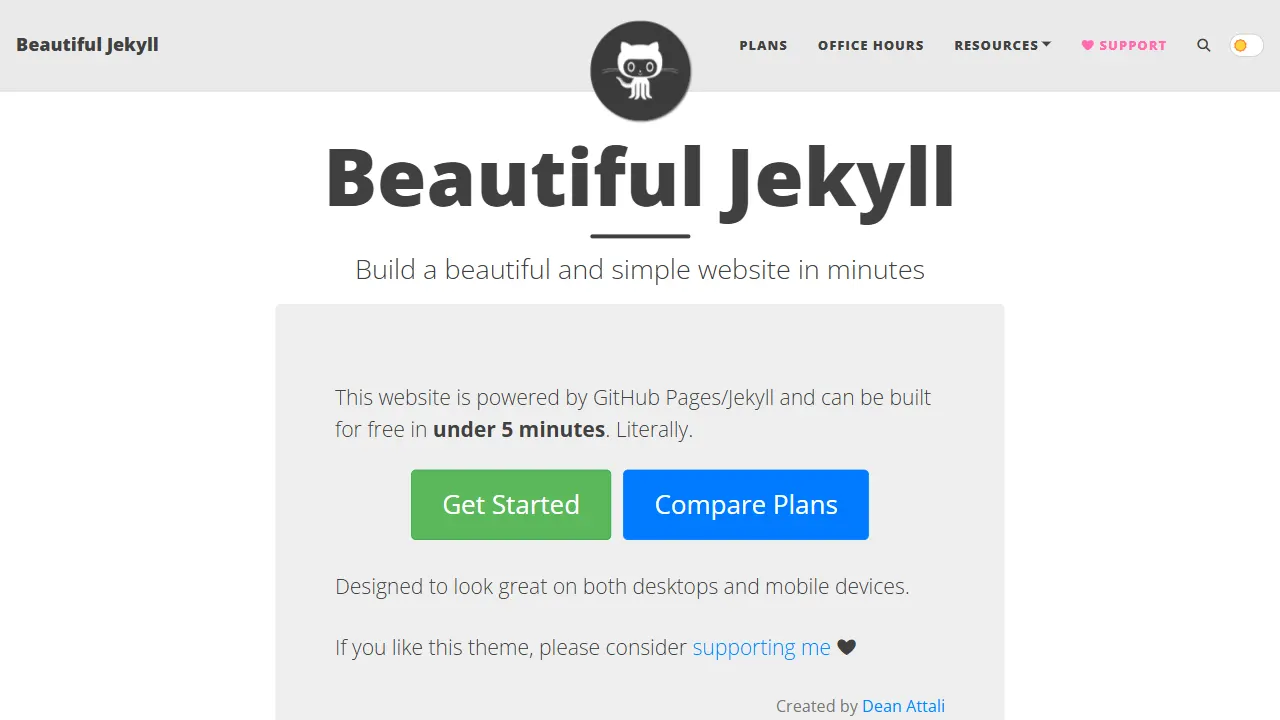
Beautiful Jekyll
Beautiful Jekyll 是一个在 Jekyll 生态中经过长期打磨的博客主题,由 Dean Attali 维护,自 2015 年起积累了超过 5 万用户。
Jekyll · 博客
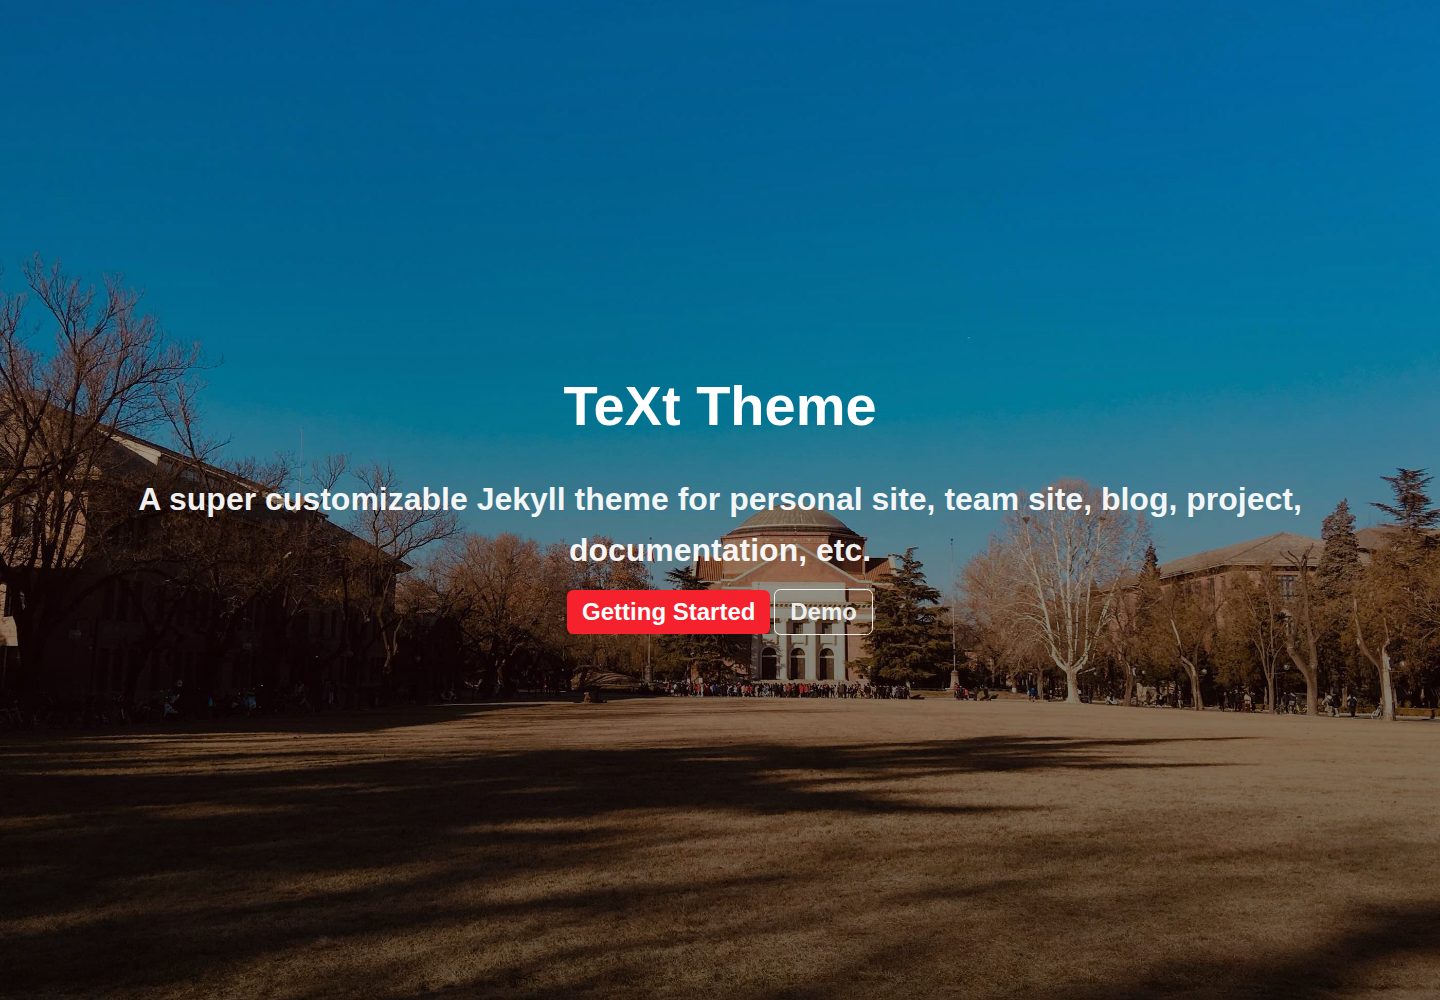
jekyll-TeXt-theme
💎 🐳 A super customizable Jekyll theme for personal site, team site, blog, project, documentation, etc.
Jekyll · 博客
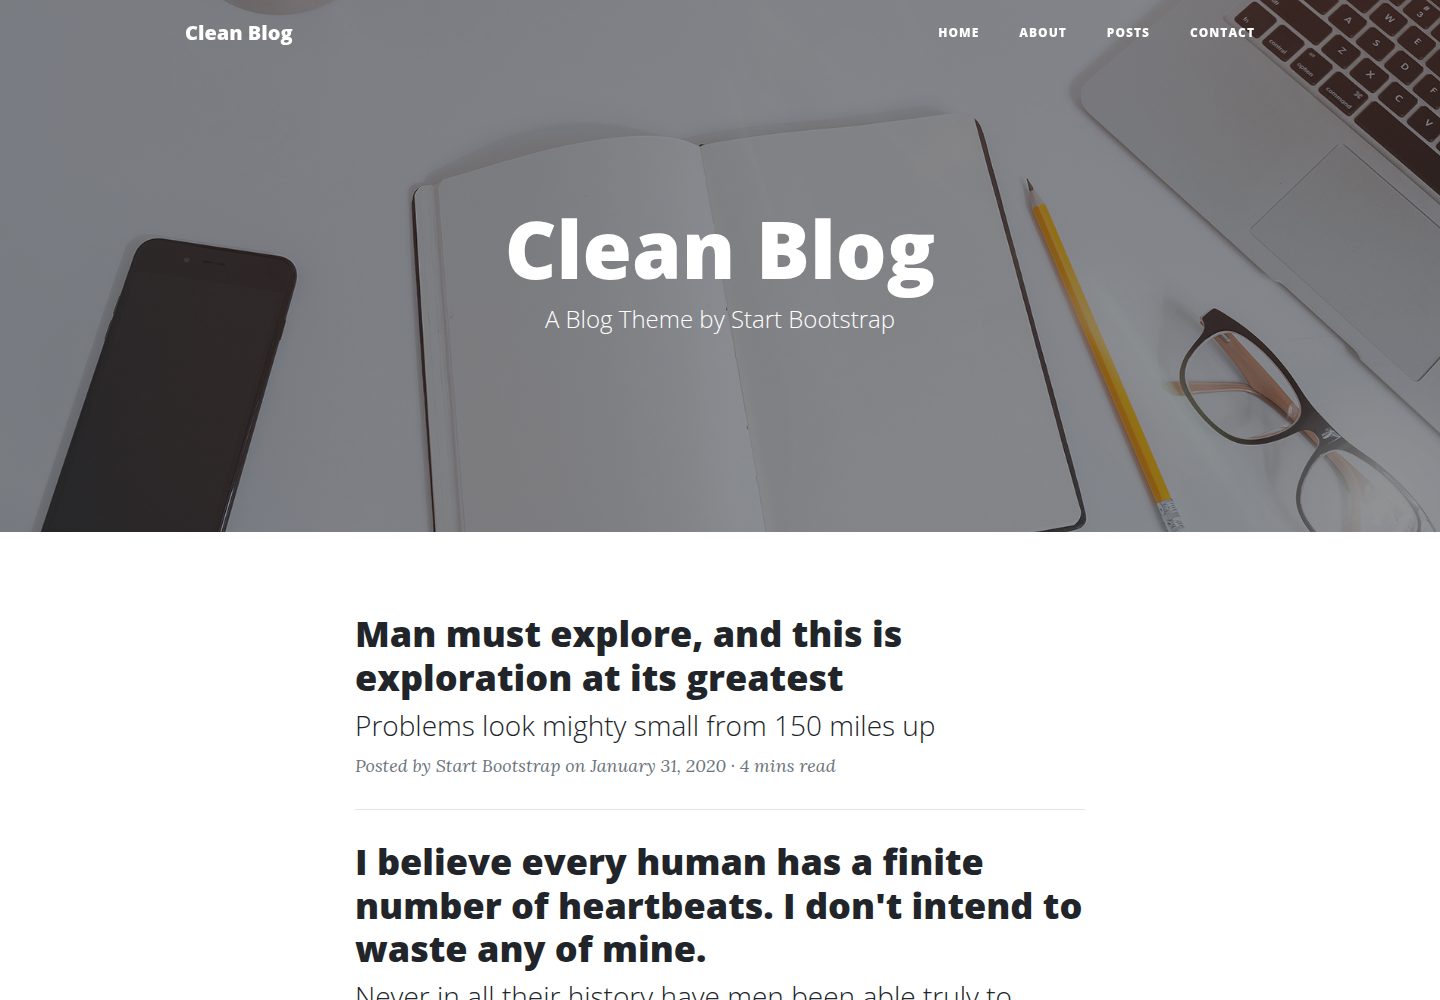
startbootstrap-clean-blog-jekyll
A Jekyll version of the Clean Blog theme by Start Bootstrap
Jekyll · 博客
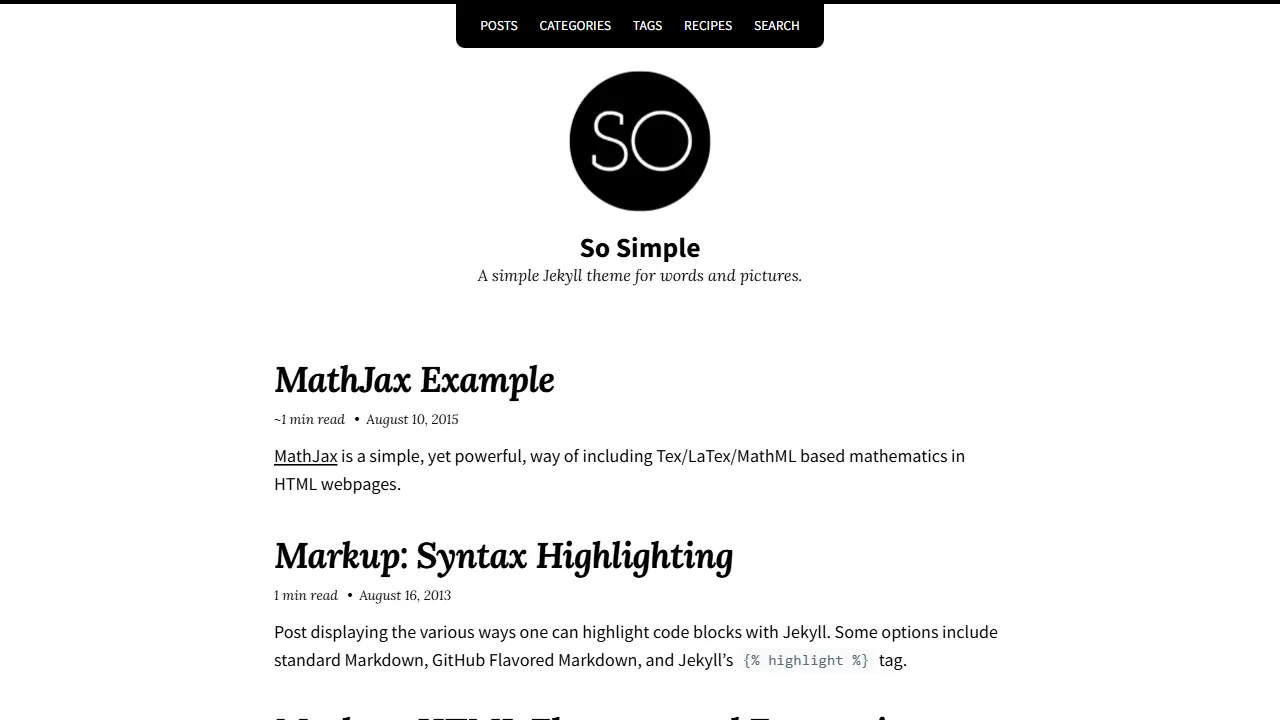
So Simple
So Simple 是 Michael Rose 开发的 Jekyll 主题,定位清晰:为文字和图片提供一个干净、可读性强的展示框架。
Jekyll · 博客