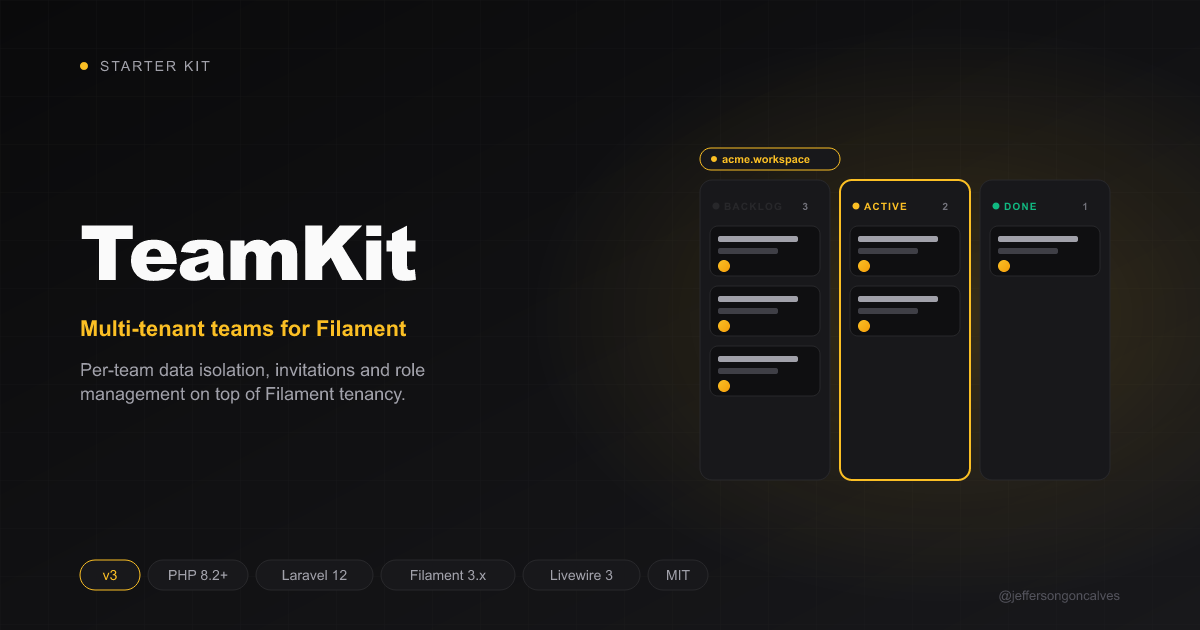
预置 Admin(/admin)、App(/app)与公开三个 Filament 面板
Laravel启动器
teamkit — Laravel 启动器模板
作者 jeffersongoncalves
TeamKit 是基于 Laravel 与 Filament 的启动器,预置 Admin、App 与公开三个面板,并在 App 面板中实现团队多租户、团队邀请与团队切换。
看看你的网站会是什么样
浏览真实页面截图,比较内容排版与手机效果。点击下方缩略图切换,放大查看整页细节。
目前有 1 张原始预览,可打开完整图片查看设计细节。
截图用于了解视觉与布局,交互效果请以实际项目为准。
采集于 2026-10-01查看来源
值得关注的模板亮点
从已有项目资料中,快速了解它的特点。
App 面板内置团队多租户:Team 模型、Membership 中间模型、团队注册与资料页、团队切换器
提供 ApplyTenantScopes 中间件,便于为模型添加按当前租户过滤的全局作用域
内置团队邀请流程:Admin 面板创建邀请,App 面板接受或取消,并校验重复与无效邀请
区分 Admin 与 User 两类用户的多 guard 认证结构
面板路由、中间件、品牌与认证 guard 集中在 config/teamkit.php 配置
模板详细介绍
TeamKit 是一个 Laravel 启动器项目,使用 Filament 构建后台界面,仓库描述为基于 Laravel 12.x 与 Filament 3.x(README 中写作 Laravel 13.x,两者不一致,此处不确认具体版本)。它预置了三个面板:Admin 面板(/admin)面向系统管理员,App 面板(/app)面向已登录的应用用户,以及公开面板作为访客前端。项目自带自定义认证结构,区分 Admin 与 User 两类用户,并支持多 guard。
多租户能力集中在 App 面板:Team 模型包含 user_id(所有者)、name 与 personal_team 字段;用户通过 current_team_id 记录当前团队,User 与 Team 之间通过 Membership 中间模型建立多对多关系。App 面板配置了 Team 作为租户、租户路由前缀 team、团队注册页与团队资料页,当用户属于两个及以上团队时面板顶部显示团队切换器。项目提供 ApplyTenantScopes 中间件,供开发者对模型添加全局作用域以实现按团队隔离数据。
团队邀请流程也已内置:Admin 面板的 TeamInvitationResource 可按团队和邮箱创建邀请,并校验同一团队内邮箱唯一、不能邀请团队所有者或已是成员的用户;App 面板的 Invitations 页面让被邀请人接受或取消邀请,接受后加入团队并跳转到该团队的面板首页。相关标签与通知提供 en、pt_BR、es 三种翻译。
安装方式包括 laravel new 命令、FilaKit CLI、install.php 脚本、手动步骤以及基于 Laravel Sail 的 Docker 方式。面板路由、中间件、品牌与认证 guard 等配置集中在 config/teamkit.php,也可在各自的 PanelProvider 中调整。系统要求为 PHP 8.3 或更高、Composer、Node.js 与 PNPM。项目采用 MIT 许可,代码可免费使用、修改、商用与分发,但演示图片、字体、图标等第三方素材需单独核对许可,域名、托管、数据库等外部服务可能另行收费。
Laravel启动器
适合你的项目吗?
适用场景
- 需要快速搭建带后台管理与用户端的多面板 Laravel 应用
- 应用需要按团队或组织隔离数据,并允许用户创建、切换团队
- 希望通过邮件邀请方式把成员加入团队,并由被邀请人自行接受或取消
- 需要区分管理员与普通用户两套登录入口与权限范围
适合人群
- 使用 Laravel 与 Filament 开发后台或多面板应用的开发者
- 需要多租户团队管理基础结构的项目
- 希望以 MIT 许可代码为起点进行二次开发的团队
- 接受按 README 步骤自行安装与配置数据库、Node 依赖的开发者
上手与定制指南
结合仓库当前版本的说明,按下面的资料检查内容、配置与运行要求。
- 1
系统要求 PHP 8.3 或更高、Composer、Node.js 与 PNPM
- 2
可使用 laravel new --using=jeffersongoncalves/teamkit、FilaKit CLI 或 php install.php 安装,也可按 README 手动执行 composer install、pnpm install、复制 .env、生成 key、迁移与构建资源
- 3
Docker 方式基于 Laravel Sail,需按需调整 APP_PORT、FORWARD_DB_PORT、FORWARD_REDIS_PORT、FORWARD_MAILPIT_PORT 等端口
- 4
开发时可用 composer dev 同时运行服务、队列与资源编译,或分别执行 php artisan serve、php artisan queue:listen、pnpm run dev
- 5
README 与仓库描述对 Laravel 版本表述不一致,安装前请以仓库依赖清单为准
授权与来源资料
使用条件与限制
免费使用 · 保留许可声明本次收录的是公开仓库中采用 MIT 许可的免费版本;免费范围为该版本代码,不代表外部服务或第三方素材免费。
使用时需要遵守
- 允许免费使用、修改、商用和分发该版本代码。
- 分发代码副本或实质性部分时,保留原作者版权声明和完整 MIT 许可声明。
- 代码按现状提供;担保与责任限制以原许可证及适用法律为准。
额外费用与待核对事项
- 运行环境要求 PHP 8.3 或更高版本,低于该版本的 PHP 环境无法使用。
- 安装与构建依赖 Composer、Node.js 与 PNPM,需自行准备这些外部工具链。
- 需自行配置数据库连接(如 MySQL),数据库服务不属于项目自带,可能产生外部成本。
- 可选的 FilaKit CLI 安装方式需全局安装额外的第三方命令行工具。
- Docker/Sail 方式下若端口冲突需自行调整 APP_PORT、数据库、Redis、Mailpit 等端口。
- 演示图片、字体、图标及其他第三方素材需按各自许可核对,不能仅凭代码的 MIT 许可判断。
- 域名、托管、数据库、支付或 AI 等外部服务可能另外收费。
查看原文依据
Permission is hereby granted, free of charge
许可证原文
- PHP 8.3 or higher
README 原文
- Composer - Node.js and PNPM
README 原文
Configure your database in the .env file
README 原文
composer global require jeffersongoncalves/filakit-cli
README 原文
https://github.com/jeffersongoncalves/teamkit/blob/main/LICENSE.mdhttps://github.com/jeffersongoncalves/teamkit/blob/main/README.mdConfiguring custom ports may be necessary if you have other services running on the same ports.
README 原文
DeepSeek 根据仓库许可证和 README 整理 ·2026-10-01。结果仅覆盖已读取资料,依赖、图片、字体及后续条款变更以各自原文为准。
项目核对记录与介绍依据
模板资料
- 来源平台
- GitHub
- 资料与维护参考分
- 资料一般 · 71 / 100
- 技术栈
- Laravel
- 网站类型
- 启动器
这个分数如何计算
本站按许可资料(最高30分)、演示链接(12分)、预览图(10分)、Star数(15分)、记录的维护时间(15分)、描述完整度(8分)、功能记录(5分)和分类资料(5分)计算。它不是代码、安全或性能测试,也不是 Google 评分;有链接不代表已实测可用。
这个项目需要核对什么
- 记录的仓库更新时间
- 2026-09-28
- 截图检查日期
- 2026-10-01
目前没有记录演示链接。请依据仓库说明在本地评估;仅凭截图无法确认交互行为。
目录记录的主要技术栈是 Laravel。请通过依赖清单和锁文件核对实际版本与托管要求。这些说明基于收录资料,不代表代码审计或部署实测。
查看具体选型方法 →介绍的制作与核对状态
介绍由 AI 辅助整理目录与仓库资料。仓库作者不等于这篇介绍的审核者。
已完成服务器许可规则与 AI 来源核对;未经过人工编辑审核。
查看当时使用的来源资料
SHA-256: 3cb4a4dca03b4889f90dc535778c084f1a293996eda18d18013af709a29add64
2026-10-01T02:23:13.379Z
来源文件 / 仓库<div class="filament-hidden">
</div>
# Teamkit Start Kit Filament 3.x and Laravel 13.x
[](https://buymeacoffee.com/jeffersongoncalves)
## About Teamkit
Teamkit is a robust starter kit built on Laravel 13.x and Filament 3.x, designed to accelerate the development of modern
web applications with a ready-to-use multi-panel structure.
## Features
- **Laravel 13.x** - The latest version of the most elegant PHP framework
- **Filament 3.x** - Powerful and flexible admin framework
- **Multi-Panel Structure** - Includes three pre-configured panels:
- Admin Panel (`/admin`) - For system administrators
- App Panel (`/app`) - For authenticated application users
- Public Panel (frontend interface) - For visitors
- **Teams (Multitenancy)** - Team management with registration, profile, and team switching directly in the App panel
- **Environment Configuration** - Centralized configuration through the `config/teamkit.php` file
## System Requirements
- PHP 8.3 or higher
- Composer
- Node.js and PNPM
## Installation
Clone the repository
``` bash
laravel new my-app --using=jeffersongoncalves/teamkit --database=mysql
```
### Using FilaKit CLI
Or use [FilaKit CLI](https://github.com/jeffersongoncalves/filakit-cli) for a simplified setup:
```bash
filakit new my-app --kit=jeffersongoncalves/teamkit
```
> Install FilaKit CLI: `composer global require jeffersongoncalves/filakit-cli`
### Easy Installation
Teamkit can be easily installed using the following command:
```bash
php install.php
```
This command automates the installation process by:
- Installing Composer dependencies
- Setting up the environment file
- Generating application key
- Setting up the database
- Running migrations
- Installing Node.js dependencies
- Building assets
- Configuring Herd (if used)
### Manual Installation
Install JavaScript dependencies
``` bash
pnpm install
```
Install Composer dependencies
``` bash
composer install
```
Set up environment
``` bash
cp .env.example .env
php artisan key:generate
```
Configure your database in the .env file
Run migrations
``` bash
php artisan migrate
```
Build frontend assets
``` bash
pnpm run build
```
Run the server
``` bash
php artisan serve
```
## Installation with Docker
Clone the repository
```bash
laravel new my-app --using=jeffersongoncalves/teamkit --database=mysql
```
Move into the project directory
```bash
cd my-app
```
Install Composer dependencies
```bash
composer install
```
Set up environment
```bash
cp .env.example .env
```
Configuring custom ports may be necessary if you have other services running on the same ports.
```bash
# Application Port (ex: 8080)
APP_PORT=8080
# MySQL Port (ex: 3306)
FORWARD_DB_PORT=3306
# Redis Port (ex: 6379)
FORWARD_REDIS_PORT=6379
# Mailpit Port (ex: 1025)
FORWARD_MAILPIT_PORT=1025
```
Start the Sail containers
```bash
./vendor/bin/sail up -d
```
You won’t need to run `php artisan serve`, as Laravel Sail automatically handles the development server within the container.
Attach to the application container
```bash
./vendor/bin/sail shell
```
Generate the application key
```bash
php artisan key:generate
```
Install JavaScript dependencies
```bash
pnpm install
```
## Authentication Structure
Teamkit comes pre-configured with a custom authentication system that supports different types of users:
- `Admin` - For administrative panel access
- `User` - For application panel access
## Teams – Multitenancy in the App Panel
Teamkit includes native support for Teams (multitenancy) in the application panel (`/app`). This allows you to isolate data by team and provide a multi‑company/multi‑project experience.
Key points:
- Team model: `App\Models\Team` with fields `user_id` (owner), `name`, and `personal_team`.
- Current user and current team: the user has `current_team_id` and helper methods for team management.
- Tenancy in Filament: the App panel is configured with tenant `Team::class`, tenant route prefix `team`, a team registration page, and a team profile page.
URLs and navigation:
- App panel: `/app`
- Team registration: `/app/team/register` (also accessible via the user menu under Tenancy)
- Team profile: accessible from the Tenancy menu when a team is selected (e.g., `/app/team/{id}/profile` – managed by Filament)
- Team switcher: appears at the top of the panel when the user belongs to 2+ teams.
Creating and managing teams:
- Register a team: at `/app/team/register`, enter the team name. The authenticated user becomes the team owner (`user_id`).
- Edit team profile: via the “Team profile” page, allowing you to change the team `name`.
- Switch teams: use the switcher at the top of Filament. Programmatically: `$user->switchTeam($team)`.
User ↔ team association:
- Team owner: the creator is the owner (field `user_id`).
- Members: the many‑to‑many relationship `User::teams()`/`Team::users()` uses the pivot represented by `App\Models\Membership`.
- Access rules: `User::canAccessTenant($tenant)` validates whether the user belongs to the team (owner or member). The `User::getTenants()` method returns the list for the switcher.
Team‑scoped data:
- Middleware: `App\Http\Middleware\ApplyTenantScopes` is prepared for you to apply global scopes to your models, for example:
```php
// Example (uncomment and adapt):
// SomeModel::addGlobalScope(
// fn (Builder $query) => $query->whereBelongsTo(Filament::getTenant()),
// );
```
- Adapt your Resources/queries to always consider the current tenant when applicable.
Relevant migrations:
- `database/migrations/0001_01_01_000005_create_teams_table.php`
- Creates the `teams` table with: `id`, `user_id` (indexed), `name`, and `personal_team` (boolean), plus timestamps.
Filament pages related to Teams:
- Registration: `App\Filament\App\Pages\Tenancy\RegisterTeam` (uses `Filament\Pages\Tenancy\RegisterTenant`).
- Profile: `App\Filament\App\Pages\Tenancy\EditTeamProfile` (uses `Filament\Pages\Tenancy\EditTenantProfile`).
App panel configuration (summary):
- `App\Providers\Filament\AppPanelProvider`
- `->tenant(Team::class)`
- `->tenantRoutePrefix('team')`
- `->tenantRegistration(RegisterTeam::class)`
- `->tenantProfile(EditTeamProfile::class)`
- `->tenantMiddleware([ApplyTenantScopes::class], isPersistent: true)`
Tips:
- When creating new Models/Resources that should be isolated by team, remember to relate them to `Team` and apply the scope in the middleware or in your queries.
- If you need to define a default team, `User::currentTeam` is resolved automatically if `current_team_id` is empty (it falls back to the personal team if it exists).
### Team Invitations (New)
Teamkit now includes a built‑in Team Invitations flow to add members to a team by email.
What you can do:
- Invite users to a team (Admin panel)
- Allow invited users to Accept or Cancel invitations (App panel)
- Prevent duplicate or invalid invitations via built‑in validation
Where to manage invitations:
- Admin panel: Team Invitations resource
- Create an invitation by selecting a Team and entering the invitee's email address.
- Per‑team uniqueness: the same email cannot be invited twice to the same team.
- Safety checks: you cannot invite a user who is already the team owner or an existing team member. In these cases you will see "The email has already been taken.".
- App panel: Invitations page (via the user menu)
- Invited users see a list of invitations addressed to the currently authenticated email.
- Actions:
- Accept: adds the user to the team and redirects to that team's dashboard in the App panel.
- Cancel: removes the pending invitation.
- Both actions show success notifications.
Notes and implementation details:
- The App panel shows a user menu item named "Invitations" when a team context exists. It opens the invitations list for the signed‑in user.
- After accepting an invitation, the user is redirected to the App dashboard for the invited team, effectively switching context to that team.
- Relevant classes (for reference):
- App\Filament\App\Pages\TeamInvitationAccept (App panel)
- App\Filament\Admin\Resources\TeamInvitationResource (Admin panel)
- App\Models\TeamInvitation (model)
- Translations are available (en, pt_BR, es) for labels and notifications.
## Development
``` bash
# Run the development server with logs, queues and asset compilation
composer dev
# Or run each component separately
php artisan serve
php artisan queue:listen --tries=1
pnpm run dev
```
## Customization
### Panel Configuration
Panels can be customized through their respective providers:
- `app/Providers/Filament/AdminPanelProvider.php`
- `app/Providers/Filament/AppPanelProvider.php`
- `app/Providers/Filament/PublicPanelProvider.php`
Alternatively, these settings are also consolidated in the `config/teamkit.php` file for easier management.
### Themes and Colors
Each panel can have its own color scheme, which can be easily modified in the corresponding Provider files or in the
`teamkit.php` configuration file.
### Configuration File
The `config/teamkit.php` file centralizes the configuration of the starter kit, including:
- Panel routes
- Middleware for each panel
- Branding options (logo, colors)
- Authentication guards
## Resources
Teamkit includes support for:
- User and admin management
- Multi-guard authentication system
- Tailwind CSS integration
- Database queue configuration
- Customizable panel routing and branding
## License
This project is licensed under the [MIT License](LICENSE).
## Credits
Developed by [Jefferson Gonçalves](https://github.com/jeffersongoncalves).
看看同类模板
对比同技术栈与用途的模板,找到更适合的视觉与内容结构。
sage
WordPress starter theme with Laravel Blade components and templates, Tailwind CSS, and block editor support
Laravel · 启动器
wave
Wave - The Software as a Service Starter Kit, designed to help you build the SAAS of your dreams 🚀 💰
Laravel · SaaS
filament-starter
A beautiful starting point for your next TALL stack project using Filament. ⚡
Laravel · 启动器
electrik
Laravel SaaS starter kit: auth, teams, Stripe billing, and Slate 3 — Composer package for Laravel 12
Laravel · SaaS
php-saas
The everything-included starter kit for your next idea
Laravel · SaaS
filament-jetstream
A Laravel starter kit built with Filament inspired by Jetstream.
Laravel · 启动器