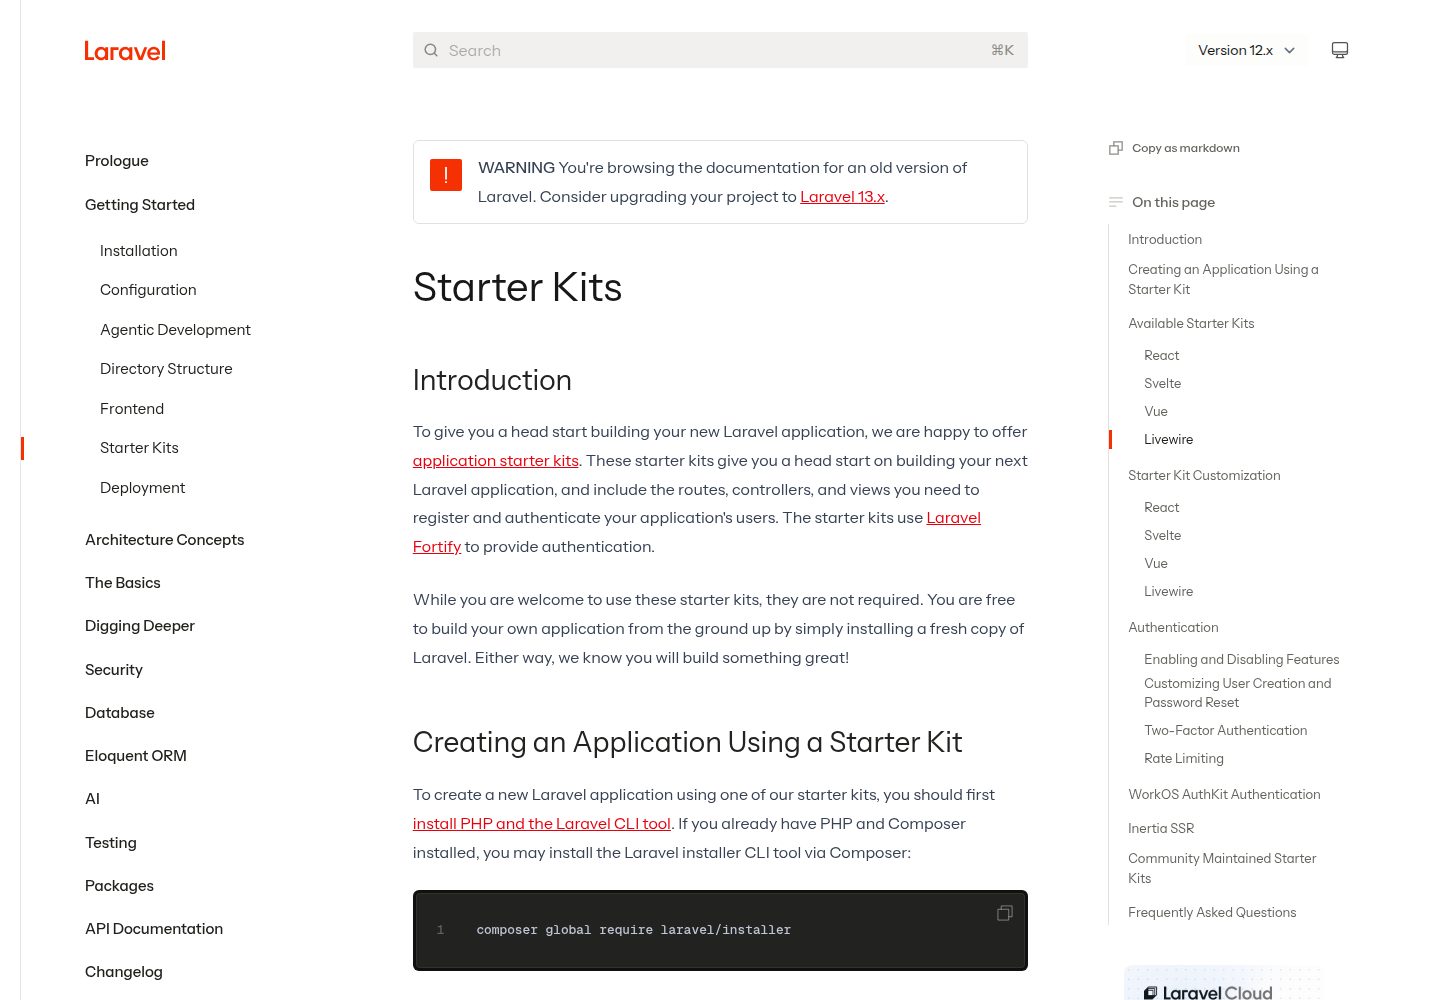
基于 Laravel 官方 Livewire starter kit 扩展,保留原有 Livewire 技术栈
Laravel启动器
laravel-starter-kit-livewire — Laravel 启动器模板
作者 marekmiklusek
基于 Laravel 官方 Livewire 启动套件的增强版本,加入数据库备份、Telegram 日志、代码质量与测试工具链。
看看你的网站会是什么样
浏览真实页面截图,比较内容排版与手机效果。点击下方缩略图切换,放大查看整页细节。
全部页面与视图 3
截图用于了解视觉与布局,交互效果请以实际项目为准。
采集于 2026-10-02查看来源
值得关注的模板亮点
从已有项目资料中,快速了解它的特点。
预置 marekmiklusek/database-backup,支持本地或 Google Drive 的 MySQL 自动备份与 14 天保留策略
预置 marekmiklusek/telegram-logger,将日志与异常实时推送到 Telegram,默认仅发送 error 及以上级别
通过环境变量开关控制用户注册与双因素认证,关闭时对应路由返回 404 并隐藏入口
内置英语与捷克语翻译,可通过 APP_LOCALE 切换语言
composer lint 与 composer test 覆盖 Rector、Pint、Prettier、PHPStan、Pest 及类型与代码覆盖率检查
模板详细介绍
这是 marekmiklusek 维护的 Laravel Livewire 启动套件,在 Laravel 官方 Livewire starter kit 基础上增加了开发工作流与代码质量工具。除 Laravel 默认的 Livewire 技术栈外,项目预置了两个作者自研包:marekmiklusek/database-backup 用于将 MySQL 备份到本地存储或 Google Drive,marekmiklusek/telegram-logger 用于把日志与异常实时推送到 Telegram。
安装通过 composer create-project 创建项目,随后运行 composer setup 完成依赖安装、.env 与 .env.production 生成、应用密钥生成、数据库迁移、NPM 依赖安装与前端资源构建。开发时可用 composer dev 同时启动 Laravel 开发服务器、队列监听、Pail 日志查看器和 Vite 开发服务器。
配置层面提供若干开关:FORTIFY_REGISTRATION_ENABLED 控制用户自助注册,关闭后 /register 路由返回 404 且登录页注册链接隐藏;FORTIFY_2FA_ENABLED 控制双因素认证,关闭后相关路由与设置入口一并移除。语言方面内置英语与捷克语翻译,通过 APP_LOCALE 切换。数据库备份默认每日 02:00 调度执行,备份存放在 local 磁盘的 storage/app/private/database-backups,保留 14 天。Telegram 日志默认只发送 error 及以上级别,需同时启用开关并填写 bot token 与 chat id 才会生效。
代码质量方面,composer lint 依次运行 Rector、Laravel Pint 与 Prettier;composer test 包含类型覆盖率、代码覆盖率、Pest 单元与功能测试、代码风格校验和 PHPStan 静态分析。项目还包含 Pest 4 的浏览器测试能力,需另行安装 Playwright。仓库采用 MIT 许可,但演示图片、字体、图标等第三方素材以及域名、托管、数据库等外部服务需单独核对与付费。
Laravel启动器
适合你的项目吗?
适用场景
- 需要以 Laravel Livewire 为基础快速搭建带认证与设置页面的新项目
- 希望项目自带数据库定时备份与异常 Telegram 通知能力
- 需要在项目初期就接入统一的代码格式化、静态分析与测试流水线
- 面向英语与捷克语用户、需要多语言界面与验证消息的项目
适合人群
- 使用 Laravel 与 Livewire 开发 Web 应用的团队或个人开发者
- 需要开箱即用的认证、注册开关与双因素认证配置的项目
- 希望将数据库备份和错误日志通知纳入项目默认配置的开发者
- 重视代码风格统一与测试覆盖率的项目
上手与定制指南
结合仓库当前版本的说明,按下面的资料检查内容、配置与运行要求。
- 1
使用 composer create-project marekmiklusek/laravel-starter-kit-livewire --prefer-dist 创建项目,再运行 composer setup 完成初始化
- 2
需要 PHP、Composer、Node.js 与 NPM,以及 MySQL 或自选数据库;数据库连接信息在 .env 中配置
- 3
如需 Pest 浏览器测试,额外执行 npm install playwright 与 npx playwright install 安装浏览器二进制
- 4
Telegram 日志需在 .env 中设置 TELEGRAM_LOGGER_ENABLED、TELEGRAM_BOT_TOKEN 与 TELEGRAM_CHAT_ID 才会生效
- 5
config/essentials.php 默认将模型设为 unguarded,可按需改为使用 $fillable 的受保护模型
授权与来源资料
使用条件与限制
免费使用 · 保留许可声明本次收录的是公开仓库中采用 MIT 许可的免费版本;免费范围为该版本代码,不代表外部服务或第三方素材免费。
使用时需要遵守
- 允许免费使用、修改、商用和分发该版本代码。
- 分发代码副本或实质性部分时,保留原作者版权声明和完整 MIT 许可声明。
- 代码按现状提供;担保与责任限制以原许可证及适用法律为准。
额外费用与待核对事项
- Google Drive 备份需自行配置 google 磁盘并设置 storage.disk,属于外部服务集成,需自行准备 Google 账号与凭据。
- Telegram 日志功能需自行申请并填写 TELEGRAM_BOT_TOKEN 与 TELEGRAM_CHAT_ID,依赖外部 Telegram 服务。
- 浏览器测试需额外安装 Playwright 及其浏览器二进制,非默认包含。
- 需要自备 MySQL 或其他数据库服务,数据库托管与运行成本由使用者承担。
- 演示图片、字体、图标及其他第三方素材需按各自许可核对,不能仅凭代码的 MIT 许可判断。
- 域名、托管、数据库、支付或 AI 等外部服务可能另外收费。
查看原文依据
Permission is hereby granted, free of charge
许可证原文
To back up to Google Drive instead of (or alongside) local storage, add a `google` disk to `config/filesystems.php` and set `storage.disk`.
README 原文
Add your bot credentials to `.env` (the keys are already present in `.env.example`):
README 原文
If you plan to use Pest's browser testing capabilities, install Playwright:
README 原文
https://github.com/marekmiklusek/laravel-starter-kit-livewire/blob/main/LICENSEhttps://github.com/marekmiklusek/laravel-starter-kit-livewire/blob/main/README.mdMySQL (or your preferred database)
README 原文
DeepSeek 根据仓库许可证和 README 整理 ·2026-10-02。结果仅覆盖已读取资料,依赖、图片、字体及后续条款变更以各自原文为准。
项目核对记录与介绍依据
模板资料
- 来源平台
- GitHub
- 资料与维护参考分
- 资料较完整 · 83 / 100
- 技术栈
- Laravel
- 网站类型
- 启动器
这个分数如何计算
本站按许可资料(最高30分)、演示链接(12分)、预览图(10分)、Star数(15分)、记录的维护时间(15分)、描述完整度(8分)、功能记录(5分)和分类资料(5分)计算。它不是代码、安全或性能测试,也不是 Google 评分;有链接不代表已实测可用。
这个项目需要核对什么
- 记录的仓库更新时间
- 2026-09-30
- 截图检查日期
- 2026-10-02
已收录演示链接。请用你的内容与屏幕尺寸检查;有演示不代表表单、认证或支付已经可用。
目录记录的主要技术栈是 Laravel。请通过依赖清单和锁文件核对实际版本与托管要求。这些说明基于收录资料,不代表代码审计或部署实测。
查看具体选型方法 →介绍的制作与核对状态
介绍由 AI 辅助整理目录与仓库资料。仓库作者不等于这篇介绍的审核者。
已完成服务器许可规则与 AI 来源核对;未经过人工编辑审核。
查看当时使用的来源资料
SHA-256: d82692f97948e40a6cf0e5afca5bb9af70c6963dff15d554a304dc06f56c0193
2026-10-02T14:41:33.240Z
来源文件 / 仓库# 🚀 Laravel Livewire Starter Kit
[Laravel's official Livewire starter kit](https://laravel.com/docs/12.x/starter-kits#livewire) enhanced with development workflow tools, code quality standards, and additional developer experience improvements from [laravel-starter-kit](https://github.com/marekmiklusek/laravel-starter-kit). ✨
## 📦 Bundled Packages
Beyond Laravel's default Livewire stack, this kit ships pre-configured with:
- [marekmiklusek/database-backup](https://github.com/marekmiklusek/database-backup): automated MySQL backups to local storage or Google Drive ([setup](#-database-backups))
- [marekmiklusek/telegram-logger](https://github.com/marekmiklusek/telegram-logger): real-time log and exception delivery to Telegram ([setup](#-telegram-error-logging))
## 📋 Requirements
- PHP: see the `php` constraint in [`composer.json`](composer.json)
- Composer
- Node.js & NPM
- MySQL (or your preferred database)
## 🚀 Quick Start
> [!NOTE]
> - In `config/database.php`, `'engine' => 'InnoDB',` is used as the default for both `mysql` and `mariadb` connections.
> - In `config/essentials.php`, models are unguarded by default via `Unguard::class => true`. This allows mass assignment without explicitly defining `$fillable` properties. You can change this setting if you prefer to use guarded models.
### 📦 Installation
Create a new Laravel Livewire project:
```bash
composer create-project marekmiklusek/laravel-starter-kit-livewire --prefer-dist app-name
```
Run the automated setup script:
```bash
composer setup
```
This command will:
1. Install PHP dependencies via Composer
2. Create `.env` file from `.env.example` (if not exists)
3. Create `.env.production` file from `.env.example` (if not exists)
4. Generate application key
5. Run database migrations
6. Install NPM dependencies
7. Build frontend assets
### ⚙️ Additional Setup
#### 🔧 Environment Configuration
After running `composer setup`, configure your `.env` file with your database credentials:
```env
DB_CONNECTION=mysql
DB_HOST=127.0.0.1
DB_PORT=3306
DB_DATABASE=your_database_name
DB_USERNAME=your_username
DB_PASSWORD=your_password
```
#### 🌐 Browser Testing Setup (Optional)
If you plan to use Pest's browser testing capabilities, install Playwright:
```bash
npm install playwright
npx playwright install
```
This installs the necessary browser binaries for running browser tests.
#### 🌍 Localization
The starter kit ships with English (`en`) and Czech (`cs`) translations. Translation files live in the `lang/` directory:
```
lang/
├── en.json # UI strings (English)
├── cs.json # UI strings (Czech)
├── en/
│ ├── auth.php # Authentication messages
│ ├── passwords.php # Password reset messages
│ ├── pagination.php # Pagination labels
│ └── validation.php # Validation messages
└── cs/
├── auth.php
├── passwords.php
├── pagination.php
└── validation.php
```
Switch the active language by setting `APP_LOCALE` in your `.env` file:
```env
APP_LOCALE=cs
APP_FALLBACK_LOCALE=en
```
To add another language, create a new `lang/{locale}.json` for UI strings and a matching `lang/{locale}/` directory for the framework files.
#### 🔐 Enable / Disable Registration
User self-registration is controlled by a single switch via the `FORTIFY_REGISTRATION_ENABLED` env variable:
```env
FORTIFY_REGISTRATION_ENABLED=true # default, registration is open
FORTIFY_REGISTRATION_ENABLED=false # disable registration
```
When set to `false`:
- The `/register` route is not registered and returns **404**
- The "Don't have an account? Sign up" link on the login page is hidden automatically
The flag is also exposed as `config()->boolean('fortify.registration_enabled')` if you need to read it elsewhere in the application.
#### 🔑 Enable / Disable Two-Factor Authentication
Two-factor authentication is controlled by a single switch via the `FORTIFY_2FA_ENABLED` env variable:
```env
FORTIFY_2FA_ENABLED=true # default, 2FA is available
FORTIFY_2FA_ENABLED=false # disable 2FA
```
When set to `false`:
- The `/settings/two-factor` route is not registered and returns **404**
- The "Two-Factor Auth" link in the settings sidebar is hidden automatically
- Fortify's `/two-factor-*` endpoints (challenge, enable, confirm, recovery codes) are not registered
The `TwoFactorAuthenticatable` trait stays on the `User` model. It is inert without the feature registered, and removing it would break factories that fill 2FA columns. Tests always run with 2FA enabled regardless of `.env` (forced via `phpunit.xml`), so the 100% coverage gate is not affected by toggling this flag locally.
#### 💾 Database Backups
The starter kit ships with [marekmiklusek/database-backup](https://github.com/marekmiklusek/database-backup) for automated MySQL backups. The config is already published to `config/database-backup.php`, so no `vendor:publish` is needed.
Backups are stored locally on the `local` disk in `storage/app/private/database-backups`, and old backups are cleaned up automatically after **14 days**.
A daily backup is already scheduled in `routes/console.php`:
```php
Schedule::command('db-backup:run')
->dailyAt('02:00')
->onOneServer()
->runInBackground();
```
Run it manually at any time:
```bash
php artisan db-backup:run # create a backup
php artisan db-backup:cleanup # delete backups older than the retention period
```
Adjust the disk, directory, filename pattern, retention period, and mail notifications in `config/database-backup.php`. To back up to Google Drive instead of (or alongside) local storage, add a `google` disk to `config/filesystems.php` and set `storage.disk`. See the [package README](https://github.com/marekmiklusek/database-backup) for the full Google Drive setup guide.
#### 📢 Telegram Error Logging
The starter kit ships with [marekmiklusek/telegram-logger](https://github.com/marekmiklusek/telegram-logger), which forwards Laravel log messages and exceptions to a Telegram chat in real time. The config is already published to `config/telegram-logger.php`.
Add your bot credentials to `.env` (the keys are already present in `.env.example`):
```env
TELEGRAM_LOGGER_ENABLED=true # default, set to false to disable the logger entirely
TELEGRAM_BOT_TOKEN=your_bot_token
TELEGRAM_CHAT_ID=your_chat_id
```
No logging channel setup is required. The package hooks into Laravel's log events automatically, so ordinary `Log::error()` calls and unhandled exceptions are delivered:
```php
use Illuminate\Support\Facades\Log;
Log::error('User not found', ['user_id' => 42]);
```
By default only `error` and above are sent. Change the threshold or enable silent notifications in `config/telegram-logger.php`:
```php
'level' => 'error', // debug | info | warning | error | critical
'silent_notification' => false, // true = no sound/vibration
'is_enabled' => env('TELEGRAM_LOGGER_ENABLED', true),
```
> [!TIP]
> The logger stays idle unless it is enabled **and** both credentials are set, so leaving `TELEGRAM_BOT_TOKEN` and `TELEGRAM_CHAT_ID` empty in local development sends nothing. Use `TELEGRAM_LOGGER_ENABLED=false` to switch it off per environment without clearing the credentials.
#### 🚀 Production Environment
The setup script automatically creates a `.env.production` file. Configure it with production-specific settings:
```bash
# Edit .env.production with your production settings
```
Configure production environment variables:
- Set `APP_ENV=production`
- Set `APP_DEBUG=false`
- Configure production database credentials
- Set secure `APP_KEY` (generated during setup)
- Configure mail, cache, queue, and session drivers
- Set proper logging channels
## 💻 Development
### 🖥️ Running the Development Server
Start all development services concurrently:
```bash
composer dev
```
This starts:
- **Laravel development server** (port 8000) - Your Livewire application
- **Queue listener** - Background job processing
- **Log viewer (Pail)** - Real-time log monitoring
- **Vite dev server** - Hot Module Replacement for CSS/JS
Your Livewire application will be available at `http://localhost:8000` 🎉
## 🔍 Code Quality
### 🧹 Linting & Formatting
Fix code style issues:
```bash
composer lint
```
This runs:
- Rector (PHP refactoring)
- Laravel Pint (PHP formatting)
- Prettier (frontend formatting)
### 🧪 Testing
Run the full test suite:
```bash
composer test
```
This includes:
- Type coverage (100% minimum)
- Code coverage (100% required)
- Unit and feature tests (Pest)
- Code style validation
- Static analysis (PHPStan)
### 🌐 Browser Testing
This starter kit includes Pest 4 with browser testing capabilities. Create browser tests in `tests/Browser/`:
```php
it('displays the login page', function () {
$page = visit('/login');
$page->assertSee('Log in')
->assertNoJavascriptErrors();
});
```
### 🧪 Testing Livewire Components
Test your Livewire components with Pest's built-in Livewire testing:
```php
use Livewire\Livewire;
it('can update user profile', function () {
$user = User::factory()->create();
Livewire::actingAs($user)
->test(\App\Livewire\Settings\Profile::class)
->set('name', 'New Name')
->call('save')
->assertHasNoErrors()
->assertDispatched('profile-updated');
expect($user->fresh()->name)->toBe('New Name');
});
```
## 📜 Available Scripts
### 🎼 Composer Scripts
- `composer setup` - Initial project setup
- `composer dev` - Run all development services
- `composer lint` - Fix code style issues
- `composer test` - Run full test suite
- `composer test:unit` - Run Pest tests only
- `composer test:types` - Run PHPStan analysis
- `composer test:type-coverage` - Check type coverage
- `composer test:lint` - Validate code style
- `composer update:requirements` - Update all dependencies
### 📦 NPM Scripts
- `npm run dev` - Start Vite dev server
- `npm run build` - Build for production
- `npm run lint` - Format frontend code
- `npm run test:lint` - Check frontend code style
## 📄 License
This project is licensed under the MIT License - see the [LICENSE](LICENSE) file for details.
看看同类模板
对比同技术栈与用途的模板,找到更适合的视觉与内容结构。
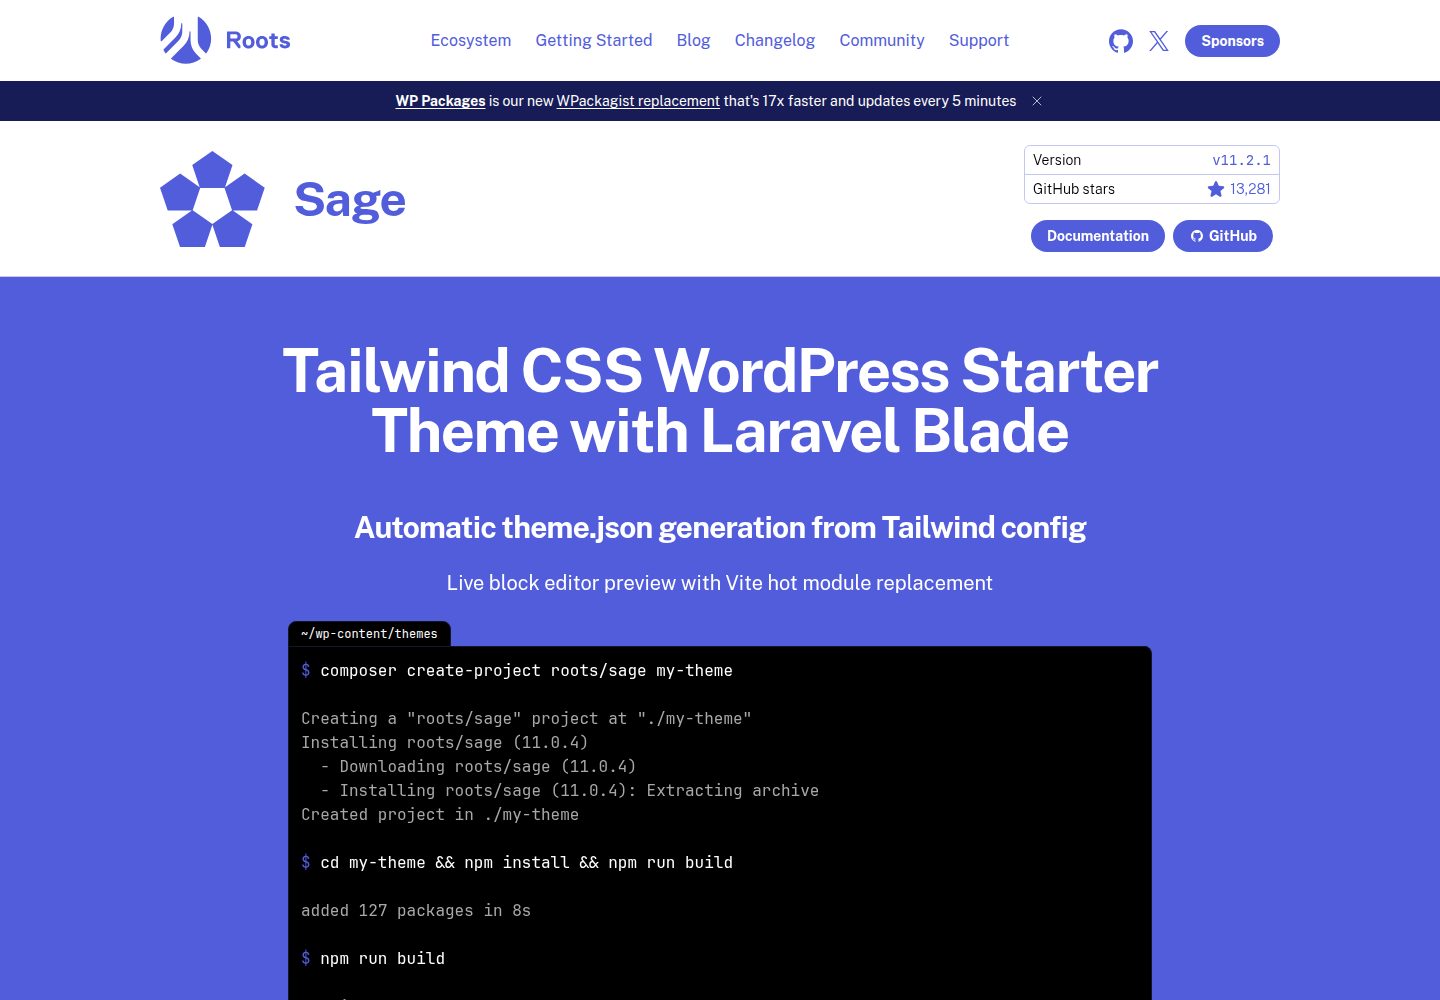
sage
WordPress starter theme with Laravel Blade components and templates, Tailwind CSS, and block editor support
Laravel · 启动器
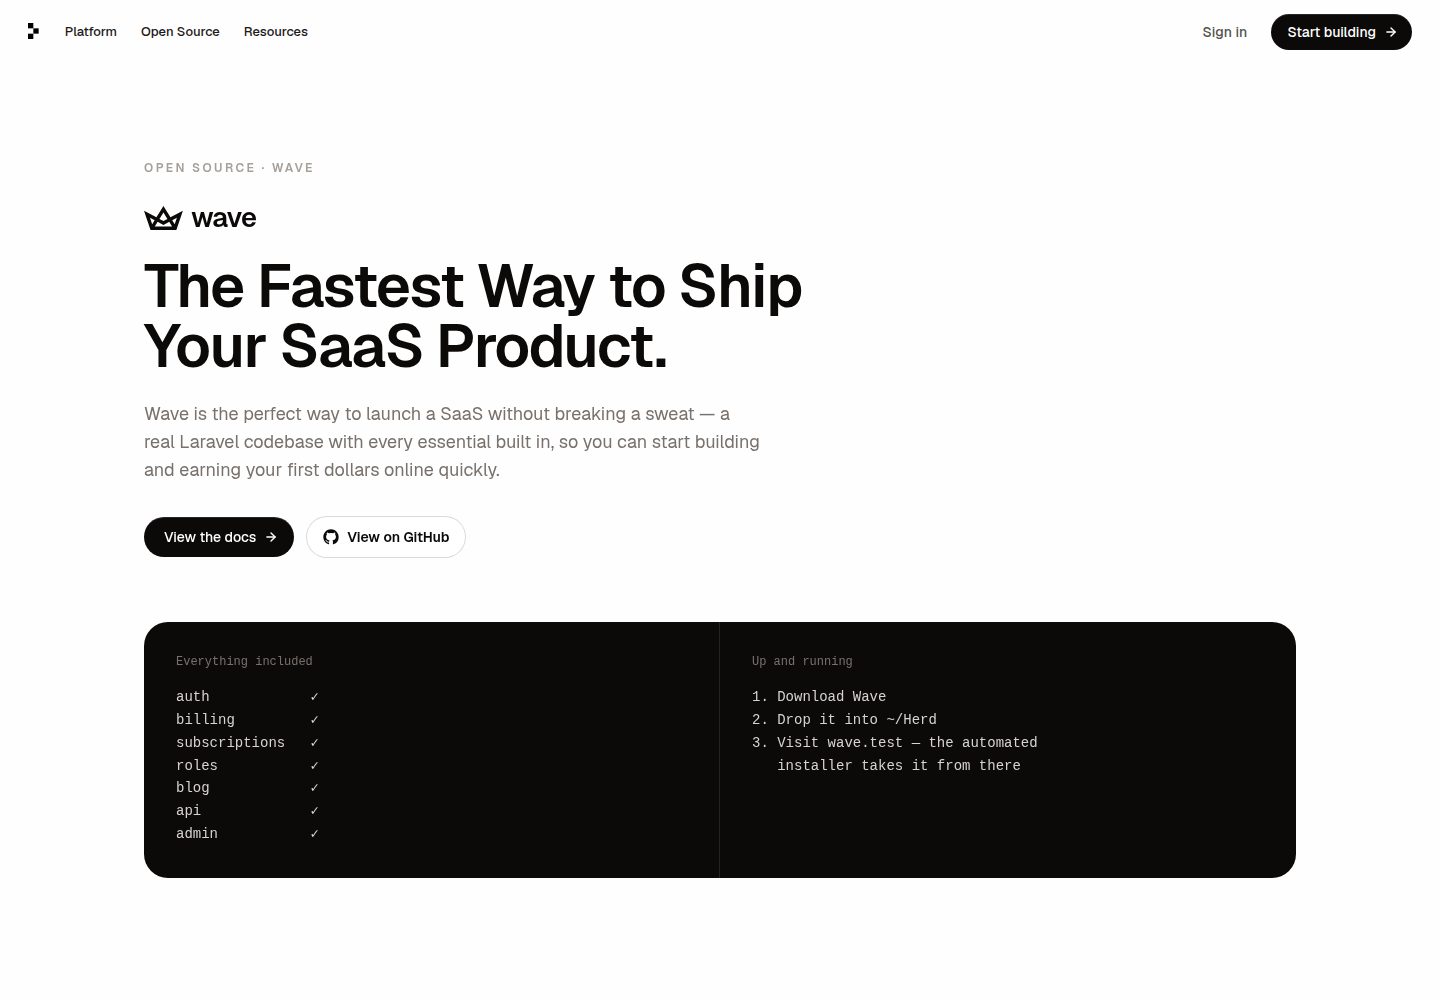
wave
Wave - The Software as a Service Starter Kit, designed to help you build the SAAS of your dreams 🚀 💰
Laravel · SaaS
filament-starter
A beautiful starting point for your next TALL stack project using Filament. ⚡
Laravel · 启动器
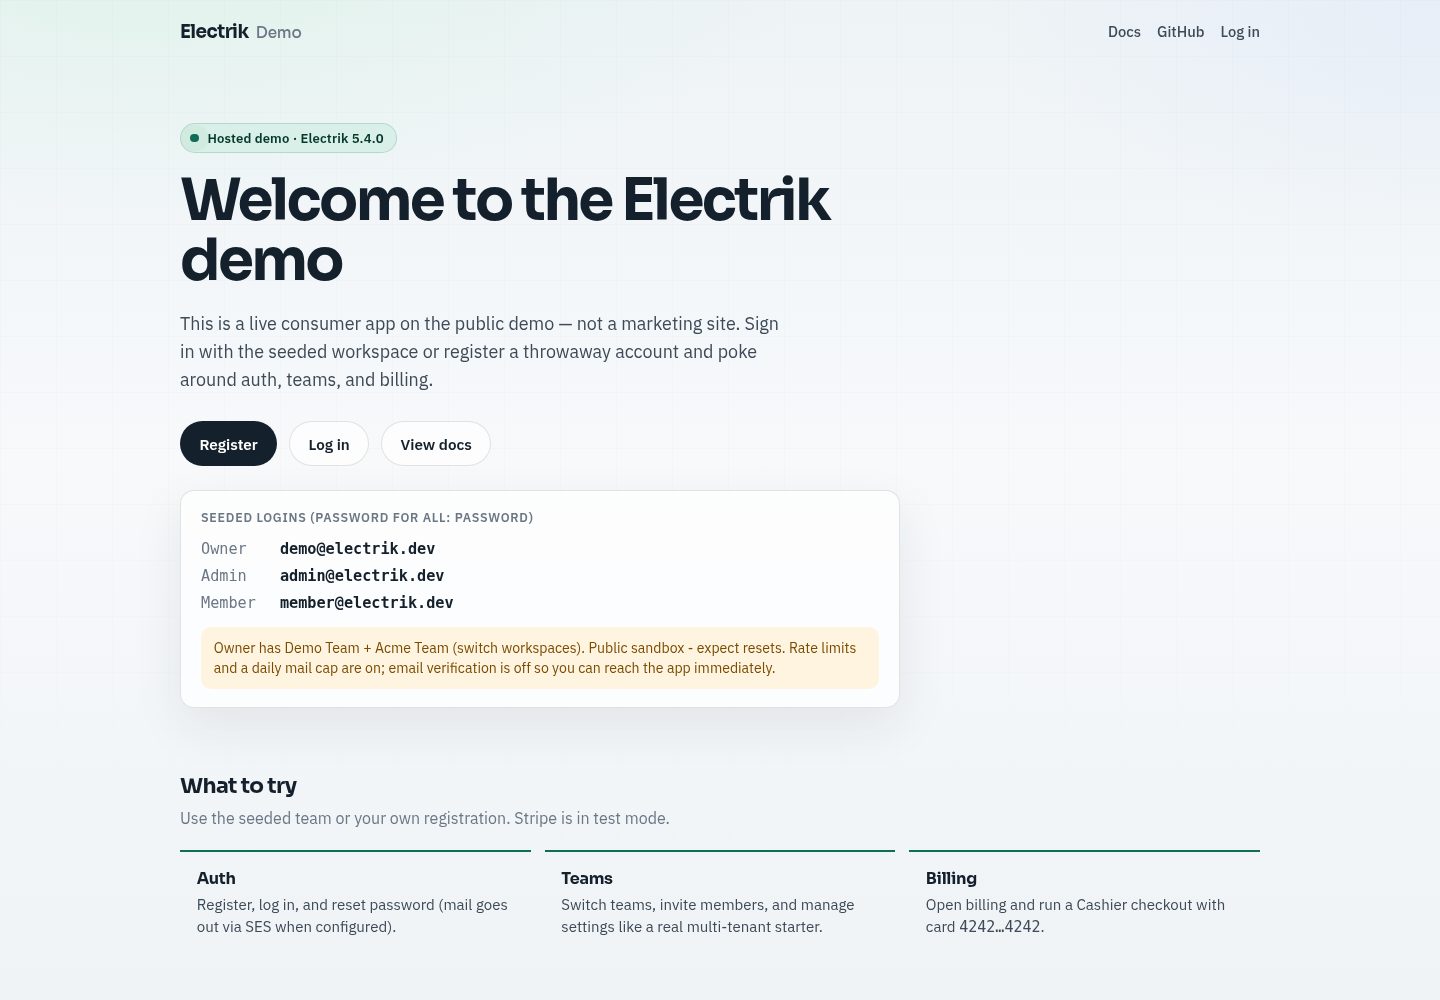
electrik
Laravel SaaS starter kit: auth, teams, Stripe billing, and Slate 3 — Composer package for Laravel 12
Laravel · SaaS
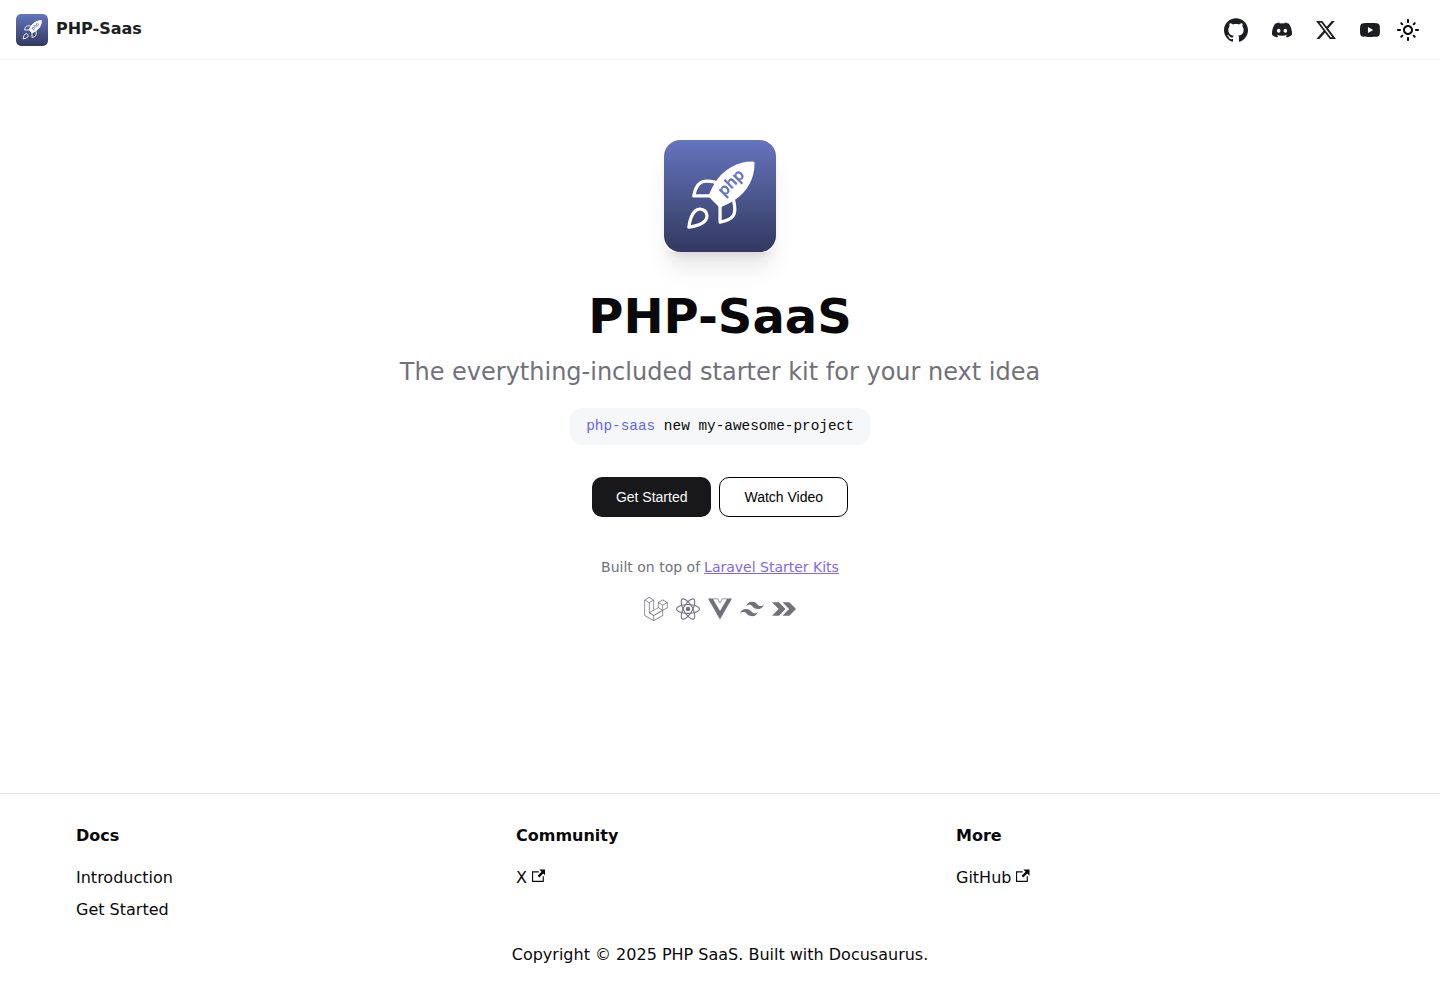
php-saas
The everything-included starter kit for your next idea
Laravel · SaaS
filament-jetstream
A Laravel starter kit built with Filament inspired by Jetstream.
Laravel · 启动器