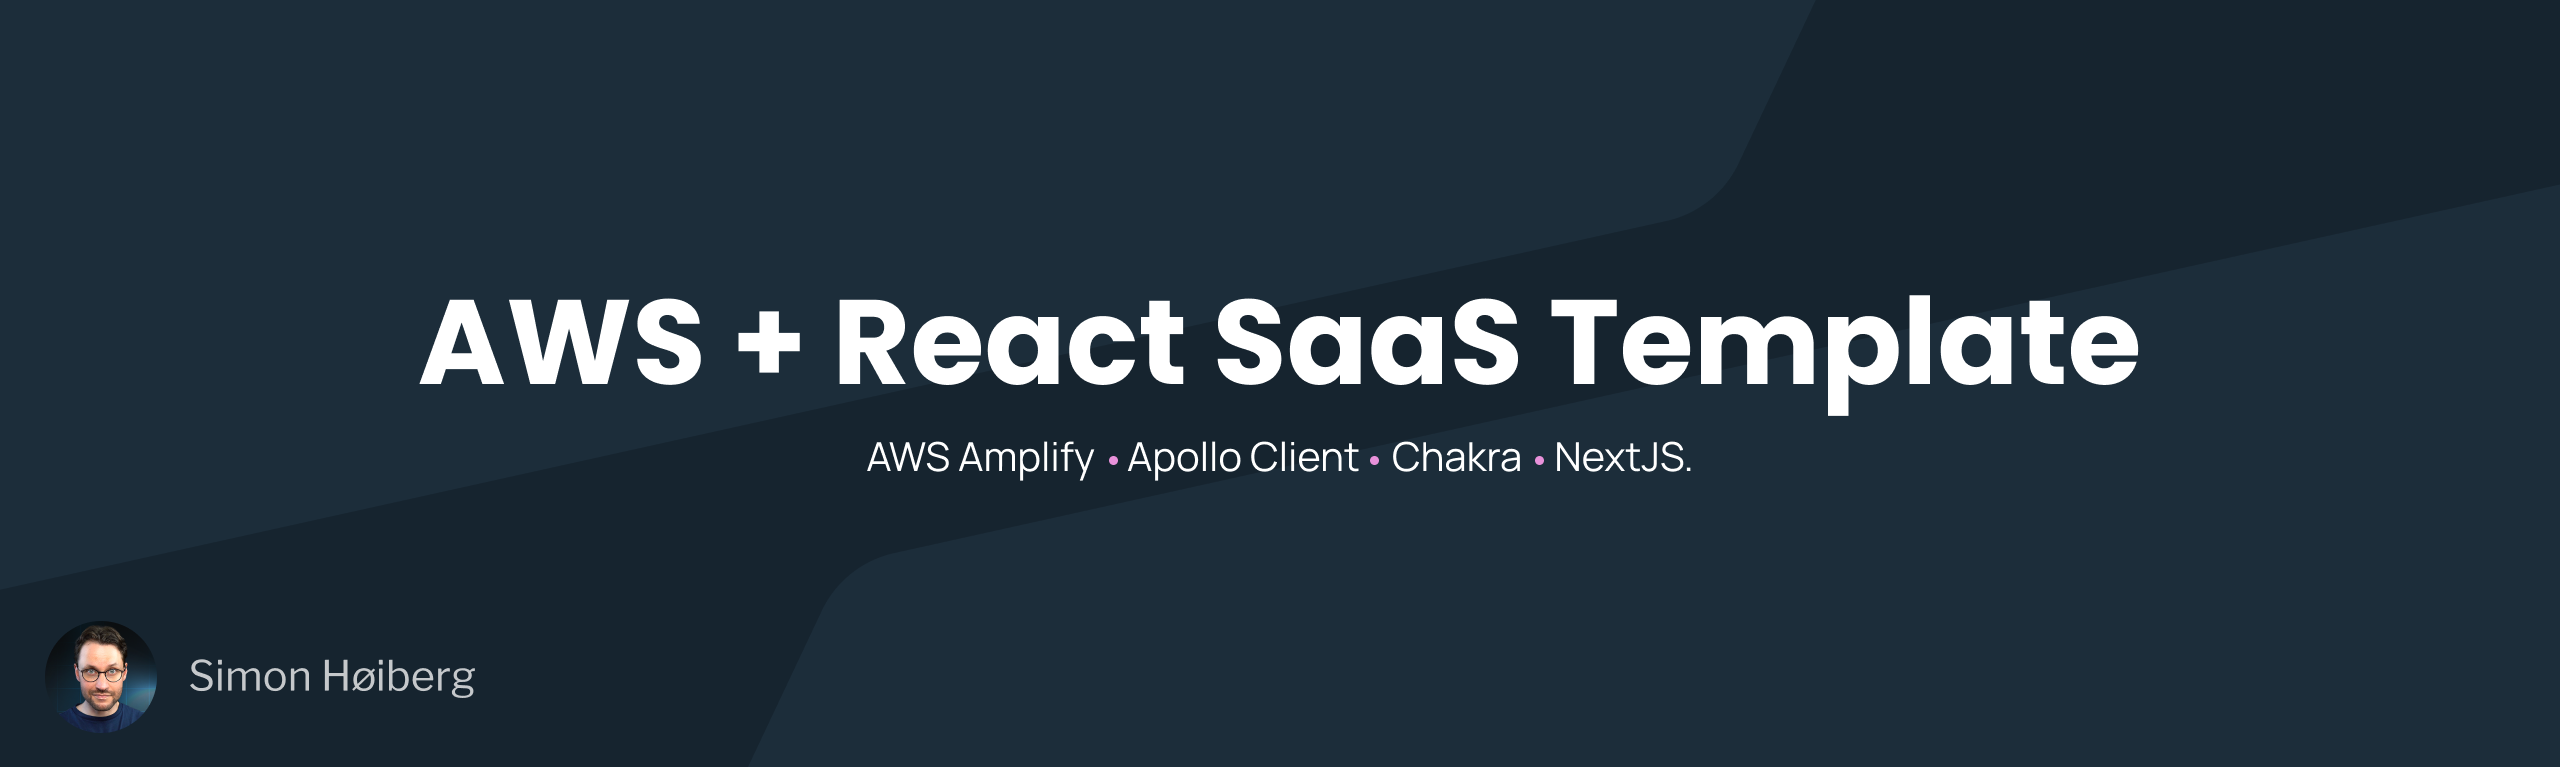
前后端一体的 monorepo 结构,包含 front-end 与 back-end 两个目录
Next.jsReactSaaS
saas-template — Next.js SaaS模板
作者 SimonHoiberg
基于 AWS Amplify、AppSync、Cognito 与 Next.js、Chakra 的 SaaS 起步模板,含用户认证与 GraphQL 用户查询示例。
看看你的网站会是什么样
浏览真实页面截图,比较内容排版与手机效果。点击下方缩略图切换,放大查看整页细节。
目前有 1 张原始预览,可打开完整图片查看设计细节。
截图用于了解视觉与布局,交互效果请以实际项目为准。
采集于 2026-09-30查看来源
值得关注的模板亮点
从已有项目资料中,快速了解它的特点。
使用 Pulumi 在 AWS 上创建约 18 项资源,涵盖 DynamoDB、Cognito、AppSync 与 Lambda
通过 Amplify CLI 关联前后端,并可用 codegen 生成 TypeScript GraphQL 操作代码
内置注册与登录页面(/signup、/signin),认证基于 Cognito 用户池与身份池
支持 dev 与 prod 两套环境配置,托管使用 Amplify Console 持续部署
MIT 许可,允许免费使用、修改、商用和分发,需保留版权与许可声明
模板详细介绍
该模板是一个端到端的 SaaS 起步项目,前端使用 Next.js、React、Amplify、Apollo Client 与 Chakra,后端依托 AWS 的 DynamoDB、AppSync(GraphQL)和 Cognito,并通过 Pulumi 以基础设施即代码方式在 AWS 上创建资源。仓库为 monorepo,包含 front-end 与 back-end 两个目录,也可拆分为独立仓库。
后端执行 pulumi up 会创建约 18 项 AWS 资源,包括用户 DynamoDB 表、Cognito 用户池与身份池、AppSync GraphQL API,以及注册后触发的 PostConfirmation Lambda 和用于通过 GraphQL 获取用户的 Resolver Lambda。前端通过 Amplify CLI 初始化并与后端关联,需将 Pulumi 输出的 AppSync、Cognito 等标识填入 front-end/deployment/config/config-development.ts,再运行 Amplify codegen 生成 TypeScript 的 GraphQL 操作代码。
模板默认以 eu-west-1 为区域,可修改 back-end/resources/variables 中的区域配置;支持通过 config-production.ts 与 Amplify 控制台环境变量区分 dev 与 prod。托管使用 Amplify Console 的持续部署,需设置 NEXT_PUBLIC_CLOUD_ENV 环境变量并回填托管 URL。本地通过 npm run dev 在 3000 端口启动,注册与登录页面分别位于 /signup 与 /signin。
使用前需准备 AWS 与 Pulumi 账号,安装 AWS CLI、Pulumi CLI、Node.js 和 Amplify CLI。代码采用 MIT 许可,可免费使用、修改、商用和分发,但需保留版权与许可声明;演示图片、字体、图标等第三方素材以及域名、托管、数据库等外部服务可能另有许可或费用。
Next.jsReactSaaS
适合你的项目吗?
适用场景
- 需要以 AWS 原生服务搭建 SaaS 后端并希望用基础设施即代码管理资源的项目
- 希望快速获得 Cognito 认证与 AppSync GraphQL 用户查询示例的 Next.js 应用
- 计划使用 Amplify Console 持续部署并区分 dev 与 prod 环境的团队
- 想以 monorepo 方式同时维护前端与后端,或后续拆分为独立仓库的开发者
适合人群
- 熟悉 AWS、Pulumi 与 Amplify CLI 的开发者
- 需要以 Cognito 和 AppSync 作为认证与数据层起点的 SaaS 项目
- 接受以 AWS 为主要云平台并愿意配置外部账号与 CLI 的团队
上手与定制指南
结合仓库当前版本的说明,按下面的资料检查内容、配置与运行要求。
- 1
需准备 AWS 与 Pulumi 账号,并安装 AWS CLI、Pulumi CLI、Node.js 和 Amplify CLI
- 2
在 back-end 目录执行 npm install 与 pulumi up,记录输出的 AppSync、DynamoDB、Cognito 等标识
- 3
在 front-end 目录执行 npm install 与 amplify init,并将 Pulumi 输出填入 config-development.ts
- 4
运行 amplify codegen add -apiId <APPSYNC-ID> 生成 TypeScript GraphQL 代码
- 5
通过 amplify hosting add 配置 Amplify Console 托管,设置 NEXT_PUBLIC_CLOUD_ENV 并回填托管 URL
授权与来源资料
使用条件与限制
免费使用 · 保留许可声明本次收录的是公开仓库中采用 MIT 许可的免费版本;免费范围为该版本代码,不代表外部服务或第三方素材免费。
使用时需要遵守
- 允许免费使用、修改、商用和分发该版本代码。
- 分发代码副本或实质性部分时,保留原作者版权声明和完整 MIT 许可声明。
- 代码按现状提供;担保与责任限制以原许可证及适用法律为准。
额外费用与待核对事项
- 使用该模板必须拥有 AWS 账号,后端资源(DynamoDB、Cognito、AppSync、Lambda)均部署在 AWS 上,可能产生相应服务费用。
- 需注册 Pulumi 账号并安装配置 Pulumi CLI,用于以基础设施即代码方式创建 AWS 资源。
- 本地需安装并配置 AWS CLI 才能完成部署流程。
- 前端初始化、代码生成与托管均依赖 Amplify CLI,需在本地安装。
- 托管需登录 AWS 并将 GitHub 仓库关联到 Amplify Console,依赖外部云服务与账号。
- 演示图片、字体、图标及其他第三方素材需按各自许可核对,不能仅凭代码的 MIT 许可判断。
- 域名、托管、数据库、支付或 AI 等外部服务可能另外收费。
查看原文依据
Permission is hereby granted, free of charge
许可证原文
Create an account on AWS (https://aws.amazon.com/).
README 原文
Create an account on Pulumi (https://pulumi.com/).
README 原文
You will need to setup the [AWS CLI](https://docs.aws.amazon.com/cli/latest/userguide/getting-started-install.html) on your local system
README 原文
We need Amplify to set up the Front End, so you need to setup the [Amplify CLI](https://docs.amplify.aws/cli/start/install/) on your local system.
README 原文
https://github.com/SimonHoiberg/saas-template/blob/main/LICENSEhttps://github.com/SimonHoiberg/saas-template/blob/main/README.mdSign into AWS and link your GitHub repository to Amplify Console.
README 原文
DeepSeek 根据仓库许可证和 README 整理 ·2026-09-30。结果仅覆盖已读取资料,依赖、图片、字体及后续条款变更以各自原文为准。
项目核对记录与介绍依据
模板资料
- 来源平台
- GitHub
- 资料与维护参考分
- 资料一般 · 69 / 100
- 技术栈
- Next.js · React
- 网站类型
- SaaS
这个分数如何计算
本站按许可资料(最高30分)、演示链接(12分)、预览图(10分)、Star数(15分)、记录的维护时间(15分)、描述完整度(8分)、功能记录(5分)和分类资料(5分)计算。它不是代码、安全或性能测试,也不是 Google 评分;有链接不代表已实测可用。
这个项目需要核对什么
- 记录的仓库更新时间
- 2024-06-21
- 截图检查日期
- 2026-09-30
目前没有记录演示链接。请依据仓库说明在本地评估;仅凭截图无法确认交互行为。
目录记录的主要技术栈是 Next.js。请通过依赖清单和锁文件核对实际版本与托管要求。这些说明基于收录资料,不代表代码审计或部署实测。
查看具体选型方法 →介绍的制作与核对状态
介绍由 AI 辅助整理目录与仓库资料。仓库作者不等于这篇介绍的审核者。
已完成服务器许可规则与 AI 来源核对;未经过人工编辑审核。
查看当时使用的来源资料
SHA-256: 204096394c9da1954bc057441056ece5992b0a08564983f09348ec518353ef78
2026-09-30T08:08:10.815Z
来源文件 / 仓库# AWS + React SaaS Template
End-to-end SaaS Template using AWS Amplify, Apollo Client, Chakra, and NextJS.



## Table of content
- [Tech Stack](#tech-stack)
- [Prerequisites](#prerequisites)
- [Setup](#setup)
- [Get Help](#get-help)
- [Contribute](#contribute)
## Tech Stack
🔹 [DynamoDB](https://aws.amazon.com/dynamodb/)
🔹 [AppSync (GraphQL)](https://aws.amazon.com/appsync/)
🔹 [Cognito](https://aws.amazon.com/cognito/)
🔸 [React](https://reactjs.org) / [NextJS](https://nextjs.org/)
🔸 [Amplify](https://aws.amazon.com/amplify/)
🔸 [Apollo Client](https://www.apollographql.com/docs/react/get-started)
🔸 [Chakra](https://chakra-ui.com/)
▪️ [Pulumi](https://pulumi.com/)
▪️ [GitHub Actions](https://github.com/features/actions)
## Prerequisites
### Create an account on AWS (https://aws.amazon.com/).
You will need to setup the [AWS CLI](https://docs.aws.amazon.com/cli/latest/userguide/getting-started-install.html) on your local system, if you haven't already.
### Create an account on Pulumi (https://pulumi.com/).
You will need to setup the [Pulumi CLI](https://www.pulumi.com/docs/get-started/aws/begin/) and configure it with AWS.
### Install NodeJS.
We need NodeJS, so you need to setup [NodeJS](https://nodejs.org/en/download/) on your local system.
### Install Amplify CLI.
We need Amplify to set up the Front End, so you need to setup the [Amplify CLI](https://docs.amplify.aws/cli/start/install/) on your local system.
#### ℹ️ Additional info
This repository is a **_monorepo_**, but you can split out the _front-end_ and _back-end_ folders into separate repositories.
## Setup
### Setup the stack in the cloud
Go to the back-end folder:
`cd back-end`
Install the dependencies:
`npm install`
Use Pulumi to setup the stack in the cloud:
`pulumi up`
This command will set up a stack consisting of _18 resources_ in AWS.
They boil down to:
- A DynamoDB table for users
- A Cognito user pool
- An Identity Pool
- AppSync GraphQL API
- A _PostConfirmation_ Lambda which is triggered when a user signs up
- A _Resolver_ Lambda which is used to fetch a user through GraphQL
When the `pulumi up` command has finished running, you will get an output that looks similar to this.
**Note down this output**:
```console
Outputs:
appSyncID : "<APPSYNC-ID>"
dynamoID : "<TABLE-NAME>"
graphQLEndpoint : {
GRAPHQL : "https://<GRAPHQL-ENDPOINT>/graphql"
REALTIME: "wss://<REALTIME-ENDPOINT>/graphql"
}
identityPoolID : "<IDENTITY-POOL-ID>"
userpoolClientID: "<USERPOOL-CLIENT-ID>"
userpoolID : "<USERPOOL-ID>"
```
#### ℹ️ Additional info
If Pulumi complains about missing region, use the command:
`pulumi config set aws:region eu-west-1`
If you want to use another region than `eu-west-1`, go to the file `back-end/resources/variables/` and change the region here as well.
```typescript
export const variables = {
region: 'eu-west-1' as const, // <-- change this to your region
dynamoDBTables: {} as Record<string, Output<string>>,
};
```
### Setup the front-end
Go to the front-end folder:
`cd front-end`
Install the dependencies:
`npm install`
Use Amplify to link the front-end to the back-end:
`amplify init`
- ? Enter a name for the project: **_my-app-name_**
- ? Choose the environment you would like to use: **_dev_**
- ? Choose your default editor: **_Visual Studio Code_**
- ? Choose the type of app that you're building: **_javascript_**
- ? What javascript framework are you using: **_react_**
- ? Source Directory Path: **_src_**
- ? Distribution Directory Path: **_build_**
- ? Build Command: **_npm run build_**
- ? Start Command: **_npm run start_**
- ? Select the authentication method you want to use: **_AWS profile_**
- ? Please choose the profile you want to use: **_<default - or pick the one you use>_**
This will setup an Amplify project in the cloud for the front-end.
A file called `src/aws-exports.js` will be created. You can safely deleted this file.
(In fact, you can delete the `src` folder entirely).
### Configure the environment
Go to the file `front-end/deployment/config/config-development.ts`.
Now, use the Pulumi output from before, to setup the environment:
```typescript
const configDevelopment = {
...
/**
* Add the details from the Pulumi output here, after running 'pulumi up'
*/
USER_POOL_CLIENT_ID: '<USERPOOL-CLIENT-ID>',
USER_POOL_ID: '<USERPOOL-ID>',
IDENTITY_POOL_ID: '<IDENTITY-POOL-ID>',
GRAPHQL_ENDPOINT: 'https://<GRAPHQL-ENDPOINT>/graphql',
};
```
Next, run the command:
`amplify codegen add -apiId <APPSYNC-ID>`
- ? Choose the code generation language target: **_typescript_**
- ? Enter the file name pattern of graphql queries, mutations and subscriptions: **_/graphql/\*\*/\*.ts_**
- ? Do you want to generate/update all possible GraphQL operations - queries, mutations and subscriptions? **_Y_**
- ? Enter maximum statement depth [increase from default if your schema is deeply nested]: **_4_**
- ? Enter the file name for the generated code: **_/graphql/API.ts_**
- ? Do you want to generate code for your newly created GraphQL API? **_Y_**
### Add hosting
Finally, setup hosting for the front-end:
`amplify hosting add`
- ? Select the plugin module to execute: **_Hosting with Amplify Console_**
- ? Choose a type: **_Continuous deployment_**
Sign into AWS and link your GitHub repository to Amplify Console.
When the environment has been set up, go to the **Environment variables** page from the left menu, and click **Manage variables**.
Add a new variable called `NEXT_PUBLIC_CLOUD_ENV` with the value `dev`.
Amplify will create a hosted URL for you.
Go to the file `front-end/deployment/config/config-development.ts` again, and add the URL here:
```typescript
/**
* Add your hosted dev URL here
*/
const HOSTED_URL = '<ADD-YOUR-HOSTED-URL-HERE>';
```
Finally, run:
`amplify push`
`amplify publish`
Let Amplify do it's thing 😎
### Start the app locally
Start the app by running `npm run dev`.
The app will start locally on [http://localhost:3000](http://localhost:3000).
Create a new user by going to the `/signup` page.
Sign into the app by going to the `/signin` page.
Authentication should work smoothly at this point - now, start building your SaaS 🚀
### ℹ️ Additional info
If you want to use different environments (dev and prod), simply set up Pulumi in a different environment, and paste the output into the `front-end/deployment/config/config-production.ts`.
Similarly, create an **environment variable** in the Amplify Console for the production environment called `NEXT_PUBLIC_CLOUD_ENV` with the value `prod`.
## Get Help
- Reach out on [Twitter](https://twitter.com/SimonHoiberg)
- Open an [issue](https://github.com/SimonHoiberg/saas-template/issues/new)
## Contribute
PRs are welcome!
看看同类模板
对比同技术栈与用途的模板,找到更适合的视觉与内容结构。

Next.js SaaS Starter
Next.js SaaS Starter 是 Next.js 官方维护的 SaaS 起点模板,定位介于学习资源和可直接部署的脚手架之间。
Next.js · SaaS
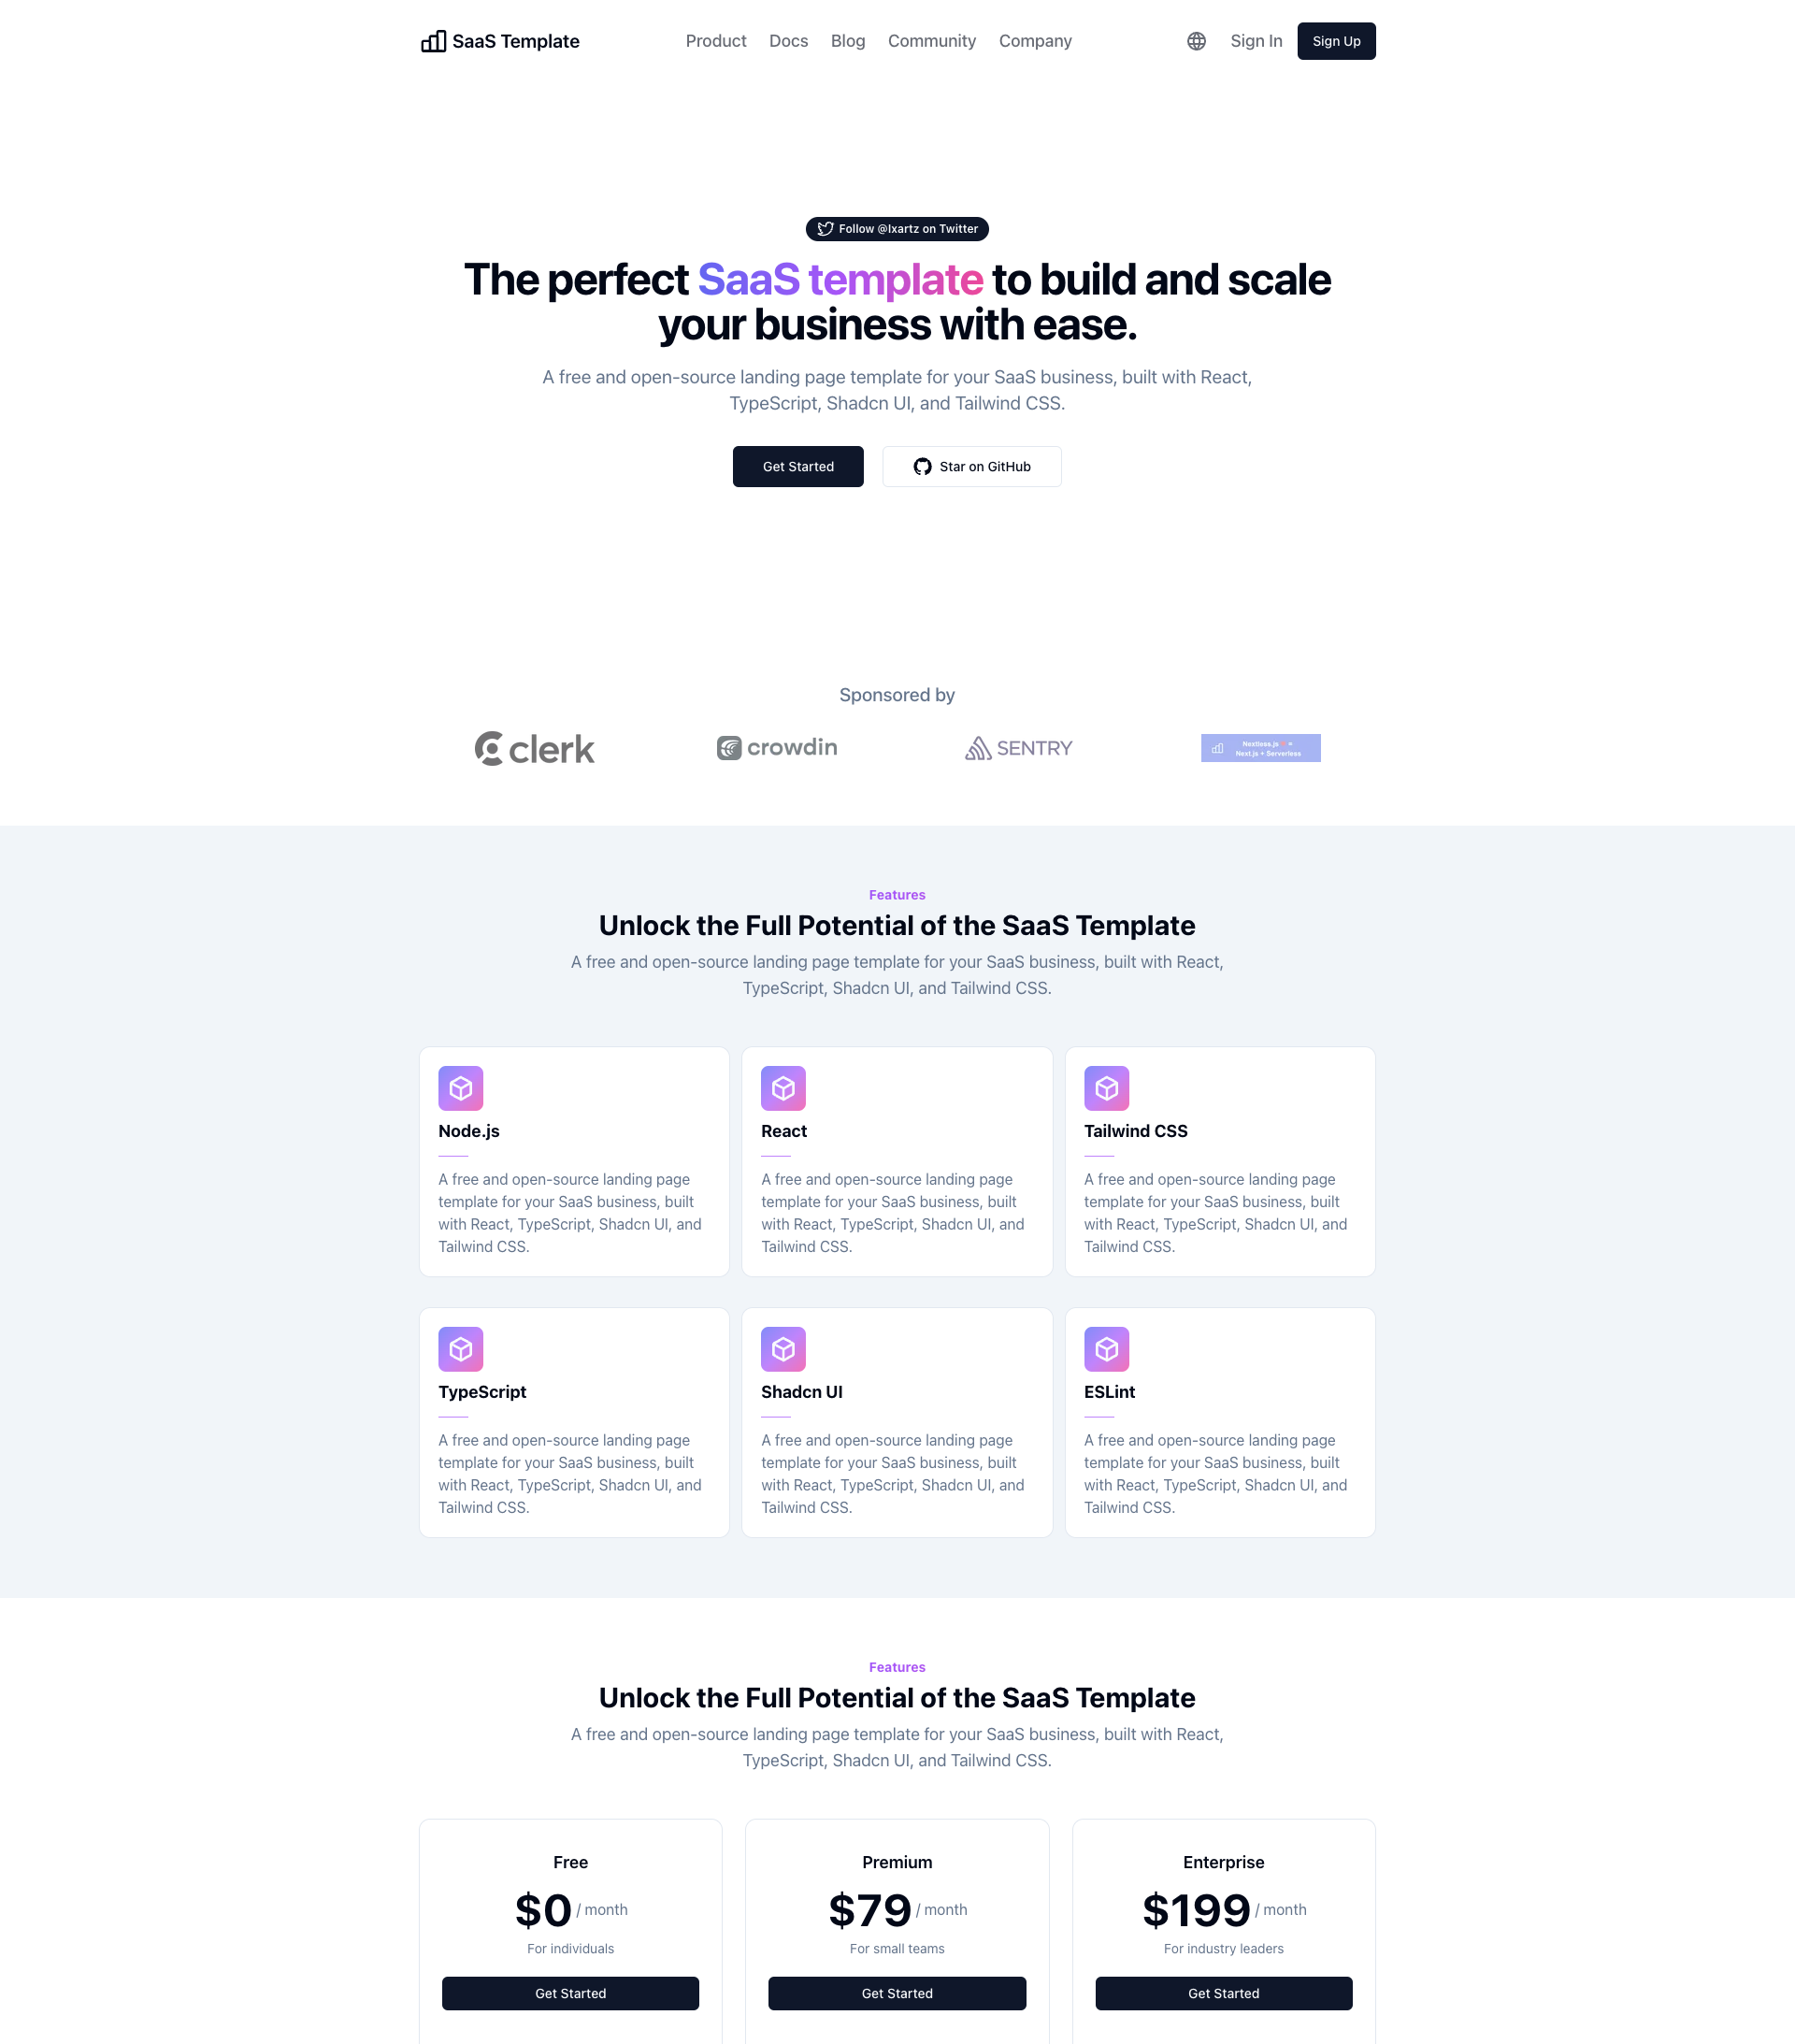
SaaS-Boilerplate
🚀🎉📚 SaaS Boilerplate built with Next.js + Tailwind CSS + Shadcn UI + TypeScript. ⚡️ Full-stack React applic…
Next.js · SaaS
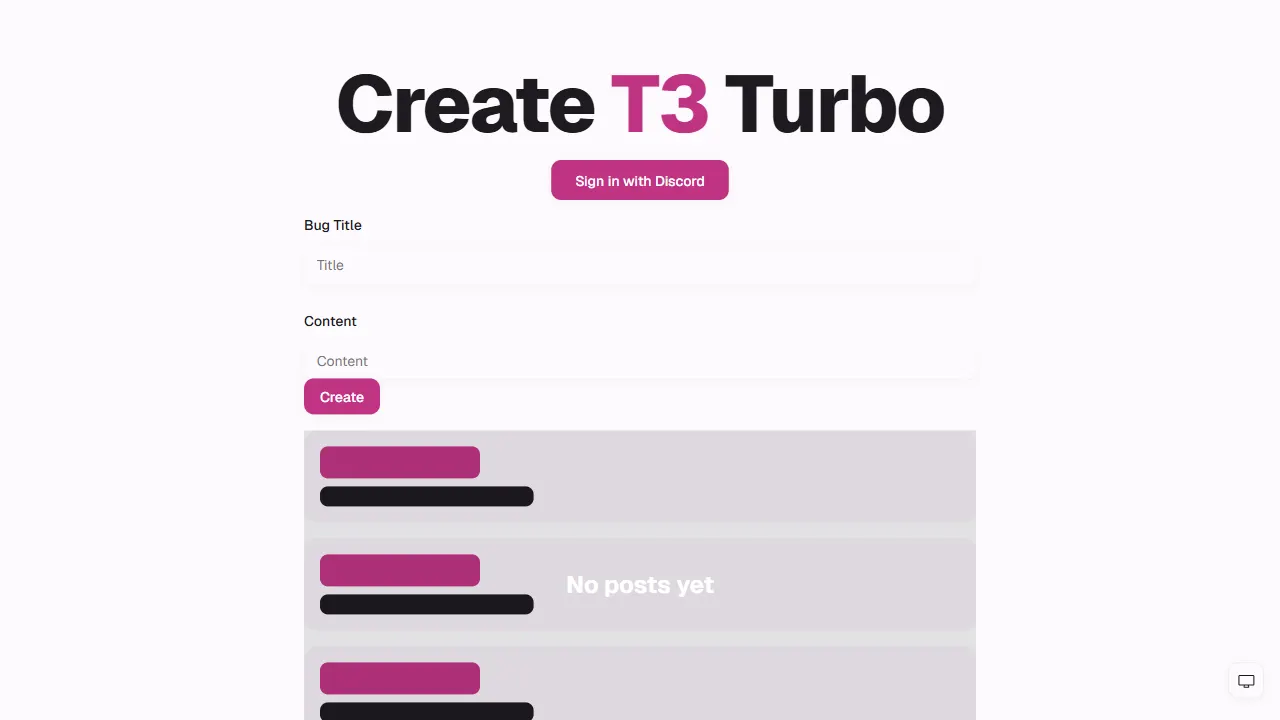
create-t3-turbo
create-t3-turbo 是一个面向全栈 TypeScript 的 monorepo 起点,由 T3 OSS 维护,在 Vercel 模板目录中收录。
Next.js · 启动器
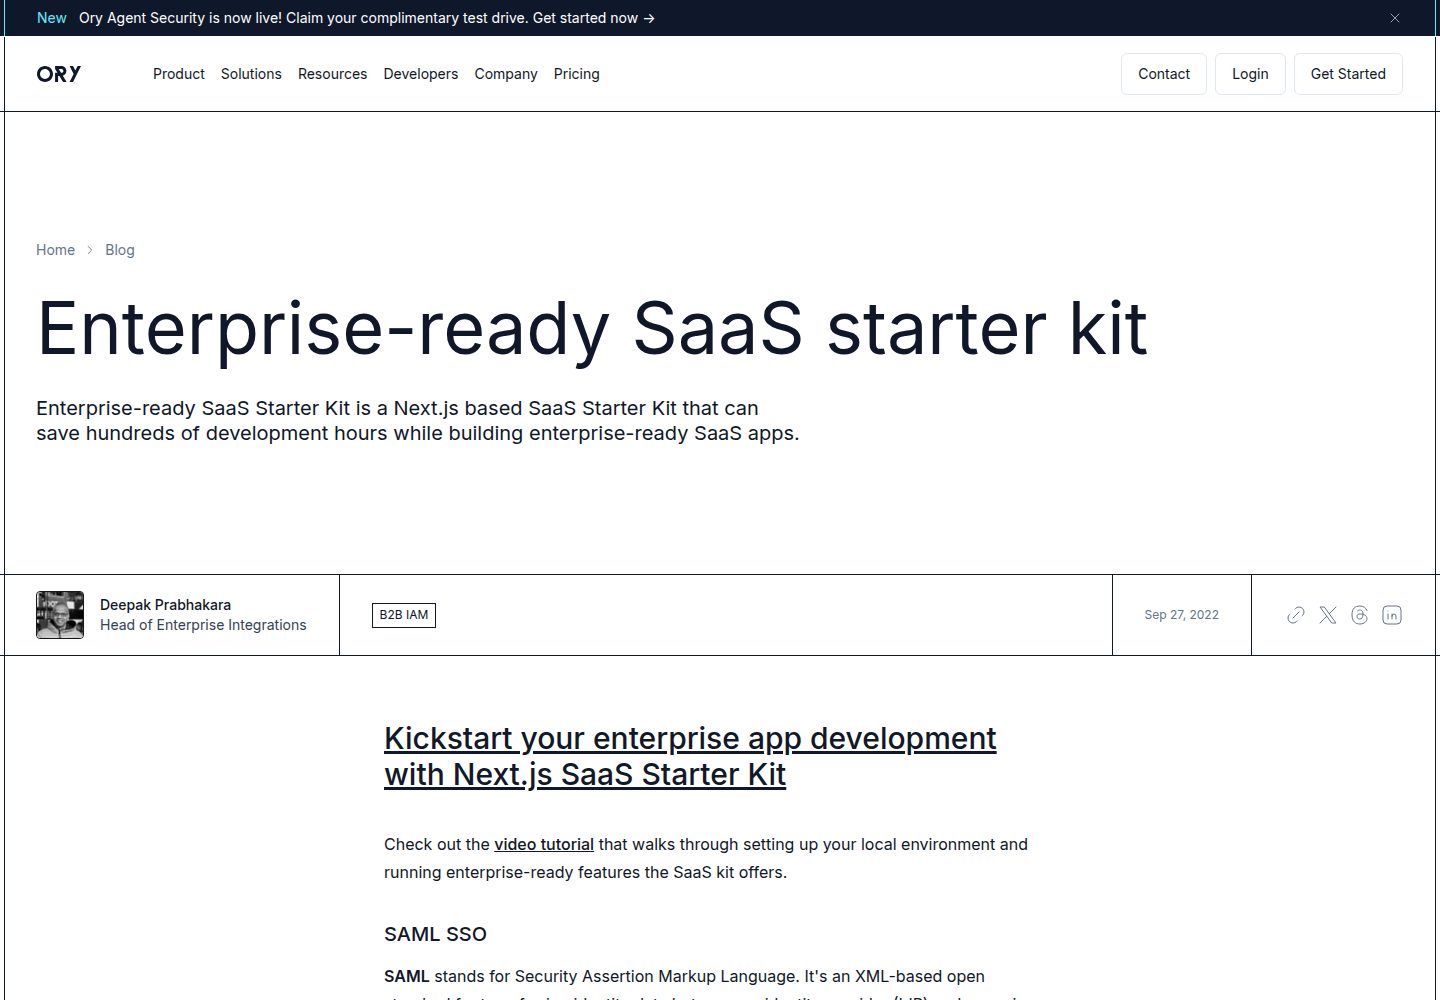
saas-starter-kit
🔥 Enterprise SaaS Starter Kit - Kickstart your enterprise app development with the Next.js SaaS boilerplate �…
Next.js · SaaS
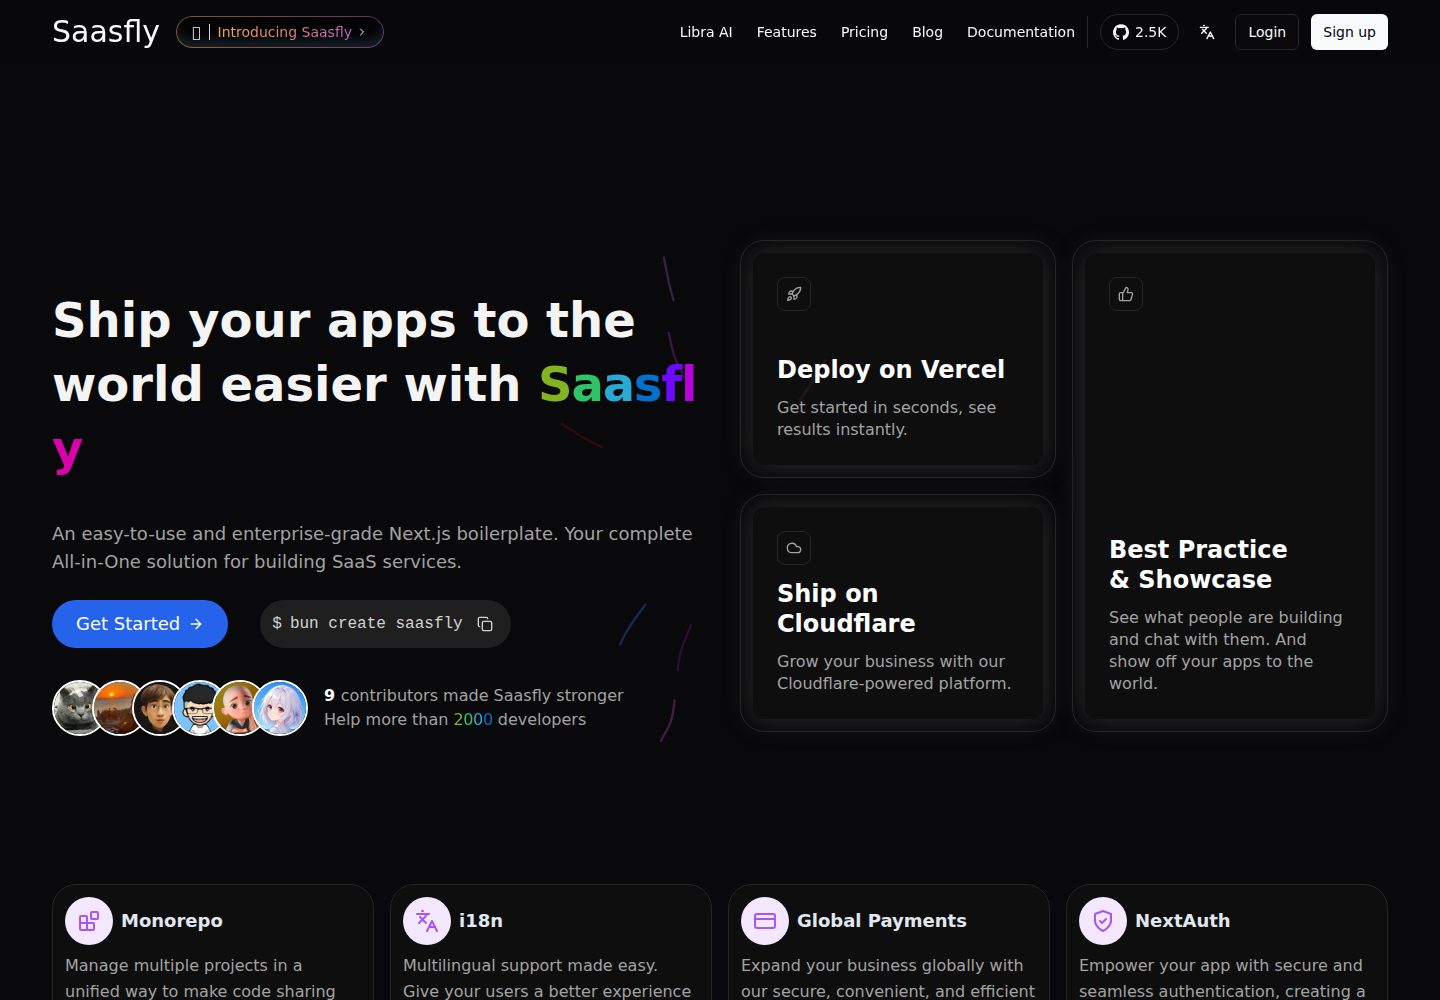
saasfly
Your Next SaaS Template or Boilerplate ! A magic trip start with `bun create saasfly` . The more stars, the mo…
Next.js · SaaS
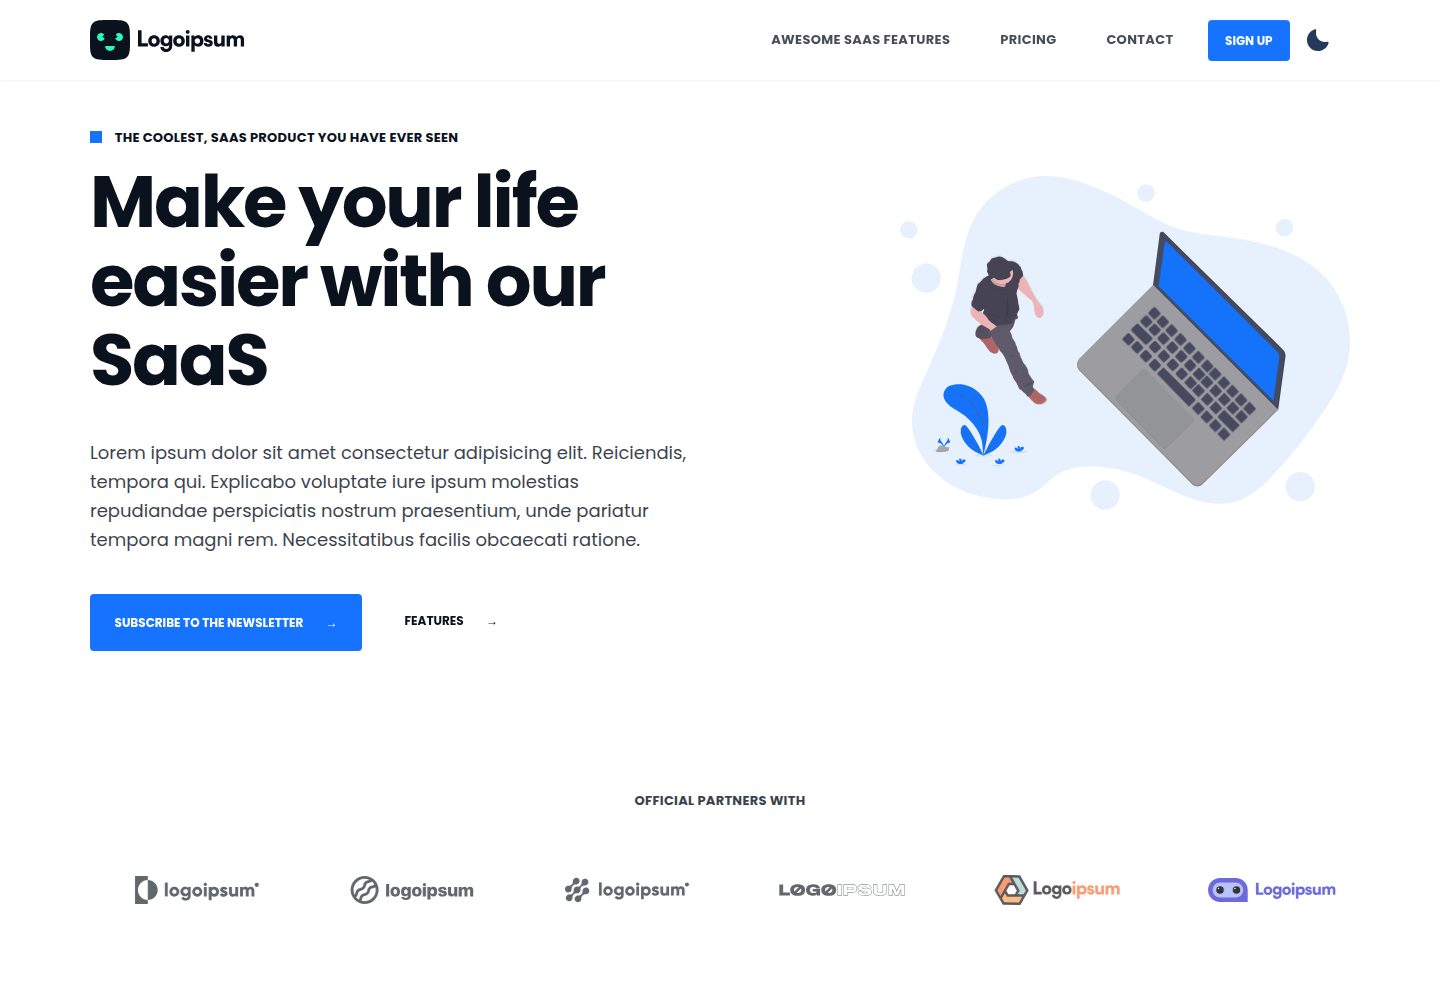
next-saas-starter
⚡️ Free Next.js responsive landing page template for SaaS products made using JAMStack architecture.
Next.js · SaaS