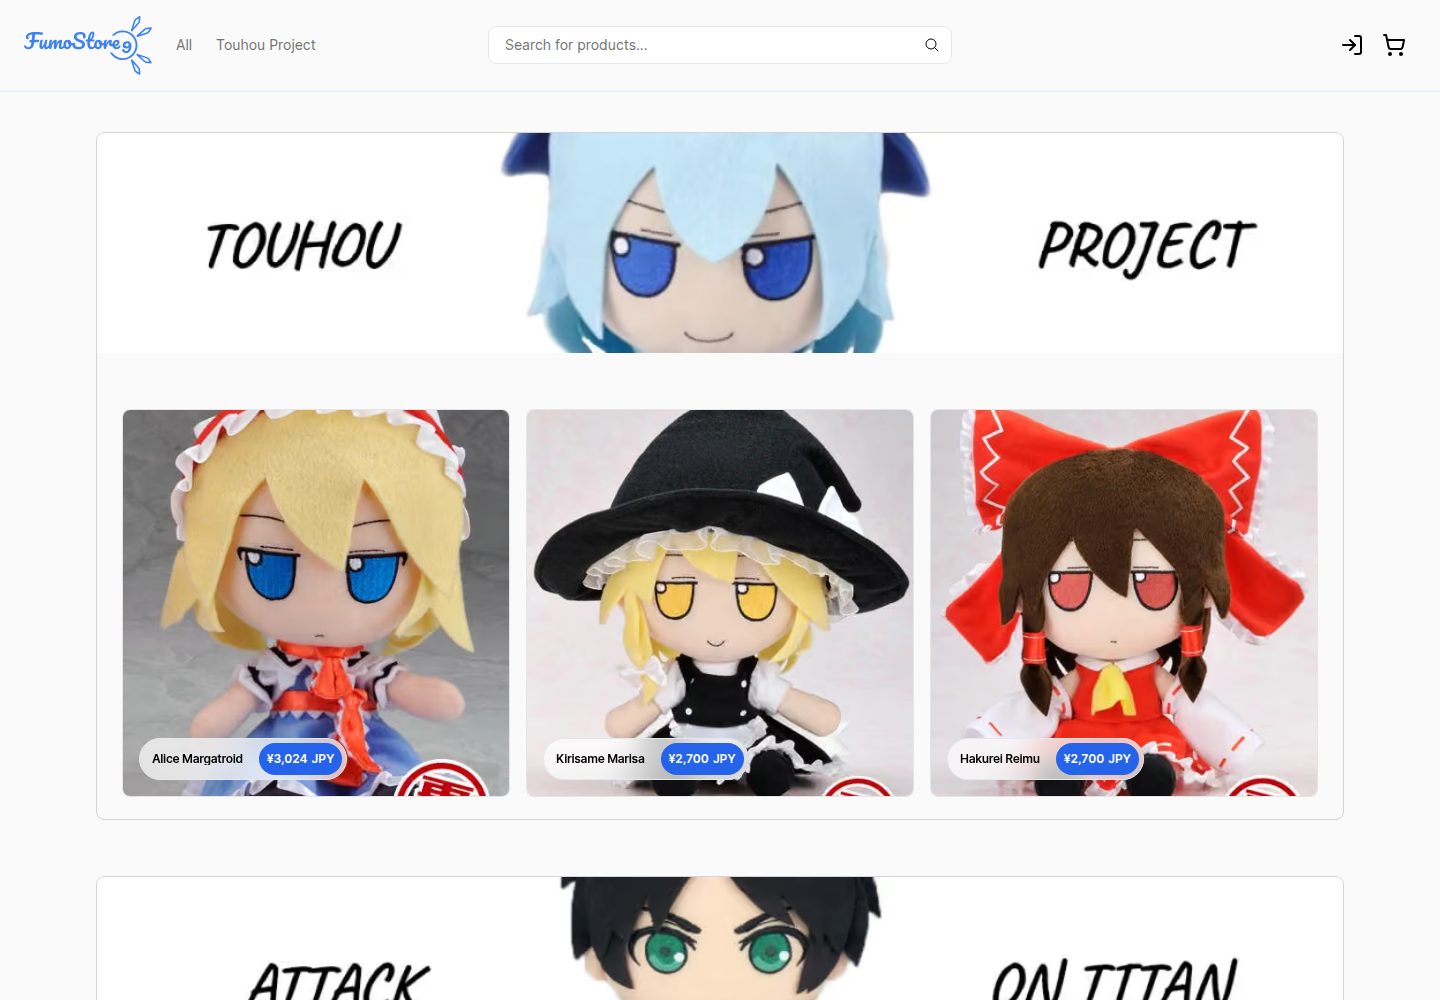
Extended from the Next.js Commerce template, retaining its product listing and detail page structure
Next.jsReactE-commerce
Fumo-Store-9 — Next.js Ecommerce Template
By Banbarashik
A Shopify e-commerce frontend extended from the Next.js Commerce template, using Next.js, TypeScript, and Tailwind CSS, with product display, cart, checkout, and user authentication capabilities.
Explore the design
Compare the page layouts and mobile experience. Open any screenshot for a closer look.
Desktop homepage1 / 3
Desktop captureTop of page
Actual screenshot captured by the server browser.
All pages & views 3
Screenshots show visual appearance; interactive behavior may differ.
Recorded 2026-10-02View source
What stands out
A quick read of the recorded project description.
Fetches product data and manages cart and orders through the Shopify Storefront API
Integrates the Shopify Customer Account API to support user login and account features
Written with TypeScript and Tailwind CSS, supplemented by shadcn/ui components and Lucide icons
Provides complete environment variable instructions from creating a development store to configuring webhooks
The repository uses the MIT license, allowing free use, modification, commercial use, and distribution of the code
Template Details
Fumo-Store-9 is an e-commerce website project whose code comes from the author's public demo store. It is essentially an extended version of Vercel's Next.js Commerce template, with Shopify providing backend capabilities for products, cart, orders, and user accounts. The tech stack is primarily Next.js, together with TypeScript and Tailwind CSS, supplemented by shadcn/ui components, Lucide-react icons, and the Keen-slider carousel library; ESLint and Prettier are configured on the development side.
The project requires configuring Shopify environment variables before it can run: the store domain, Storefront access token, webhook revalidation secret, and the Customer Account API's client ID, secret, login redirect URI, and shop ID. The README provides complete steps from creating a development store and installing the Headless app to configuring webhooks and enabling new customer accounts, and points to Vercel's Shopify integration guide as a supplement.
The repository uses the MIT license, allowing free use, modification, commercial use, and distribution of this version of the code, but third-party assets such as demo images, fonts, and icons must be checked separately for licensing, and external services such as domains, hosting, databases, and payments may incur additional charges. The project does not state production readiness or performance metrics; actual usability depends on the Shopify configuration and deployment environment.
Next.jsReactE-commerce
Is it right for your project?
Use Cases
- Building a headless e-commerce frontend with Shopify as the backend
- Learning how to extend and customize the Next.js Commerce template
- Demonstrating the complete flow of product browsing, search, cart, and user login
- Serving as starter code for further development of an e-commerce site
Suitable For
- Frontend developers familiar with Next.js and TypeScript
- Teams that already have or plan to create a Shopify store
- Projects that want to build a customized e-commerce frontend based on Next.js Commerce
- Individuals who need an MIT-licensed e-commerce template for learning or secondary development
Getting started & customization
Use these recorded setup notes alongside the repository instructions for your chosen version.
- 1
After cloning the repository, rename .env.example to .env.local
- 2
Use pnpm install and pnpm dev to start local development, which runs at localhost:3000 by default
- 3
Configure a Shopify development store, Headless app, and Storefront access token according to the README
- 4
Configure the webhook revalidation secret, as well as the Customer Account API's CLIENT_ID, CLIENT_SECRET, LOGIN_REDIRECT_URI, and SHOP_ID
- 5
Before the environment variables are filled in, the store frontend cannot properly display products or complete checkout and login
License & source material
Usage conditions & limitations
Free to use · keep license noticeThis entry covers the free version in the public repository under the MIT license; the free scope is the code of this version and does not mean that external services or third-party assets are free.
Must comply with when using
- Free use, modification, commercial use, and distribution of this version of the code are permitted.
- When distributing copies or substantial portions of the code, retain the original author's copyright notice and the complete MIT license notice.
- The code is provided as is; warranties and limitations of liability are governed by the original license and applicable law.
Additional costs & items to verify
- You must configure the Shopify environment variables yourself (store domain, Storefront access token, webhook revalidation secret, and the Customer Account API's CLIENT_ID/CLIENT_SECRET/LOGIN_REDIRECT_URI/SHOP_ID) before it can run; before configuration, the store frontend cannot display products, place orders, or log in.
- You need to own or create a Shopify store, install the Headless app, create a storefront, and configure webhooks; this is an external service dependency and may incur additional charges.
- It depends on the Shopify Headless app and a Shopify platform account, which are third-party external services that require separate registration and may incur charges.
- Demo images, fonts, icons, and other third-party assets must be checked against their respective licenses and cannot be judged solely by the code's MIT license.
- External services such as domains, hosting, databases, payments, or AI may incur additional charges.
View Original Text Basis
Permission is hereby granted, free of charge
Original License Text
You'll have to populate your .env.local file with the values of environment variables, which you'll obtain by following the instructions in the Shopify Integration section.
Original README
Follow this [video](https://youtu.be/CcLopj8zVJc) to create a development store.
Original README
https://github.com/Banbarashik/Fumo-Store-9/blob/main/license.mdhttps://github.com/Banbarashik/Fumo-Store-9/blob/main/docs/README.mdInstall the [Headless app](https://apps.shopify.com/headless) and create a storefront
Original README
Compiled by DeepSeek based on repository license and README ·2026-10-02. Results only cover the materials read; dependencies, images, fonts, and subsequent term changes are subject to their respective original texts.
Project checks & description sources
Template Information
- Source platforms
- GitHub
- Documentation and maintenance reference score
- Partly documented · 73 / 100
- Technologies
- Next.js · React
- Website type
- E-commerce
How this score is calculated
Our heuristic uses license records (up to 30), a demo link (12), a preview (10), stars (15), recorded maintenance (15), description completeness (8), feature records (5) and classification data (5). It is not a code, security or performance test, or a Google score. A link does not establish tested functionality.
What to verify for this project
- Repository update recorded
- 2024-02-10
- Screenshot last checked
- 2026-10-02
A demo link is listed. Check it with your own content and viewport sizes; its presence does not confirm that forms, authentication or payments work.
The catalog identifies Next.js as the primary stack. Check the actual dependency manifest and lockfile for versions and hosting requirements. These notes use recorded metadata, not a code audit or a deployment test.
Use a selection guide →How this description was prepared
AI-assisted description based on catalog records and repository material. Repository authors are not automatically the reviewers of this description.
Automatically checked against source and license rules; no manual editorial review.
Inspect the recorded source material
SHA-256: d3e8f4e8980ffcf3c9826b09003b0391bde506a2dc72e7a54de0e7a90fe6032c
2026-10-02T14:12:17.682Z
Source file / repository
This project contains the code behind my demo [store](https://fumostore9.vercel.app). Basically, it is an extended version of the [Next.js Commerce template](https://github.com/vercel/commerce). You can see a list of new features and improvements (with images and video) [here](nextjs-commerce-comparison.md).
## Project setup
### Local setup
1. Clone the repository.
2. Rename .env.example to .env.local.
Run the following commands (in the folder of your cloned repository):
```bash
pnpm install
pnpm dev
```
Your app should now be running on [localhost:3000](http://localhost:3000). To shut down the app, press Ctrl + C in the terminal.
> The storefront won't work just yet. You'll have to populate your .env.local file with the values of environment variables, which you'll obtain by following the instructions in the Shopify Integration section.
### Shopify Integration
1. Follow this [video](https://youtu.be/CcLopj8zVJc) to create a development store.
2. Set the value of the **SHOPIFY_STORE_DOMAIN** environment variable to the URL of your development store (can be seen in [Settings](https://admin.shopify.com/store/store-for-instruction/settings)).
3. Install the [Headless app](https://apps.shopify.com/headless) and create a storefront ([instruction](https://vercel.com/docs/integrations/shopify#install-the-shopify-headless-app)).
4. Set the value of the **SHOPIFY_STOREFRONT_ACCESS_TOKEN** environment variable to the Public access token from the previous step.
5. Configure Shopify webhooks using this [instruction](https://vercel.com/docs/integrations/shopify#configure-shopify-webhooks).
6. Create a webhook for the "Order creation" event in the same way.
7. Set the value of the **SHOPIFY_REVALIDATION_SECRET** environment variable to the revalidation secret you created in Step 5.
8. In your Shopify store's [Settings](https://admin.shopify.com/store/store-for-instruction/settings), go to [Customer accounts](https://admin.shopify.com/store/store-for-instruction/settings/customer_accounts), click "Edit" in "Accounts in online store and checkout", check "Show login link in the header of online store and at checkout" and choose "New customer accounts". Save the settings.
9. Follow Steps 1-3 of Shopify's [Getting started with the Customer Account API](https://shopify.dev/docs/custom-storefronts/building-with-the-customer-account-api/getting-started) guide (this storefront uses the confidential type of a client, so you can ignore info related to public clients).
10. Set the values of the **CLIENT_ID** and **CLIENT_SECRET** environment variables to the client ID and client secret from the previous step.
11. Set the value of the **LOGIN_REDIRECT_URI** environment variable to the ngrok endpoint you used in Step 8 and 5.
12. Set the value of the **SHOP_ID** environment variable to your Shopify store's shop ID.
To get the shop ID, you can add "/shop.json" to the end of your store URL (e.g., "test-store.myshopify.com/shop.json") which will display store info in JSON format. On this page you can search for "shopId".
After completing these steps your storefront will be able to display information from your Shopify store, store products in the cart, create orders and authenticate users.
For more detailed instructions on Shopify (and Vercel) integration, you can refer to this [guide](https://vercel.com/docs/integrations/shopify).
## Technology stack
- Main
- Next.js - a full-stack web framework.
- TypeScript - a superset of JavaScript with strong types.
- Tailwind CSS - a utility-first CSS framework.
- Auxiliary
- shadcn/ui - a collection of components.
- Lucide-react - a collection of icons.
- Keen-slider - a slider library.
- Dev
- ESlint
- Prettier
Explore similar templates
Compare previews and descriptions within the same stack and category.

Next.js Commerce
Vercel's officially maintained Next.js App Router ecommerce starter with deep Shopify integration, offering a complete product catalog, cart, and checkout flow. Core logic is modular for swapping backends, and community provider versions exist for BigCommerce, Medusa, and Saleor.
Next.js · E-commerce
commerceplate
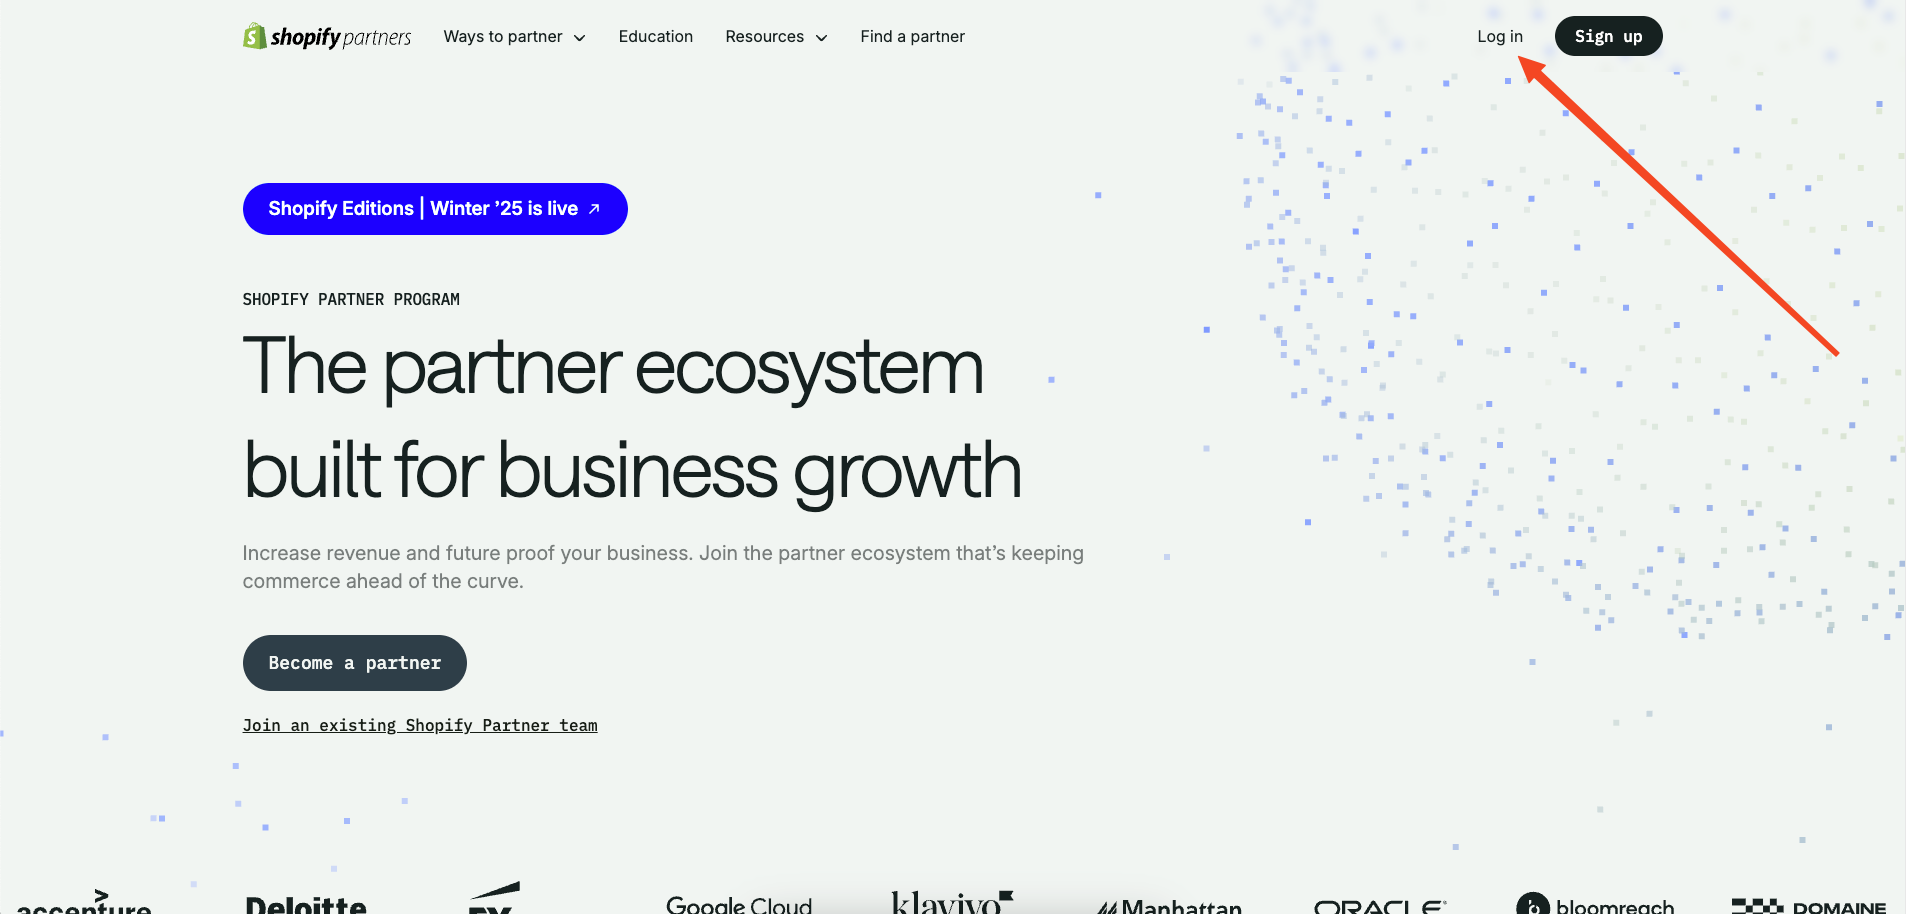
A free Shopify e-commerce starter template built with Next.js 16, Tailwind CSS 4, and TypeScript, using the Shopify Storefront API (GraphQL).
Next.js · E-commerce
ecommerce-template
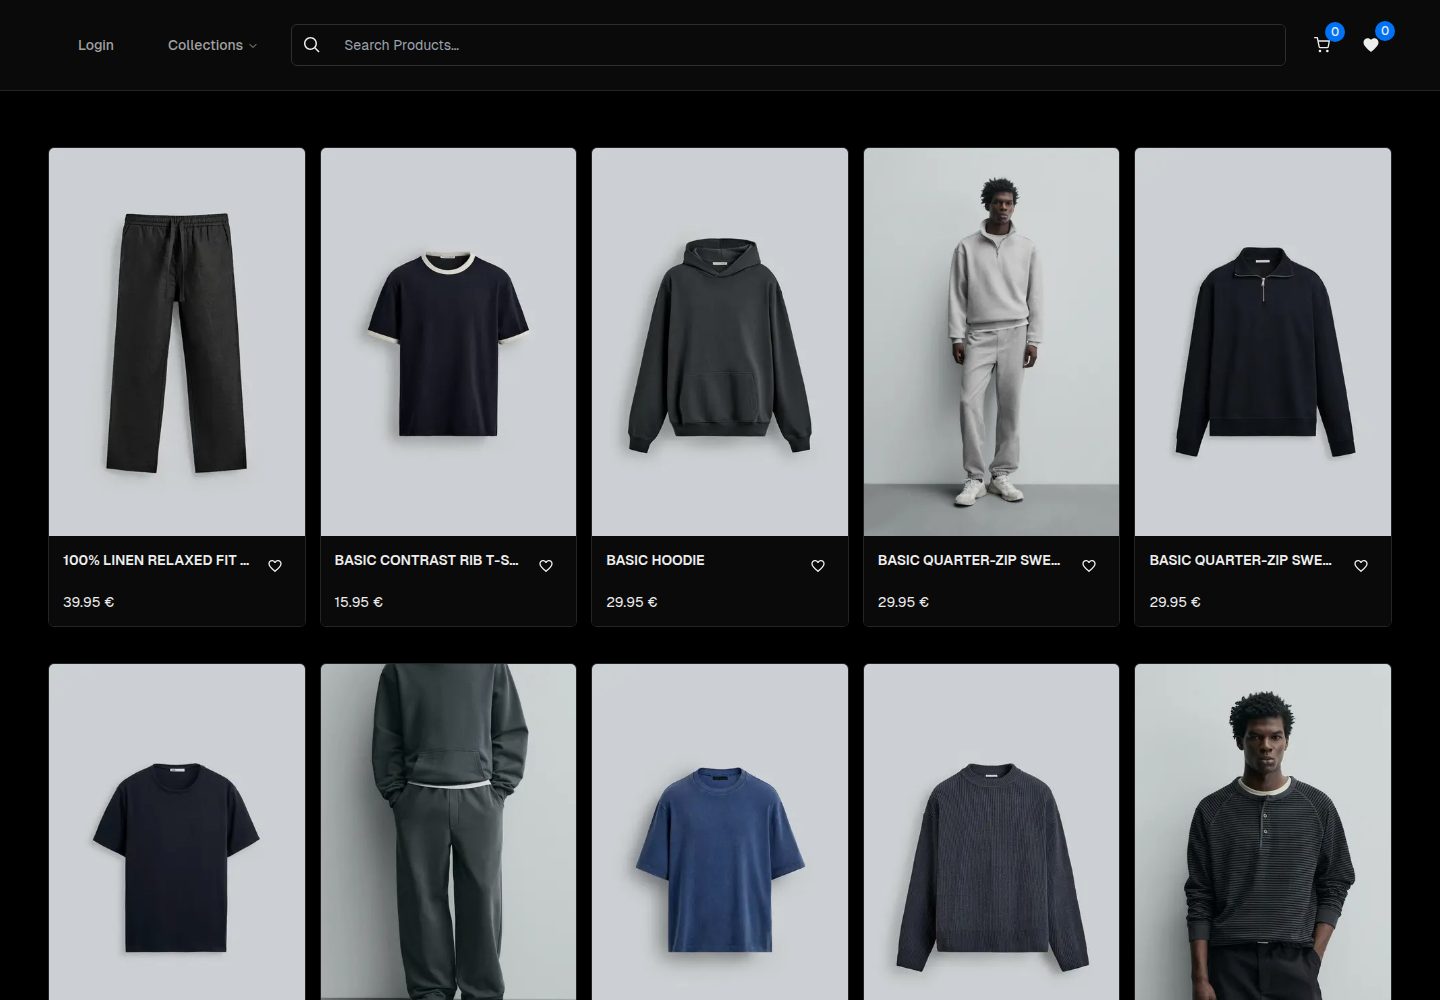
A Next.js App Router ecommerce template built with TypeScript, Tailwind CSS, Radix UI, and TanStack Query.
Next.js · E-commerce
boundless-nextjs-ecommerce-template
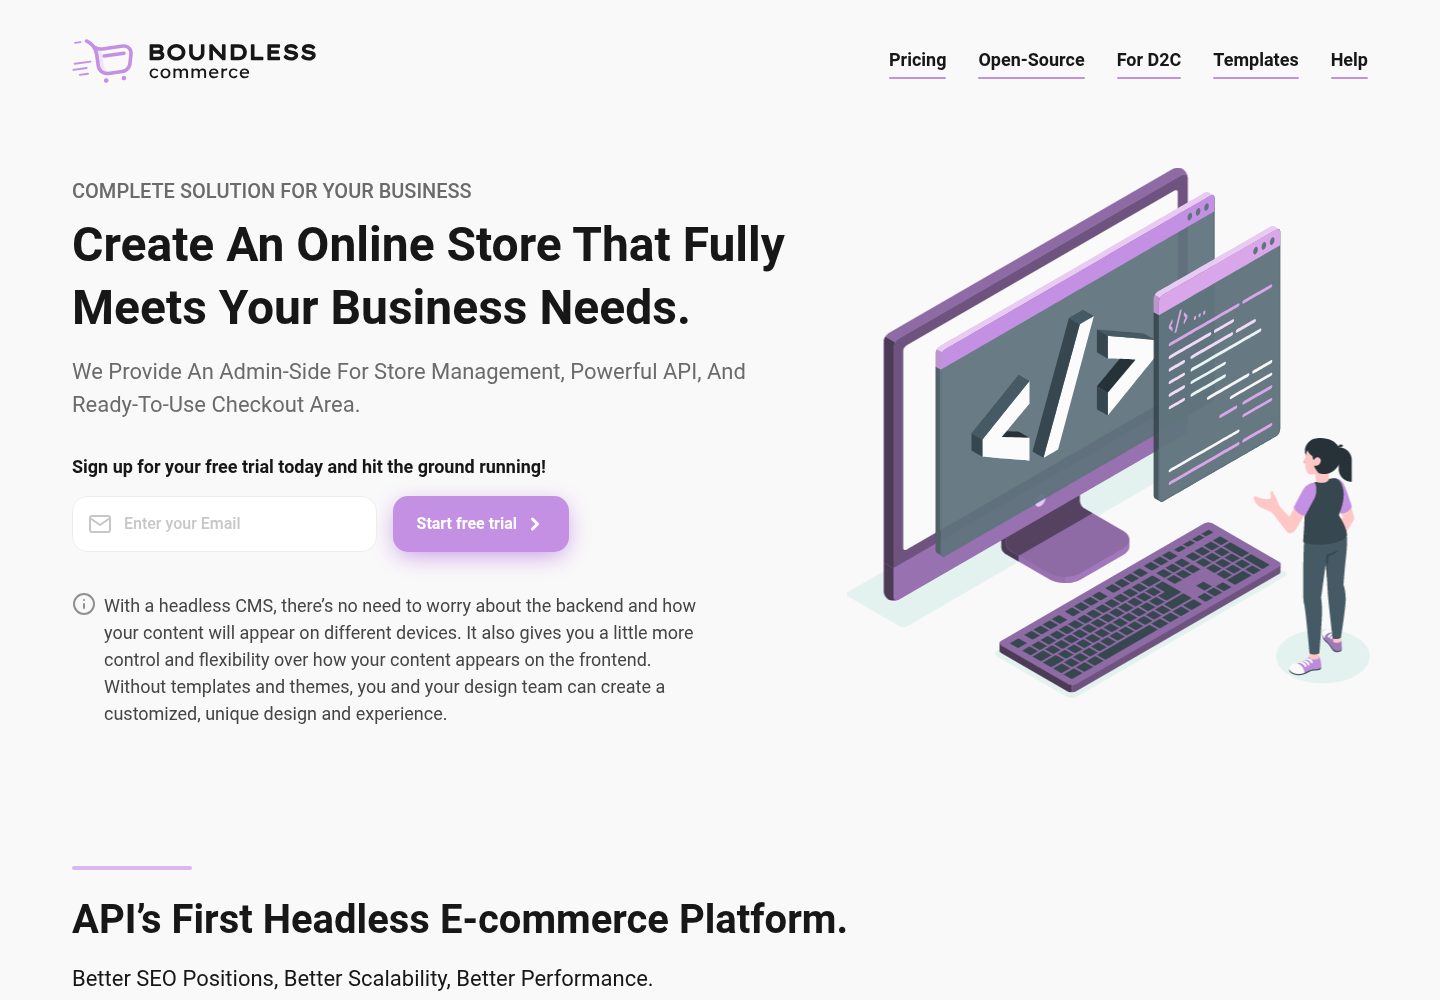
A free Next.js and TypeScript e-commerce frontend starter kit from Boundless Commerce.
Next.js · E-commerce
mobile-medusa
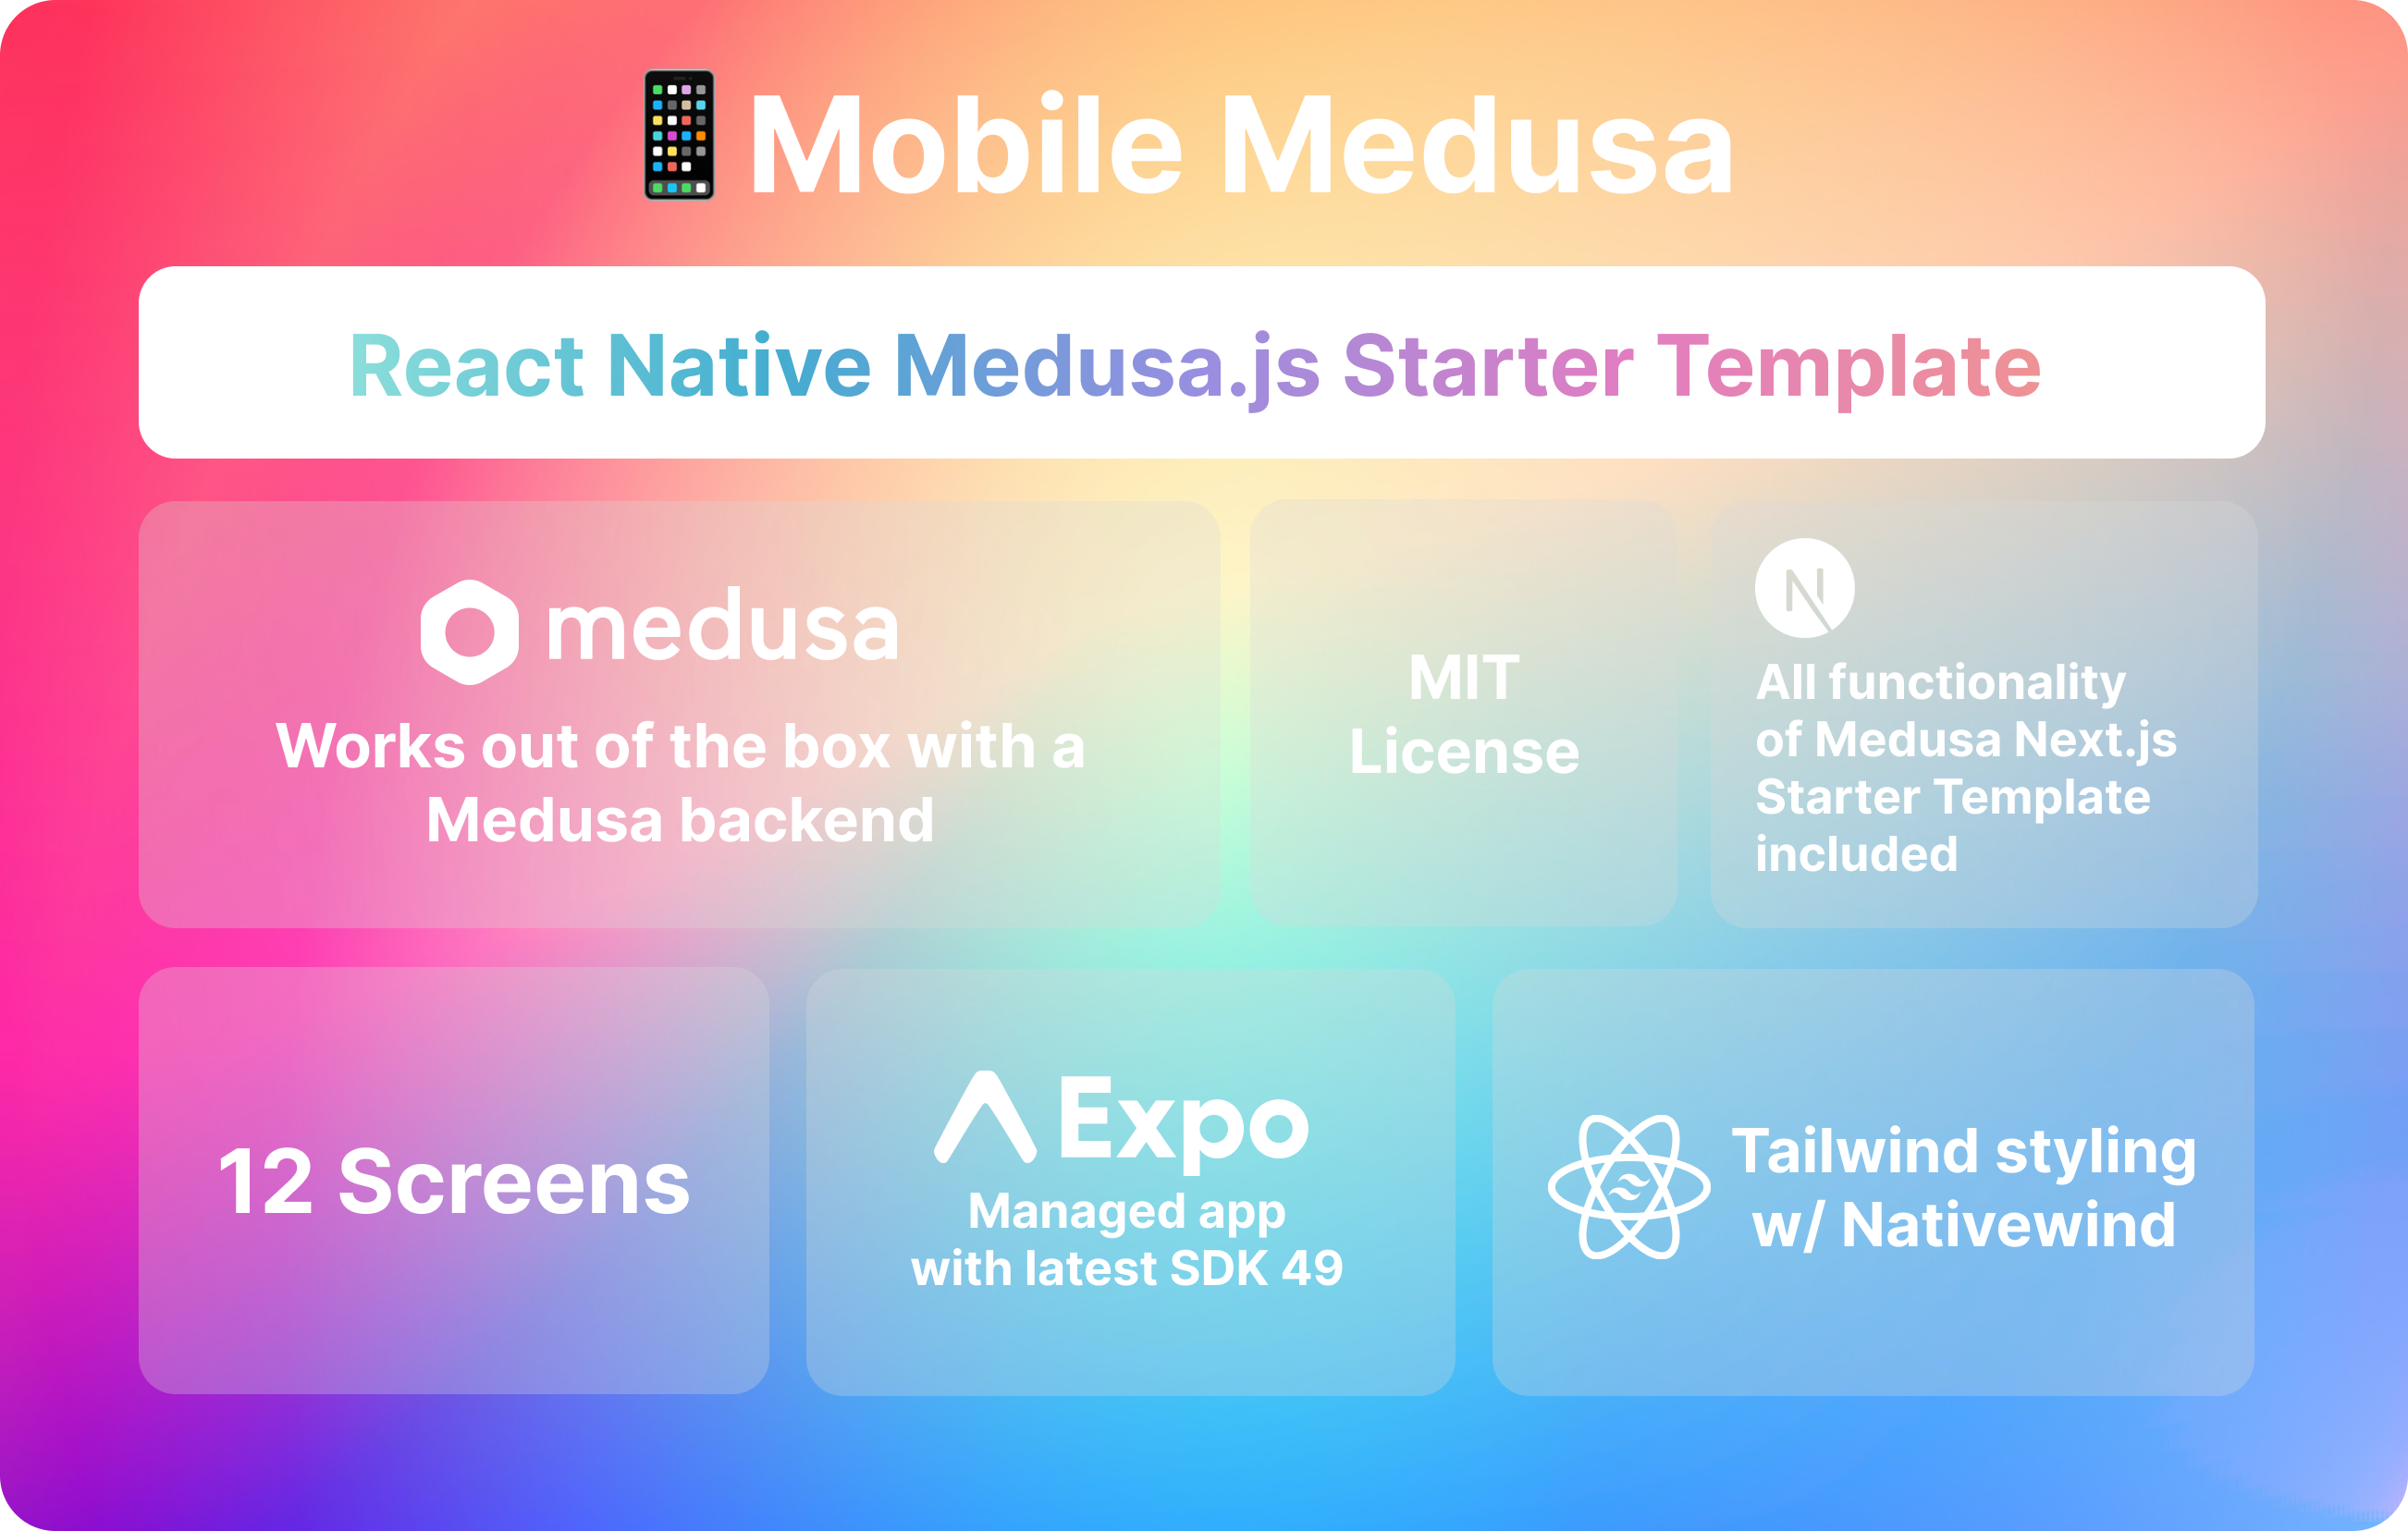
Mobile Medusa is an Expo-based React Native mobile e-commerce starter template that connects to a Medusa backend and aligns its pages and user flows with the Medusa Next.js Starter.
Next.js · E-commerce
template-ecommerce-webapp-nextjs
An official Contentful-maintained Next.js ecommerce starter template that fetches content via the Contentful GraphQL API and uses graphql-codegen to generate a type-safe SDK.
Next.js · E-commerce