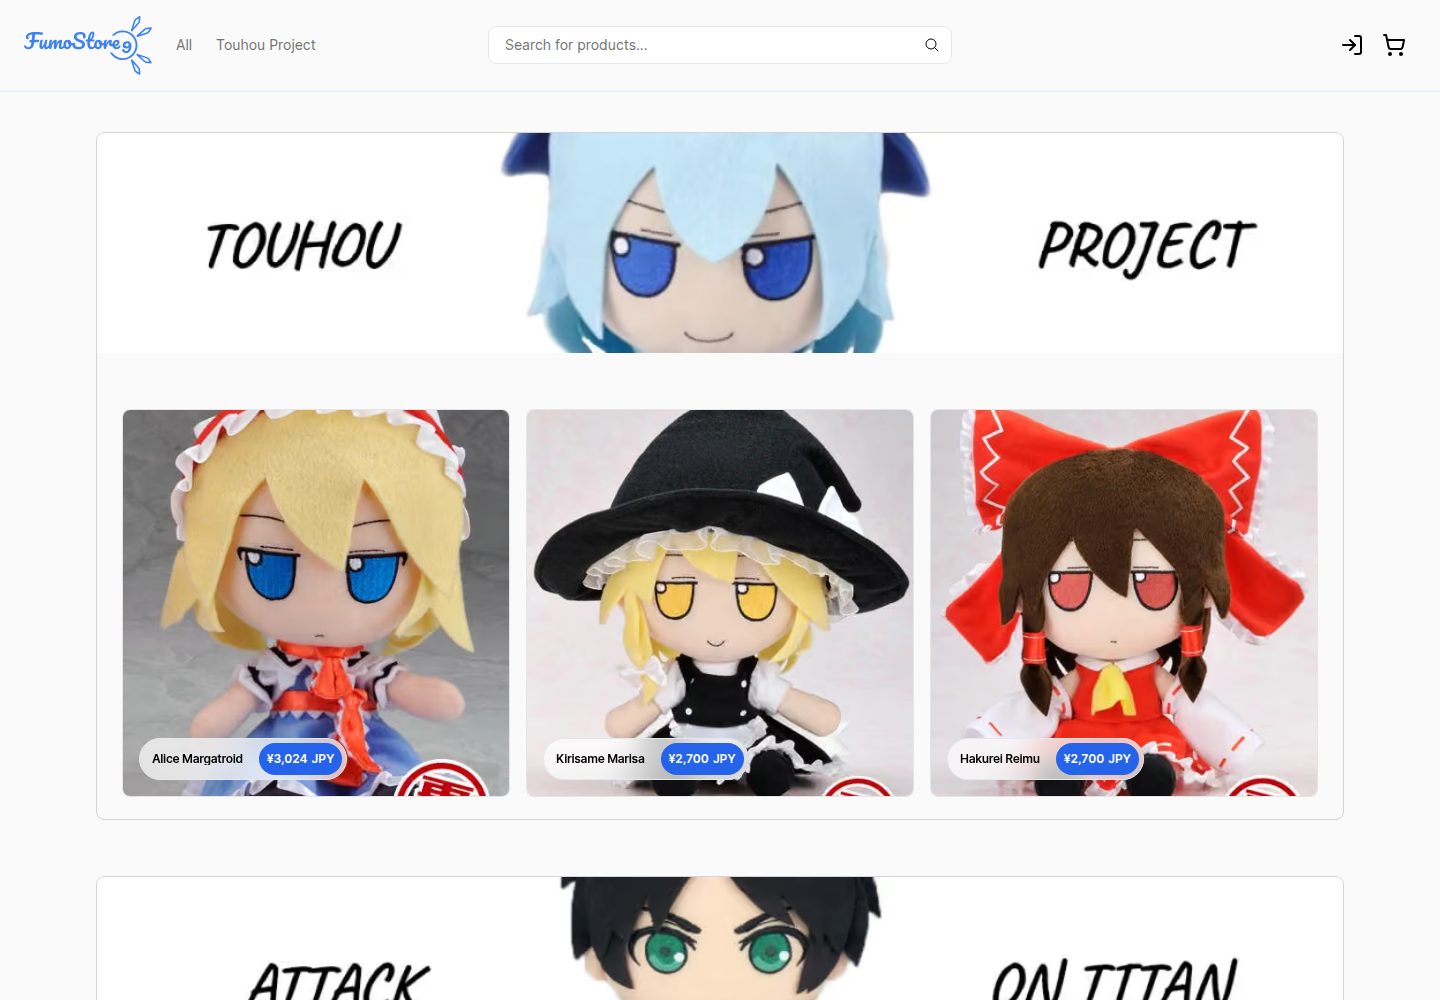
基于 Next.js Commerce 模板扩展,保留其商品列表与详情页结构
Next.jsReact电商
Fumo-Store-9 — Next.js 电商模板
作者 Banbarashik
基于 Next.js Commerce 模板扩展的 Shopify 电商前端,使用 Next.js、TypeScript 与 Tailwind CSS,包含商品展示、购物车、下单与用户认证等能力。
看看你的网站会是什么样
浏览真实页面截图,比较内容排版与手机效果。点击下方缩略图切换,放大查看整页细节。
全部页面与视图 3
截图用于了解视觉与布局,交互效果请以实际项目为准。
采集于 2026-10-02查看来源
值得关注的模板亮点
从已有项目资料中,快速了解它的特点。
通过 Shopify Storefront API 获取商品数据并管理购物车与订单
集成 Shopify Customer Account API,支持用户登录与账户功能
使用 TypeScript 与 Tailwind CSS 编写,辅助 shadcn/ui 组件与 Lucide 图标
提供从创建开发店铺到配置 webhook 的完整环境变量说明
仓库采用 MIT 许可,可免费使用、修改、商用和分发代码
模板详细介绍
Fumo-Store-9 是一个电商网站项目,代码来自作者公开的演示商店,本质上是 Vercel 的 Next.js Commerce 模板的扩展版本,并通过 Shopify 提供商品、购物车、订单与用户账户等后端能力。技术栈以 Next.js 为主,配合 TypeScript 与 Tailwind CSS,辅助使用 shadcn/ui 组件、Lucide-react 图标和 Keen-slider 轮播库,开发侧配置了 ESLint 与 Prettier。
项目需要自行配置 Shopify 环境变量才能运行:包括店铺域名、Storefront 访问令牌、webhook 重验证密钥,以及 Customer Account API 的客户端 ID、密钥、登录重定向 URI 和店铺 ID。README 给出了从创建开发店铺、安装 Headless 应用、配置 webhook 到启用新客户账户的完整步骤,并指向 Vercel 的 Shopify 集成指南作为补充。
仓库采用 MIT 许可,可免费使用、修改、商用和分发该版本代码,但演示图片、字体、图标等第三方素材需单独核对许可,域名、托管、数据库、支付等外部服务可能另外收费。项目未声明生产就绪程度或性能指标,实际可用性取决于 Shopify 配置与部署环境。
Next.jsReact电商
适合你的项目吗?
适用场景
- 搭建以 Shopify 为后端的无头电商前端
- 学习 Next.js Commerce 模板的扩展与定制方式
- 演示商品浏览、搜索、购物车与用户登录的完整流程
- 作为二次开发电商站点的起始代码
适合人群
- 熟悉 Next.js 与 TypeScript 的前端开发者
- 已拥有或计划创建 Shopify 店铺的团队
- 希望基于 Next.js Commerce 做定制电商前端的项目
- 需要 MIT 许可电商模板进行学习或二次开发的个人
上手与定制指南
结合仓库当前版本的说明,按下面的资料检查内容、配置与运行要求。
- 1
克隆仓库后将 .env.example 重命名为 .env.local
- 2
使用 pnpm install 与 pnpm dev 启动本地开发,默认运行在 localhost:3000
- 3
需按 README 配置 Shopify 开发店铺、Headless 应用与 Storefront 访问令牌
- 4
需配置 webhook 重验证密钥,以及 Customer Account API 的 CLIENT_ID、CLIENT_SECRET、LOGIN_REDIRECT_URI 和 SHOP_ID
- 5
未填写环境变量前,店铺前端无法正常展示商品或完成下单与登录
授权与来源资料
使用条件与限制
免费使用 · 保留许可声明本次收录的是公开仓库中采用 MIT 许可的免费版本;免费范围为该版本代码,不代表外部服务或第三方素材免费。
使用时需要遵守
- 允许免费使用、修改、商用和分发该版本代码。
- 分发代码副本或实质性部分时,保留原作者版权声明和完整 MIT 许可声明。
- 代码按现状提供;担保与责任限制以原许可证及适用法律为准。
额外费用与待核对事项
- 必须自行配置 Shopify 环境变量(店铺域名、Storefront 访问令牌、webhook 重验证密钥、Customer Account API 的 CLIENT_ID/CLIENT_SECRET/LOGIN_REDIRECT_URI/SHOP_ID)才能运行;未配置前店铺前端无法展示商品、下单或登录。
- 需要拥有或创建一个 Shopify 店铺,并安装 Headless 应用、创建 storefront 与配置 webhook,属于外部服务依赖,可能产生额外费用。
- 依赖 Shopify Headless 应用与 Shopify 平台账号,属于第三方外部服务,需自行注册并可能产生费用。
- 演示图片、字体、图标及其他第三方素材需按各自许可核对,不能仅凭代码的 MIT 许可判断。
- 域名、托管、数据库、支付或 AI 等外部服务可能另外收费。
查看原文依据
Permission is hereby granted, free of charge
许可证原文
You'll have to populate your .env.local file with the values of environment variables, which you'll obtain by following the instructions in the Shopify Integration section.
README 原文
Follow this [video](https://youtu.be/CcLopj8zVJc) to create a development store.
README 原文
https://github.com/Banbarashik/Fumo-Store-9/blob/main/license.mdhttps://github.com/Banbarashik/Fumo-Store-9/blob/main/docs/README.mdInstall the [Headless app](https://apps.shopify.com/headless) and create a storefront
README 原文
DeepSeek 根据仓库许可证和 README 整理 ·2026-10-02。结果仅覆盖已读取资料,依赖、图片、字体及后续条款变更以各自原文为准。
项目核对记录与介绍依据
模板资料
- 来源平台
- GitHub
- 资料与维护参考分
- 资料一般 · 73 / 100
- 技术栈
- Next.js · React
- 网站类型
- 电商
这个分数如何计算
本站按许可资料(最高30分)、演示链接(12分)、预览图(10分)、Star数(15分)、记录的维护时间(15分)、描述完整度(8分)、功能记录(5分)和分类资料(5分)计算。它不是代码、安全或性能测试,也不是 Google 评分;有链接不代表已实测可用。
这个项目需要核对什么
- 记录的仓库更新时间
- 2024-02-10
- 截图检查日期
- 2026-10-02
已收录演示链接。请用你的内容与屏幕尺寸检查;有演示不代表表单、认证或支付已经可用。
目录记录的主要技术栈是 Next.js。请通过依赖清单和锁文件核对实际版本与托管要求。这些说明基于收录资料,不代表代码审计或部署实测。
查看具体选型方法 →介绍的制作与核对状态
介绍由 AI 辅助整理目录与仓库资料。仓库作者不等于这篇介绍的审核者。
已完成服务器许可规则与 AI 来源核对;未经过人工编辑审核。
查看当时使用的来源资料
SHA-256: d3e8f4e8980ffcf3c9826b09003b0391bde506a2dc72e7a54de0e7a90fe6032c
2026-10-02T14:12:17.682Z
来源文件 / 仓库
This project contains the code behind my demo [store](https://fumostore9.vercel.app). Basically, it is an extended version of the [Next.js Commerce template](https://github.com/vercel/commerce). You can see a list of new features and improvements (with images and video) [here](nextjs-commerce-comparison.md).
## Project setup
### Local setup
1. Clone the repository.
2. Rename .env.example to .env.local.
Run the following commands (in the folder of your cloned repository):
```bash
pnpm install
pnpm dev
```
Your app should now be running on [localhost:3000](http://localhost:3000). To shut down the app, press Ctrl + C in the terminal.
> The storefront won't work just yet. You'll have to populate your .env.local file with the values of environment variables, which you'll obtain by following the instructions in the Shopify Integration section.
### Shopify Integration
1. Follow this [video](https://youtu.be/CcLopj8zVJc) to create a development store.
2. Set the value of the **SHOPIFY_STORE_DOMAIN** environment variable to the URL of your development store (can be seen in [Settings](https://admin.shopify.com/store/store-for-instruction/settings)).
3. Install the [Headless app](https://apps.shopify.com/headless) and create a storefront ([instruction](https://vercel.com/docs/integrations/shopify#install-the-shopify-headless-app)).
4. Set the value of the **SHOPIFY_STOREFRONT_ACCESS_TOKEN** environment variable to the Public access token from the previous step.
5. Configure Shopify webhooks using this [instruction](https://vercel.com/docs/integrations/shopify#configure-shopify-webhooks).
6. Create a webhook for the "Order creation" event in the same way.
7. Set the value of the **SHOPIFY_REVALIDATION_SECRET** environment variable to the revalidation secret you created in Step 5.
8. In your Shopify store's [Settings](https://admin.shopify.com/store/store-for-instruction/settings), go to [Customer accounts](https://admin.shopify.com/store/store-for-instruction/settings/customer_accounts), click "Edit" in "Accounts in online store and checkout", check "Show login link in the header of online store and at checkout" and choose "New customer accounts". Save the settings.
9. Follow Steps 1-3 of Shopify's [Getting started with the Customer Account API](https://shopify.dev/docs/custom-storefronts/building-with-the-customer-account-api/getting-started) guide (this storefront uses the confidential type of a client, so you can ignore info related to public clients).
10. Set the values of the **CLIENT_ID** and **CLIENT_SECRET** environment variables to the client ID and client secret from the previous step.
11. Set the value of the **LOGIN_REDIRECT_URI** environment variable to the ngrok endpoint you used in Step 8 and 5.
12. Set the value of the **SHOP_ID** environment variable to your Shopify store's shop ID.
To get the shop ID, you can add "/shop.json" to the end of your store URL (e.g., "test-store.myshopify.com/shop.json") which will display store info in JSON format. On this page you can search for "shopId".
After completing these steps your storefront will be able to display information from your Shopify store, store products in the cart, create orders and authenticate users.
For more detailed instructions on Shopify (and Vercel) integration, you can refer to this [guide](https://vercel.com/docs/integrations/shopify).
## Technology stack
- Main
- Next.js - a full-stack web framework.
- TypeScript - a superset of JavaScript with strong types.
- Tailwind CSS - a utility-first CSS framework.
- Auxiliary
- shadcn/ui - a collection of components.
- Lucide-react - a collection of icons.
- Keen-slider - a slider library.
- Dev
- ESlint
- Prettier
看看同类模板
对比同技术栈与用途的模板,找到更适合的视觉与内容结构。

Next.js Commerce
Next.js Commerce 是 Vercel 团队维护的电商启动模板,基于 Next.js App Router 构建,采用服务端渲染、React Server Components、Server Actions …
Next.js · 电商
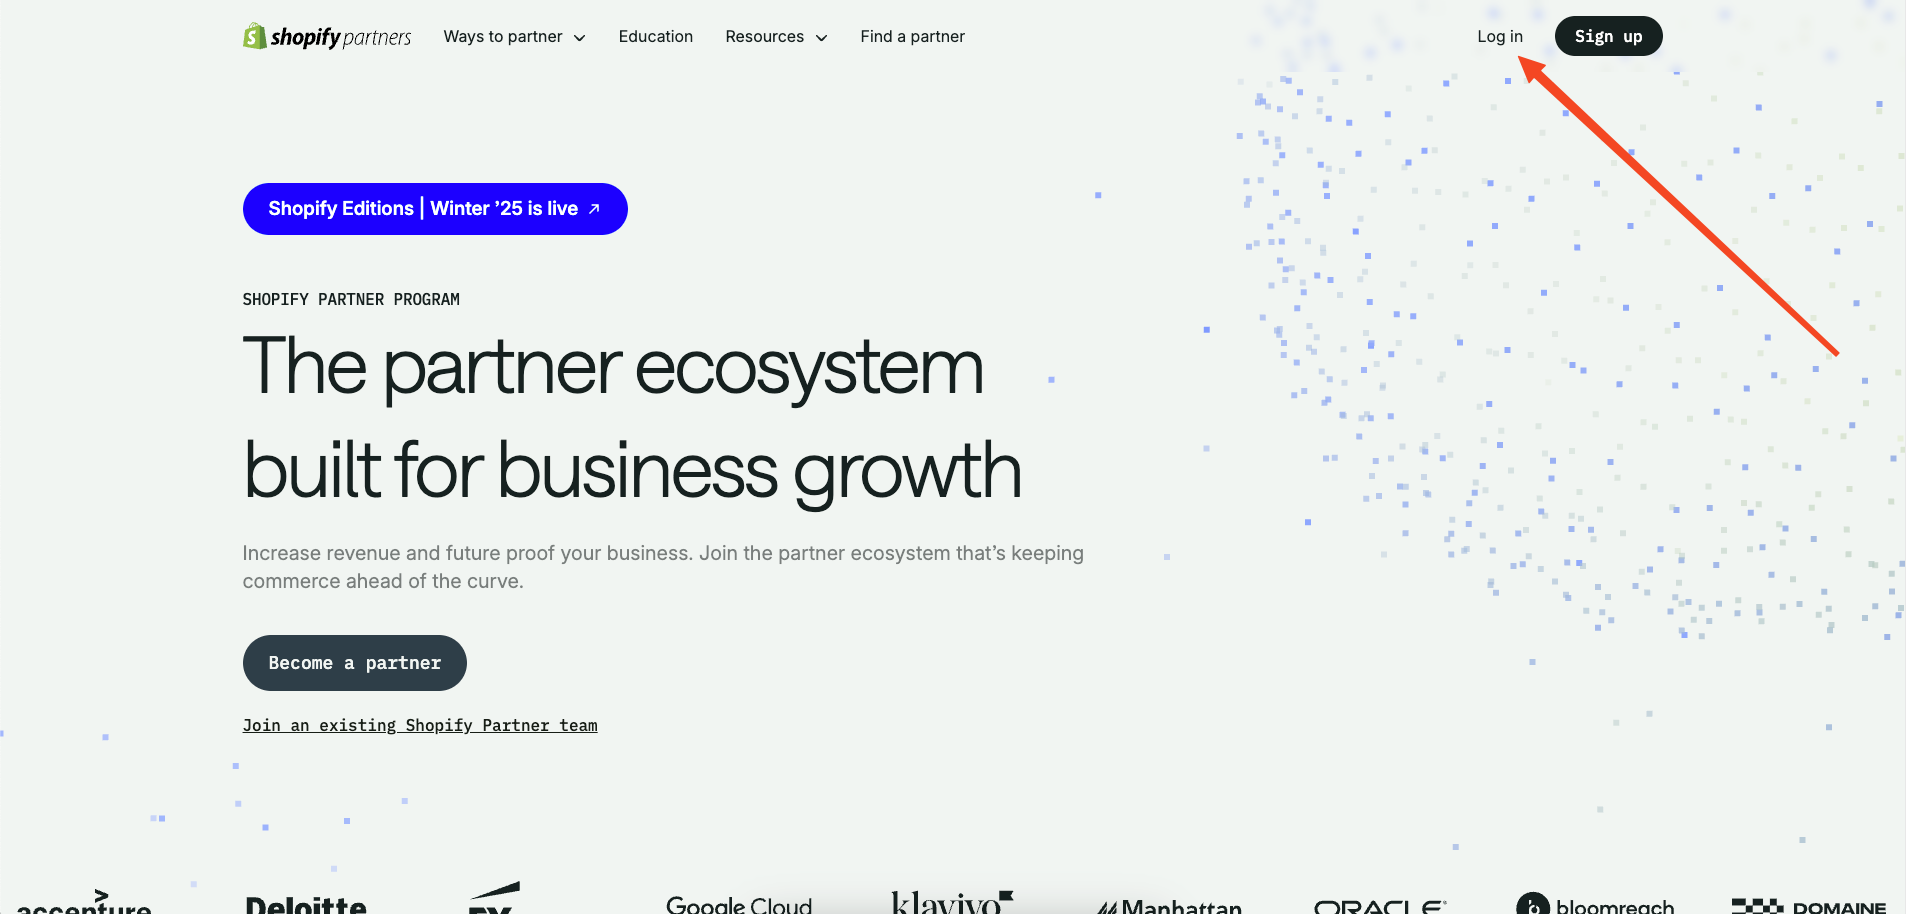
commerceplate
Commerceplate 是一个基于 Next.js 16、Tailwind CSS 4 和 TypeScript 的 Shopify 电商启动模板,由 Zeon Studio 开发并免费开源。
Next.js · 电商
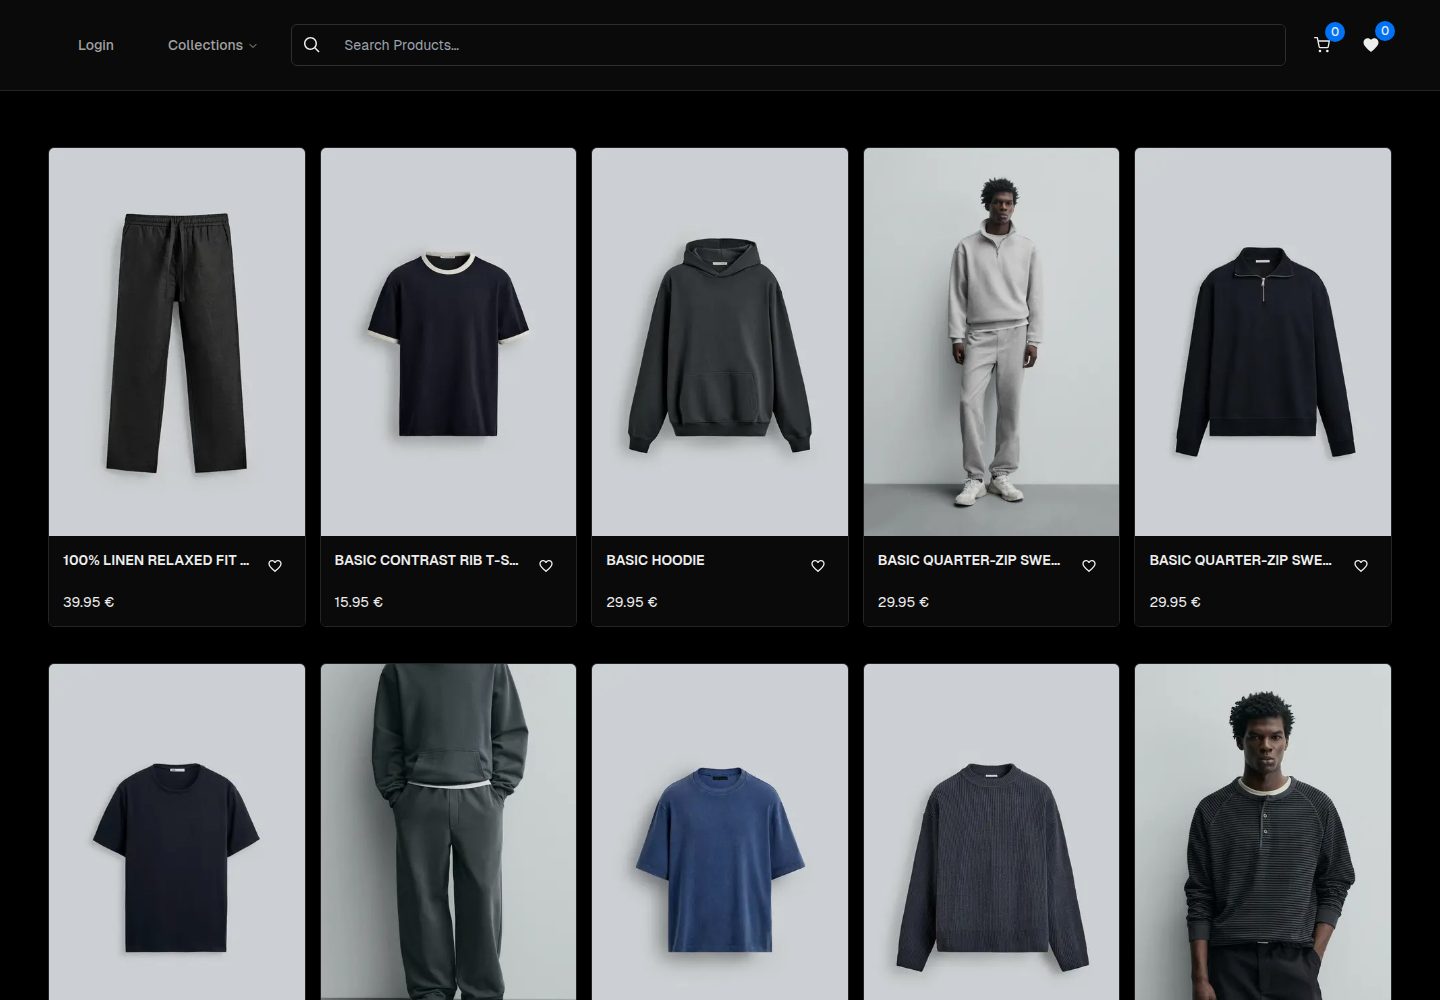
ecommerce-template
An ecommerce template built with NextJS 16, TypeScript and TailwindCSS
Next.js · 电商
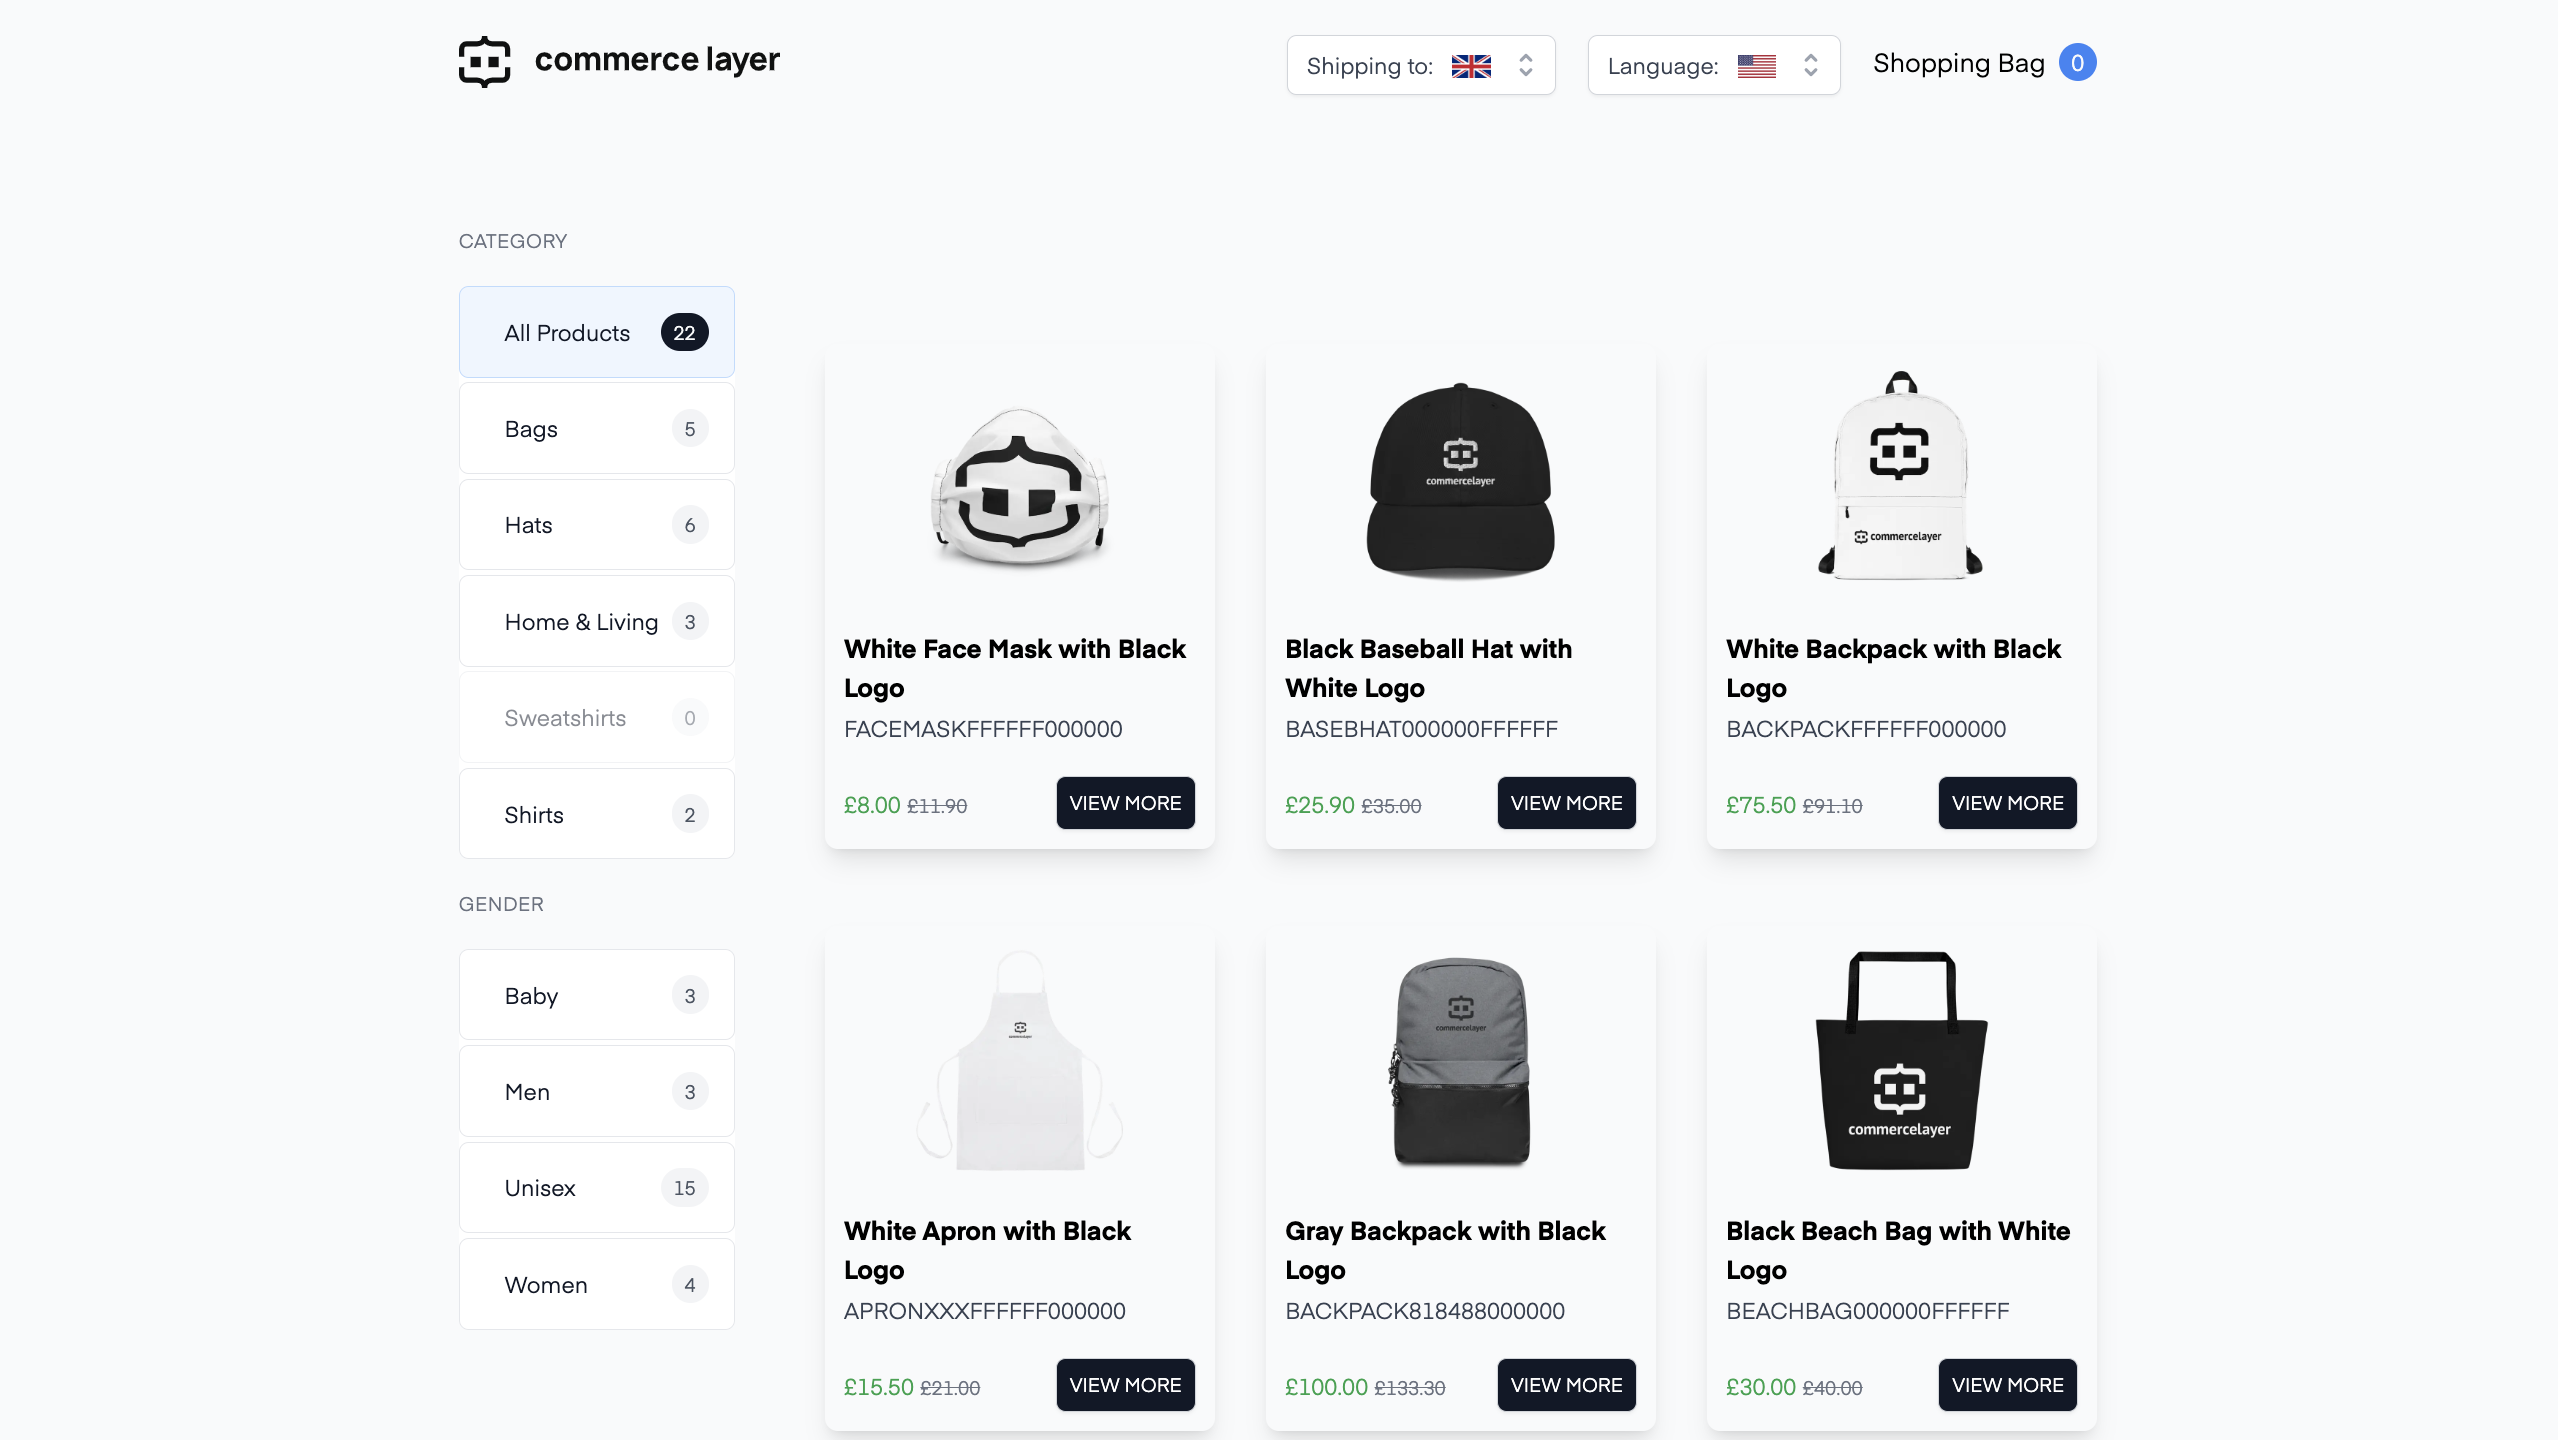
commercelayer-sanity-template
A multi-country ecommerce template built with Commerce Layer, Next.js, Sanity studio, and deployed to Netlify.
Next.js · 电商
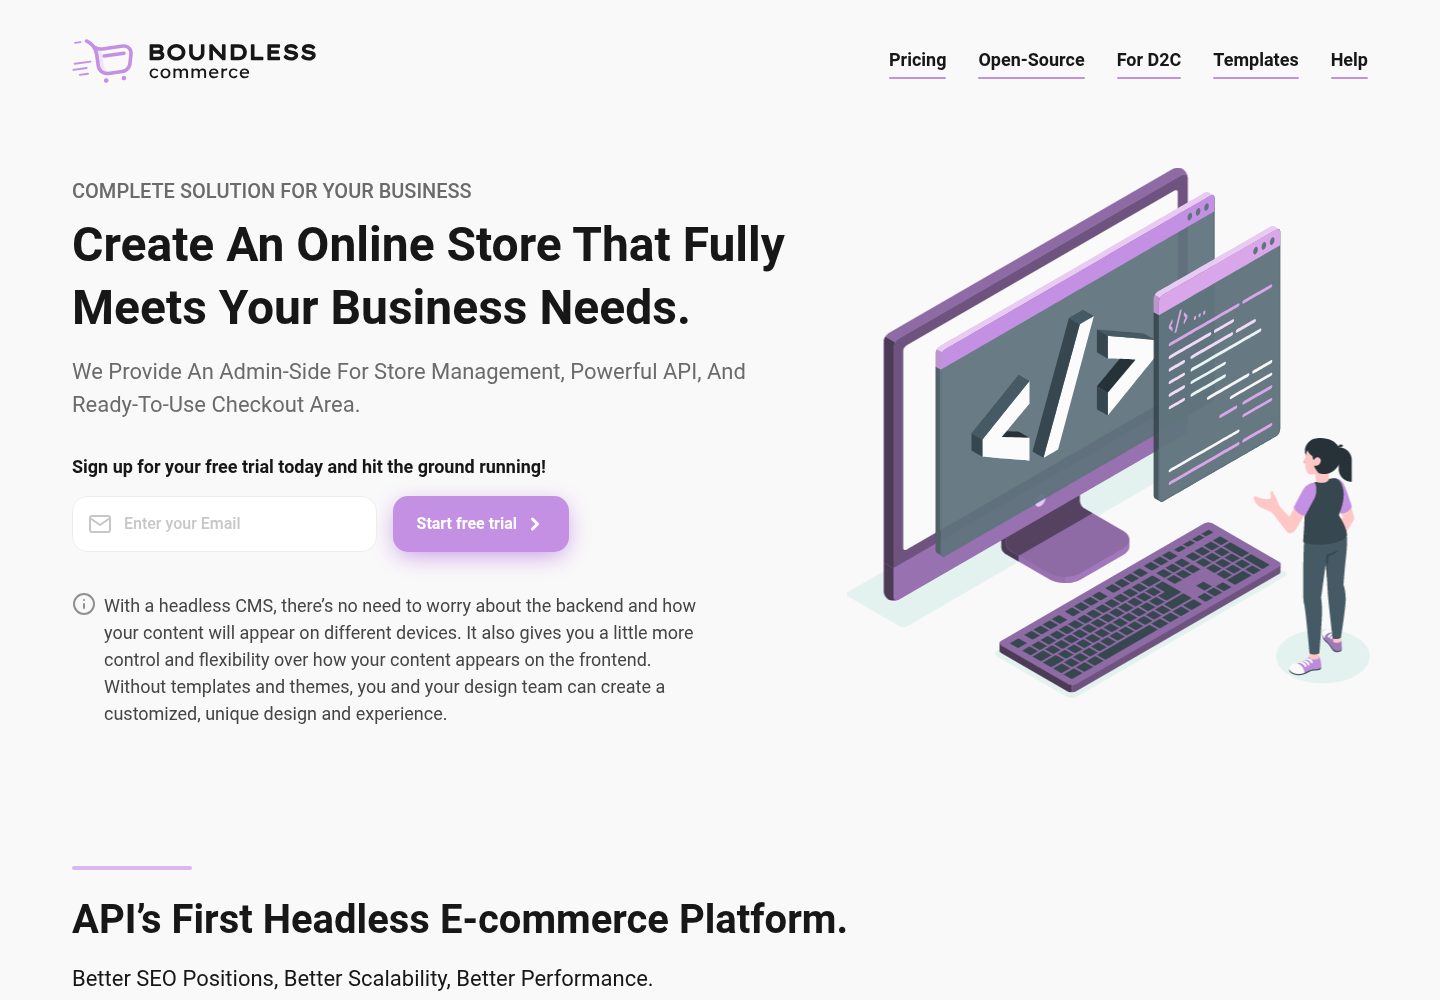
boundless-nextjs-ecommerce-template
Next.js E-Commerce template. Strong TypeScript, Ready to use, For high-performance e-commerce websites.
Next.js · 电商
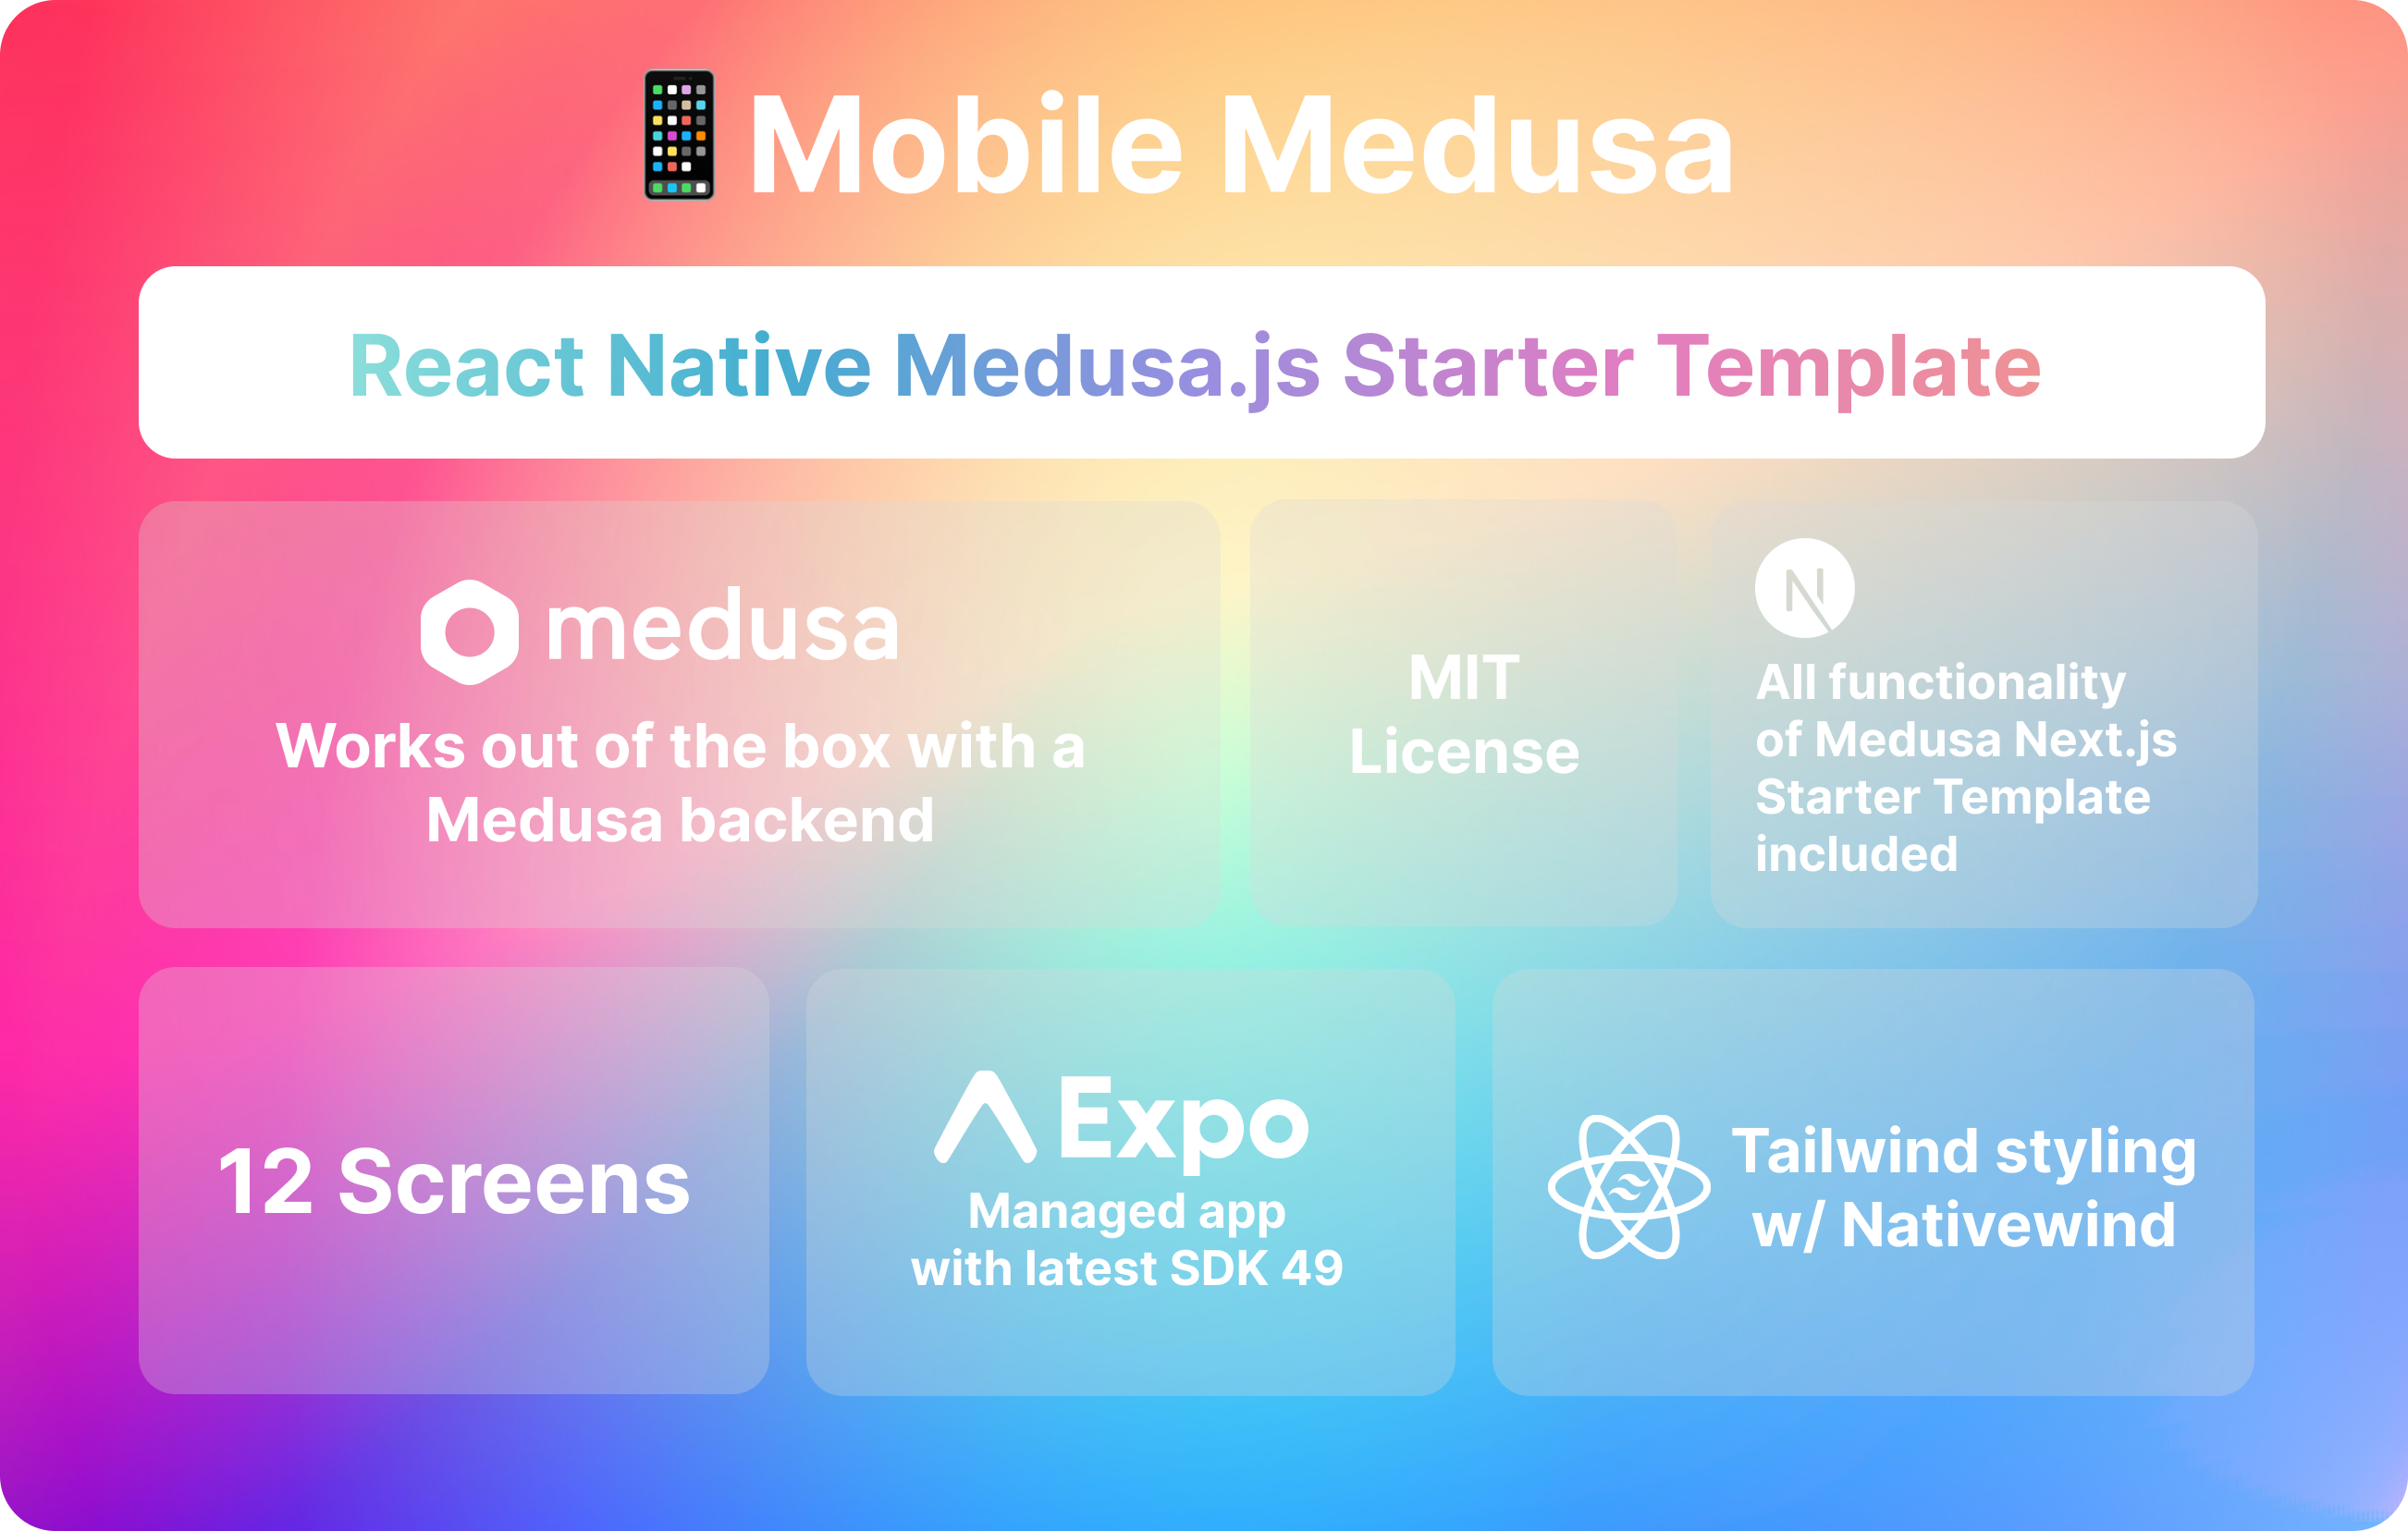
mobile-medusa
📱 Combine your Medusa.js e-commerce backend and/or web storefront with a Expo mobile app that matches Medusa …
Next.js · 电商