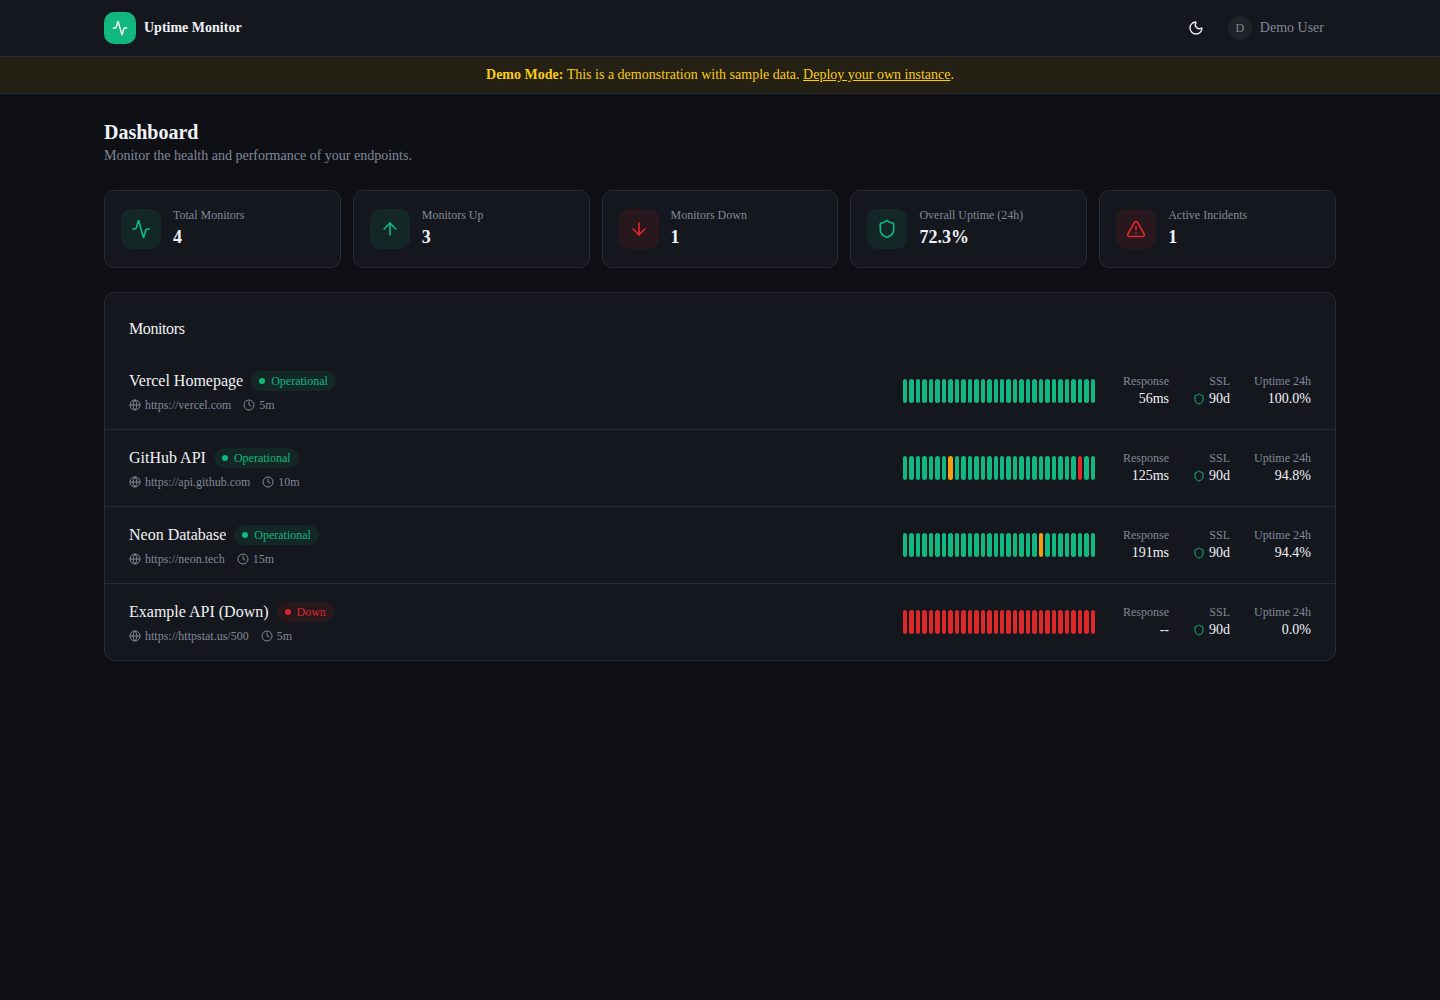
Supports adding HTTP/HTTPS endpoints with configurable check intervals, request methods, expected status codes, and timeout thresholds
Next.jsReactAdmin dashboard
Website-Uptime-Monitor-template — Next.js Admin dashboard Template
By bseymour
A self-hosted website and API uptime monitoring tool built with Next.js, using Neon PostgreSQL for data storage, deployed on Vercel with scheduled endpoint checks, supporting SSL certificate tracking, response time charts, and email alerts.
Explore the design
Compare the page layouts and mobile experience. Open any screenshot for a closer look.
Desktop homepage1 / 2
Desktop captureTop of page
Actual screenshot captured by the server browser.
All pages & views 2
Screenshots show visual appearance; interactive behavior may differ.
Recorded 2026-10-02View source
What stands out
A quick read of the recorded project description.
Automatically tracks SSL certificate validity for HTTPS endpoints, marking as degraded when less than 14 days remain
Uses Recharts area charts to display response time history and a 30-segment color bar to show recent check status
Automatically creates and resolves incidents on status changes, and can send down and recovery email notifications via Resend
Dashboard provides a "Check All Now" button, and each monitor also has a "Run Check" button to manually trigger checks
Uses Sign In with Vercel authentication, with access restricted by an email allowlist
Template Details
This is a self-hosted uptime monitoring admin panel for monitoring websites and API endpoints. You can add any HTTP/HTTPS address, configure check intervals (5 minutes to 24 hours), request methods (GET/HEAD/POST), expected status codes, and timeout thresholds. The system records each check result, displays response time history as an area chart on the dashboard, and shows recent status using a 30-segment color bar (green=up, red=down, amber=degraded). For HTTPS endpoints, it also automatically checks SSL certificate validity and marks as degraded when less than 14 days remain. When monitoring status changes, the system automatically creates or resolves incidents and can send down and recovery email notifications via Resend, with all alert records written to the database.
On the technical side, the frontend uses Next.js App Router, shadcn/ui, Tailwind CSS, and Recharts, with client-side data fetching via SWR and server-side access to PostgreSQL through the Neon driver. Authentication uses Sign In with Vercel (OAuth 2.0 PKCE), with access controlled by an email allowlist. Scheduled checks are triggered by Vercel Cron, running every 10 minutes by default, and only check monitors that have reached their respective intervals.
Usage limitations: Vercel Cron has a minimum interval of once per day on the Hobby free plan; the default 10-minute schedule requires a Pro or Enterprise plan. When using Neon's free tier, storage and compute time are limited; the project by default deletes check results older than 30 days and resolved incidents older than 90 days on each cron run to control storage growth. Email alerts require additional configuration of a Resend account and API key; without configuration, the application still runs but will not send emails.
Next.jsAdmin panel
Is it right for your project?
Use Cases
- Monitor whether self-deployed websites or APIs are reachable and receive email alerts on failures
- Track HTTPS certificate expiration to avoid service interruptions caused by expired certificates
- View historical trends of endpoint response times to understand performance changes
- Centrally manage multiple monitors on the dashboard and manually trigger checks to verify configuration
Suitable For
- Individual developers or small teams needing self-hosted uptime monitoring
- Developers using the Vercel and Neon stack who want to quickly deploy a monitoring admin panel
- Users who need to monitor a small number of websites or APIs and receive email alerts
Getting started & customization
Use these recorded setup notes alongside the repository instructions for your chosen version.
- 1
Requires a Vercel account and a Neon PostgreSQL database; after deployment, run scripts/setup-database.sql to initialize the table structure
- 2
Create an OAuth app in Vercel and configure the callback URL, then set the NEXT_PUBLIC_VERCEL_APP_CLIENT_ID, VERCEL_APP_CLIENT_SECRET, and ALLOWED_EMAILS environment variables
- 3
Generate a CRON_SECRET and configure it as an environment variable to protect the scheduled check endpoint
- 4
Email alerts are optional and require a Resend account with RESEND_API_KEY, ALERT_EMAILS, and ALERT_FROM_EMAIL set
- 5
Vercel Cron runs every 10 minutes by default; on the Hobby free plan the minimum interval is once per day, so adjust the schedule in vercel.json according to your plan
License & source material
Usage conditions & limitations
Free to use · keep license noticeThis listing covers the free version under the MIT license from the public repository; the free scope is the code of this version and does not imply that external services or third-party assets are free.
Must comply with when using
- Permits free use, modification, commercial use, and distribution of this version's code.
- When distributing copies or substantial portions of the code, retain the original author's copyright notice and the full MIT license notice.
- The code is provided as is; warranties and limitations of liability are governed by the original license and applicable law.
Additional costs & items to verify
- Vercel Cron's minute-level scheduling requires a Pro or Enterprise paid plan; on the Hobby free plan the minimum interval is once per day, so the default 10-minute scheduled checks cannot run at that frequency on the free plan.
- If using the Vercel Hobby free plan, scheduled checks can run at most once per day; you need to change the schedule in vercel.json to once per day or upgrade to a paid plan.
- Using Neon's free tier provides 0.5 GB storage and 100 compute hours per month; more frequent checks accelerate storage and compute consumption, so adjust check frequency or retention accordingly.
- Each cron run deletes check results older than 30 days, so historical data retention is limited; longer history requires code changes and possibly a paid database plan.
- Resolved incidents older than 90 days are automatically deleted, so incident history retention is limited.
- Email alerts require registering a Resend account and configuring an API key; without configuration, the application runs but will not send any email notifications.
- Email alerts depend on the Resend account's available quota; once exhausted, alerts cannot be sent.
- Deployment requires a Vercel account, and the scheduled check feature is limited by the Vercel plan tier.
- Requires a Neon account to provide a PostgreSQL database; the free tier has storage and compute time limits.
- Project materials mention optional paid versions or features; this listing only covers the public free code and does not include paid upgrades.
- Demo images, fonts, icons, and other third-party assets must be checked against their respective licenses and cannot be judged solely by the code's MIT license.
- External services such as domains, hosting, databases, payments, or AI may incur additional charges.
View Original Text Basis
Permission is hereby granted, free of charge
Original License Text
Vercel Cron requires a **Pro** or **Enterprise** plan for per-minute scheduling
Original README
On the **Hobby** (free) plan, the minimum interval is **once per day**
Original README
If you are on the Neon **free tier** (0.5 GB storage, 100 compute-hours/month)
Original README
**Check results** older than **30 days** are deleted on each cron run
Original README
**Resolved incidents** older than **90 days** are deleted on each cron run
Original README
Optionally, a [Resend](https://resend.com) account for email alerts (free tier available)
Original README
Ensure your Resend account has available credits
Original README
A [Vercel](https://vercel.com) account (free tier works)
Original README
https://github.com/bseymour/Website-Uptime-Monitor-template/blob/main/LICENSEhttps://github.com/bseymour/Website-Uptime-Monitor-template/blob/main/README.mdA [Neon](https://neon.tech) account (free tier works)
Original README
Compiled by DeepSeek based on repository license and README ·2026-10-02. Results only cover the materials read; dependencies, images, fonts, and subsequent term changes are subject to their respective original texts.
Project checks & description sources
Template Information
- Source platforms
- GitHub
- Documentation and maintenance reference score
- More documented · 83 / 100
- Technologies
- Next.js · React
- Website type
- Admin dashboard
How this score is calculated
Our heuristic uses license records (up to 30), a demo link (12), a preview (10), stars (15), recorded maintenance (15), description completeness (8), feature records (5) and classification data (5). It is not a code, security or performance test, or a Google score. A link does not establish tested functionality.
What to verify for this project
- Repository update recorded
- 2026-03-08
- Screenshot last checked
- 2026-10-02
A demo link is listed. Check it with your own content and viewport sizes; its presence does not confirm that forms, authentication or payments work.
The catalog identifies Next.js as the primary stack. Check the actual dependency manifest and lockfile for versions and hosting requirements. These notes use recorded metadata, not a code audit or a deployment test.
Use a selection guide →How this description was prepared
AI-assisted description based on catalog records and repository material. Repository authors are not automatically the reviewers of this description.
Automatically checked against source and license rules; no manual editorial review.
Inspect the recorded source material
SHA-256: bc4d66397b55ccfc6fe9fd3147d4518bea4e789c6c0adaee7e9b431b3dc33e66
2026-10-02T15:51:31.488Z
Source file / repository# Uptime Monitor A self-hosted uptime monitoring tool built with Next.js, Neon PostgreSQL, and Vercel. Monitor your websites and APIs, track response times and SSL certificates, receive email alerts when endpoints go down, and view everything in a clean dashboard. [](https://vercel.com/new/clone?repository-url=https://github.com/bseymour/Website-Uptime-Monitor-template&env=DATABASE_URL,NEXT_PUBLIC_VERCEL_APP_CLIENT_ID,VERCEL_APP_CLIENT_SECRET,ALLOWED_EMAILS,CRON_SECRET&envDescription=Configuration%20for%20Uptime%20Monitor&envLink=https://github.com/bseymour/Website-Uptime-Monitor-template%23complete-setup-guide) ### 🚀 Live Demo [View Live Demo](https://uptimer-demo.vercel.app/) — See the dashboard in action with sample data. ## Features - **Endpoint Monitoring** - Add any HTTP/HTTPS endpoint with configurable check intervals (5 minutes to 24 hours), HTTP methods (GET/HEAD/POST), expected status codes, and timeout thresholds - **SSL Certificate Tracking** - Automatically checks SSL certificate validity and expiry for HTTPS endpoints. Marks monitors as "degraded" when certificates have fewer than 14 days remaining - **Response Time Charts** - Visualizes response time history using area charts built with Recharts, showing performance trends over time - **Uptime History Bar** - A compact 30-segment color bar showing the status of recent checks at a glance (green = up, red = down, amber = degraded) - **Incident Management** - Automatically creates incidents when a monitor goes down and resolves them when it recovers. Full incident history with timestamps - **Email Alerts** - Sends "down" and "recovery" email notifications via Resend when monitor status changes. All alerts are logged to the database - **Manual Checks** - "Check All Now" button on the dashboard and per-monitor "Run Check" button to trigger checks on demand - **Automated Cron Checks** - Vercel Cron runs on a configurable schedule (default: every 10 minutes), checking monitors that are due based on their configured interval - **Authentication** - Sign In with Vercel (OAuth PKCE flow). Access is restricted to an email whitelist you control ## Tech Stack | Layer | Technology | |---------------|------------------------------------------------| | Framework | Next.js 16 (App Router) | | Database | Neon (Serverless PostgreSQL) | | Auth | Sign In with Vercel (OAuth 2.0 PKCE) | | Alerts | Resend (email API) | | UI | shadcn/ui, Tailwind CSS, Recharts | | Deployment | Vercel (with Cron Jobs) | | Data Fetching | SWR (client-side), server-side via Neon driver | ## Quick Start ### Option 1: Deploy with Vercel (Recommended) 1. Click the **"Deploy with Vercel"** button above 2. Follow the setup steps below to configure your services 3. The deployment will guide you through connecting your GitHub repository ### Option 2: Manual Setup 1. Clone this repository 2. Push to your GitHub account 3. Import the repository into Vercel 4. Follow the setup steps below to configure your services ## Complete Setup Guide This guide will walk you through setting up all required services and configuring the application. ### Prerequisites Before you begin, make sure you have: - A [Vercel](https://vercel.com) account (free tier works) - A [Neon](https://neon.tech) account (free tier works) - Optionally, a [Resend](https://resend.com) account for email alerts (free tier available) --- ### Step 1: Deploy to Vercel 1. **Import the project**: - If using the template: Click "Deploy" and select your Vercel account - If deploying manually: Go to [Vercel Dashboard](https://vercel.com/dashboard) > **Add New** > **Project** > Import your repository 2. **Initial deployment**: Vercel will deploy your project, but it won't work yet until we configure the services below. --- ### Step 2: Set Up Neon Database Neon provides a serverless PostgreSQL database that works seamlessly with Vercel. #### Option A: Using Vercel Storage Integration (Recommended) 1. In your Vercel project dashboard, go to the **Storage** tab 2. Click **Create Database** > Select **Neon** 3. Choose a name for your database (e.g., "uptime-monitor-db") 4. Select a region close to your users 5. Click **Create** 6. Vercel will automatically set the `DATABASE_URL` environment variable for you #### Option B: Manual Neon Setup 1. Go to [Neon Console](https://console.neon.tech) 2. Click **Create Project** 3. Choose a name and region 4. Copy your connection string (it looks like: `postgresql://user:[email protected]/dbname`) 5. In Vercel, go to **Settings** > **Environment Variables** and add: - Key: `DATABASE_URL` - Value: Your Neon connection string #### Initialize the Database Schema 1. Go to your Neon dashboard and open the **SQL Editor** 2. Copy the entire contents of `scripts/setup-database.sql` from this repository 3. Paste it into the SQL Editor and click **Run** 4. Alternatively, use the Neon CLI: ```bash psql $DATABASE_URL -f scripts/setup-database.sql ``` You should see messages confirming that tables and indexes were created. --- ### Step 3: Create a Vercel OAuth App This application uses "Sign In with Vercel" for authentication. You need to create an OAuth app in your Vercel account. 1. **Go to Vercel OAuth Apps**: - Navigate to [Vercel Dashboard](https://vercel.com/dashboard) > **Settings** > **OAuth Apps** - Click **Create App** 2. **Configure Basic Settings**: - **Name**: Enter a name for your app (e.g., "Uptime Monitor") - **Website**: Enter your deployed Vercel URL (e.g., `https://your-app.vercel.app`) - Click **Create App** 3. **Set Up Authentication**: - Go to the **Authentication** tab - Under **Callback URLs**, click **Add Callback URL** - Enter: `https://your-app.vercel.app/api/auth/callback` - Replace `your-app.vercel.app` with your actual Vercel deployment URL - Click **Save** 4. **Configure Permissions**: - Go to the **Permissions** tab - Enable **Email** access (required for authentication) - Click **Save** 5. **Get Your Credentials**: - Go to the **Overview** tab - Copy the **Client ID** (you'll need this) - Click **Generate Client Secret** and copy the secret (you'll need this too) - ⚠️ **Important**: Save the Client Secret immediately - you won't be able to see it again! --- ### Step 4: Configure Environment Variables In your Vercel project dashboard, go to **Settings** > **Environment Variables** and add the following: #### Required Variables | Variable | Description | How to Get It | |------------------------------------|-----------------------------------------------|--------------------------------------------------| | `DATABASE_URL` | Neon database connection string | Auto-set if using Vercel Storage, or copy from Neon dashboard | | `NEXT_PUBLIC_VERCEL_APP_CLIENT_ID` | OAuth Client ID | From Step 3 - Vercel OAuth App Overview tab | | `VERCEL_APP_CLIENT_SECRET` | OAuth Client Secret | From Step 3 - Generated in Vercel OAuth App | | `ALLOWED_EMAILS` | Comma-separated allowed emails | Your email(s), e.g., `[email protected],[email protected]` | | `CRON_SECRET` | Secret to secure cron endpoint | Generate with: `openssl rand -hex 32` or any random string | #### Optional Variables (for Email Alerts) | Variable | Description | Default | |------------------|-----------------------------------------------|--------------------------------------------------| | `RESEND_API_KEY` | Resend API key for sending alerts | Required only if you want email alerts | | `ALERT_EMAILS` | Comma-separated emails to receive alerts | Required only if you want email alerts | | `ALERT_FROM_EMAIL` | "From" address for alert emails | `Uptime Monitor <[email protected]>` | #### Development Variable | Variable | Description | Default | |---------------|------------------------------------------------|---------| | `BYPASS_AUTH` | Set to `true` for local dev without OAuth | `false` | **Important Notes**: - Make sure to add these variables for **Production**, **Preview**, and **Development** environments as needed - After adding variables, **redeploy** your application for changes to take effect - The `CRON_SECRET` should be a long, random string. You can generate one using: ```bash openssl rand -hex 32 ``` --- ### Step 5: Set Up Resend (Optional - for Email Alerts) If you want to receive email alerts when monitors go down, set up Resend: 1. **Create a Resend Account**: - Go to [resend.com](https://resend.com) and sign up (free tier available) 2. **Get Your API Key**: - Go to [Resend Dashboard](https://resend.com/api-keys) - Click **Create API Key** - Give it a name (e.g., "Uptime Monitor") - Copy the API key (starts with `re_`) 3. **Verify Your Domain** (Recommended): - Go to [Resend Domains](https://resend.com/domains) - Add your domain and follow the DNS verification steps - This allows you to send from your own domain instead of `[email protected]` 4. **Add to Vercel Environment Variables**: - `RESEND_API_KEY`: Your Resend API key - `ALERT_EMAILS`: Comma-separated list of emails to notify (e.g., `[email protected],[email protected]`) - `ALERT_FROM_EMAIL`: Your verified domain email (e.g., `Uptime Monitor <[email protected]>`) **Note**: If you skip Resend setup, the app will work fine but won't send email alerts. All other features will function normally. --- ### Step 6: Configure Vercel Cron The `vercel.json` file already includes the cron configuration: ```json { "crons": [ { "path": "/api/cron/check", "schedule": "*/10 * * * *" } ] } ``` This runs every 10 minutes. On each run, the cron job checks which monitors are due (based on their individual check intervals) and runs only those. **Important**: - Vercel Cron requires a **Pro** or **Enterprise** plan for per-minute scheduling - On the **Hobby** (free) plan, the minimum interval is **once per day** - If you're on the free plan, you can change the schedule to `0 0 * * *` (once daily) or upgrade to Pro To modify the schedule, edit `vercel.json` and redeploy. > **⚡ Cost vs Freshness:** The default cron schedule of `*/10` (every 10 minutes) is a balance between data freshness and database cost. If you are on the Neon **free tier** (0.5 GB storage, 100 compute-hours/month), a less frequent schedule will reduce both storage growth and compute usage. Conversely, if you need faster detection of outages and are on a paid database plan, you can increase the frequency — e.g. `*/5 * * * *` (every 5 minutes) or `* * * * *` (every minute). Keep in mind that more frequent checks mean more rows in `check_results` and more compute time. Adjust this based on your monitoring needs and database plan. ### Data Retention The cron job automatically prunes old data to prevent unbounded storage growth: - **Check results** older than **30 days** are deleted on each cron run - **Resolved incidents** older than **90 days** are deleted on each cron run > **📦 Storage Tradeoff:** If you are on the Neon free tier (0.5 GB), the 30-day retention window is designed to keep storage manageable. If you need longer history (and have a paid plan), you can adjust the retention period in `app/api/cron/check/route.ts` — look for the `interval '30 days'` and `interval '90 days'` values in the data pruning section. Conversely, if storage is still tight, you can reduce retention to 7 or 14 days. --- ### Step 7: Redeploy and Test 1. **Redeploy your application**: - Go to your Vercel project dashboard - Click **Deployments** > **Redeploy** (or push a new commit) - Wait for the deployment to complete 2. **Test the setup**: - Visit your deployed URL (e.g., `https://your-app.vercel.app`) - You should see the login page - Click **Sign in with Vercel** - Complete the OAuth flow - If your email is in `ALLOWED_EMAILS`, you'll be redirected to the dashboard - Click **Add Monitor** to add your first endpoint - Use **Check All Now** to trigger an immediate check --- ## Local Development For local development, you can bypass the OAuth flow: 1. **Clone the repository**: ```bash git clone <your-repo-url> cd uptime-monitor ``` 2. **Install dependencies**: ```bash pnpm install ``` > **Note**: This project uses [pnpm](https://pnpm.io). If you don't have pnpm installed, you can install it with `npm install -g pnpm`, or use `npm install` instead (though pnpm is recommended). 3. **Set up environment variables**: - Copy `.env.example` to `.env.local` - Fill in your values (at minimum, you need `DATABASE_URL` and `ALLOWED_EMAILS`) - Set `BYPASS_AUTH=true` to skip OAuth 4. **Run the development server**: ```bash pnpm dev ``` > **Note**: If using npm, use `npm run dev` instead. 5. **Access the app**: - Open [http://localhost:3000](http://localhost:3000) - With `BYPASS_AUTH=true`, you'll be automatically logged in as the first email in `ALLOWED_EMAILS` --- ## Troubleshooting ### "Unauthorized" error when accessing the app - Check that `ALLOWED_EMAILS` includes your email address - Verify that `NEXT_PUBLIC_VERCEL_APP_CLIENT_ID` and `VERCEL_APP_CLIENT_SECRET` are set correctly - Make sure the callback URL in your Vercel OAuth App matches your deployment URL ### Database connection errors - Verify `DATABASE_URL` is set correctly in Vercel environment variables - Check that you've run the database setup script (`scripts/setup-database.sql`) - Ensure your Neon database is active (not paused) ### Cron jobs not running - Verify you're on a Vercel Pro or Enterprise plan (required for per-minute cron) - Check that `CRON_SECRET` is set in environment variables - Verify the cron schedule in `vercel.json` is correct - Check Vercel logs for cron execution errors ### Email alerts not sending - Verify `RESEND_API_KEY` is set correctly - Check that `ALERT_EMAILS` includes valid email addresses - Ensure your Resend account has available credits - Check the `alert_log` table in your database for error messages ### "Missing required environment variable" error - Review the environment variables section above - Ensure all required variables are set in Vercel - Redeploy after adding new environment variables --- ## Project Structure ``` app/ api/ auth/ authorize/route.ts # Initiates OAuth PKCE flow callback/route.ts # Handles OAuth callback signout/route.ts # Revokes token and clears session cron/ check/route.ts # Vercel Cron endpoint (runs every 10 minutes) dashboard/route.ts # Aggregated dashboard data incidents/route.ts # Incident history monitors/ route.ts # CRUD for monitors (list/create) [id]/route.ts # Single monitor (get/update/delete) [id]/check/route.ts # Trigger manual check for one monitor [id]/checks/route.ts # Check result history for one monitor check-all/route.ts # Trigger manual check for all monitors dashboard/ page.tsx # Main dashboard page (server component) monitors/[id]/page.tsx # Monitor detail page (server component) login/page.tsx # Login page page.tsx # Root redirect components/ dashboard-header.tsx # Top nav with user avatar and sign-out dashboard-view.tsx # Main dashboard layout (client component) monitor-detail.tsx # Individual monitor detail view monitor-table.tsx # Monitor list with inline status stat-cards.tsx # Summary stats cards status-badge.tsx # Color-coded status pill uptime-bar.tsx # Visual uptime history bar response-time-chart.tsx # Recharts response time area chart add-monitor-dialog.tsx # Dialog form to add a monitor edit-monitor-dialog.tsx # Dialog form to edit a monitor login-card.tsx # Sign-in card with Vercel OAuth lib/ auth.ts # Session management and email whitelist checker.ts # HTTP check + SSL certificate check logic alerts.ts # Email alert system via Resend db.ts # Neon database client queries.ts # All database queries types.ts # TypeScript interfaces validation.ts # Input validation utilities env.ts # Environment variable validation scripts/ setup-database.sql # Database schema (tables + indexes) ``` --- ## Database Schema The app uses four tables: - **monitors** - Endpoint configurations (URL, method, interval, timeout, expected status) - **check_results** - Individual check results (status, response time, SSL info, errors) - **incidents** - Downtime incidents with start/resolve timestamps - **alert_log** - Record of every alert sent (channel, recipient, success/failure) All tables use `gen_random_uuid()` for primary keys and include appropriate indexes for query performance. Cascading deletes ensure that removing a monitor cleans up all related records. --- ## API Routes | Method | Path | Auth | Description | |--------|--------------------------------|----------|--------------------------------------| | GET | `/api/auth/authorize` | Public | Initiates OAuth flow | | GET | `/api/auth/callback` | Public | OAuth callback handler | | POST | `/api/auth/signout` | Session | Sign out and revoke token | | GET | `/api/dashboard` | Session | Dashboard data (monitors + stats) | | GET | `/api/monitors` | Session | List all monitors | | POST | `/api/monitors` | Session | Create a monitor | | GET | `/api/monitors/:id` | Session | Get a single monitor | | PUT | `/api/monitors/:id` | Session | Update a monitor | | DELETE | `/api/monitors/:id` | Session | Delete a monitor | | POST | `/api/monitors/:id/check` | Session | Trigger manual check for one monitor | | GET | `/api/monitors/:id/checks` | Session | Check result history | | POST | `/api/monitors/check-all` | Session | Trigger manual check for all monitors| | GET | `/api/incidents` | Session | List incidents | | GET | `/api/cron/check` | Cron | Automated check endpoint | --- ## Security Considerations - **Input Validation**: All URLs are validated to prevent SSRF attacks (private IPs are blocked) - **SQL Injection**: All database queries use parameterized queries - **Authentication**: OAuth PKCE flow with state and nonce validation - **Session Security**: HTTP-only, secure cookies with SameSite protection - **Cron Security**: Cron endpoint protected by `CRON_SECRET` bearer token - **Email Whitelist**: Access restricted to emails in `ALLOWED_EMAILS` --- ## Contributing Contributions are welcome! Please feel free to submit a Pull Request. --- ## License MIT License - feel free to use this project for personal or commercial purposes. --- ## Support If you encounter any issues or have questions: 1. Check the [Troubleshooting](#troubleshooting) section above 2. Review the Vercel, Neon, and Resend documentation 3. Open an issue on GitHub --- **Made with ❤️ using Next.js, Neon, and Vercel**
Explore similar templates
Compare previews and descriptions within the same stack and category.
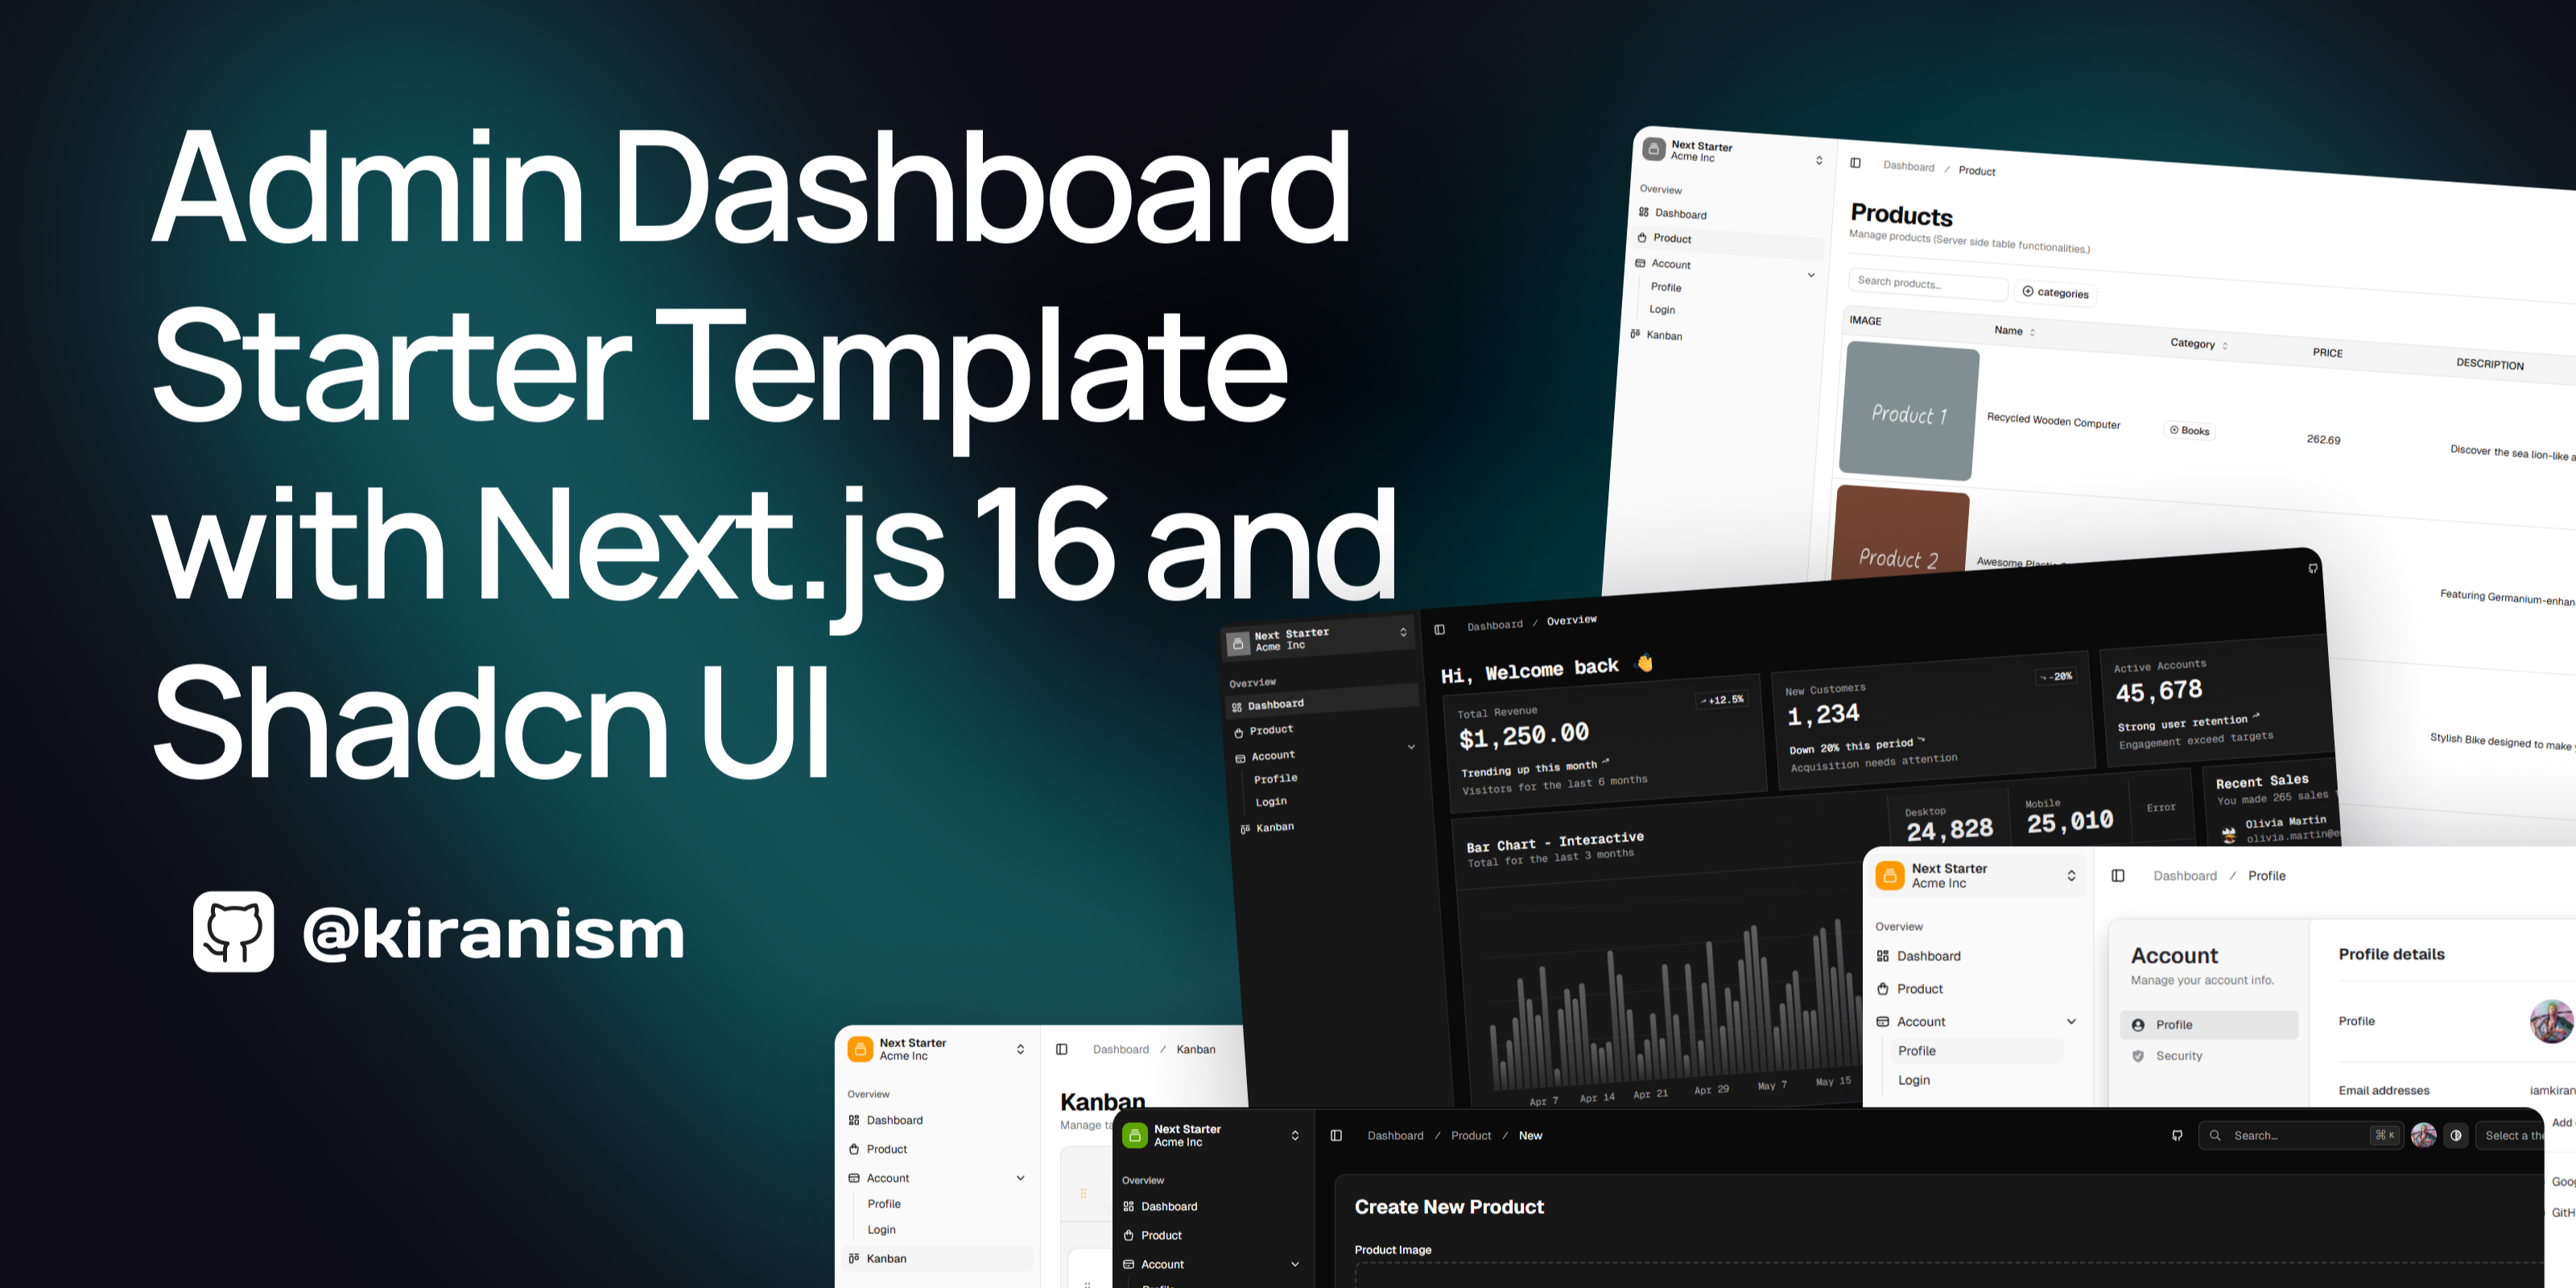
next-shadcn-dashboard-starter
An MIT-licensed admin dashboard starter built with Next.js 16, shadcn/ui, Tailwind CSS v4, and TypeScript.
Next.js · Admin dashboard
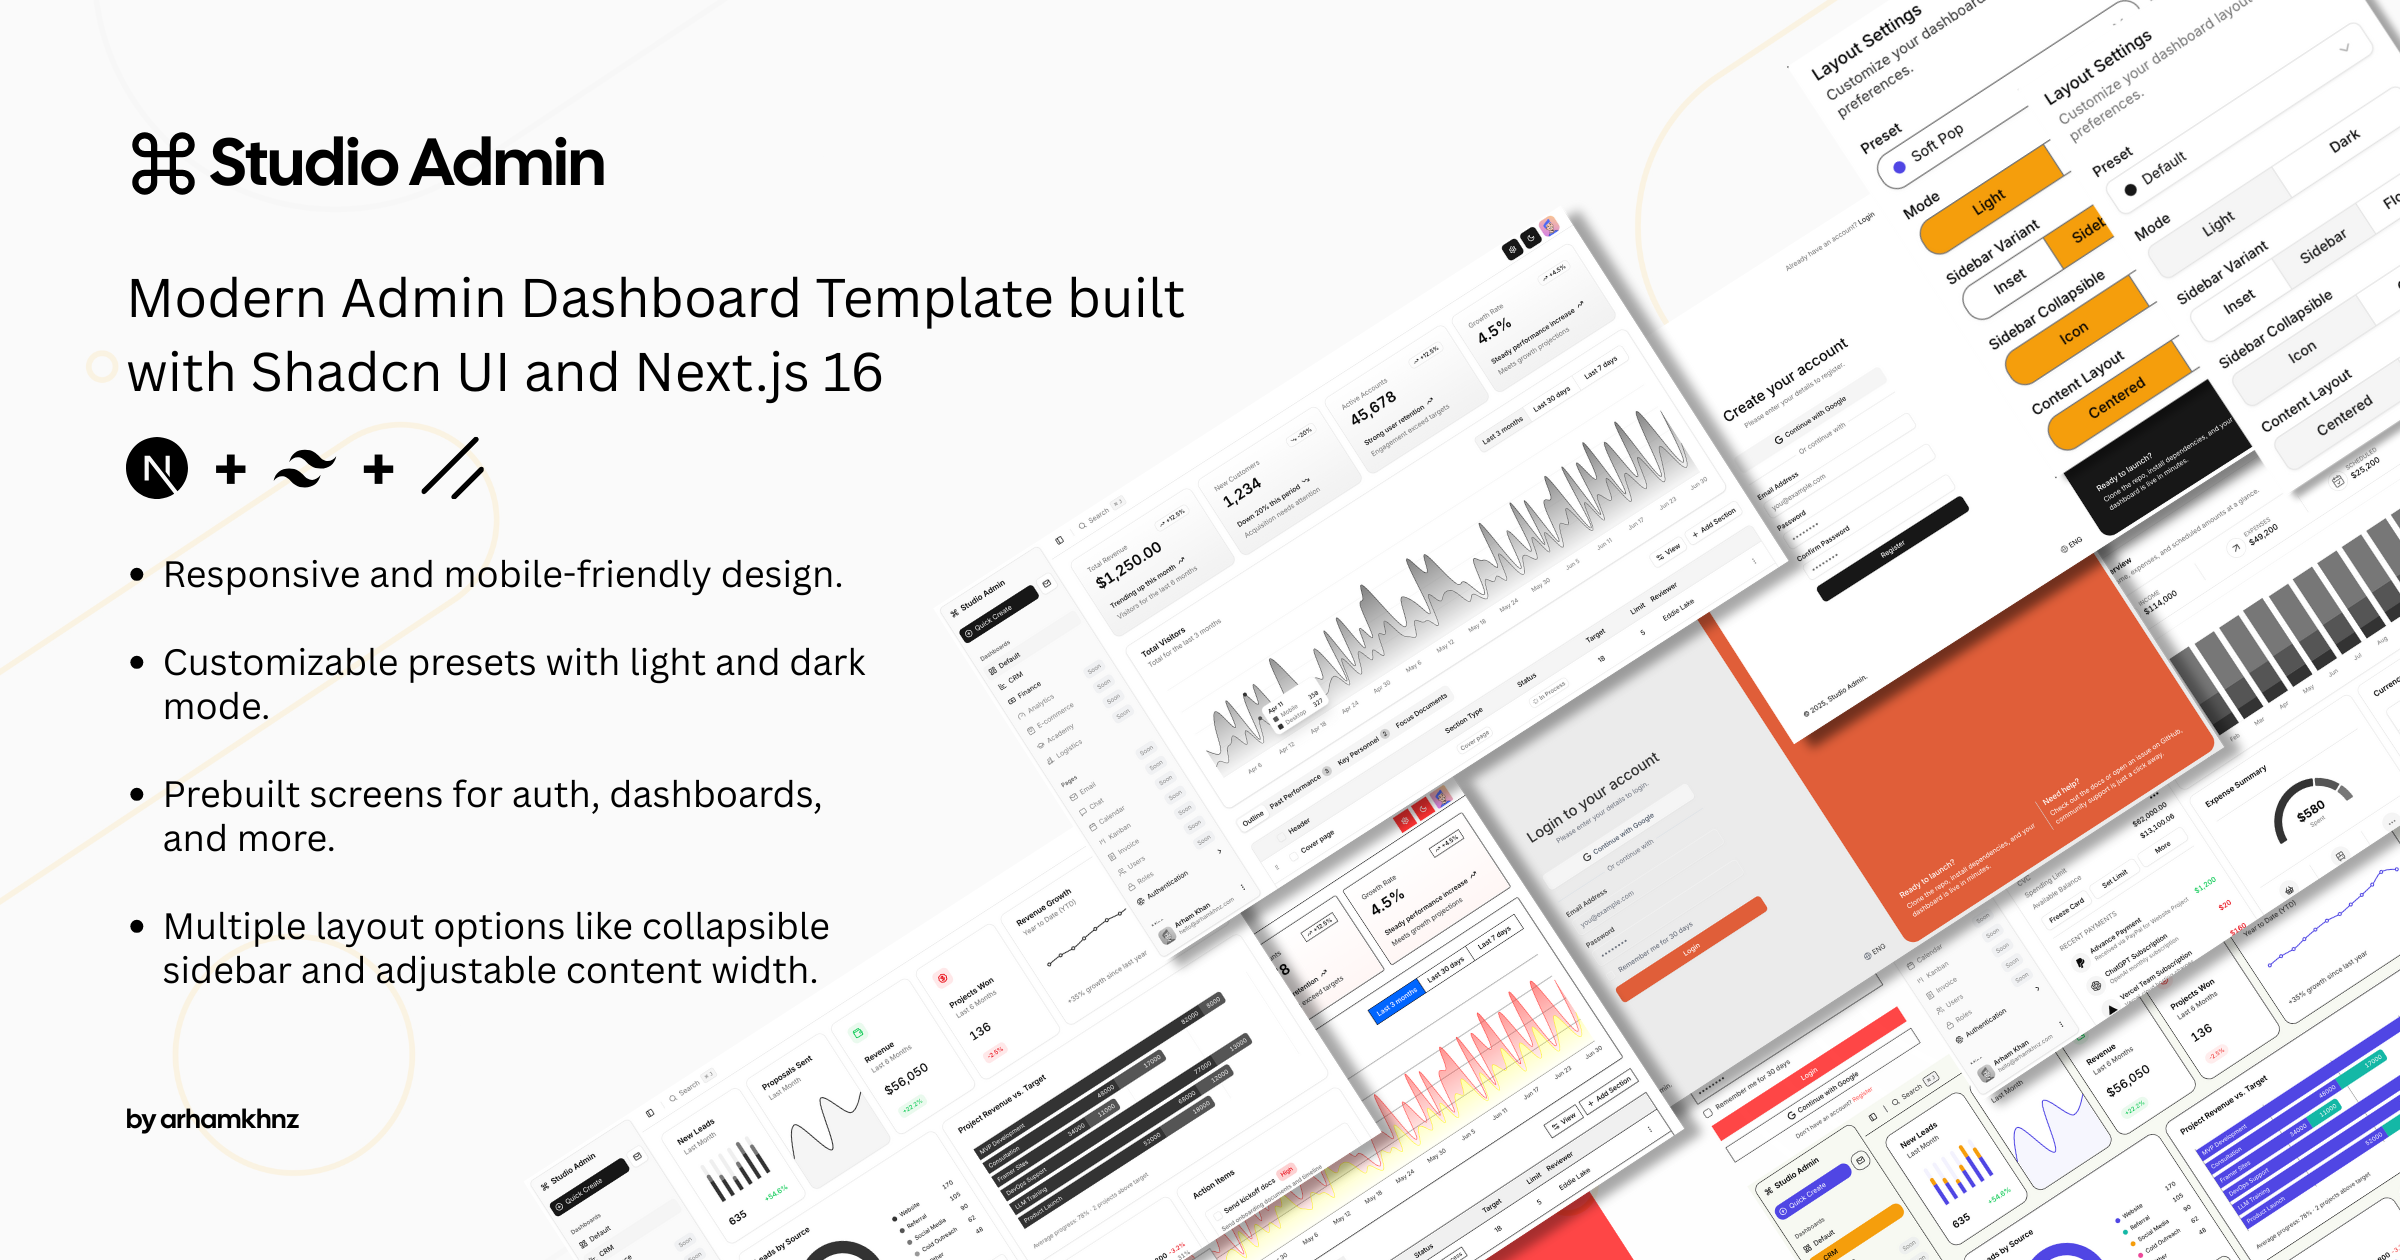
Studio Admin · Radix UI
Studio Admin is an admin dashboard template built with Next.js 16, TypeScript, Tailwind CSS v4, and Shadcn UI.
Next.js · Admin dashboard
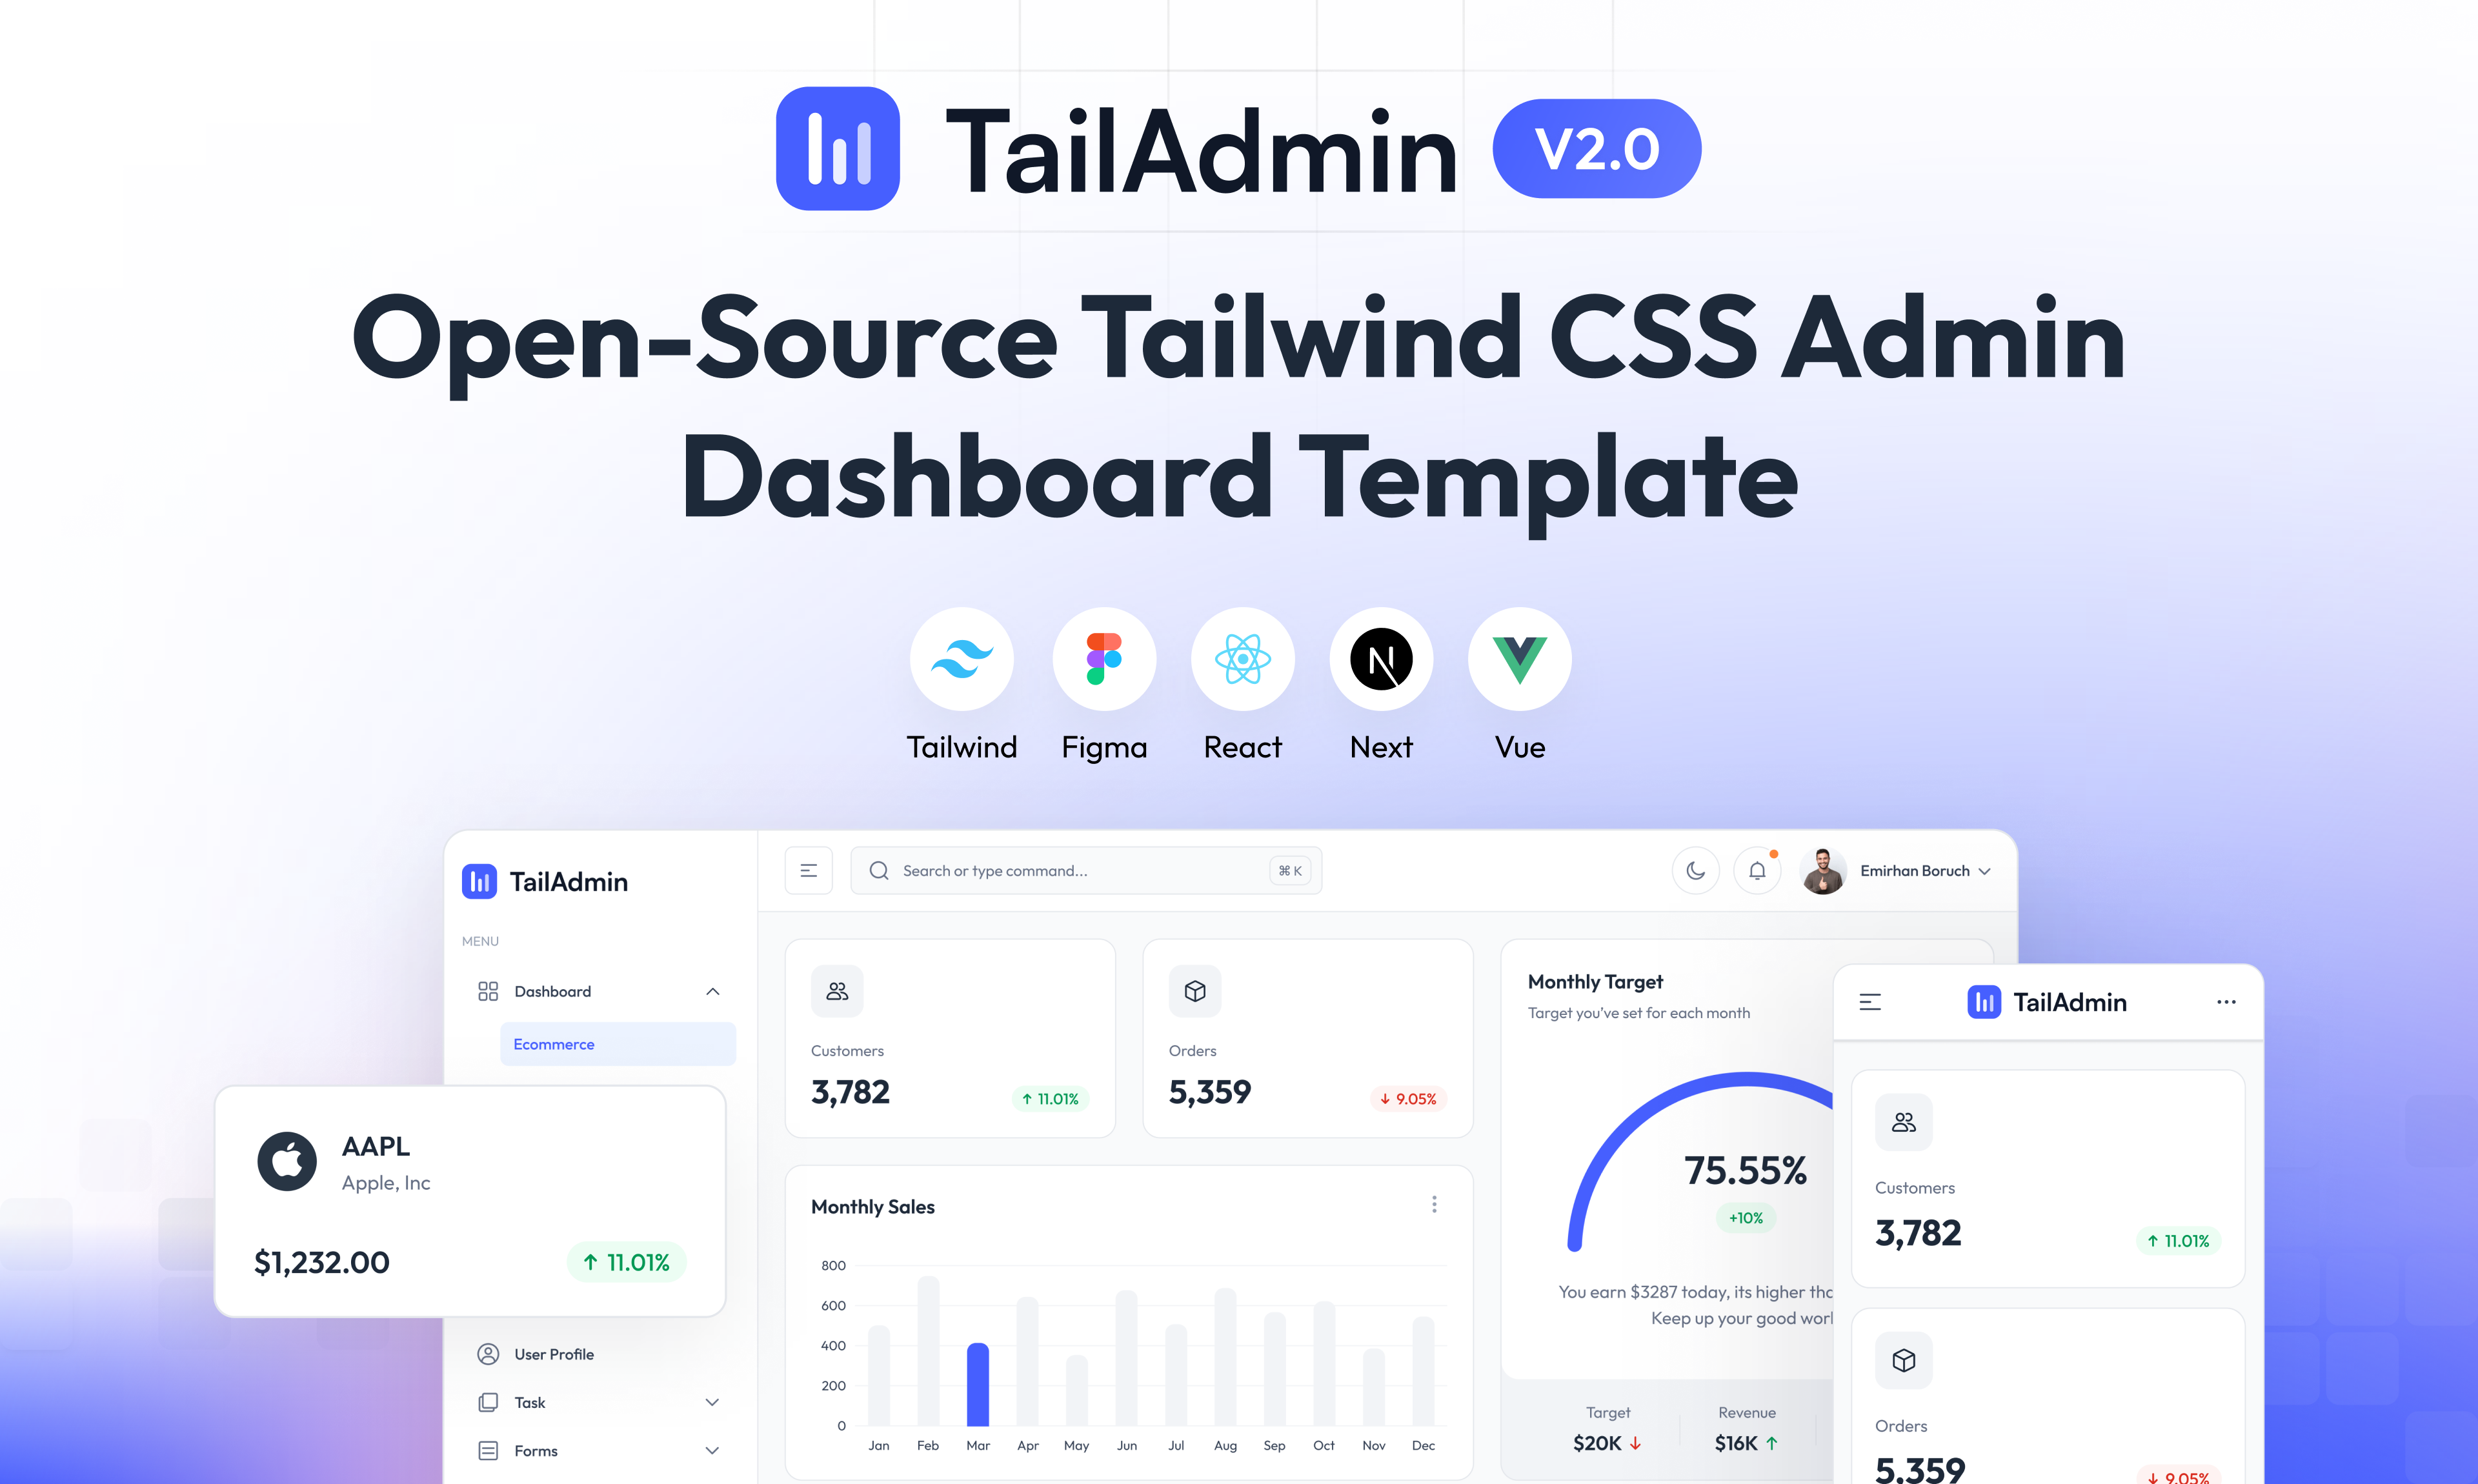
free-nextjs-admin-dashboard
A free, open-source admin dashboard template built on Next.js 16, React 19, TypeScript, and Tailwind CSS v4. It provides a collapsible sidebar, charts, tables, authentication forms, modals, dropdowns, and dark mode, with internationalization and RTL support since version 2.4.0.
Next.js · Admin dashboard
materio-mui-nextjs-admin-template-free
Materio Free is a Next.js admin dashboard template based on App Router and MUI, integrating Tailwind CSS and available in TypeScript and JavaScript versions.
Next.js · Admin dashboard
nextjs-postgres-nextauth-tailwindcss-template
A Vercel-maintained Next.js App Router admin dashboard starter with Auth.js GitHub OAuth, Postgres, Tailwind CSS, and Shadcn UI, plus a sample products table, seed endpoint, and CRUD interface.
Next.js · Admin dashboard
shadcn-dashboard-landing-template
An open-source admin dashboard and marketing landing page template built on shadcn/ui and Tailwind CSS, with both Vite + React and Next.js versions in one repository.
Next.js · Admin dashboard