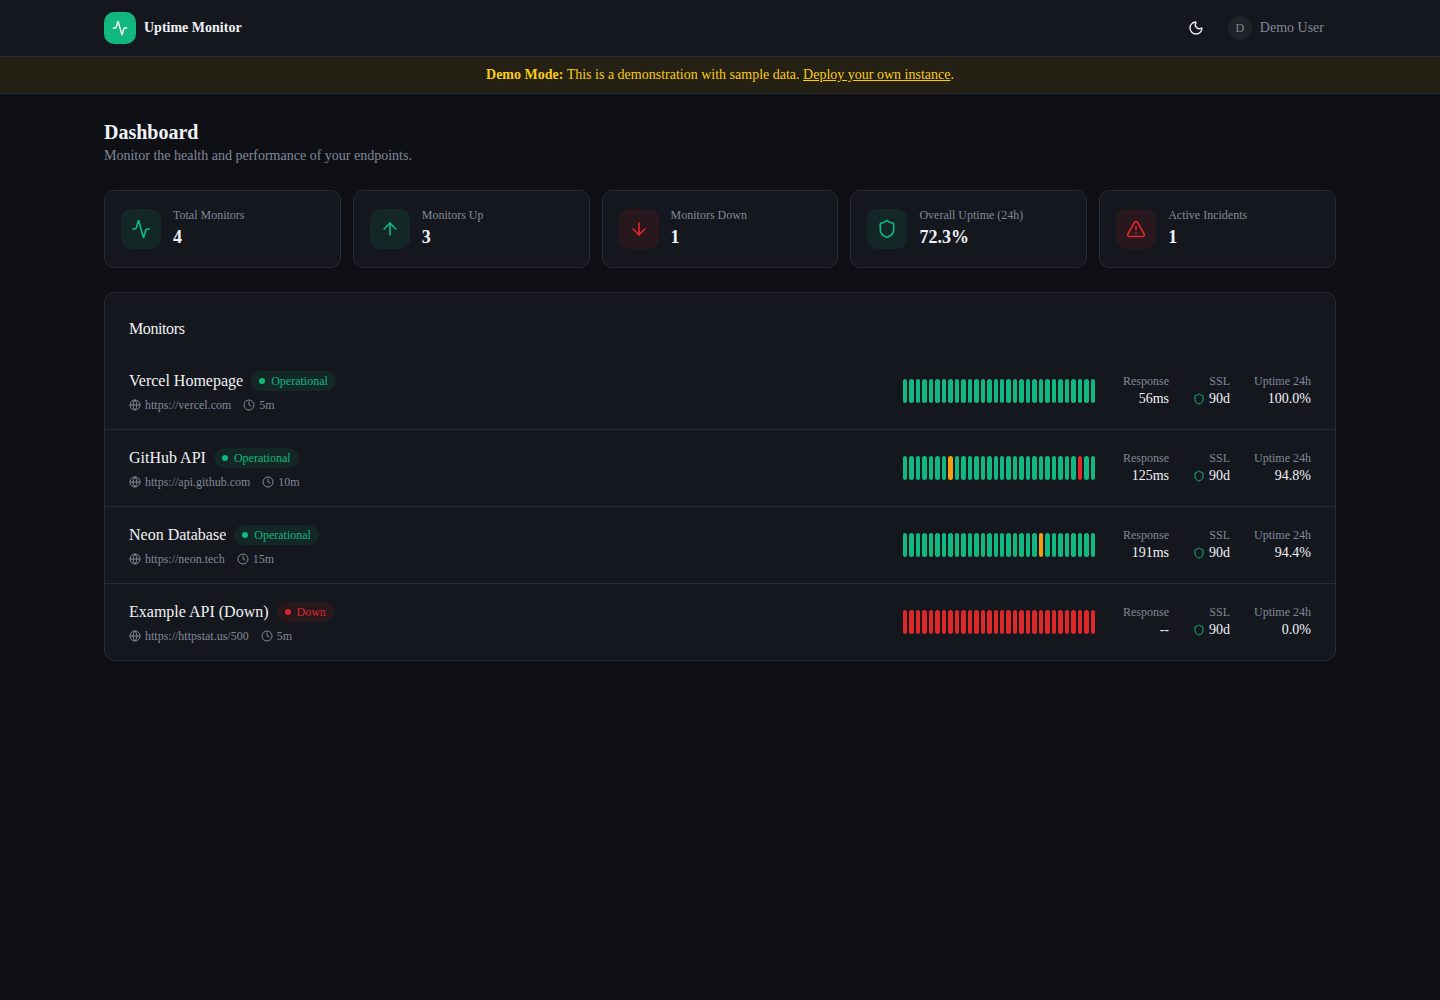
支持添加 HTTP/HTTPS 端点,可配置检查间隔、请求方法、期望状态码和超时阈值
Next.jsReact后台
Website-Uptime-Monitor-template — Next.js 后台模板
作者 bseymour
基于 Next.js 的自托管网站与 API 可用性监控工具,使用 Neon PostgreSQL 存储数据,通过 Vercel 部署并定时检查端点,支持 SSL 证书跟踪、响应时间图表和邮件告警。
看看你的网站会是什么样
浏览真实页面截图,比较内容排版与手机效果。点击下方缩略图切换,放大查看整页细节。
全部页面与视图 2
截图用于了解视觉与布局,交互效果请以实际项目为准。
采集于 2026-10-02查看来源
值得关注的模板亮点
从已有项目资料中,快速了解它的特点。
自动跟踪 HTTPS 端点的 SSL 证书有效期,剩余不足 14 天时标记为降级
使用 Recharts 面积图展示响应时间历史,并用 30 段色条显示近期检查状态
状态变化时自动创建和解决事件,可通过 Resend 发送故障与恢复邮件通知
仪表盘提供“Check All Now”按钮,每个监控项也有“Run Check”按钮可手动触发检查
使用 Sign In with Vercel 认证,通过邮箱白名单限制访问
模板详细介绍
这是一个自托管的可用性监控后台,用于监控网站和 API 端点。你可以添加任意 HTTP/HTTPS 地址,配置检查间隔(5 分钟到 24 小时)、请求方法(GET/HEAD/POST)、期望状态码和超时阈值。系统会记录每次检查结果,在仪表盘上以面积图展示响应时间历史,并用 30 段色条显示近期状态(绿=正常、红=故障、琥珀=降级)。对于 HTTPS 端点,还会自动检查 SSL 证书有效期,剩余不足 14 天时标记为降级。当监控状态变化时,系统自动创建或解决事件,并可通过 Resend 发送故障与恢复邮件通知,所有告警记录写入数据库。
技术栈方面,前端使用 Next.js App Router、shadcn/ui、Tailwind CSS 和 Recharts,数据获取在客户端使用 SWR,服务端通过 Neon 驱动访问 PostgreSQL。身份认证采用 Sign In with Vercel(OAuth 2.0 PKCE),访问权限由邮箱白名单控制。定时检查由 Vercel Cron 触发,默认每 10 分钟运行一次,仅检查到达各自间隔的监控项。
使用限制:Vercel Cron 在 Hobby 免费计划下最小间隔为每天一次,每 10 分钟的默认计划需要 Pro 或 Enterprise 计划。数据库使用 Neon 免费层时,存储和计算时间有限,项目默认在每次 cron 运行时删除 30 天前的检查结果和 90 天前的已解决事件,以控制存储增长。邮件告警需要额外配置 Resend 账户和 API Key,不配置则应用仍可运行但不会发送邮件。
Next.js后台
适合你的项目吗?
适用场景
- 监控自己部署的网站或 API 是否可访问,并在故障时收到邮件提醒
- 跟踪 HTTPS 证书到期时间,避免因证书过期导致服务中断
- 查看端点响应时间的历史趋势,了解性能变化
- 在仪表盘上集中管理多个监控项,手动触发检查以验证配置
适合人群
- 需要自托管可用性监控的个人开发者或小团队
- 使用 Vercel 和 Neon 技术栈、希望快速部署监控后台的开发者
- 需要监控少量网站或 API 并接收邮件告警的用户
上手与定制指南
结合仓库当前版本的说明,按下面的资料检查内容、配置与运行要求。
- 1
需要 Vercel 账户和 Neon PostgreSQL 数据库,部署后需执行 scripts/setup-database.sql 初始化表结构
- 2
在 Vercel 创建 OAuth 应用并配置回调地址,设置 NEXT_PUBLIC_VERCEL_APP_CLIENT_ID、VERCEL_APP_CLIENT_SECRET 和 ALLOWED_EMAILS 环境变量
- 3
生成 CRON_SECRET 并配置到环境变量,用于保护定时检查接口
- 4
邮件告警为可选项,需要 Resend 账户并设置 RESEND_API_KEY、ALERT_EMAILS 和 ALERT_FROM_EMAIL
- 5
Vercel Cron 默认每 10 分钟运行一次,Hobby 免费计划下最小间隔为每天一次,需根据计划调整 vercel.json 中的 schedule
授权与来源资料
使用条件与限制
免费使用 · 保留许可声明本次收录的是公开仓库中采用 MIT 许可的免费版本;免费范围为该版本代码,不代表外部服务或第三方素材免费。
使用时需要遵守
- 允许免费使用、修改、商用和分发该版本代码。
- 分发代码副本或实质性部分时,保留原作者版权声明和完整 MIT 许可声明。
- 代码按现状提供;担保与责任限制以原许可证及适用法律为准。
额外费用与待核对事项
- Vercel Cron 的每分钟级调度需要 Pro 或 Enterprise 付费计划;Hobby 免费计划下最小间隔为每天一次,默认每 10 分钟的定时检查在免费计划上无法按原频率运行。
- 若使用 Vercel Hobby 免费计划,定时检查最低只能每天运行一次,需将 vercel.json 中的 schedule 改为每天一次或升级到付费计划。
- 使用 Neon 免费层时存储为 0.5 GB、计算时间每月 100 小时,更频繁的检查会加快存储与计算消耗,需据此调整检查频率或保留期。
- 每次 cron 运行会删除 30 天前的检查结果,历史数据保留期有限,需要更长历史须修改代码并可能使用付费数据库计划。
- 已解决事件超过 90 天会被自动删除,事件历史保留期有限。
- 邮件告警需要额外注册 Resend 账户并配置 API Key;不配置则应用可运行但不会发送任何邮件通知。
- 邮件告警依赖 Resend 账户的可用额度,额度耗尽后告警将无法发送。
- 部署需要 Vercel 账户,且定时检查功能受 Vercel 计划等级限制。
- 需要 Neon 账户提供 PostgreSQL 数据库,免费层有存储与计算时间限制。
- 项目资料提及可选付费版本或功能;本次仅收录公开免费代码,不包含付费升级。
- 演示图片、字体、图标及其他第三方素材需按各自许可核对,不能仅凭代码的 MIT 许可判断。
- 域名、托管、数据库、支付或 AI 等外部服务可能另外收费。
查看原文依据
Permission is hereby granted, free of charge
许可证原文
Vercel Cron requires a **Pro** or **Enterprise** plan for per-minute scheduling
README 原文
On the **Hobby** (free) plan, the minimum interval is **once per day**
README 原文
If you are on the Neon **free tier** (0.5 GB storage, 100 compute-hours/month)
README 原文
**Check results** older than **30 days** are deleted on each cron run
README 原文
**Resolved incidents** older than **90 days** are deleted on each cron run
README 原文
Optionally, a [Resend](https://resend.com) account for email alerts (free tier available)
README 原文
Ensure your Resend account has available credits
README 原文
A [Vercel](https://vercel.com) account (free tier works)
README 原文
https://github.com/bseymour/Website-Uptime-Monitor-template/blob/main/LICENSEhttps://github.com/bseymour/Website-Uptime-Monitor-template/blob/main/README.mdA [Neon](https://neon.tech) account (free tier works)
README 原文
DeepSeek 根据仓库许可证和 README 整理 ·2026-10-02。结果仅覆盖已读取资料,依赖、图片、字体及后续条款变更以各自原文为准。
项目核对记录与介绍依据
模板资料
- 来源平台
- GitHub
- 资料与维护参考分
- 资料较完整 · 83 / 100
- 技术栈
- Next.js · React
- 网站类型
- 后台
这个分数如何计算
本站按许可资料(最高30分)、演示链接(12分)、预览图(10分)、Star数(15分)、记录的维护时间(15分)、描述完整度(8分)、功能记录(5分)和分类资料(5分)计算。它不是代码、安全或性能测试,也不是 Google 评分;有链接不代表已实测可用。
这个项目需要核对什么
- 记录的仓库更新时间
- 2026-03-08
- 截图检查日期
- 2026-10-02
已收录演示链接。请用你的内容与屏幕尺寸检查;有演示不代表表单、认证或支付已经可用。
目录记录的主要技术栈是 Next.js。请通过依赖清单和锁文件核对实际版本与托管要求。这些说明基于收录资料,不代表代码审计或部署实测。
查看具体选型方法 →介绍的制作与核对状态
介绍由 AI 辅助整理目录与仓库资料。仓库作者不等于这篇介绍的审核者。
已完成服务器许可规则与 AI 来源核对;未经过人工编辑审核。
查看当时使用的来源资料
SHA-256: bc4d66397b55ccfc6fe9fd3147d4518bea4e789c6c0adaee7e9b431b3dc33e66
2026-10-02T15:51:31.488Z
来源文件 / 仓库# Uptime Monitor A self-hosted uptime monitoring tool built with Next.js, Neon PostgreSQL, and Vercel. Monitor your websites and APIs, track response times and SSL certificates, receive email alerts when endpoints go down, and view everything in a clean dashboard. [](https://vercel.com/new/clone?repository-url=https://github.com/bseymour/Website-Uptime-Monitor-template&env=DATABASE_URL,NEXT_PUBLIC_VERCEL_APP_CLIENT_ID,VERCEL_APP_CLIENT_SECRET,ALLOWED_EMAILS,CRON_SECRET&envDescription=Configuration%20for%20Uptime%20Monitor&envLink=https://github.com/bseymour/Website-Uptime-Monitor-template%23complete-setup-guide) ### 🚀 Live Demo [View Live Demo](https://uptimer-demo.vercel.app/) — See the dashboard in action with sample data. ## Features - **Endpoint Monitoring** - Add any HTTP/HTTPS endpoint with configurable check intervals (5 minutes to 24 hours), HTTP methods (GET/HEAD/POST), expected status codes, and timeout thresholds - **SSL Certificate Tracking** - Automatically checks SSL certificate validity and expiry for HTTPS endpoints. Marks monitors as "degraded" when certificates have fewer than 14 days remaining - **Response Time Charts** - Visualizes response time history using area charts built with Recharts, showing performance trends over time - **Uptime History Bar** - A compact 30-segment color bar showing the status of recent checks at a glance (green = up, red = down, amber = degraded) - **Incident Management** - Automatically creates incidents when a monitor goes down and resolves them when it recovers. Full incident history with timestamps - **Email Alerts** - Sends "down" and "recovery" email notifications via Resend when monitor status changes. All alerts are logged to the database - **Manual Checks** - "Check All Now" button on the dashboard and per-monitor "Run Check" button to trigger checks on demand - **Automated Cron Checks** - Vercel Cron runs on a configurable schedule (default: every 10 minutes), checking monitors that are due based on their configured interval - **Authentication** - Sign In with Vercel (OAuth PKCE flow). Access is restricted to an email whitelist you control ## Tech Stack | Layer | Technology | |---------------|------------------------------------------------| | Framework | Next.js 16 (App Router) | | Database | Neon (Serverless PostgreSQL) | | Auth | Sign In with Vercel (OAuth 2.0 PKCE) | | Alerts | Resend (email API) | | UI | shadcn/ui, Tailwind CSS, Recharts | | Deployment | Vercel (with Cron Jobs) | | Data Fetching | SWR (client-side), server-side via Neon driver | ## Quick Start ### Option 1: Deploy with Vercel (Recommended) 1. Click the **"Deploy with Vercel"** button above 2. Follow the setup steps below to configure your services 3. The deployment will guide you through connecting your GitHub repository ### Option 2: Manual Setup 1. Clone this repository 2. Push to your GitHub account 3. Import the repository into Vercel 4. Follow the setup steps below to configure your services ## Complete Setup Guide This guide will walk you through setting up all required services and configuring the application. ### Prerequisites Before you begin, make sure you have: - A [Vercel](https://vercel.com) account (free tier works) - A [Neon](https://neon.tech) account (free tier works) - Optionally, a [Resend](https://resend.com) account for email alerts (free tier available) --- ### Step 1: Deploy to Vercel 1. **Import the project**: - If using the template: Click "Deploy" and select your Vercel account - If deploying manually: Go to [Vercel Dashboard](https://vercel.com/dashboard) > **Add New** > **Project** > Import your repository 2. **Initial deployment**: Vercel will deploy your project, but it won't work yet until we configure the services below. --- ### Step 2: Set Up Neon Database Neon provides a serverless PostgreSQL database that works seamlessly with Vercel. #### Option A: Using Vercel Storage Integration (Recommended) 1. In your Vercel project dashboard, go to the **Storage** tab 2. Click **Create Database** > Select **Neon** 3. Choose a name for your database (e.g., "uptime-monitor-db") 4. Select a region close to your users 5. Click **Create** 6. Vercel will automatically set the `DATABASE_URL` environment variable for you #### Option B: Manual Neon Setup 1. Go to [Neon Console](https://console.neon.tech) 2. Click **Create Project** 3. Choose a name and region 4. Copy your connection string (it looks like: `postgresql://user:[email protected]/dbname`) 5. In Vercel, go to **Settings** > **Environment Variables** and add: - Key: `DATABASE_URL` - Value: Your Neon connection string #### Initialize the Database Schema 1. Go to your Neon dashboard and open the **SQL Editor** 2. Copy the entire contents of `scripts/setup-database.sql` from this repository 3. Paste it into the SQL Editor and click **Run** 4. Alternatively, use the Neon CLI: ```bash psql $DATABASE_URL -f scripts/setup-database.sql ``` You should see messages confirming that tables and indexes were created. --- ### Step 3: Create a Vercel OAuth App This application uses "Sign In with Vercel" for authentication. You need to create an OAuth app in your Vercel account. 1. **Go to Vercel OAuth Apps**: - Navigate to [Vercel Dashboard](https://vercel.com/dashboard) > **Settings** > **OAuth Apps** - Click **Create App** 2. **Configure Basic Settings**: - **Name**: Enter a name for your app (e.g., "Uptime Monitor") - **Website**: Enter your deployed Vercel URL (e.g., `https://your-app.vercel.app`) - Click **Create App** 3. **Set Up Authentication**: - Go to the **Authentication** tab - Under **Callback URLs**, click **Add Callback URL** - Enter: `https://your-app.vercel.app/api/auth/callback` - Replace `your-app.vercel.app` with your actual Vercel deployment URL - Click **Save** 4. **Configure Permissions**: - Go to the **Permissions** tab - Enable **Email** access (required for authentication) - Click **Save** 5. **Get Your Credentials**: - Go to the **Overview** tab - Copy the **Client ID** (you'll need this) - Click **Generate Client Secret** and copy the secret (you'll need this too) - ⚠️ **Important**: Save the Client Secret immediately - you won't be able to see it again! --- ### Step 4: Configure Environment Variables In your Vercel project dashboard, go to **Settings** > **Environment Variables** and add the following: #### Required Variables | Variable | Description | How to Get It | |------------------------------------|-----------------------------------------------|--------------------------------------------------| | `DATABASE_URL` | Neon database connection string | Auto-set if using Vercel Storage, or copy from Neon dashboard | | `NEXT_PUBLIC_VERCEL_APP_CLIENT_ID` | OAuth Client ID | From Step 3 - Vercel OAuth App Overview tab | | `VERCEL_APP_CLIENT_SECRET` | OAuth Client Secret | From Step 3 - Generated in Vercel OAuth App | | `ALLOWED_EMAILS` | Comma-separated allowed emails | Your email(s), e.g., `[email protected],[email protected]` | | `CRON_SECRET` | Secret to secure cron endpoint | Generate with: `openssl rand -hex 32` or any random string | #### Optional Variables (for Email Alerts) | Variable | Description | Default | |------------------|-----------------------------------------------|--------------------------------------------------| | `RESEND_API_KEY` | Resend API key for sending alerts | Required only if you want email alerts | | `ALERT_EMAILS` | Comma-separated emails to receive alerts | Required only if you want email alerts | | `ALERT_FROM_EMAIL` | "From" address for alert emails | `Uptime Monitor <[email protected]>` | #### Development Variable | Variable | Description | Default | |---------------|------------------------------------------------|---------| | `BYPASS_AUTH` | Set to `true` for local dev without OAuth | `false` | **Important Notes**: - Make sure to add these variables for **Production**, **Preview**, and **Development** environments as needed - After adding variables, **redeploy** your application for changes to take effect - The `CRON_SECRET` should be a long, random string. You can generate one using: ```bash openssl rand -hex 32 ``` --- ### Step 5: Set Up Resend (Optional - for Email Alerts) If you want to receive email alerts when monitors go down, set up Resend: 1. **Create a Resend Account**: - Go to [resend.com](https://resend.com) and sign up (free tier available) 2. **Get Your API Key**: - Go to [Resend Dashboard](https://resend.com/api-keys) - Click **Create API Key** - Give it a name (e.g., "Uptime Monitor") - Copy the API key (starts with `re_`) 3. **Verify Your Domain** (Recommended): - Go to [Resend Domains](https://resend.com/domains) - Add your domain and follow the DNS verification steps - This allows you to send from your own domain instead of `[email protected]` 4. **Add to Vercel Environment Variables**: - `RESEND_API_KEY`: Your Resend API key - `ALERT_EMAILS`: Comma-separated list of emails to notify (e.g., `[email protected],[email protected]`) - `ALERT_FROM_EMAIL`: Your verified domain email (e.g., `Uptime Monitor <[email protected]>`) **Note**: If you skip Resend setup, the app will work fine but won't send email alerts. All other features will function normally. --- ### Step 6: Configure Vercel Cron The `vercel.json` file already includes the cron configuration: ```json { "crons": [ { "path": "/api/cron/check", "schedule": "*/10 * * * *" } ] } ``` This runs every 10 minutes. On each run, the cron job checks which monitors are due (based on their individual check intervals) and runs only those. **Important**: - Vercel Cron requires a **Pro** or **Enterprise** plan for per-minute scheduling - On the **Hobby** (free) plan, the minimum interval is **once per day** - If you're on the free plan, you can change the schedule to `0 0 * * *` (once daily) or upgrade to Pro To modify the schedule, edit `vercel.json` and redeploy. > **⚡ Cost vs Freshness:** The default cron schedule of `*/10` (every 10 minutes) is a balance between data freshness and database cost. If you are on the Neon **free tier** (0.5 GB storage, 100 compute-hours/month), a less frequent schedule will reduce both storage growth and compute usage. Conversely, if you need faster detection of outages and are on a paid database plan, you can increase the frequency — e.g. `*/5 * * * *` (every 5 minutes) or `* * * * *` (every minute). Keep in mind that more frequent checks mean more rows in `check_results` and more compute time. Adjust this based on your monitoring needs and database plan. ### Data Retention The cron job automatically prunes old data to prevent unbounded storage growth: - **Check results** older than **30 days** are deleted on each cron run - **Resolved incidents** older than **90 days** are deleted on each cron run > **📦 Storage Tradeoff:** If you are on the Neon free tier (0.5 GB), the 30-day retention window is designed to keep storage manageable. If you need longer history (and have a paid plan), you can adjust the retention period in `app/api/cron/check/route.ts` — look for the `interval '30 days'` and `interval '90 days'` values in the data pruning section. Conversely, if storage is still tight, you can reduce retention to 7 or 14 days. --- ### Step 7: Redeploy and Test 1. **Redeploy your application**: - Go to your Vercel project dashboard - Click **Deployments** > **Redeploy** (or push a new commit) - Wait for the deployment to complete 2. **Test the setup**: - Visit your deployed URL (e.g., `https://your-app.vercel.app`) - You should see the login page - Click **Sign in with Vercel** - Complete the OAuth flow - If your email is in `ALLOWED_EMAILS`, you'll be redirected to the dashboard - Click **Add Monitor** to add your first endpoint - Use **Check All Now** to trigger an immediate check --- ## Local Development For local development, you can bypass the OAuth flow: 1. **Clone the repository**: ```bash git clone <your-repo-url> cd uptime-monitor ``` 2. **Install dependencies**: ```bash pnpm install ``` > **Note**: This project uses [pnpm](https://pnpm.io). If you don't have pnpm installed, you can install it with `npm install -g pnpm`, or use `npm install` instead (though pnpm is recommended). 3. **Set up environment variables**: - Copy `.env.example` to `.env.local` - Fill in your values (at minimum, you need `DATABASE_URL` and `ALLOWED_EMAILS`) - Set `BYPASS_AUTH=true` to skip OAuth 4. **Run the development server**: ```bash pnpm dev ``` > **Note**: If using npm, use `npm run dev` instead. 5. **Access the app**: - Open [http://localhost:3000](http://localhost:3000) - With `BYPASS_AUTH=true`, you'll be automatically logged in as the first email in `ALLOWED_EMAILS` --- ## Troubleshooting ### "Unauthorized" error when accessing the app - Check that `ALLOWED_EMAILS` includes your email address - Verify that `NEXT_PUBLIC_VERCEL_APP_CLIENT_ID` and `VERCEL_APP_CLIENT_SECRET` are set correctly - Make sure the callback URL in your Vercel OAuth App matches your deployment URL ### Database connection errors - Verify `DATABASE_URL` is set correctly in Vercel environment variables - Check that you've run the database setup script (`scripts/setup-database.sql`) - Ensure your Neon database is active (not paused) ### Cron jobs not running - Verify you're on a Vercel Pro or Enterprise plan (required for per-minute cron) - Check that `CRON_SECRET` is set in environment variables - Verify the cron schedule in `vercel.json` is correct - Check Vercel logs for cron execution errors ### Email alerts not sending - Verify `RESEND_API_KEY` is set correctly - Check that `ALERT_EMAILS` includes valid email addresses - Ensure your Resend account has available credits - Check the `alert_log` table in your database for error messages ### "Missing required environment variable" error - Review the environment variables section above - Ensure all required variables are set in Vercel - Redeploy after adding new environment variables --- ## Project Structure ``` app/ api/ auth/ authorize/route.ts # Initiates OAuth PKCE flow callback/route.ts # Handles OAuth callback signout/route.ts # Revokes token and clears session cron/ check/route.ts # Vercel Cron endpoint (runs every 10 minutes) dashboard/route.ts # Aggregated dashboard data incidents/route.ts # Incident history monitors/ route.ts # CRUD for monitors (list/create) [id]/route.ts # Single monitor (get/update/delete) [id]/check/route.ts # Trigger manual check for one monitor [id]/checks/route.ts # Check result history for one monitor check-all/route.ts # Trigger manual check for all monitors dashboard/ page.tsx # Main dashboard page (server component) monitors/[id]/page.tsx # Monitor detail page (server component) login/page.tsx # Login page page.tsx # Root redirect components/ dashboard-header.tsx # Top nav with user avatar and sign-out dashboard-view.tsx # Main dashboard layout (client component) monitor-detail.tsx # Individual monitor detail view monitor-table.tsx # Monitor list with inline status stat-cards.tsx # Summary stats cards status-badge.tsx # Color-coded status pill uptime-bar.tsx # Visual uptime history bar response-time-chart.tsx # Recharts response time area chart add-monitor-dialog.tsx # Dialog form to add a monitor edit-monitor-dialog.tsx # Dialog form to edit a monitor login-card.tsx # Sign-in card with Vercel OAuth lib/ auth.ts # Session management and email whitelist checker.ts # HTTP check + SSL certificate check logic alerts.ts # Email alert system via Resend db.ts # Neon database client queries.ts # All database queries types.ts # TypeScript interfaces validation.ts # Input validation utilities env.ts # Environment variable validation scripts/ setup-database.sql # Database schema (tables + indexes) ``` --- ## Database Schema The app uses four tables: - **monitors** - Endpoint configurations (URL, method, interval, timeout, expected status) - **check_results** - Individual check results (status, response time, SSL info, errors) - **incidents** - Downtime incidents with start/resolve timestamps - **alert_log** - Record of every alert sent (channel, recipient, success/failure) All tables use `gen_random_uuid()` for primary keys and include appropriate indexes for query performance. Cascading deletes ensure that removing a monitor cleans up all related records. --- ## API Routes | Method | Path | Auth | Description | |--------|--------------------------------|----------|--------------------------------------| | GET | `/api/auth/authorize` | Public | Initiates OAuth flow | | GET | `/api/auth/callback` | Public | OAuth callback handler | | POST | `/api/auth/signout` | Session | Sign out and revoke token | | GET | `/api/dashboard` | Session | Dashboard data (monitors + stats) | | GET | `/api/monitors` | Session | List all monitors | | POST | `/api/monitors` | Session | Create a monitor | | GET | `/api/monitors/:id` | Session | Get a single monitor | | PUT | `/api/monitors/:id` | Session | Update a monitor | | DELETE | `/api/monitors/:id` | Session | Delete a monitor | | POST | `/api/monitors/:id/check` | Session | Trigger manual check for one monitor | | GET | `/api/monitors/:id/checks` | Session | Check result history | | POST | `/api/monitors/check-all` | Session | Trigger manual check for all monitors| | GET | `/api/incidents` | Session | List incidents | | GET | `/api/cron/check` | Cron | Automated check endpoint | --- ## Security Considerations - **Input Validation**: All URLs are validated to prevent SSRF attacks (private IPs are blocked) - **SQL Injection**: All database queries use parameterized queries - **Authentication**: OAuth PKCE flow with state and nonce validation - **Session Security**: HTTP-only, secure cookies with SameSite protection - **Cron Security**: Cron endpoint protected by `CRON_SECRET` bearer token - **Email Whitelist**: Access restricted to emails in `ALLOWED_EMAILS` --- ## Contributing Contributions are welcome! Please feel free to submit a Pull Request. --- ## License MIT License - feel free to use this project for personal or commercial purposes. --- ## Support If you encounter any issues or have questions: 1. Check the [Troubleshooting](#troubleshooting) section above 2. Review the Vercel, Neon, and Resend documentation 3. Open an issue on GitHub --- **Made with ❤️ using Next.js, Neon, and Vercel**
看看同类模板
对比同技术栈与用途的模板,找到更适合的视觉与内容结构。
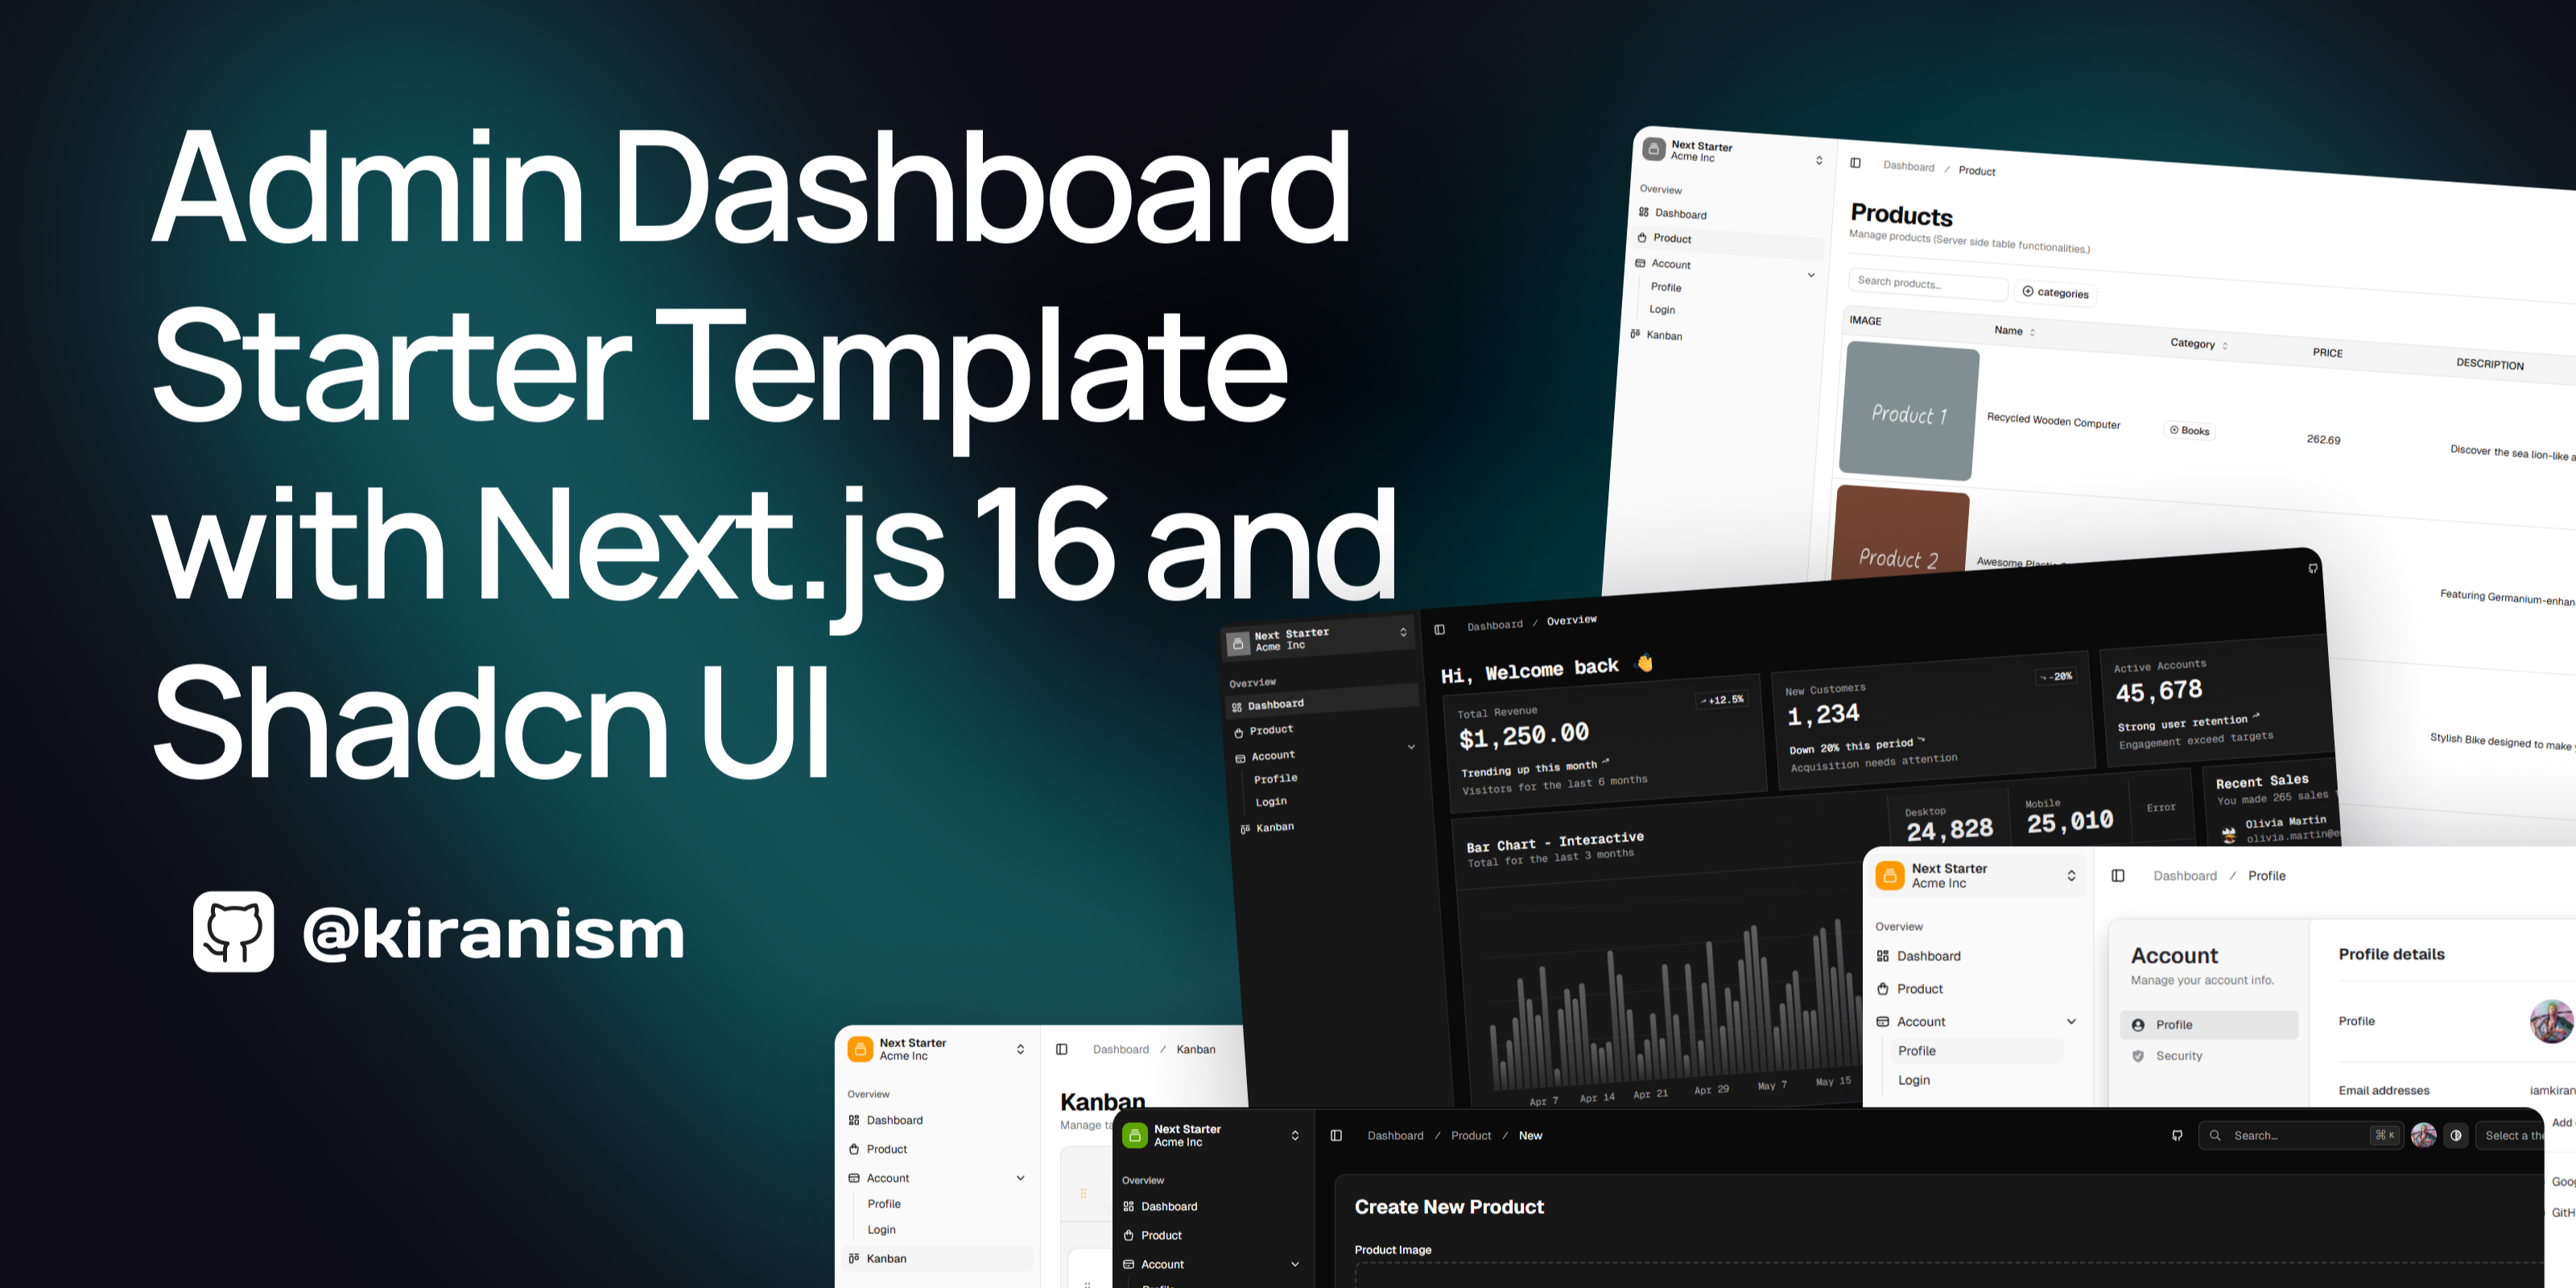
next-shadcn-dashboard-starter
Free, open source, AI-friendly admin dashboard template built with Next.js 16, shadcn/ui, Tailwind CSS, and Ty…
Next.js · 后台
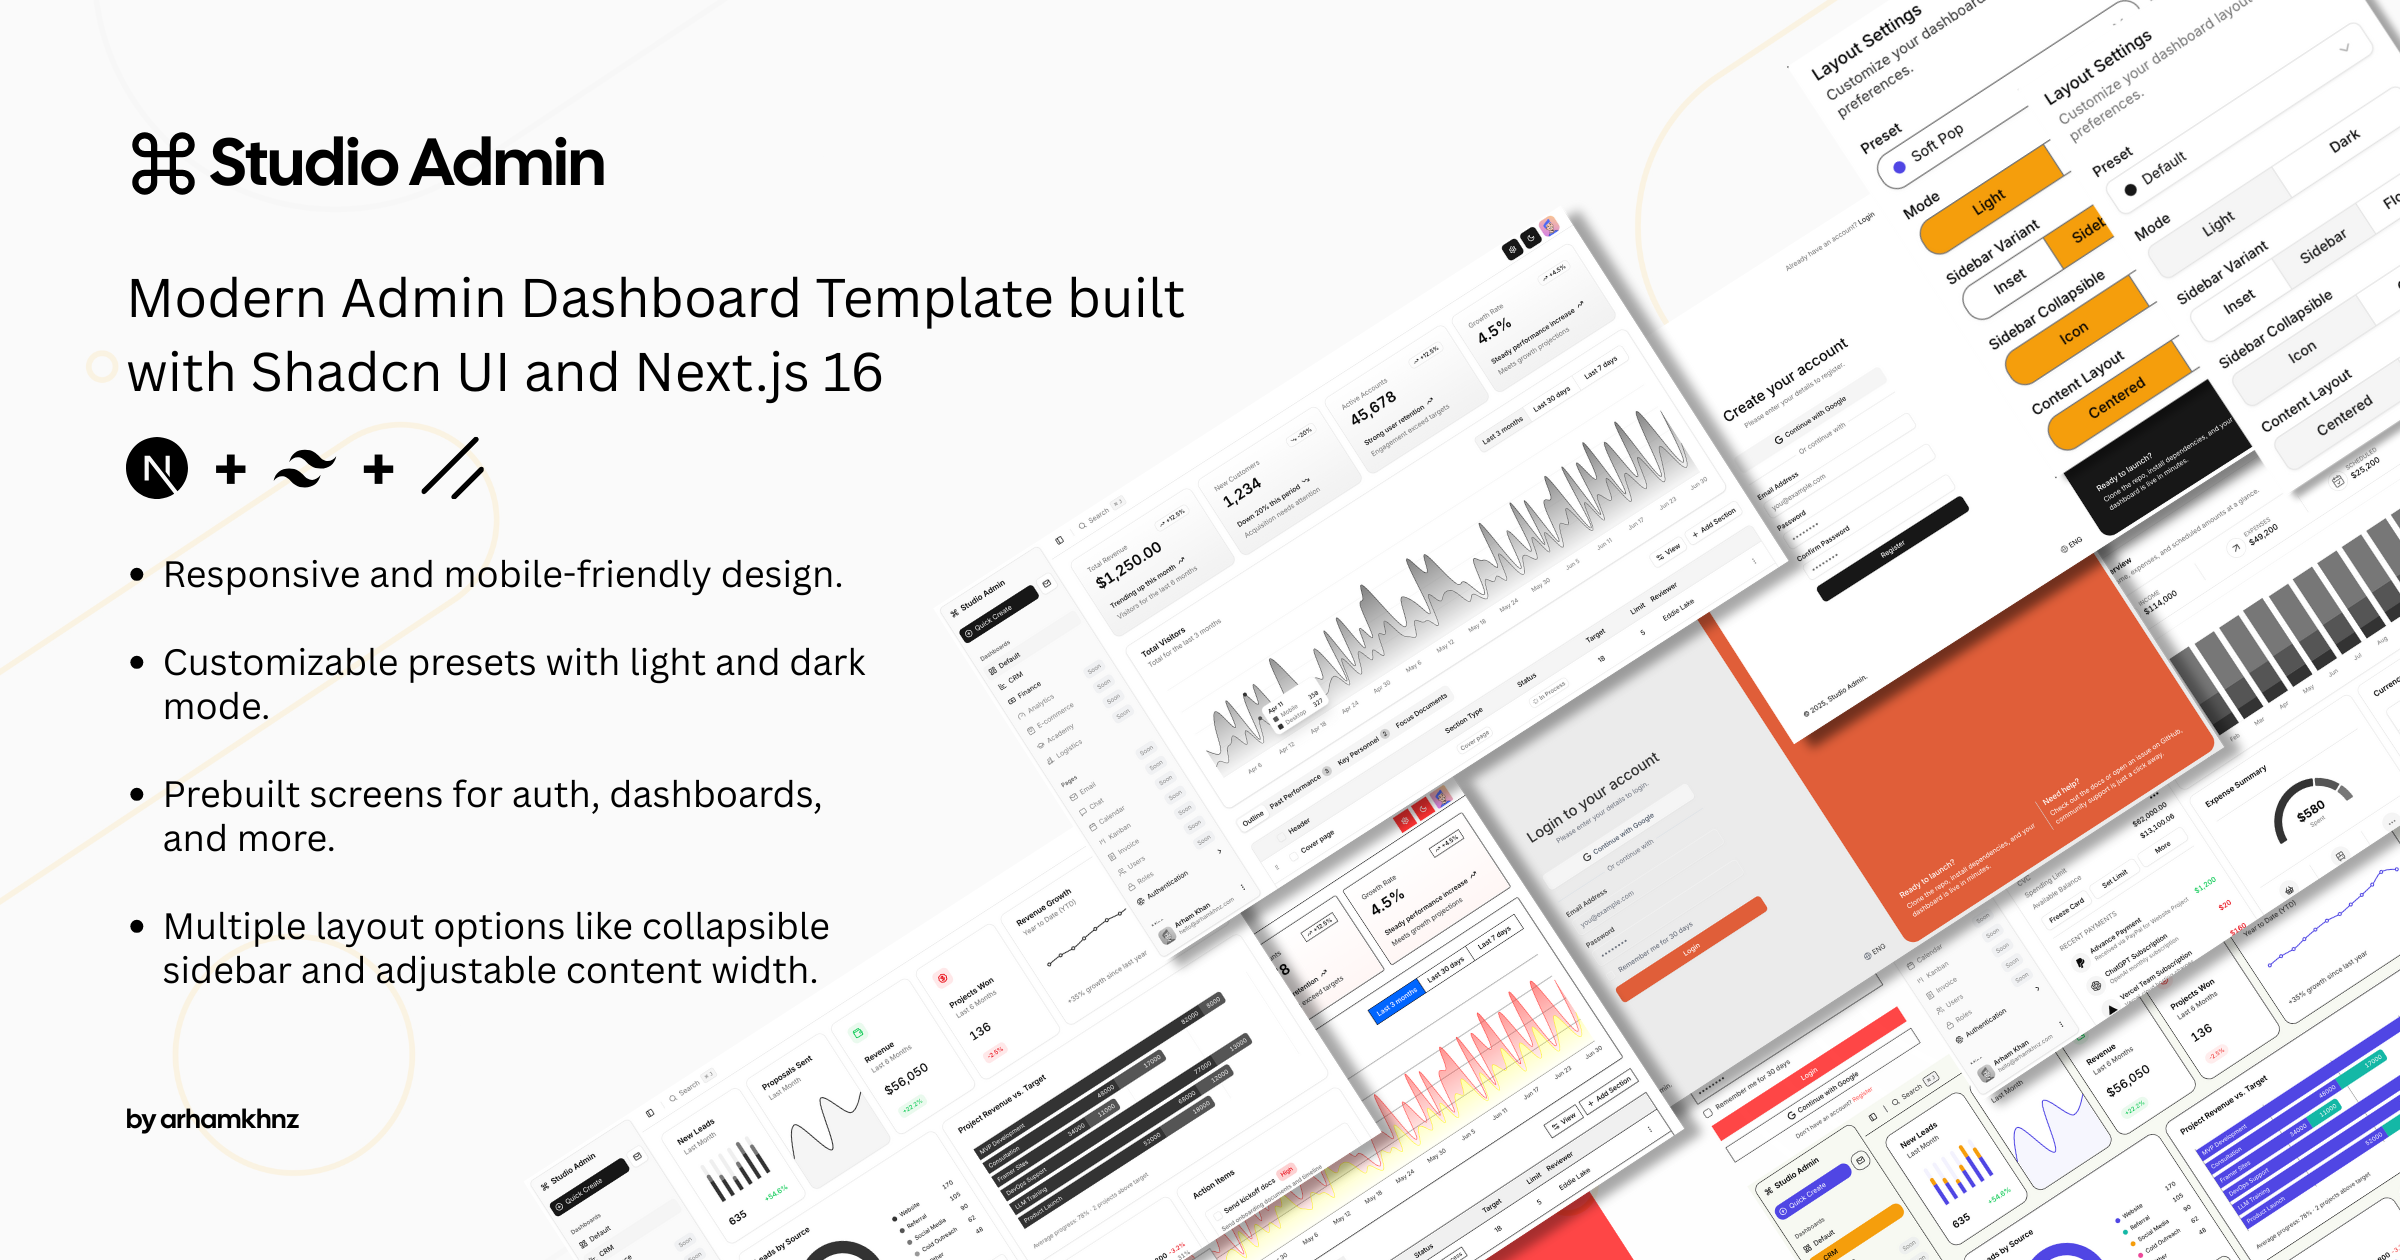
Studio Admin · Radix UI
Modern Admin Dashboard Template built with Shadcn UI and Next.js 16
Next.js · 后台
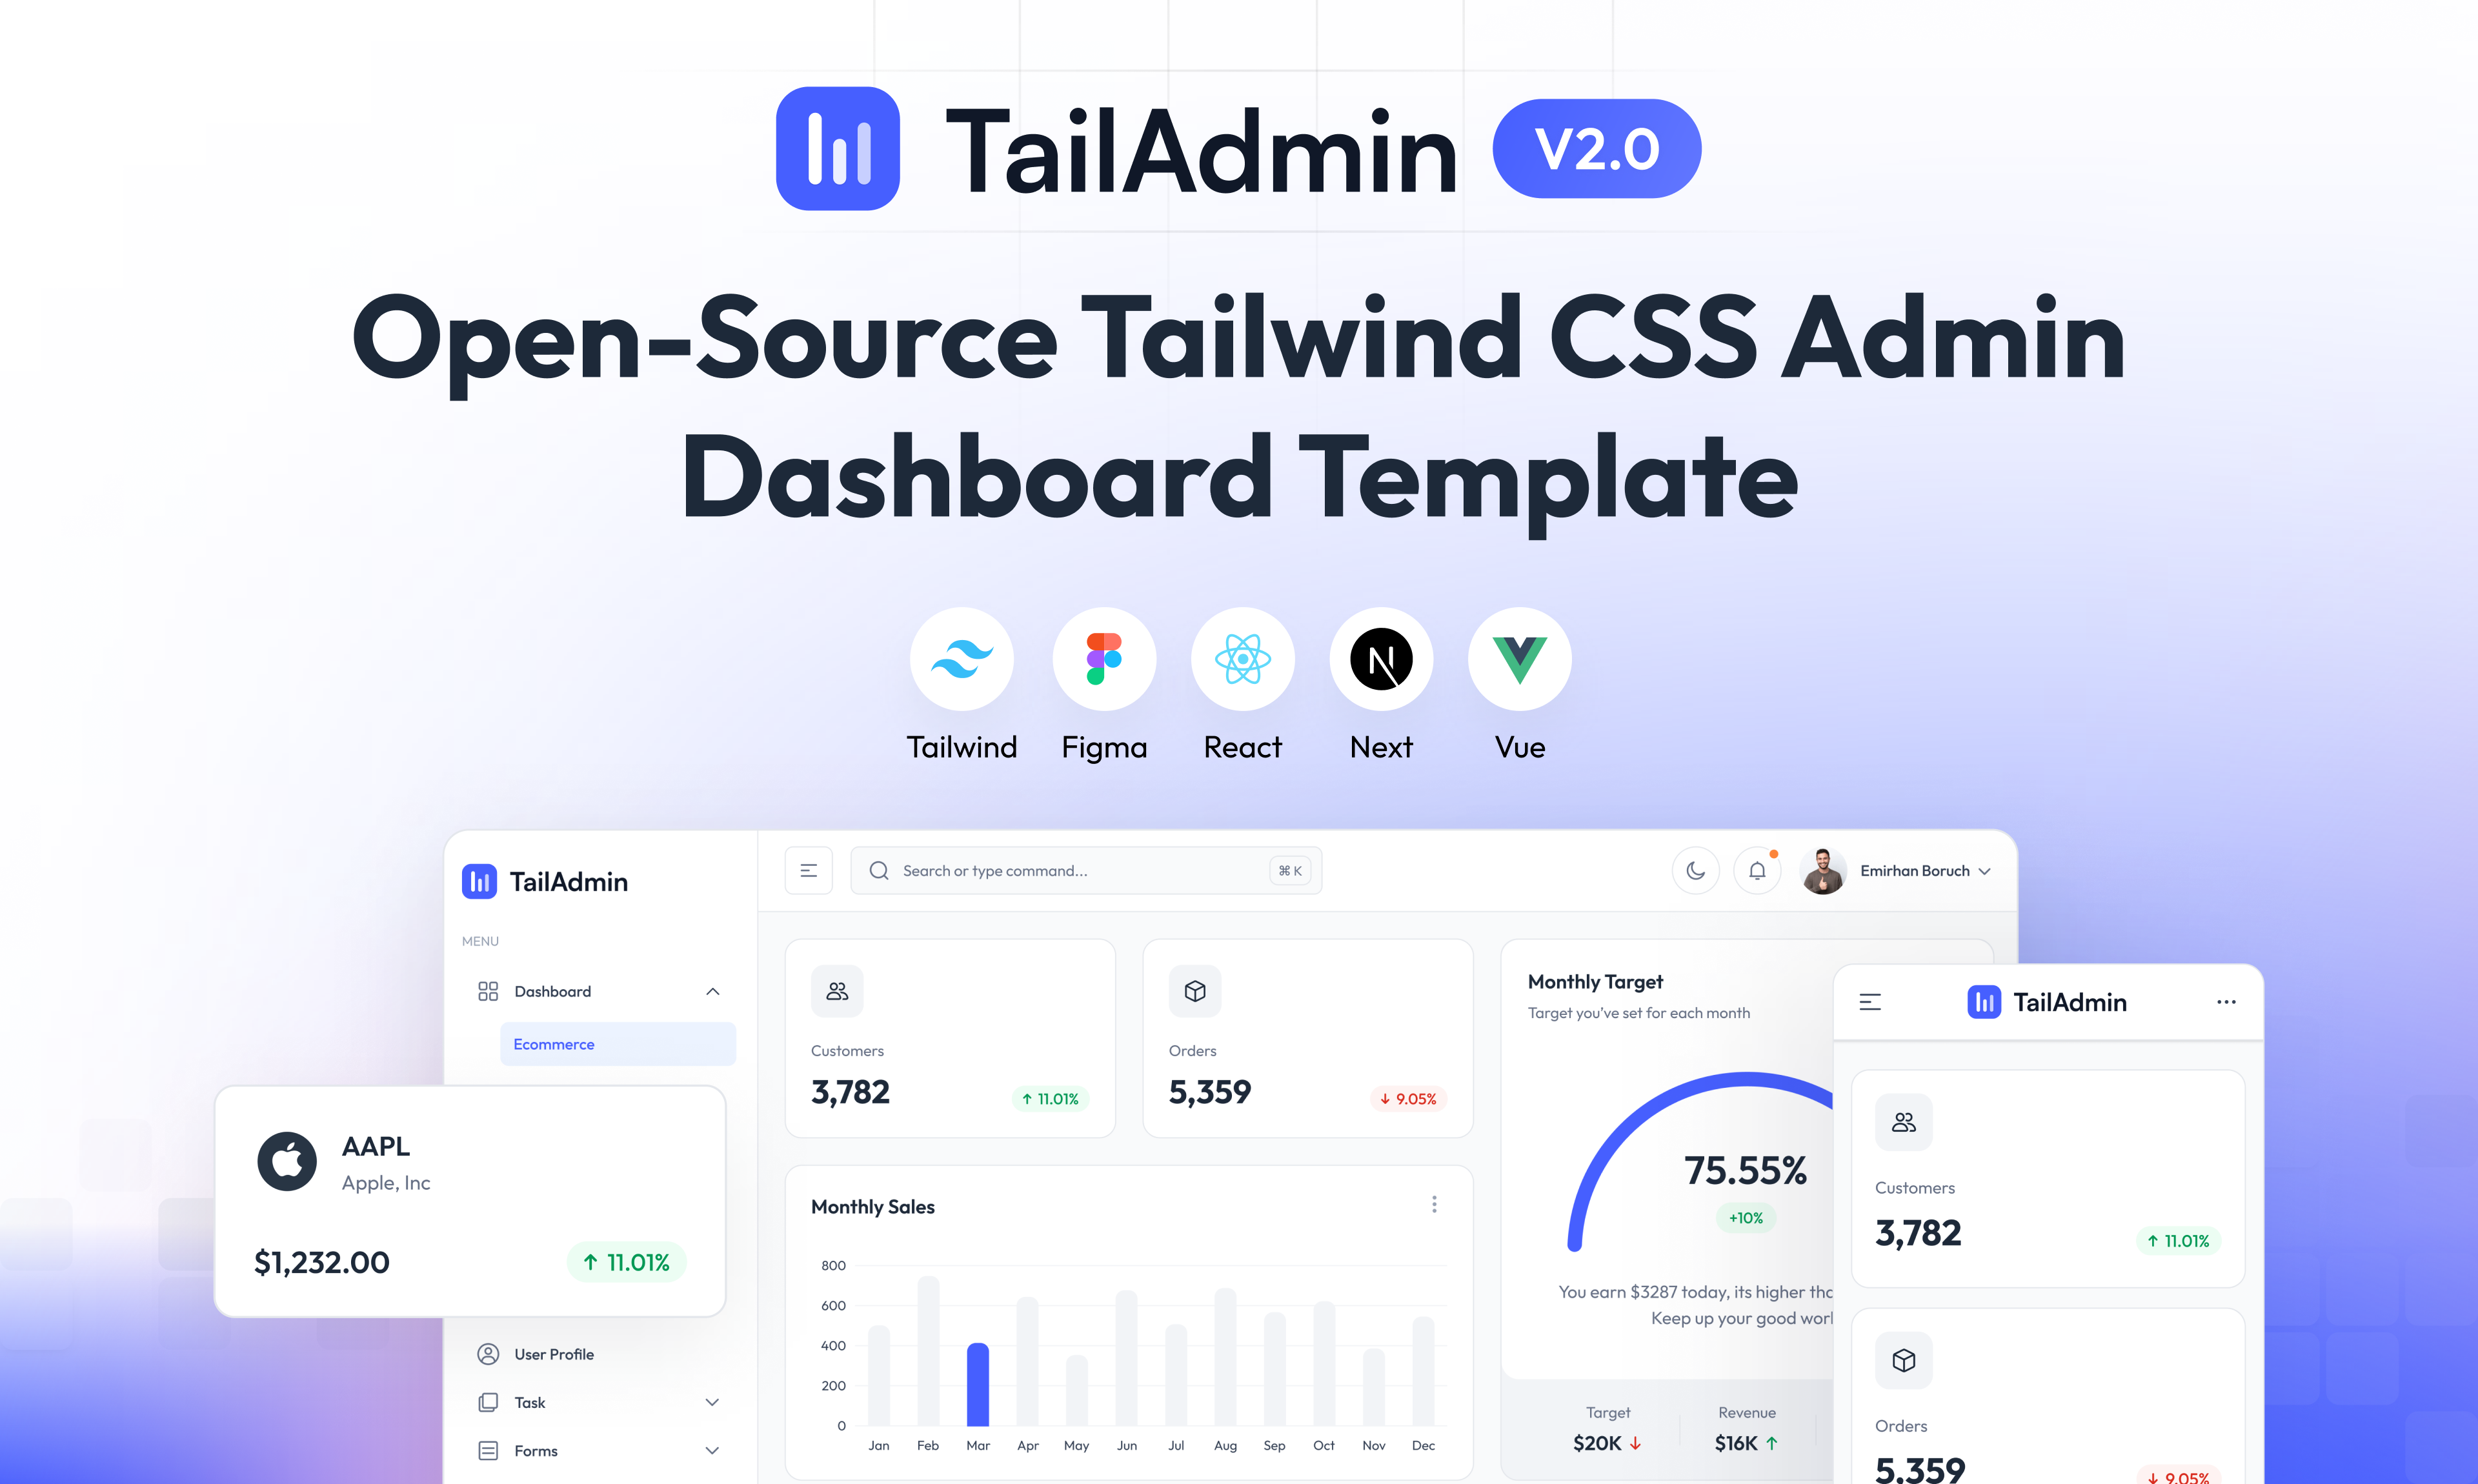
free-nextjs-admin-dashboard
TailAdmin is a Next.js and Tailwind CSS free, open-source admin dashboard template. Provides developers with t…
Next.js · 后台
materio-mui-nextjs-admin-template-free
An enterprise-grade Next.js admin dashboard template. Made with developer experience first: Next.js v14 (App R…
Next.js · 后台
nextjs-postgres-nextauth-tailwindcss-template
Admin dashboard template.
Next.js · 后台
shadcn-dashboard-landing-template
Accelerate your development with a sleek, open-source admin dashboard and landing page built on Vite-React, Ne…
Next.js · 后台