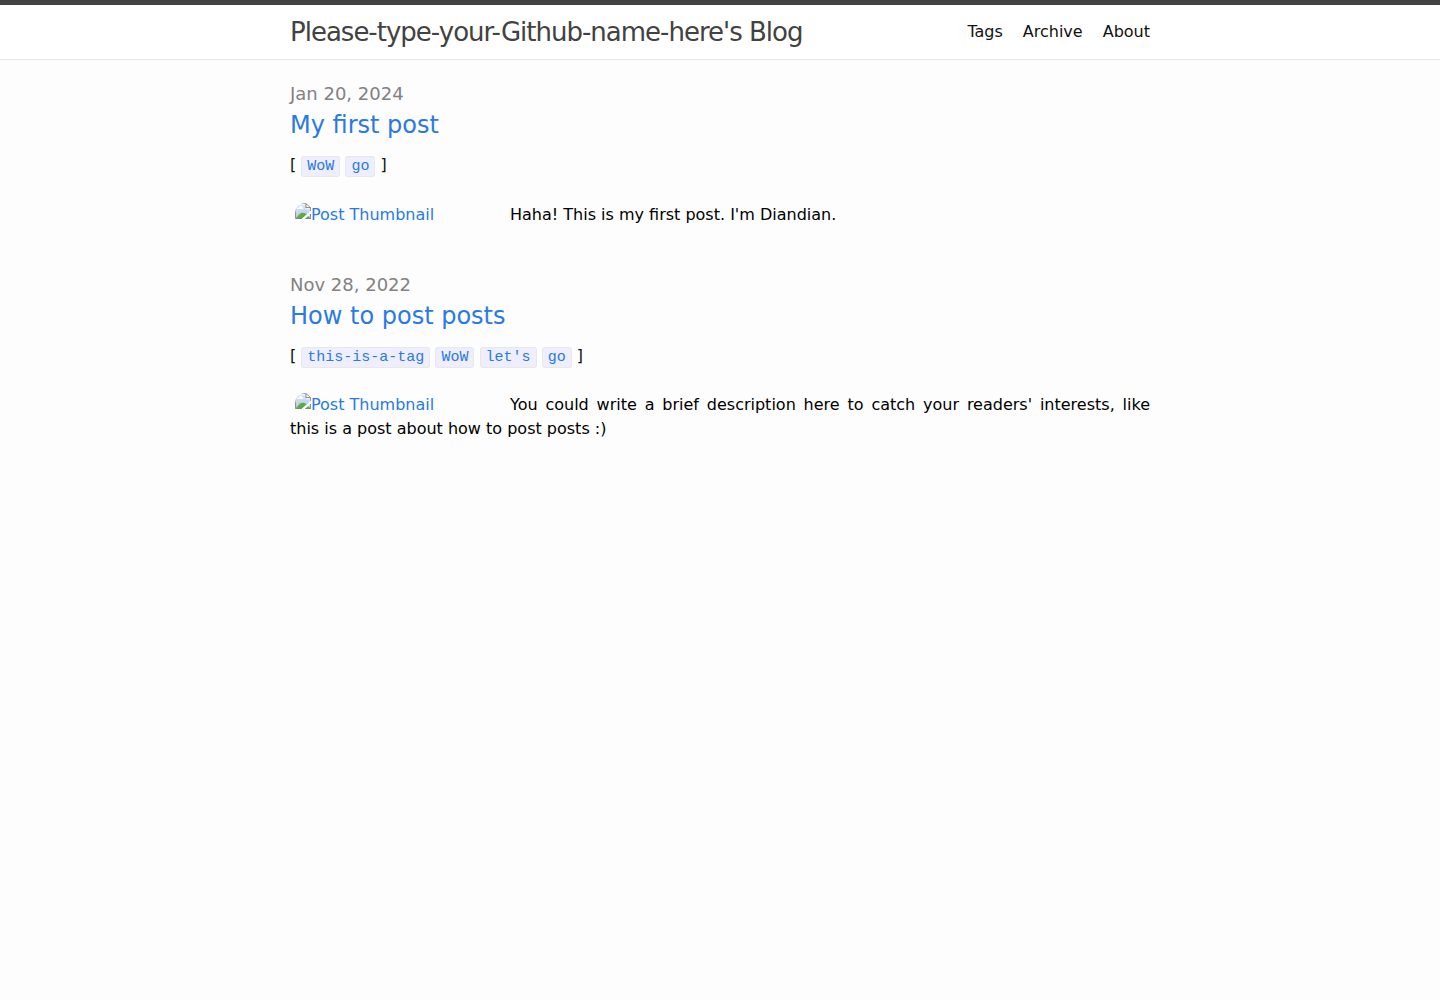
Customized based on Jekyll's official Minima theme, retaining its clean blog structure
JekyllBlog
2nd-Minima — Jekyll Blog Template
By Deep0Thinking
A customized personal blog template based on the Jekyll Minima theme, with beginner-oriented tutorials for setting up and deploying on GitHub Pages.
Explore the design
Compare the page layouts and mobile experience. Open any screenshot for a closer look.
Desktop homepage1 / 3
Desktop captureTop of page
Actual screenshot captured by the server browser.
All pages & views 3
Screenshots show visual appearance; interactive behavior may differ.
Recorded 2026-10-02View source
What stands out
A quick read of the recorded project description.
Includes a preconfigured GitHub Actions workflow in the repository for automatic deployment to GitHub Pages upon push
README provides step-by-step instructions from cloning and local running to deployment
Includes a built-in How-to-post-posts sample post demonstrating how to write various content types
Supports comment functionality via giscus.app
MIT licensed, allowing modification, commercial use, and distribution
Template Details
2nd-Minima is an enhanced, customized version of Jekyll's official Minima theme, aimed at users who want to quickly set up a personal blog but are not familiar with front-end programming. The repository is provided as a template; users can create their own repository via GitHub's Use this template feature and deploy to GitHub Pages using the preconfigured GitHub Actions workflow included in the repository.
The template is customized on top of Minima. The README provides step-by-step instructions covering cloning the repository, installing dependencies, local preview, and push deployment, and includes guidance on _config.yml, writing posts, giscus comments, the about and archive pages, and favicon usage. The repository also includes a sample post titled How-to-post-posts, demonstrating how to combine text, images, YouTube videos, external links, LaTeX formulas, downloadable documents, and interactive animations within a post.
The template is MIT licensed, allowing modification, commercial use, and distribution, but third-party assets such as demo images, fonts, and icons require separate verification of their respective licenses. The 2nd-Minima Helper mentioned in the README is an external ChatGPT assistant, not a built-in feature of the template.
JekyllBlog
Is it right for your project?
Use Cases
- Want to host a personal blog for free on GitHub Pages but lack front-end experience
- Prefer writing with Jekyll and Markdown rather than using a dynamic blogging system
- Need a lightweight blog starting point that can be customized in style and configuration
- Need to mix text, images, videos, formulas, and downloadable files within posts
Suitable For
- Individual bloggers new to Jekyll or GitHub Pages
- Those who prefer static sites and primarily write in Markdown
- Users who want to further customize Minima and are willing to maintain the code themselves
Getting started & customization
Use these recorded setup notes alongside the repository instructions for your chosen version.
- 1
Click Use this template on GitHub to create your own repository; for first-time use, it is recommended to name the repository in the format username.github.io
- 2
Install Git, Ruby, and RubyGems locally first, then run bundle install to install dependencies
- 3
Use bundle exec jekyll serve for local preview; after confirming, push to the remote repository via git push to trigger deployment
- 4
Deployment status can be observed on the repository homepage; a green checkmark indicates success, and a red cross indicates failure
- 5
For comment functionality, you need to obtain configuration from giscus.app and fill it into the template
License & source material
Usage conditions & limitations
Free to use · keep license noticeThis entry covers the free version under the MIT license in the public repository; the free scope applies to the code of this version and does not imply that external services or third-party assets are free.
Must comply with when using
- Free use, modification, commercial use, and distribution of this version's code are permitted.
- When distributing copies or substantial portions of the code, retain the original author's copyright notice and the full MIT license notice.
- The code is provided as is; warranties and limitations of liability are governed by the original license and applicable law.
Additional costs & items to verify
- The comment functionality relies on the external service giscus.app; you must obtain the embed code from that site and replace the placeholder comment block in the template. The template does not include a built-in working comment system.
- Local use requires pre-installing external tools such as Git, Ruby, and RubyGems, and running bundle install to install dependencies. The template does not provide an installation-free way to run.
- The 2nd-Minima Helper mentioned in the README is an external ChatGPT assistant that requires access to chat.openai.com. It is not a built-in feature of the template and is not part of this repository's code.
- Demo images, fonts, icons, and other third-party assets must be checked against their respective licenses; they cannot be judged solely by the code's MIT license.
- External services such as domains, hosting, databases, payments, or AI may incur additional charges.
View Original Text Basis
Permission is hereby granted, free of charge
Original License Text
The actual comments functionality is powered by [giscus.app](https://giscus.app), a robust platform for enabling comments on your site. To get started, visit [giscus.app](https://giscus.app) and follow the detailed instructions provided there to enable the giscus comment section.
Original README
you need to have "git" installed on your computer first
Original README
https://github.com/Deep0Thinking/2nd-Minima/blob/main/LICENSEhttps://github.com/Deep0Thinking/2nd-Minima/blob/main/README.mdthe [2nd-Minima Helper](https://chat.openai.com/g/g-ZVjN1oUoT-2nd-minima-helper) is here to assist you
Original README
Compiled by DeepSeek based on repository license and README ·2026-10-02. Results only cover the materials read; dependencies, images, fonts, and subsequent term changes are subject to their respective original texts.
Project checks & description sources
Template Information
- Source platforms
- GitHub
- Documentation and maintenance reference score
- More documented · 83 / 100
- Technologies
- Jekyll
- Website type
- Blog
How this score is calculated
Our heuristic uses license records (up to 30), a demo link (12), a preview (10), stars (15), recorded maintenance (15), description completeness (8), feature records (5) and classification data (5). It is not a code, security or performance test, or a Google score. A link does not establish tested functionality.
What to verify for this project
- Repository update recorded
- 2026-05-08
- Screenshot last checked
- 2026-10-02
A demo link is listed. Check it with your own content and viewport sizes; its presence does not confirm that forms, authentication or payments work.
The catalog identifies Jekyll as the primary stack. Check the actual dependency manifest and lockfile for versions and hosting requirements. These notes use recorded metadata, not a code audit or a deployment test.
Use a selection guide →How this description was prepared
AI-assisted description based on catalog records and repository material. Repository authors are not automatically the reviewers of this description.
Automatically checked against source and license rules; no manual editorial review.
Inspect the recorded source material
SHA-256: 937ceb33fdcc2c9171316c9dd14152cbd413f463f4e6cf6c86592ab1625aa4f1
2026-10-02T11:02:47.281Z
Source file / repository# [2nd-Minima](https://deep0thinking.github.io/2nd-Minima/) ### Table of Contents - [0 About](#0) - [0.1 About the 2nd-Minima repository](#0.1) - [0.2 About the "/README.md"](#0.2) - [0.3 About the usage](#0.3) - [0.4 About the 2nd-Minima Helper](#0.4) - [0.5 About the acknowledgement](#0.5) - [1 Basic set up](#1) - [1.1 Use this template](#1.1) - [1.2 Webpage edit and deployment](#1.2) - [2 Usage](#2) - [2.1 "/_config.yml"](#2.1) - [2.2 Posts](#2.2) - [2.3 giscus.app](#2.3) - [2.4 "/about.md"](#2.4) - [2.5 "/archive.md"](#2.5) - [2.6 favicon](#2.6) <hr> <h3 id="0">0 About</h3> <h4 id="0.1">0.1 About the 2nd-Minima repository</h4> The **2nd-Minima** Github repository is designed for individuals seeking to handily create a blog. It's a user-friendly, advanced **template** based on the popular [Jekyll-theme-Minima](https://github.com/jekyll/minima), perfect for those unfamiliar with front-end programming. Experience a live demo of a [2nd-Minima](https://github.com/Deep0Thinking/2nd-Minima) based website here: [Deep0Thinking.github.io](https://deep0thinking.github.io) 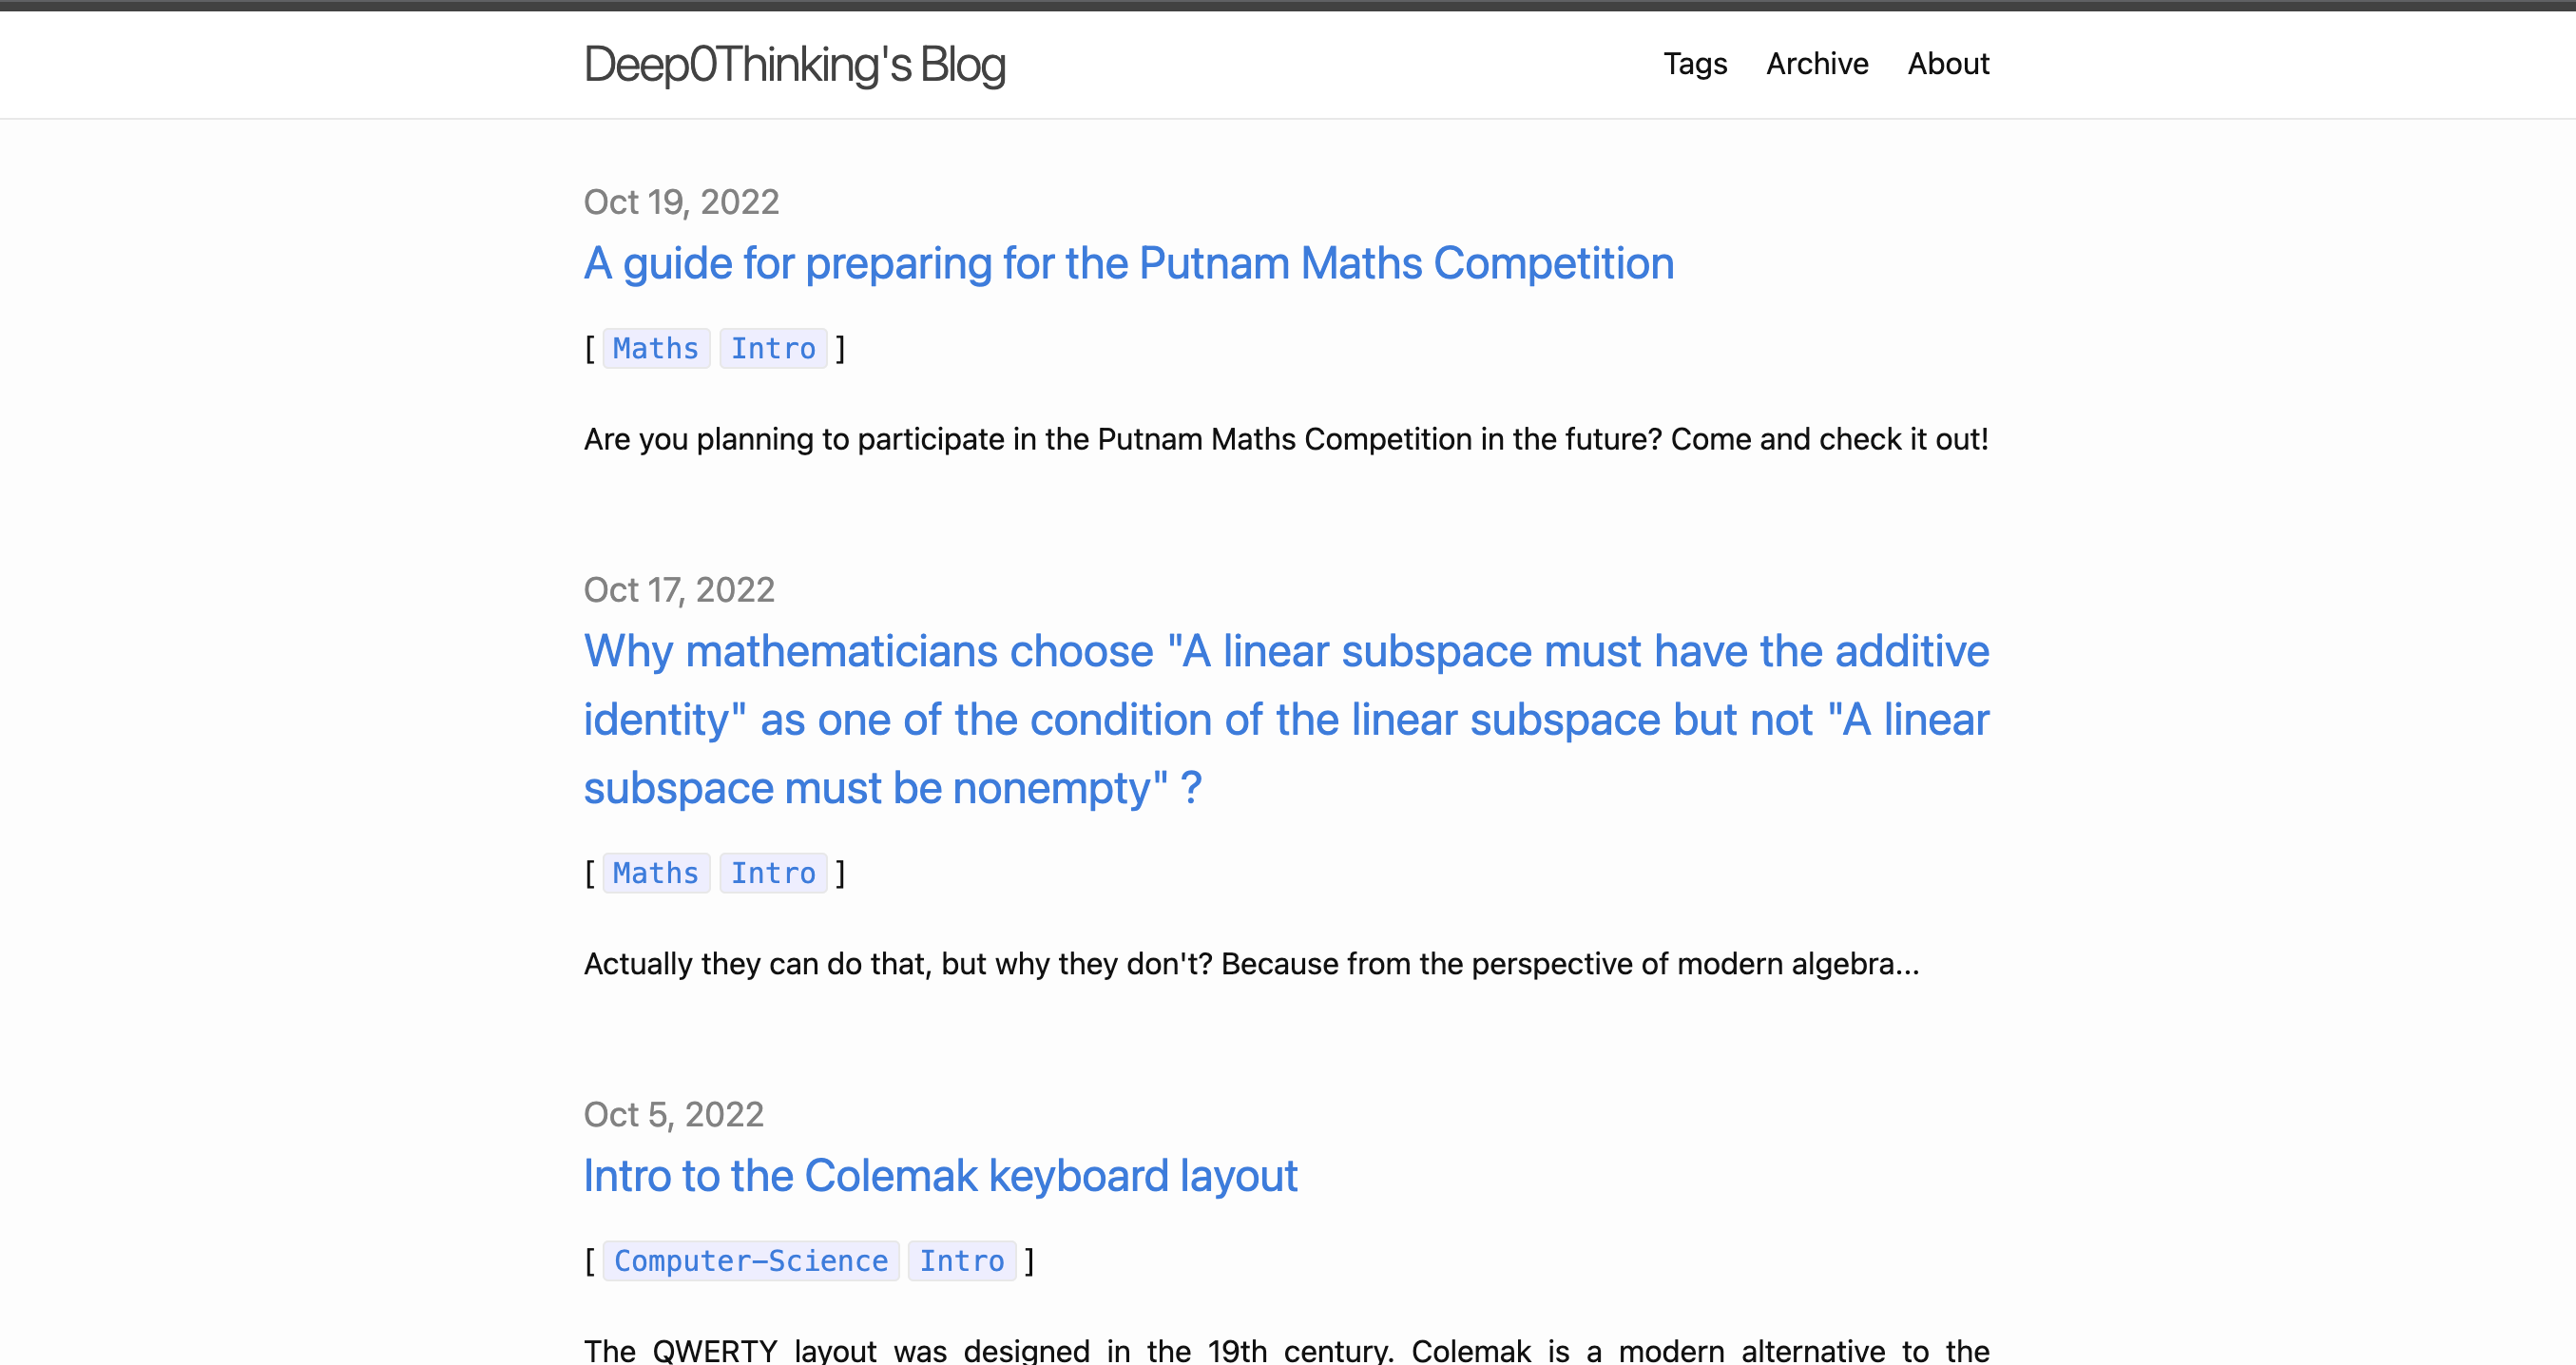 <h4 id="0.2">0.2 About the "/README.md"</h4> This "[**/README.md**](https://github.com/Deep0Thinking/2nd-Minima/blob/master/README.md)" file serves as a comprehensive manual for the [**2nd-Minima**](https://github.com/Deep0Thinking/2nd-Minima) repository. It aims to provide clear explanations and guidance for customization and use. If you're new to this repository, I recommend reading this "**/README.md**" file in its entirety. It will help you get started quickly and easily. <h4 id="0.3">0.3 About the usage</h4> With the [MIT License](https://github.com/Deep0Thinking/2nd-Minima/blob/main/LICENSE), you have extensive freedom to modify and adapt the [**2nd-Minima**](https://github.com/Deep0Thinking/2nd-Minima) template to suit your personal needs. You may also use it for commercial purposes. <h4 id="0.4">0.4 About the 2nd-Minima Helper</h4> Welcome to your personal assistant, the [2nd-Minima Helper](https://chat.openai.com/g/g-ZVjN1oUoT-2nd-minima-helper)! This AI-powered chatbot is designed to help users navigate the setup and customization of their [**2nd-Minima**](https://github.com/Deep0Thinking/2nd-Minima) website template. Whether you have questions about configuration files, need guidance on creating posts, or require assistance with deployment, the [2nd-Minima Helper](https://chat.openai.com/g/g-ZVjN1oUoT-2nd-minima-helper) is here to assist you. To start interacting with the [2nd-Minima Helper](https://chat.openai.com/g/g-ZVjN1oUoT-2nd-minima-helper), simply visit this [link](https://chat.openai.com/g/g-ZVjN1oUoT-2nd-minima-helper). The helper is equipped with detailed knowledge of the [**2nd-Minima**](https://github.com/Deep0Thinking/2nd-Minima) template and can provide step-by-step instructions, troubleshoot issues, and offer tips for enhancing your site. If you encounter any difficulties or have questions, don't hesitate to reach out to the [2nd-Minima Helper](https://chat.openai.com/g/g-ZVjN1oUoT-2nd-minima-helper) for assistance. If the issue persists, please contact me through email ([[email protected]](mailto:[email protected])). <h4 id="0.5">0.5 About the acknowledgement</h4> I would like to thank all the developers and contributors of the [Jekyll-theme-Minima](https://github.com/jekyll/minima), because the [**2nd-Minima**](https://github.com/Deep0Thinking/2nd-Minima) is an advanced personal-website-template repository that developed mainly based on the [Jekyll-theme-Minima](https://github.com/jekyll/minima). And specifically, great thanks to [Long Qian](http://longqian.me/aboutme/), [MathJax](https://www.mathjax.org) and [giscus.app](https://giscus.app) for providing supportive tool and code for the community! Thanks should also go to Github, because this platform provide many people (including me) a chance to learn, cooperate and improve in coding. Lastly, heartfelt appreciation to my family and friends for their unwavering support. Oh, and a big thank you to you, the user, for trusting and using this template :) --- <h3 id="1">1 Basic set up</h3> <h4 id="1.1">1.1 Use this template</h4> Please direct to the [**2nd-Minima**](https://github.com/Deep0Thinking/2nd-Minima) repository (repo) page first and click on `Use this template` (the green button) -> `Create a new repository` , then please enter the "Repository name", if you're a first-timer, I suggest using the format "your-Github-username.github.io", like "louis.github.io". This naming convention is important for GitHub Pages, and you can learn more about it at https://pages.github.com. However, feel free to choose a different name, such as "Cookie-0111", if you prefer. This won't impact the future functionality of your site. As for the other repo settings, you can stick with the default options or adjust them according to your preferences. Keep in mind, even if you initially set your repository to private, others can still access your personal website once it's deployed and they have the link. (Note: even if you initially set your repository to `private`, others can still access your personal website once it's deployed and they have the link) <h4 id="1.2">1.2 Webpage edit and deployment</h4> Please direct to the page of the repo which you've just created using the [**2nd-Minima**](https://github.com/Deep0Thinking/2nd-Minima) template, click on `< > Code` (the green button right under the "Fork" button) -> `HTTPS` -> "Copy url to clipboard", and then open your terminal (or command line) and type in `git clone ` and paste the url you've just copied from the repo page (your code should look like `git clone https://github.com/????.git`), then press `Enter` to clone the repo to your local computer. (Note: you need to have "git" installed on your computer first, if you don't have git installed, please check here: https://git-scm.com/downloads) Next, locate to the cloned repo folder on your local computer, and open this repo with a text editor or IDE (like VS Code or Visual Studio). Then open your terminal (or command line) and navigate to the repo folder using `cd` command, like `cd /absolute_path/to/your/repo/folder`. Then type in `bundle install` in the terminal to install the necessary gems for the Jekyll theme. (Note: If you receive an error message, you may need to install all the prerequisites like Ruby and RubyGems first. You can find more information on how to do this at [https://jekyllrb.com/docs/](https://jekyllrb.com/docs/)) After the installation is complete, type in `bundle exec jekyll serve` to start the Jekyll server. You should see a message like `Server address: http://?????`, which indicates the server is running successfully. Open your browser and navigate to the url address shown in the terminal to view your website (Note: this is url just a local preview of your website on your computer, others will not be able to see it unless you deploy it to GitHub Pages publicly). (Note: if you see an error message, please check the terminal output for more information on how to resolve the issue. If you don't know how to fix it, please email me ([[email protected]](mailto:[email protected])) directly or open an issue in the **2nd-Minima** repo "[**Issues**](https://github.com/Deep0Thinking/2nd-Minima/issues)" section, and I'll try my best to help you resolve the it.) Once you're satisfied with your website's appearance, you can press `Ctrl + C` in the terminal under the repo folder directory to stop the Jekyll server. If you don't know what to edit or how to edit, please read the following [**Usage**](#2) section for more detailed guidance. Now it's time to deploy it to GitHub Pages. I've already set up the necessary configurations in the repo for you, which is the "**.github/workflows/jekyll.yml**" file. So to complete the deployment, all you have to do it, open your terminal again (or command line) and type in `git add .` under the same repo folder directory, then `git commit -m "Initial commit"`, and finally `git push origin main` to push your changes to your remote repo. (If you want to learn more about git and GitHub, I recommend checking out this [tutorial](https://deep0thinking.com/?p=4886) on [my blog](https://deep0thinking.com) or other resources online.) Then navigate to `Settings` (located just beneath the search bar) -> `Pages` (on the left column list). You should be able to see `Your site is live at ...`, which implies your blog's url. After about 1 minute (for the webpage deployment), your blog's webpage should be generated successfully. To monitor its deployment status, revisit your repository's main page, keep an eye on the small yellow dot (next to the green button `< > Code`). Upon successful deployment, this dot will change to a green check mark ✅ (Remember to refresh the page to update the status indicator). (Note: if you see a red cross ❌ instead of the check mark ✅, that indicates the deployment failed. In this case, please email me ([[email protected]](mailto:[email protected])) directly or open an issue in the **2nd-Minima** repo "[**Issues**](https://github.com/Deep0Thinking/2nd-Minima/issues)" section, and I'll try my best to help you resolve the it.) To visit your site, navigate to `Settings` -> `Pages` -> `Visit site` , it's a good idea to bookmark your site's url for easy access. Alternatively, you can add your site's url into your repo's `About` section, which is located next to the green button `< > Code` on your repo Github main page. Click on the option button (the gear icon) in that `About` block to add your link. You can also create a direct link combines with the heading style in your "**/README.md**" file under the repo root folder, like `# [please-paste-your-repo-title-here](https://please-paste-your-webpage-link-here)`. This creates a clickable heading on your repository's main page, as GitHub automatically displays the "README.md" file there for every repo. --- <h3 id="2">2 Usage</h3> <h4 id="2.1">2.1 "/_config.yml"</h4> Start by opening the "**/_config.yml**" file. In the title section, replace `Please-type-your-Github-name-here` with your actual Github username. Moving on to the line labeled `show_description`, I recommend setting its value to `true`. Don't worry about the details for now; we'll guide you through this part later. Lastly, let's focus on `header_pages`. This section determines the order of pages like `archive`, `about`, and `all-tags` on your website's navigation bar. To rearrange their display order on the webpage, simply change their sequence in `header_pages`. The order from top to bottom in this section directly corresponds to the left-to-right order on your website's navigation bar. <h4 id="2.2">2.2 Posts</h4> Are you ready to craft a captivating post featuring a mix of elements like text, images, YouTube videos, external links, LaTeX-formatted math equations, downloadable documents, interactive animations, and more? If so, your next step is simple. Dive into our comprehensive guide post titled [How-to-post-posts](https://deep0thinking.github.io/2nd-Minima/2022/11/28/How-to-post-posts.html). You'll find this valuable resource in the "**/_posts/**" folder. This guide is your key to effortlessly integrating these diverse content types into your posts. Let's get started! <h4 id="2.3">2.3 giscus.app</h4> You might have noticed the **fake comments section** at the bottom of the "**How to post posts**" post and "**Archive**" page and "**About**" page. This is where you'll set up your **real comments section**. The actual comments functionality is powered by [giscus.app](https://giscus.app), a robust platform for enabling comments on your site. To get started, visit [giscus.app](https://giscus.app) and follow the detailed instructions provided there to enable the giscus comment section. Once you've read through the giscus instructions and obtained the necessary embed code, it's time to integrate it into your site. Replace the **fake comments section** code at the bottom of your "**/_layouts/post.html**" file with the new giscus embed code. The placeholder code you'll be replacing looks like this: `<h1><a href="https://github.com/Deep0Thinking/2nd-Minima#2.4">fake comments section</a></h1>`. Remember to repeat this step for your "**/about.md**" and "**/archive.md**" files, as they also contain placeholders for the **fake comments section**. You might wonder why not simply insert the giscus embed code into the "**/_layouts/page.html**" file, as both the [**about**](https://deep0thinking.github.io/2nd-Minima/about.html) and [**archive**](https://deep0thinking.github.io/2nd-Minima/archive.html) pages use `layout: page` in their predeclarations. The reason is that doing so would also add a comments section to the [**all-tags**](https://deep0thinking.github.io/2nd-Minima/all-tags.html) page and every single **tag** page, which isn't ideal. In my view, this could clutter these pages and detract from the site's aesthetic appeal. But you can surely do that based on you preference. After you've completed these steps, the giscus comments sections should now be visible at the bottom of the relevant pages. <h4 id="2.4">2.4 "/about.md"</h4> You'll find detailed guidance on customizing the [**about**](https://deep0thinking.github.io/2nd-Minima/about.html) page within the "**/about.md**" file itself. So, take a moment to visit your "**/about.md**" file, where you can apply your own personal touches and modifications to make it truly yours. <h4 id="2.5">2.5 "/archive.md"</h4> Tailoring the [**archive**](https://deep0thinking.github.io/2nd-Minima/archive.html) page to your preferences is straightforward. You'll find all the necessary instructions within the "**/archive.md** file. Go ahead and open your "**/archive.md** file to start making personalized modifications that reflect your style and needs. <h4 id="2.6">2.6 favicon</h4> The favicon is a small, iconic image that represents your webpage. Have you noticed the black icon next to your webpage title? That's the default favicon I've set for this repository. But you can personalize it by creating your own. For this, I recommend using [favicon.io](https://favicon.io). It's a user-friendly website that lets you design and generate your own favicon for free. Once you've crafted your favicon, the next step is simple. Just place your newly created "**favicon.ico**" file into the "**/favicon/**" folder, replacing the existing one (the old "**favicon.ico**" file I placed there). ***(Attention: the new file you replaced with under the "/favicon/" must be named exactly "favicon.ico" for it to function correctly )*** With this change, your webpage will display the favicon you've designed, adding a unique touch to your site.
Explore similar templates
Compare previews and descriptions within the same stack and category.
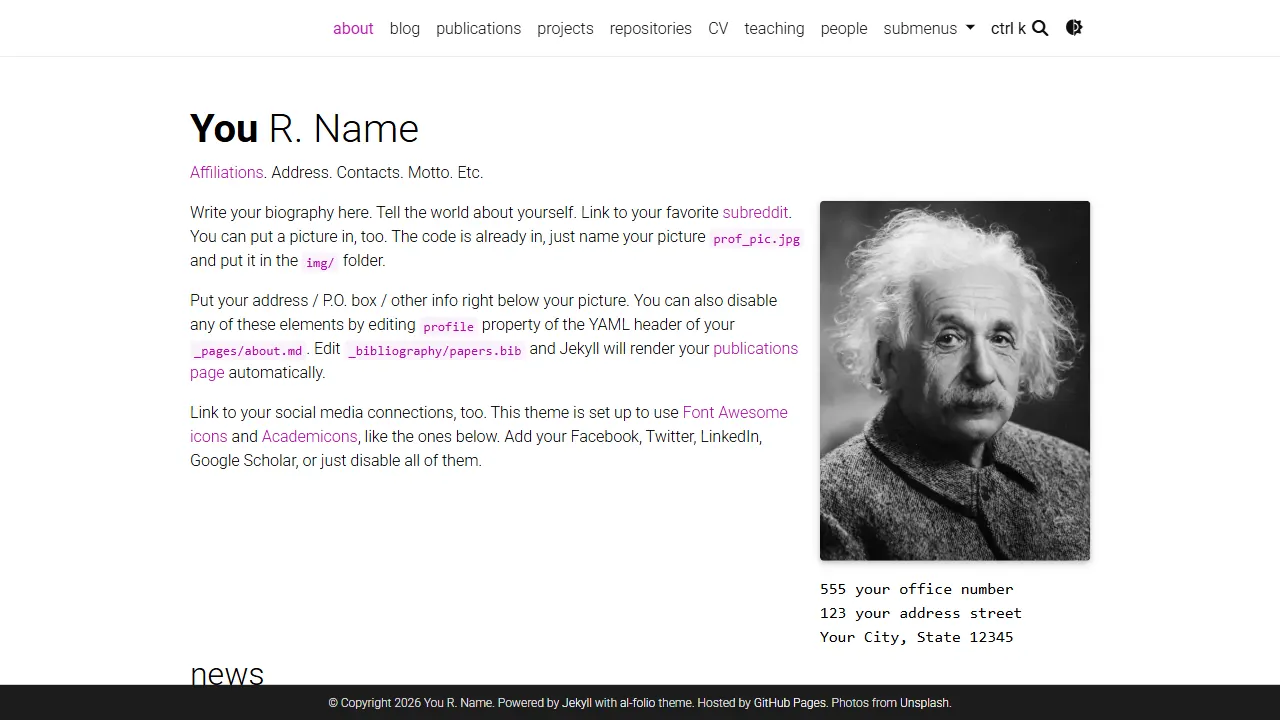
al-folio
A Jekyll academic homepage theme for scholars and researchers, with a clean responsive design and out-of-the-box support for publication lists, project showcases, CVs, and blogs.
Jekyll · Portfolio
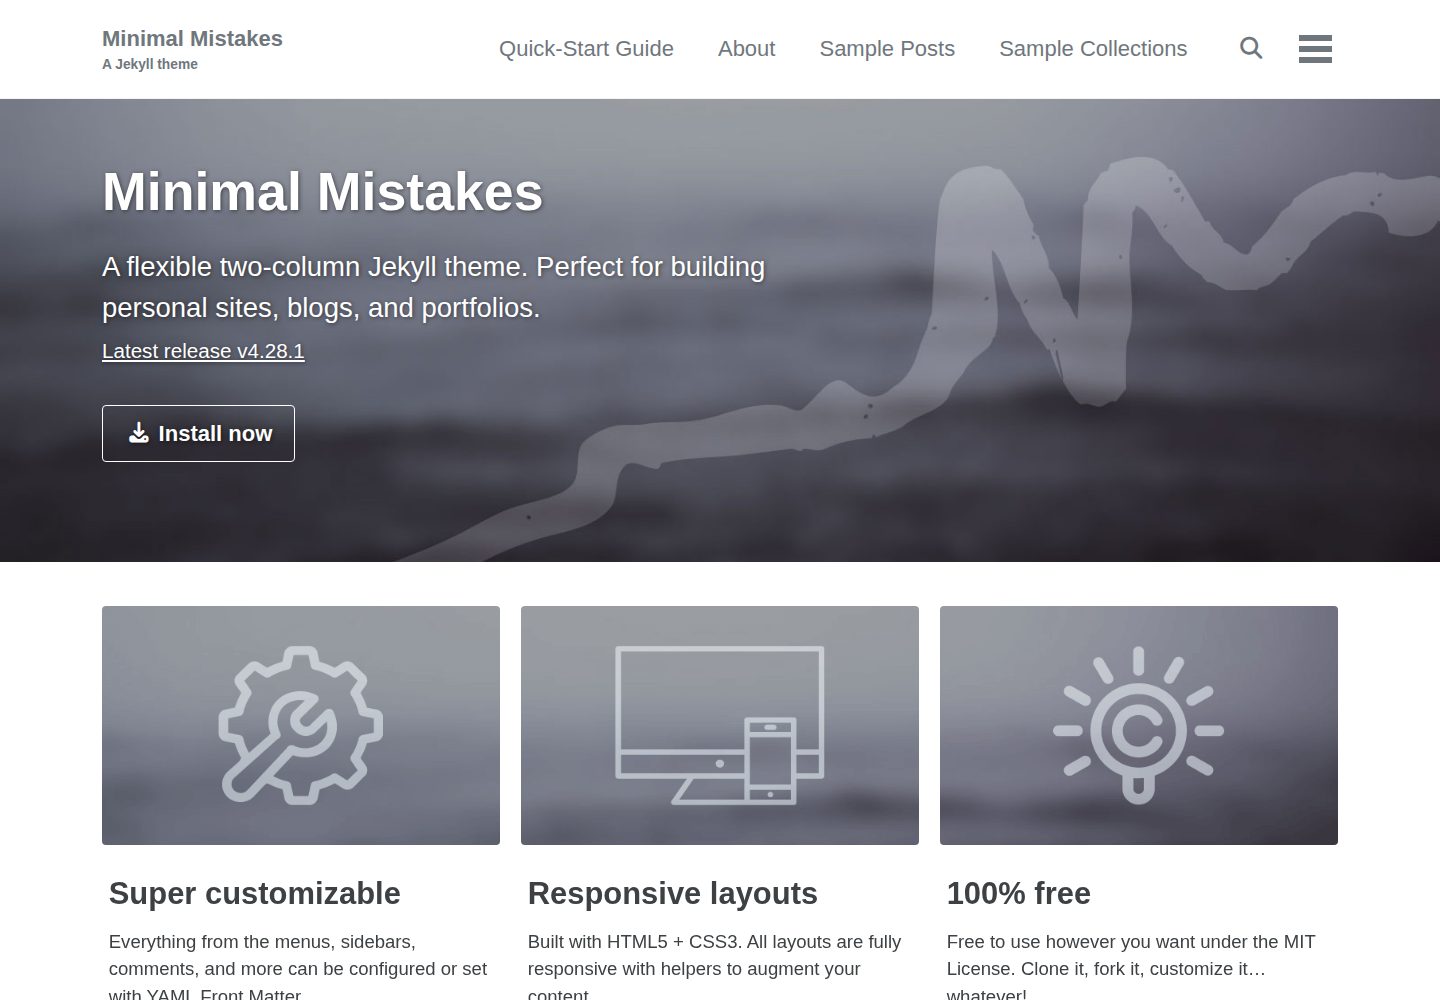
minimal-mistakes
Minimal Mistakes is a two-column Jekyll theme for personal sites, blogs, project documentation, or portfolios.
Jekyll · Portfolio
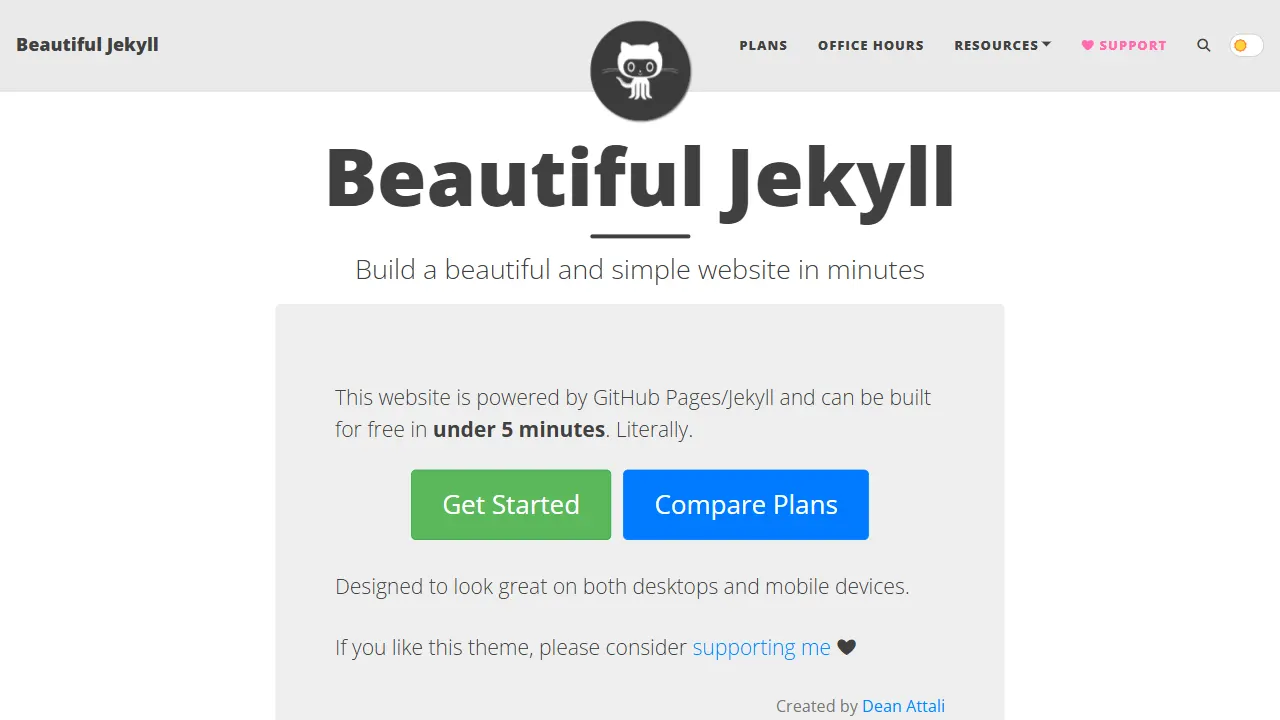
Beautiful Jekyll
Beautiful Jekyll is a mature, easy-to-use Jekyll blog theme maintained by Dean Attali since 2015, with over 50,000 users.
Jekyll · Blog
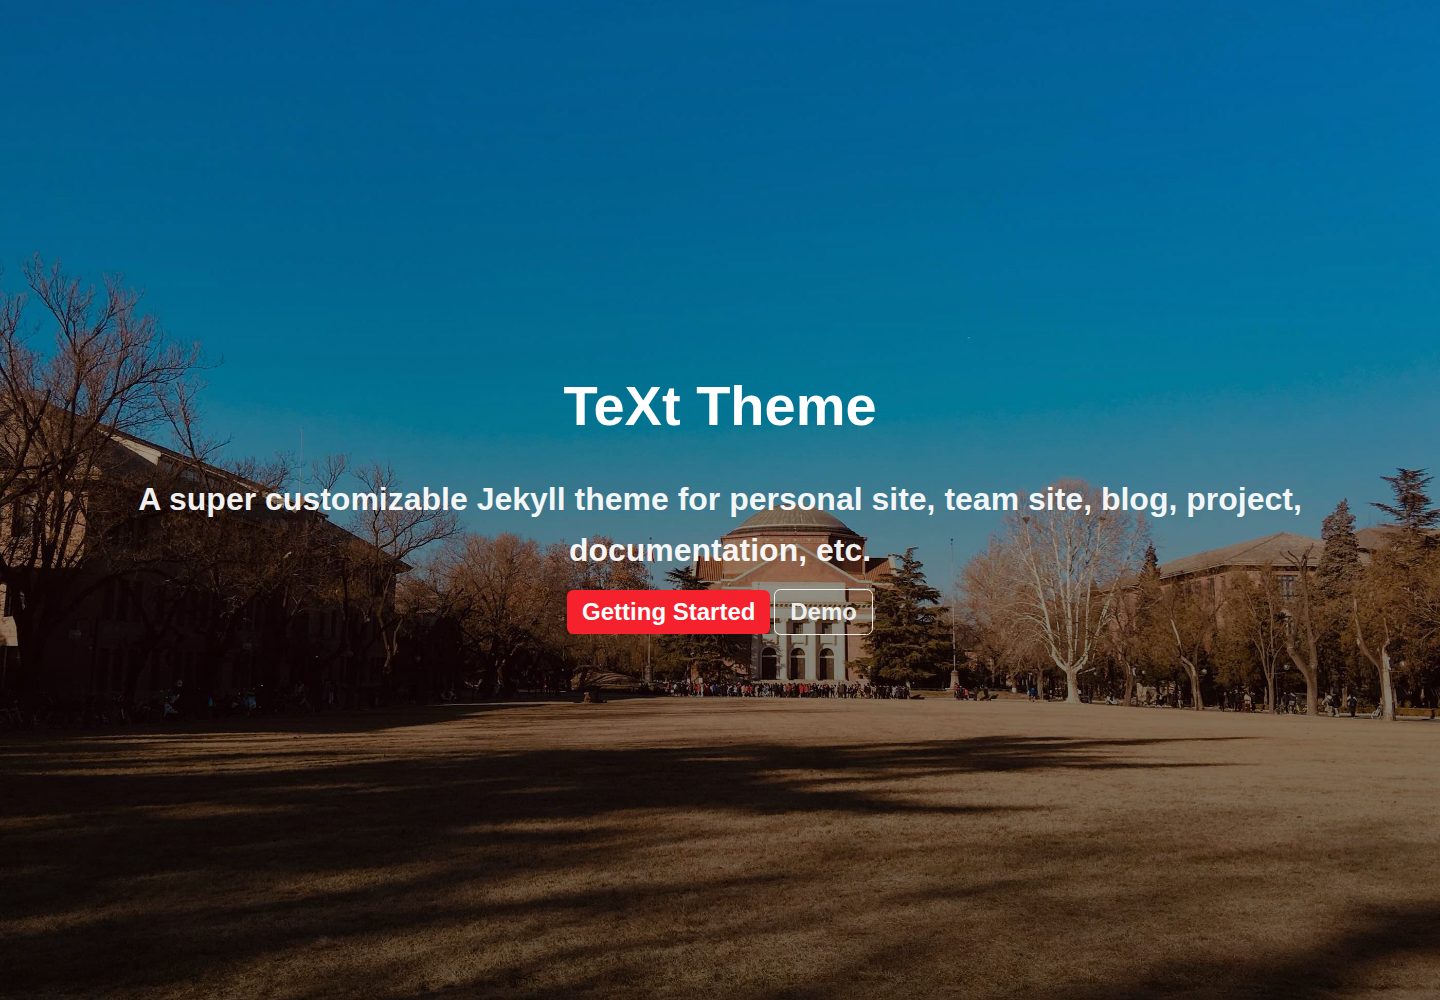
jekyll-TeXt-theme
A customizable Jekyll theme for personal sites, team sites, blogs, projects, and documentation.
Jekyll · Blog
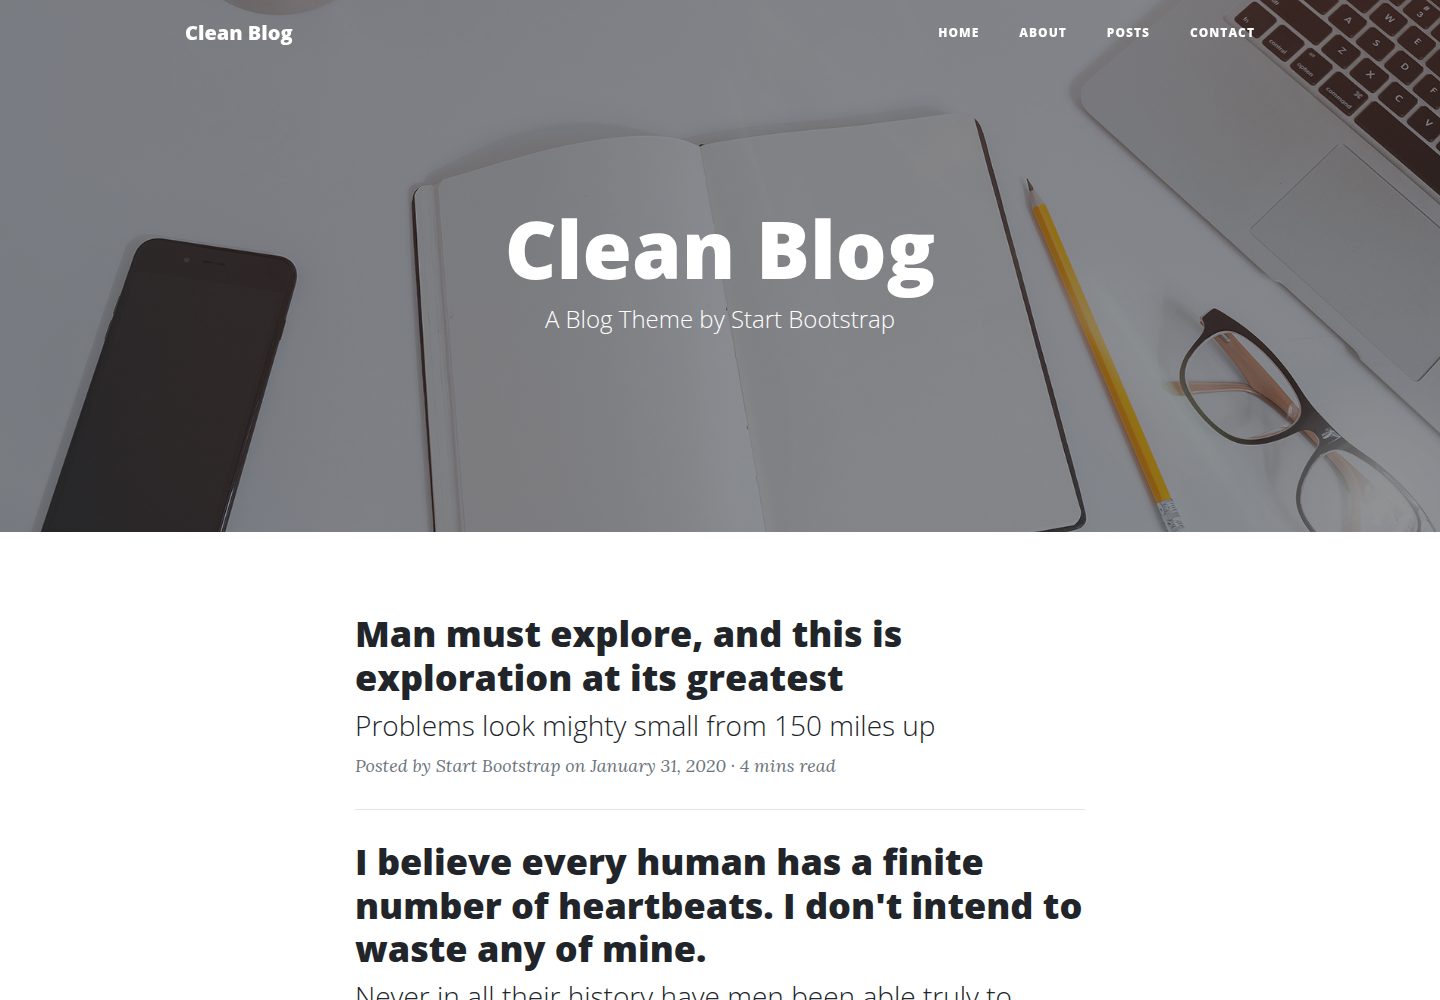
startbootstrap-clean-blog-jekyll
The official Jekyll version of Start Bootstrap's Clean Blog theme, offering a blog home page, about page, contact page, and sample post pages, with a Formspree-powered contact form.
Jekyll · Blog
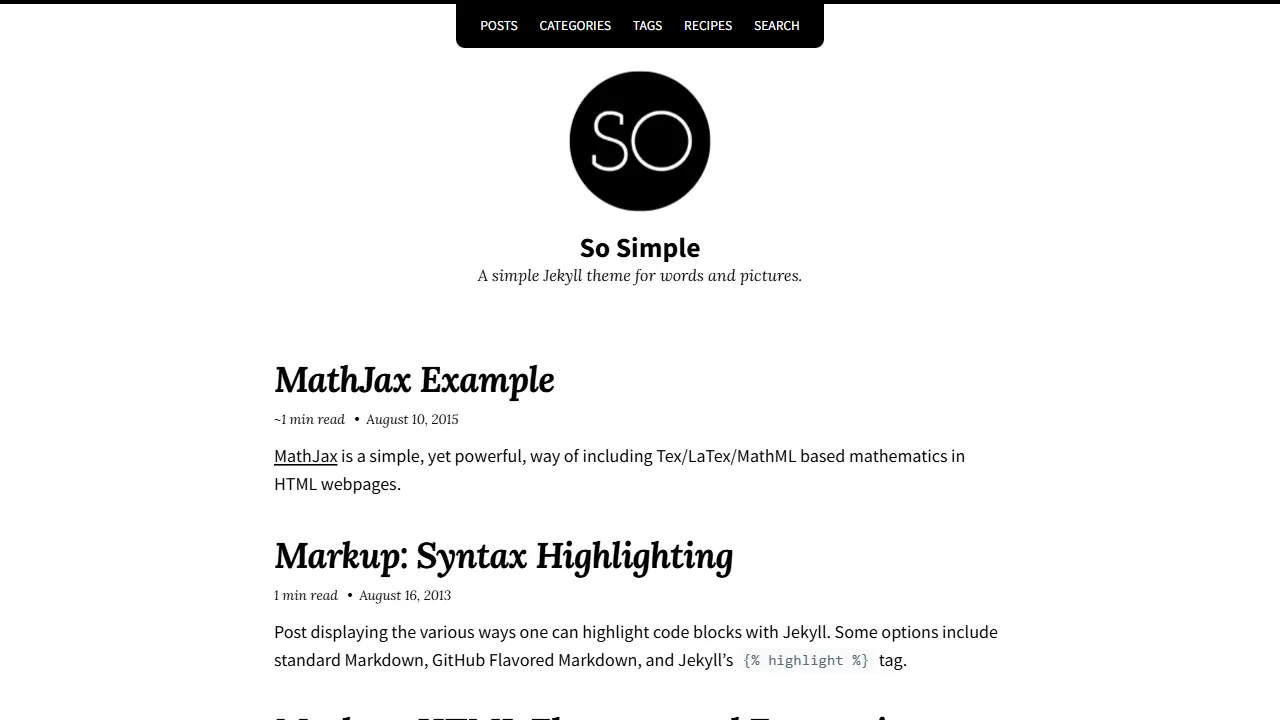
So Simple
A minimal reading-oriented Jekyll theme by Michael Rose for personal blogs, portfolios, and long-form reading. It offers multiple layouts, microformat markup, Disqus comments, Google Analytics, Jekyll SEO Tag, three skins, and aggregation by year, category, and tag with a grid view.
Jekyll · Blog