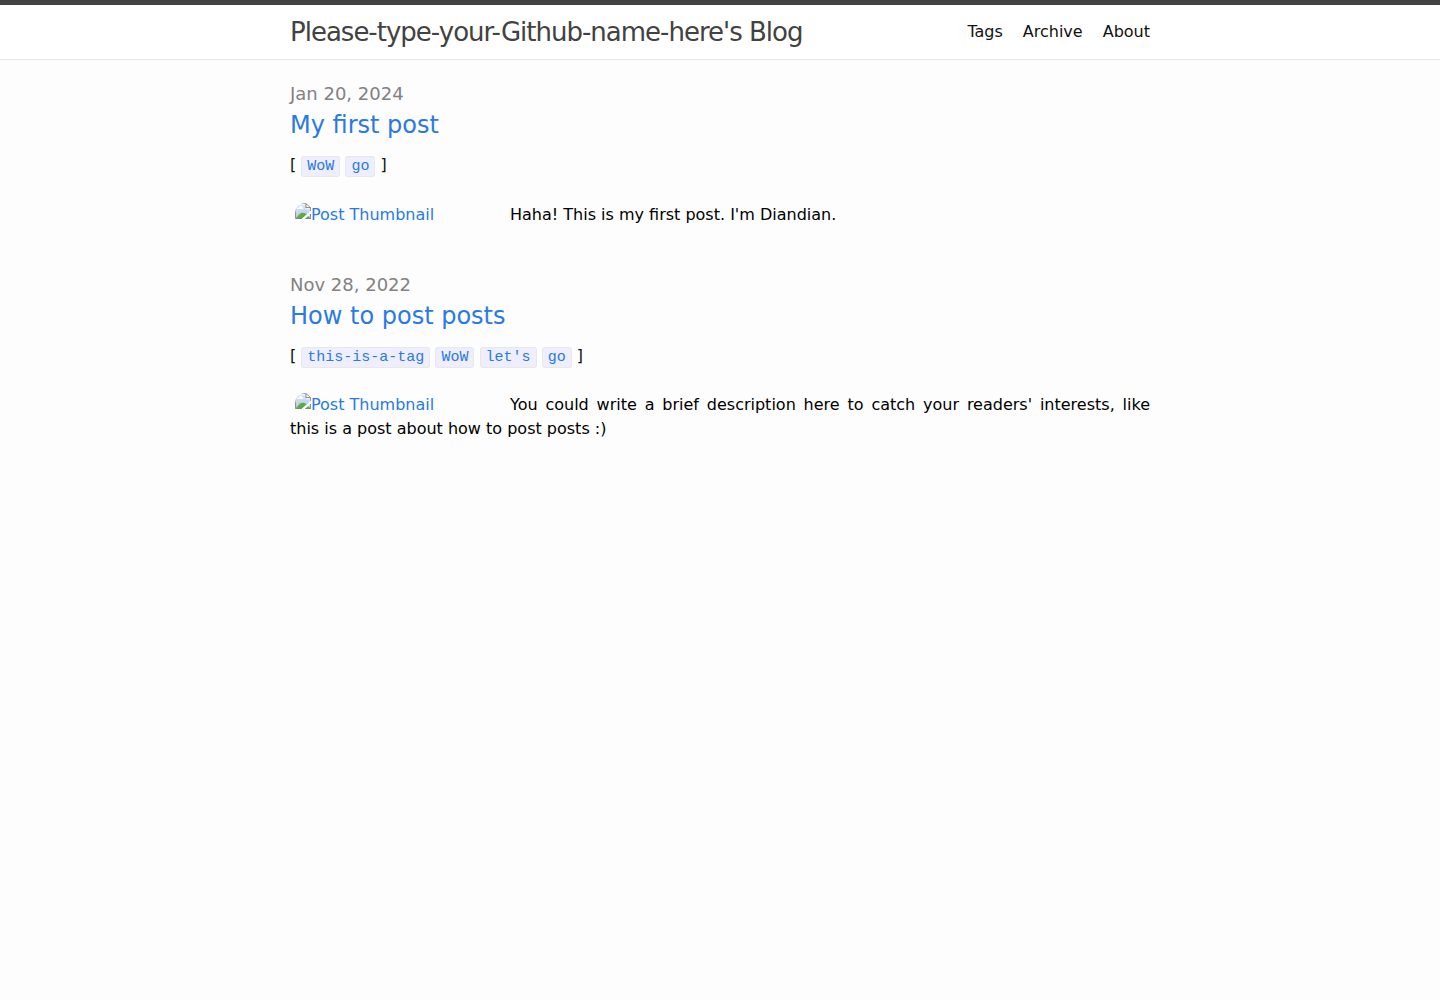
基于 Jekyll 官方 Minima 主题定制,保留其简洁的博客结构
Jekyll博客
2nd-Minima — Jekyll 博客模板
作者 Deep0Thinking
基于 Jekyll 的 Minima 主题定制版个人博客模板,附带面向初学者的 GitHub Pages 搭建与部署教程。
看看你的网站会是什么样
浏览真实页面截图,比较内容排版与手机效果。点击下方缩略图切换,放大查看整页细节。
全部页面与视图 3
截图用于了解视觉与布局,交互效果请以实际项目为准。
采集于 2026-10-02查看来源
值得关注的模板亮点
从已有项目资料中,快速了解它的特点。
仓库内已配置 GitHub Actions 工作流,可推送后自动部署到 GitHub Pages
README 提供从克隆、本地运行到部署的逐步操作说明
内置 How-to-post-posts 示例文章,展示多种内容形式的写法
支持通过 giscus.app 接入评论功能
采用 MIT 许可,允许修改、商用与分发
模板详细介绍
2nd-Minima 是 Jekyll 官方主题 Minima 的增强定制版本,面向希望快速搭建个人博客、但不熟悉前端编程的用户。仓库以模板形式提供,用户可通过 GitHub 的 Use this template 功能创建自己的仓库,并借助仓库内已配置的 GitHub Actions 工作流部署到 GitHub Pages。
模板在 Minima 基础上做了定制,README 中提供了从克隆仓库、安装依赖、本地预览到推送部署的逐步说明,并包含关于 _config.yml、文章撰写、giscus 评论、about 与 archive 页面以及 favicon 的使用指引。仓库内还提供一篇 How-to-post-posts 示例文章,演示如何在文章中组合文本、图片、YouTube 视频、外链、LaTeX 公式、可下载文档和交互动画等内容形式。
该模板采用 MIT 许可,允许修改、商用和分发,但演示图片、字体、图标等第三方素材需另行核对各自许可。README 中提到的 2nd-Minima Helper 是一个外部 ChatGPT 助手,并非模板内置功能。
Jekyll博客
适合你的项目吗?
适用场景
- 想用 GitHub Pages 免费托管个人博客,但缺少前端经验
- 希望以 Jekyll 和 Markdown 写作,而不是使用动态博客系统
- 需要一个可自行修改样式与配置的轻量博客起点
- 在文章中需要混排文本、图片、视频、公式和可下载文件
适合人群
- 初次接触 Jekyll 或 GitHub Pages 的个人博主
- 偏好静态站点、以 Markdown 为主要写作方式的人
- 希望基于 Minima 做二次定制、并接受自行维护代码的用户
上手与定制指南
结合仓库当前版本的说明,按下面的资料检查内容、配置与运行要求。
- 1
在 GitHub 上点击 Use this template 创建自己的仓库,首次使用建议仓库名采用 用户名.github.io 格式
- 2
本地需先安装 Git、Ruby 与 RubyGems,再执行 bundle install 安装依赖
- 3
使用 bundle exec jekyll serve 在本地预览,确认后再通过 git push 推送到远程仓库触发部署
- 4
部署状态可在仓库主页观察,成功时显示绿色对勾,失败时显示红色叉号
- 5
评论功能需自行前往 giscus.app 获取配置并填入模板
授权与来源资料
使用条件与限制
免费使用 · 保留许可声明本次收录的是公开仓库中采用 MIT 许可的免费版本;免费范围为该版本代码,不代表外部服务或第三方素材免费。
使用时需要遵守
- 允许免费使用、修改、商用和分发该版本代码。
- 分发代码副本或实质性部分时,保留原作者版权声明和完整 MIT 许可声明。
- 代码按现状提供;担保与责任限制以原许可证及适用法律为准。
额外费用与待核对事项
- 评论功能依赖外部服务 giscus.app,需自行前往该站点获取嵌入代码并替换模板中的占位评论区块,模板本身不内置可用的评论系统。
- 本地使用需预先安装 Git、Ruby 与 RubyGems 等外部工具,并执行 bundle install 安装依赖,模板不提供免安装的运行方式。
- README 提到的 2nd-Minima Helper 是外部 ChatGPT 助手,需访问 chat.openai.com 使用,并非模板内置功能,也不属于本仓库代码。
- 演示图片、字体、图标及其他第三方素材需按各自许可核对,不能仅凭代码的 MIT 许可判断。
- 域名、托管、数据库、支付或 AI 等外部服务可能另外收费。
查看原文依据
Permission is hereby granted, free of charge
许可证原文
The actual comments functionality is powered by [giscus.app](https://giscus.app), a robust platform for enabling comments on your site. To get started, visit [giscus.app](https://giscus.app) and follow the detailed instructions provided there to enable the giscus comment section.
README 原文
you need to have "git" installed on your computer first
README 原文
https://github.com/Deep0Thinking/2nd-Minima/blob/main/LICENSEhttps://github.com/Deep0Thinking/2nd-Minima/blob/main/README.mdthe [2nd-Minima Helper](https://chat.openai.com/g/g-ZVjN1oUoT-2nd-minima-helper) is here to assist you
README 原文
DeepSeek 根据仓库许可证和 README 整理 ·2026-10-02。结果仅覆盖已读取资料,依赖、图片、字体及后续条款变更以各自原文为准。
项目核对记录与介绍依据
模板资料
- 来源平台
- GitHub
- 资料与维护参考分
- 资料较完整 · 83 / 100
- 技术栈
- Jekyll
- 网站类型
- 博客
这个分数如何计算
本站按许可资料(最高30分)、演示链接(12分)、预览图(10分)、Star数(15分)、记录的维护时间(15分)、描述完整度(8分)、功能记录(5分)和分类资料(5分)计算。它不是代码、安全或性能测试,也不是 Google 评分;有链接不代表已实测可用。
这个项目需要核对什么
- 记录的仓库更新时间
- 2026-05-08
- 截图检查日期
- 2026-10-02
已收录演示链接。请用你的内容与屏幕尺寸检查;有演示不代表表单、认证或支付已经可用。
目录记录的主要技术栈是 Jekyll。请通过依赖清单和锁文件核对实际版本与托管要求。这些说明基于收录资料,不代表代码审计或部署实测。
查看具体选型方法 →介绍的制作与核对状态
介绍由 AI 辅助整理目录与仓库资料。仓库作者不等于这篇介绍的审核者。
已完成服务器许可规则与 AI 来源核对;未经过人工编辑审核。
查看当时使用的来源资料
SHA-256: 937ceb33fdcc2c9171316c9dd14152cbd413f463f4e6cf6c86592ab1625aa4f1
2026-10-02T11:02:47.281Z
来源文件 / 仓库# [2nd-Minima](https://deep0thinking.github.io/2nd-Minima/) ### Table of Contents - [0 About](#0) - [0.1 About the 2nd-Minima repository](#0.1) - [0.2 About the "/README.md"](#0.2) - [0.3 About the usage](#0.3) - [0.4 About the 2nd-Minima Helper](#0.4) - [0.5 About the acknowledgement](#0.5) - [1 Basic set up](#1) - [1.1 Use this template](#1.1) - [1.2 Webpage edit and deployment](#1.2) - [2 Usage](#2) - [2.1 "/_config.yml"](#2.1) - [2.2 Posts](#2.2) - [2.3 giscus.app](#2.3) - [2.4 "/about.md"](#2.4) - [2.5 "/archive.md"](#2.5) - [2.6 favicon](#2.6) <hr> <h3 id="0">0 About</h3> <h4 id="0.1">0.1 About the 2nd-Minima repository</h4> The **2nd-Minima** Github repository is designed for individuals seeking to handily create a blog. It's a user-friendly, advanced **template** based on the popular [Jekyll-theme-Minima](https://github.com/jekyll/minima), perfect for those unfamiliar with front-end programming. Experience a live demo of a [2nd-Minima](https://github.com/Deep0Thinking/2nd-Minima) based website here: [Deep0Thinking.github.io](https://deep0thinking.github.io) 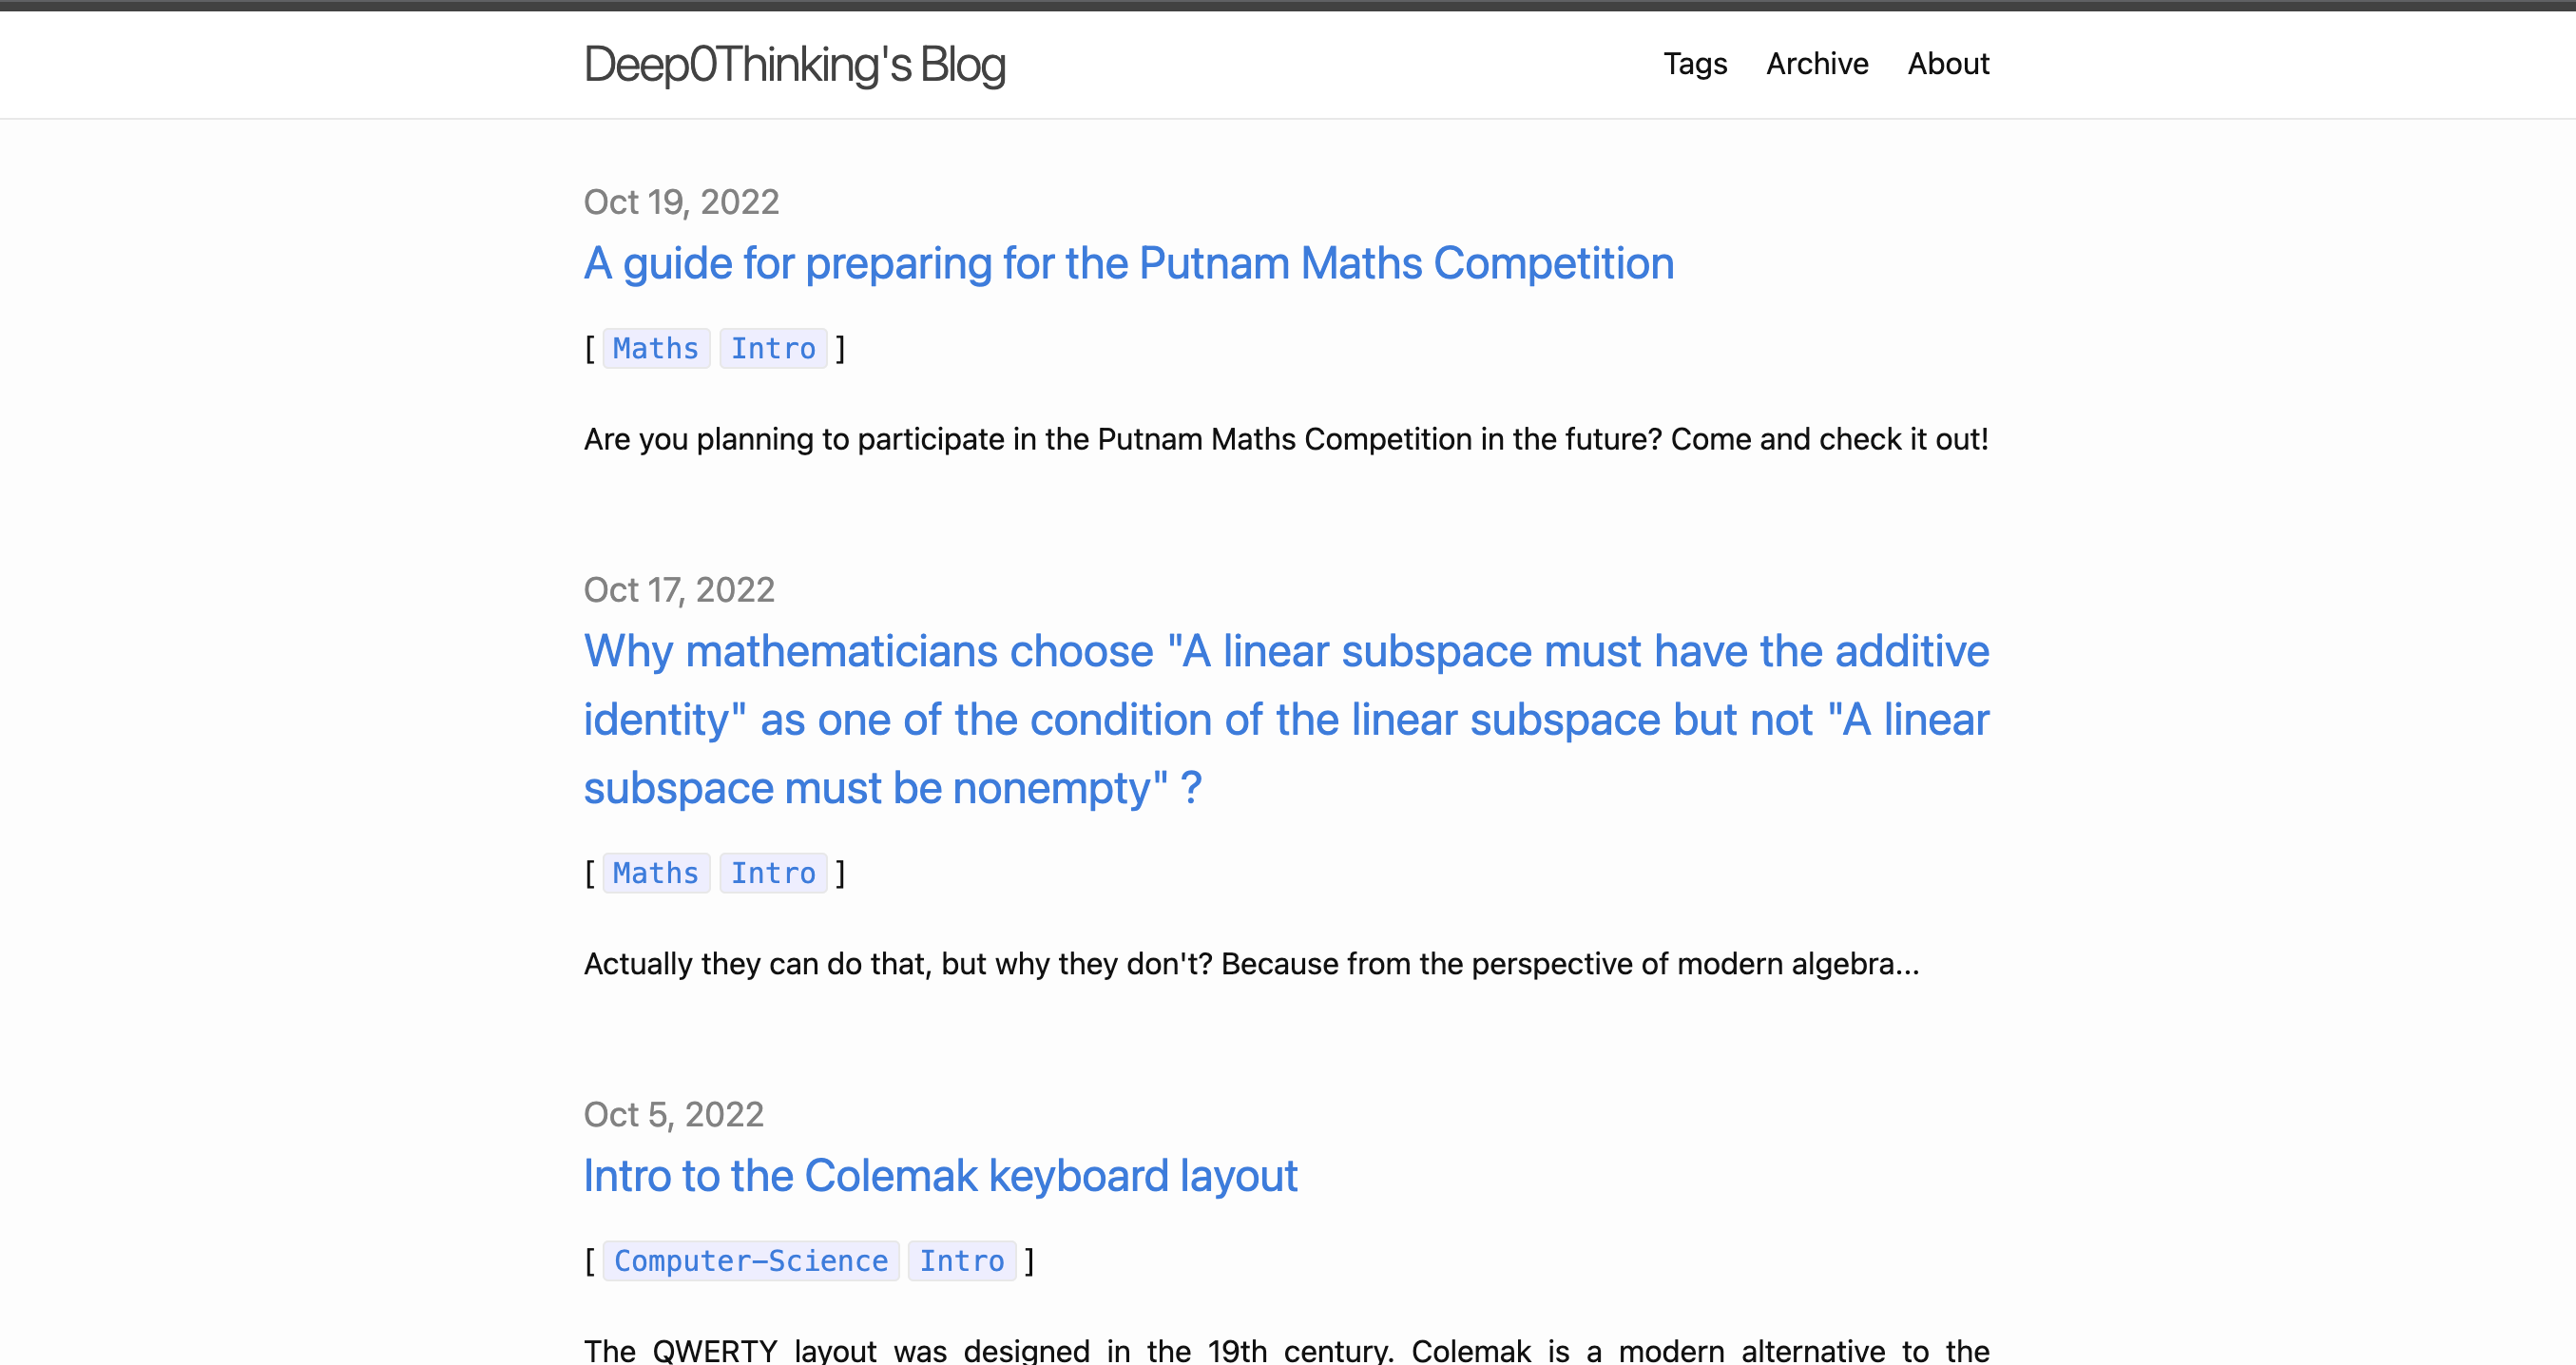 <h4 id="0.2">0.2 About the "/README.md"</h4> This "[**/README.md**](https://github.com/Deep0Thinking/2nd-Minima/blob/master/README.md)" file serves as a comprehensive manual for the [**2nd-Minima**](https://github.com/Deep0Thinking/2nd-Minima) repository. It aims to provide clear explanations and guidance for customization and use. If you're new to this repository, I recommend reading this "**/README.md**" file in its entirety. It will help you get started quickly and easily. <h4 id="0.3">0.3 About the usage</h4> With the [MIT License](https://github.com/Deep0Thinking/2nd-Minima/blob/main/LICENSE), you have extensive freedom to modify and adapt the [**2nd-Minima**](https://github.com/Deep0Thinking/2nd-Minima) template to suit your personal needs. You may also use it for commercial purposes. <h4 id="0.4">0.4 About the 2nd-Minima Helper</h4> Welcome to your personal assistant, the [2nd-Minima Helper](https://chat.openai.com/g/g-ZVjN1oUoT-2nd-minima-helper)! This AI-powered chatbot is designed to help users navigate the setup and customization of their [**2nd-Minima**](https://github.com/Deep0Thinking/2nd-Minima) website template. Whether you have questions about configuration files, need guidance on creating posts, or require assistance with deployment, the [2nd-Minima Helper](https://chat.openai.com/g/g-ZVjN1oUoT-2nd-minima-helper) is here to assist you. To start interacting with the [2nd-Minima Helper](https://chat.openai.com/g/g-ZVjN1oUoT-2nd-minima-helper), simply visit this [link](https://chat.openai.com/g/g-ZVjN1oUoT-2nd-minima-helper). The helper is equipped with detailed knowledge of the [**2nd-Minima**](https://github.com/Deep0Thinking/2nd-Minima) template and can provide step-by-step instructions, troubleshoot issues, and offer tips for enhancing your site. If you encounter any difficulties or have questions, don't hesitate to reach out to the [2nd-Minima Helper](https://chat.openai.com/g/g-ZVjN1oUoT-2nd-minima-helper) for assistance. If the issue persists, please contact me through email ([[email protected]](mailto:[email protected])). <h4 id="0.5">0.5 About the acknowledgement</h4> I would like to thank all the developers and contributors of the [Jekyll-theme-Minima](https://github.com/jekyll/minima), because the [**2nd-Minima**](https://github.com/Deep0Thinking/2nd-Minima) is an advanced personal-website-template repository that developed mainly based on the [Jekyll-theme-Minima](https://github.com/jekyll/minima). And specifically, great thanks to [Long Qian](http://longqian.me/aboutme/), [MathJax](https://www.mathjax.org) and [giscus.app](https://giscus.app) for providing supportive tool and code for the community! Thanks should also go to Github, because this platform provide many people (including me) a chance to learn, cooperate and improve in coding. Lastly, heartfelt appreciation to my family and friends for their unwavering support. Oh, and a big thank you to you, the user, for trusting and using this template :) --- <h3 id="1">1 Basic set up</h3> <h4 id="1.1">1.1 Use this template</h4> Please direct to the [**2nd-Minima**](https://github.com/Deep0Thinking/2nd-Minima) repository (repo) page first and click on `Use this template` (the green button) -> `Create a new repository` , then please enter the "Repository name", if you're a first-timer, I suggest using the format "your-Github-username.github.io", like "louis.github.io". This naming convention is important for GitHub Pages, and you can learn more about it at https://pages.github.com. However, feel free to choose a different name, such as "Cookie-0111", if you prefer. This won't impact the future functionality of your site. As for the other repo settings, you can stick with the default options or adjust them according to your preferences. Keep in mind, even if you initially set your repository to private, others can still access your personal website once it's deployed and they have the link. (Note: even if you initially set your repository to `private`, others can still access your personal website once it's deployed and they have the link) <h4 id="1.2">1.2 Webpage edit and deployment</h4> Please direct to the page of the repo which you've just created using the [**2nd-Minima**](https://github.com/Deep0Thinking/2nd-Minima) template, click on `< > Code` (the green button right under the "Fork" button) -> `HTTPS` -> "Copy url to clipboard", and then open your terminal (or command line) and type in `git clone ` and paste the url you've just copied from the repo page (your code should look like `git clone https://github.com/????.git`), then press `Enter` to clone the repo to your local computer. (Note: you need to have "git" installed on your computer first, if you don't have git installed, please check here: https://git-scm.com/downloads) Next, locate to the cloned repo folder on your local computer, and open this repo with a text editor or IDE (like VS Code or Visual Studio). Then open your terminal (or command line) and navigate to the repo folder using `cd` command, like `cd /absolute_path/to/your/repo/folder`. Then type in `bundle install` in the terminal to install the necessary gems for the Jekyll theme. (Note: If you receive an error message, you may need to install all the prerequisites like Ruby and RubyGems first. You can find more information on how to do this at [https://jekyllrb.com/docs/](https://jekyllrb.com/docs/)) After the installation is complete, type in `bundle exec jekyll serve` to start the Jekyll server. You should see a message like `Server address: http://?????`, which indicates the server is running successfully. Open your browser and navigate to the url address shown in the terminal to view your website (Note: this is url just a local preview of your website on your computer, others will not be able to see it unless you deploy it to GitHub Pages publicly). (Note: if you see an error message, please check the terminal output for more information on how to resolve the issue. If you don't know how to fix it, please email me ([[email protected]](mailto:[email protected])) directly or open an issue in the **2nd-Minima** repo "[**Issues**](https://github.com/Deep0Thinking/2nd-Minima/issues)" section, and I'll try my best to help you resolve the it.) Once you're satisfied with your website's appearance, you can press `Ctrl + C` in the terminal under the repo folder directory to stop the Jekyll server. If you don't know what to edit or how to edit, please read the following [**Usage**](#2) section for more detailed guidance. Now it's time to deploy it to GitHub Pages. I've already set up the necessary configurations in the repo for you, which is the "**.github/workflows/jekyll.yml**" file. So to complete the deployment, all you have to do it, open your terminal again (or command line) and type in `git add .` under the same repo folder directory, then `git commit -m "Initial commit"`, and finally `git push origin main` to push your changes to your remote repo. (If you want to learn more about git and GitHub, I recommend checking out this [tutorial](https://deep0thinking.com/?p=4886) on [my blog](https://deep0thinking.com) or other resources online.) Then navigate to `Settings` (located just beneath the search bar) -> `Pages` (on the left column list). You should be able to see `Your site is live at ...`, which implies your blog's url. After about 1 minute (for the webpage deployment), your blog's webpage should be generated successfully. To monitor its deployment status, revisit your repository's main page, keep an eye on the small yellow dot (next to the green button `< > Code`). Upon successful deployment, this dot will change to a green check mark ✅ (Remember to refresh the page to update the status indicator). (Note: if you see a red cross ❌ instead of the check mark ✅, that indicates the deployment failed. In this case, please email me ([[email protected]](mailto:[email protected])) directly or open an issue in the **2nd-Minima** repo "[**Issues**](https://github.com/Deep0Thinking/2nd-Minima/issues)" section, and I'll try my best to help you resolve the it.) To visit your site, navigate to `Settings` -> `Pages` -> `Visit site` , it's a good idea to bookmark your site's url for easy access. Alternatively, you can add your site's url into your repo's `About` section, which is located next to the green button `< > Code` on your repo Github main page. Click on the option button (the gear icon) in that `About` block to add your link. You can also create a direct link combines with the heading style in your "**/README.md**" file under the repo root folder, like `# [please-paste-your-repo-title-here](https://please-paste-your-webpage-link-here)`. This creates a clickable heading on your repository's main page, as GitHub automatically displays the "README.md" file there for every repo. --- <h3 id="2">2 Usage</h3> <h4 id="2.1">2.1 "/_config.yml"</h4> Start by opening the "**/_config.yml**" file. In the title section, replace `Please-type-your-Github-name-here` with your actual Github username. Moving on to the line labeled `show_description`, I recommend setting its value to `true`. Don't worry about the details for now; we'll guide you through this part later. Lastly, let's focus on `header_pages`. This section determines the order of pages like `archive`, `about`, and `all-tags` on your website's navigation bar. To rearrange their display order on the webpage, simply change their sequence in `header_pages`. The order from top to bottom in this section directly corresponds to the left-to-right order on your website's navigation bar. <h4 id="2.2">2.2 Posts</h4> Are you ready to craft a captivating post featuring a mix of elements like text, images, YouTube videos, external links, LaTeX-formatted math equations, downloadable documents, interactive animations, and more? If so, your next step is simple. Dive into our comprehensive guide post titled [How-to-post-posts](https://deep0thinking.github.io/2nd-Minima/2022/11/28/How-to-post-posts.html). You'll find this valuable resource in the "**/_posts/**" folder. This guide is your key to effortlessly integrating these diverse content types into your posts. Let's get started! <h4 id="2.3">2.3 giscus.app</h4> You might have noticed the **fake comments section** at the bottom of the "**How to post posts**" post and "**Archive**" page and "**About**" page. This is where you'll set up your **real comments section**. The actual comments functionality is powered by [giscus.app](https://giscus.app), a robust platform for enabling comments on your site. To get started, visit [giscus.app](https://giscus.app) and follow the detailed instructions provided there to enable the giscus comment section. Once you've read through the giscus instructions and obtained the necessary embed code, it's time to integrate it into your site. Replace the **fake comments section** code at the bottom of your "**/_layouts/post.html**" file with the new giscus embed code. The placeholder code you'll be replacing looks like this: `<h1><a href="https://github.com/Deep0Thinking/2nd-Minima#2.4">fake comments section</a></h1>`. Remember to repeat this step for your "**/about.md**" and "**/archive.md**" files, as they also contain placeholders for the **fake comments section**. You might wonder why not simply insert the giscus embed code into the "**/_layouts/page.html**" file, as both the [**about**](https://deep0thinking.github.io/2nd-Minima/about.html) and [**archive**](https://deep0thinking.github.io/2nd-Minima/archive.html) pages use `layout: page` in their predeclarations. The reason is that doing so would also add a comments section to the [**all-tags**](https://deep0thinking.github.io/2nd-Minima/all-tags.html) page and every single **tag** page, which isn't ideal. In my view, this could clutter these pages and detract from the site's aesthetic appeal. But you can surely do that based on you preference. After you've completed these steps, the giscus comments sections should now be visible at the bottom of the relevant pages. <h4 id="2.4">2.4 "/about.md"</h4> You'll find detailed guidance on customizing the [**about**](https://deep0thinking.github.io/2nd-Minima/about.html) page within the "**/about.md**" file itself. So, take a moment to visit your "**/about.md**" file, where you can apply your own personal touches and modifications to make it truly yours. <h4 id="2.5">2.5 "/archive.md"</h4> Tailoring the [**archive**](https://deep0thinking.github.io/2nd-Minima/archive.html) page to your preferences is straightforward. You'll find all the necessary instructions within the "**/archive.md** file. Go ahead and open your "**/archive.md** file to start making personalized modifications that reflect your style and needs. <h4 id="2.6">2.6 favicon</h4> The favicon is a small, iconic image that represents your webpage. Have you noticed the black icon next to your webpage title? That's the default favicon I've set for this repository. But you can personalize it by creating your own. For this, I recommend using [favicon.io](https://favicon.io). It's a user-friendly website that lets you design and generate your own favicon for free. Once you've crafted your favicon, the next step is simple. Just place your newly created "**favicon.ico**" file into the "**/favicon/**" folder, replacing the existing one (the old "**favicon.ico**" file I placed there). ***(Attention: the new file you replaced with under the "/favicon/" must be named exactly "favicon.ico" for it to function correctly )*** With this change, your webpage will display the favicon you've designed, adding a unique touch to your site.
看看同类模板
对比同技术栈与用途的模板,找到更适合的视觉与内容结构。
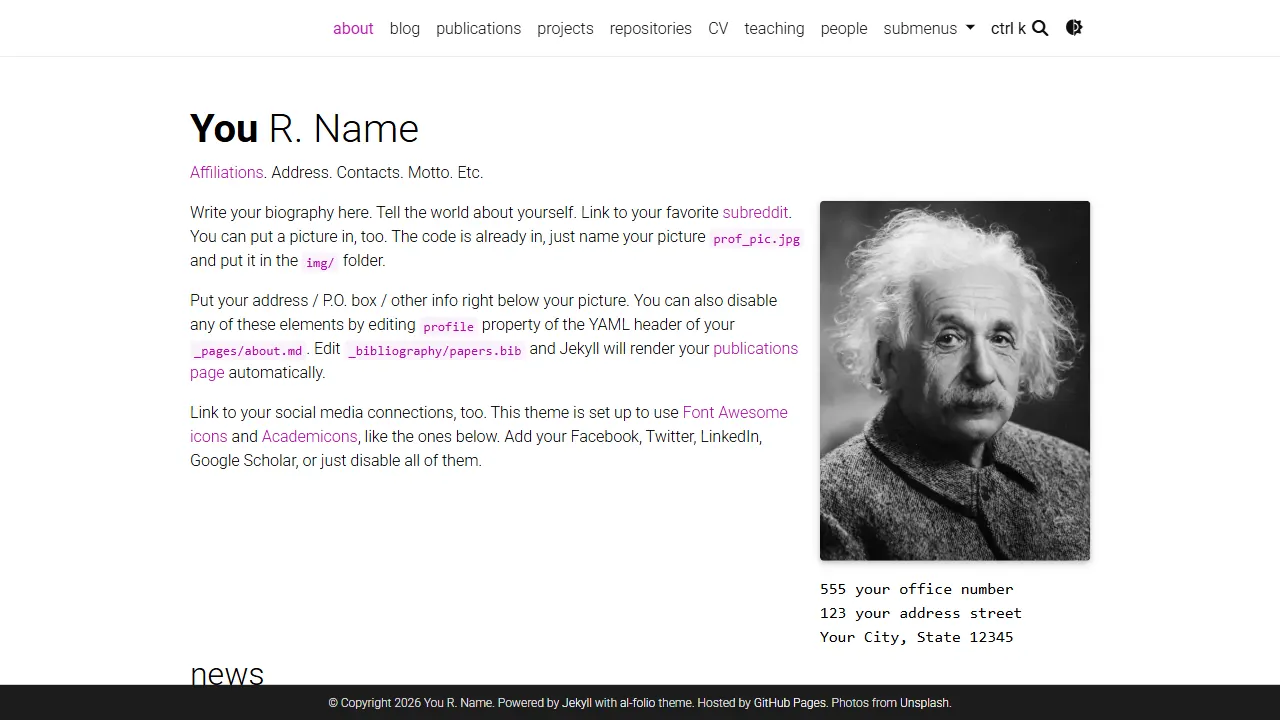
al-folio
al-folio 是一个面向学者与研究人员的 Jekyll 作品集主题,设计简洁、响应式,适合搭建个人学术主页。
Jekyll · 作品集
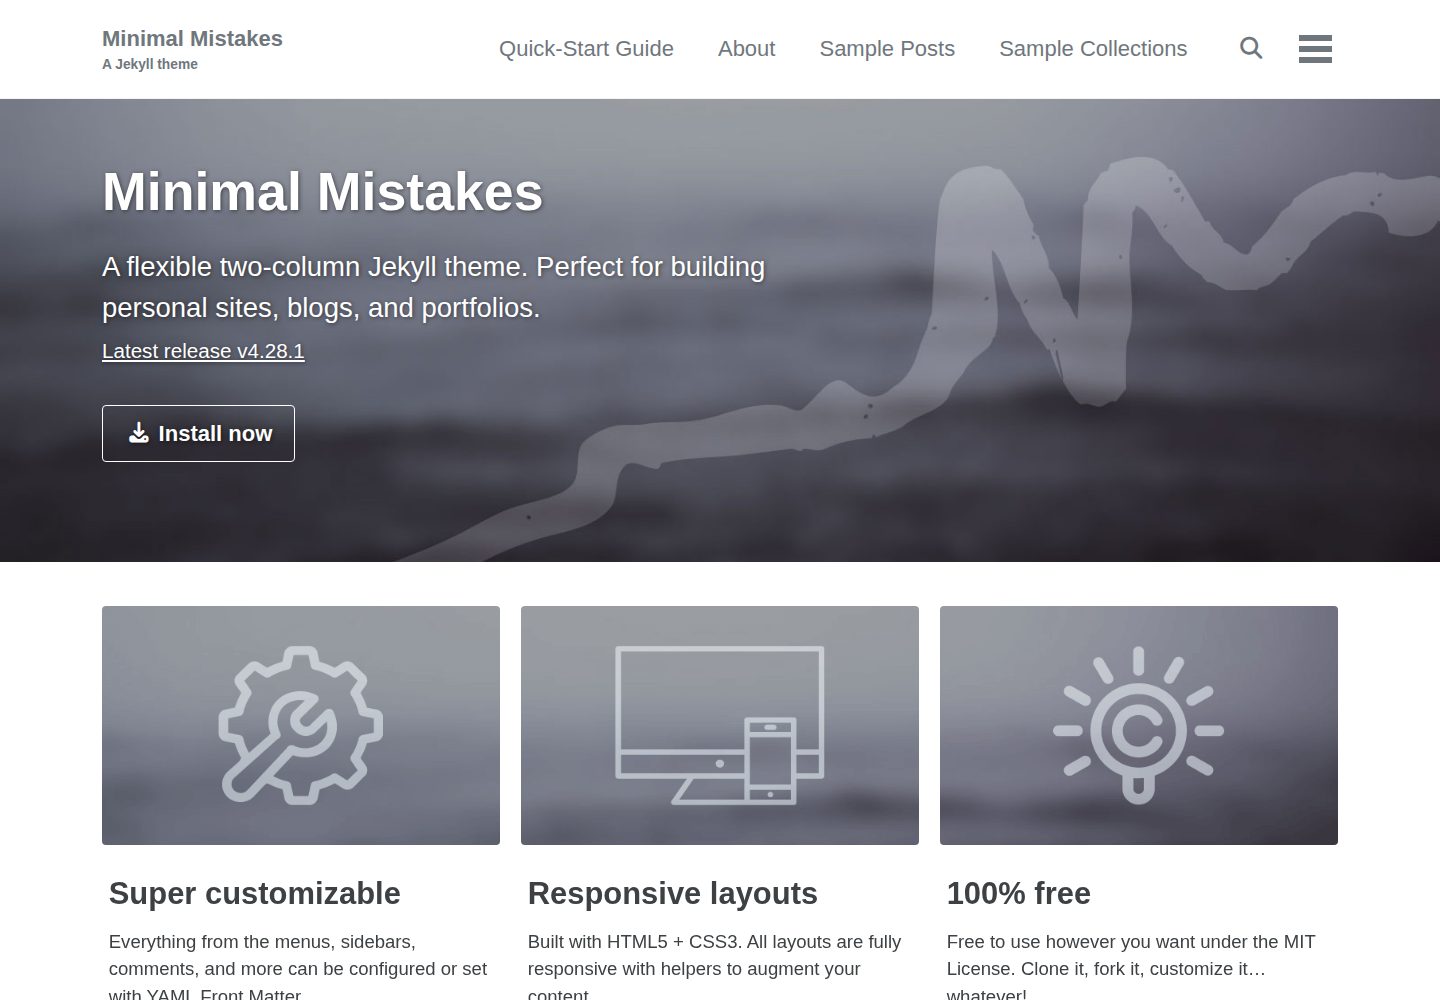
minimal-mistakes
:triangular_ruler: Jekyll theme for building a personal site, blog, project documentation, or portfolio.
Jekyll · 作品集
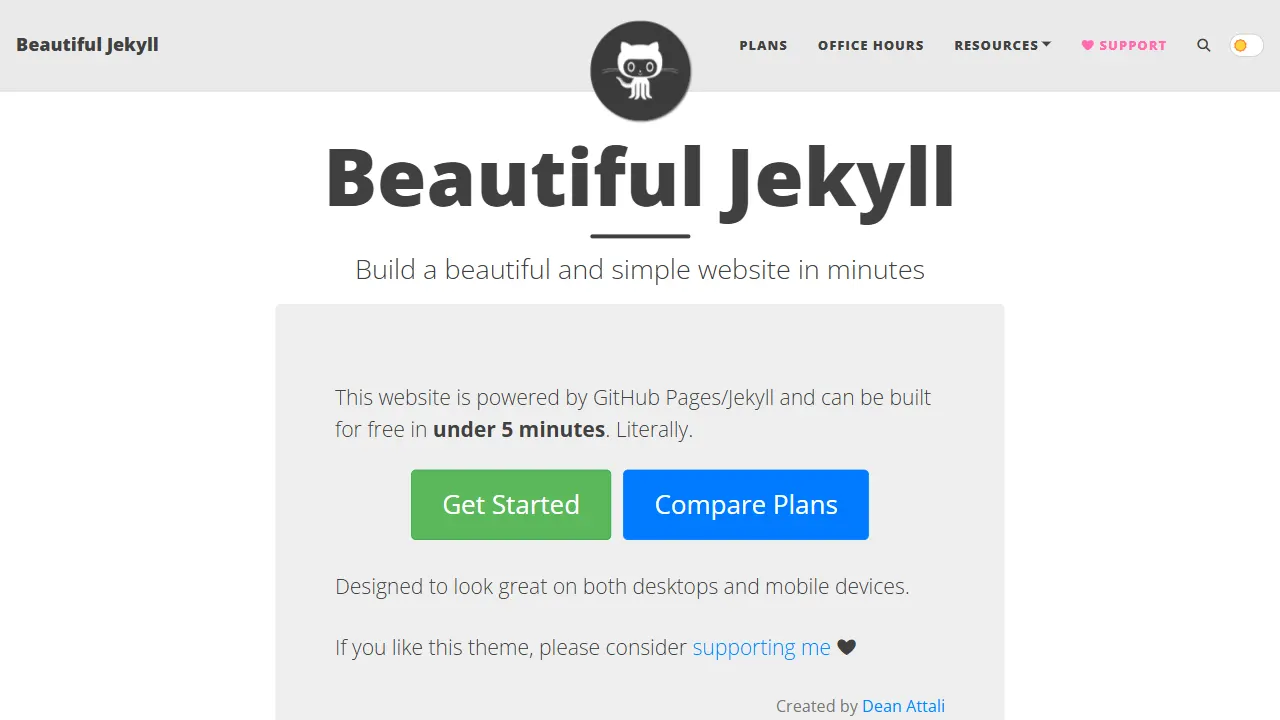
Beautiful Jekyll
Beautiful Jekyll 是一个在 Jekyll 生态中经过长期打磨的博客主题,由 Dean Attali 维护,自 2015 年起积累了超过 5 万用户。
Jekyll · 博客
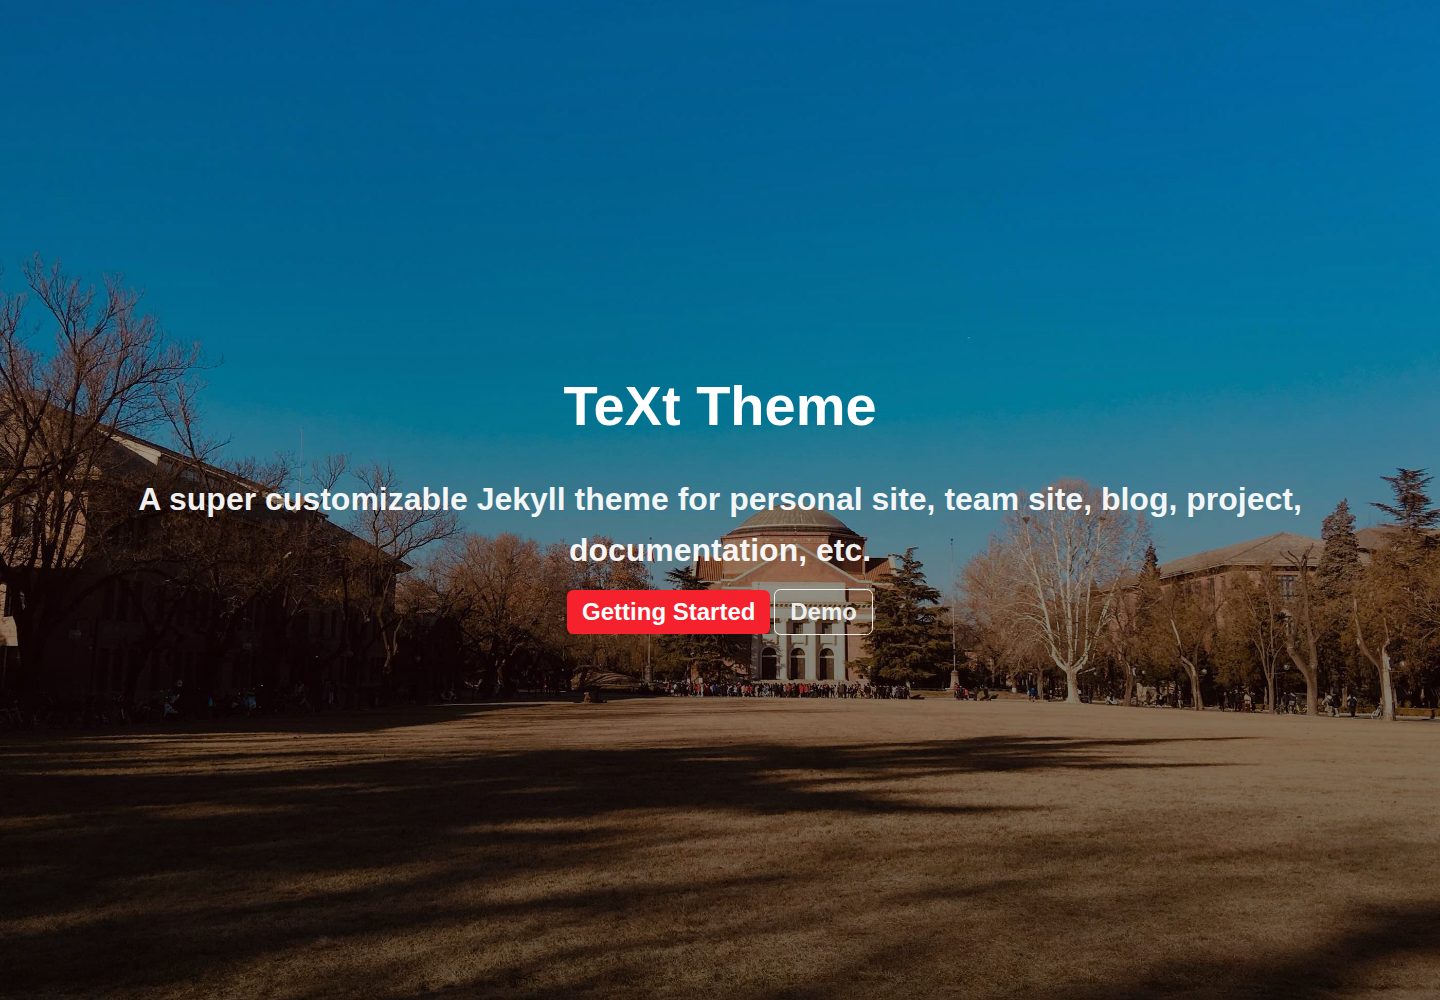
jekyll-TeXt-theme
💎 🐳 A super customizable Jekyll theme for personal site, team site, blog, project, documentation, etc.
Jekyll · 博客
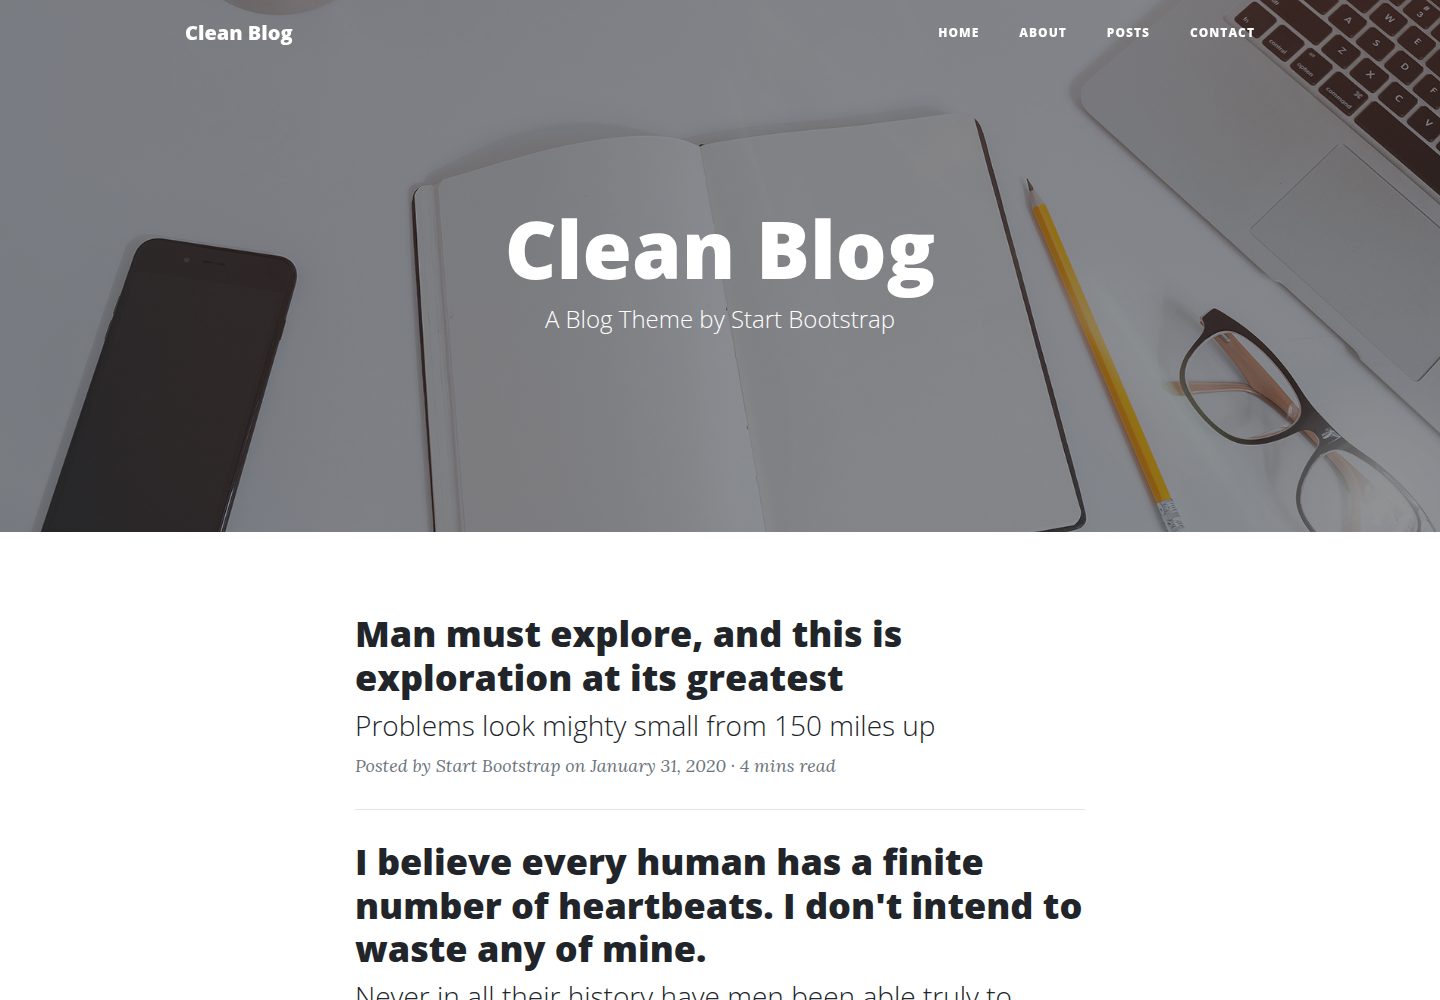
startbootstrap-clean-blog-jekyll
A Jekyll version of the Clean Blog theme by Start Bootstrap
Jekyll · 博客
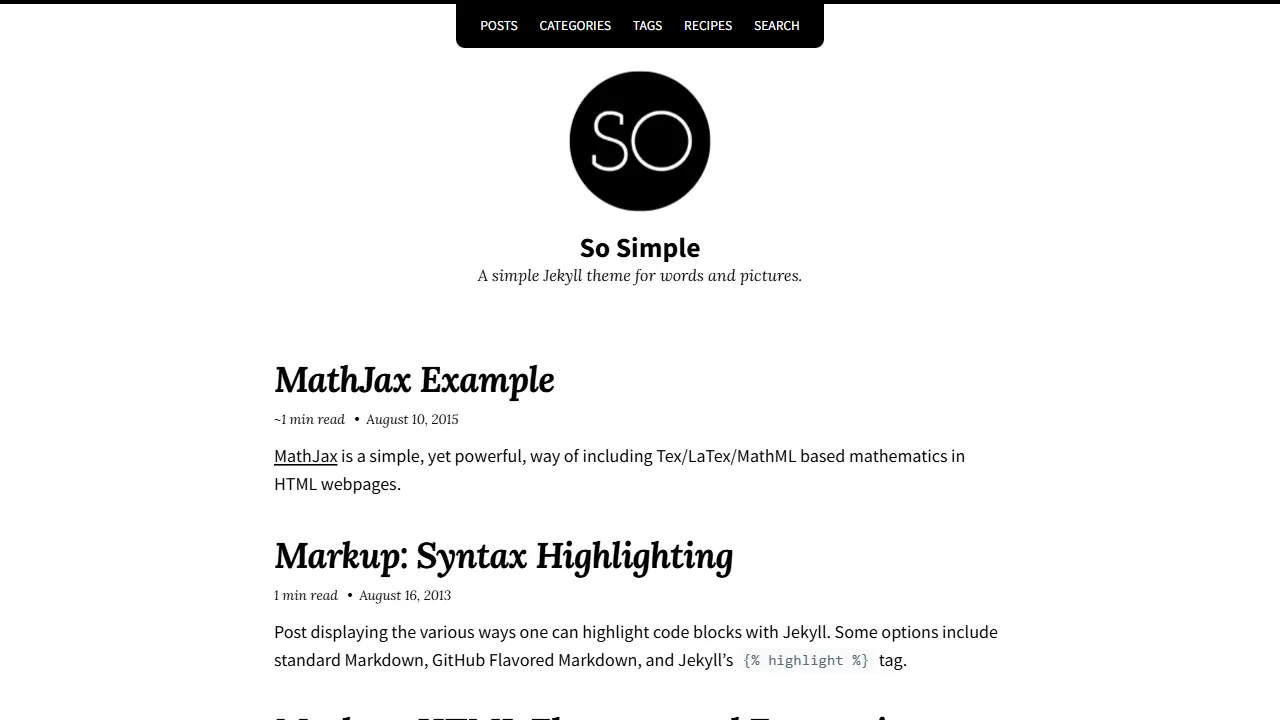
So Simple
So Simple 是 Michael Rose 开发的 Jekyll 主题,定位清晰:为文字和图片提供一个干净、可读性强的展示框架。
Jekyll · 博客