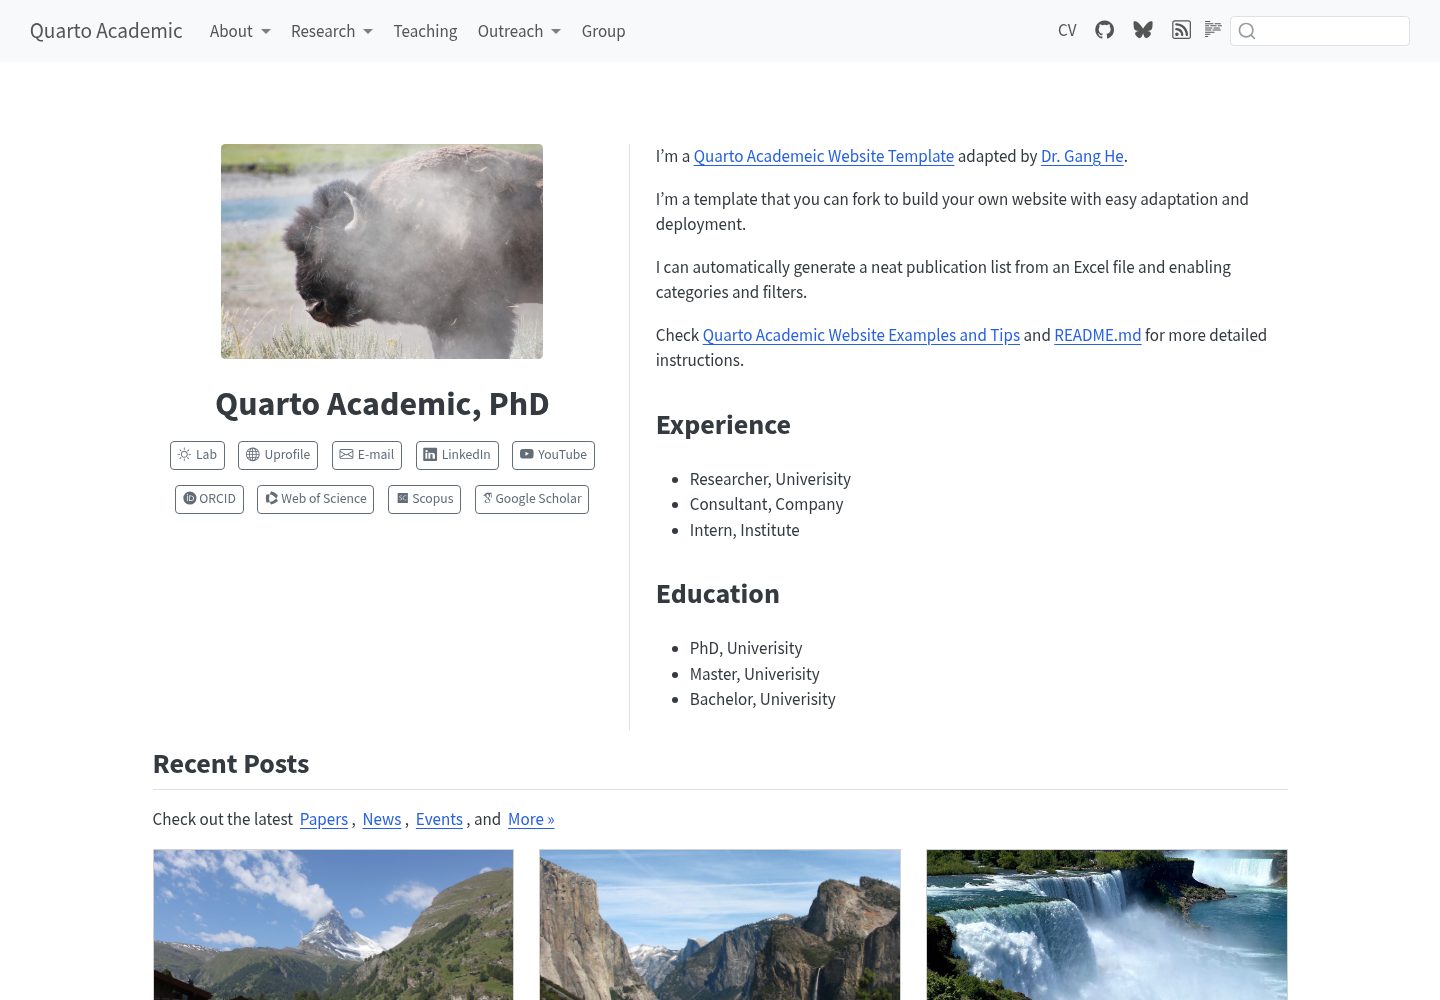
Five fixed navigation pages: Home, Academic Interests and Research, Career and Experience, Travel and Places, and Blog
HTMLStarter
quarto-academic-website-template — HTML Starter Template
By edowhower
A Quarto academic website template aimed at students, with five pages: home, academic interests, career, travel, and blog. Content is edited in plain text files, and photos are kept in the images folder.
Explore the design
Compare the page layouts and mobile experience. Open any screenshot for a closer look.
Desktop homepage1 / 3
Desktop captureTop of page
Actual screenshot captured by the server browser.
All pages & views 3
Screenshots show visual appearance; interactive behavior may differ.
Recorded 2026-10-03View source
What stands out
A quick read of the recorded project description.
Page content consists of plain .qmd text files; the site name and navigation are configured in _quarto.yml
Photos are kept in the images/ directory, and blog posts go in the posts/ directory, with one .qmd file per post
Uses Quarto's built-in navigation and blog listing; the blog list updates automatically by date, with no need to add links manually
Contains no executable R code and requires no R packages, but needs RStudio and Quarto support
Renders output to the docs/ directory and deploys with GitHub Pages from the /docs directory on the main branch
Template Details
This is a Quarto-based starter template for a personal academic website. The repository provides five navigation pages: Home, Academic Interests and Research, Career and Experience, Travel and Places, and Blog. Page content is written in .qmd files, the site name and navigation labels are configured in _quarto.yml, photos are kept in the images/ directory, and blog posts go in the posts/ directory, with one .qmd file per post. The template uses Quarto's built-in navigation and blog listing features and contains no executable R code, so no R packages need to be installed.
The template includes two sample photos (a flower image on the home page and a Niagara Falls image on the travel page) and a _design/new-post.qmd post starter file. The rendered site is output to the docs/ directory, which is generated by Quarto and should not be edited manually. The README explains that the whole site is rendered in RStudio via Build > Render Website and recommends rendering before previewing.
This template is adapted from Gang He's Quarto Academic Website Template and retains the original MIT license. The README explicitly states that advanced publication generation, grouped directories, icon extensions, analytics, and external widget scripts have been removed. The template requires RStudio and Quarto support; if only index.qmd is rendered, other pages may show "Not Found," so the whole site must be rendered. The publishing workflow relies on GitHub Pages, deploying from the /docs directory on the main branch.
HTMLStarter
Is it right for your project?
Use Cases
- Students building a personal academic homepage to show their name, bio, academic interests, career experience, and travel photos
- Practicing the use of Quarto and RStudio in coursework to create and publish a static website
- Using the blog page to record study notes or short posts, with articles listed automatically through the posts/ directory
- Publishing a personal website on GitHub Pages and committing and pushing updates through RStudio's Git pane
Suitable For
- Students or beginners who need a simple personal academic website
- People who have RStudio and Quarto installed and want to maintain website content in text files
- Users who want to publish a static website for free with GitHub Pages and accept tracking the docs/ directory in the publishing workflow
- Users who do not need advanced features such as automatic publication generation, analytics, or external widgets
Getting started & customization
Use these recorded setup notes alongside the repository instructions for your chosen version.
- 1
Fork the repository on GitHub, then clone your fork in RStudio via File > New Project > Version Control > Git
- 2
Open the .Rproj file, click Render Website in the Build pane to render the whole site, then render index.qmd to preview
- 3
Change the site name and navigation labels in _quarto.yml, and replace the name, bio, email, and sample experience in index.qmd and other pages
- 4
Replace images/profile.jpg and images/travel.jpg, or use new file names and update the image paths in the pages accordingly
- 5
Render the whole site before publishing, commit and push both the source and the docs/ directory, then in the GitHub repository under Settings > Pages select the /docs directory on the main branch to deploy
License & source material
Usage conditions & limitations
Free to use · keep license noticeThis entry covers the free version in a public repository under the MIT license; the free scope is the code of that version and does not mean that external services or third-party assets are free.
Must comply with when using
- You may use, modify, commercialize, and distribute the code of this version for free.
- When distributing copies or substantial portions of the code, retain the original author's copyright notice and the full MIT license notice.
- The code is provided as is; warranties and limitations of liability are governed by the original license and applicable law.
Additional costs & items to verify
- Using this template requires registering and logging in to a GitHub account, for forking the repository, cloning it locally, and later publishing the website via GitHub Pages.
- The Git environment configuration required by the course must be completed in advance; otherwise, version control features in RStudio cannot be used to clone the repository.
- A relatively new version of RStudio that supports Quarto must be installed; otherwise, the website cannot be rendered.
- Publishing the website depends on the GitHub Pages service and requires manually configuring deployment from the /docs directory on the main branch in the repository settings.
- GitHub Pages may have additional requirements regarding repository visibility or account plans, which you must comply with yourself.
- Demo images, fonts, icons, and other third-party assets must be checked against their respective licenses and cannot be judged solely by the code's MIT license.
- External services such as domains, hosting, databases, payments, or AI may incur separate charges.
View Original Text Basis
Permission is hereby granted, free of charge
Original License Text
Sign in to GitHub and open [the course template]
Original README
If **Version Control > Git** is unavailable, complete the course's Git setup first.
Original README
Use a recent RStudio with Quarto support.
Original README
On your own GitHub repository, open **Settings > Pages**. Under **Build and deployment**, choose **Deploy from a branch**, select **main** and **/docs**, then Save.
Original README
https://github.com/edowhower/quarto-academic-website-template/blob/main/LICENSEhttps://github.com/edowhower/quarto-academic-website-template/blob/main/README.mdFollow any repository visibility or account-plan requirements shown by GitHub Pages.
Original README
Compiled by DeepSeek based on repository license and README ·2026-10-03. Results only cover the materials read; dependencies, images, fonts, and subsequent term changes are subject to their respective original texts.
Project checks & description sources
Template Information
- Source platforms
- GitHub
- Documentation and maintenance reference score
- More documented · 80 / 100
- Technologies
- HTML
- Website type
- Starter
How this score is calculated
Our heuristic uses license records (up to 30), a demo link (12), a preview (10), stars (15), recorded maintenance (15), description completeness (8), feature records (5) and classification data (5). It is not a code, security or performance test, or a Google score. A link does not establish tested functionality.
What to verify for this project
- Repository update recorded
- 2026-10-03
- Screenshot last checked
- 2026-10-03
A demo link is listed. Check it with your own content and viewport sizes; its presence does not confirm that forms, authentication or payments work.
The catalog identifies HTML as the primary stack. Check the actual dependency manifest and lockfile for versions and hosting requirements. These notes use recorded metadata, not a code audit or a deployment test.
Use a selection guide →How this description was prepared
AI-assisted description based on catalog records and repository material. Repository authors are not automatically the reviewers of this description.
Review declaration: [email protected] · 2026-10-04
Inspect the recorded source material
SHA-256: 250f7acd65776594cb39b3b665d74106e16bd0c2c84494aa035ff767d6f6bd06
2026-10-03T20:03:54.876Z
Source file / repository# Your website: start here A small Quarto website for students. Five tabs, ordinary text files, and one folder for all your photos. No extra extensions, Python setup, or publication spreadsheets are needed. **First goal:** replace the name, introduction, email, and two sample photos. Preview the result before changing anything else. All page text and experiences are examples to replace with your own. ## 0. Fork this repository and open your own copy A **fork** is your copy of this repository on GitHub. A **clone** is the copy on your computer that you edit in RStudio. 1. Sign in to GitHub and open [the course template](https://github.com/ShuyuanShen/quarto-academic-website-template). 2. Click **Fork**, select your own account as the owner, and click **Create fork**. You can keep the repository name. 3. On **your fork**, click **Code > HTTPS** and copy the repository URL. Check that the repository owner in the URL is your own GitHub username. 4. In RStudio, choose **File > New Project > Version Control > Git**. Paste your fork's URL, choose where to save the project, and click **Create Project**. 5. Continue with the preview steps below. Your future Commit and Push actions will update your own fork. If **Version Control > Git** is unavailable, complete the course's Git setup first. If you already cloned your fork, just open the included `.Rproj` file. ## 1. Open and preview in RStudio 1. Open **quarto-academic-website-template.Rproj** in RStudio. Keep the whole folder together. 2. Open **index.qmd**. Use Source mode to see the short comments explaining what to edit. 3. In the **Build** pane, click **Render Website** (called **Render** in some versions) to generate **all pages**, including the blog posts. Wait until the build finishes. 4. Open **index.qmd** and click its **Render** button to open the preview. Check all five navigation tabs and the links to blog posts. 5. Edit and save your pages. Use **Build > Render Website** again when checking navigation or preparing to publish. The generated pages go into **docs/**. Use a recent RStudio with Quarto support. If Render is missing, reopen the `.Rproj` and check that Quarto is available in RStudio. This starter contains no executable R code, so it needs no R packages. ### Home works, but another tab says “Not Found” Rendering only **index.qmd** does not build every other page. If `docs/` is missing or incomplete, a link can point to a page that has not been generated yet. 1. Reopen the included **.Rproj** if the Build pane is missing. 2. Use **Build > Render Website** and wait for the whole site to finish rendering. 3. Render **index.qmd** again to reopen the preview, then refresh the browser. The **Research** tab opens `research.html`; **Blog** and **Read my latest notes** open `blog.html`. For a terminal workflow, run `quarto render` from this project folder, then `quarto preview`. To view the generated site directly, open **docs/index.html** and keep the entire `docs/` folder together. See Quarto's [website workflow guide](https://quarto.org/docs/websites/#workflow). ## 2. Where to change what | I want to change… | Open this | |---|---| | Site name and navigation tabs | `_quarto.yml` | | Home-page name, introduction, and email | `index.qmd` | | Academic interests and a course/research project | `research.qmd` | | Experience, skills, and career plans | `career.qmd` | | Travel photos and reflections | `travel.qmd` | | Blog heading and introduction | `blog.qmd` | | A blog post | Its `.qmd` file in `posts/` | | A photo | Put it in `images/`, then use its filename in the page | | Colors or spacing, optionally | `_design/styles.css` | Keep the navigation labels short. For example, **Research** opens the page titled **Academic interests & research**. ## 3. The folder map ```text quarto-academic-website-template/ ├── README.md Start here ├── _quarto.yml Your site name and five navigation tabs ├── index.qmd Home ├── research.qmd Academic interests & research ├── career.qmd Profession & career ├── travel.qmd Travel & places ├── blog.qmd Automatic list of blog posts ├── posts/ One .qmd file per blog post ├── images/ Your photos (plus a short image guide) ├── _design/ Usually leave alone: appearance and a post starter ├── docs/ Generated website: do not edit by hand ├── … .Rproj Open this in RStudio └── LICENSE Original template's license ``` The hidden `.git` folder holds version history if you cloned this repository. RStudio may also create local folders such as `.Rproj.user` and `.quarto`. You do not need to edit them. **Your writing lives in `.qmd` files.** `_design/` holds the appearance; `docs/` holds what Quarto builds. Editing a file in `docs/` will not update the source and may be overwritten on the next render. ## 4. Make the home page yours 1. In `_quarto.yml`, replace **Your Name** and the site description. Leave the `project` and `metadata-files` sections as they are. 2. In `index.qmd`, replace the name, short subtitle, introduction, and `[email protected]`. 3. Replace the home photo as described below. 4. Update the short sections beneath the introduction, then render. 5. Edit the other pages and replace every sample experience before sharing the site. Most edits are ordinary text. Keep the opening and closing `---` lines at the top of each page; the lines between them set its title and other options. Keep indentation in `_quarto.yml`. On the home page, keep the `:::` layout lines in place while changing the words between them. Text between `<!--` and `-->` is a helpful comment and does not appear on the website. ## 5. Replace or add a photo The two included photos came from the original template: - **images/profile.jpg**: home page (currently flowers). - **images/travel.jpg**: travel page (currently Niagara Falls). The easiest replacement is your own image with the **same filename and extension**. If you prefer a different filename, update the page's image path. JPG and PNG are good starting choices. Names such as `campus-walk.jpg` are easier to use than names with spaces. Export a phone's HEIC photo as JPG or PNG first. In a main page: ```markdown {fig-alt="Students walking across campus"} ``` Inside a post in `posts/`: ```markdown {fig-alt="Students walking across campus"} ``` The `fig-alt` text describes the image for someone who cannot see it. Replace that description as well as the filename. To show a caption below the photo, put the caption between the empty `[]` brackets. More examples are in **images/README.md**. For this local workflow, you **copy** images into `images/`; there is no separate website upload form. When you later commit and push the source and rendered site, the images go with them. ## 6. Write a new blog post 1. Open **_design/new-post.qmd** in RStudio. 2. Choose **File > Save As**. Save it inside **posts/** with a new name, such as **my-first-post.qmd**. Keep the `.qmd` extension. 3. Change the title, date (`YYYY-MM-DD`), and one-sentence description at the top. 4. Replace the sample paragraphs with your writing. Add a photo if useful. 5. Save and **render the whole website** from the Build pane. The Blog list updates automatically, newest first. You do not need to add a link manually. To remove a sample post, delete that `.qmd` file from `posts/` and render the website again. To keep a work-in-progress post private, keep its file **outside this repository** until ready to share; hiding a link is not the same as keeping its source private. ## 7. A little Markdown is enough ```markdown ## A section heading An ordinary paragraph with **bold words** or *italic words*. - One point - Another point [Link text](https://example.com) ``` You can also use RStudio's Visual editor for ordinary writing. Source mode is useful when following the comments or changing image filenames. To add a resume later, create a `files/` folder, put `resume.pdf` there, and add `[My resume](files/resume.pdf)` to `career.qmd`. You do not need a resume file to use this template. ## 8. Publish later with RStudio and GitHub Preview locally first. When your content is ready and your repository is connected to GitHub: 1. In RStudio, **render the whole website**. Confirm the generated `docs/` pages look right. 2. In the Git pane, inspect your source changes **and the updated docs/** files, stage them, Commit, then Push. Include new images and the supplied `.nojekyll` file. This publishing workflow intentionally tracks `docs/`. 3. On your own GitHub repository, open **Settings > Pages**. Under **Build and deployment**, choose **Deploy from a branch**, select **main** and **/docs**, then Save. 4. Open the website address GitHub provides after deployment finishes. 5. Optionally, uncomment `site-url` in `_quarto.yml` and paste that exact address. Render, commit, and push again. Future updates use the same **edit, render, commit, push** sequence. Commit and Push alone do not render your changes. A normal repository produces a URL ending in its repository name; a repository named exactly `YOUR-USERNAME.github.io` uses that account's root website address. Follow any repository visibility or account-plan requirements shown by GitHub Pages. If you rename or delete a published page or post, remove its old generated `.html` from `docs/` (or delete `docs/` and render the whole website to rebuild it) before pushing. This avoids leaving an old page accessible at its previous address. ## Quick checks before sharing - Your name, email, and experiences replace the examples. - All five tabs and the blog-post links work. - Photos display and have useful descriptions. - You have checked both a wide browser window and a narrow/mobile view. - You rendered the whole website after the final edit. ## About this adaptation Adapted for an introductory student website from [Gang He's Quarto Academic Website Template](https://github.com/drganghe/quarto-academic-website-template). The original MIT license is retained in `LICENSE`. The original example photos are kept only as easy-to-replace samples. The starter uses built-in Quarto navigation and blog listings. Advanced publication generation, group directories, icon extensions, analytics, and external widget scripts have been removed. References: [Quarto websites](https://quarto.org/docs/websites/), [automatic blog listings](https://quarto.org/docs/websites/website-listings.html), and [publishing to GitHub Pages](https://quarto.org/docs/publishing/github-pages.html).
Explore similar templates
Compare previews and descriptions within the same stack and category.
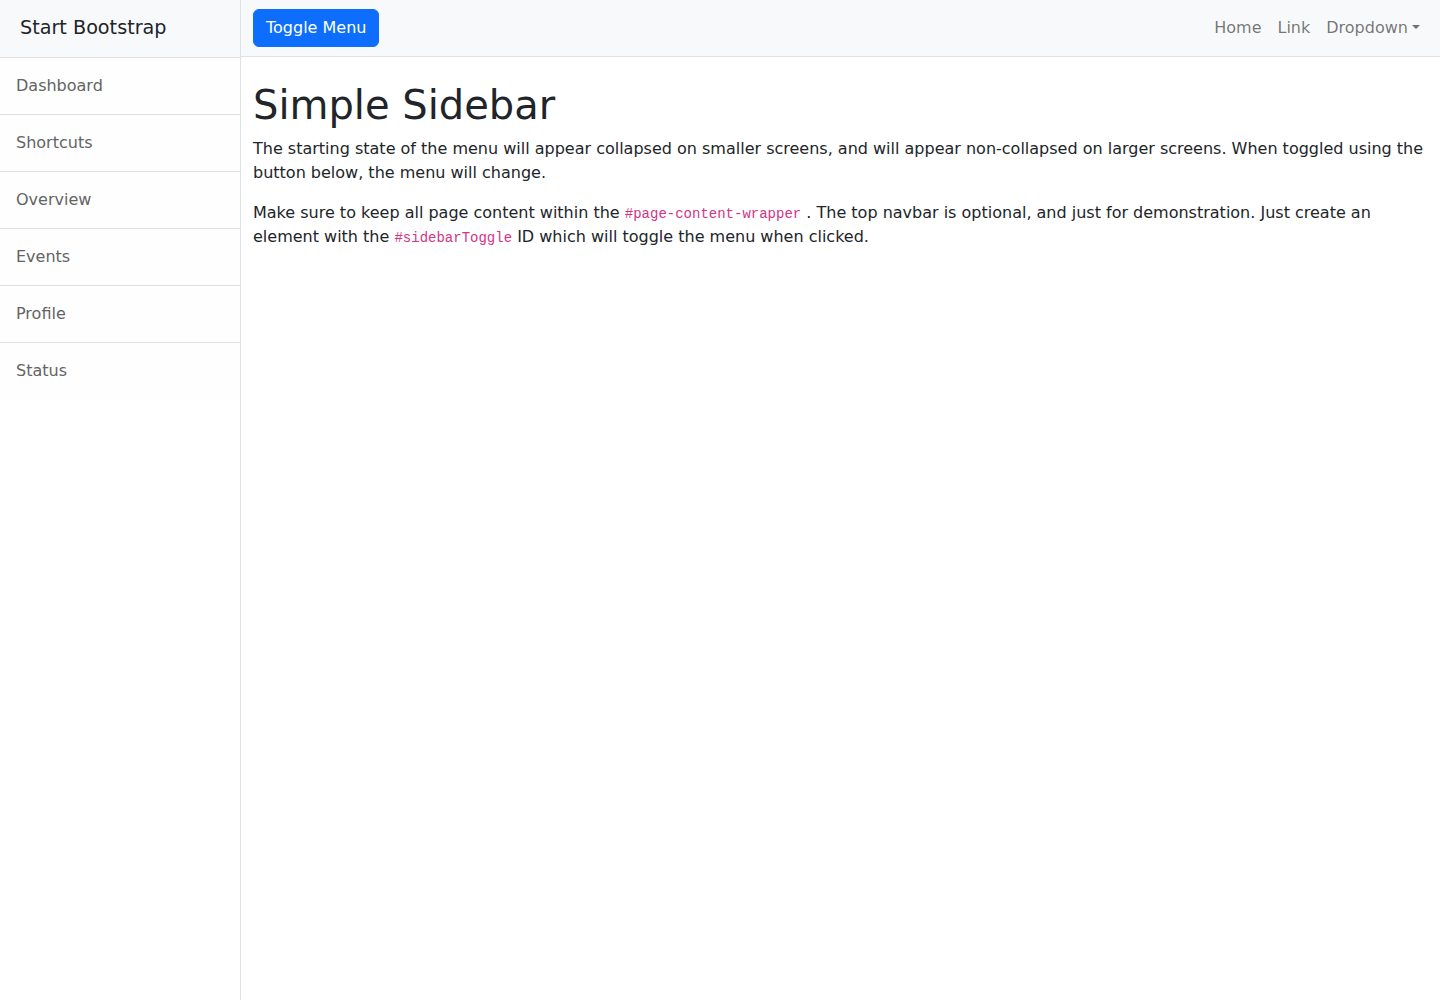
startbootstrap-simple-sidebar
A Bootstrap off-canvas sidebar navigation HTML starter template from Start Bootstrap. It provides directly editable HTML and CSS in the dist directory, while the source uses Pug, SCSS, and JavaScript with npm build scripts for live preview and compilation.
HTML · Starter
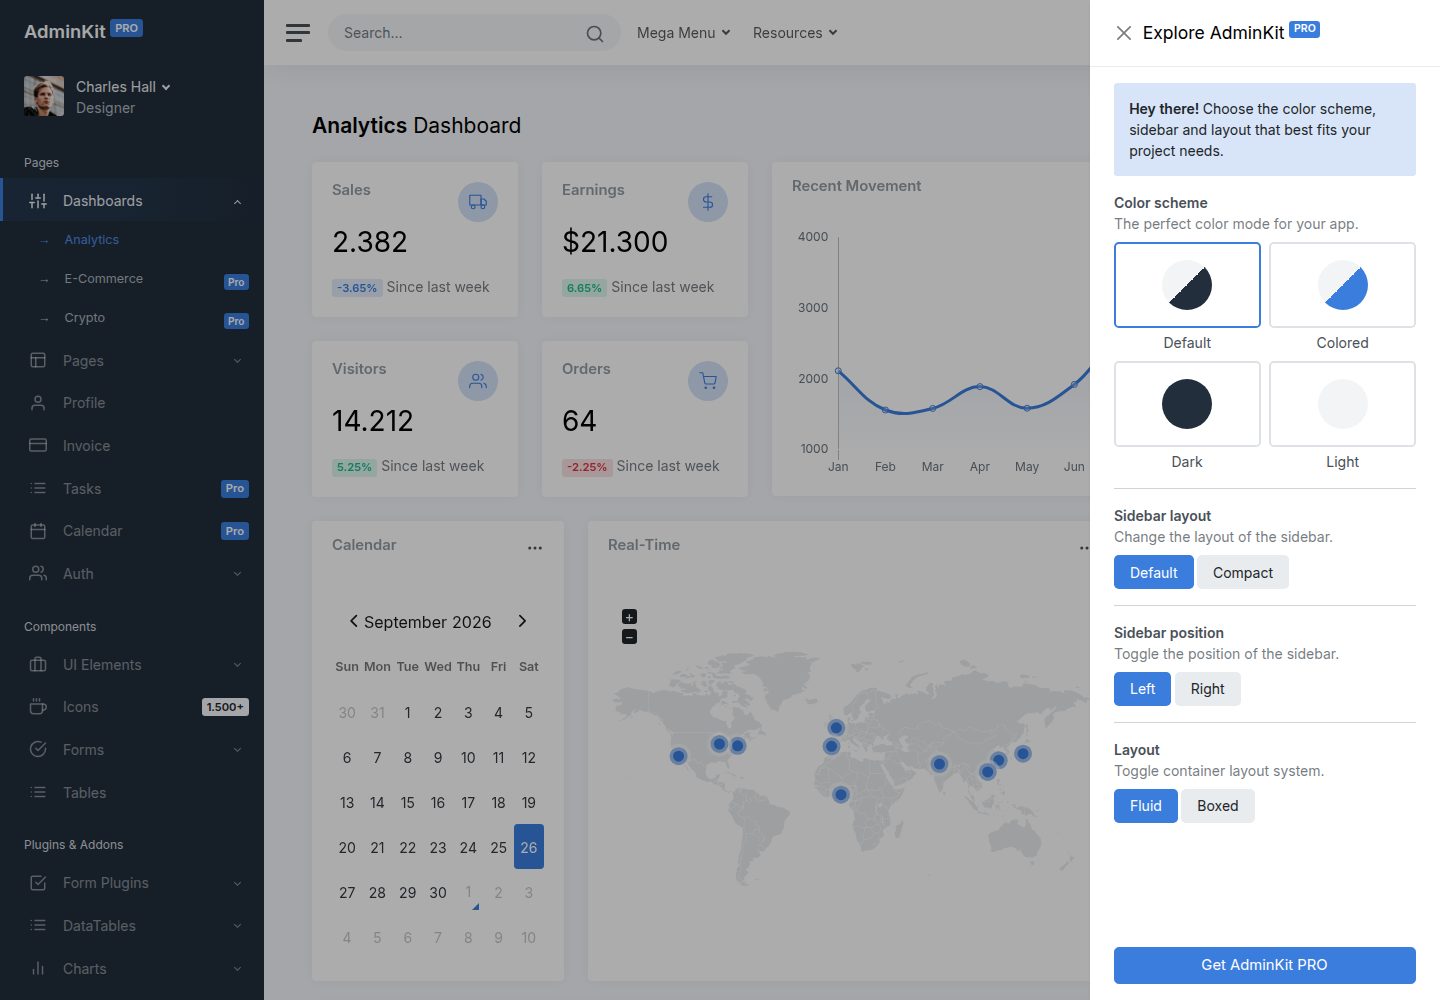
adminkit
AdminKit is a free, MIT-licensed HTML admin and dashboard template built on Bootstrap 5. The free version includes 15 demo pages, 1 plugin, and 1 color scheme, with hundreds of UI components, forms, tables, charts, and icons.
HTML · Admin dashboard
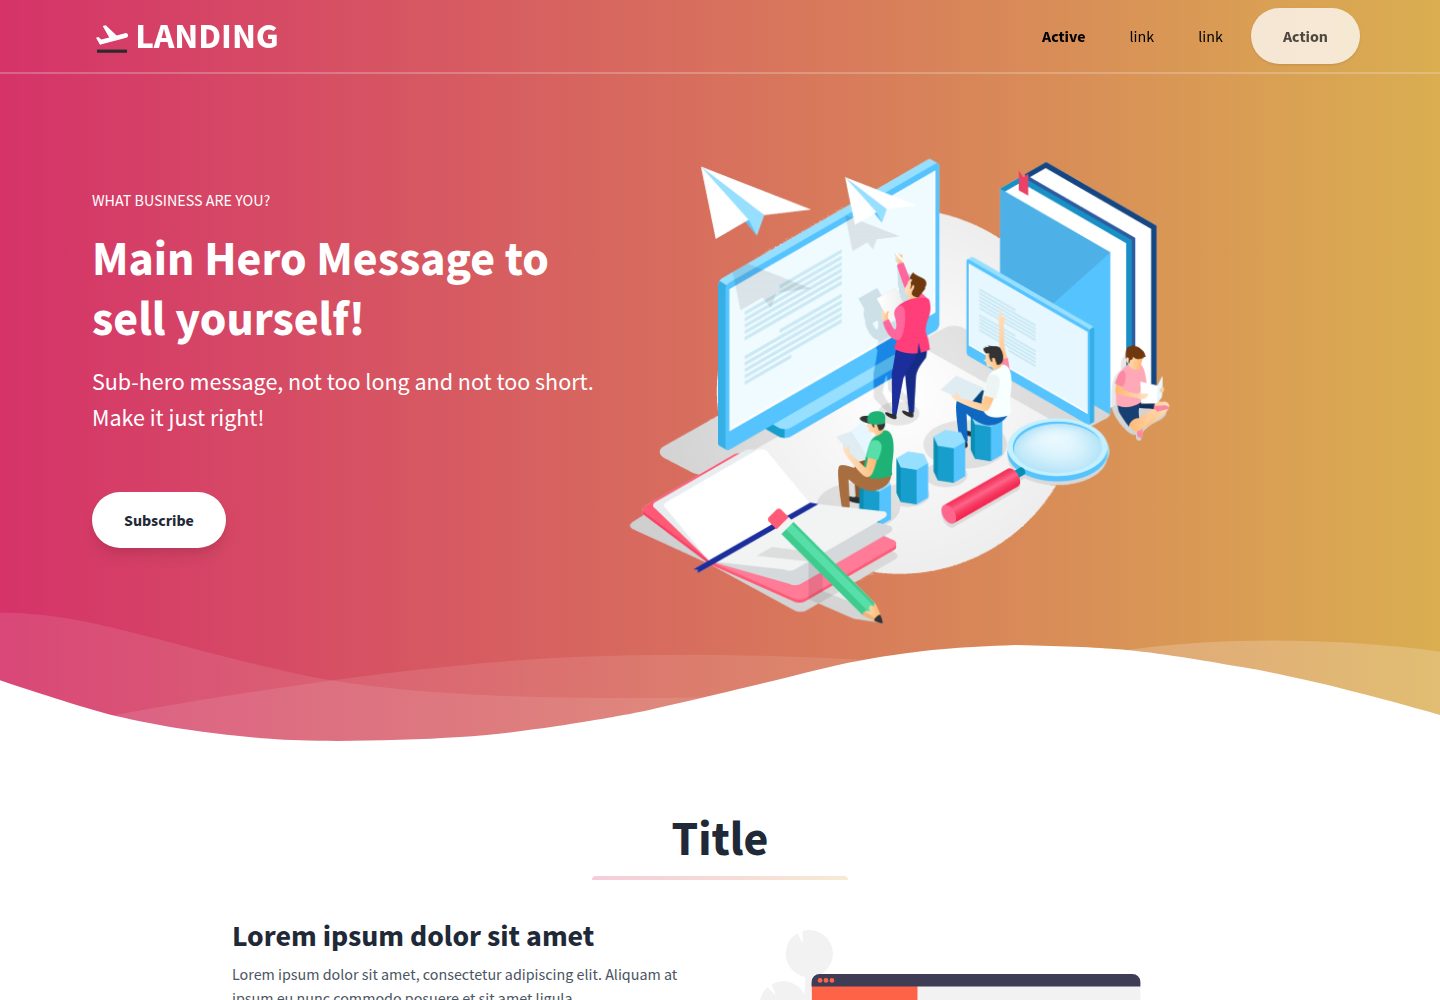
Landing-Page
A general-purpose landing page HTML template maintained by Tailwind Toolbox, written in pure HTML and loading the complete Tailwind CSS via CDN.
HTML · Corporate Website
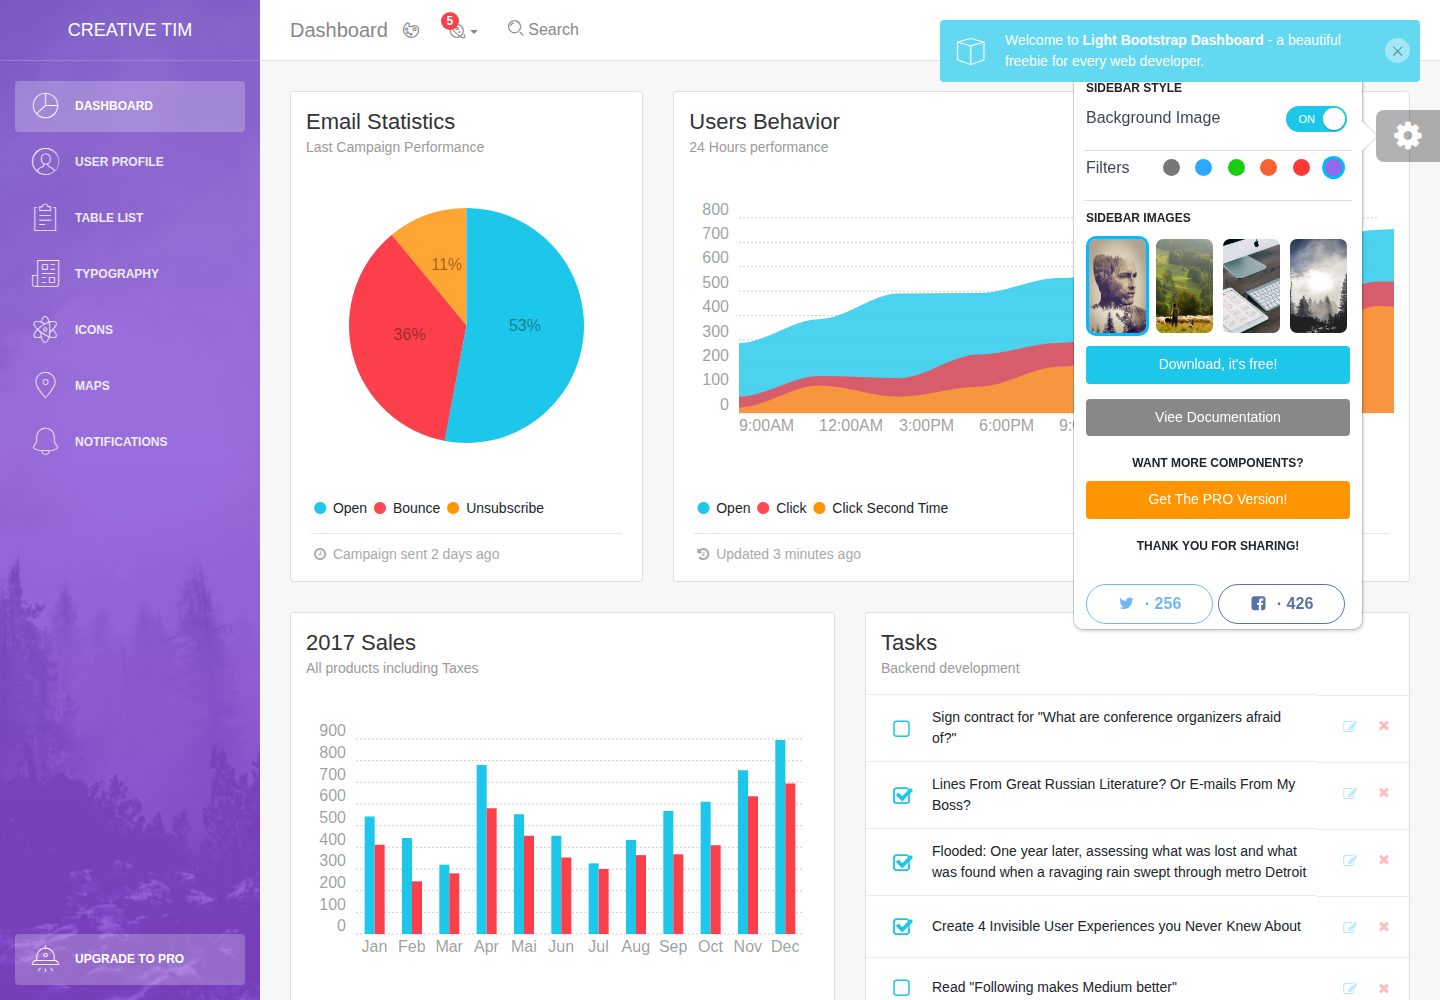
light-bootstrap-dashboard
Light Bootstrap Dashboard is a free, MIT-licensed admin dashboard template from Creative Tim, built on Bootstrap with a responsive static HTML structure.
HTML · Admin dashboard
sing-app
Sing App Lite is a free, open-source admin dashboard template from Flatlogic, built with Bootstrap 4.5 and SCSS. It provides a responsive layout, dashboard examples, typography, tables, notifications, basic charts, icons, maps, and a hover sidebar, along with styled Bootstrap components.
HTML · Admin dashboard
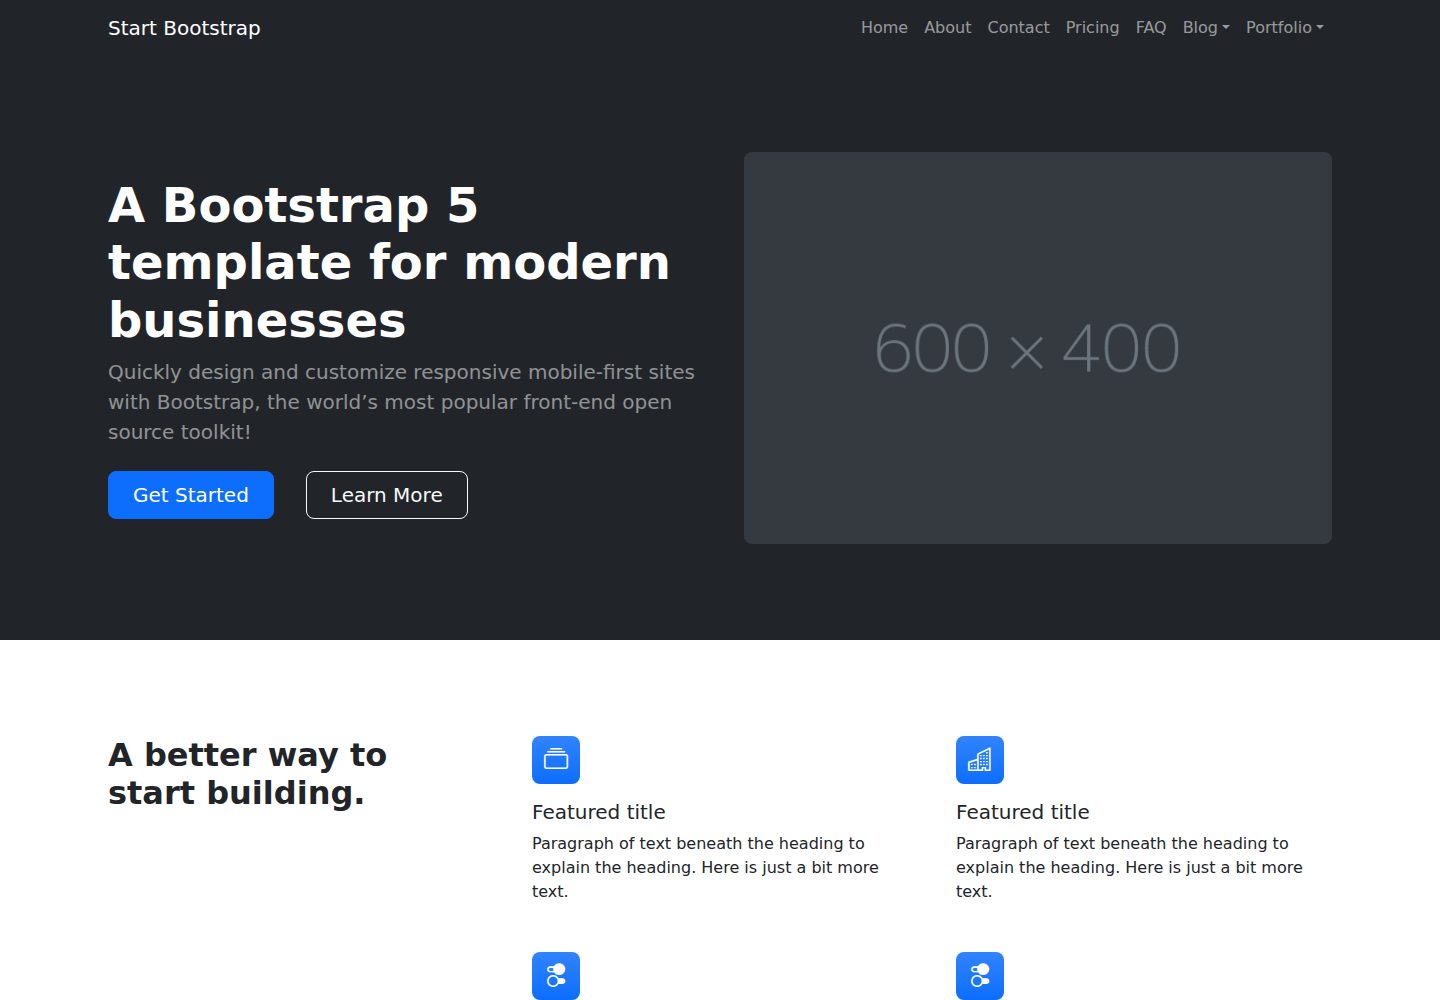
startbootstrap-modern-business
Modern Business is a multipurpose Bootstrap full-site HTML template from Start Bootstrap with 17 standalone pages covering home, about, services, portfolio, pricing, blog, FAQ, and contact.
HTML · Starter