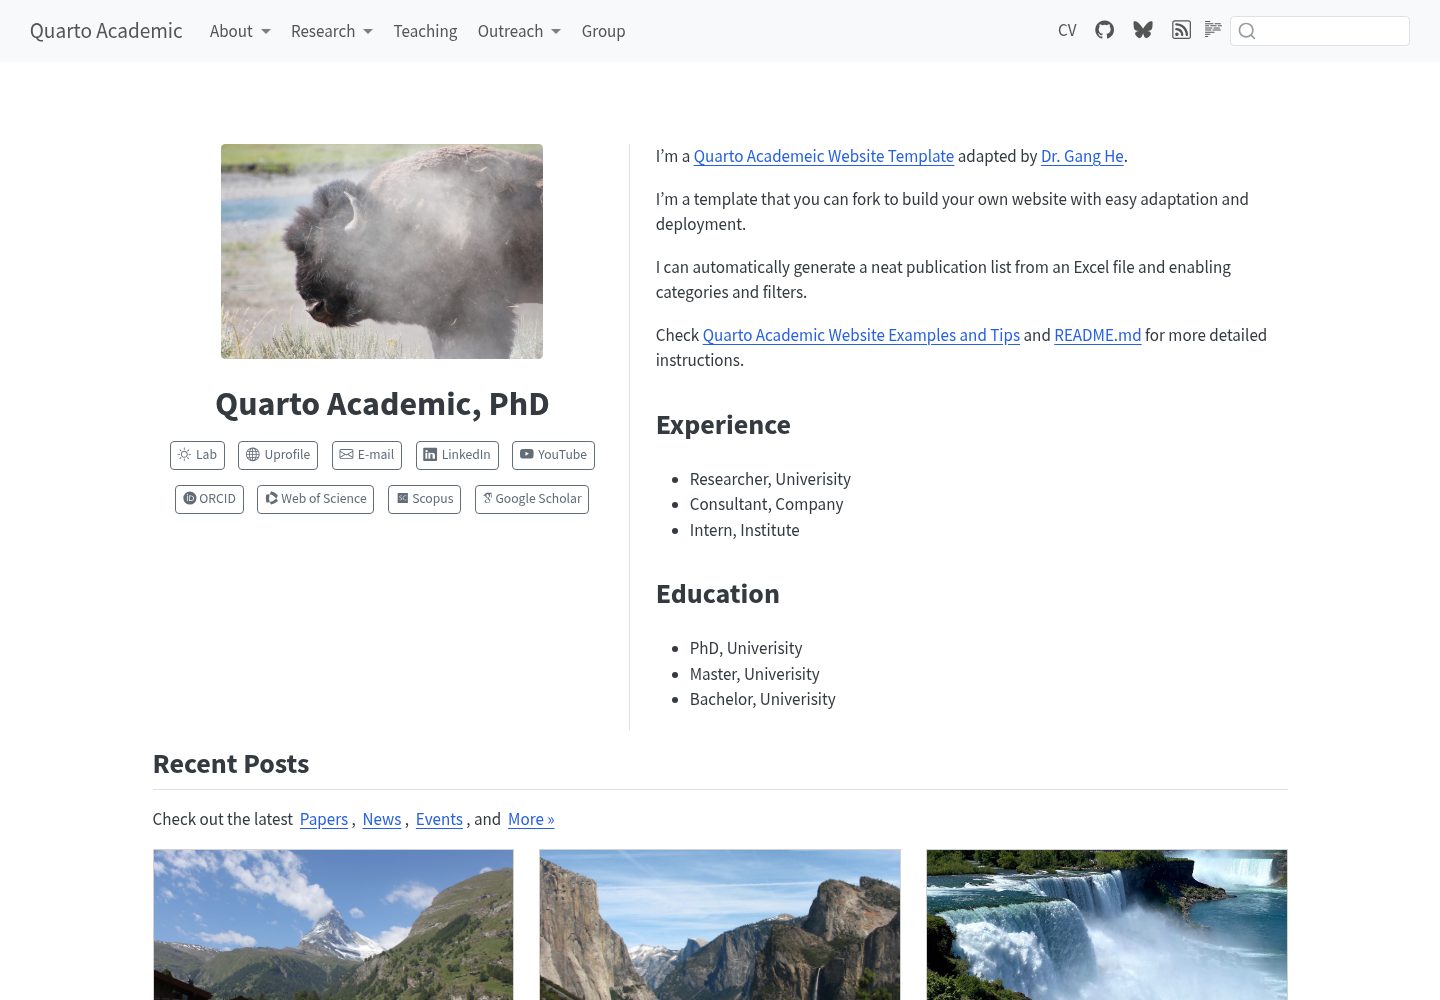
五个固定导航页面:首页、学术兴趣与研究、职业与经历、旅行与地点、博客
HTML启动器
quarto-academic-website-template — HTML 启动器模板
作者 edowhower
一个面向学生的 Quarto 学术网站模板,包含首页、学术兴趣、职业、旅行和博客五个页面,使用普通文本文件编辑,照片统一放在 images 文件夹。
看看你的网站会是什么样
浏览真实页面截图,比较内容排版与手机效果。点击下方缩略图切换,放大查看整页细节。
全部页面与视图 3
截图用于了解视觉与布局,交互效果请以实际项目为准。
采集于 2026-10-03查看来源
值得关注的模板亮点
从已有项目资料中,快速了解它的特点。
页面内容为普通 .qmd 文本文件,站点名称与导航在 _quarto.yml 中配置
照片统一放在 images/ 目录,博客文章放在 posts/ 目录,每篇一个 .qmd 文件
使用 Quarto 内置导航与博客列表,博客列表按日期自动更新,无需手动添加链接
不包含可执行 R 代码,无需安装 R 包,但需要 RStudio 与 Quarto 支持
渲染输出到 docs/ 目录,配合 GitHub Pages 从 main 分支 /docs 部署
模板详细介绍
这是一个基于 Quarto 的学术个人网站启动模板,仓库中提供五个导航页面:首页、学术兴趣与研究、职业与经历、旅行与地点、博客。页面内容写在 .qmd 文件中,站点名称和导航标签在 _quarto.yml 中配置,照片统一放在 images/ 目录,博客文章放在 posts/ 目录,每个文章一个 .qmd 文件。模板使用 Quarto 内置的导航和博客列表功能,不包含可执行 R 代码,因此无需安装 R 包。
模板附带两张示例照片(首页的花卉图和旅行页的尼亚加拉瀑布图),以及一个 _design/new-post.qmd 文章起始文件。渲染后生成的网站输出到 docs/ 目录,该目录由 Quarto 生成,不应手动编辑。README 说明在 RStudio 中通过 Build > Render Website 渲染整站,并建议先渲染再预览。
该模板改编自 Gang He 的 Quarto Academic Website Template,保留了原 MIT 许可证。README 明确说明已移除高级出版物生成、分组目录、图标扩展、分析统计和外部小部件脚本。模板需要 RStudio 与 Quarto 支持;若只渲染 index.qmd,其他页面可能显示“Not Found”,需要渲染整站。发布流程依赖 GitHub Pages,从 main 分支的 /docs 目录部署。
HTML启动器
适合你的项目吗?
适用场景
- 学生搭建个人学术主页,展示姓名、简介、学术兴趣、职业经历和旅行照片
- 课程作业中练习使用 Quarto 和 RStudio 创建并发布静态网站
- 用博客页面记录学习笔记或短文,文章通过 posts/ 目录自动列出
- 在 GitHub Pages 上发布个人网站,并通过 RStudio 的 Git 面板提交和推送更新
适合人群
- 需要简单学术个人网站的学生或初学者
- 已安装 RStudio 和 Quarto、希望用文本文件维护网站内容的人
- 希望用 GitHub Pages 免费发布静态网站并接受 docs/ 目录跟踪发布流程的用户
- 不需要出版物自动生成、分析统计或外部小部件等高级功能的用户
上手与定制指南
结合仓库当前版本的说明,按下面的资料检查内容、配置与运行要求。
- 1
在 GitHub 上 Fork 仓库,然后用 RStudio 的 File > New Project > Version Control > Git 克隆自己的 Fork
- 2
打开 .Rproj 文件,在 Build 面板点击 Render Website 渲染整站,再渲染 index.qmd 预览
- 3
在 _quarto.yml 中修改站点名称和导航标签,在 index.qmd 等页面中替换姓名、简介、邮箱和示例经历
- 4
替换 images/profile.jpg 和 images/travel.jpg,或使用新文件名并同步更新页面中的图片路径
- 5
发布前渲染整站,提交并推送源码和 docs/ 目录,然后在 GitHub 仓库 Settings > Pages 中选择 main 分支的 /docs 目录部署
授权与来源资料
使用条件与限制
免费使用 · 保留许可声明本次收录的是公开仓库中采用 MIT 许可的免费版本;免费范围为该版本代码,不代表外部服务或第三方素材免费。
使用时需要遵守
- 允许免费使用、修改、商用和分发该版本代码。
- 分发代码副本或实质性部分时,保留原作者版权声明和完整 MIT 许可声明。
- 代码按现状提供;担保与责任限制以原许可证及适用法律为准。
额外费用与待核对事项
- 使用该模板需要注册并登录 GitHub 账户,用于 Fork 仓库、克隆到本地以及后续通过 GitHub Pages 发布网站。
- 需要预先完成课程要求的 Git 环境配置,否则 RStudio 中无法使用版本控制功能克隆仓库。
- 必须安装支持 Quarto 的较新版本 RStudio,否则无法渲染网站。
- 发布网站依赖 GitHub Pages 服务,需在仓库设置中手动配置从 main 分支的 /docs 目录部署。
- GitHub Pages 可能对仓库可见性或账户套餐有额外要求,需自行遵守。
- 演示图片、字体、图标及其他第三方素材需按各自许可核对,不能仅凭代码的 MIT 许可判断。
- 域名、托管、数据库、支付或 AI 等外部服务可能另外收费。
查看原文依据
Permission is hereby granted, free of charge
许可证原文
Sign in to GitHub and open [the course template]
README 原文
If **Version Control > Git** is unavailable, complete the course's Git setup first.
README 原文
Use a recent RStudio with Quarto support.
README 原文
On your own GitHub repository, open **Settings > Pages**. Under **Build and deployment**, choose **Deploy from a branch**, select **main** and **/docs**, then Save.
README 原文
https://github.com/edowhower/quarto-academic-website-template/blob/main/LICENSEhttps://github.com/edowhower/quarto-academic-website-template/blob/main/README.mdFollow any repository visibility or account-plan requirements shown by GitHub Pages.
README 原文
DeepSeek 根据仓库许可证和 README 整理 ·2026-10-03。结果仅覆盖已读取资料,依赖、图片、字体及后续条款变更以各自原文为准。
项目核对记录与介绍依据
模板资料
- 来源平台
- GitHub
- 资料与维护参考分
- 资料较完整 · 80 / 100
- 技术栈
- HTML
- 网站类型
- 启动器
这个分数如何计算
本站按许可资料(最高30分)、演示链接(12分)、预览图(10分)、Star数(15分)、记录的维护时间(15分)、描述完整度(8分)、功能记录(5分)和分类资料(5分)计算。它不是代码、安全或性能测试,也不是 Google 评分;有链接不代表已实测可用。
这个项目需要核对什么
- 记录的仓库更新时间
- 2026-10-03
- 截图检查日期
- 2026-10-03
已收录演示链接。请用你的内容与屏幕尺寸检查;有演示不代表表单、认证或支付已经可用。
目录记录的主要技术栈是 HTML。请通过依赖清单和锁文件核对实际版本与托管要求。这些说明基于收录资料,不代表代码审计或部署实测。
查看具体选型方法 →介绍的制作与核对状态
介绍由 AI 辅助整理目录与仓库资料。仓库作者不等于这篇介绍的审核者。
审核声明: [email protected] · 2026-10-04
查看当时使用的来源资料
SHA-256: 250f7acd65776594cb39b3b665d74106e16bd0c2c84494aa035ff767d6f6bd06
2026-10-03T20:03:54.876Z
来源文件 / 仓库# Your website: start here A small Quarto website for students. Five tabs, ordinary text files, and one folder for all your photos. No extra extensions, Python setup, or publication spreadsheets are needed. **First goal:** replace the name, introduction, email, and two sample photos. Preview the result before changing anything else. All page text and experiences are examples to replace with your own. ## 0. Fork this repository and open your own copy A **fork** is your copy of this repository on GitHub. A **clone** is the copy on your computer that you edit in RStudio. 1. Sign in to GitHub and open [the course template](https://github.com/ShuyuanShen/quarto-academic-website-template). 2. Click **Fork**, select your own account as the owner, and click **Create fork**. You can keep the repository name. 3. On **your fork**, click **Code > HTTPS** and copy the repository URL. Check that the repository owner in the URL is your own GitHub username. 4. In RStudio, choose **File > New Project > Version Control > Git**. Paste your fork's URL, choose where to save the project, and click **Create Project**. 5. Continue with the preview steps below. Your future Commit and Push actions will update your own fork. If **Version Control > Git** is unavailable, complete the course's Git setup first. If you already cloned your fork, just open the included `.Rproj` file. ## 1. Open and preview in RStudio 1. Open **quarto-academic-website-template.Rproj** in RStudio. Keep the whole folder together. 2. Open **index.qmd**. Use Source mode to see the short comments explaining what to edit. 3. In the **Build** pane, click **Render Website** (called **Render** in some versions) to generate **all pages**, including the blog posts. Wait until the build finishes. 4. Open **index.qmd** and click its **Render** button to open the preview. Check all five navigation tabs and the links to blog posts. 5. Edit and save your pages. Use **Build > Render Website** again when checking navigation or preparing to publish. The generated pages go into **docs/**. Use a recent RStudio with Quarto support. If Render is missing, reopen the `.Rproj` and check that Quarto is available in RStudio. This starter contains no executable R code, so it needs no R packages. ### Home works, but another tab says “Not Found” Rendering only **index.qmd** does not build every other page. If `docs/` is missing or incomplete, a link can point to a page that has not been generated yet. 1. Reopen the included **.Rproj** if the Build pane is missing. 2. Use **Build > Render Website** and wait for the whole site to finish rendering. 3. Render **index.qmd** again to reopen the preview, then refresh the browser. The **Research** tab opens `research.html`; **Blog** and **Read my latest notes** open `blog.html`. For a terminal workflow, run `quarto render` from this project folder, then `quarto preview`. To view the generated site directly, open **docs/index.html** and keep the entire `docs/` folder together. See Quarto's [website workflow guide](https://quarto.org/docs/websites/#workflow). ## 2. Where to change what | I want to change… | Open this | |---|---| | Site name and navigation tabs | `_quarto.yml` | | Home-page name, introduction, and email | `index.qmd` | | Academic interests and a course/research project | `research.qmd` | | Experience, skills, and career plans | `career.qmd` | | Travel photos and reflections | `travel.qmd` | | Blog heading and introduction | `blog.qmd` | | A blog post | Its `.qmd` file in `posts/` | | A photo | Put it in `images/`, then use its filename in the page | | Colors or spacing, optionally | `_design/styles.css` | Keep the navigation labels short. For example, **Research** opens the page titled **Academic interests & research**. ## 3. The folder map ```text quarto-academic-website-template/ ├── README.md Start here ├── _quarto.yml Your site name and five navigation tabs ├── index.qmd Home ├── research.qmd Academic interests & research ├── career.qmd Profession & career ├── travel.qmd Travel & places ├── blog.qmd Automatic list of blog posts ├── posts/ One .qmd file per blog post ├── images/ Your photos (plus a short image guide) ├── _design/ Usually leave alone: appearance and a post starter ├── docs/ Generated website: do not edit by hand ├── … .Rproj Open this in RStudio └── LICENSE Original template's license ``` The hidden `.git` folder holds version history if you cloned this repository. RStudio may also create local folders such as `.Rproj.user` and `.quarto`. You do not need to edit them. **Your writing lives in `.qmd` files.** `_design/` holds the appearance; `docs/` holds what Quarto builds. Editing a file in `docs/` will not update the source and may be overwritten on the next render. ## 4. Make the home page yours 1. In `_quarto.yml`, replace **Your Name** and the site description. Leave the `project` and `metadata-files` sections as they are. 2. In `index.qmd`, replace the name, short subtitle, introduction, and `[email protected]`. 3. Replace the home photo as described below. 4. Update the short sections beneath the introduction, then render. 5. Edit the other pages and replace every sample experience before sharing the site. Most edits are ordinary text. Keep the opening and closing `---` lines at the top of each page; the lines between them set its title and other options. Keep indentation in `_quarto.yml`. On the home page, keep the `:::` layout lines in place while changing the words between them. Text between `<!--` and `-->` is a helpful comment and does not appear on the website. ## 5. Replace or add a photo The two included photos came from the original template: - **images/profile.jpg**: home page (currently flowers). - **images/travel.jpg**: travel page (currently Niagara Falls). The easiest replacement is your own image with the **same filename and extension**. If you prefer a different filename, update the page's image path. JPG and PNG are good starting choices. Names such as `campus-walk.jpg` are easier to use than names with spaces. Export a phone's HEIC photo as JPG or PNG first. In a main page: ```markdown {fig-alt="Students walking across campus"} ``` Inside a post in `posts/`: ```markdown {fig-alt="Students walking across campus"} ``` The `fig-alt` text describes the image for someone who cannot see it. Replace that description as well as the filename. To show a caption below the photo, put the caption between the empty `[]` brackets. More examples are in **images/README.md**. For this local workflow, you **copy** images into `images/`; there is no separate website upload form. When you later commit and push the source and rendered site, the images go with them. ## 6. Write a new blog post 1. Open **_design/new-post.qmd** in RStudio. 2. Choose **File > Save As**. Save it inside **posts/** with a new name, such as **my-first-post.qmd**. Keep the `.qmd` extension. 3. Change the title, date (`YYYY-MM-DD`), and one-sentence description at the top. 4. Replace the sample paragraphs with your writing. Add a photo if useful. 5. Save and **render the whole website** from the Build pane. The Blog list updates automatically, newest first. You do not need to add a link manually. To remove a sample post, delete that `.qmd` file from `posts/` and render the website again. To keep a work-in-progress post private, keep its file **outside this repository** until ready to share; hiding a link is not the same as keeping its source private. ## 7. A little Markdown is enough ```markdown ## A section heading An ordinary paragraph with **bold words** or *italic words*. - One point - Another point [Link text](https://example.com) ``` You can also use RStudio's Visual editor for ordinary writing. Source mode is useful when following the comments or changing image filenames. To add a resume later, create a `files/` folder, put `resume.pdf` there, and add `[My resume](files/resume.pdf)` to `career.qmd`. You do not need a resume file to use this template. ## 8. Publish later with RStudio and GitHub Preview locally first. When your content is ready and your repository is connected to GitHub: 1. In RStudio, **render the whole website**. Confirm the generated `docs/` pages look right. 2. In the Git pane, inspect your source changes **and the updated docs/** files, stage them, Commit, then Push. Include new images and the supplied `.nojekyll` file. This publishing workflow intentionally tracks `docs/`. 3. On your own GitHub repository, open **Settings > Pages**. Under **Build and deployment**, choose **Deploy from a branch**, select **main** and **/docs**, then Save. 4. Open the website address GitHub provides after deployment finishes. 5. Optionally, uncomment `site-url` in `_quarto.yml` and paste that exact address. Render, commit, and push again. Future updates use the same **edit, render, commit, push** sequence. Commit and Push alone do not render your changes. A normal repository produces a URL ending in its repository name; a repository named exactly `YOUR-USERNAME.github.io` uses that account's root website address. Follow any repository visibility or account-plan requirements shown by GitHub Pages. If you rename or delete a published page or post, remove its old generated `.html` from `docs/` (or delete `docs/` and render the whole website to rebuild it) before pushing. This avoids leaving an old page accessible at its previous address. ## Quick checks before sharing - Your name, email, and experiences replace the examples. - All five tabs and the blog-post links work. - Photos display and have useful descriptions. - You have checked both a wide browser window and a narrow/mobile view. - You rendered the whole website after the final edit. ## About this adaptation Adapted for an introductory student website from [Gang He's Quarto Academic Website Template](https://github.com/drganghe/quarto-academic-website-template). The original MIT license is retained in `LICENSE`. The original example photos are kept only as easy-to-replace samples. The starter uses built-in Quarto navigation and blog listings. Advanced publication generation, group directories, icon extensions, analytics, and external widget scripts have been removed. References: [Quarto websites](https://quarto.org/docs/websites/), [automatic blog listings](https://quarto.org/docs/websites/website-listings.html), and [publishing to GitHub Pages](https://quarto.org/docs/publishing/github-pages.html).
看看同类模板
对比同技术栈与用途的模板,找到更适合的视觉与内容结构。
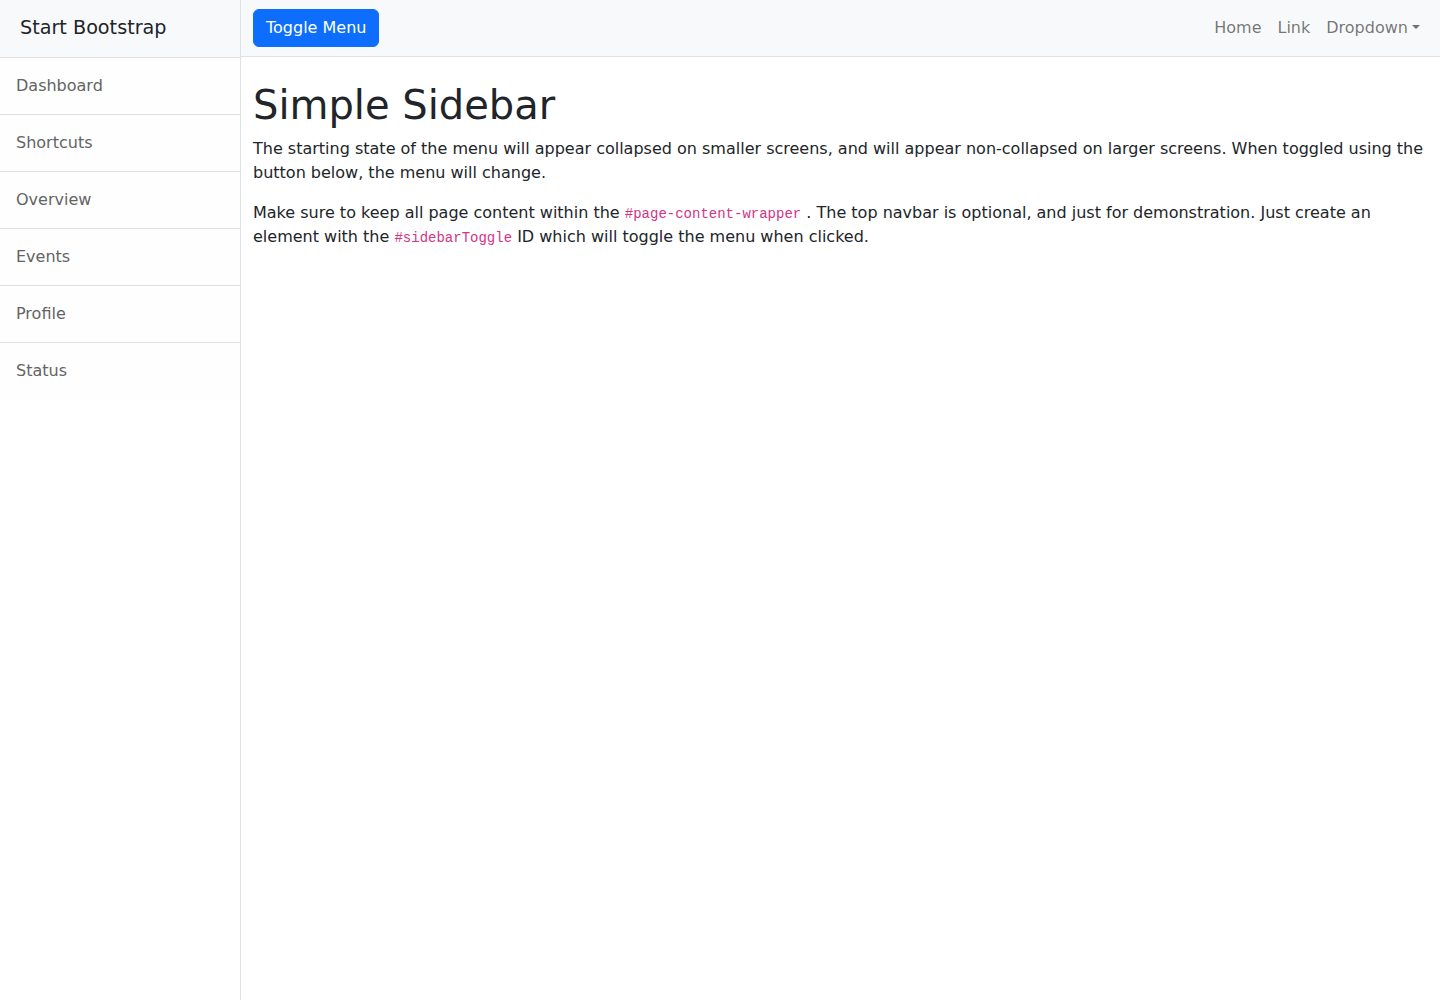
startbootstrap-simple-sidebar
An off canvas sidebar navigation Bootstrap HTML template created by Start Bootstrap
HTML · 启动器
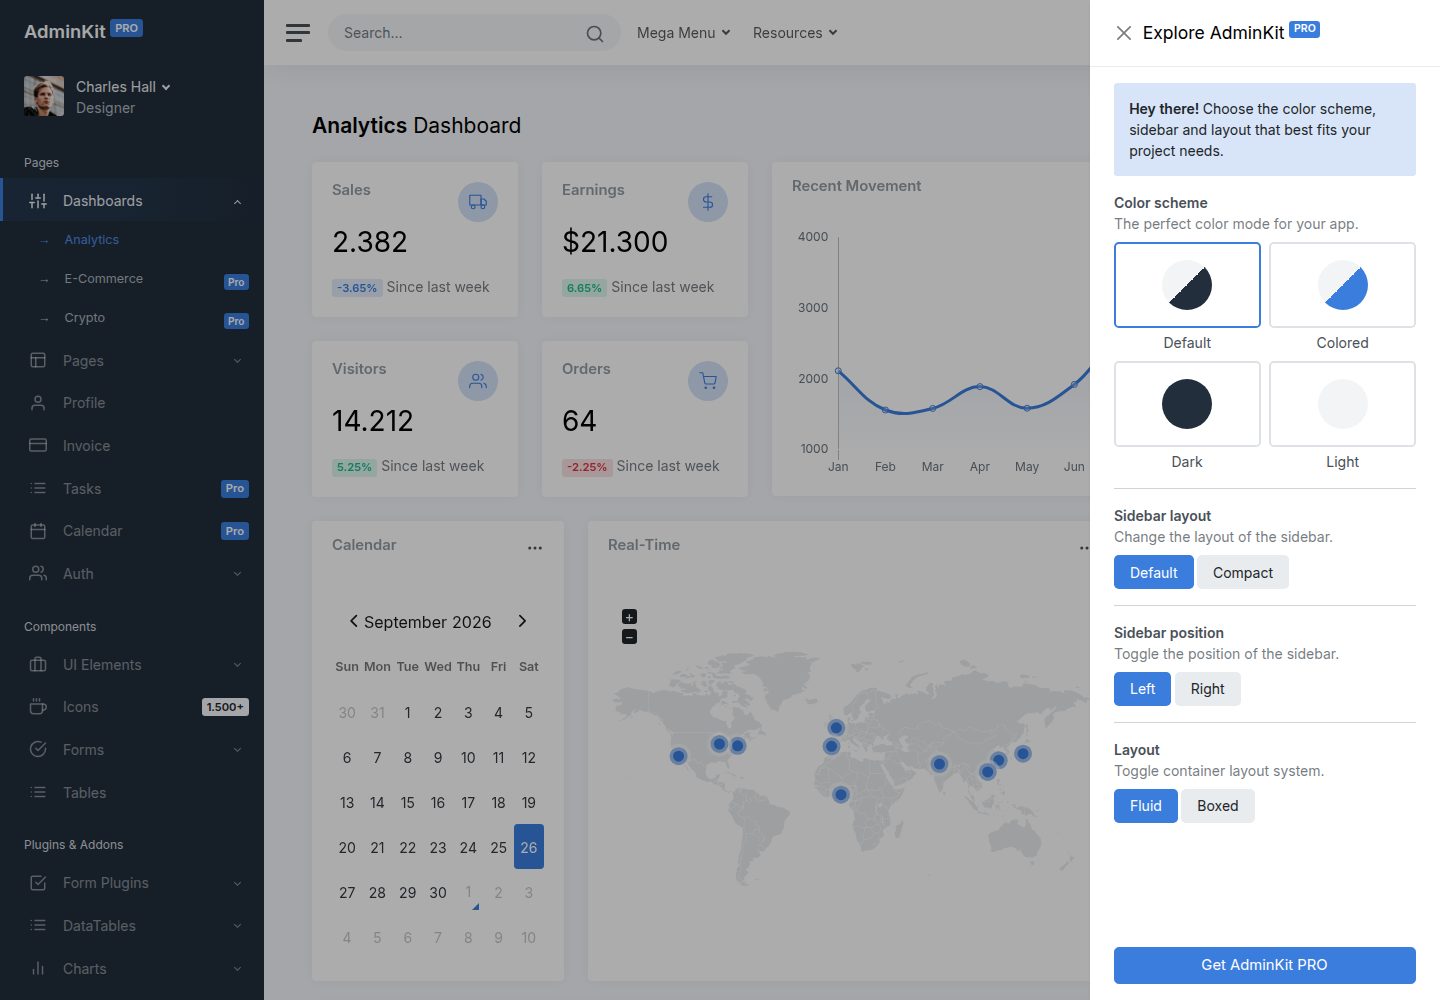
adminkit
AdminKit is a free & open-source HTML dashboard & admin template based on Bootstrap 5
HTML · 后台
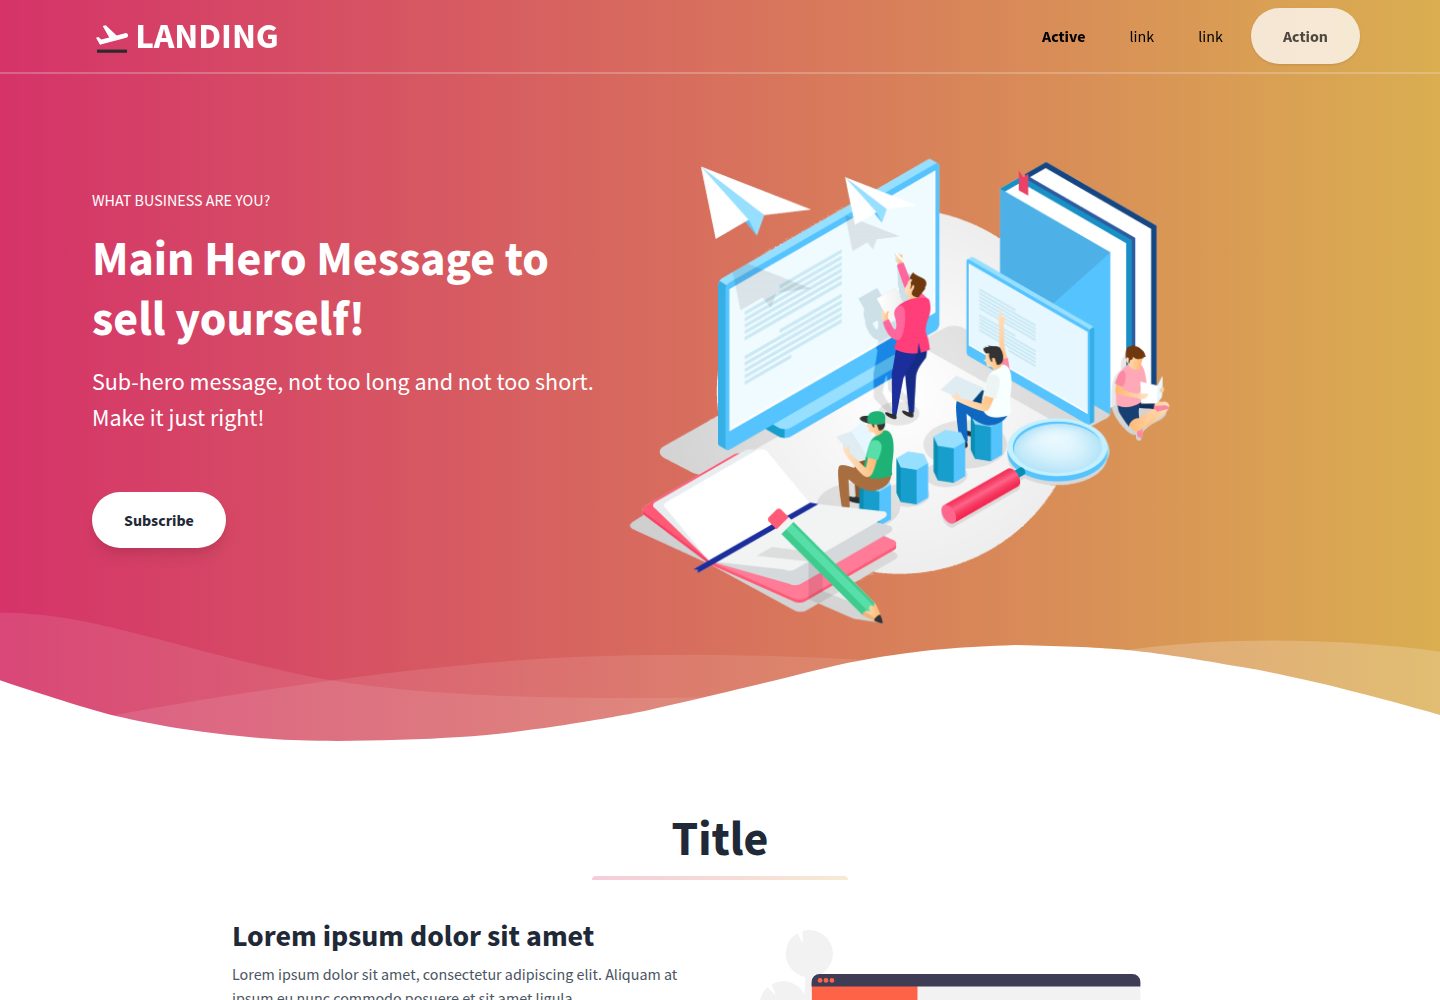
Landing-Page
Tailwind CSS Starter Template - Landing Page
HTML · 企业官网
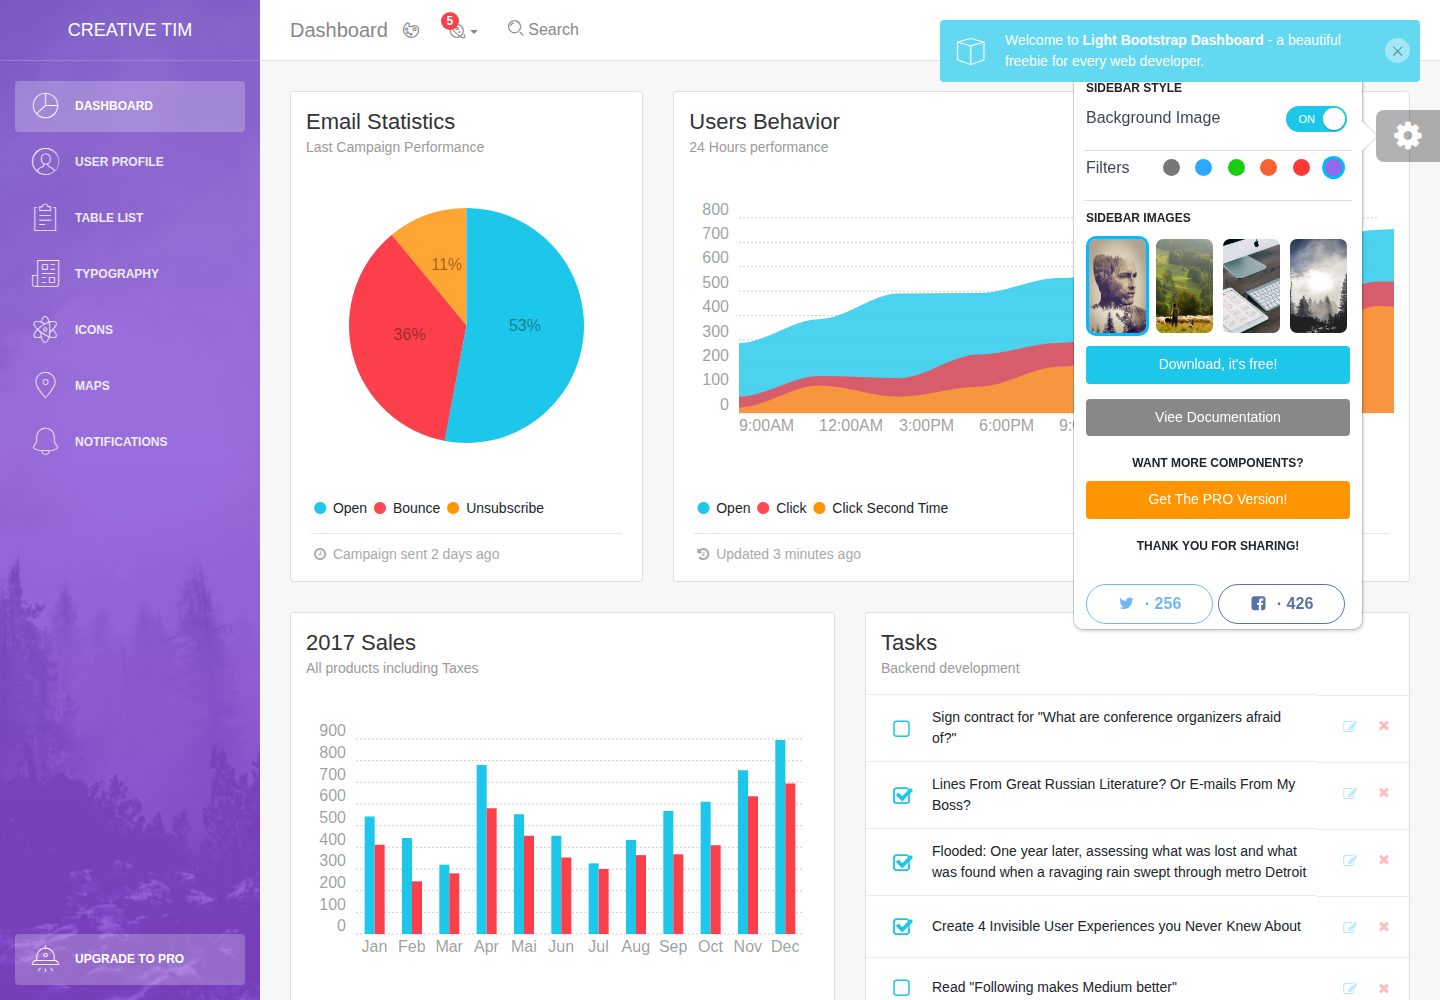
light-bootstrap-dashboard
Light Bootstrap Dashboard is an admin dashboard template designed to be beautiful and simple.
HTML · 后台
sing-app
💥Free and open-source admin dashboard template built with Bootstrap 4.5 💥
HTML · 后台
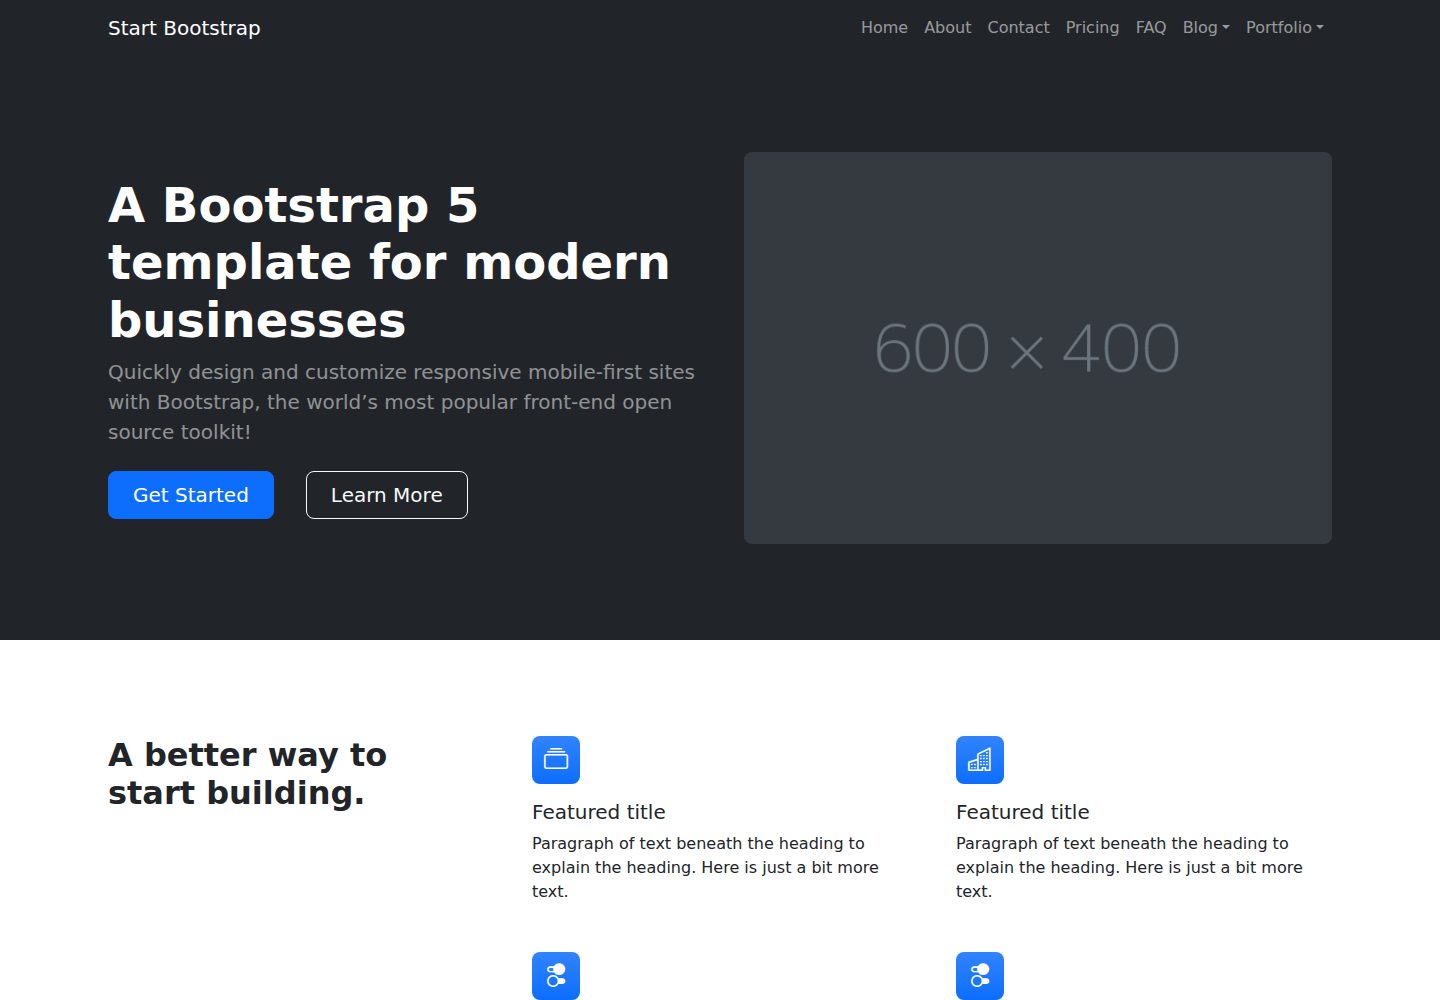
startbootstrap-modern-business
A multipurpose Bootstrap full website template created by Start Bootstrap
HTML · 启动器