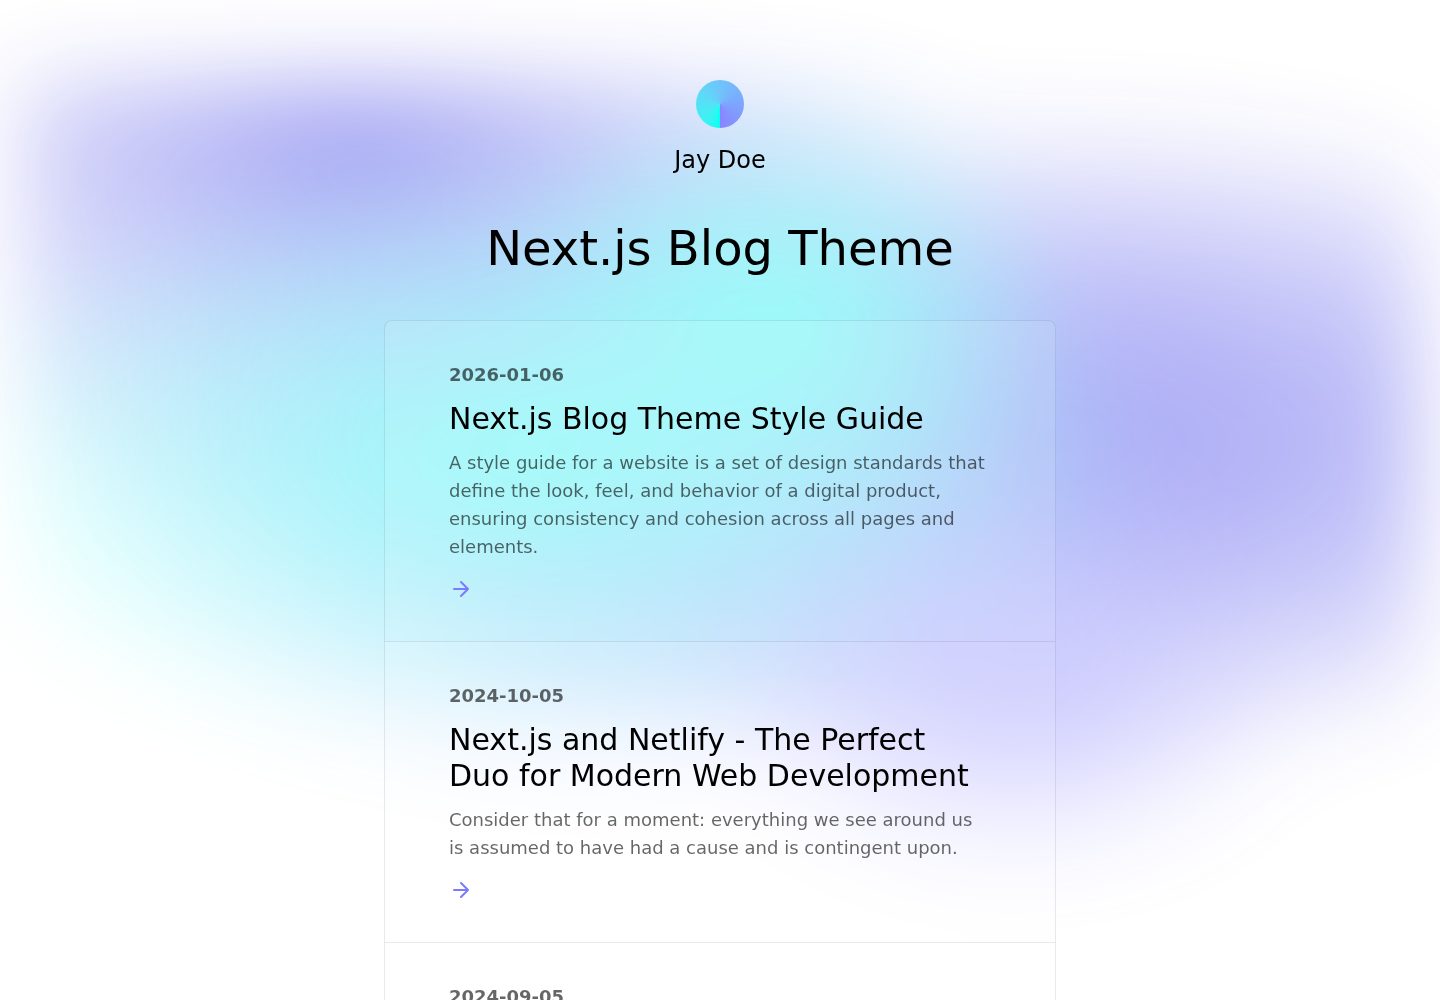
Blog starter project built with the Next.js Pages Router
Next.jsReactBlog
nextjs-blog-theme-website — Next.js Blog Template
By KulankashVictor
A blog template based on the Next.js Pages Router, using Tailwind and MDX, with light and dark themes, and blog name, title, footer, and fonts configured via environment variables.
Explore the design
Compare the page layouts and mobile experience. Open any screenshot for a closer look.
Desktop homepage1 / 3
Desktop captureTop of page
Actual screenshot captured by the server browser.
All pages & views 3
Screenshots show visual appearance; interactive behavior may differ.
Recorded 2026-10-03View source
What stands out
A quick read of the recorded project description.
Styled with Tailwind and includes built-in light and dark themes
Articles are stored in MDX format in the /posts directory and can use React components within the text
Configure blog name, title, footer text, and font families via environment variables
Offers two ways to get started: a Netlify deploy button and an online setup wizard
Includes a Renovate configuration that can be deleted as needed
Template Details
This template is a customizable blog starter project. It uses the Next.js Pages Router structure, styles with Tailwind, and stores article content in MDX format in the /posts directory. MDX allows React components to be used within articles, making it possible to embed interactive content. The template includes both light and dark themes and allows the blog name, homepage main heading, footer text, and font families for headings and body text to be adjusted via environment variables.
Configuration is primarily done through environment variables, which makes deployment on Jamstack platforms such as Netlify convenient. If you prefer not to use environment variables, you can directly modify the default values in utils/global-data.js or hardcode the blog information where these variables are used. The project also includes a Renovate configuration file for dependency updates, which can be deleted if not needed.
The template's demo site is provided by Bejamas, and the repository retains links to the Netlify deploy button and setup wizard. The repository is under the MIT license, allowing free use, modification, commercial use, and distribution of the code, but third-party assets such as demo images, fonts, and icons require separate license verification, and external services such as domains and hosting may incur costs.
Next.jsBlog
Is it right for your project?
Use Cases
- Building a technical blog written in MDX that needs to embed React components
- Quickly deploying a personal blog on Jamstack platforms such as Netlify
- Blog projects that need light/dark theme switching and Tailwind style customization
- Scenarios where you want to adjust the blog name and fonts via environment variables rather than changing code
Suitable For
- Developers familiar with the Next.js Pages Router and React
- Bloggers who write with MDX and want to insert components into articles
- Users planning to deploy to Netlify or other Jamstack platforms
- Blog projects that need light/dark themes and Tailwind customization capabilities
Getting started & customization
Use these recorded setup notes alongside the repository instructions for your chosen version.
- 1
Click 'use this template' on GitHub to generate a new repository, then clone it locally
- 2
Run yarn install to install dependencies, then run yarn run dev to start the local development server
- 3
Blog configuration can be set via environment variables or by modifying the default values in utils/global-data.js
- 4
To add a new article, create an .mdx file in the /posts directory
- 5
If automatic dependency updates are not needed, you can delete the renovate.json file
License & source material
Usage conditions & limitations
Free to use · keep license noticeThis entry covers the free version under the MIT license from the public repository; the free scope applies to that version's code and does not mean external services or third-party assets are free.
Must comply with when using
- The code of this version may be used, modified, used commercially, and distributed for free.
- When distributing copies or substantial portions of the code, retain the original author's copyright notice and the full MIT license notice.
- The code is provided as is; warranties and limitations of liability are governed by the original license and applicable law.
Additional costs & items to verify
- Using the online setup wizard (nextjs-wizard.netlify.app) to create a blog and deploy it to Netlify is an optional external service; you can also configure everything manually locally, and it is not mandatory.
- Setting environment variables through the Netlify console requires a Netlify account and hosting service, which may incur external service fees; you can also use local file configuration instead.
- The template includes the Renovate dependency update tool; if your team does not need it, you can delete the renovate.json file.
- Demo images, fonts, icons, and other third-party assets must be checked against their respective licenses and cannot be judged solely by the code's MIT license.
- External services such as domains, hosting, databases, payments, or AI may incur additional charges.
View Original Text Basis
Permission is hereby granted, free of charge
Original License Text
Through the [setup wizard](https://nextjs-wizard.netlify.app/), you can create your blog in a few clicks and deploy to Netlify.
Original README
You can do this in your Netlify dashaboard (Site settings/Build & deploy/Environment/Environment variables).
Original README
https://github.com/KulankashVictor/nextjs-blog-theme-website/blob/main/LICENSEhttps://github.com/KulankashVictor/nextjs-blog-theme-website/blob/main/README.md[Renovate](https://www.mend.io/free-developer-tools/renovate/) - to regularly update our dependencies
Original README
Compiled by DeepSeek based on repository license and README ·2026-10-03. Results only cover the materials read; dependencies, images, fonts, and subsequent term changes are subject to their respective original texts.
Project checks & description sources
Template Information
- Source platforms
- GitHub
- Documentation and maintenance reference score
- Partly documented · 65 / 100
- Technologies
- Next.js · React
- Website type
- Blog
How this score is calculated
Our heuristic uses license records (up to 30), a demo link (12), a preview (10), stars (15), recorded maintenance (15), description completeness (8), feature records (5) and classification data (5). It is not a code, security or performance test, or a Google score. A link does not establish tested functionality.
What to verify for this project
- Repository update recorded
- 2024-04-16
- Screenshot last checked
- 2026-10-03
A demo link is listed. Check it with your own content and viewport sizes; its presence does not confirm that forms, authentication or payments work.
The catalog identifies Next.js as the primary stack. Check the actual dependency manifest and lockfile for versions and hosting requirements. These notes use recorded metadata, not a code audit or a deployment test.
Use a selection guide →How this description was prepared
AI-assisted description based on catalog records and repository material. Repository authors are not automatically the reviewers of this description.
Review declaration: [email protected] · 2026-10-04
Inspect the recorded source material
SHA-256: 883e04442125bc758ba06a68cfdc31cc42c7e19d6885dd53216713986045188e
2026-10-03T20:45:21.717Z
Source file / repository [](https://app.netlify.com/start/deploy?repository=https://github.com/netlify-templates/nextjs-blog-theme) A customizable blog starter using: - [Next.js](https://github.com/vercel/next.js) v14 (Pages Router) - [Tailwind](https://tailwindcss.com/) v3.0 - Built-in [MDX](https://mdxjs.com/) v1 support - Includes modern design with dark & light themes  [Take a gander at the demo.](https://bejamas-nextjs-blog.netlify.app) [Click here to watch the template walkthrough!](https://www.youtube.com/watch?v=63QZHs259dY) ## Table of Contents: - [Getting Started](#getting-started) - [Setting Up Locally](#setting-up-locally) - [Using the Wizard](#using-the-setup-wizard) - [Configuring the Blog](#configuring-the-blog) - [Adding New Posts](#adding-new-posts) - [Testing](#testing) - [Included Default Testing](#included-default-testing) - [Removing Renovate](#removing-renovate) ## Getting Started --- You can get started with this project in two ways: locally or using the [setup wizard](https://nextjs-wizard.netlify.app/). ### Setting Up Locally If you're doing it locally, start with clicking the [use this template](https://github.com/netlify-templates/nextjs-blog-theme/generate) button on GitHub. This will create a new repository with this template's files on your GitHub account. Once that is done, clone your new repository and navigate to it in your terminal. From there, you can install the project's dependencies by running: ```shell yarn install ``` Finally, you can run your project locally with: ```shell yarn run dev ``` Open your browser and visit <http://localhost:3000>, your project should be running! ### Using the Setup Wizard  Through the [setup wizard](https://nextjs-wizard.netlify.app/), you can create your blog in a few clicks and deploy to Netlify. ## Configuring the blog The config is based on environment variables to make it easy to integrate with any Jamstack platform, like Netlify. Here are the variables you can edit: | Variable | Description | Options | --- | --- | --- | | `BLOG_NAME` | the name of your blog, displayed below the avatar || | `BLOG_TITLE` | the main header (`h1`) on the home page || | `BLOG_FOOTER_TEXT`| the text in the footer || | `BLOG_THEME` | the theme to pass to Tailwind | default | | `BLOG_FONT_HEADINGS` | the font-family for all HTML headings, from `h1` to `h6`| sans-serif (default), serif, monospace| | `BLOG_FONT_PARAGRAPHS` | the font-family for all other HTML elements | sans-serif (default), serif, monospace| All of the env variables can be configured through the [Wizard](https://nextjs-wizard.netlify.app/) or through setting the project's environment variables. You can do this in your Netlify dashaboard (Site settings/Build & deploy/Environment/Environment variables). https://user-images.githubusercontent.com/3611928/153997545-6dcdeef0-e570-49e7-93d6-ce0d393d16c9.mp4 [alt: video walkthrough of editing env vars] If setting an environment variable isn't your cup of tea, the defaults can be changed in [`utils/global-data.js`](/utils/global-data.js). You can also remove the variables and hard code blog information where these variables are used in the code base. - `BLOG_THEME, BLOG_FONT_HEADINGS, & BLOG_FONT_PARAGRAPHS` are used in [`tailwind-preset.js`](tailwind-preset.js) - `BLOG_NAME, BLOG_TITLE, BLOG_FOOTER_TEXT` are used in [`pages/index.js`](pages/index.js) & [`pages/posts/[slug].js`](pages/posts/[slug].js) through the `globalData` object. ## Adding new posts All posts are stored in `/posts` directory. To make a new post, create a new file with the [`.mdx` extension](https://mdxjs.com/). Since the posts are written in `MDX` format you can pass props and components. That means you can use [React components](https://reactjs.org/docs/components-and-props.html) inside your posts to make them more interactive. Learn more about how to do so in the [MDX docs on content](https://mdxjs.com/docs/using-mdx/#components). https://user-images.githubusercontent.com/3611928/152727802-102ec296-41c8-446d-93ed-922d11187073.mp4 [alt: video walkthrough of adding a new blog post] ## Testing ### Included Default Testing We’ve included some tooling that helps us maintain these templates. This template currently uses: - [Renovate](https://www.mend.io/free-developer-tools/renovate/) - to regularly update our dependencies If your team is not interested in this tooling, you can remove them with ease! ### Removing Renovate In order to keep our project up-to-date with dependencies we use a tool called [Renovate](https://github.com/marketplace/renovate). If you’re not interested in this tooling, delete the `renovate.json` file and commit that onto your main branch.
Explore similar templates
Compare previews and descriptions within the same stack and category.

tailwind-nextjs-starter-blog
A Next.js and Tailwind CSS blog starter template using Contentlayer for Markdown/MDX, with built-in SEO, code highlighting, and tags. It targets personal technical blogs and migration from Jekyll/Hugo to React, and supports one-click Vercel deployment.
Next.js · Blog
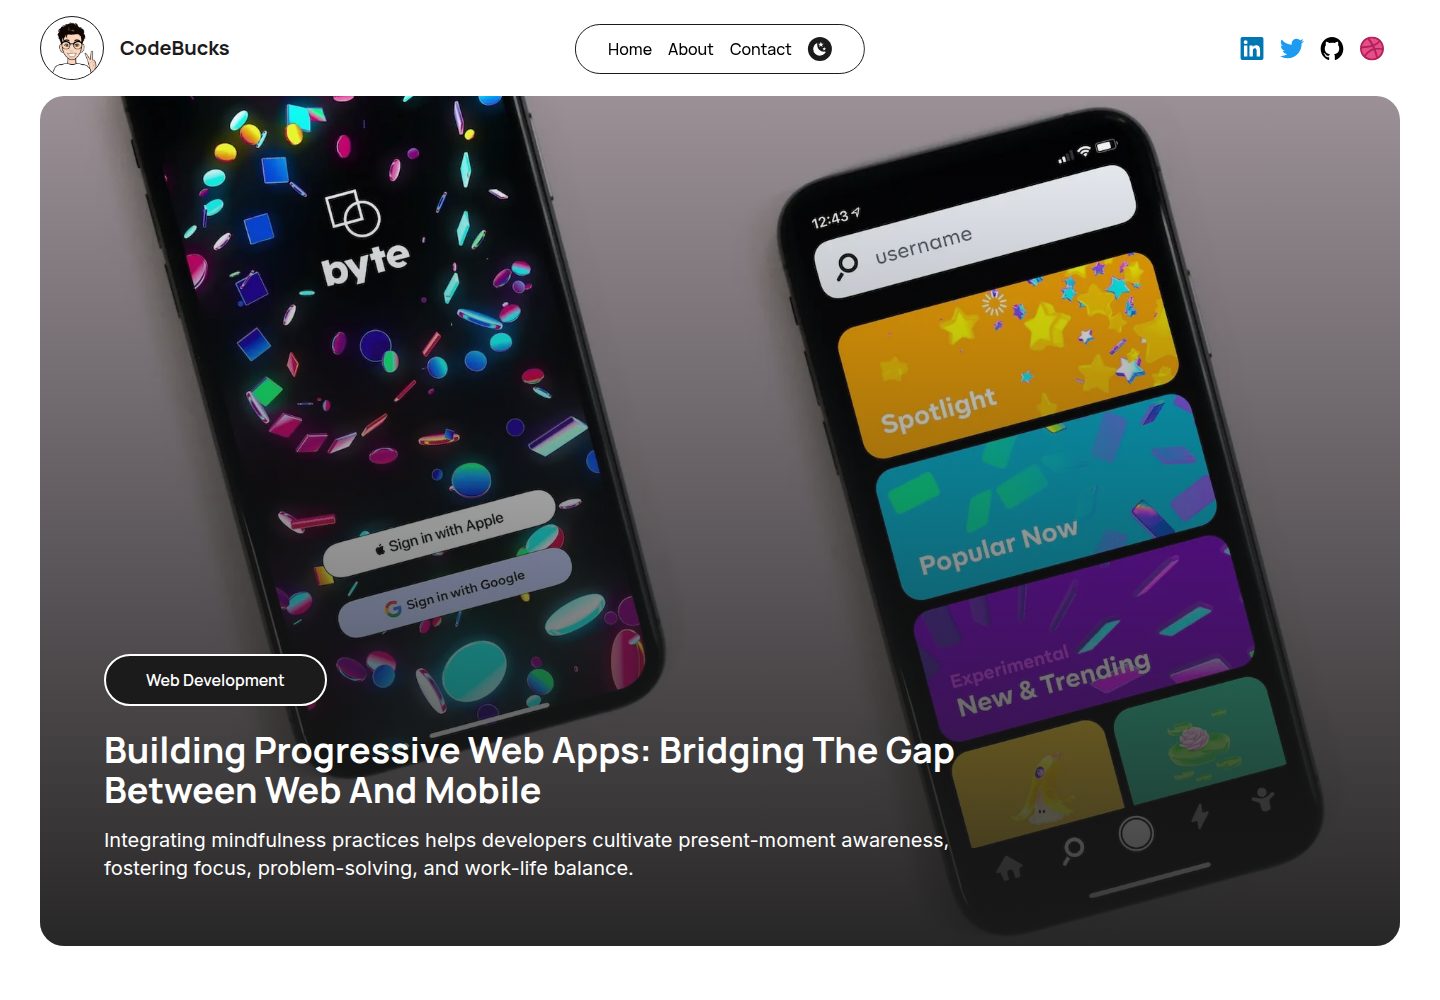
Nextjs-tailwindcss-blog-template
A personal blog template built with Next.js and Tailwind CSS, using Velite to process Markdown content. It includes home, about, contact and article pages, with a demo site and a companion YouTube tutorial.
Next.js · Blog
Next-js-Blog-Boilerplate
A blog starter built on Next.js 12 and Tailwind CSS 3, integrating TypeScript, ESLint, Prettier, and PostCSS.
Next.js · Blog
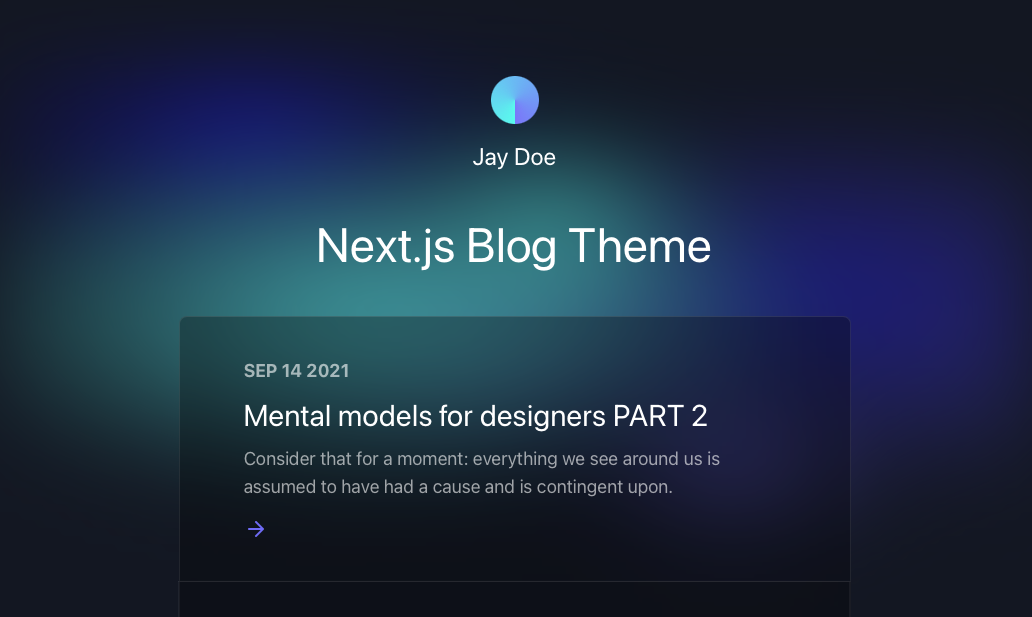
nextjs-blog-theme
A Next.js 15 and Tailwind CSS 4.x blog starter by Netlify, designed by Bejamas, with MDX support, dark/light theme switching, and environment-variable configuration. It includes a visual setup wizard for deploying to Netlify and manages content via local .mdx files.
Next.js · Blog
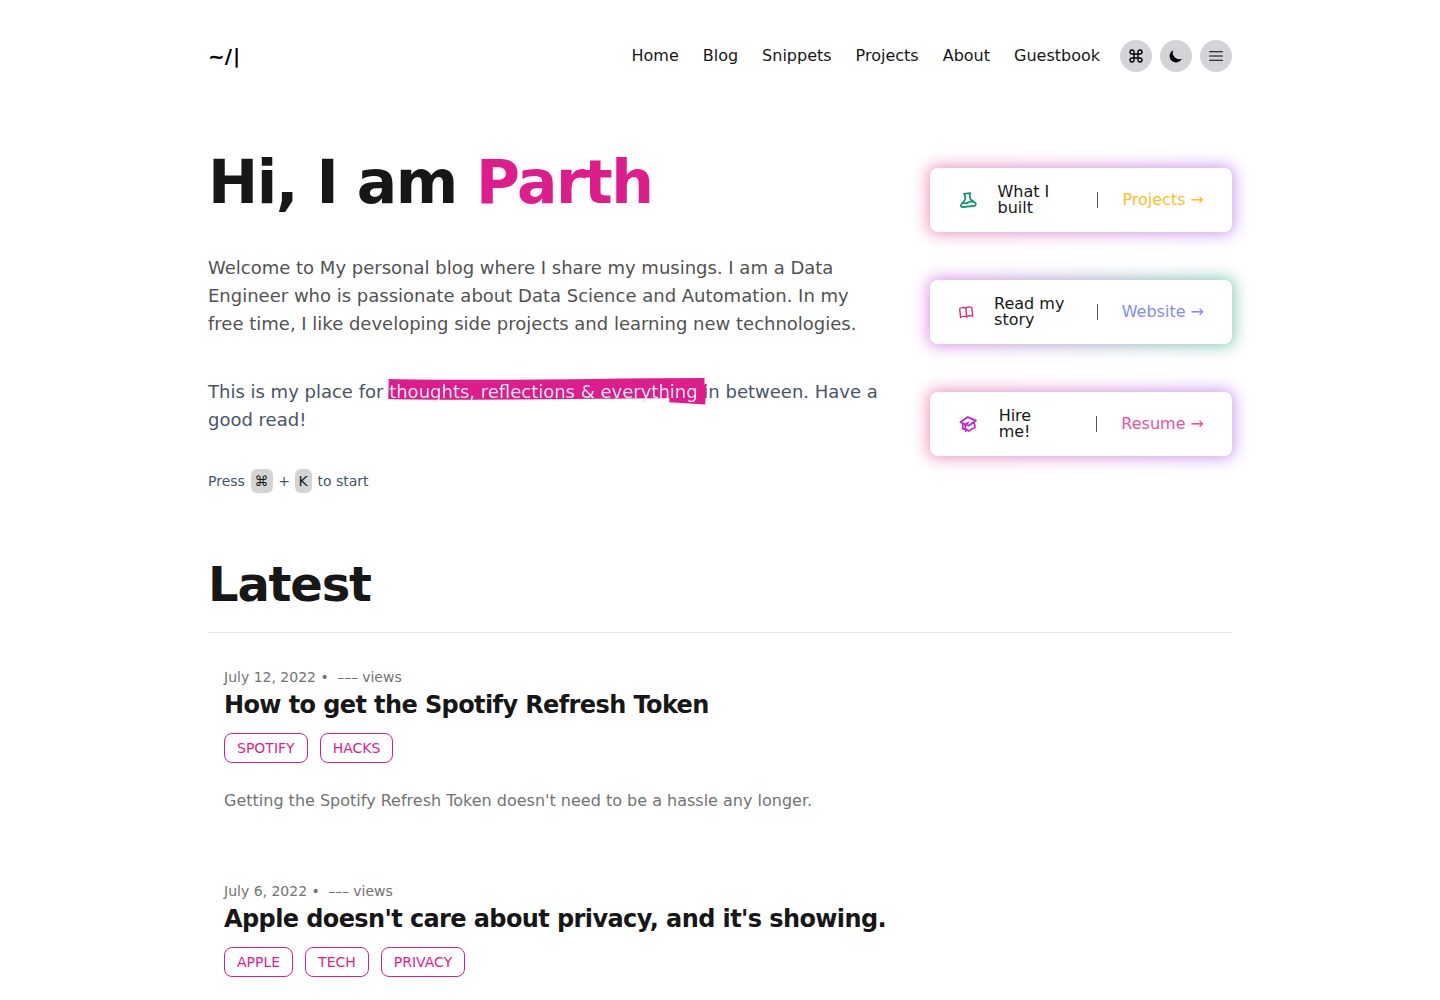
blog
A personal blog forked from Timlrx's tailwind-nextjs-starter-blog, built with Next.js, React, and Tailwind CSS. Content is stored as Markdown/MDX under data/, with site, author, navigation, and project data in separate files.
Next.js · Blog
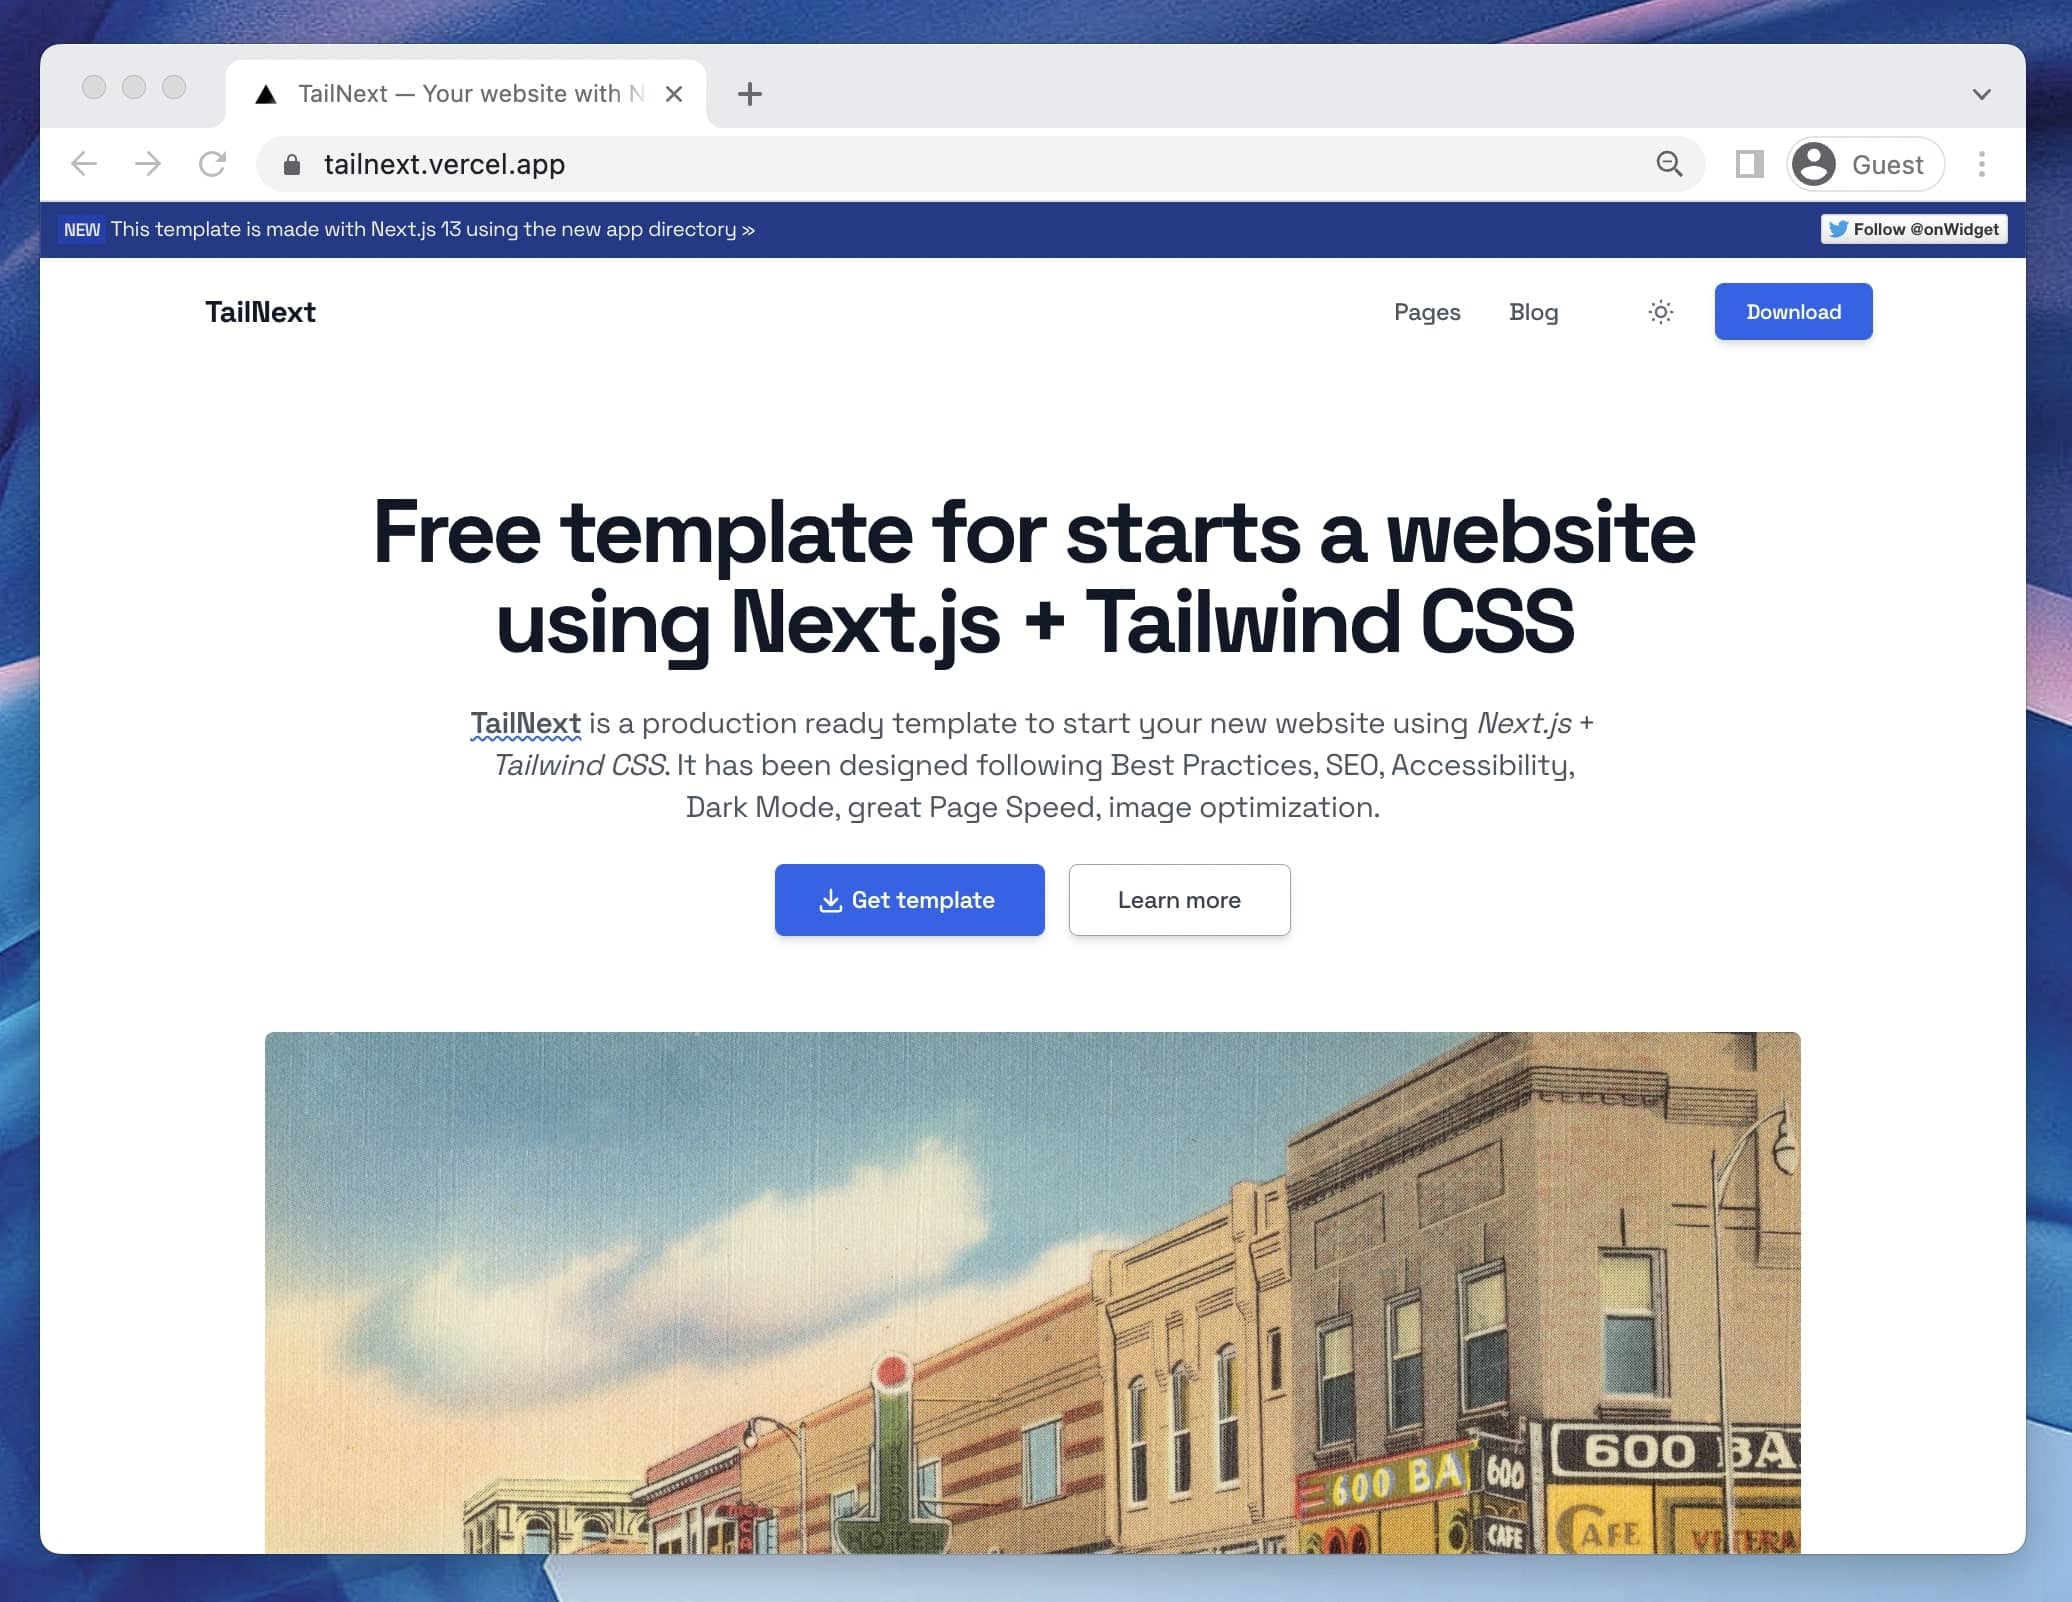
tailnext
Tailnext is a free, open-source template built on the Next.js 14 App Router and Tailwind CSS, created by the onWidget team.
Next.js · Blog