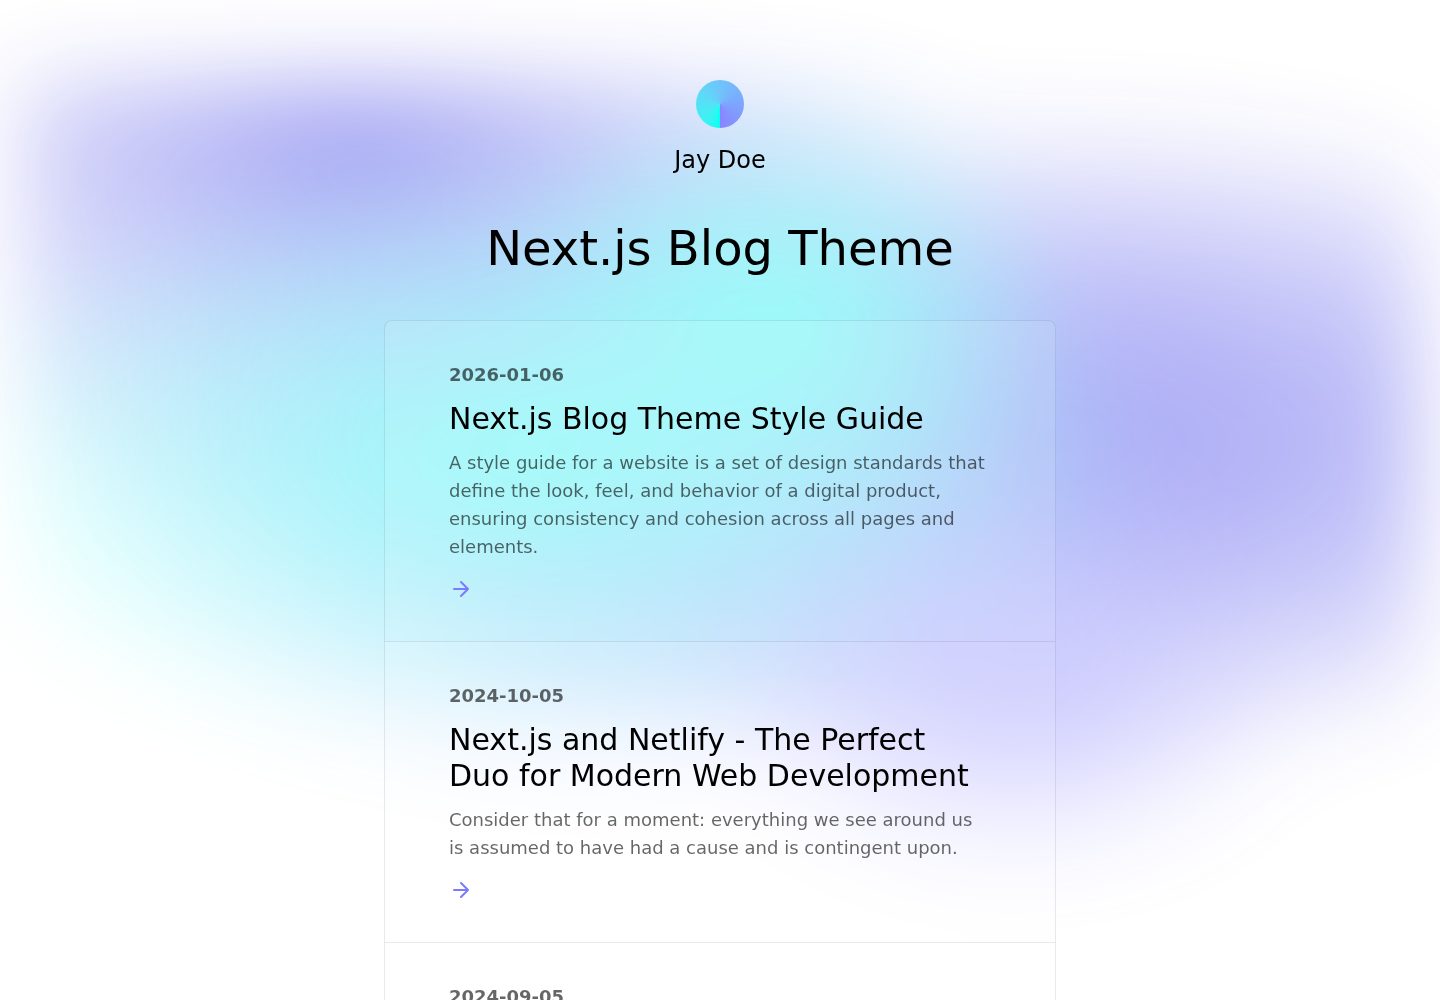
使用 Next.js Pages Router 构建的博客起始项目
Next.jsReact博客
nextjs-blog-theme-website — Next.js 博客模板
作者 KulankashVictor
基于 Next.js Pages Router 的博客模板,使用 Tailwind 与 MDX,支持明暗主题,通过环境变量配置博客名称、标题、页脚与字体。
看看你的网站会是什么样
浏览真实页面截图,比较内容排版与手机效果。点击下方缩略图切换,放大查看整页细节。
全部页面与视图 3
截图用于了解视觉与布局,交互效果请以实际项目为准。
采集于 2026-10-03查看来源
值得关注的模板亮点
从已有项目资料中,快速了解它的特点。
样式基于 Tailwind,并内置明暗主题
文章以 MDX 格式存放在 /posts 目录,可在文中使用 React 组件
通过环境变量配置博客名称、标题、页脚文字与字体族
提供 Netlify 部署按钮与在线设置向导两种启动方式
包含 Renovate 配置,可按需删除
模板详细介绍
该模板是一个可自定义的博客起始项目,采用 Next.js 的 Pages Router 结构,样式使用 Tailwind,文章内容以 MDX 格式存放在 /posts 目录中。MDX 允许在文章里使用 React 组件,因此可以嵌入交互式内容。模板自带明暗两套主题,并可通过环境变量调整博客名称、首页主标题、页脚文字以及标题和正文的字体族。
配置方式以环境变量为主,便于在 Netlify 等 Jamstack 平台上部署;如果不想使用环境变量,也可以直接修改 utils/global-data.js 中的默认值,或在使用这些变量的位置硬编码博客信息。项目还包含 Renovate 配置文件用于依赖更新,不需要时可以删除。
模板的演示站点由 Bejamas 提供,仓库中保留了指向 Netlify 部署按钮和设置向导的链接。仓库采用 MIT 许可,可免费使用、修改、商用和分发代码,但演示图片、字体、图标等第三方素材需单独核对许可,域名、托管等外部服务也可能产生费用。
Next.js博客
适合你的项目吗?
适用场景
- 搭建以 MDX 撰写、需要嵌入 React 组件的技术博客
- 在 Netlify 等 Jamstack 平台上快速部署个人博客
- 需要明暗主题切换与 Tailwind 样式定制的博客项目
- 希望通过环境变量而非改代码来调整博客名称与字体的场景
适合人群
- 熟悉 Next.js Pages Router 与 React 的开发者
- 使用 MDX 写作并希望在文章中插入组件的博主
- 计划部署到 Netlify 或其他 Jamstack 平台的用户
- 需要明暗主题和 Tailwind 定制能力的博客项目
上手与定制指南
结合仓库当前版本的说明,按下面的资料检查内容、配置与运行要求。
- 1
在 GitHub 上点击 use this template 生成新仓库,然后克隆到本地
- 2
运行 yarn install 安装依赖,再用 yarn run dev 启动本地开发服务器
- 3
博客配置可通过环境变量设置,也可修改 utils/global-data.js 中的默认值
- 4
新增文章时在 /posts 目录创建 .mdx 文件
- 5
不需要依赖自动更新时,可删除 renovate.json 文件
授权与来源资料
使用条件与限制
免费使用 · 保留许可声明本次收录的是公开仓库中采用 MIT 许可的免费版本;免费范围为该版本代码,不代表外部服务或第三方素材免费。
使用时需要遵守
- 允许免费使用、修改、商用和分发该版本代码。
- 分发代码副本或实质性部分时,保留原作者版权声明和完整 MIT 许可声明。
- 代码按现状提供;担保与责任限制以原许可证及适用法律为准。
额外费用与待核对事项
- 使用在线设置向导(nextjs-wizard.netlify.app)创建博客并部署到 Netlify,属于可选的外部服务;也可完全在本地手动配置,不强制使用。
- 通过 Netlify 控制台设置环境变量时需使用 Netlify 账号与托管服务,可能产生外部服务费用;也可改用本地文件配置。
- 模板内置 Renovate 依赖更新工具,若团队不需要该工具,可删除 renovate.json 文件。
- 演示图片、字体、图标及其他第三方素材需按各自许可核对,不能仅凭代码的 MIT 许可判断。
- 域名、托管、数据库、支付或 AI 等外部服务可能另外收费。
查看原文依据
Permission is hereby granted, free of charge
许可证原文
Through the [setup wizard](https://nextjs-wizard.netlify.app/), you can create your blog in a few clicks and deploy to Netlify.
README 原文
You can do this in your Netlify dashaboard (Site settings/Build & deploy/Environment/Environment variables).
README 原文
https://github.com/KulankashVictor/nextjs-blog-theme-website/blob/main/LICENSEhttps://github.com/KulankashVictor/nextjs-blog-theme-website/blob/main/README.md[Renovate](https://www.mend.io/free-developer-tools/renovate/) - to regularly update our dependencies
README 原文
DeepSeek 根据仓库许可证和 README 整理 ·2026-10-03。结果仅覆盖已读取资料,依赖、图片、字体及后续条款变更以各自原文为准。
项目核对记录与介绍依据
模板资料
- 来源平台
- GitHub
- 资料与维护参考分
- 资料一般 · 65 / 100
- 技术栈
- Next.js · React
- 网站类型
- 博客
这个分数如何计算
本站按许可资料(最高30分)、演示链接(12分)、预览图(10分)、Star数(15分)、记录的维护时间(15分)、描述完整度(8分)、功能记录(5分)和分类资料(5分)计算。它不是代码、安全或性能测试,也不是 Google 评分;有链接不代表已实测可用。
这个项目需要核对什么
- 记录的仓库更新时间
- 2024-04-16
- 截图检查日期
- 2026-10-03
已收录演示链接。请用你的内容与屏幕尺寸检查;有演示不代表表单、认证或支付已经可用。
目录记录的主要技术栈是 Next.js。请通过依赖清单和锁文件核对实际版本与托管要求。这些说明基于收录资料,不代表代码审计或部署实测。
查看具体选型方法 →介绍的制作与核对状态
介绍由 AI 辅助整理目录与仓库资料。仓库作者不等于这篇介绍的审核者。
审核声明: [email protected] · 2026-10-04
查看当时使用的来源资料
SHA-256: 883e04442125bc758ba06a68cfdc31cc42c7e19d6885dd53216713986045188e
2026-10-03T20:45:21.717Z
来源文件 / 仓库 [](https://app.netlify.com/start/deploy?repository=https://github.com/netlify-templates/nextjs-blog-theme) A customizable blog starter using: - [Next.js](https://github.com/vercel/next.js) v14 (Pages Router) - [Tailwind](https://tailwindcss.com/) v3.0 - Built-in [MDX](https://mdxjs.com/) v1 support - Includes modern design with dark & light themes  [Take a gander at the demo.](https://bejamas-nextjs-blog.netlify.app) [Click here to watch the template walkthrough!](https://www.youtube.com/watch?v=63QZHs259dY) ## Table of Contents: - [Getting Started](#getting-started) - [Setting Up Locally](#setting-up-locally) - [Using the Wizard](#using-the-setup-wizard) - [Configuring the Blog](#configuring-the-blog) - [Adding New Posts](#adding-new-posts) - [Testing](#testing) - [Included Default Testing](#included-default-testing) - [Removing Renovate](#removing-renovate) ## Getting Started --- You can get started with this project in two ways: locally or using the [setup wizard](https://nextjs-wizard.netlify.app/). ### Setting Up Locally If you're doing it locally, start with clicking the [use this template](https://github.com/netlify-templates/nextjs-blog-theme/generate) button on GitHub. This will create a new repository with this template's files on your GitHub account. Once that is done, clone your new repository and navigate to it in your terminal. From there, you can install the project's dependencies by running: ```shell yarn install ``` Finally, you can run your project locally with: ```shell yarn run dev ``` Open your browser and visit <http://localhost:3000>, your project should be running! ### Using the Setup Wizard  Through the [setup wizard](https://nextjs-wizard.netlify.app/), you can create your blog in a few clicks and deploy to Netlify. ## Configuring the blog The config is based on environment variables to make it easy to integrate with any Jamstack platform, like Netlify. Here are the variables you can edit: | Variable | Description | Options | --- | --- | --- | | `BLOG_NAME` | the name of your blog, displayed below the avatar || | `BLOG_TITLE` | the main header (`h1`) on the home page || | `BLOG_FOOTER_TEXT`| the text in the footer || | `BLOG_THEME` | the theme to pass to Tailwind | default | | `BLOG_FONT_HEADINGS` | the font-family for all HTML headings, from `h1` to `h6`| sans-serif (default), serif, monospace| | `BLOG_FONT_PARAGRAPHS` | the font-family for all other HTML elements | sans-serif (default), serif, monospace| All of the env variables can be configured through the [Wizard](https://nextjs-wizard.netlify.app/) or through setting the project's environment variables. You can do this in your Netlify dashaboard (Site settings/Build & deploy/Environment/Environment variables). https://user-images.githubusercontent.com/3611928/153997545-6dcdeef0-e570-49e7-93d6-ce0d393d16c9.mp4 [alt: video walkthrough of editing env vars] If setting an environment variable isn't your cup of tea, the defaults can be changed in [`utils/global-data.js`](/utils/global-data.js). You can also remove the variables and hard code blog information where these variables are used in the code base. - `BLOG_THEME, BLOG_FONT_HEADINGS, & BLOG_FONT_PARAGRAPHS` are used in [`tailwind-preset.js`](tailwind-preset.js) - `BLOG_NAME, BLOG_TITLE, BLOG_FOOTER_TEXT` are used in [`pages/index.js`](pages/index.js) & [`pages/posts/[slug].js`](pages/posts/[slug].js) through the `globalData` object. ## Adding new posts All posts are stored in `/posts` directory. To make a new post, create a new file with the [`.mdx` extension](https://mdxjs.com/). Since the posts are written in `MDX` format you can pass props and components. That means you can use [React components](https://reactjs.org/docs/components-and-props.html) inside your posts to make them more interactive. Learn more about how to do so in the [MDX docs on content](https://mdxjs.com/docs/using-mdx/#components). https://user-images.githubusercontent.com/3611928/152727802-102ec296-41c8-446d-93ed-922d11187073.mp4 [alt: video walkthrough of adding a new blog post] ## Testing ### Included Default Testing We’ve included some tooling that helps us maintain these templates. This template currently uses: - [Renovate](https://www.mend.io/free-developer-tools/renovate/) - to regularly update our dependencies If your team is not interested in this tooling, you can remove them with ease! ### Removing Renovate In order to keep our project up-to-date with dependencies we use a tool called [Renovate](https://github.com/marketplace/renovate). If you’re not interested in this tooling, delete the `renovate.json` file and commit that onto your main branch.
看看同类模板
对比同技术栈与用途的模板,找到更适合的视觉与内容结构。

tailwind-nextjs-starter-blog
tailwind-nextjs-starter-blog 是一个面向个人技术博客的 Next.js 与 Tailwind CSS 启动模板,其 v2 版本基于 App Router 与 React Server Comp…
Next.js · 博客
Nextjs-tailwindcss-blog-template
⭐Build SEO optimized personal blog website with Next.js, Tailwind CSS and Contentlayer. If you want to learn t…
Next.js · 博客
Next-js-Blog-Boilerplate
Next-js-Blog-Boilerplate 是一套面向个人与技术博客的启动代码,基于 Next.js 12 与 Tailwind CSS 3 构建,同时集成了 TypeScript、ESLint、Prettier …
Next.js · 博客
nextjs-blog-theme
nextjs-blog-theme 是 Netlify 团队维护的一个博客启动模板,基于 Next.js 15(Pages Router)和 Tailwind CSS 4.x 构建,设计由 Bejamas 机构完成。
Next.js · 博客
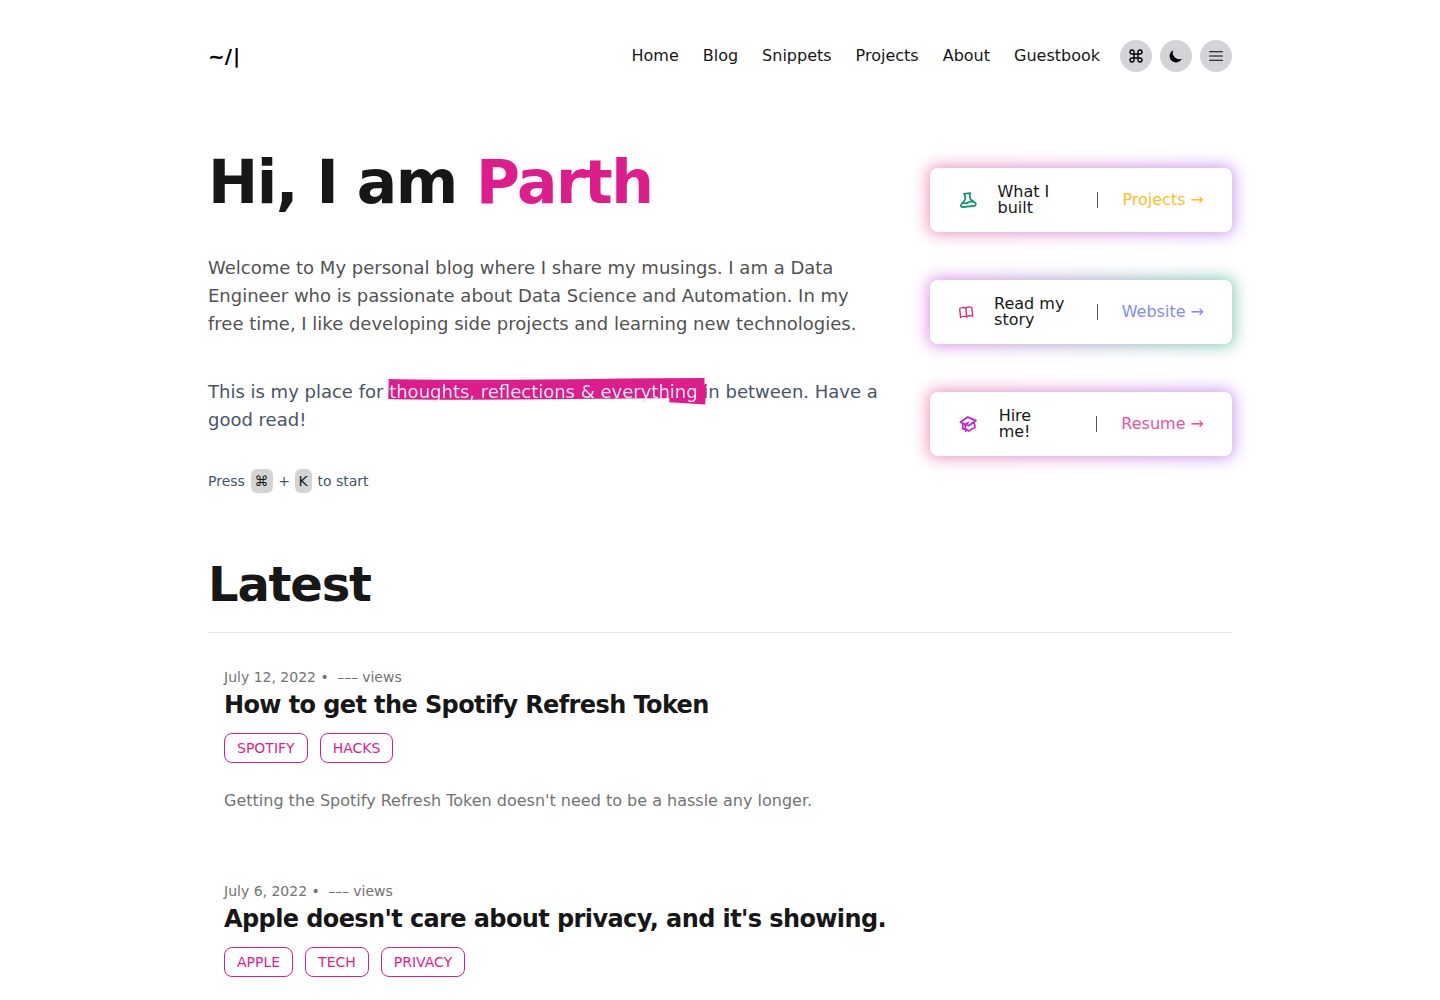
blog
🚀 My personal blog made with Tailwind CSS and NextJS. Template from Timlrx. Feel free to fork, follow and use…
Next.js · 博客
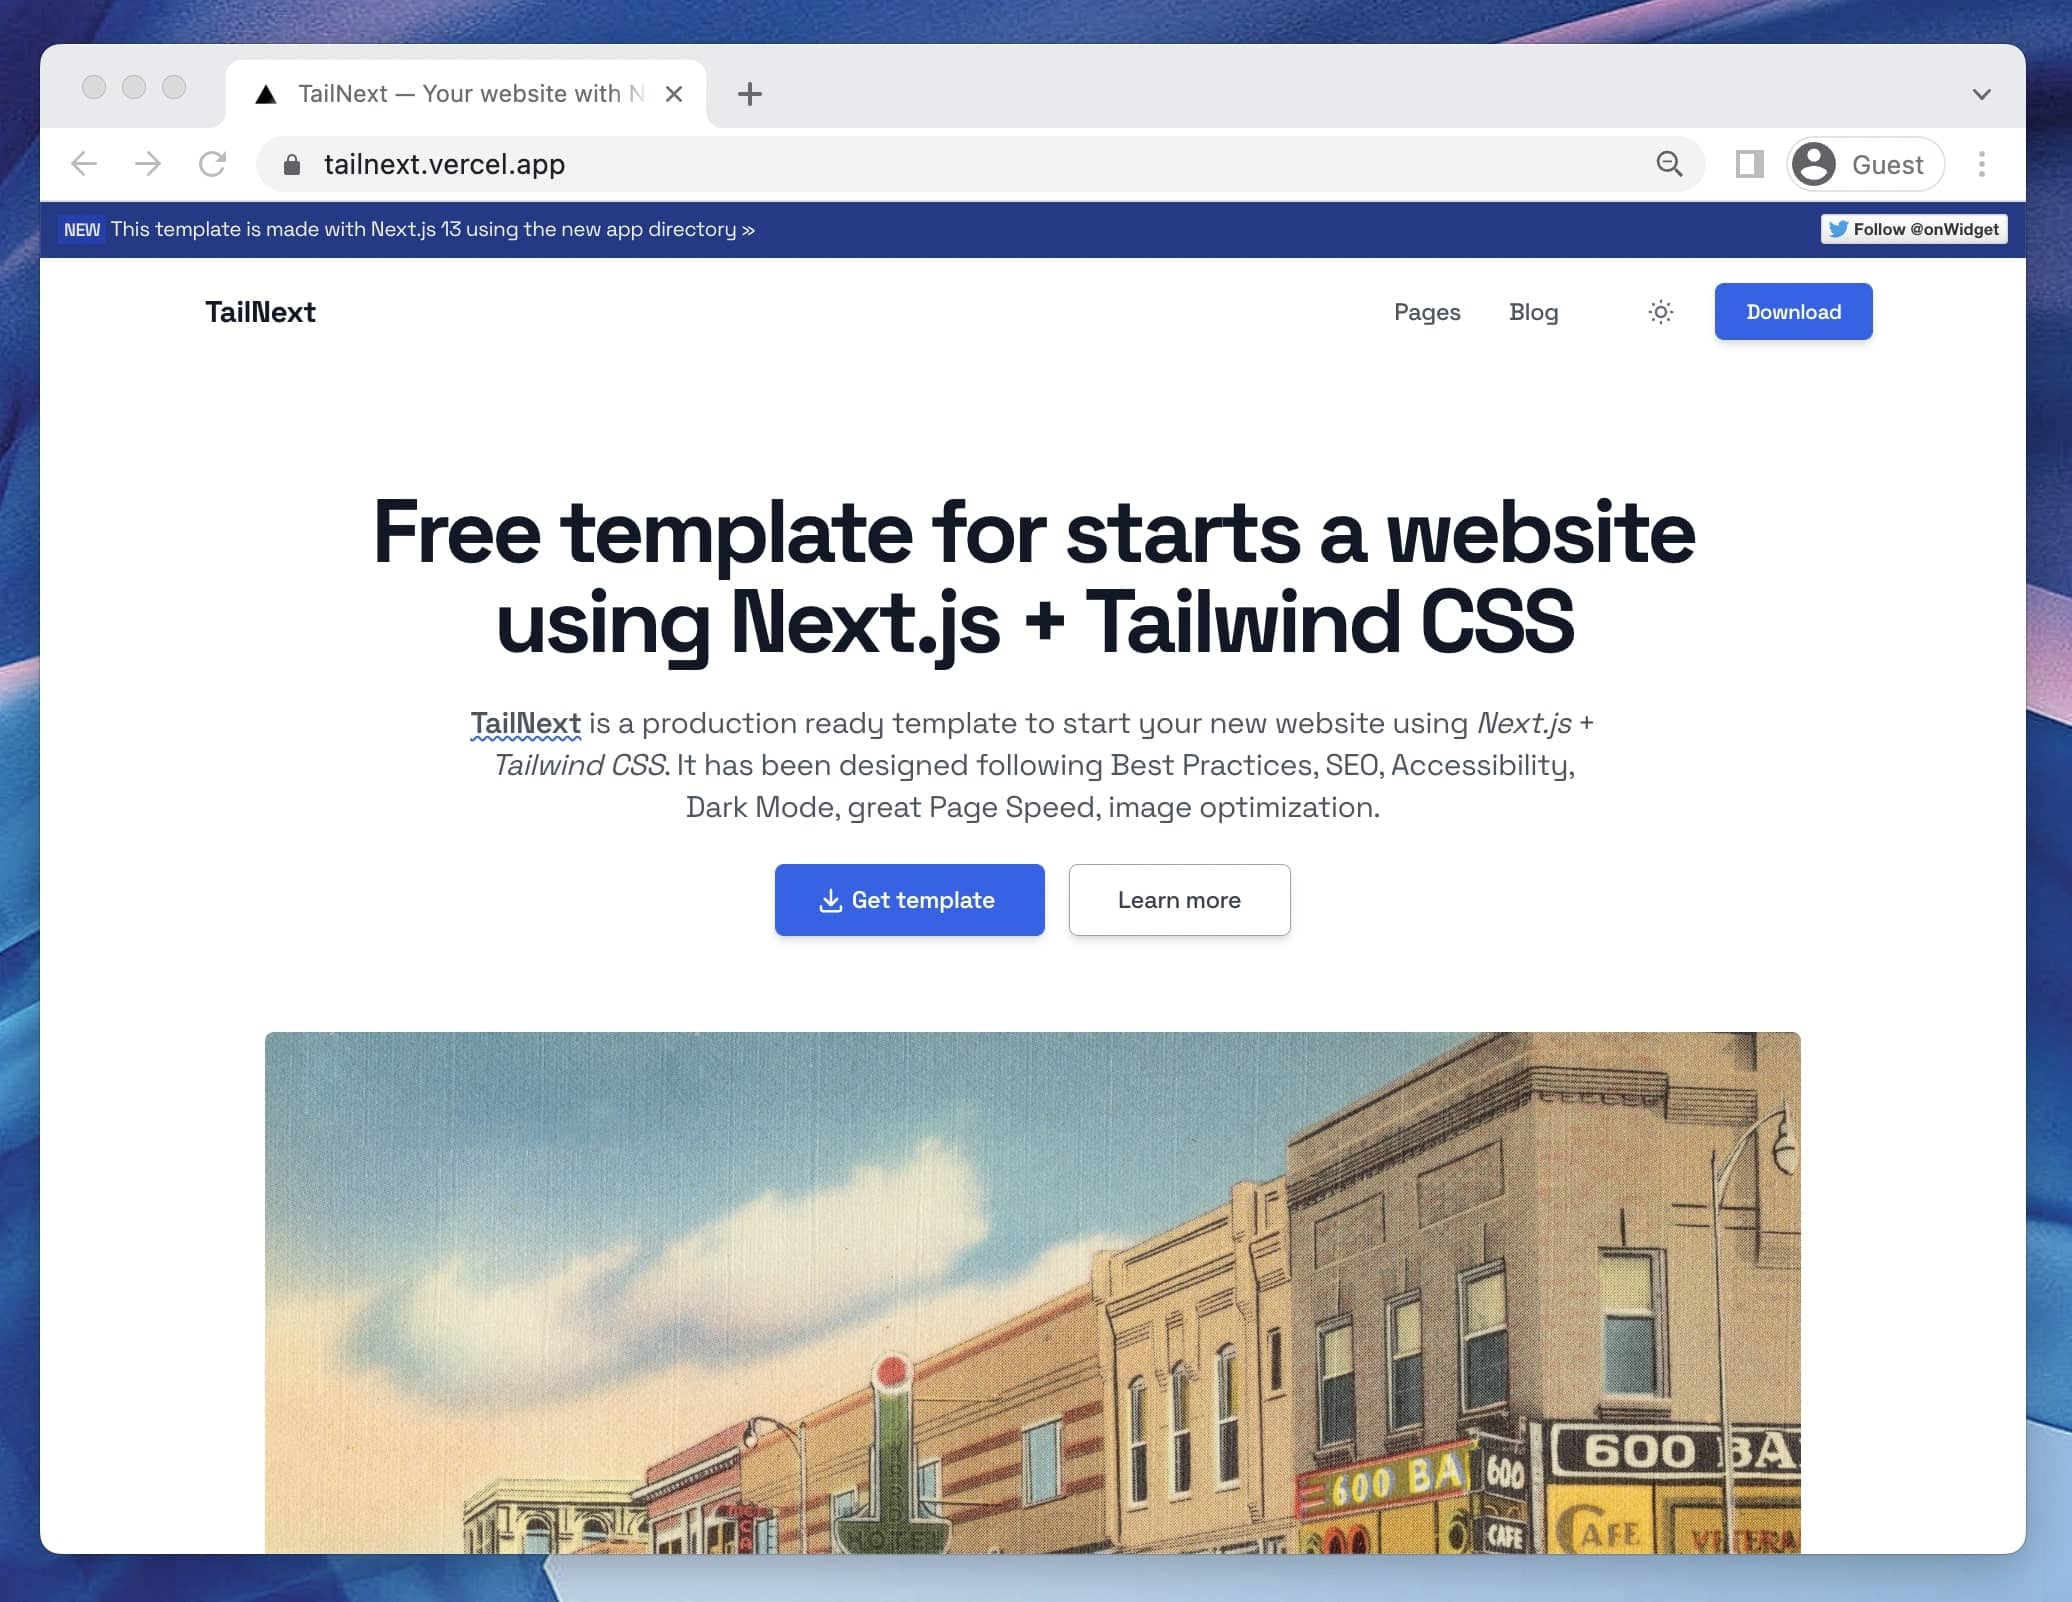
tailnext
Tailnext 是一个基于 Next.js 14 App Router 和 Tailwind CSS 的免费开源模板,由 onWidget 团队创建并维护。
Next.js · 博客