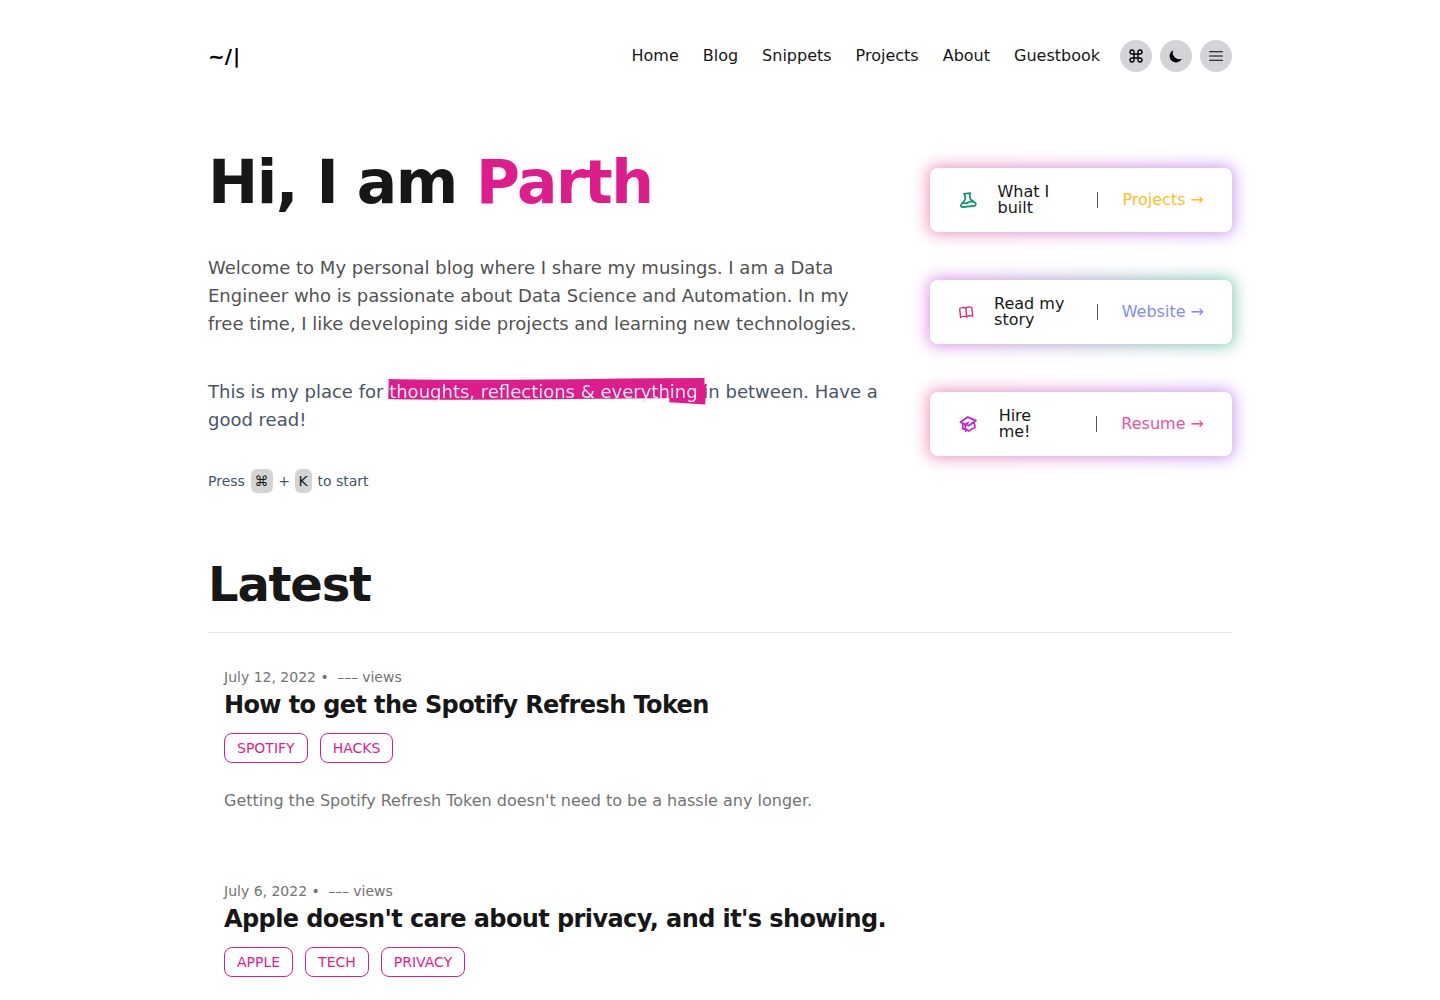
基于 Timlrx 的 tailwind-nextjs-starter-blog 模板二次开发
Next.jsReact博客
blog (pycoder2000) — Next.js 博客模板
作者 pycoder2000
基于 Timlrx 的 tailwind-nextjs-starter-blog 模板二次开发的个人博客,使用 Next.js、React 与 Tailwind CSS 构建,作者用于托管自己的文章与作品集。
看看你的网站会是什么样
浏览真实页面截图,比较内容排版与手机效果。点击下方缩略图切换,放大查看整页细节。
全部页面与视图 3
截图用于了解视觉与布局,交互效果请以实际项目为准。
采集于 2026-09-30查看来源
值得关注的模板亮点
从已有项目资料中,快速了解它的特点。
使用 Next.js、React 与 Tailwind CSS 构建
文章以 Markdown/MDX 文件存放在 data/blog 目录
站点信息、作者、导航与项目数据分别集中在 data 目录下的独立文件中
提供 scripts/compose.js 脚本,通过交互式提示生成带 front matter 的新文章
README 列出 Prisma、PlanetScale、NextAuth.js、Email Octopus 与 giscus 等集成及对应环境变量
模板详细介绍
这是一个个人博客项目,作者在 README 中说明其用于托管个人作品集,线上地址为 musing.vercel.app。项目基于 Timothy Lin 的 tailwind-nextjs-starter-blog 模板二次开发,使用 Next.js、React 与 Tailwind CSS,部署在 Vercel 上。
内容以 Markdown/MDX 文件形式存放在 data/blog 目录,作者信息位于 data/authors/default.md,站点信息集中在 data/siteMetadata.js,项目卡片数据在 data/projectsData.js,导航链接在 data/headerNavLinks.js。项目还提供 scripts/compose.js 脚本,通过交互式提示生成带 front matter 的新文章。
README 中列出的技术栈还包括 Prisma、PlanetScale、NextAuth.js、Email Octopus 与 giscus 评论,并给出了对应的环境变量示例(如 DATABASE_URL、OAUTH_CLIENT_KEY、EMAILOCTOPUS_API_KEY、NEXT_PUBLIC_GISCUS_REPO 等),说明该仓库包含超出纯静态博客的集成配置。
需要注意:README 的安装与构建章节存在明显笔误,开发服务器命令写作 npm start,而生产构建章节却写作 npm run dev、预览写作 npm run serve,实际使用时需以项目 package.json 中的脚本定义为准。此外,README 中“Comment”一行误写为 Tailwindcss,应为 giscus。
Next.jsReact博客
适合你的项目吗?
适用场景
- 作为个人博客或作品集站点使用,替换 data 目录下的内容文件即可发布自己的文章
- 作为学习 Next.js + Tailwind CSS 博客实现的参考项目
- 在 Vercel 上部署并绑定自有域名
- 参考其 MDX 内容组织方式与 components/MDXComponents.js 的自定义组件写法
适合人群
- 希望用 Markdown/MDX 管理文章内容的个人博主
- 熟悉 React 与 Next.js、愿意直接修改源码的开发者
- 需要评论、订阅、认证等集成配置参考的开发者
上手与定制指南
结合仓库当前版本的说明,按下面的资料检查内容、配置与运行要求。
- 1
README 中的命令存在笔误:开发服务器写作 npm start,生产构建写作 npm run dev,预览写作 npm run serve,请以 package.json 中的脚本为准
- 2
需要创建 .env.local 并按 .env.example 填写环境变量,包括 giscus、Email Octopus、数据库、OAuth、Twitter 与 Spotify 相关配置
- 3
README 建议使用 NVM 安装并切换到项目指定的 Node 版本
- 4
自定义入口包括 data/siteMetadata.js、data/authors/default.md、data/projectsData.js、data/headerNavLinks.js 与 data/logo.svg
- 5
若使用 giscus 之外的评论方案或分析服务,需调整 next.config.js 中的内容安全策略
授权与来源资料
使用条件与限制
免费使用 · 保留许可声明本次收录的是公开仓库中采用 MIT 许可的免费版本;免费范围为该版本代码,不代表外部服务或第三方素材免费。
使用时需要遵守
- 允许免费使用、修改、商用和分发该版本代码。
- 分发代码副本或实质性部分时,保留原作者版权声明和完整 MIT 许可声明。
- 代码按现状提供;担保与责任限制以原许可证及适用法律为准。
额外费用与待核对事项
- 运行项目需自行创建 .env.local 并配置环境变量,包括 giscus 评论、Email Octopus 订阅、数据库、OAuth、Twitter 与 Spotify 等第三方服务的密钥与凭据,需自行注册相应服务并获取 API Key。
- 默认评论方案为 giscus;若改用其他评论或分析服务,需自行修改 next.config.js 中的内容安全策略。
- 本项目基于 Timothy Lin 的 tailwind-nextjs-starter-blog 模板二次开发,使用时需注意保留并遵守上游模板的署名与许可要求。
- README 推荐部署到 Vercel 平台,使用该平台可能涉及第三方服务的账号注册与费用条款,需自行核实。
- 演示图片、字体、图标及其他第三方素材需按各自许可核对,不能仅凭代码的 MIT 许可判断。
- 域名、托管、数据库、支付或 AI 等外部服务可能另外收费。
查看原文依据
Permission is hereby granted, free of charge
许可证原文
Create a .env.local and following the .env.example input some environment variables so that can run normally.
README 原文
Modify the content security policy in `next.config.js` if you want to use any analytics provider or a commenting solution other than giscus.
README 原文
The original template is designed by <a href="https://github.com/timlrx" target="_blank">Timothy Lin</a> and can be found
README 原文
https://github.com/pycoder2000/blog/blob/master/LICENSEhttps://github.com/pycoder2000/blog/blob/master/README.mdThe easiest way to deploy the template is to use the [Vercel Platform](https://vercel.com) from the creators of Next.js.
README 原文
DeepSeek 根据仓库许可证和 README 整理 ·2026-09-30。结果仅覆盖已读取资料,依赖、图片、字体及后续条款变更以各自原文为准。
项目核对记录与介绍依据
模板资料
- 来源平台
- GitHub
- 资料与维护参考分
- 资料较完整 · 90 / 100
- 技术栈
- Next.js · React
- 网站类型
- 博客
这个分数如何计算
本站按许可资料(最高30分)、演示链接(12分)、预览图(10分)、Star数(15分)、记录的维护时间(15分)、描述完整度(8分)、功能记录(5分)和分类资料(5分)计算。它不是代码、安全或性能测试,也不是 Google 评分;有链接不代表已实测可用。
这个项目需要核对什么
- 记录的仓库更新时间
- 2025-04-05
- 截图检查日期
- 2026-09-30
已收录演示链接。请用你的内容与屏幕尺寸检查;有演示不代表表单、认证或支付已经可用。
目录记录的主要技术栈是 Next.js。请通过依赖清单和锁文件核对实际版本与托管要求。这些说明基于收录资料,不代表代码审计或部署实测。
查看具体选型方法 →介绍的制作与核对状态
介绍由 AI 辅助整理目录与仓库资料。仓库作者不等于这篇介绍的审核者。
已完成服务器许可规则与 AI 来源核对;未经过人工编辑审核。
查看当时使用的来源资料
SHA-256: 9a9db5628085fde320c4fad5545bfd4eee3d267b8a3d3b5f388b0b350f6ccb89
2026-09-30T08:12:34.551Z
来源文件 / 仓库<div align="center"> <img alt="Logo" src="https://github.com/pycoder2000/blog/raw/master/public/static/images/logo.png" width="100" /> </div> <h1 align="center"> Personal Blog - <em>Mere Musings</em> </h1> <p align="center"> This is my personal portfolio blog hosted <a href="https://musing.vercel.app/" target="_blank">here</a> built with <a href="https://nextjs.org/" target="_blank">Next.js</a>, <a href="https://tailwindcss.com/" target="_blank">Tailwind CSS</a> and hosted with <a href="https://www.vercel.com/" target="_blank">Vercel</a>. </p> <p align="center"> The original template is designed by <a href="https://github.com/timlrx" target="_blank">Timothy Lin</a> and can be found <a href="https://github.com/timlrx/tailwind-nextjs-starter-blog" target="_blank">here</a>. The demo for the same can be found <a href="https://tailwind-nextjs-starter-blog.vercel.app/" target="_blank">here</a>. </p> <div align="center"> <a href="https://musing.vercel.app/" target="blank" ></a> <a href="https://github.com/pycoder2000/blog/issues/new?assignees=&labels=bug&template=bug_report.md&title="></a> <a href="https://github.com/pycoder2000/blog/issues/new?assignees=&labels=&template=feature_request.md&title="></a> <a href="https://github.com/pycoder2000/blog/fork"></a> <img src="https://img.shields.io/github/stars/pycoder2000/blog?color=darkgreen&style=for-the-badge"> </div>  <div align="center">       </div> ## 🛠 Installation & Set Up 1. Clone this repository ```sh gh repo fork repository --clone=true ``` 2. Change directories ```sh cd blog ``` 3. Install and use the correct version of Node using [NVM](https://github.com/nvm-sh/nvm) ```sh nvm install ``` 4. Install dependencies ```sh npm install ``` 5. Start the development server ```sh npm start ``` 6. Create a .env.local and following the .env.example input some environment variables so that can run normally. ```txt NEXT_PUBLIC_GISCUS_REPO= NEXT_PUBLIC_GISCUS_REPOSITORY_ID= NEXT_PUBLIC_GISCUS_CATEGORY= NEXT_PUBLIC_GISCUS_CATEGORY_ID= EMAILOCTOPUS_API_URL= EMAILOCTOPUS_API_KEY= EMAILOCTOPUS_LIST_ID= DATABASE_URL= OAUTH_CLIENT_KEY= OAUTH_CLIENT_SECRET= NEXTAUTH_URL= SECRET= TWITTER_API_KEY= TWITTER_BEARER_TOKEN= SPOTIFY_CLIENT_ID = SPOTIFY_CLIENT_SECRET = SPOTIFY_REFRESH_TOKEN = ``` ## 🏗️ Building and Running for Production 1. Generate a full static production build ```sh npm run dev ``` 2. Preview the site as it will appear once deployed ```sh npm run serve ``` Open [http://localhost:3000](http://localhost:3000) with your browser to see the result. You can start editing the page by modifying `pages/index.js`. The page auto-updates as you edit the file. ## 👨🎨️ Customization 1. Personalize `siteMetadata.js` (site related information) 2. Modify the content security policy in `next.config.js` if you want to use any analytics provider or a commenting solution other than giscus. 3. Personalize `authors/default.md` (main author) 4. Modify `projectsData.js` 5. Modify `headerNavLinks.js` to customize navigation links 6. Add blog posts ## 📝 Files to customize - `data/siteMetadata.js` - contains most of the site related information which should be modified for a user's need. - `data/authors/default.md` - default author information (required). Additional authors can be added as files in `data/authors`. - `data/projectsData.js` - data used to generate styled card on the projects page. - `data/headerNavLinks.js` - navigation links. - `data/logo.svg` - replace with your own logo. - `data/blog` - replace with your own blog posts. - `public/static` - store assets such as images and favicons. - `tailwind.config.js` and `css/tailwind.css` - contain the tailwind stylesheet which can be modified to change the overall look and feel of the site. - `css/prism.css` - controls the styles associated with the code blocks. Feel free to customize it and use your preferred prismjs theme e.g. [prism themes](https://github.com/PrismJS/prism-themes). - `components/social-icons` - to add other icons, simply copy an svg file from [Simple Icons](https://simpleicons.org/) and map them in `index.js`. Other icons use [heroicons](https://heroicons.com/). - `components/MDXComponents.js` - pass your own JSX code or React component by specifying it over here. You can then call them directly in the `.mdx` or `.md` file. By default, a custom link and image component is passed. - `layouts` - main templates used in pages. - `pages` - pages to route to. Read the [Next.js documentation](https://nextjs.org/docs) for more information. - `next.config.js` - configuration related to Next.js. You need to adapt the Content Security Policy if you want to load scripts, images etc. from other domains. ## 🔨 Compose Run `node ./scripts/compose.js` to bootstrap a new post. Follow the interactive prompt to generate a post with pre-filled front matter. ## 📚 Tech Stack | Tool | Link | | -------------- | --------------------------------------------------------- | | Framework | [Next.js](https://nextjs.org/) | | ORM | [Prisma](https://prisma.io/) | | Database | [PlanetScale](https://planetscale.com) | | Authentication | [NextAuth.js](https://next-auth.js.org/) | | Deployment | [Vercel](https://vercel.com) | | Styling | [Tailwindcss](https://tailwindcss.com/) | | Comment | [Tailwindcss](https://tailwindcss.com/) | | Newsletter | [Email Octopus](https://emailoctopus.com/) | | Favicon | [realfavicongenerator](https://realfavicongenerator.net/) | | Content | [MDX](https://mdxjs.com/) | ## 📈 Stats <img src="https://img.shields.io/website?down_color=red&down_message=offline&style=for-the-badge&up_color=green&up_message=online&url=https%3A%2F%2Fmusings.vercel.app"> <img src="https://img.shields.io/github/repo-size/pycoder2000/blog?style=for-the-badge&color=darkgreen" /> <img src="https://img.shields.io/github/languages/top/pycoder2000/blog?style=for-the-badge" /> <img src="https://img.shields.io/github/commit-activity/m/pycoder2000/blog?style=for-the-badge&color=orange" /> <img src="https://img.shields.io/github/deployments/pycoder2000/blog/Preview%20–%20blog?style=for-the-badge" /> <a href="https://tech-blogs.dev" target="_blank" ></a> <a href="https://makeapullrequest.com" target="blank" ></a> ## 🪜 Project structure ```bash 📦 root ├── 🗂️ components # React files to customize the components for the site ├── 🗂️ css # Tailwind and Prisma CSS files ├── 🗂️ data # Files to change the content of pages │ ├── 🗂️ authors # Markdown files for authors of blog │ ├── 🗂️ blog # Markdown files for blog posts │ └── 🗂️ snippets # Markdown files for code snippets ├── 🗂️ layouts # Templates for pages ├── 🗂️ lib # Non-react modules ├── 🗂️ pages # Page files for website ├── 🗂️ public # Static files for images, rss, and assets │ ├── 🗂️ static # Holds images, favicons, and other assets │ │ ├── 🗂️ favicon # Favicon files │ │ └── 🗂️ images # Image Files │ ├── 📝 feed.xml # RSS feed │ ├── 📝 robots.txt # Helps crawlers to crawl your site │ └── 📝 sitemap.xml # Sitemap ├── 🗂️ scripts # Scripts to run for different tasks ├── 📝 tailwind.config.js # Contains tailwind stylesheet to change the look └── 📝 next.config.js # configuration related to Next.js ``` ## 📊 Google Lighthouse Performance Metrics  ## 🚀 Deploy **Vercel** The easiest way to deploy the template is to use the [Vercel Platform](https://vercel.com) from the creators of Next.js. Check out the [Next.js deployment documentation](https://nextjs.org/docs/deployment) for more details. [](https://vercel.com/new/git/external?repository-url=https://github.com/timlrx/tailwind-nextjs-starter-blog) ## 🍰 Contributing Contributions are what make the open source community such an amazing place to learn, inspire, and create. Any contributions you make are **greatly appreciated**. If you have a suggestion that would make this better, please fork the repo and create a pull request. You can also simply open an issue with the tag "enhancement". Don't forget to give the project a star! Thanks again! 1. Fork the Project 2. Commit your Changes ```bash git commit -m 'Add some Feature' ``` 3. Push to the Branch ```bash git push origin main ``` 4. Open a Pull Request <div align="center"> <a href="https://makeapullrequest.com" target="blank" ></a> </div>
看看同类模板
对比同技术栈与用途的模板,找到更适合的视觉与内容结构。

tailwind-nextjs-starter-blog
tailwind-nextjs-starter-blog 是一个面向个人技术博客的 Next.js 与 Tailwind CSS 启动模板,其 v2 版本基于 App Router 与 React Server Comp…
Next.js · 博客
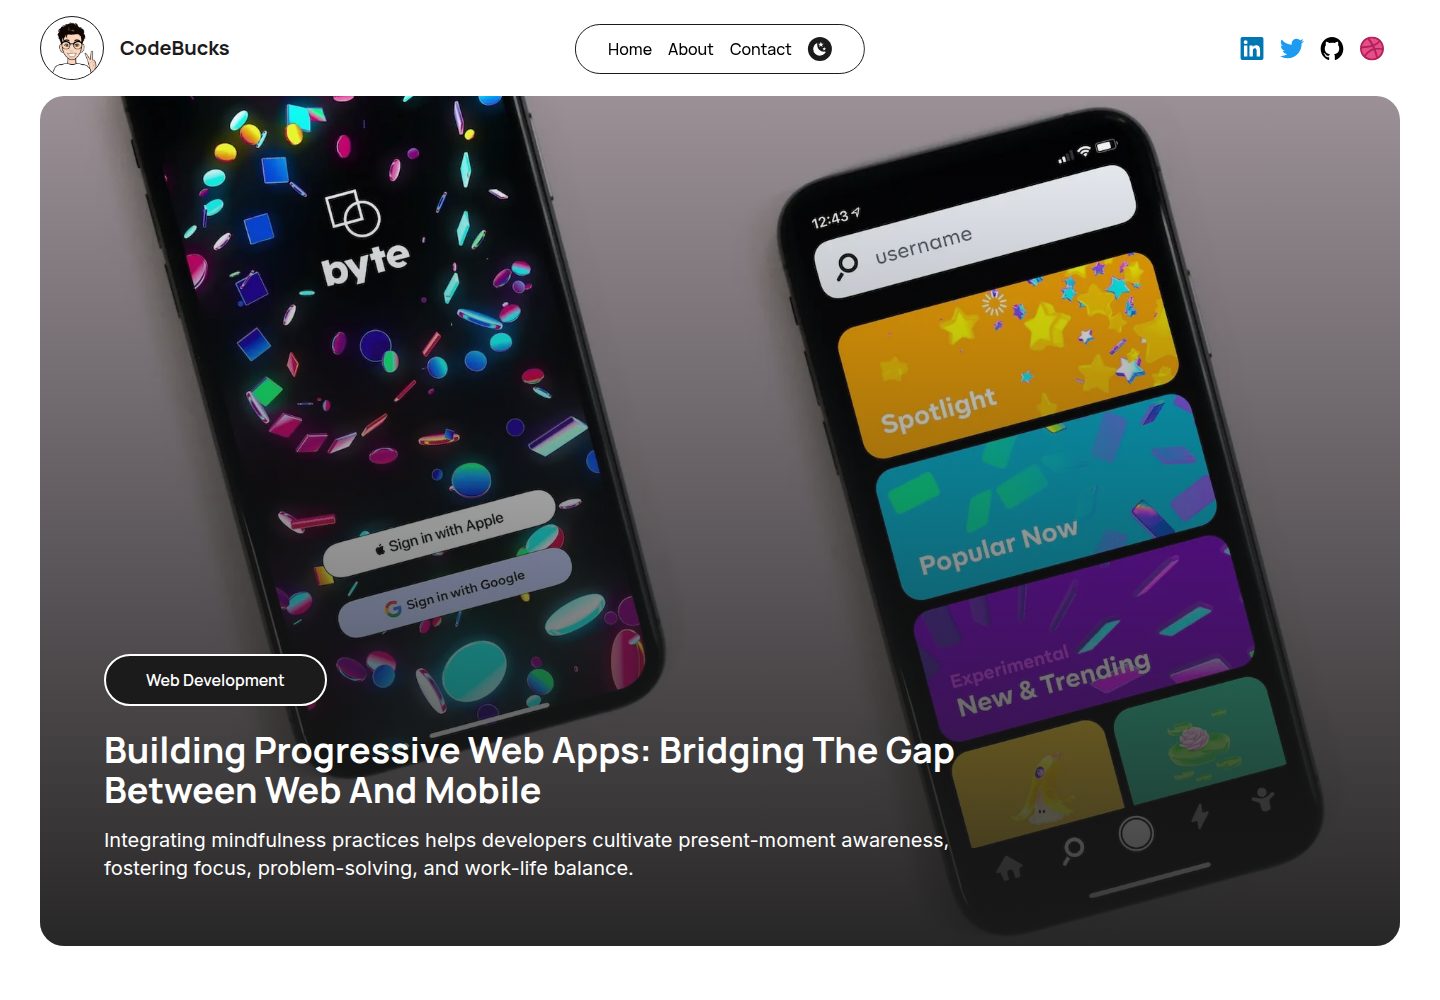
Nextjs-tailwindcss-blog-template
⭐Build SEO optimized personal blog website with Next.js, Tailwind CSS and Contentlayer. If you want to learn t…
Next.js · 博客
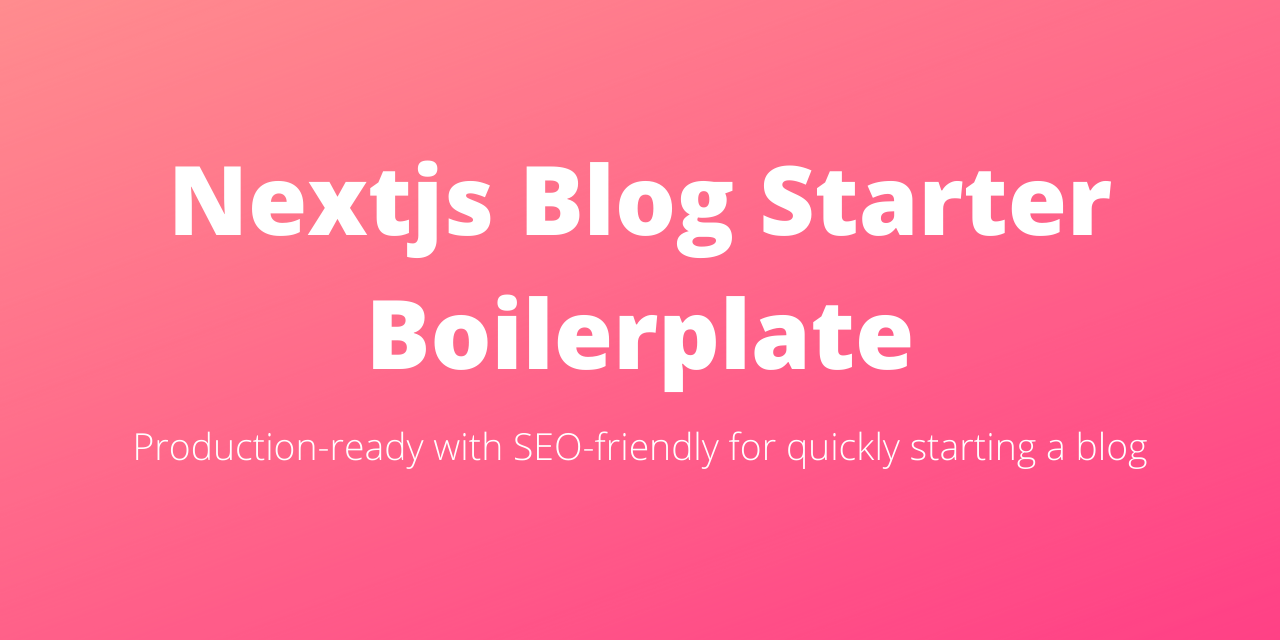
Next-js-Blog-Boilerplate
Next-js-Blog-Boilerplate 是一套面向个人与技术博客的启动代码,基于 Next.js 12 与 Tailwind CSS 3 构建,同时集成了 TypeScript、ESLint、Prettier …
Next.js · 博客
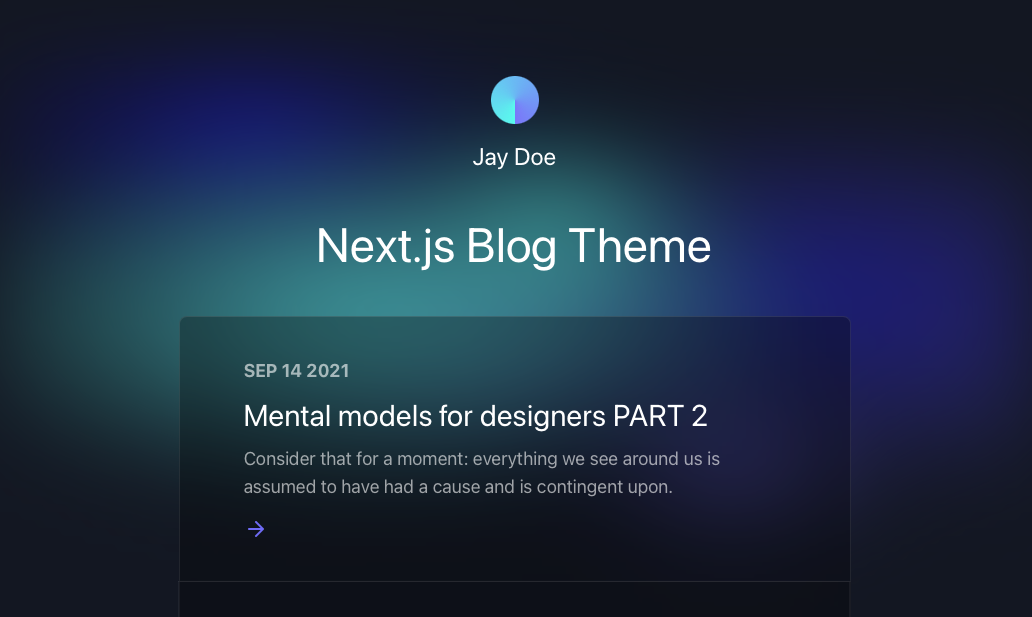
nextjs-blog-theme
nextjs-blog-theme 是 Netlify 团队维护的一个博客启动模板,基于 Next.js 15(Pages Router)和 Tailwind CSS 4.x 构建,设计由 Bejamas 机构完成。
Next.js · 博客
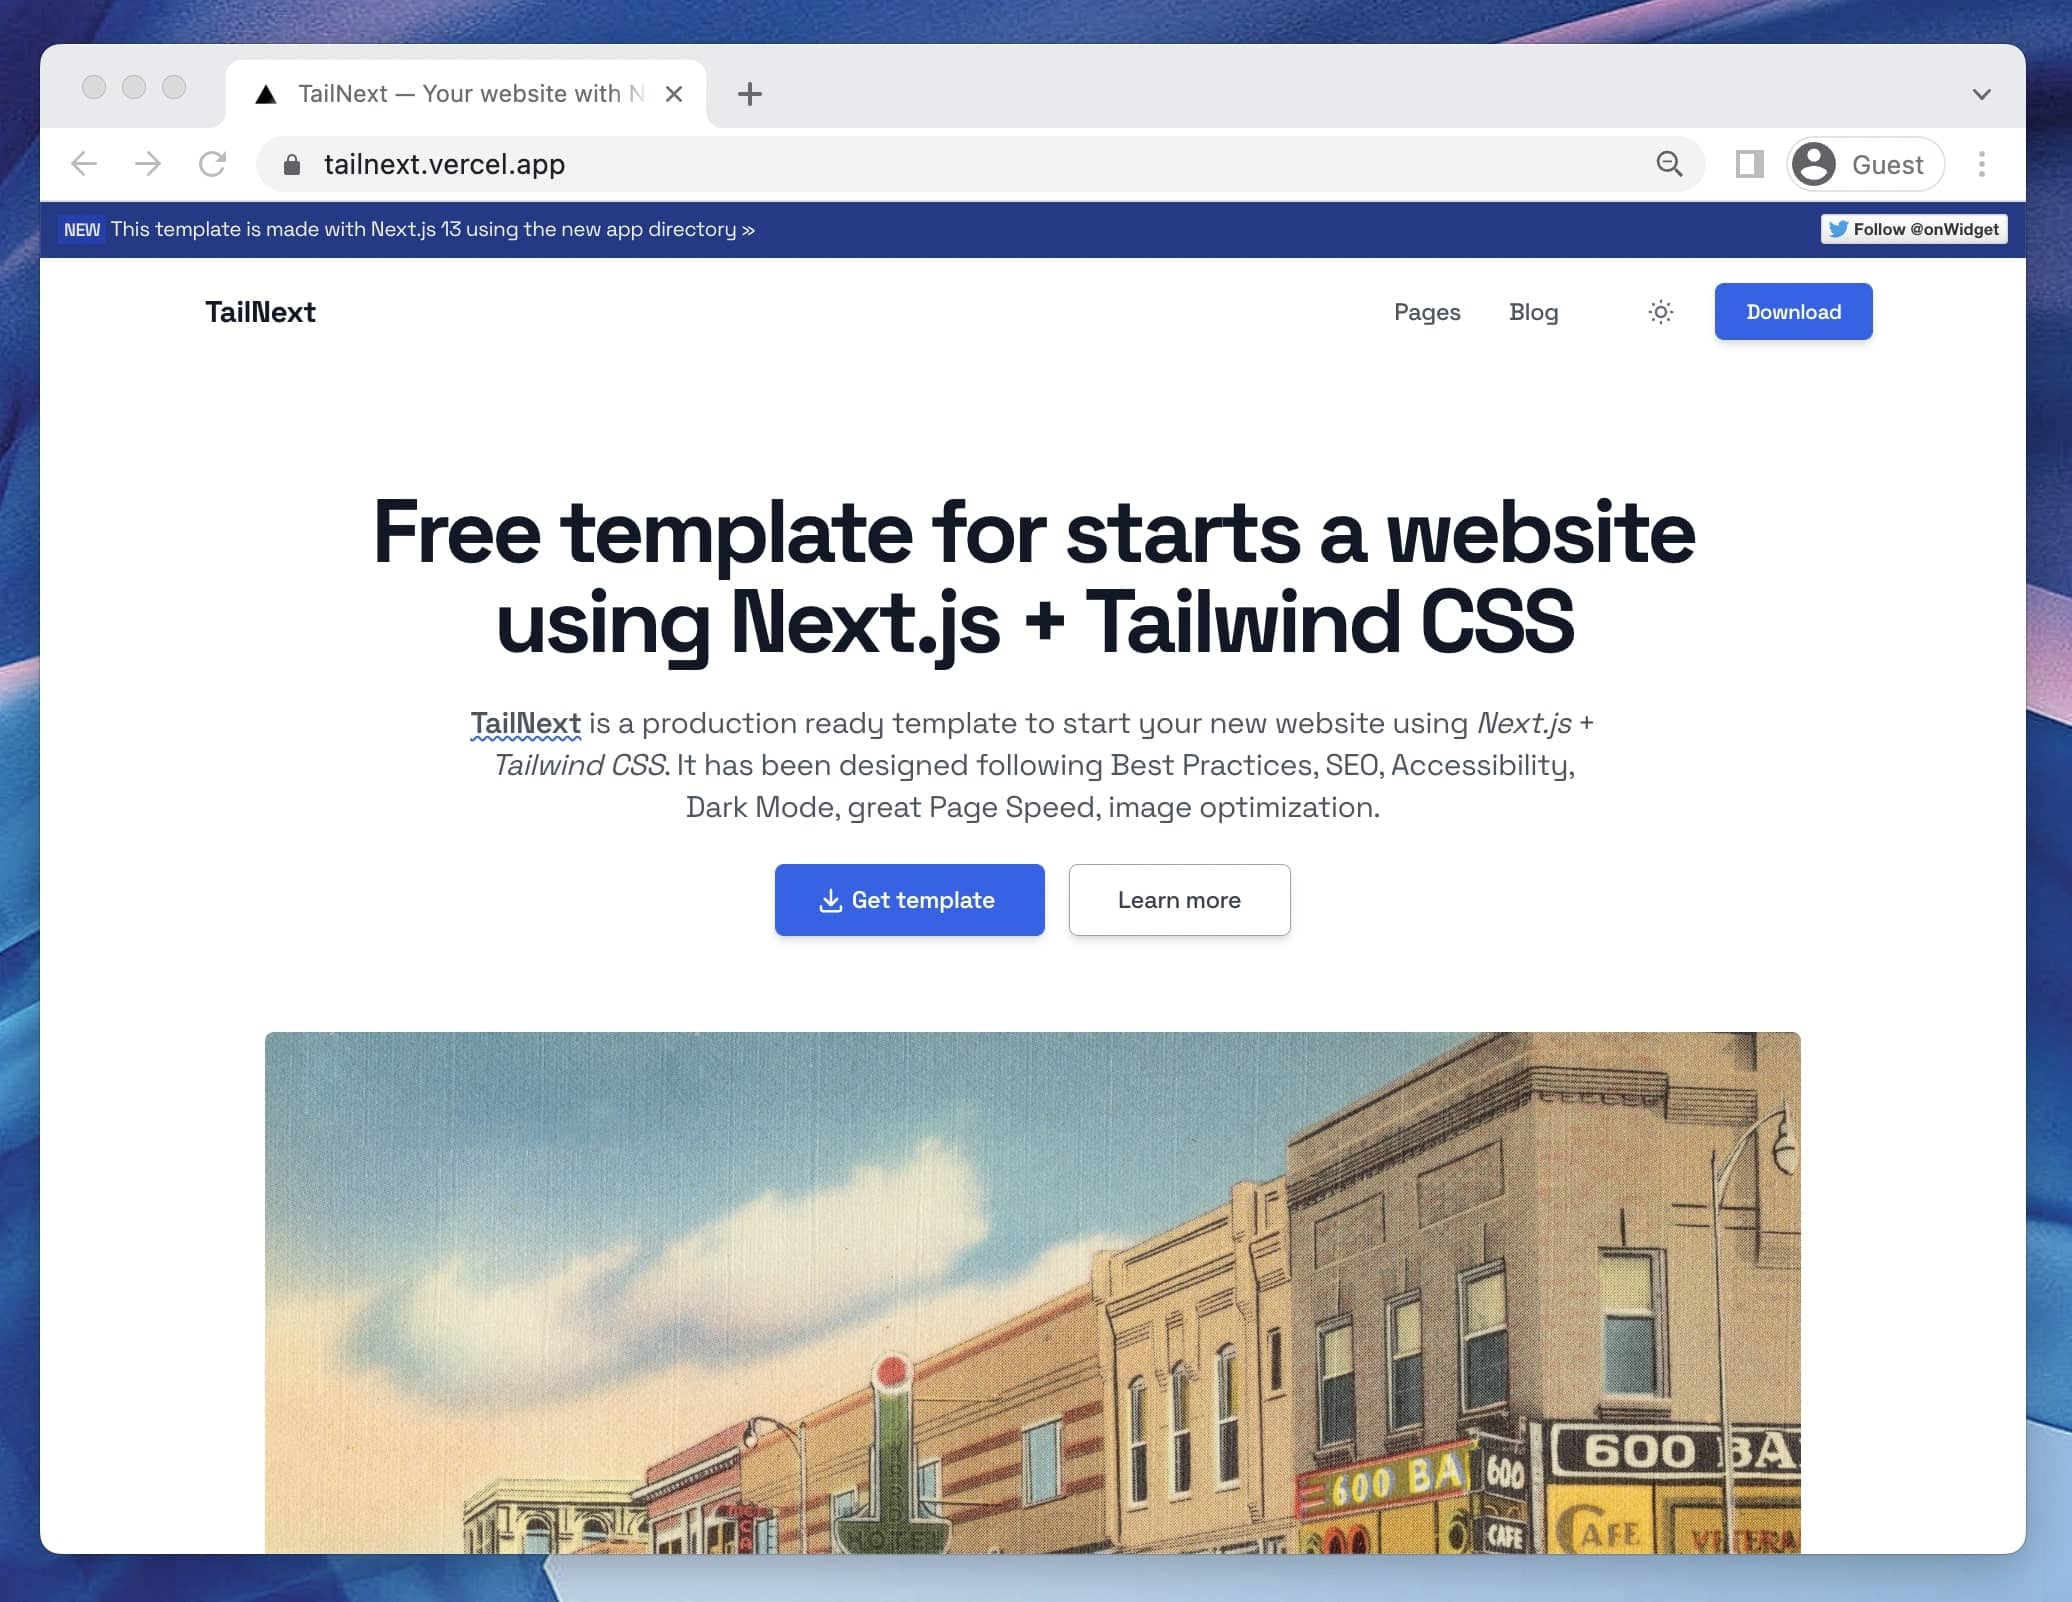
tailnext
Tailnext 是一个基于 Next.js 14 App Router 和 Tailwind CSS 的免费开源模板,由 onWidget 团队创建并维护。
Next.js · 博客
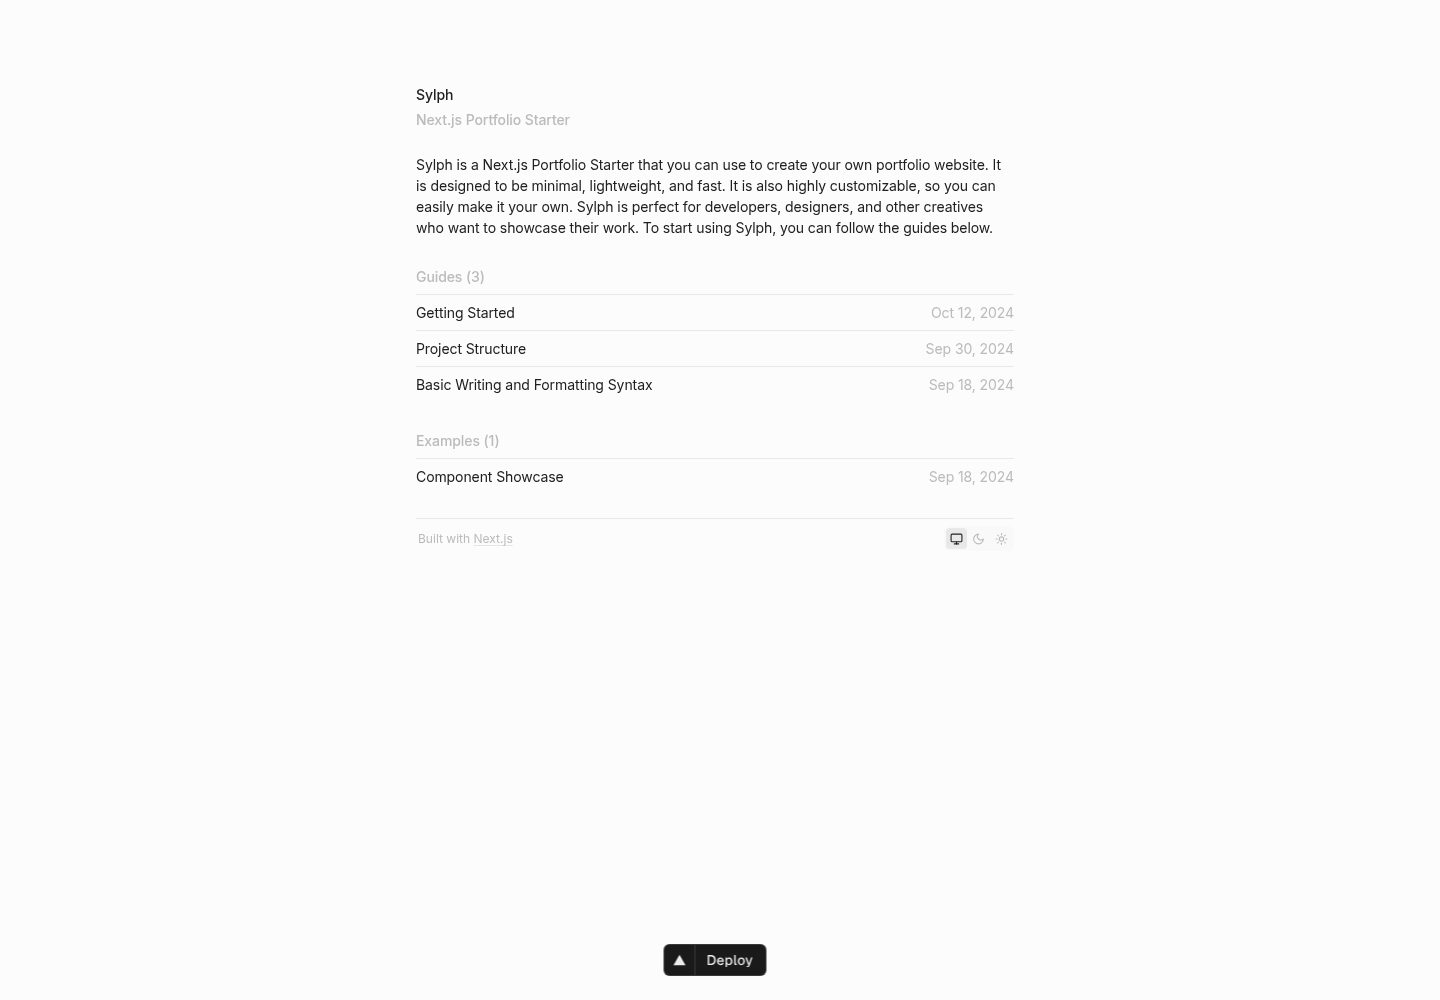
sylph
A minimal portfolio template.
Next.js · 作品集