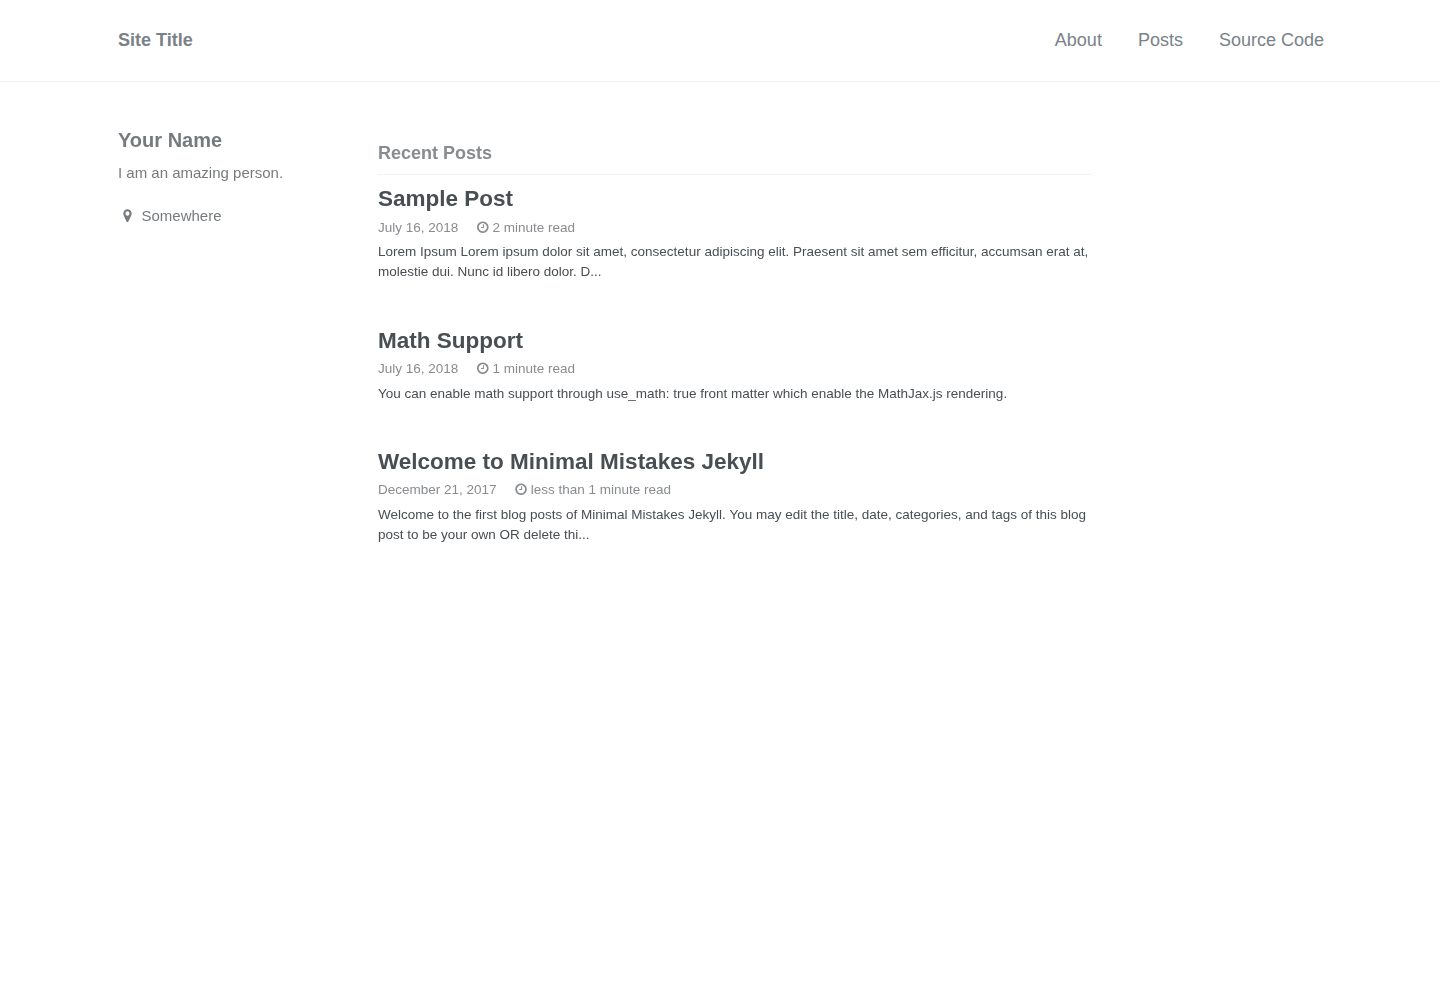
A Jekyll blog template based on the Minimal Mistakes theme that can be forked directly to GitHub Pages
JekyllBlog
minimal-mistakes-jekyll — Jekyll Blog Template
By limyunkai19
A Jekyll blog template based on the Minimal Mistakes theme that can be forked directly to GitHub Pages, suitable for users unfamiliar with the command line and Git to quickly set up a personal blog.
Explore the design
Compare the page layouts and mobile experience. Open any screenshot for a closer look.
Desktop homepage1 / 3
Desktop captureTop of page
Actual screenshot captured by the server browser.
All pages & views 3
Screenshots show visual appearance; interactive behavior may differ.
Recorded 2026-10-02View source
What stands out
A quick read of the recorded project description.
The README is aimed at non-technical users, with installation mainly via forking and GitHub web editing
Provides explanations of _config.yml site configuration, navigation configuration, and content directory structure
Includes usage guidance for writing posts, adding pages, drafts, images, and mathematical formulas
Licensed under MIT, allowing free use, modification, commercial use, and distribution of this version of the code
Template Details
This is a Jekyll blog template prepared for GitHub Pages, using the Minimal Mistakes theme. The author states in the README that the documentation is written for non-technical users unfamiliar with Git and the command line, so the installation steps focus on forking the repository and editing through the GitHub web interface. The template includes theme files, Jekyll configuration, sample posts, drafts, pages, and navigation configuration, and provides usage instructions for site configuration, repository cleanup, custom domains, writing posts, adding pages, drafts, images, and mathematical formulas.
In terms of usage, users can fork the repository to their own GitHub account, rename it to username.github.io or a custom name, and then publish via GitHub Pages. Site configuration is centralized in _config.yml, and content is centralized in _posts, _pages, _drafts, and _data/navigation.yml. The template comes with demo posts and drafts that users need to delete or replace themselves. Local development is optional and requires installing Git, Jekyll, and Bundler.
In terms of limitations, the template itself is a static site generator solution that relies on GitHub Pages or a local Jekyll environment for building; the licenses of third-party assets such as demo images, fonts, and icons need to be checked separately and cannot be judged solely by the MIT license of the code. The README does not provide information on performance or production readiness.
JekyllBlog
Is it right for your project?
Use Cases
- Users unfamiliar with Git and the command line who want to quickly publish a personal blog on GitHub Pages by forking
- Building a static blog site using Jekyll and the Minimal Mistakes theme
- Bloggers who need to write Markdown posts, add static pages, and drafts
- Users who want to bind a blog to a custom domain and publish via GitHub Pages
Suitable For
- Beginners who want to build a personal blog with GitHub Pages
- Users who prefer Markdown writing and static site generation
- Jekyll users who need a ready-made configuration for the Minimal Mistakes theme
- Non-technical users willing to manage content through the GitHub web interface
Getting started & customization
Use these recorded setup notes alongside the repository instructions for your chosen version.
- 1
After forking the repository, you can rename it to username.github.io or a custom name, and publish the master branch in the GitHub Pages settings
- 2
Edit _config.yml to modify the site title, author information, description, etc.; optional settings include skin, search, permalinks, and sidebar stickiness
- 3
Delete the demo content in _posts and _drafts, edit _pages/about.md, and adjust _data/navigation.yml as needed
- 4
Local development requires installing Git, Jekyll, and Bundler, then running bundle exec jekyll serve
- 5
When using a custom domain, enter the domain in the repository settings and configure A records and CNAME records with your DNS provider
License & source material
Usage conditions & limitations
Free to use · keep license noticeThis entry covers the free version under the MIT license in a public repository; the free scope is for this version of the code and does not mean that external services or third-party assets are free.
Must comply with when using
- Free use, modification, commercial use, and distribution of this version of the code are permitted.
- When distributing copies or substantial portions of the code, retain the original author's copyright notice and the full MIT license notice.
- The code is provided as is; warranties and limitations of liability are governed by the original license and applicable law.
Additional costs & items to verify
- The template theme files come from the third-party Minimal Mistakes project (version 4.8.0), and their own licensing and copyright terms need to be checked separately; they cannot be assumed to apply based solely on this repository's MIT license.
- Using a custom domain requires registering a domain yourself and configuring DNS (A records and CNAME records), which may incur external costs such as domain registration.
- Local development is optional, but you need to install the Git, Jekyll, and Bundler environment yourself; without local development, you rely on GitHub Pages for building.
- The repository contains demo posts and drafts that users need to delete or replace themselves; the licenses of assets such as images in the demo content need to be checked separately.
- Demo images, fonts, icons, and other third-party assets need to be checked against their respective licenses and cannot be judged solely by the MIT license of the code.
- External services such as domains, hosting, databases, payments, or AI may incur additional charges.
View Original Text Basis
Permission is hereby granted, free of charge
Original License Text
Theme by [Minimal Mistakes](https://mmistakes.github.io/minimal-mistakes/) release 4.8.0
Original README
register your domain name, say `example.com` at any DNS provider
Original README
- [Jekyll](https://jekyllrb.com/docs/installation/) and [Bundle](http://bundler.io/#getting-started)
Original README
https://github.com/limyunkai19/minimal-mistakes-jekyll/blob/master/LICENSEhttps://github.com/limyunkai19/minimal-mistakes-jekyll/blob/master/README.mdI have included some demo posts for the demo, you can remove them after you had forked this repo for your personal site.
Original README
Compiled by DeepSeek based on repository license and README ·2026-10-02. Results only cover the materials read; dependencies, images, fonts, and subsequent term changes are subject to their respective original texts.
Project checks & description sources
Template Information
- Source platforms
- GitHub
- Documentation and maintenance reference score
- Partly documented · 72 / 100
- Technologies
- Jekyll
- Website type
- Blog
How this score is calculated
Our heuristic uses license records (up to 30), a demo link (12), a preview (10), stars (15), recorded maintenance (15), description completeness (8), feature records (5) and classification data (5). It is not a code, security or performance test, or a Google score. A link does not establish tested functionality.
What to verify for this project
- Repository update recorded
- 2023-04-12
- Screenshot last checked
- 2026-10-02
A demo link is listed. Check it with your own content and viewport sizes; its presence does not confirm that forms, authentication or payments work.
The catalog identifies Jekyll as the primary stack. Check the actual dependency manifest and lockfile for versions and hosting requirements. These notes use recorded metadata, not a code audit or a deployment test.
Use a selection guide →How this description was prepared
AI-assisted description based on catalog records and repository material. Repository authors are not automatically the reviewers of this description.
Automatically checked against source and license rules; no manual editorial review.
Inspect the recorded source material
SHA-256: 4ab9fc7cc7cdf57475ac5329e38e0f1d5186c5304c798777295c93966b9a0875
2026-10-02T10:54:52.938Z
Source file / repository# Minimal Mistakes Jekyll
[](https://github.com/limyunkai19/minimal-mistakes-jekyll/blob/master/LICENSE)
Ready to use Jekyll template with Minimal Mistakes theme. Instant blog without knowing git and command line. Just fork it to use for your GitHub Pages.
Demo: <https://limyunkai19.github.io/minimal-mistakes-jekyll> | <https://limyunkai.com>
## Table of Content
- [Getting Started](#getting-started)
* [Installation for Your GitHub Pages](#installation-for-your-github-pages)
* [Installation for Local Development (optional)](#installation-for-local-development--optional-)
- [File Structure](#file-structure)
- [Personalization](#personalization)
* [Site Configuration](#site-configuration)
* [Repository Cleanup and Personalization](#repository-cleanup-and-personalization)
* [Use Custom Domain](#use-custom-domain)
* [Further Customization](#further-customization)
- [Usage](#usage)
* [Write Blog Posts](#write-blog-posts)
* [Add Pages](#add-pages)
* [Write Drafts](#write-drafts)
* [Add Images](#add-images)
* [Add Math Equation](#add-math-equation)
- [Customization](#customization)
- [Credits](#credits)
## Getting Started
I am writing this README for non-technical people who intended to blog using Jekyll on GitHub Pages too. Hence, some part might be too trivial for those who know GitHub well, feel free to skip those.
### Installation for Your GitHub Pages
[Fork](https://help.github.com/articles/fork-a-repo/#fork-an-example-repository) this repo (minimal-mistakes-jekyll) to your own Repository.
Publish the site with GitHub Pages on:
- <https://username.github.io> (recommended)
+ rename the forked repository to username.github.io
+ your site should be available at <https://username.github.io> after renaming
- <https://username.github.io/repositoryname>
+ rename the forked repository to a name you like, for example my-awesome-blog
+ go to setting, publish your `master` branch with GitHub Pages, detail steps at [here](https://help.github.com/articles/configuring-a-publishing-source-for-github-pages/#enabling-github-pages-to-publish-your-site-from-master-or-gh-pages)
+ your site should be available at <https://username.github.io/my-awesome-blog>
After the sites had been published continue to [Personalization section](#personalization) to personalize your site and [Usage section](#usage) section to add content to your site.
### Installation for Local Development (optional)
This section is for those who wish to develop their site locally and use git to commit changes for the site. It assumes the knowledge of command line. You may [skip](#file-structure) this section if you don't know git or don't want to touch the command line.
**Prerequisites**
- Git
- [Jekyll](https://jekyllrb.com/docs/installation/) and [Bundle](http://bundler.io/#getting-started)
**Installation**
Make sure all prerequisites are installed and you had forked the repository.
Run the following command in your terminal:
```sh
# Clone your forked repository
git clone https://github.com/username/minimal-mistakes-jekyll.git
# Change directory
cd minimal-mistakes-jekyll
# Build the site using Jekyll and serve the site
bundle exec jekyll serve
```
Your site should be available at <http://localhost:4000>.
Develop your site, commit new changes and push to GitHub master branch, any new changes will be reflected on GitHub Pages in a few seconds after you push the commits.
## File Structure
This section explains the file structure in a Jekyll site. It is optional but recommended to understand Jekyll.
Jekyll is a static site generator, it generates a static website based on the given content. Hence, the following files tell Jekyll how to generate your site and determine how your site will look like.
Generally the files and directories in a Jekyll sites can be classify into 4 types.
1. Theme files and directories. <a id="theme"></a> These files specify how your sites looks like. In this repo, these files are copied directly from Miminal Mistakes [repository](https://github.com/mmistakes/minimal-mistakes). They are:
- `_includes`
- `_layouts` (HTML templates)
- `_sass` (CSS styles)
- `assets`
2. Jekyll files and directories. These files are essential for Jekyll to generate your sites. They are:
- `_config.yml` the global configuration of your site, see [Usage section](#usage)
- `index.html` the 'home' pages, and yes it is blank
3. Content files and directories. These files determines the content of your site. You should focus and mainly make changes on these files. They are:
- `_posts/` (contains your blog post)
- `_pages/` (contains the static page)
- `_drafts/` (contains unpublished draft)
- `_data/navigation.yml` (your site navigation)
- `assets/images` (your site images or other files)
4. Others. Such as:
- `.gitignore` (Git stuff)
- `Gemfile` (Ruby stuff)
- `Gemfile.lock` (Ruby stuff)
- `LICENSE` (License)
- `README.md` (This readme)
## Personalization
### Site Configuration
First you will need to configure your site settings. This can be done by editing the `_config.yml` file. Following are those lines that you should changes and those lines that you can change.
**Settings that you should change:**
Line number | Setting | Explanation
------------|-----------|------------
12 | title | Your site title
14 | name | Your name
15 | description| A short description about your site
85 - 115 | author | Your details (name, picture, email, social media links)
**Settings that you can change:**
Line number | Setting | Explanation
------------|-----------|------------
8 | minimal_mistakes_skin | Change your skin, refer to [minimal mistakes skin](https://github.com/mmistakes/minimal-mistakes#skins-color-variations)
54 | search | Set it to `true` to add search function
182 | permalink | Change your permalink, refer to Jekyll [documentation](https://jekyllrb.com/docs/permalinks/)
186 | sticky_sidebar | Set it to `false` to make the left sidebar (author profile) non-sticky
### Repository Cleanup and Personalization
I have included some demo posts for the demo, you can remove them after you had forked this repo for your personal site.
Files | Action
-----------------------|------------
_data/nagivation.yml | Remove 7th and 8th line to remove the "Source Code" link in the site nagivation
_posts/* | Delete all files in _posts/ folder as they are demo posts
_drafts/* | Delete all files in _drafts/ folder as they are demo posts
_pages/about.md | Edit this, write something about yourself
README.md | Remove this file or update the demo link at 6th line (optional)
### Use Custom Domain
First, register your domain name, say `example.com` at any DNS provider.
Before we start to setup, do note that there are [several ways](https://help.github.com/articles/quick-start-setting-up-a-custom-domain/) to setup an custom domain. We will setup our custom domain with apex domain and `www` subdomain, which mean visitor will be able to visit your site on either `www.example.com` or `example.com`.
Go to your repository settings, under `Custom domain`, type in your custom domain, `example.com` and click **save**. Refer to [here](https://help.github.com/articles/adding-or-removing-a-custom-domain-for-your-github-pages-site/) for more detail steps.
Then, at your DNS provider, create 3 DNS record for your domain:
- A record for **@** pointing to `username.github.io.` (*mind the extra period!*)
- CNAME record for **www** pointing to `username.github.io.` (*mind the extra period!*)
Refer to [here](https://www.namecheap.com/support/knowledgebase/article.aspx/9645/2208/how-do-i-link-my-domain-to-github-pages) and [here](https://gist.github.com/mapsam/ce60b87eea561ea6bdbf) as well as GitHub official help ([`www`](https://help.github.com/articles/setting-up-a-www-subdomain/) and [apex](https://help.github.com/articles/setting-up-an-apex-domain/)) for more information.
### Further Customization
You change further customize and style your blog by changing the [theme files](#theme). Refer [here](#customization) to understand how is this version different from the original [Minimal Mistakes theme](https://github.com/mmistakes/minimal-mistakes/tree/4.8.0).
## Usage
### Write Blog Posts
Navigate to the `_posts` directory in github.com, for example `https://github.com/username/repositoryname/tree/master/_posts`.
Click on create new file and follow the [naming convention](https://github.com/limyunkai19/minimal-mistakes-jekyll/blob/master/_posts/2017-12-21-welcome-to-minimal-mistakes-jekyll.md).
You will need a [YAML front matter](https://jekyllrb.com/docs/frontmatter/) for every beginning of your post. Basically the following:
```
---
title: "Welcome to Minimal Mistakes Jekyll"
date: 2017-12-21
categories: update
tags: jekyll
---
```
Change the title and date, categories and tags are optional. Note that the 3 dashes above and 3 dashes below are important.
After the YAML front matter (after the 3 dashes) you may start writing your own post in markdown. You may find this [cheatsheet](https://github.com/adam-p/markdown-here/wiki/Markdown-Cheatsheet) handy.
Then, click on preview to check if your markdown is correct and the rendered content is what you want (you may ignore the first table, it will disappear in your published site).
After everything is okay, commit this file and wait around 10 seconds for GitHub Pages to reflect your changes.
**Note:** you may refer to the [source code](https://raw.githubusercontent.com/limyunkai19/minimal-mistakes-jekyll/master/_posts/2017-12-21-welcome-to-minimal-mistakes-jekyll.md) of the example blog post and its [rendered result](https://limyunkai19.github.io/minimal-mistakes-jekyll/update/welcome-to-minimal-mistakes-jekyll/) to understand more about how to write a blog post
### Add Pages
A page contain content that usually permanent, like about page. You may add other pages, for example, experience, resume or CV. You may also remove pages like the **Source Code** on the top right corner.
Adding a page is similar to adding a blog post, just a little more work to do.
First, navigate to `_pages` directory, then add new file.
As for the front matter, you will need permalink and title, refer to the following:
```
---
permalink: /about/
title: "About"
---
```
Then, similar to blog post, write the content in markdown, check using preview and commit this file.
Next, for you pages to appear in the navigation bar, you will need to edit `_data/navigation.yml`. Refer to existing `about`, you will know that you need to add in `title` and `url`. You may remove the `Source Code` from the navigation bar too by simply deleting the 2 lines related to it.
### Write Drafts
Dealing with drafts is a little inconvenient with GitHub interface but it is still possible.
Similar to adding blog post, go to `_drafts` directory and add a file for your draft.
To publish your draft, click on `raw` then copy the content, create new file in `_posts` then paste the draft content. Don't forgot about YAML front matter and naming convention.
**For local development**
Use the following command to view your drafts
```sh
bundle exec jekyll serve --drafts
```
### Add Images
To add an image to your blog post, for example `awesomeimage.jpg`.
First, upload the images to `assets/images` directory.
Then in your blog post, use the following syntax to include your image
```

```
`alt_text` is the text to be displayed when your there is an error in rendering your images.
It is also possible to insert an images with link, refer to [here](https://github.com/limyunkai19/minimal-mistakes-jekyll/blob/master/_drafts/first-draft.md) for more detail.
### Add Math Equation
To add math equation into your post, you need to enable math support through `use_math: true` in the YAML front matter. For example,
```
---
title: "Add Math Support"
use_math: true
---
```
Then, you can type your equation using LaTeX like syntax. Refer [here]( https://limyunkai19.github.io/minimal-mistakes-jekyll/math-support/) for more imformation.
## Customization
You can make changes to [Theme files](#theme) or the `_config.yml` files to customize your site styles and look. I have made the following customization based on the [Minimal Mistakes theme](https://github.com/mmistakes/minimal-mistakes/tree/4.8.0).
**Reduce font size** - [here](https://github.com/limyunkai19/minimal-mistakes-jekyll/blob/c36ed03ec0b4b764a260b420662d7b24d3dc161d/assets/css/main.scss#L11)
. You may change the font size to suit your needs.
**Slight reduce author profile font size** - [here](https://github.com/limyunkai19/minimal-mistakes-jekyll/blob/c36ed03ec0b4b764a260b420662d7b24d3dc161d/assets/css/main.scss#L49).
**Reposition of left sidebar, content, and right sidebar** - [here](https://github.com/limyunkai19/minimal-mistakes-jekyll/blob/c36ed03ec0b4b764a260b420662d7b24d3dc161d/assets/css/main.scss#L73) and [here](https://github.com/limyunkai19/minimal-mistakes-jekyll/blob/c36ed03ec0b4b764a260b420662d7b24d3dc161d/_sass/minimal-mistakes/_variables.scss#L124).
**Add math support** - [here](https://github.com/limyunkai19/minimal-mistakes-jekyll/blob/7848ac72ac4305926629a729f2648e89669e2919/_includes/head/custom.html#L5) and [here](https://github.com/limyunkai19/minimal-mistakes-jekyll/blob/7848ac72ac4305926629a729f2648e89669e2919/_config.yml#L243).
**Optional sticky left sidebar feature** - [here](https://github.com/limyunkai19/minimal-mistakes-jekyll/blob/7848ac72ac4305926629a729f2648e89669e2919/_includes/sidebar.html#L2) and [here](https://github.com/limyunkai19/minimal-mistakes-jekyll/blob/7848ac72ac4305926629a729f2648e89669e2919/_config.yml#L186).
**Enhance table styles** - [here](https://github.com/limyunkai19/minimal-mistakes-jekyll/blob/master/_sass/minimal-mistakes/_tables.scss)
**Add date for post meta** - [here](https://github.com/limyunkai19/minimal-mistakes-jekyll/blob/d2b29614911d6e2cd2aac138c0f1fb4fd2ab4658/_layouts/single.html#L30) and [here](https://github.com/limyunkai19/minimal-mistakes-jekyll/blob/d2b29614911d6e2cd2aac138c0f1fb4fd2ab4658/_includes/archive-single.html#L33)
All others are left unchanged.
You can even **change the theme** to be any Jekyll theme by replacing related [Theme files](#theme) to be your destination theme. However, do note that different theme has different layout options. This template is setup to use `single` layout from the Minimal Mistakes theme as a default layout. In the case that your destination theme does not support `single` layout or you wish to change the default layout, change the default layout at [line 248](https://github.com/limyunkai19/minimal-mistakes-jekyll/blob/cb6f671e52bc6295d0ddf057e63e2f2ffea674a8/_config.yml#L248) and [line 255](https://github.com/limyunkai19/minimal-mistakes-jekyll/blob/cb6f671e52bc6295d0ddf057e63e2f2ffea674a8/_config.yml#L255) of `_config.yml` file. Sometimes, there is also a need to make changes on `_config.yml` to resolve the incompatibility between different themes.
Read the official Jekyll [documentation](https://jekyllrb.com/docs/home/) to further customize the site for your own need.
## Credits
Theme by [Minimal Mistakes](https://mmistakes.github.io/minimal-mistakes/) release 4.8.0
Explore similar templates
Compare previews and descriptions within the same stack and category.
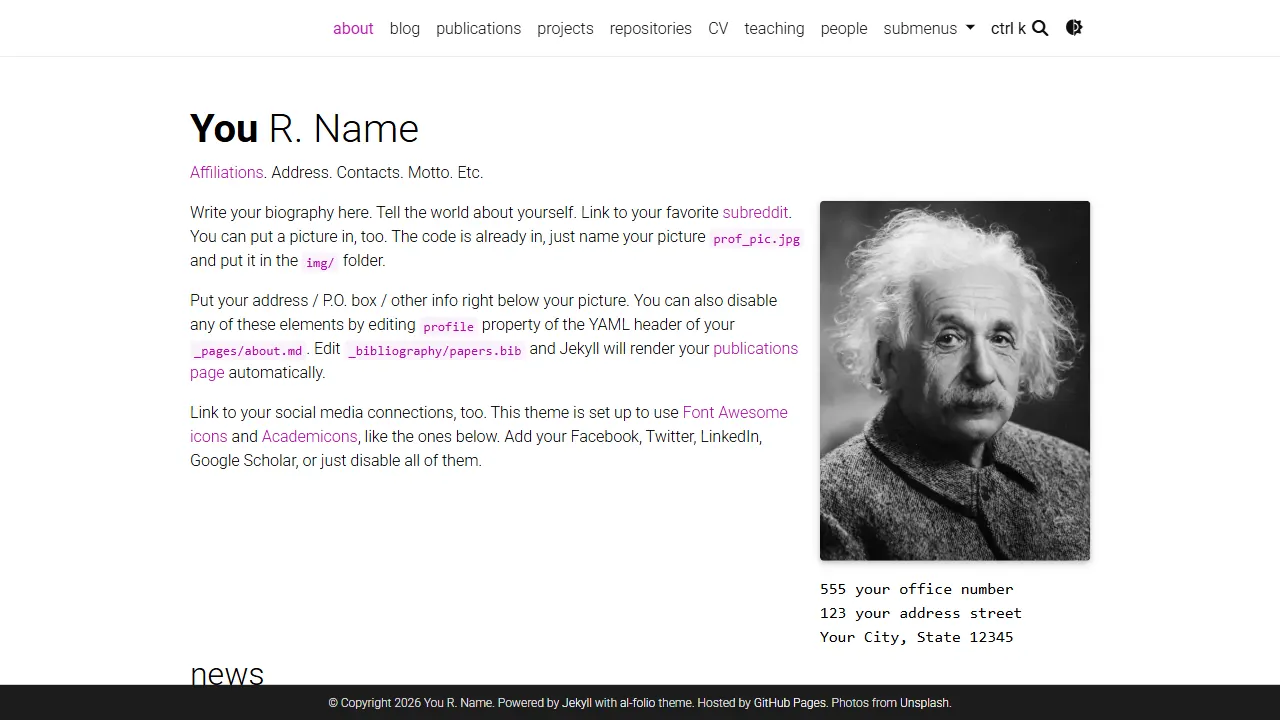
al-folio
A Jekyll academic homepage theme for scholars and researchers, with a clean responsive design and out-of-the-box support for publication lists, project showcases, CVs, and blogs.
Jekyll · Portfolio
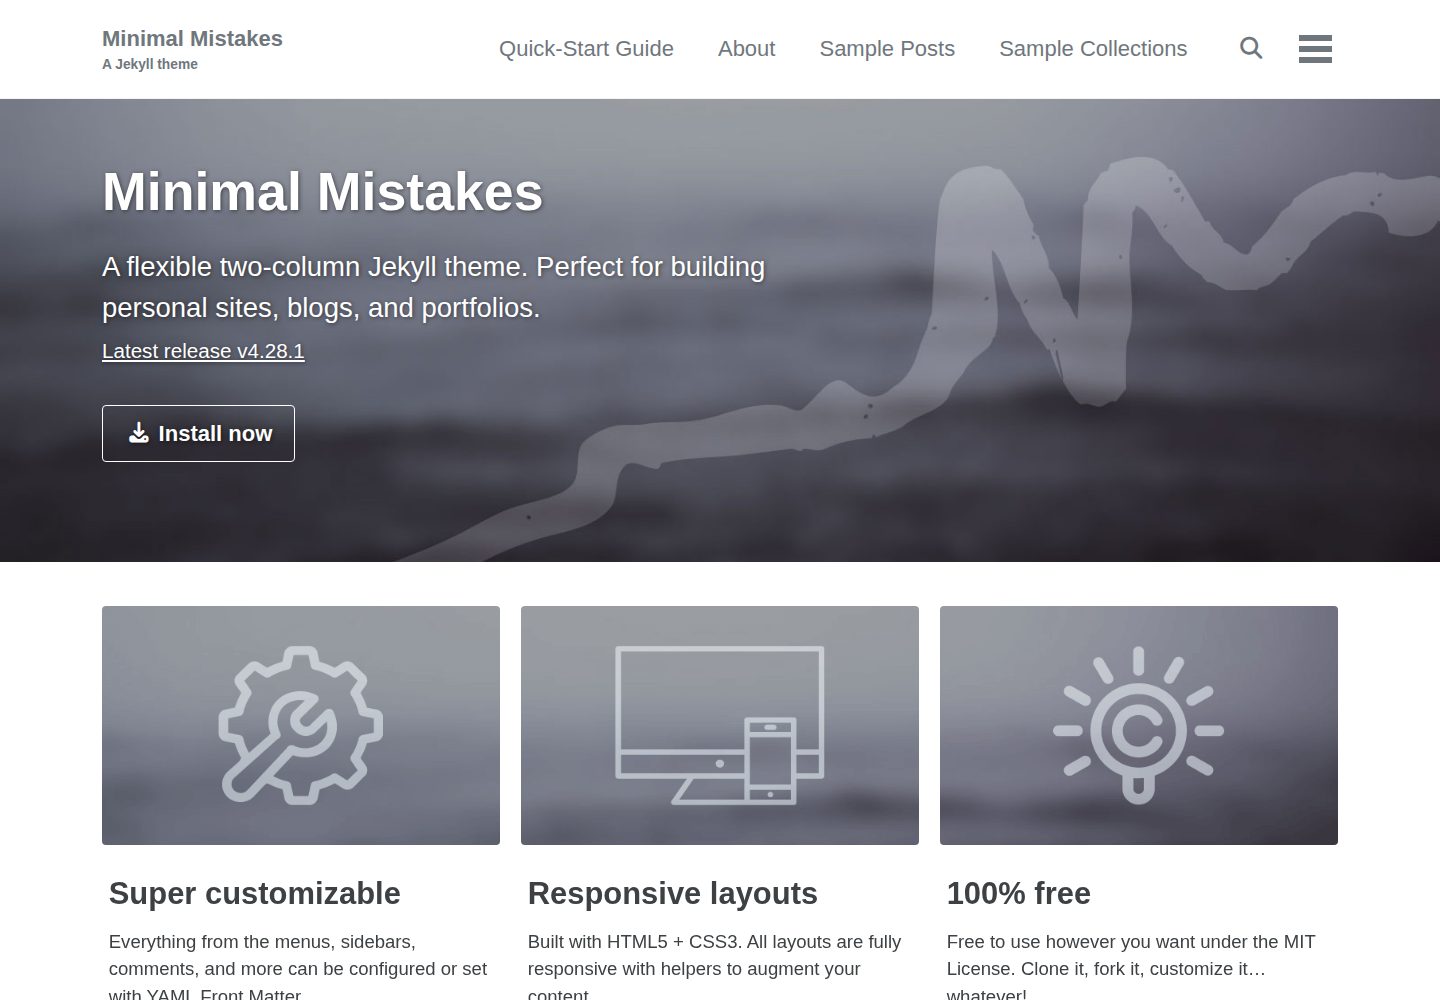
minimal-mistakes
Minimal Mistakes is a two-column Jekyll theme for personal sites, blogs, project documentation, or portfolios.
Jekyll · Portfolio
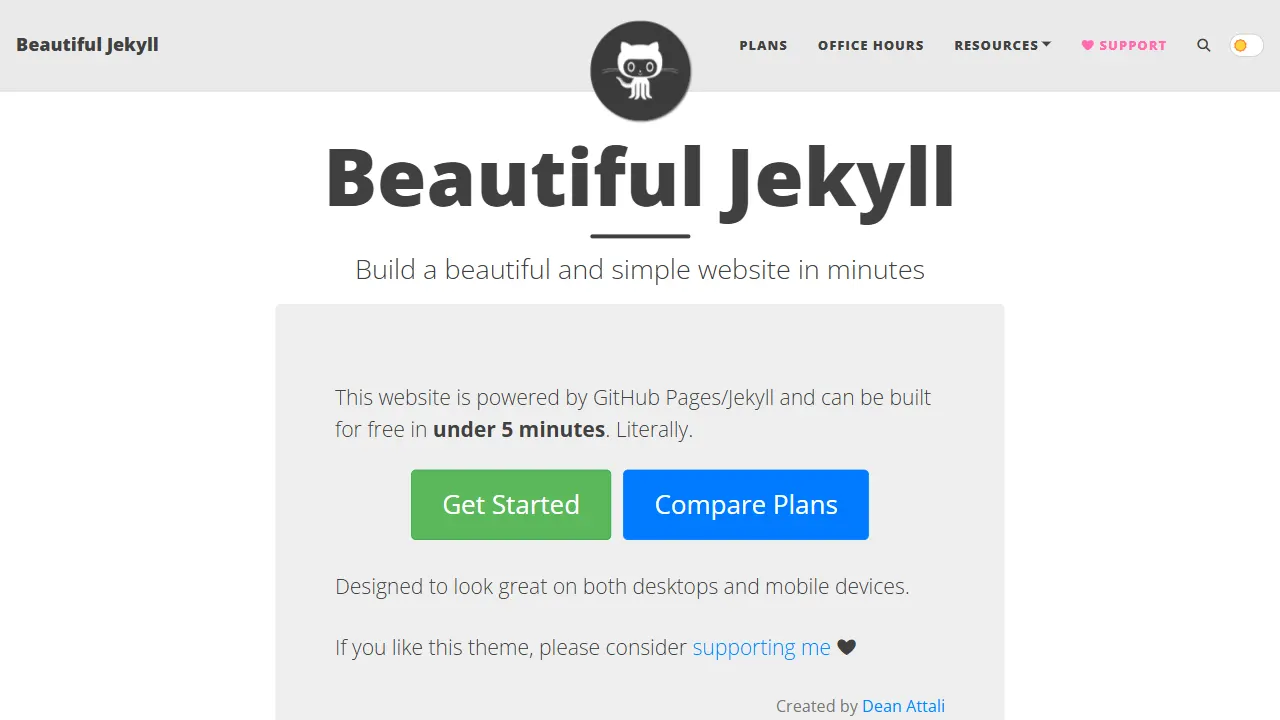
Beautiful Jekyll
Beautiful Jekyll is a mature, easy-to-use Jekyll blog theme maintained by Dean Attali since 2015, with over 50,000 users.
Jekyll · Blog
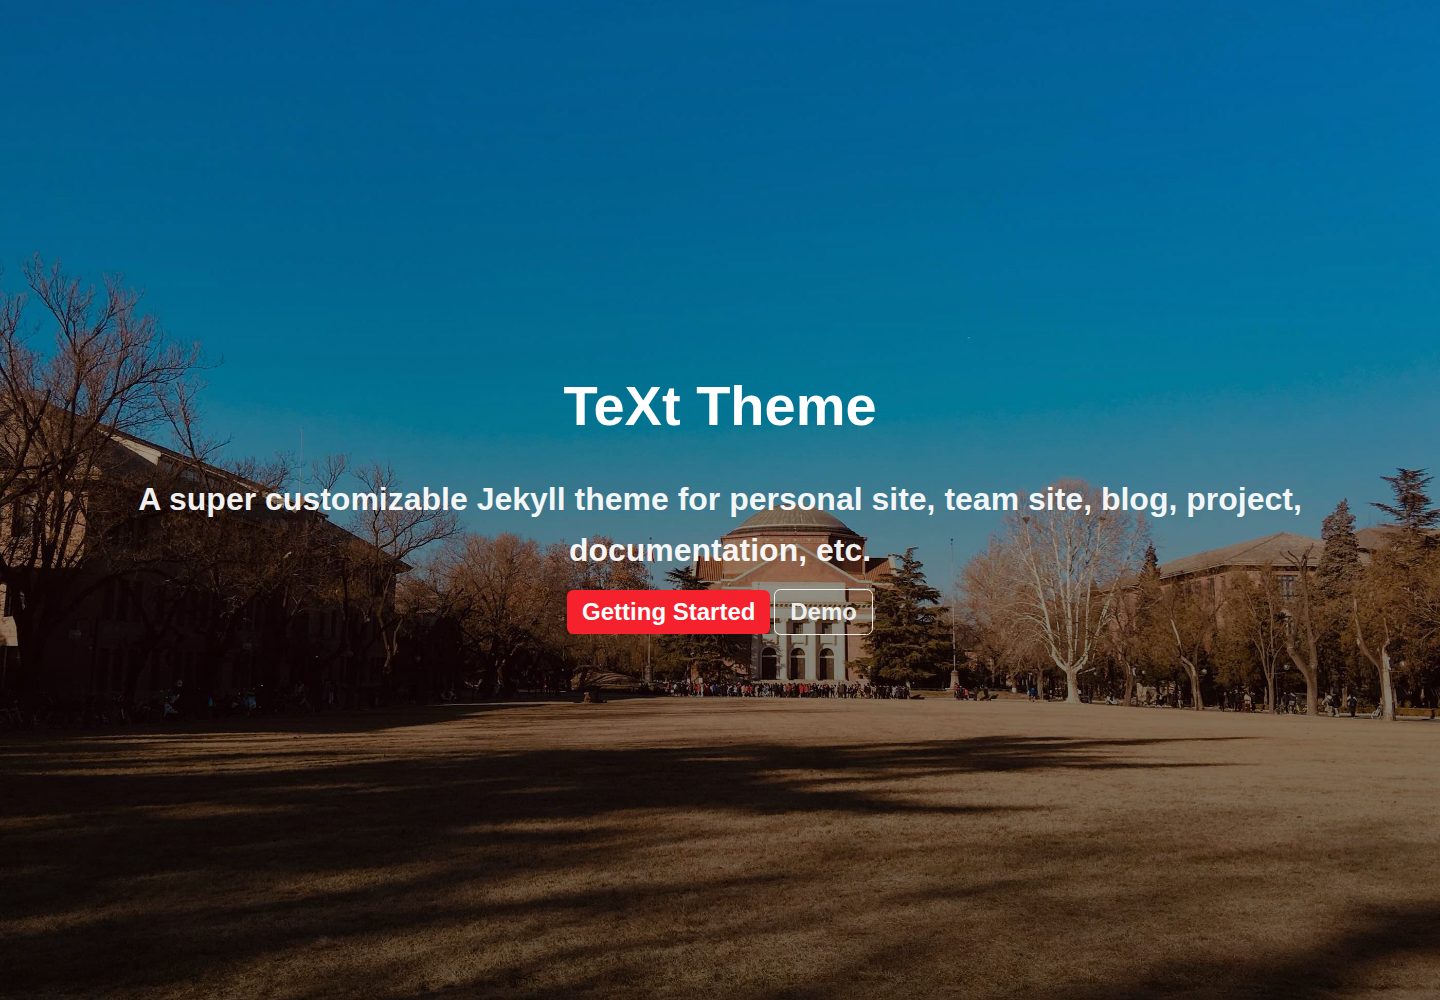
jekyll-TeXt-theme
A customizable Jekyll theme for personal sites, team sites, blogs, projects, and documentation.
Jekyll · Blog
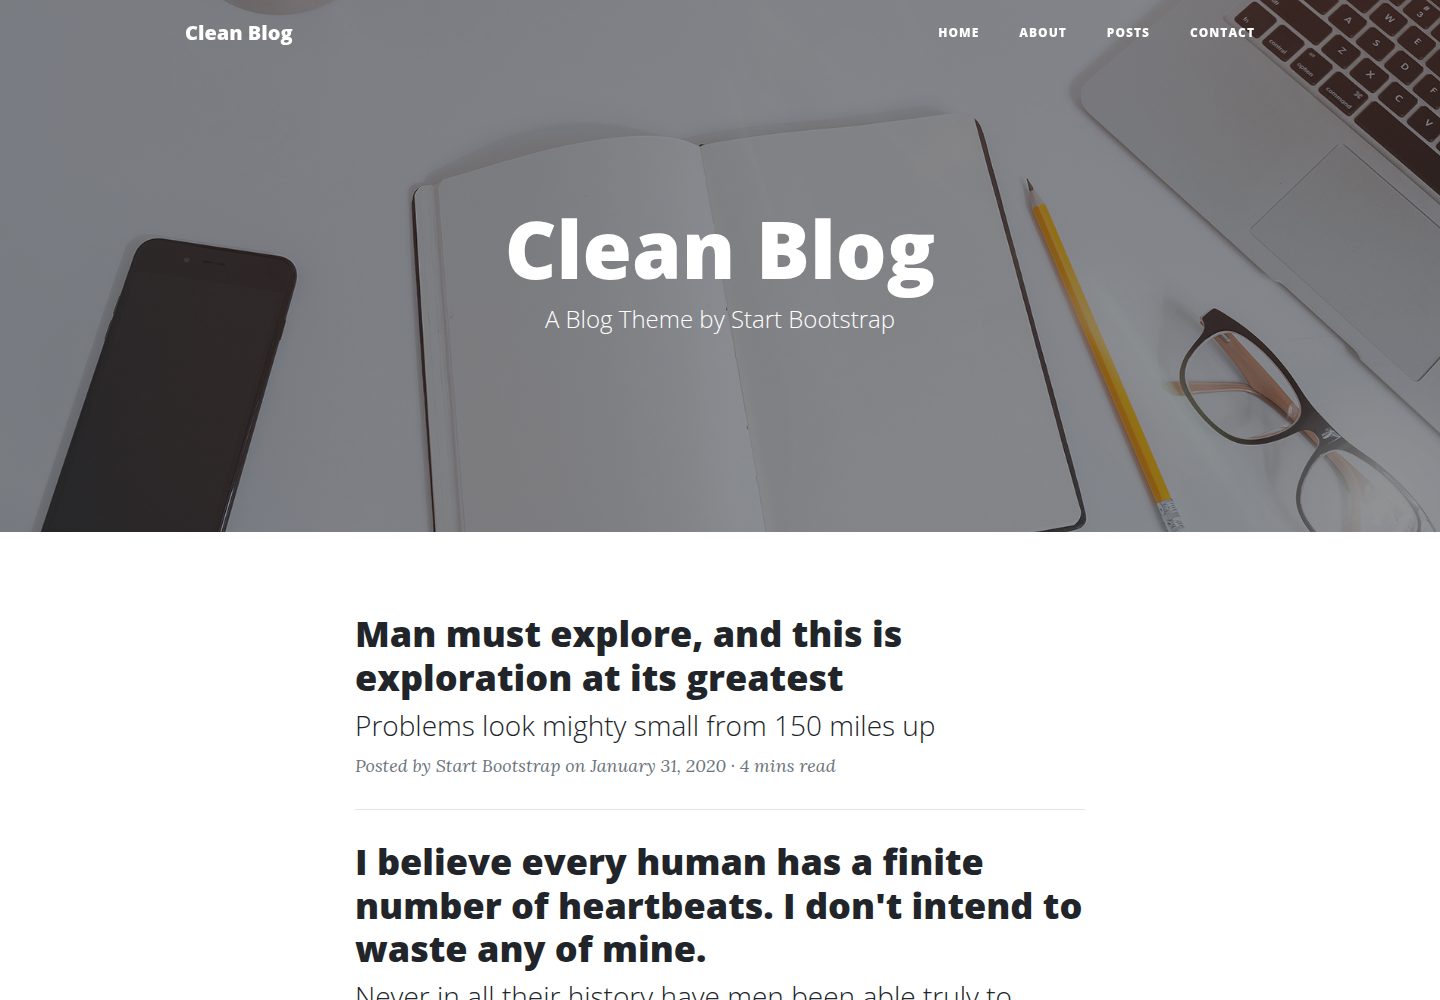
startbootstrap-clean-blog-jekyll
The official Jekyll version of Start Bootstrap's Clean Blog theme, offering a blog home page, about page, contact page, and sample post pages, with a Formspree-powered contact form.
Jekyll · Blog
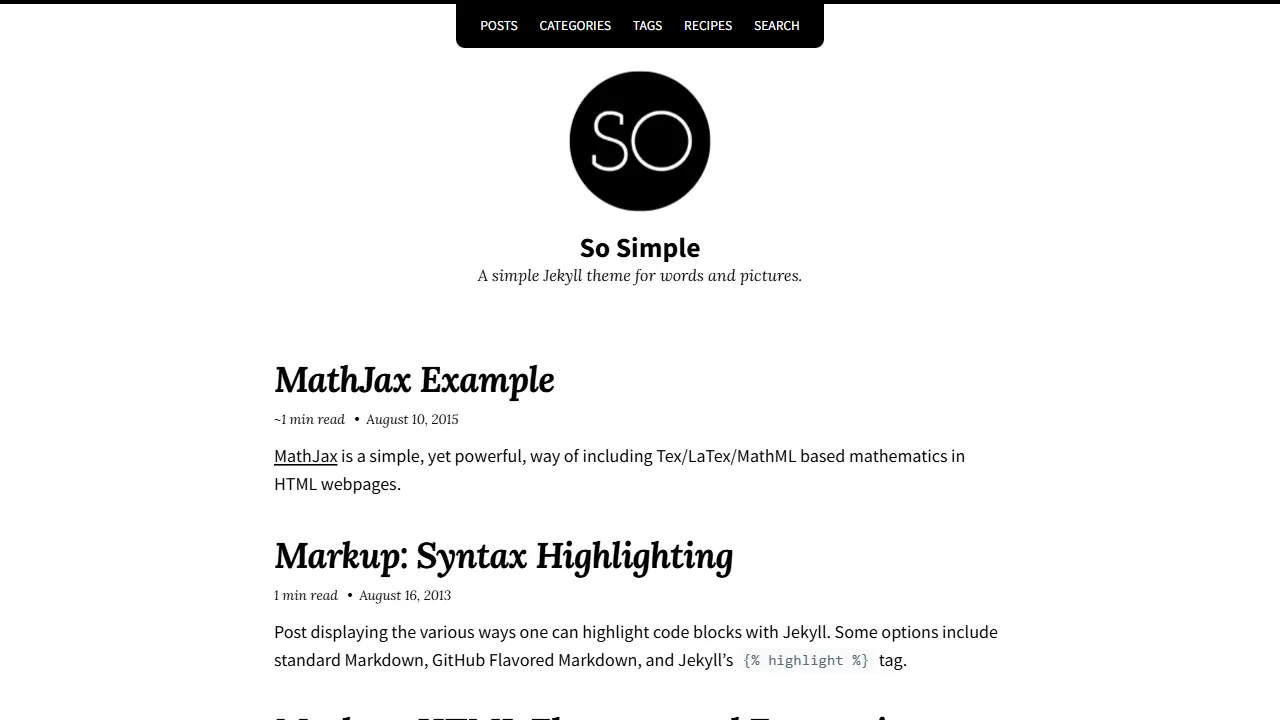
So Simple
A minimal reading-oriented Jekyll theme by Michael Rose for personal blogs, portfolios, and long-form reading. It offers multiple layouts, microformat markup, Disqus comments, Google Analytics, Jekyll SEO Tag, three skins, and aggregation by year, category, and tag with a grid view.
Jekyll · Blog