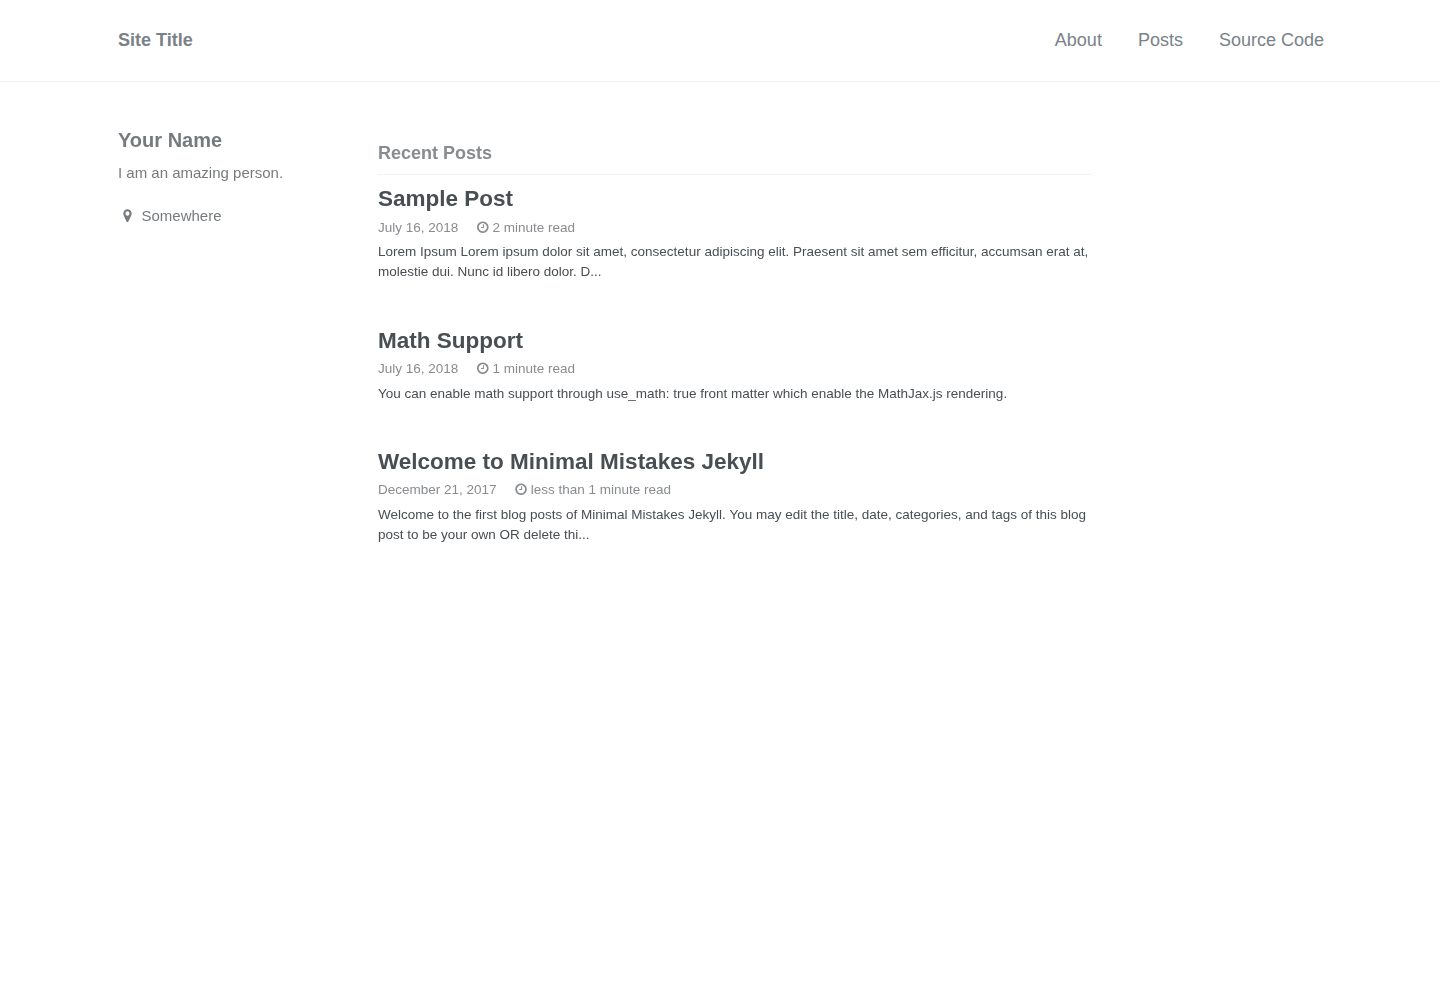
基于 Minimal Mistakes 主题的 Jekyll 博客模板,可直接 Fork 到 GitHub Pages
Jekyll博客
minimal-mistakes-jekyll — Jekyll 博客模板
作者 limyunkai19
基于 Minimal Mistakes 主题的 Jekyll 博客模板,可直接 Fork 到 GitHub Pages 使用,适合不熟悉命令行和 Git 的用户快速搭建个人博客。
看看你的网站会是什么样
浏览真实页面截图,比较内容排版与手机效果。点击下方缩略图切换,放大查看整页细节。
全部页面与视图 3
截图用于了解视觉与布局,交互效果请以实际项目为准。
采集于 2026-10-02查看来源
值得关注的模板亮点
从已有项目资料中,快速了解它的特点。
README 面向非技术用户,安装以 Fork 和 GitHub 网页编辑为主
提供 _config.yml 站点配置、导航配置和内容目录结构说明
包含撰写文章、添加页面、草稿、图片和数学公式的使用指引
采用 MIT 许可,允许免费使用、修改、商用和分发该版本代码
模板详细介绍
这是一个为 GitHub Pages 准备的 Jekyll 博客模板,使用 Minimal Mistakes 主题。作者在 README 中说明,文档面向不熟悉 Git 和命令行的非技术用户编写,因此安装步骤以 Fork 仓库和通过 GitHub 网页界面编辑为主。模板包含主题文件、Jekyll 配置、示例文章、草稿、页面和导航配置,并提供了站点配置、仓库清理、自定义域名、撰写文章、添加页面、草稿、图片和数学公式等使用说明。
使用方式上,用户可以将仓库 Fork 到自己的 GitHub 账号,重命名为 username.github.io 或自定义名称,再通过 GitHub Pages 发布。站点配置集中在 _config.yml,内容集中在 _posts、_pages、_drafts 和 _data/navigation.yml。模板附带了演示文章和草稿,需要用户自行删除或替换。本地开发为可选项,需要安装 Git、Jekyll 和 Bundler。
限制方面,模板本身是静态站点生成器方案,依赖 GitHub Pages 或本地 Jekyll 环境构建;演示图片、字体、图标等第三方素材的许可需要单独核对,不能仅凭代码的 MIT 许可判断。README 未提供性能或生产就绪程度的说明。
Jekyll博客
适合你的项目吗?
适用场景
- 不熟悉 Git 和命令行,希望通过 Fork 快速在 GitHub Pages 上发布个人博客
- 使用 Jekyll 和 Minimal Mistakes 主题搭建静态博客站点
- 需要撰写 Markdown 文章、添加静态页面和草稿的博客作者
- 希望将博客绑定自定义域名并通过 GitHub Pages 发布的用户
适合人群
- 想用 GitHub Pages 搭建个人博客的初学者
- 偏好 Markdown 写作和静态站点生成的用户
- 需要 Minimal Mistakes 主题现成配置的 Jekyll 使用者
- 愿意通过 GitHub 网页界面管理内容的非技术用户
上手与定制指南
结合仓库当前版本的说明,按下面的资料检查内容、配置与运行要求。
- 1
Fork 仓库后,可将仓库重命名为 username.github.io 或自定义名称,并在 GitHub Pages 设置中发布 master 分支
- 2
编辑 _config.yml 修改站点标题、作者信息、描述等;可选设置包括皮肤、搜索、永久链接和侧边栏固定
- 3
删除 _posts 和 _drafts 中的演示内容,编辑 _pages/about.md,并按需调整 _data/navigation.yml
- 4
本地开发需安装 Git、Jekyll 和 Bundler,然后运行 bundle exec jekyll serve
- 5
使用自定义域名时,需在仓库设置中填写域名,并在 DNS 提供商处配置 A 记录和 CNAME 记录
授权与来源资料
使用条件与限制
免费使用 · 保留许可声明本次收录的是公开仓库中采用 MIT 许可的免费版本;免费范围为该版本代码,不代表外部服务或第三方素材免费。
使用时需要遵守
- 允许免费使用、修改、商用和分发该版本代码。
- 分发代码副本或实质性部分时,保留原作者版权声明和完整 MIT 许可声明。
- 代码按现状提供;担保与责任限制以原许可证及适用法律为准。
额外费用与待核对事项
- 模板主题文件来自第三方 Minimal Mistakes 项目(4.8.0 版本),其自身许可与版权条件需单独核对,不能仅凭本仓库的 MIT 许可推断主题文件同样适用。
- 使用自定义域名需自行注册域名并配置 DNS(A 记录与 CNAME 记录),可能产生域名注册等外部费用。
- 本地开发为可选项,但需自行安装 Git、Jekyll 和 Bundler 环境;不进行本地开发则依赖 GitHub Pages 构建。
- 仓库内含演示文章与草稿,需用户自行删除或替换;演示内容中的图片等素材许可需单独核对。
- 演示图片、字体、图标及其他第三方素材需按各自许可核对,不能仅凭代码的 MIT 许可判断。
- 域名、托管、数据库、支付或 AI 等外部服务可能另外收费。
查看原文依据
Permission is hereby granted, free of charge
许可证原文
Theme by [Minimal Mistakes](https://mmistakes.github.io/minimal-mistakes/) release 4.8.0
README 原文
register your domain name, say `example.com` at any DNS provider
README 原文
- [Jekyll](https://jekyllrb.com/docs/installation/) and [Bundle](http://bundler.io/#getting-started)
README 原文
https://github.com/limyunkai19/minimal-mistakes-jekyll/blob/master/LICENSEhttps://github.com/limyunkai19/minimal-mistakes-jekyll/blob/master/README.mdI have included some demo posts for the demo, you can remove them after you had forked this repo for your personal site.
README 原文
DeepSeek 根据仓库许可证和 README 整理 ·2026-10-02。结果仅覆盖已读取资料,依赖、图片、字体及后续条款变更以各自原文为准。
项目核对记录与介绍依据
模板资料
- 来源平台
- GitHub
- 资料与维护参考分
- 资料一般 · 72 / 100
- 技术栈
- Jekyll
- 网站类型
- 博客
这个分数如何计算
本站按许可资料(最高30分)、演示链接(12分)、预览图(10分)、Star数(15分)、记录的维护时间(15分)、描述完整度(8分)、功能记录(5分)和分类资料(5分)计算。它不是代码、安全或性能测试,也不是 Google 评分;有链接不代表已实测可用。
这个项目需要核对什么
- 记录的仓库更新时间
- 2023-04-12
- 截图检查日期
- 2026-10-02
已收录演示链接。请用你的内容与屏幕尺寸检查;有演示不代表表单、认证或支付已经可用。
目录记录的主要技术栈是 Jekyll。请通过依赖清单和锁文件核对实际版本与托管要求。这些说明基于收录资料,不代表代码审计或部署实测。
查看具体选型方法 →介绍的制作与核对状态
介绍由 AI 辅助整理目录与仓库资料。仓库作者不等于这篇介绍的审核者。
已完成服务器许可规则与 AI 来源核对;未经过人工编辑审核。
查看当时使用的来源资料
SHA-256: 4ab9fc7cc7cdf57475ac5329e38e0f1d5186c5304c798777295c93966b9a0875
2026-10-02T10:54:52.938Z
来源文件 / 仓库# Minimal Mistakes Jekyll
[](https://github.com/limyunkai19/minimal-mistakes-jekyll/blob/master/LICENSE)
Ready to use Jekyll template with Minimal Mistakes theme. Instant blog without knowing git and command line. Just fork it to use for your GitHub Pages.
Demo: <https://limyunkai19.github.io/minimal-mistakes-jekyll> | <https://limyunkai.com>
## Table of Content
- [Getting Started](#getting-started)
* [Installation for Your GitHub Pages](#installation-for-your-github-pages)
* [Installation for Local Development (optional)](#installation-for-local-development--optional-)
- [File Structure](#file-structure)
- [Personalization](#personalization)
* [Site Configuration](#site-configuration)
* [Repository Cleanup and Personalization](#repository-cleanup-and-personalization)
* [Use Custom Domain](#use-custom-domain)
* [Further Customization](#further-customization)
- [Usage](#usage)
* [Write Blog Posts](#write-blog-posts)
* [Add Pages](#add-pages)
* [Write Drafts](#write-drafts)
* [Add Images](#add-images)
* [Add Math Equation](#add-math-equation)
- [Customization](#customization)
- [Credits](#credits)
## Getting Started
I am writing this README for non-technical people who intended to blog using Jekyll on GitHub Pages too. Hence, some part might be too trivial for those who know GitHub well, feel free to skip those.
### Installation for Your GitHub Pages
[Fork](https://help.github.com/articles/fork-a-repo/#fork-an-example-repository) this repo (minimal-mistakes-jekyll) to your own Repository.
Publish the site with GitHub Pages on:
- <https://username.github.io> (recommended)
+ rename the forked repository to username.github.io
+ your site should be available at <https://username.github.io> after renaming
- <https://username.github.io/repositoryname>
+ rename the forked repository to a name you like, for example my-awesome-blog
+ go to setting, publish your `master` branch with GitHub Pages, detail steps at [here](https://help.github.com/articles/configuring-a-publishing-source-for-github-pages/#enabling-github-pages-to-publish-your-site-from-master-or-gh-pages)
+ your site should be available at <https://username.github.io/my-awesome-blog>
After the sites had been published continue to [Personalization section](#personalization) to personalize your site and [Usage section](#usage) section to add content to your site.
### Installation for Local Development (optional)
This section is for those who wish to develop their site locally and use git to commit changes for the site. It assumes the knowledge of command line. You may [skip](#file-structure) this section if you don't know git or don't want to touch the command line.
**Prerequisites**
- Git
- [Jekyll](https://jekyllrb.com/docs/installation/) and [Bundle](http://bundler.io/#getting-started)
**Installation**
Make sure all prerequisites are installed and you had forked the repository.
Run the following command in your terminal:
```sh
# Clone your forked repository
git clone https://github.com/username/minimal-mistakes-jekyll.git
# Change directory
cd minimal-mistakes-jekyll
# Build the site using Jekyll and serve the site
bundle exec jekyll serve
```
Your site should be available at <http://localhost:4000>.
Develop your site, commit new changes and push to GitHub master branch, any new changes will be reflected on GitHub Pages in a few seconds after you push the commits.
## File Structure
This section explains the file structure in a Jekyll site. It is optional but recommended to understand Jekyll.
Jekyll is a static site generator, it generates a static website based on the given content. Hence, the following files tell Jekyll how to generate your site and determine how your site will look like.
Generally the files and directories in a Jekyll sites can be classify into 4 types.
1. Theme files and directories. <a id="theme"></a> These files specify how your sites looks like. In this repo, these files are copied directly from Miminal Mistakes [repository](https://github.com/mmistakes/minimal-mistakes). They are:
- `_includes`
- `_layouts` (HTML templates)
- `_sass` (CSS styles)
- `assets`
2. Jekyll files and directories. These files are essential for Jekyll to generate your sites. They are:
- `_config.yml` the global configuration of your site, see [Usage section](#usage)
- `index.html` the 'home' pages, and yes it is blank
3. Content files and directories. These files determines the content of your site. You should focus and mainly make changes on these files. They are:
- `_posts/` (contains your blog post)
- `_pages/` (contains the static page)
- `_drafts/` (contains unpublished draft)
- `_data/navigation.yml` (your site navigation)
- `assets/images` (your site images or other files)
4. Others. Such as:
- `.gitignore` (Git stuff)
- `Gemfile` (Ruby stuff)
- `Gemfile.lock` (Ruby stuff)
- `LICENSE` (License)
- `README.md` (This readme)
## Personalization
### Site Configuration
First you will need to configure your site settings. This can be done by editing the `_config.yml` file. Following are those lines that you should changes and those lines that you can change.
**Settings that you should change:**
Line number | Setting | Explanation
------------|-----------|------------
12 | title | Your site title
14 | name | Your name
15 | description| A short description about your site
85 - 115 | author | Your details (name, picture, email, social media links)
**Settings that you can change:**
Line number | Setting | Explanation
------------|-----------|------------
8 | minimal_mistakes_skin | Change your skin, refer to [minimal mistakes skin](https://github.com/mmistakes/minimal-mistakes#skins-color-variations)
54 | search | Set it to `true` to add search function
182 | permalink | Change your permalink, refer to Jekyll [documentation](https://jekyllrb.com/docs/permalinks/)
186 | sticky_sidebar | Set it to `false` to make the left sidebar (author profile) non-sticky
### Repository Cleanup and Personalization
I have included some demo posts for the demo, you can remove them after you had forked this repo for your personal site.
Files | Action
-----------------------|------------
_data/nagivation.yml | Remove 7th and 8th line to remove the "Source Code" link in the site nagivation
_posts/* | Delete all files in _posts/ folder as they are demo posts
_drafts/* | Delete all files in _drafts/ folder as they are demo posts
_pages/about.md | Edit this, write something about yourself
README.md | Remove this file or update the demo link at 6th line (optional)
### Use Custom Domain
First, register your domain name, say `example.com` at any DNS provider.
Before we start to setup, do note that there are [several ways](https://help.github.com/articles/quick-start-setting-up-a-custom-domain/) to setup an custom domain. We will setup our custom domain with apex domain and `www` subdomain, which mean visitor will be able to visit your site on either `www.example.com` or `example.com`.
Go to your repository settings, under `Custom domain`, type in your custom domain, `example.com` and click **save**. Refer to [here](https://help.github.com/articles/adding-or-removing-a-custom-domain-for-your-github-pages-site/) for more detail steps.
Then, at your DNS provider, create 3 DNS record for your domain:
- A record for **@** pointing to `username.github.io.` (*mind the extra period!*)
- CNAME record for **www** pointing to `username.github.io.` (*mind the extra period!*)
Refer to [here](https://www.namecheap.com/support/knowledgebase/article.aspx/9645/2208/how-do-i-link-my-domain-to-github-pages) and [here](https://gist.github.com/mapsam/ce60b87eea561ea6bdbf) as well as GitHub official help ([`www`](https://help.github.com/articles/setting-up-a-www-subdomain/) and [apex](https://help.github.com/articles/setting-up-an-apex-domain/)) for more information.
### Further Customization
You change further customize and style your blog by changing the [theme files](#theme). Refer [here](#customization) to understand how is this version different from the original [Minimal Mistakes theme](https://github.com/mmistakes/minimal-mistakes/tree/4.8.0).
## Usage
### Write Blog Posts
Navigate to the `_posts` directory in github.com, for example `https://github.com/username/repositoryname/tree/master/_posts`.
Click on create new file and follow the [naming convention](https://github.com/limyunkai19/minimal-mistakes-jekyll/blob/master/_posts/2017-12-21-welcome-to-minimal-mistakes-jekyll.md).
You will need a [YAML front matter](https://jekyllrb.com/docs/frontmatter/) for every beginning of your post. Basically the following:
```
---
title: "Welcome to Minimal Mistakes Jekyll"
date: 2017-12-21
categories: update
tags: jekyll
---
```
Change the title and date, categories and tags are optional. Note that the 3 dashes above and 3 dashes below are important.
After the YAML front matter (after the 3 dashes) you may start writing your own post in markdown. You may find this [cheatsheet](https://github.com/adam-p/markdown-here/wiki/Markdown-Cheatsheet) handy.
Then, click on preview to check if your markdown is correct and the rendered content is what you want (you may ignore the first table, it will disappear in your published site).
After everything is okay, commit this file and wait around 10 seconds for GitHub Pages to reflect your changes.
**Note:** you may refer to the [source code](https://raw.githubusercontent.com/limyunkai19/minimal-mistakes-jekyll/master/_posts/2017-12-21-welcome-to-minimal-mistakes-jekyll.md) of the example blog post and its [rendered result](https://limyunkai19.github.io/minimal-mistakes-jekyll/update/welcome-to-minimal-mistakes-jekyll/) to understand more about how to write a blog post
### Add Pages
A page contain content that usually permanent, like about page. You may add other pages, for example, experience, resume or CV. You may also remove pages like the **Source Code** on the top right corner.
Adding a page is similar to adding a blog post, just a little more work to do.
First, navigate to `_pages` directory, then add new file.
As for the front matter, you will need permalink and title, refer to the following:
```
---
permalink: /about/
title: "About"
---
```
Then, similar to blog post, write the content in markdown, check using preview and commit this file.
Next, for you pages to appear in the navigation bar, you will need to edit `_data/navigation.yml`. Refer to existing `about`, you will know that you need to add in `title` and `url`. You may remove the `Source Code` from the navigation bar too by simply deleting the 2 lines related to it.
### Write Drafts
Dealing with drafts is a little inconvenient with GitHub interface but it is still possible.
Similar to adding blog post, go to `_drafts` directory and add a file for your draft.
To publish your draft, click on `raw` then copy the content, create new file in `_posts` then paste the draft content. Don't forgot about YAML front matter and naming convention.
**For local development**
Use the following command to view your drafts
```sh
bundle exec jekyll serve --drafts
```
### Add Images
To add an image to your blog post, for example `awesomeimage.jpg`.
First, upload the images to `assets/images` directory.
Then in your blog post, use the following syntax to include your image
```

```
`alt_text` is the text to be displayed when your there is an error in rendering your images.
It is also possible to insert an images with link, refer to [here](https://github.com/limyunkai19/minimal-mistakes-jekyll/blob/master/_drafts/first-draft.md) for more detail.
### Add Math Equation
To add math equation into your post, you need to enable math support through `use_math: true` in the YAML front matter. For example,
```
---
title: "Add Math Support"
use_math: true
---
```
Then, you can type your equation using LaTeX like syntax. Refer [here]( https://limyunkai19.github.io/minimal-mistakes-jekyll/math-support/) for more imformation.
## Customization
You can make changes to [Theme files](#theme) or the `_config.yml` files to customize your site styles and look. I have made the following customization based on the [Minimal Mistakes theme](https://github.com/mmistakes/minimal-mistakes/tree/4.8.0).
**Reduce font size** - [here](https://github.com/limyunkai19/minimal-mistakes-jekyll/blob/c36ed03ec0b4b764a260b420662d7b24d3dc161d/assets/css/main.scss#L11)
. You may change the font size to suit your needs.
**Slight reduce author profile font size** - [here](https://github.com/limyunkai19/minimal-mistakes-jekyll/blob/c36ed03ec0b4b764a260b420662d7b24d3dc161d/assets/css/main.scss#L49).
**Reposition of left sidebar, content, and right sidebar** - [here](https://github.com/limyunkai19/minimal-mistakes-jekyll/blob/c36ed03ec0b4b764a260b420662d7b24d3dc161d/assets/css/main.scss#L73) and [here](https://github.com/limyunkai19/minimal-mistakes-jekyll/blob/c36ed03ec0b4b764a260b420662d7b24d3dc161d/_sass/minimal-mistakes/_variables.scss#L124).
**Add math support** - [here](https://github.com/limyunkai19/minimal-mistakes-jekyll/blob/7848ac72ac4305926629a729f2648e89669e2919/_includes/head/custom.html#L5) and [here](https://github.com/limyunkai19/minimal-mistakes-jekyll/blob/7848ac72ac4305926629a729f2648e89669e2919/_config.yml#L243).
**Optional sticky left sidebar feature** - [here](https://github.com/limyunkai19/minimal-mistakes-jekyll/blob/7848ac72ac4305926629a729f2648e89669e2919/_includes/sidebar.html#L2) and [here](https://github.com/limyunkai19/minimal-mistakes-jekyll/blob/7848ac72ac4305926629a729f2648e89669e2919/_config.yml#L186).
**Enhance table styles** - [here](https://github.com/limyunkai19/minimal-mistakes-jekyll/blob/master/_sass/minimal-mistakes/_tables.scss)
**Add date for post meta** - [here](https://github.com/limyunkai19/minimal-mistakes-jekyll/blob/d2b29614911d6e2cd2aac138c0f1fb4fd2ab4658/_layouts/single.html#L30) and [here](https://github.com/limyunkai19/minimal-mistakes-jekyll/blob/d2b29614911d6e2cd2aac138c0f1fb4fd2ab4658/_includes/archive-single.html#L33)
All others are left unchanged.
You can even **change the theme** to be any Jekyll theme by replacing related [Theme files](#theme) to be your destination theme. However, do note that different theme has different layout options. This template is setup to use `single` layout from the Minimal Mistakes theme as a default layout. In the case that your destination theme does not support `single` layout or you wish to change the default layout, change the default layout at [line 248](https://github.com/limyunkai19/minimal-mistakes-jekyll/blob/cb6f671e52bc6295d0ddf057e63e2f2ffea674a8/_config.yml#L248) and [line 255](https://github.com/limyunkai19/minimal-mistakes-jekyll/blob/cb6f671e52bc6295d0ddf057e63e2f2ffea674a8/_config.yml#L255) of `_config.yml` file. Sometimes, there is also a need to make changes on `_config.yml` to resolve the incompatibility between different themes.
Read the official Jekyll [documentation](https://jekyllrb.com/docs/home/) to further customize the site for your own need.
## Credits
Theme by [Minimal Mistakes](https://mmistakes.github.io/minimal-mistakes/) release 4.8.0
看看同类模板
对比同技术栈与用途的模板,找到更适合的视觉与内容结构。
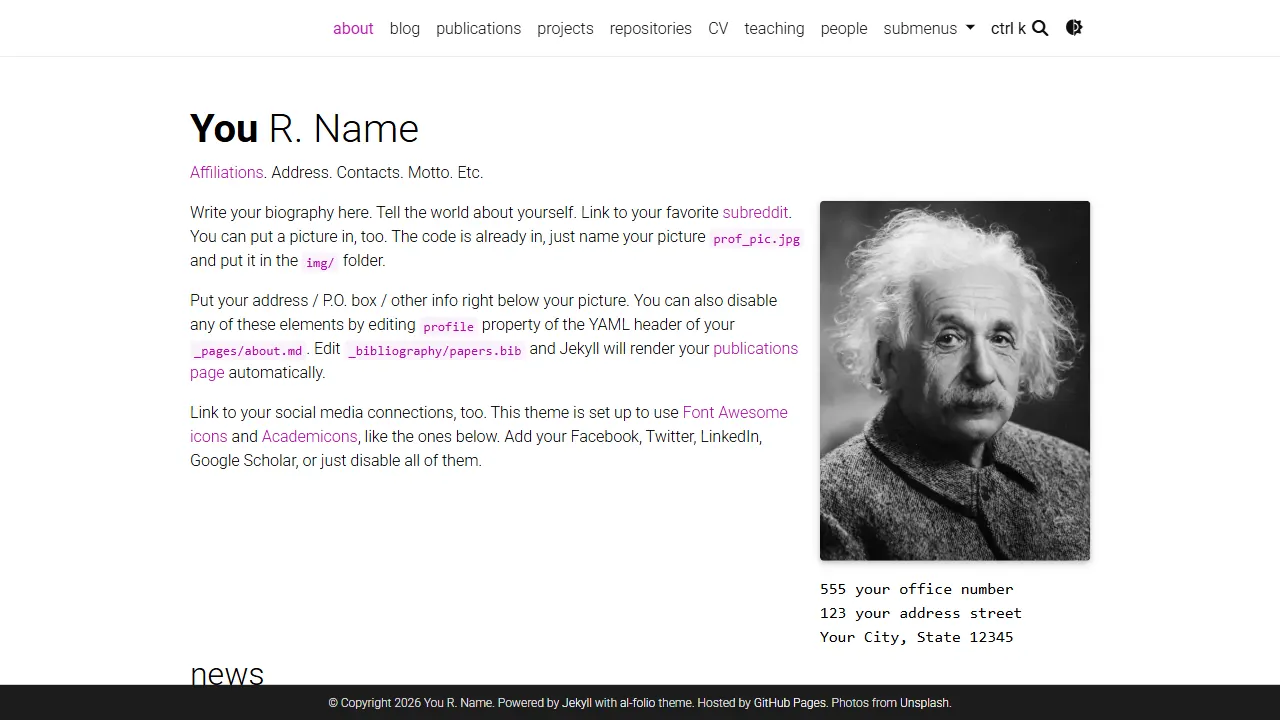
al-folio
al-folio 是一个面向学者与研究人员的 Jekyll 作品集主题,设计简洁、响应式,适合搭建个人学术主页。
Jekyll · 作品集
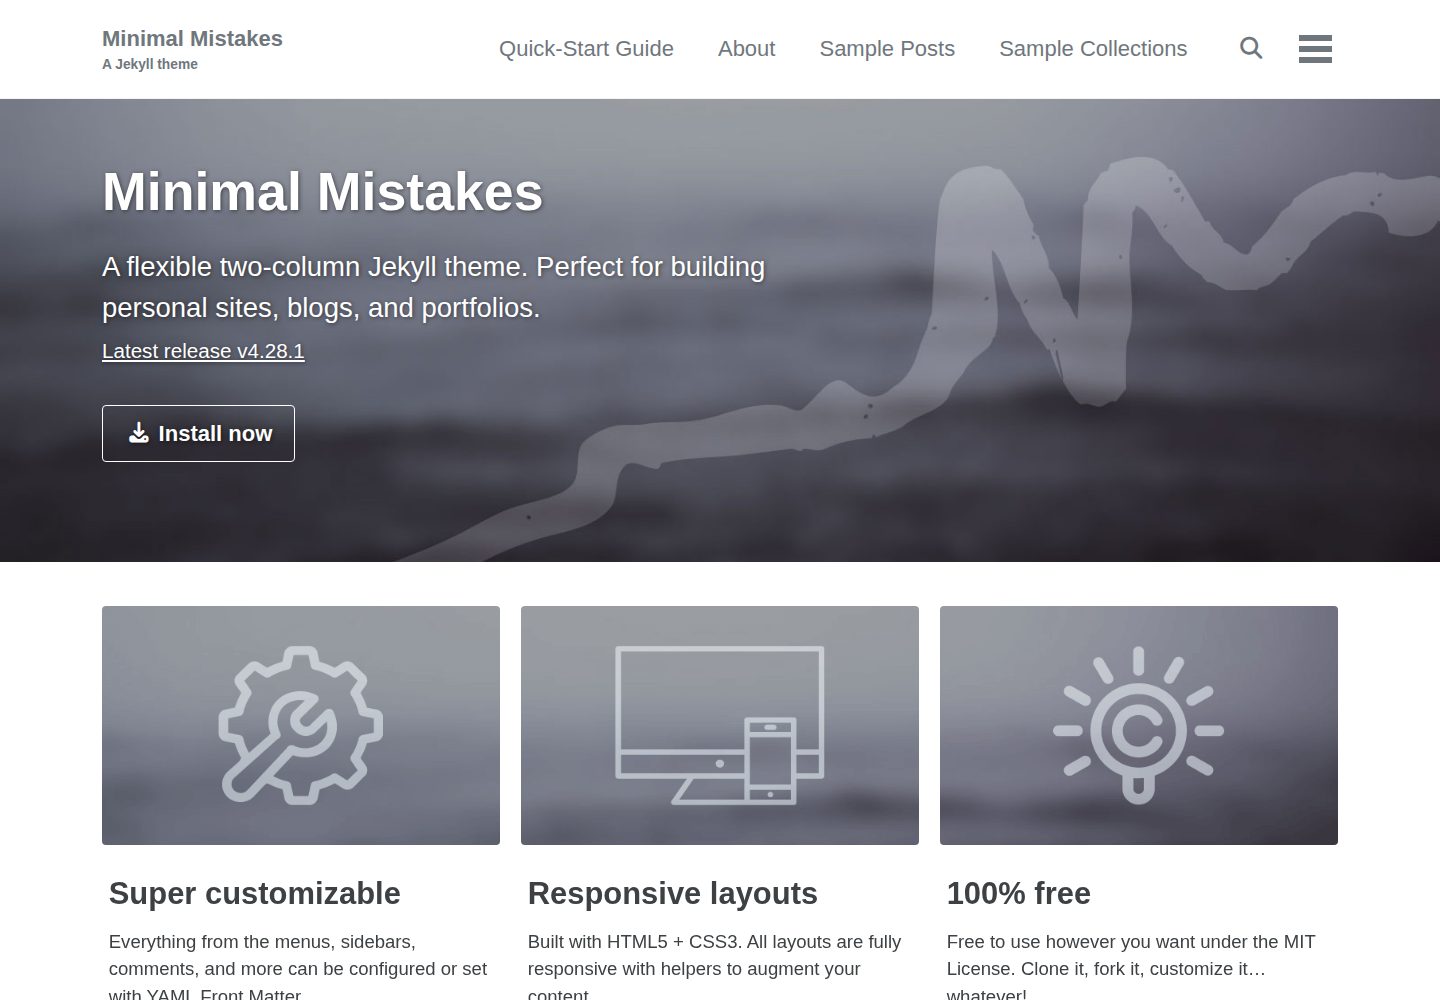
minimal-mistakes
:triangular_ruler: Jekyll theme for building a personal site, blog, project documentation, or portfolio.
Jekyll · 作品集
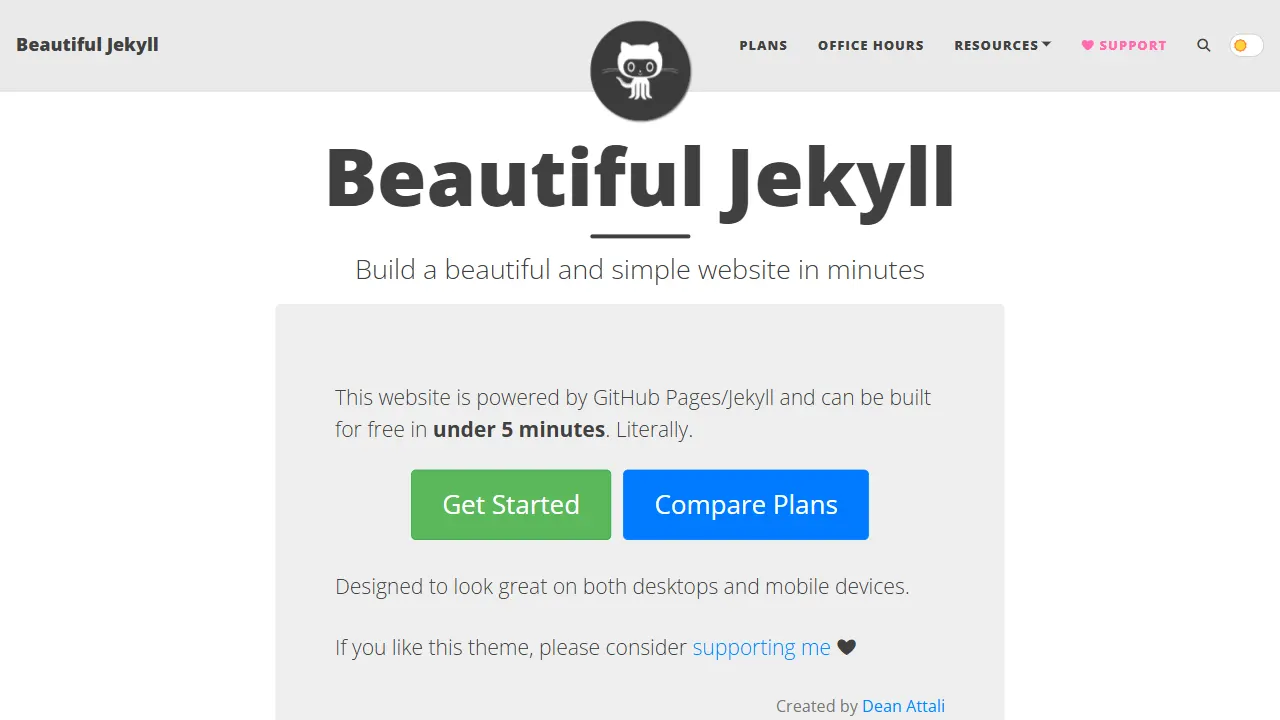
Beautiful Jekyll
Beautiful Jekyll 是一个在 Jekyll 生态中经过长期打磨的博客主题,由 Dean Attali 维护,自 2015 年起积累了超过 5 万用户。
Jekyll · 博客
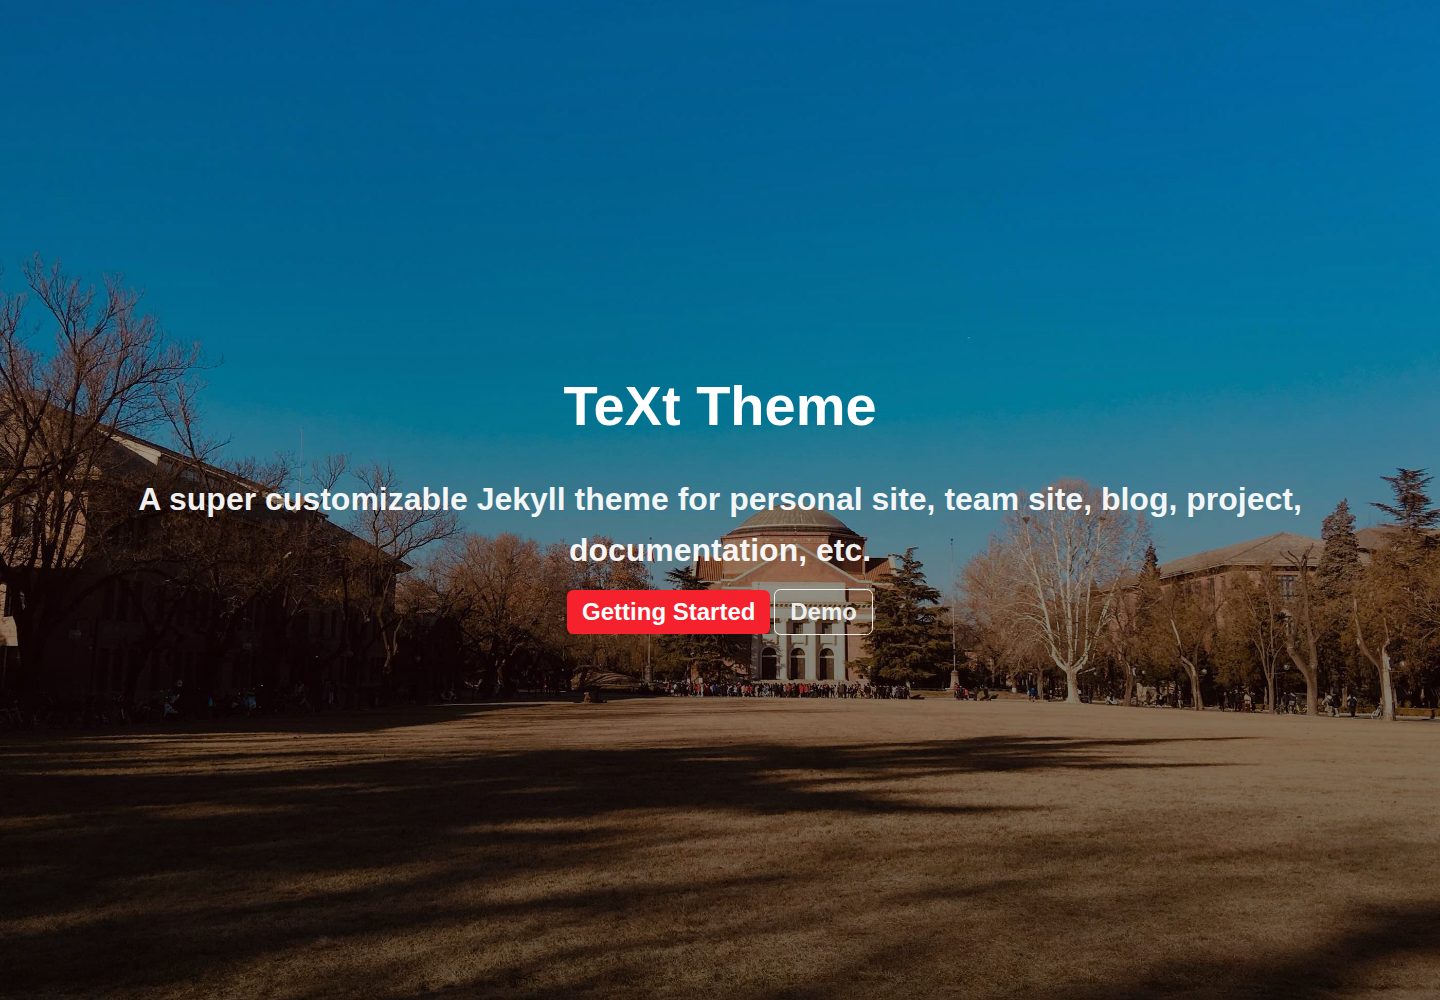
jekyll-TeXt-theme
💎 🐳 A super customizable Jekyll theme for personal site, team site, blog, project, documentation, etc.
Jekyll · 博客
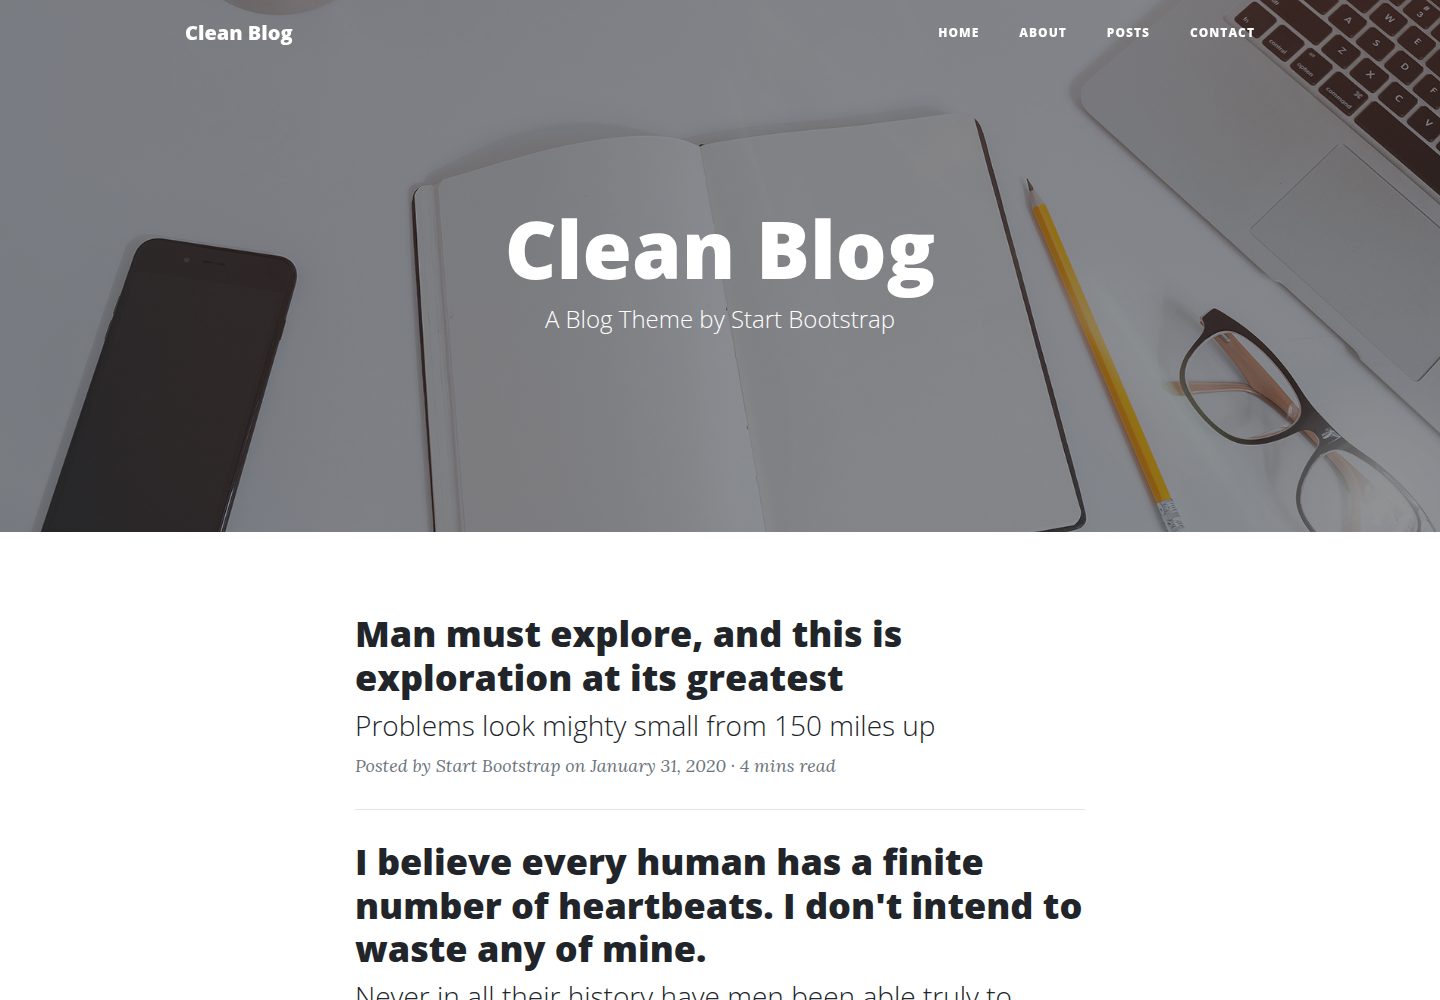
startbootstrap-clean-blog-jekyll
A Jekyll version of the Clean Blog theme by Start Bootstrap
Jekyll · 博客
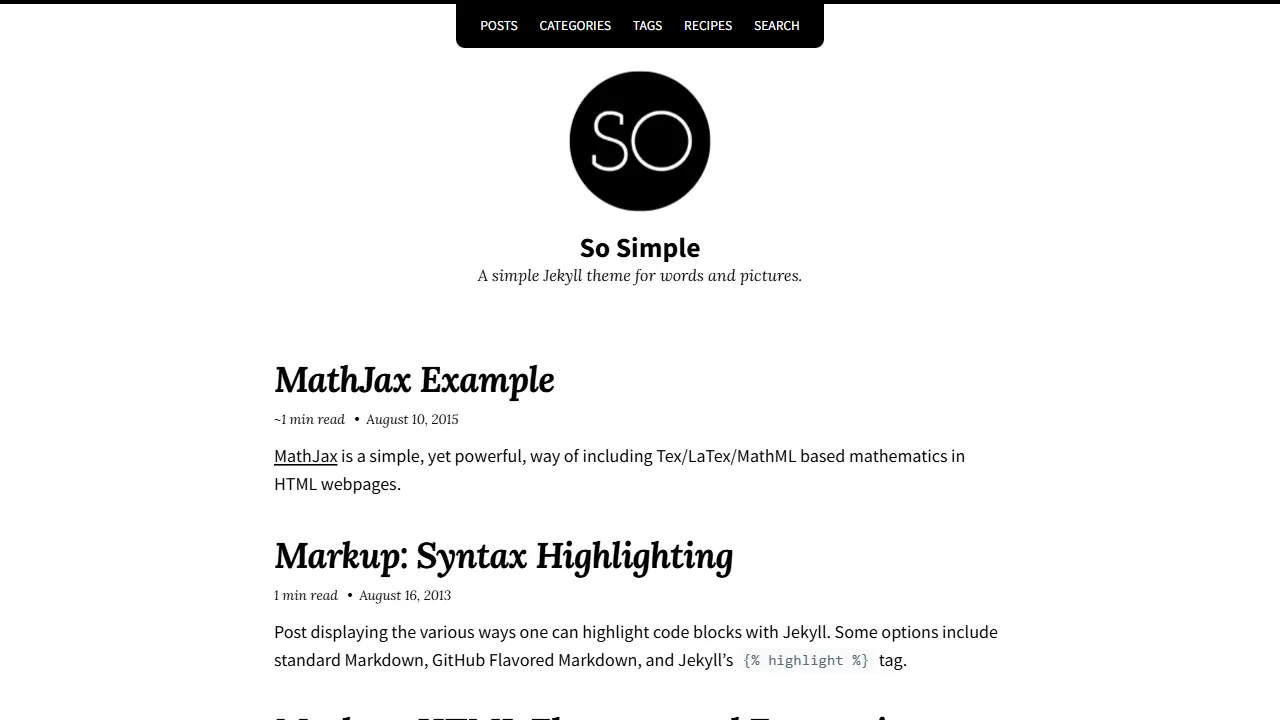
So Simple
So Simple 是 Michael Rose 开发的 Jekyll 主题,定位清晰:为文字和图片提供一个干净、可读性强的展示框架。
Jekyll · 博客