Built-in standard blog features such as tags, authors, and pagination
Next.jsReactBlog
nextjs-netlify-blog-template — Next.js Blog Template
By MateusPaixao
A blog template built on the Next.js and Netlify stack, with built-in tags, authors, pagination, CMS, and MDX content support, under the MIT license.
Explore the design
Compare the page layouts and mobile experience. Open any screenshot for a closer look.
Desktop homepage1 / 2
Desktop captureTop of page
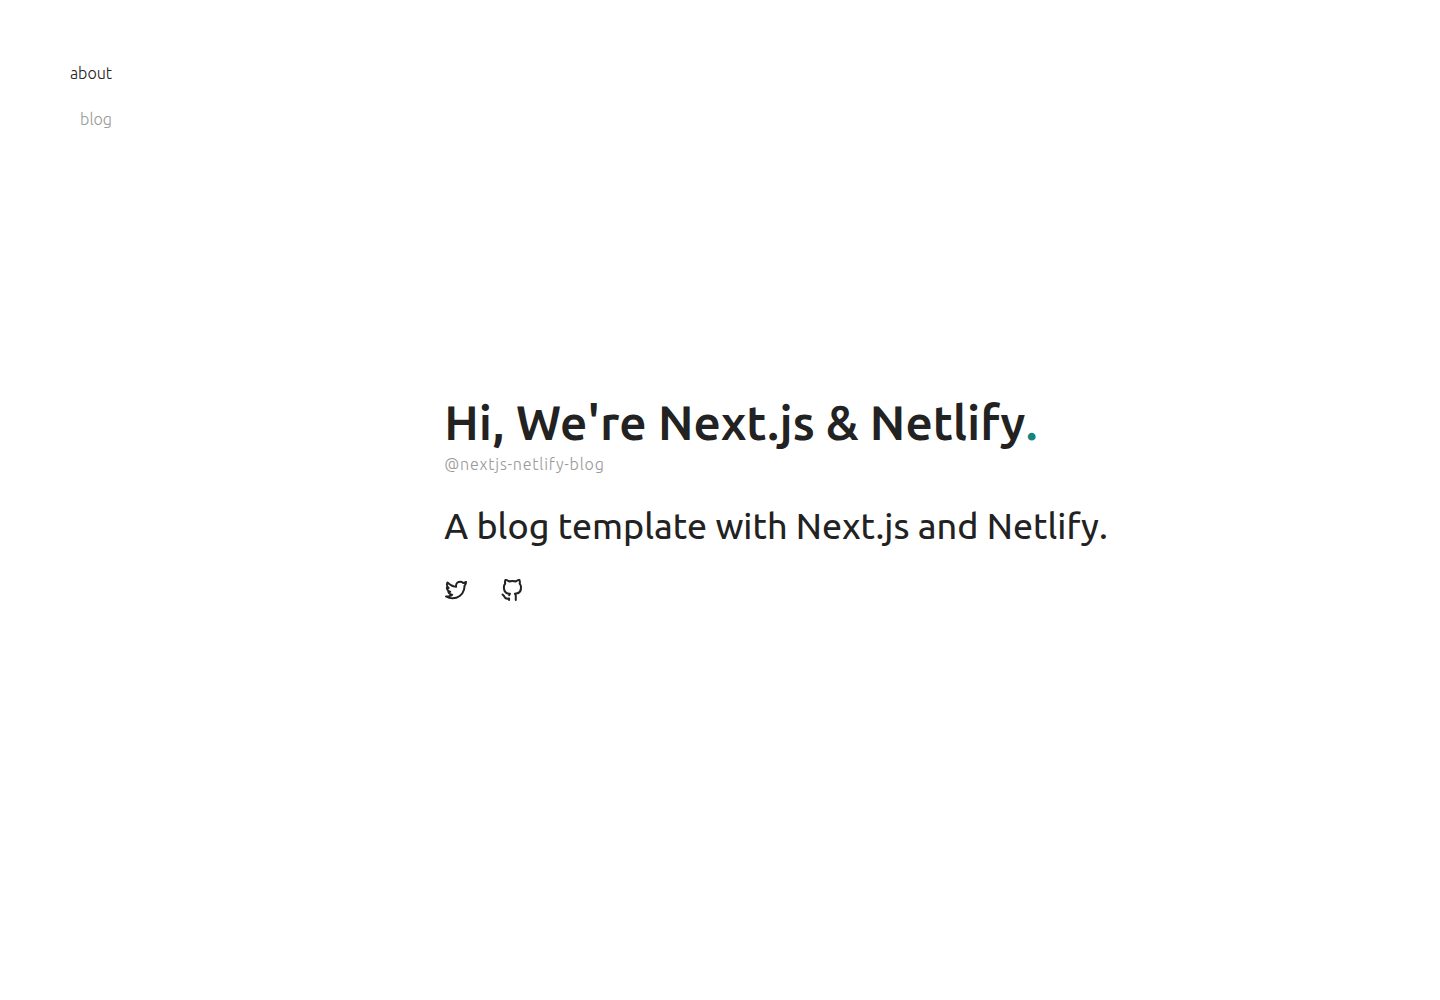
Actual screenshot captured by the server browser.
All pages & views 2
Screenshots show visual appearance; interactive behavior may differ.
Recorded 2026-10-13View source
What stands out
A quick read of the recorded project description.
Content editing entry point provided through Netlify CMS
Content written as MDX files, supporting React component-style shortcodes
Built-in SEO metadata handling such as JSON-LD
Styling based on styled-jsx and CSS Modules, replaceable
MIT licensed, allowing modification and commercial use of this version's code
Template Details
This template targets blog setups using Next.js and Netlify. It is positioned as a more complete boilerplate than typical starter examples: while common tutorials cover only basic setup, it already implements standard blog features such as tags, authors, and pagination. Content is stored as MDX files in the src/content directory, metadata (such as authors and tags) is managed by YAML files in the meta directory, and a visual editing entry point is provided through Netlify CMS.
At the feature level, the template includes organizing content by tag, displaying article authors, pagination that limits the number of posts per page, built-in SEO handling for metadata such as JSON-LD, and a writing approach that extends content with React components similar to WordPress shortcodes. Styling uses styled-jsx and CSS Modules, with components and pages located in src/components and src/pages respectively, and can be replaced with other styling solutions.
Regarding usage limitations, the repository does not provide a dependency manifest for verification, so specific framework versions are not listed; the template itself is boilerplate code, and after cloning you need to customize the theme and content yourself. Licenses for third-party assets such as demo images, fonts, and icons must be checked separately, and external services such as domains and hosting may incur costs.
Next.jsBlog
Is it right for your project?
Use Cases
- Quickly building a personal blog with tag and author information using Next.js and Netlify
- A writing workflow that requires a visual CMS to edit MDX articles
- A writing approach that extends article content with React components
- Deploying and hosting a static blog on Netlify
Suitable For
- Developers familiar with Next.js who want more complete blog features out of the box
- Sites that need basic blog structure such as tags, authors, and pagination
- Editors willing to use Netlify CMS to manage MDX content
Getting started & customization
Use these recorded setup notes alongside the repository instructions for your chosen version.
- 1
You can initialize the project with npx create-next-app and specify this template repository as the example
- 2
After initialization, configure and publish the site according to Netlify's official deployment guide
- 3
Content files are located in src/content, and metadata such as authors and tags is in YAML files in the meta directory
- 4
Adding metadata such as categories requires modifying the Netlify CMS configuration, the meta files, and the corresponding data-fetching modules at the same time
- 5
Third-party assets such as demo images, fonts, and icons must be checked separately under their respective licenses
License & source material
Usage conditions & limitations
Free to use · keep license noticeThis entry covers the free version in the public repository under the MIT license; the free scope is the code of this version, and does not mean that external services or third-party assets are free.
Must comply with when using
- Free use, modification, commercial use, and distribution of this version's code are permitted.
- When distributing copies or substantial portions of the code, retain the original author's copyright notice and the full MIT license notice.
- The code is provided as is; warranties and limitations of liability are governed by the original license and applicable law.
Additional costs & items to verify
- Demo images, fonts, icons, and other third-party assets must be checked under their respective licenses and cannot be judged solely by the code's MIT license.
- External services such as domains, hosting, databases, payments, or AI may incur separate charges.
- The template is positioned as a boilerplate for building blogs using only the Netlify stack; its use case is limited to the Netlify platform, and switching to other hosting or backend services exceeds the template's design scope.
- Using the template requires initializing the project via npx create-next-app with this repository specified as the example, which is a command-line initialization process, not a ready-to-use finished site available by direct download.
- After initialization, project configuration and publishing must be completed according to Netlify's official deployment guide; deployment depends on Netlify services and may involve account registration and hosting fees.
- The template is only boilerplate code; after cloning and starting it, users must customize the theme and content themselves, and it does not provide a ready-to-use finished blog.
- Styles and components must be modified by users to apply a design theme; the template does not include a complete, directly usable design.
- Adding metadata such as categories requires modifying the Netlify CMS configuration, YAML files in the meta directory, and data-fetching modules at the same time; content management depends on the Netlify CMS service.
View Original Text Basis
Permission is hereby granted, free of charge
Original License Text
Next.js blogging template for Netlify is a boilerplate for building blogs with only Netlify stacks.
Original README
To create your blog using the template, open your terminal, `cd` into the directory you'd like to create the app in, and run the following command:
Original README
After that, set up your project as following the Netlify blog:
Original README
This template is just a template and a boilerplate in which users can customize anything after the project was cloned and started.
Original README
You can modify it freely if you want to apply your design theme.
Original README
https://github.com/MateusPaixao/nextjs-netlify-blog-template/blob/master/LICENSEhttps://github.com/MateusPaixao/nextjs-netlify-blog-template/blob/master/README.mdIt is all you have to do. After that, you can access Netlify CMS and create new categories at any time.
Original README
Compiled by DeepSeek based on repository license and README ·2026-10-13. Results only cover the materials read; dependencies, images, fonts, and subsequent term changes are subject to their respective original texts.
Project checks & description sources
Template Information
- Source platforms
- GitHub
- Documentation and maintenance reference score
- Partly documented · 65 / 100
- Technologies
- Next.js · React
- Website type
- Blog
How this score is calculated
Our heuristic uses license records (up to 30), a demo link (12), a preview (10), stars (15), recorded maintenance (15), description completeness (8), feature records (5) and classification data (5). It is not a code, security or performance test, or a Google score. A link does not establish tested functionality.
What to verify for this project
- Repository update recorded
- 2021-07-23
- Screenshot last checked
- 2026-10-13
A demo link is listed. Check it with your own content and viewport sizes; its presence does not confirm that forms, authentication or payments work.
The catalog identifies Next.js as the primary stack. Check the actual dependency manifest and lockfile for versions and hosting requirements. These notes use recorded metadata, not a code audit or a deployment test.
Use a selection guide →How this description was prepared
AI-assisted description based on catalog records and repository material. Repository authors are not automatically the reviewers of this description.
Review declaration: [email protected] · 2026-10-13
Inspect the recorded source material
SHA-256: 967d7f94be4386ea6d8cfbbf3cdce3b65ccafe194fef8b78a95f71e691d2c49f
2026-10-13T09:41:46.541Z
Source file / repository [](https://app.netlify.com/sites/nextjs-netlify-blog-template/deploys) [](https://nextjs.org/) Next.js blogging template for Netlify is a boilerplate for building blogs with only Netlify stacks. There are some boilerplate or tutorials for the combination of Next.js and Netlify on GitHub. These resources have documentation and good tutorial to get started Next.js and Netlify quickly, but they are too simple to build blogs with standard features like tagging. Next.js blogging template for Netlify has already implemented these standard features for building blogs with only using Next.js and Netlify stacks. ## Demo Deploy on your environment by clicking here: [](https://app.netlify.com/start/deploy?repository=https://github.com/wutali/nextjs-netlify-blog-template&stack=cms) Or access the following demo site: [Next.js blog template for Netlify](https://nextjs-netlify-blog-template.netlify.app/) ## Features - **Tagging**: organizes content by tags - **Author**: displays author names who write a post - **Pagination**: limits the number of posts per page - **CMS**: built with CMS to allow editors modifying content with the quickest way - **SEO optimized**: built-in metadata like JSON-LD - **Shortcode**: extends content writing with React component like WordPress shortcodes ## Dependencies - [TypeScript](https://www.typescriptlang.org/) - [Next.js](https://nextjs.org/) - [Netlify](https://www.netlify.com/) - [MDX](https://mdxjs.com/) ## Getting started To create your blog using the template, open your terminal, `cd` into the directory you'd like to create the app in, and run the following command: ``` npx create-next-app your-blog --example "https://github.com/wutali/nextjs-netlify-blog-template" ``` After that, set up your project as following the Netlify blog: [A Step-by-Step Guide: Deploying on Netlify](https://www.netlify.com/blog/2016/09/29/a-step-by-step-guide-deploying-on-netlify/) ## Customization This template is just a template and a boilerplate in which users can customize anything after the project was cloned and started. The following instructions introduce common customization points like adding new metadata or applying a new design theme. ### Styling pages by a customized theme All source codes related to the blog are under [components](/src/components) and [pages](/src/pages) directory. You can modify it freely if you want to apply your design theme. All components use [styled-jsx](https://github.com/vercel/styled-jsx) and [css-modules](https://github.com/css-modules/css-modules) to define their styles, but you can choose any styling libraries for designing your theme. The directory tree containing the blog source code are described below: ``` meta: yaml files defining metadata like authors or tags public: images, favicons and other static assets src ├── assets: other assets using inside of components ├── components: pieces of components consisting of pages ├── content: mdx files for each post page ├── lib: project libraries like data fetching or pagination └── pages: page components managing by Next.js ``` ### Organizing content by categories The category metadata that associates with content have the same relationship with the authors' one. Then reference these implementations for adding new metadata: - [public/admin/config.yml](/public/admin/config.yml#L51): author metadata definition for Netlify CMS - [src/lib/authors.tsx](/src/lib/authors.ts): fetches metadata and defines utility functions for components - [meta/authors.yml](/src/meta/authors.yml): author content managed by Netlify CMS - [src/components/PostLayout.tsx](/src/components/PostLayout.tsx): displays author content for each page You understood they have four steps to add the category metadata on your project after you read the above source codes: 1. Define the category metadata on the above Netlify config file 2. Create an empty file named with `categories.yml` under [meta](/src/meta/) directory 3. Create a new module for fetching category metadata 4. Display the category metadata on [src/components/PostLayout.tsx](/src/components/PostLayout.tsx#L75) or other components you want It is all you have to do. After that, you can access Netlify CMS and create new categories at any time. ### Locale settings for Netlify CMS Modify [config.yml](/public/admin/config.yml) and [index.html](/public/admin/index.html) under [public/admin](/public/admin/) directory as following instructions: [Netlify CMS - Configuration Options #Locale](https://www.netlifycms.org/docs/configuration-options/#locale) ## References - [Netlify CMS Documentation](https://www.netlifycms.org/docs/intro/) - [Building a Markdown blog with Next 9.4 and Netlify](https://www.netlify.com/blog/2020/05/04/building-a-markdown-blog-with-next-9.4-and-netlify/) - [Hugo Theme - Codex](https://github.com/jakewies/hugo-theme-codex) - [Next.js Starter Template for TypeScript](https://github.com/vercel/next-learn-starter/tree/master/typescript-final) - [Building Blog with NextJS and Netlify CMS](https://dev.to/mefaba/building-blog-with-nextjs-and-netlify-cms-fom) - [Unicons](https://github.com/Iconscout/unicons) ## License MIT
Explore similar templates
Compare previews and descriptions within the same stack and category.

tailwind-nextjs-starter-blog
A Next.js and Tailwind CSS blog starter template using Contentlayer for Markdown/MDX, with built-in SEO, code highlighting, and tags. It targets personal technical blogs and migration from Jekyll/Hugo to React, and supports one-click Vercel deployment.
Next.js · Blog
Nextjs-tailwindcss-blog-template
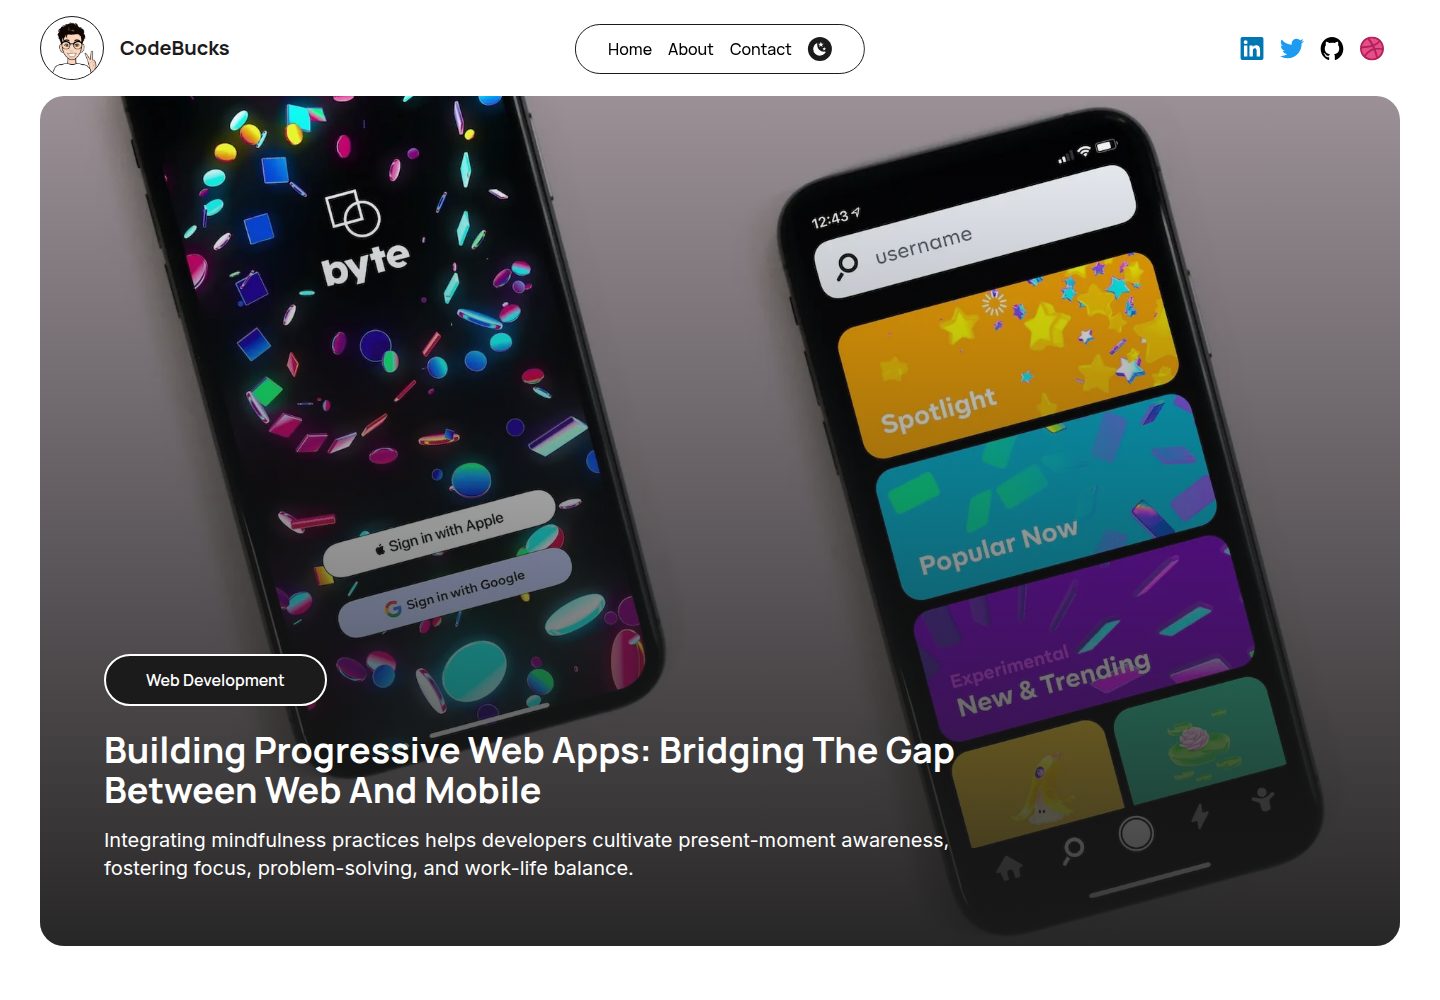
A personal blog template built with Next.js and Tailwind CSS, using Velite to process Markdown content. It includes home, about, contact and article pages, with a demo site and a companion YouTube tutorial.
Next.js · Blog
Next-js-Blog-Boilerplate
A blog starter built on Next.js 12 and Tailwind CSS 3, integrating TypeScript, ESLint, Prettier, and PostCSS.
Next.js · Blog
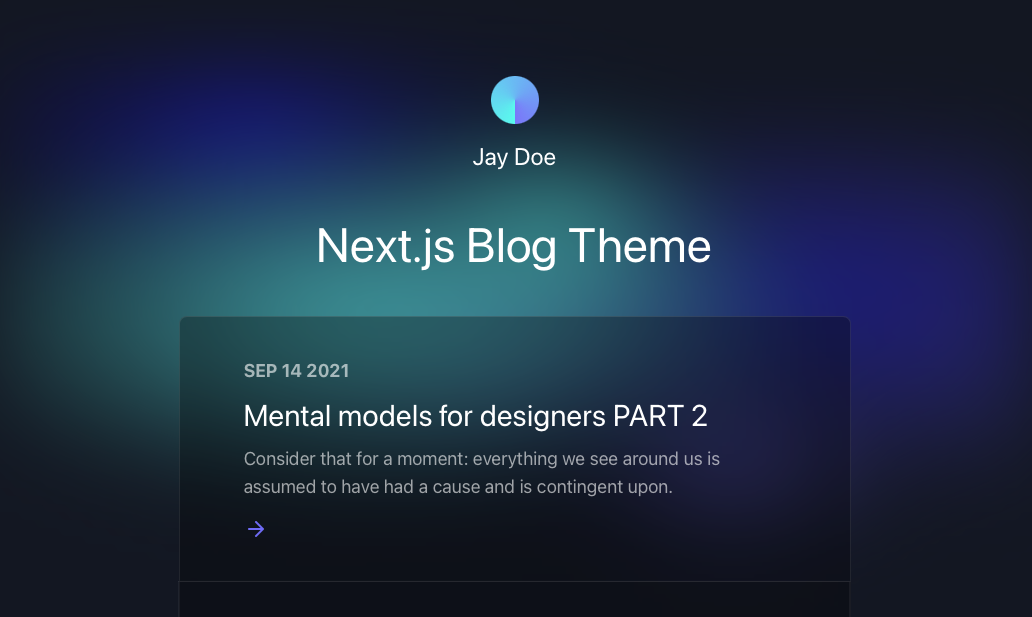
nextjs-blog-theme
A Next.js 15 and Tailwind CSS 4.x blog starter by Netlify, designed by Bejamas, with MDX support, dark/light theme switching, and environment-variable configuration. It includes a visual setup wizard for deploying to Netlify and manages content via local .mdx files.
Next.js · Blog
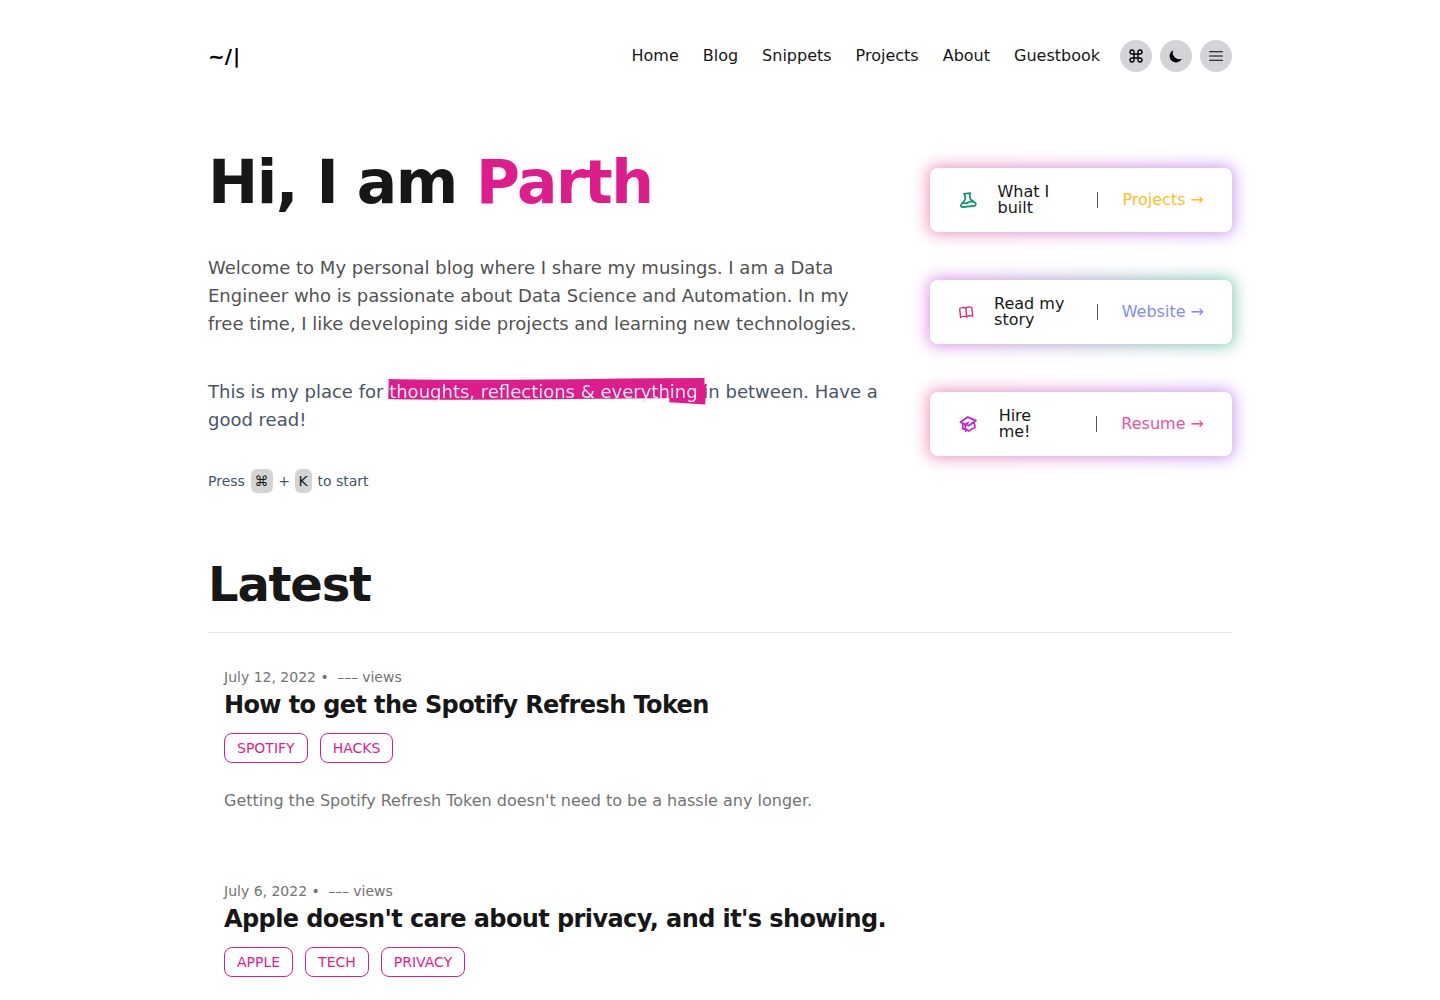
blog
A personal blog forked from Timlrx's tailwind-nextjs-starter-blog, built with Next.js, React, and Tailwind CSS. Content is stored as Markdown/MDX under data/, with site, author, navigation, and project data in separate files.
Next.js · Blog
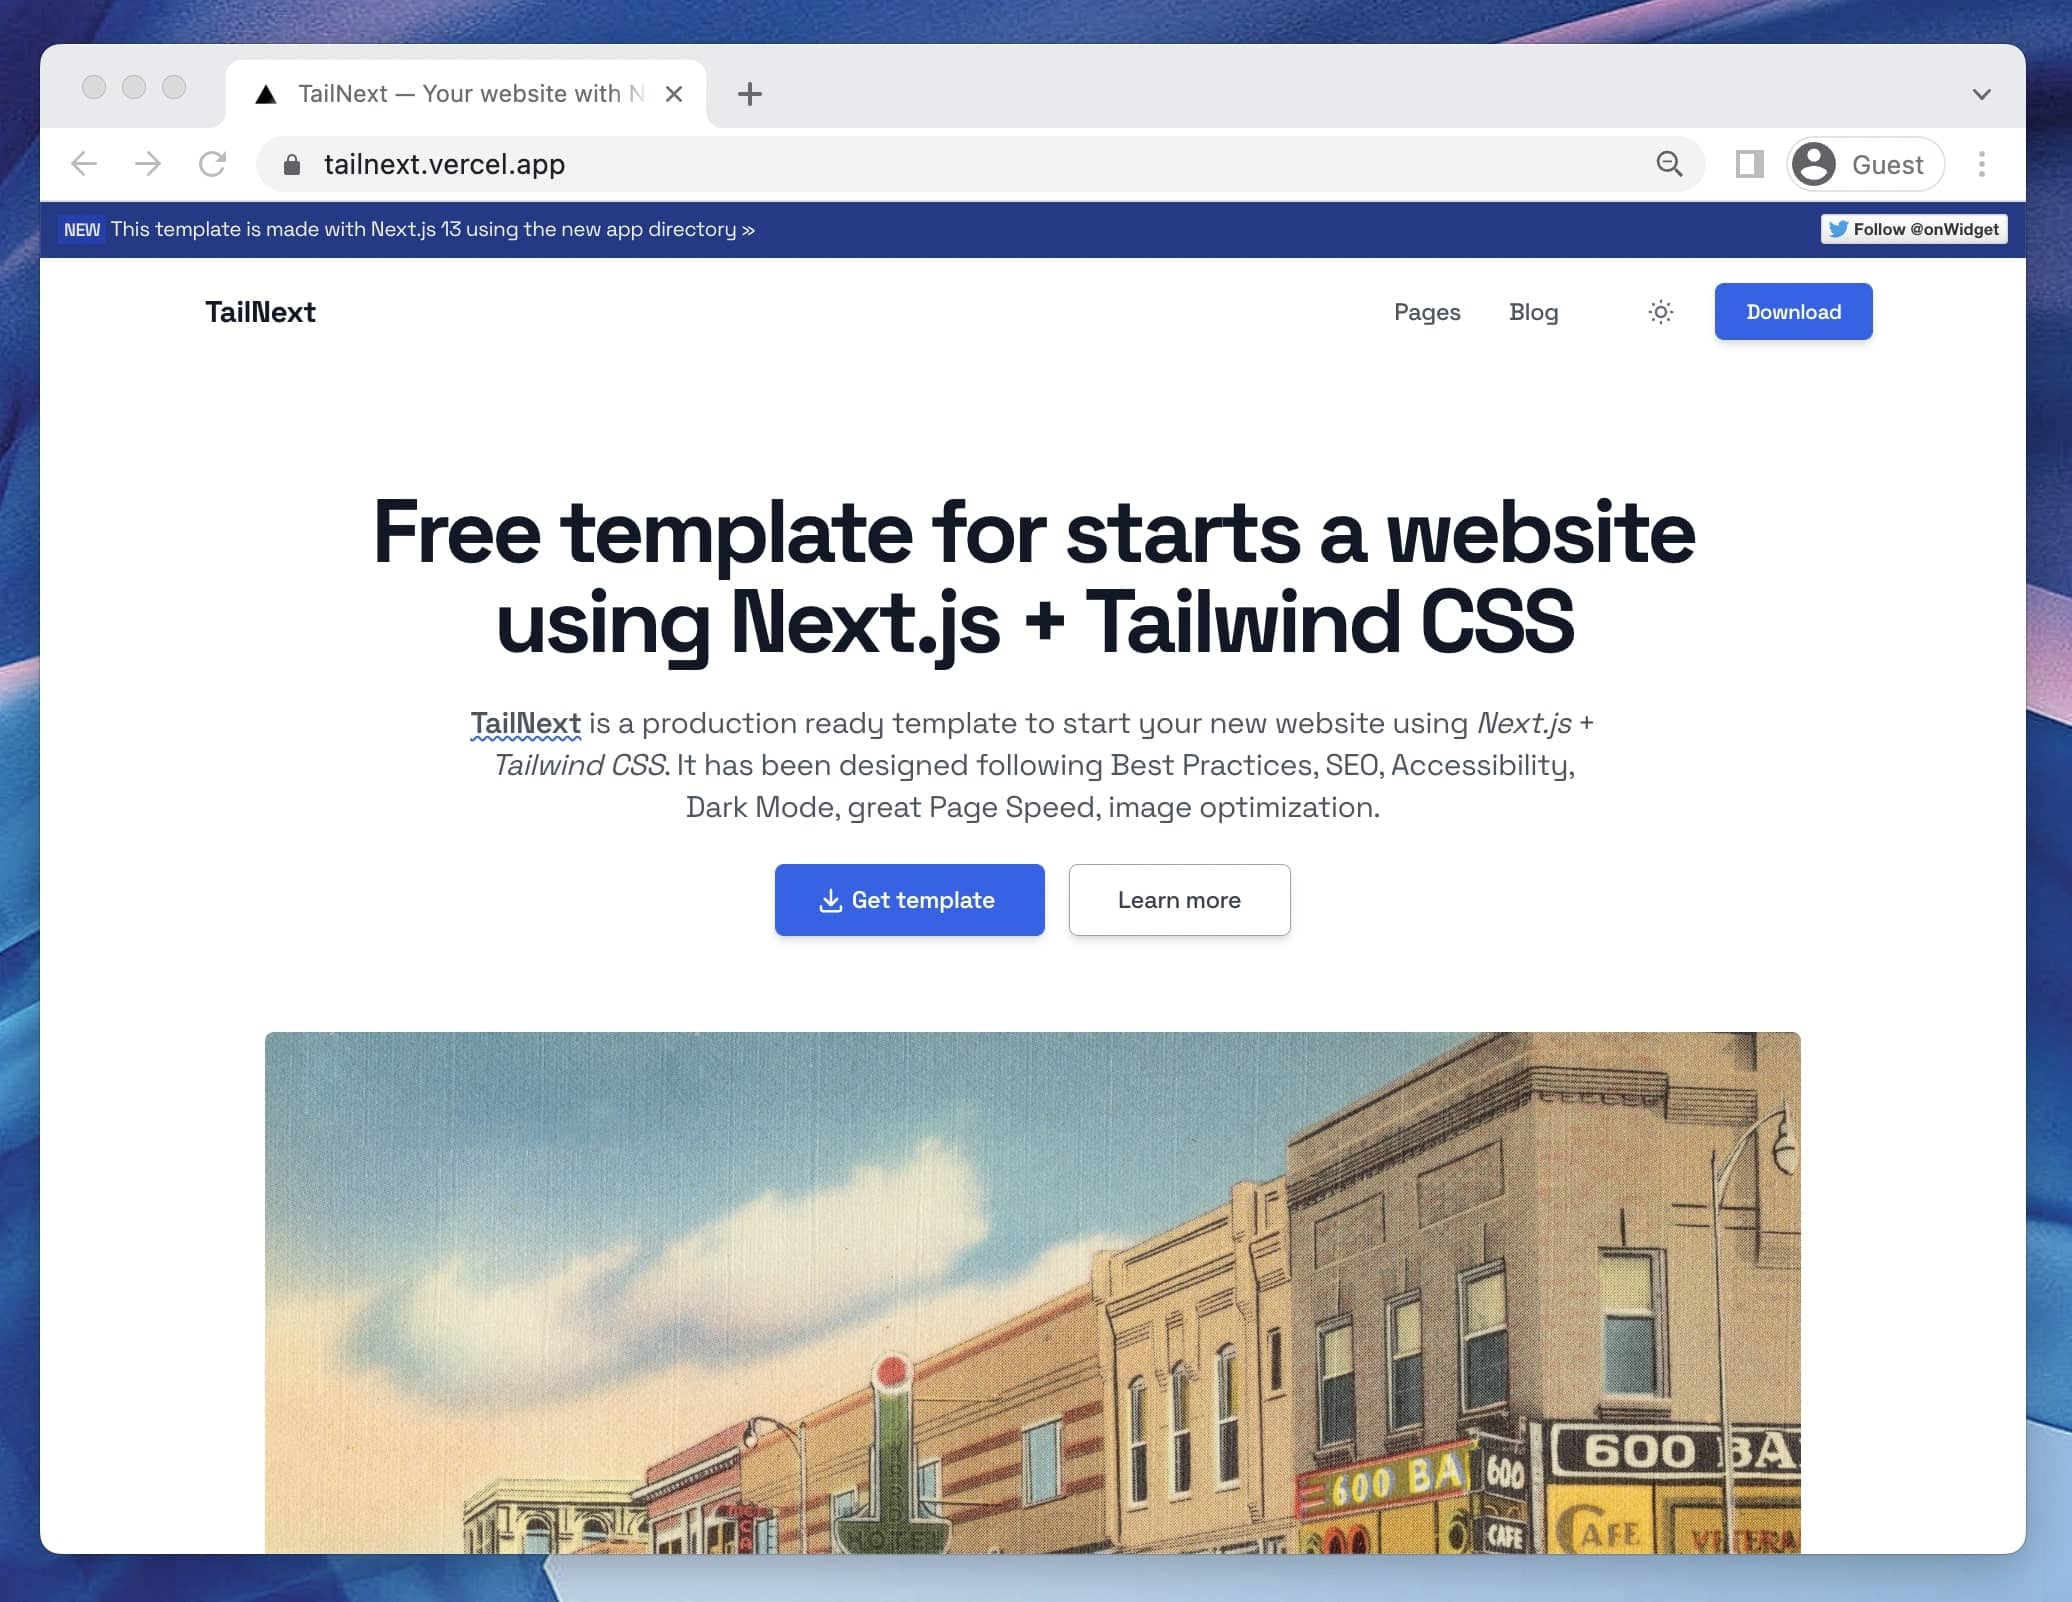
tailnext
Tailnext is a free, open-source template built on the Next.js 14 App Router and Tailwind CSS, created by the onWidget team.
Next.js · Blog