内置标签、作者与分页等博客常规功能
Next.jsReact博客
nextjs-netlify-blog-template — Next.js 博客模板
作者 MateusPaixao
基于 Next.js 与 Netlify 技术栈的博客模板,内置标签、作者、分页、CMS 与 MDX 内容支持,采用 MIT 许可。
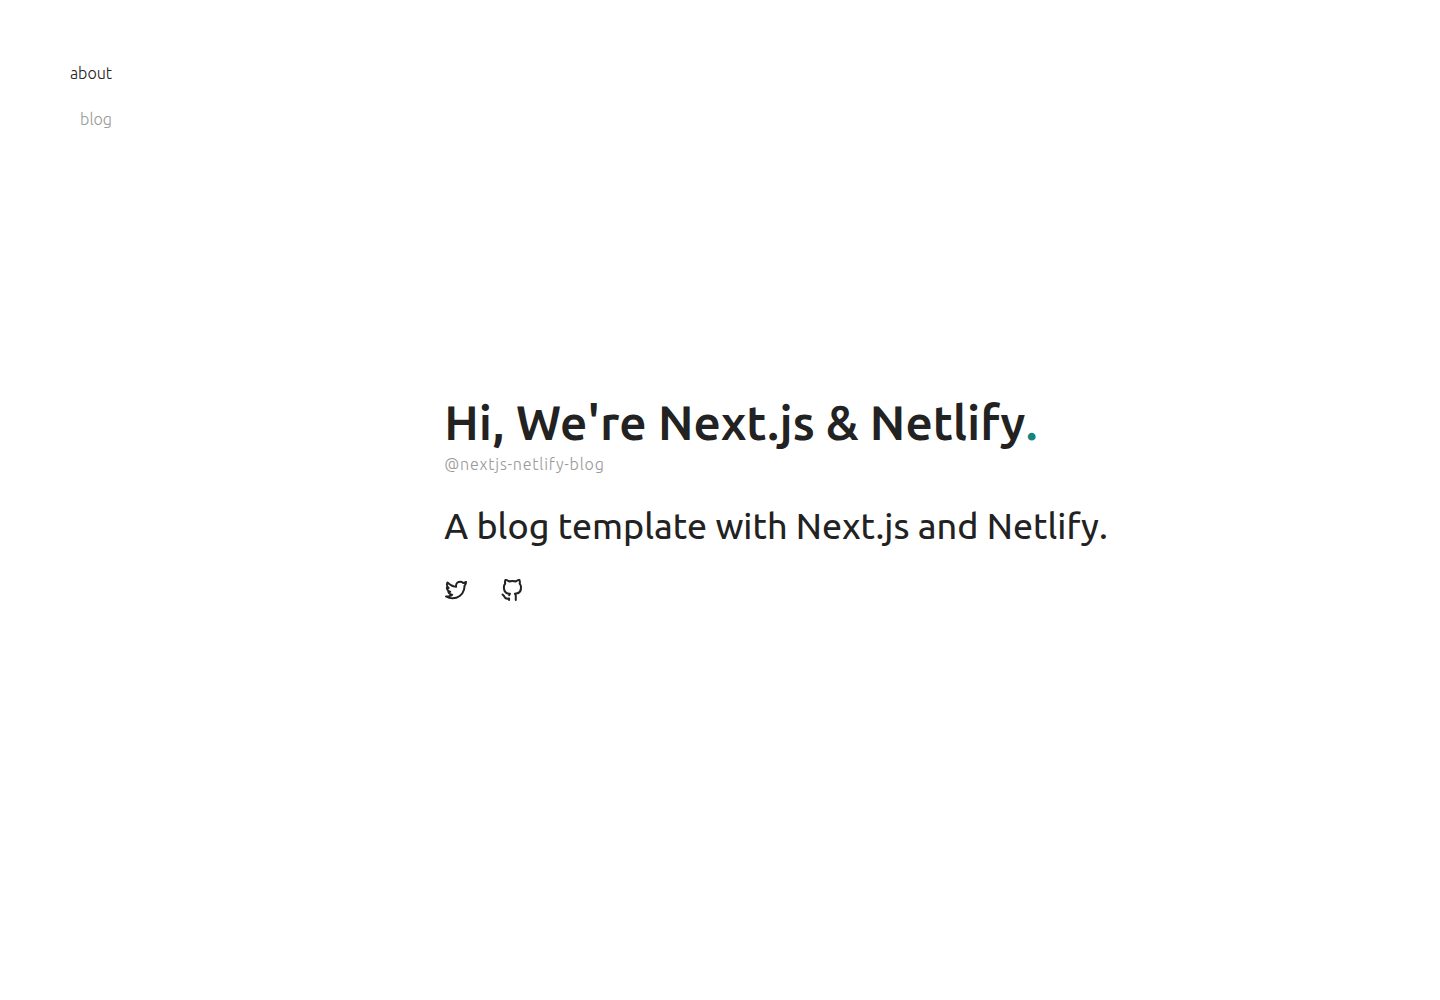
看看你的网站会是什么样
浏览真实页面截图,比较内容排版与手机效果。点击下方缩略图切换,放大查看整页细节。
全部页面与视图 2
截图用于了解视觉与布局,交互效果请以实际项目为准。
采集于 2026-10-13查看来源
值得关注的模板亮点
从已有项目资料中,快速了解它的特点。
通过 Netlify CMS 提供内容编辑入口
内容以 MDX 文件编写,支持 React 组件式短代码
内置 JSON-LD 等 SEO 元数据处理
样式基于 styled-jsx 与 CSS Modules,可替换
采用 MIT 许可,允许修改与商用该版本代码
模板详细介绍
该模板面向使用 Next.js 与 Netlify 搭建博客的场景,定位是比常见入门示例更完整的样板:常见教程只覆盖基础搭建,而它已实现标签、作者、分页等博客常规功能。内容以 MDX 文件形式存放在 src/content 目录,元数据(如作者、标签)由 meta 目录下的 YAML 文件管理,并通过 Netlify CMS 提供可视化编辑入口。
功能层面,模板包含按标签组织内容、展示文章作者、限制每页文章数量的分页、内置 JSON-LD 等元数据的 SEO 处理,以及类似 WordPress 短代码的 React 组件扩展写作方式。样式使用 styled-jsx 与 CSS Modules,组件和页面分别位于 src/components 与 src/pages,可替换为其他样式方案。
使用限制方面,仓库未提供依赖清单核对,因此不列出具体框架版本;模板本身是样板代码,克隆后需自行定制主题与内容。演示图片、字体、图标等第三方素材的许可需单独核对,域名、托管等外部服务可能产生费用。
Next.js博客
适合你的项目吗?
适用场景
- 用 Next.js 与 Netlify 快速搭建带标签和作者信息的个人博客
- 需要可视化 CMS 编辑 MDX 文章的写作流程
- 以 React 组件扩展文章内容的写作方式
- 在 Netlify 上部署并托管静态博客
适合人群
- 熟悉 Next.js 并希望直接获得较完整博客功能的开发者
- 需要标签、作者、分页等基础博客结构的站点
- 愿意使用 Netlify CMS 管理 MDX 内容的编辑者
上手与定制指南
结合仓库当前版本的说明,按下面的资料检查内容、配置与运行要求。
- 1
可通过 npx create-next-app 并指定该模板仓库作为 example 初始化项目
- 2
初始化后按 Netlify 官方部署指南配置并发布站点
- 3
内容文件位于 src/content,作者与标签等元数据位于 meta 目录的 YAML 文件
- 4
新增分类等元数据需同时修改 Netlify CMS 配置、meta 文件与对应数据获取模块
- 5
演示图片、字体、图标等第三方素材需按各自许可单独核对
授权与来源资料
使用条件与限制
免费使用 · 保留许可声明本次收录的是公开仓库中采用 MIT 许可的免费版本;免费范围为该版本代码,不代表外部服务或第三方素材免费。
使用时需要遵守
- 允许免费使用、修改、商用和分发该版本代码。
- 分发代码副本或实质性部分时,保留原作者版权声明和完整 MIT 许可声明。
- 代码按现状提供;担保与责任限制以原许可证及适用法律为准。
额外费用与待核对事项
- 演示图片、字体、图标及其他第三方素材需按各自许可核对,不能仅凭代码的 MIT 许可判断。
- 域名、托管、数据库、支付或 AI 等外部服务可能另外收费。
- 该模板定位为仅使用 Netlify 技术栈构建博客的样板,使用场景被限定在 Netlify 平台,若改用其他托管或后端服务则超出模板设计范围。
- 使用模板需通过 npx create-next-app 并指定该仓库作为 example 初始化项目,属于命令行初始化流程,非直接下载即用的成品站点。
- 初始化后需按 Netlify 官方部署指南完成项目配置与发布,部署依赖 Netlify 服务,可能涉及账号注册及托管费用。
- 模板仅为样板代码,克隆并启动后需用户自行定制主题与内容,不提供开箱即用的成品博客。
- 样式与组件需用户自行修改以应用设计主题,模板不附带可直接使用的完整设计成品。
- 新增分类等元数据需同时修改 Netlify CMS 配置、meta 目录 YAML 文件与数据获取模块,内容管理依赖 Netlify CMS 服务。
查看原文依据
Permission is hereby granted, free of charge
许可证原文
Next.js blogging template for Netlify is a boilerplate for building blogs with only Netlify stacks.
README 原文
To create your blog using the template, open your terminal, `cd` into the directory you'd like to create the app in, and run the following command:
README 原文
After that, set up your project as following the Netlify blog:
README 原文
This template is just a template and a boilerplate in which users can customize anything after the project was cloned and started.
README 原文
You can modify it freely if you want to apply your design theme.
README 原文
https://github.com/MateusPaixao/nextjs-netlify-blog-template/blob/master/LICENSEhttps://github.com/MateusPaixao/nextjs-netlify-blog-template/blob/master/README.mdIt is all you have to do. After that, you can access Netlify CMS and create new categories at any time.
README 原文
DeepSeek 根据仓库许可证和 README 整理 ·2026-10-13。结果仅覆盖已读取资料,依赖、图片、字体及后续条款变更以各自原文为准。
项目核对记录与介绍依据
模板资料
- 来源平台
- GitHub
- 资料与维护参考分
- 资料一般 · 65 / 100
- 技术栈
- Next.js · React
- 网站类型
- 博客
这个分数如何计算
本站按许可资料(最高30分)、演示链接(12分)、预览图(10分)、Star数(15分)、记录的维护时间(15分)、描述完整度(8分)、功能记录(5分)和分类资料(5分)计算。它不是代码、安全或性能测试,也不是 Google 评分;有链接不代表已实测可用。
这个项目需要核对什么
- 记录的仓库更新时间
- 2021-07-23
- 截图检查日期
- 2026-10-13
已收录演示链接。请用你的内容与屏幕尺寸检查;有演示不代表表单、认证或支付已经可用。
目录记录的主要技术栈是 Next.js。请通过依赖清单和锁文件核对实际版本与托管要求。这些说明基于收录资料,不代表代码审计或部署实测。
查看具体选型方法 →介绍的制作与核对状态
介绍由 AI 辅助整理目录与仓库资料。仓库作者不等于这篇介绍的审核者。
审核声明: [email protected] · 2026-10-13
查看当时使用的来源资料
SHA-256: 967d7f94be4386ea6d8cfbbf3cdce3b65ccafe194fef8b78a95f71e691d2c49f
2026-10-13T09:41:46.541Z
来源文件 / 仓库 [](https://app.netlify.com/sites/nextjs-netlify-blog-template/deploys) [](https://nextjs.org/) Next.js blogging template for Netlify is a boilerplate for building blogs with only Netlify stacks. There are some boilerplate or tutorials for the combination of Next.js and Netlify on GitHub. These resources have documentation and good tutorial to get started Next.js and Netlify quickly, but they are too simple to build blogs with standard features like tagging. Next.js blogging template for Netlify has already implemented these standard features for building blogs with only using Next.js and Netlify stacks. ## Demo Deploy on your environment by clicking here: [](https://app.netlify.com/start/deploy?repository=https://github.com/wutali/nextjs-netlify-blog-template&stack=cms) Or access the following demo site: [Next.js blog template for Netlify](https://nextjs-netlify-blog-template.netlify.app/) ## Features - **Tagging**: organizes content by tags - **Author**: displays author names who write a post - **Pagination**: limits the number of posts per page - **CMS**: built with CMS to allow editors modifying content with the quickest way - **SEO optimized**: built-in metadata like JSON-LD - **Shortcode**: extends content writing with React component like WordPress shortcodes ## Dependencies - [TypeScript](https://www.typescriptlang.org/) - [Next.js](https://nextjs.org/) - [Netlify](https://www.netlify.com/) - [MDX](https://mdxjs.com/) ## Getting started To create your blog using the template, open your terminal, `cd` into the directory you'd like to create the app in, and run the following command: ``` npx create-next-app your-blog --example "https://github.com/wutali/nextjs-netlify-blog-template" ``` After that, set up your project as following the Netlify blog: [A Step-by-Step Guide: Deploying on Netlify](https://www.netlify.com/blog/2016/09/29/a-step-by-step-guide-deploying-on-netlify/) ## Customization This template is just a template and a boilerplate in which users can customize anything after the project was cloned and started. The following instructions introduce common customization points like adding new metadata or applying a new design theme. ### Styling pages by a customized theme All source codes related to the blog are under [components](/src/components) and [pages](/src/pages) directory. You can modify it freely if you want to apply your design theme. All components use [styled-jsx](https://github.com/vercel/styled-jsx) and [css-modules](https://github.com/css-modules/css-modules) to define their styles, but you can choose any styling libraries for designing your theme. The directory tree containing the blog source code are described below: ``` meta: yaml files defining metadata like authors or tags public: images, favicons and other static assets src ├── assets: other assets using inside of components ├── components: pieces of components consisting of pages ├── content: mdx files for each post page ├── lib: project libraries like data fetching or pagination └── pages: page components managing by Next.js ``` ### Organizing content by categories The category metadata that associates with content have the same relationship with the authors' one. Then reference these implementations for adding new metadata: - [public/admin/config.yml](/public/admin/config.yml#L51): author metadata definition for Netlify CMS - [src/lib/authors.tsx](/src/lib/authors.ts): fetches metadata and defines utility functions for components - [meta/authors.yml](/src/meta/authors.yml): author content managed by Netlify CMS - [src/components/PostLayout.tsx](/src/components/PostLayout.tsx): displays author content for each page You understood they have four steps to add the category metadata on your project after you read the above source codes: 1. Define the category metadata on the above Netlify config file 2. Create an empty file named with `categories.yml` under [meta](/src/meta/) directory 3. Create a new module for fetching category metadata 4. Display the category metadata on [src/components/PostLayout.tsx](/src/components/PostLayout.tsx#L75) or other components you want It is all you have to do. After that, you can access Netlify CMS and create new categories at any time. ### Locale settings for Netlify CMS Modify [config.yml](/public/admin/config.yml) and [index.html](/public/admin/index.html) under [public/admin](/public/admin/) directory as following instructions: [Netlify CMS - Configuration Options #Locale](https://www.netlifycms.org/docs/configuration-options/#locale) ## References - [Netlify CMS Documentation](https://www.netlifycms.org/docs/intro/) - [Building a Markdown blog with Next 9.4 and Netlify](https://www.netlify.com/blog/2020/05/04/building-a-markdown-blog-with-next-9.4-and-netlify/) - [Hugo Theme - Codex](https://github.com/jakewies/hugo-theme-codex) - [Next.js Starter Template for TypeScript](https://github.com/vercel/next-learn-starter/tree/master/typescript-final) - [Building Blog with NextJS and Netlify CMS](https://dev.to/mefaba/building-blog-with-nextjs-and-netlify-cms-fom) - [Unicons](https://github.com/Iconscout/unicons) ## License MIT
看看同类模板
对比同技术栈与用途的模板,找到更适合的视觉与内容结构。

tailwind-nextjs-starter-blog
tailwind-nextjs-starter-blog 是一个面向个人技术博客的 Next.js 与 Tailwind CSS 启动模板,其 v2 版本基于 App Router 与 React Server Comp…
Next.js · 博客
Nextjs-tailwindcss-blog-template
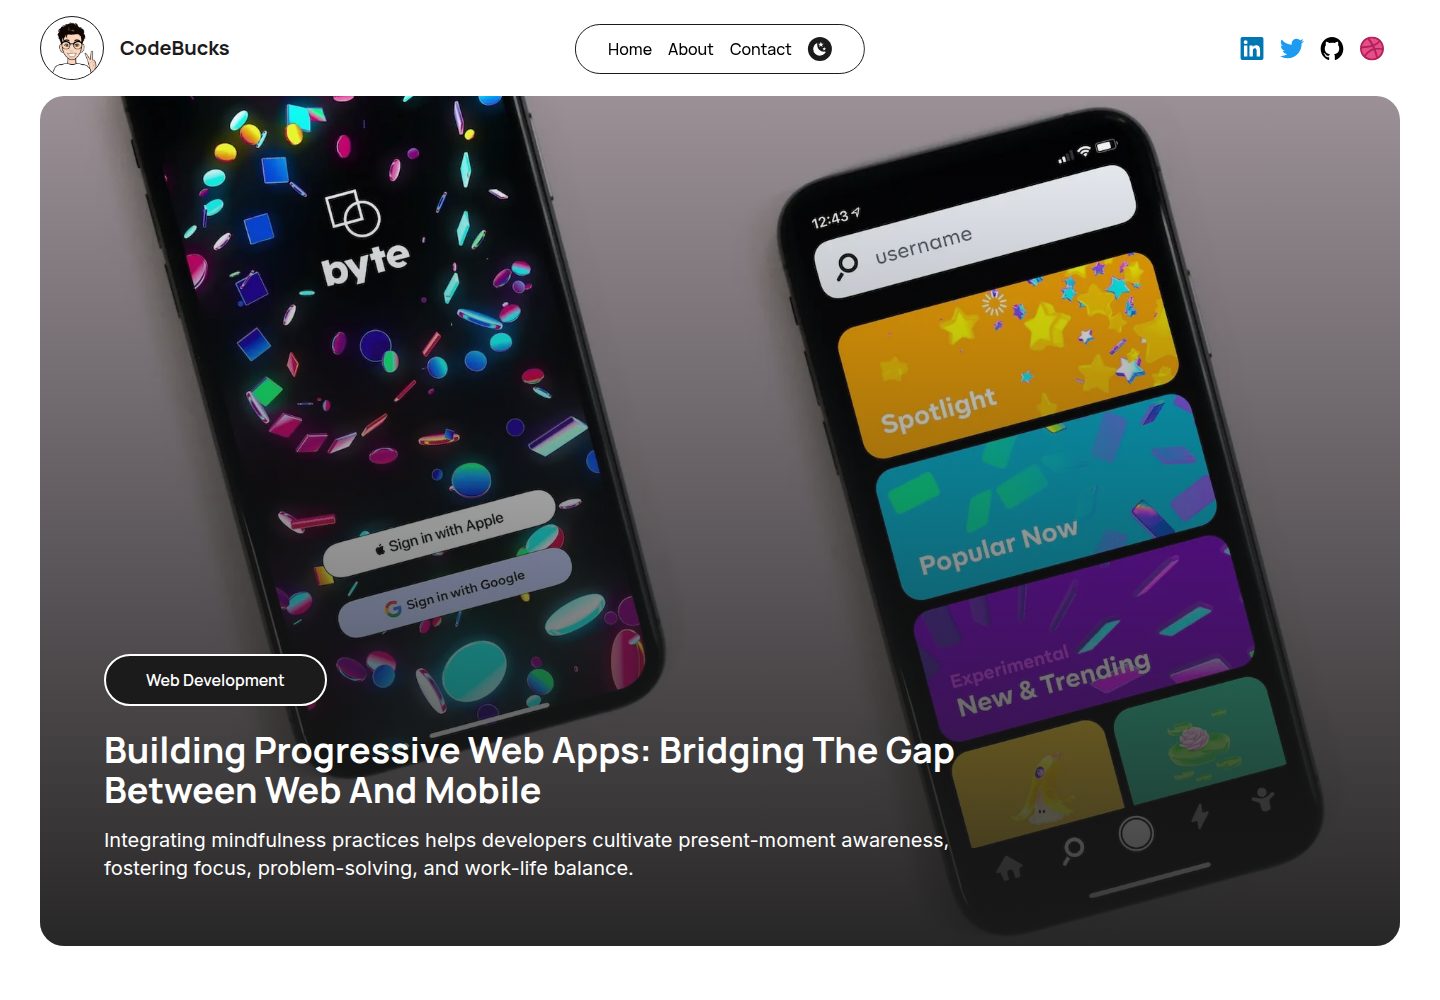
⭐Build SEO optimized personal blog website with Next.js, Tailwind CSS and Contentlayer. If you want to learn t…
Next.js · 博客
Next-js-Blog-Boilerplate
Next-js-Blog-Boilerplate 是一套面向个人与技术博客的启动代码,基于 Next.js 12 与 Tailwind CSS 3 构建,同时集成了 TypeScript、ESLint、Prettier …
Next.js · 博客
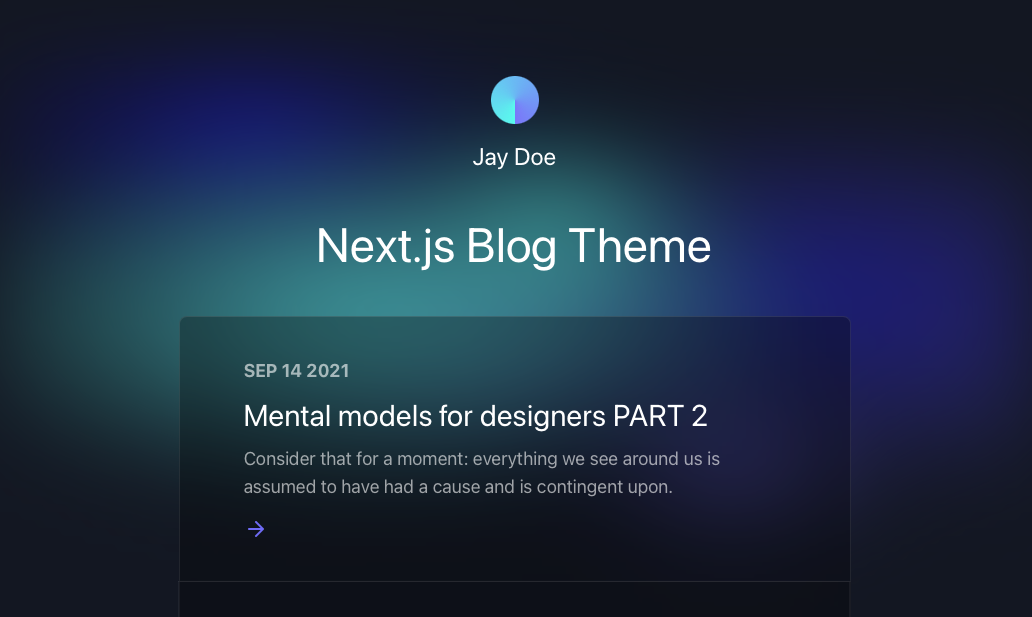
nextjs-blog-theme
nextjs-blog-theme 是 Netlify 团队维护的一个博客启动模板,基于 Next.js 15(Pages Router)和 Tailwind CSS 4.x 构建,设计由 Bejamas 机构完成。
Next.js · 博客
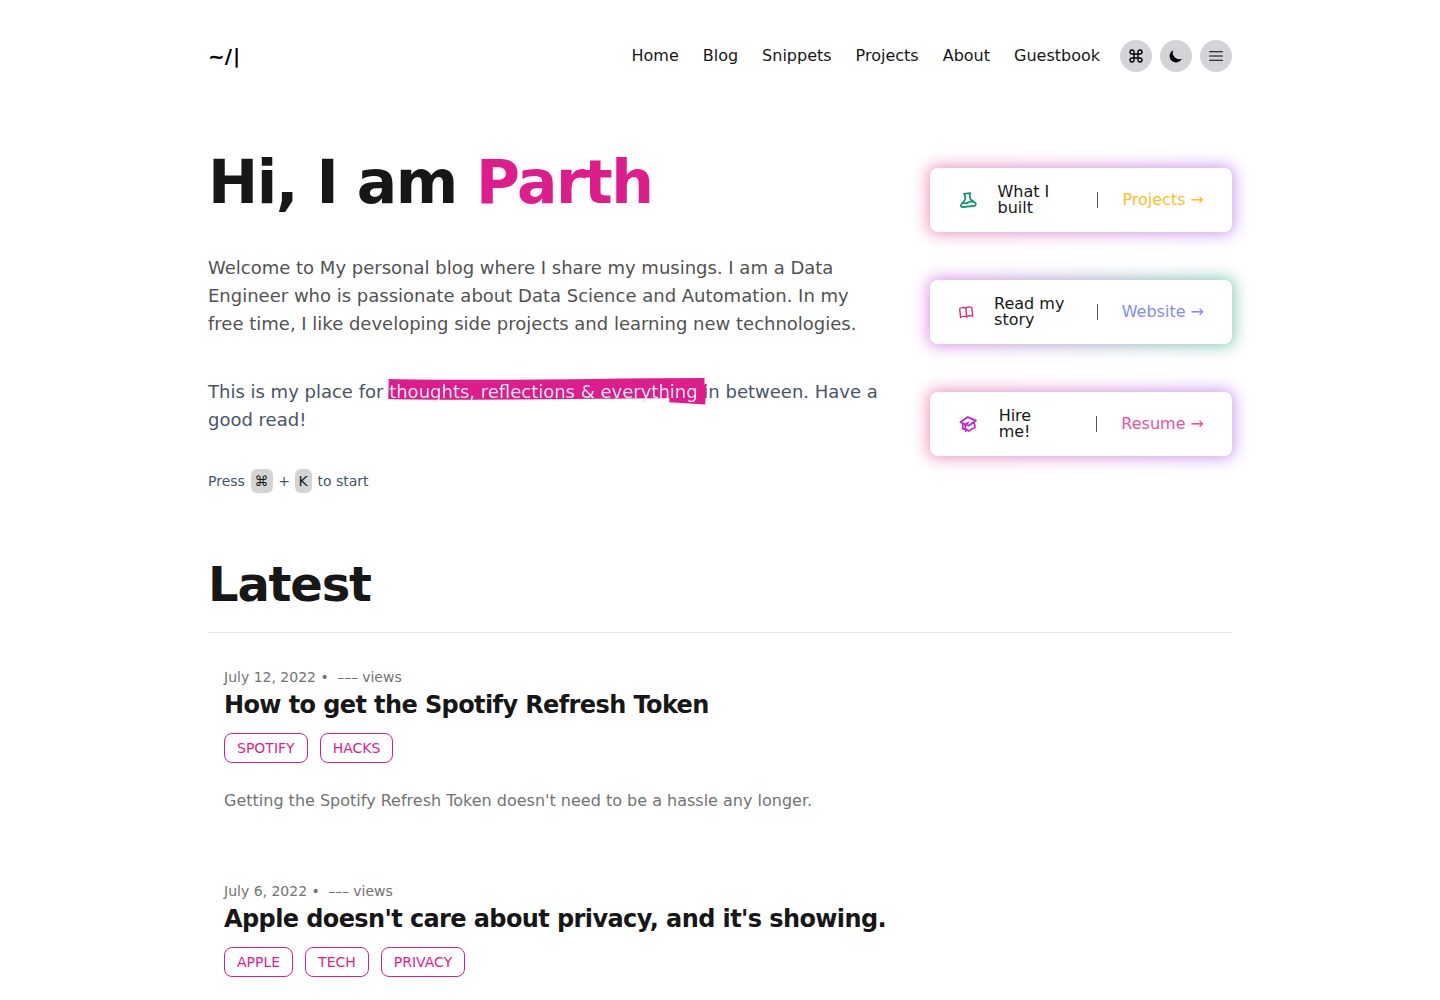
blog
🚀 My personal blog made with Tailwind CSS and NextJS. Template from Timlrx. Feel free to fork, follow and use…
Next.js · 博客
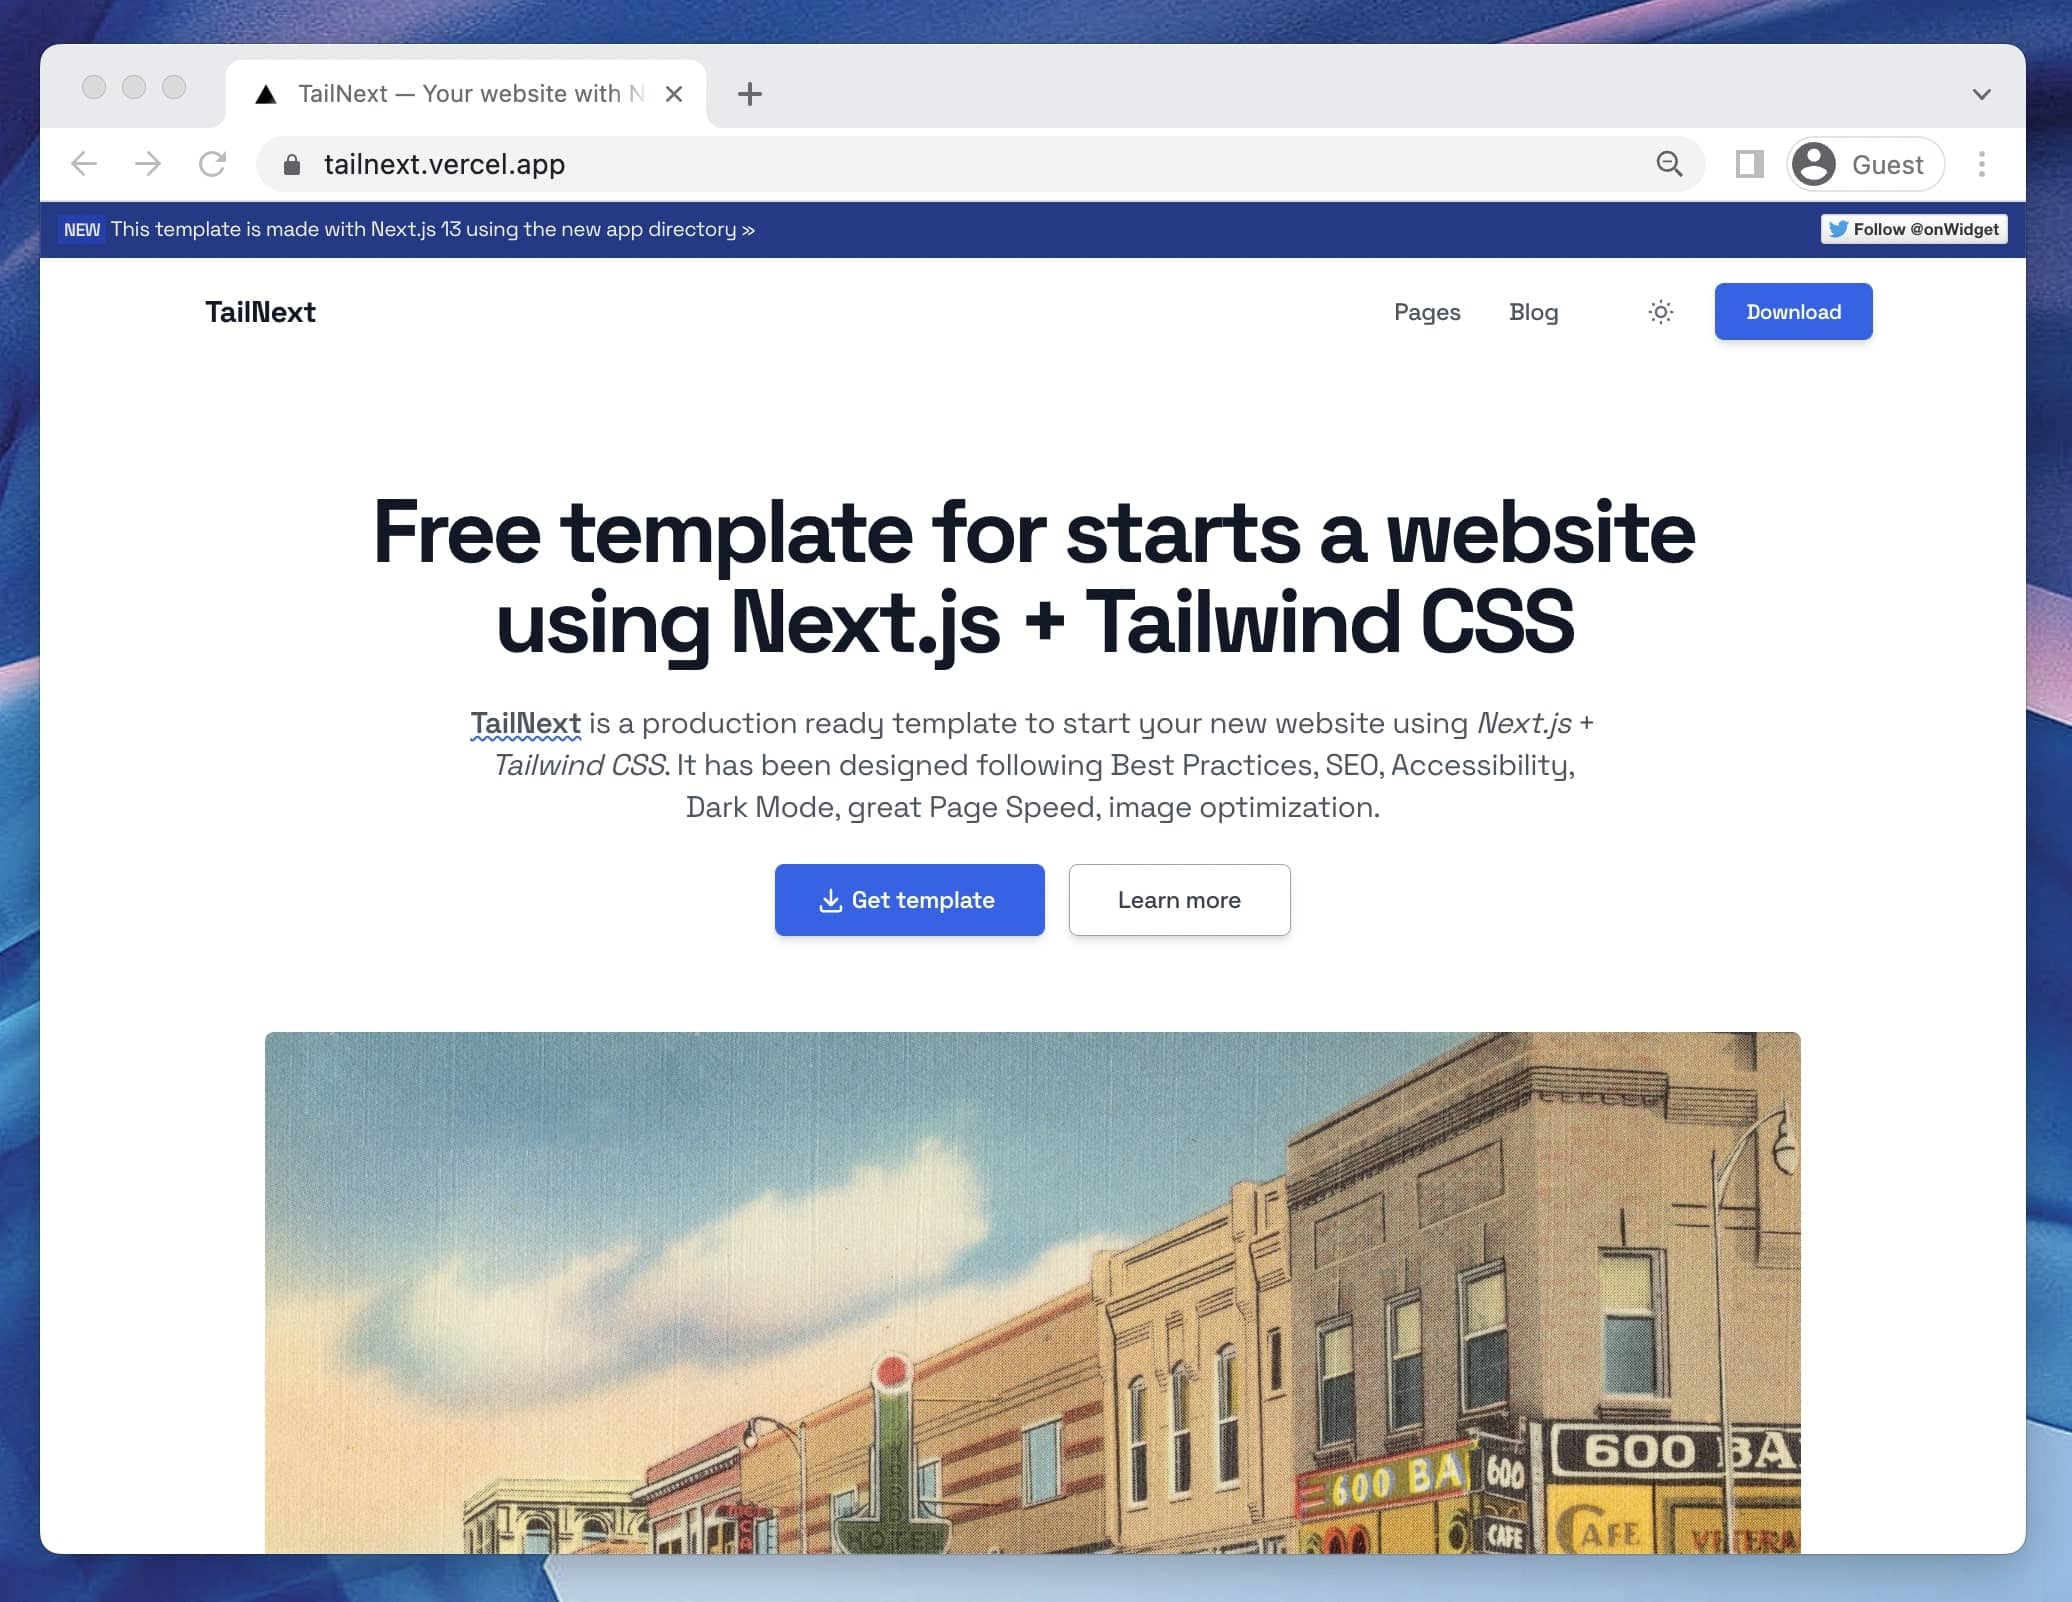
tailnext
Tailnext 是一个基于 Next.js 14 App Router 和 Tailwind CSS 的免费开源模板,由 onWidget 团队创建并维护。
Next.js · 博客