Provides four layout types: post, page, home, and dark-post, adapted for mobile, tablet, and desktop
JekyllBlog
neo-hpstr-jekyll-theme — Jekyll Blog Template
By nrbrd
Neo-HPSTR is a responsive blog theme built on Jekyll, offering post, page, and home layouts, with support for an animated top menu, Disqus comments, social sharing, and syntax highlighting.
Explore the design
Compare the page layouts and mobile experience. Open any screenshot for a closer look.
Desktop homepage1 / 2
Desktop captureTop of page
Actual screenshot captured by the server browser.
All pages & views 2
Screenshots show visual appearance; interactive behavior may differ.
Recorded 2026-09-30View source
What stands out
A quick read of the recorded project description.
The animated top menu supports dropdown submenus and can include a category list as menu items
Optional Disqus comments and social sharing, which can be disabled per post or page
Built-in Open Graph and Twitter Cards metadata for better display when shared on social platforms
Includes a search page, tags page, categories page, RSS feed, and a custom 404 page
Adjust colors, navigation bar, and script assets via _sass variables and Grunt tasks
Template Details
Neo-HPSTR Jekyll Theme is a blog template for Jekyll. The repository is under the MIT license and provides three responsive layouts: post, page, and home, along with a dark-post layout. The theme includes an animated top menu (with dropdown and category list support), an author panel with social links, a Disqus comment toggle, social sharing (including floating share), Open Graph and Twitter Cards metadata, a custom 404 page, syntax highlighting, RSS feed (feed.xml), a search page, a tags page, and a categories page. Styles are managed centrally via _sass variables, allowing adjustments to the navigation bar height, top and scrolled colors, hover colors, and body font and background color; JavaScript is linted, concatenated, and minified by Grunt.
There are two ways to use it: as a boilerplate/fork by cloning the repository, deleting the demo and screenshot files, and running it; or as a Jekyll theme gem installed into an existing project. The repository also provides a demo directory as quick-start content, and optionally works with Octopress commands to create new posts and pages.
Limitations: the theme itself does not include a backend or database; comments rely on third-party Disqus, and social sharing links point to Facebook, Twitter, and Google+. Third-party assets such as demo images, fonts, and icons must be checked separately under their respective licenses. The browser compatibility mentioned in the README (e.g., Internet Explorer 8+) is the template author's original statement and was not independently verified in this material.
JekyllBlog
Is it right for your project?
Use Cases
- Building a personal tech blog or writing site with Jekyll
- Using the theme as a boilerplate for extensive custom development
- Introducing a blog appearance as a theme gem into an existing Jekyll project
- Sites that need basic content organization features such as post lists, tags, categories, and search
Suitable For
- Developers or writers familiar with Jekyll and Markdown writing workflows
- Users who want to use and modify a blog theme for free under the MIT license
- Personal blogs that need responsive layout and basic social sharing and commenting
- Projects that accept style and script customization via Sass variables and Grunt builds
Getting started & customization
Use these recorded setup notes alongside the repository instructions for your chosen version.
- 1
As a boilerplate: fork or clone the repository, delete demo/ and screenshot.png, run bundle install, then run bundle exec jekyll serve --watch.
- 2
As a theme gem: first install jekyll and bundler, create a site, download the demo content into the blog directory, then run bundle install and start Jekyll.
- 3
Configure the Disqus shortname, author information, Google Analytics, menu links, etc., in _config.yml; posts or pages can disable comments and sharing via comments: false and share: false in the front matter.
- 4
Style variables are in _sass/_variables.scss, where you can adjust $menu-height, $menu-top, $menu-overflow, etc.; JavaScript requires Node.js and Grunt installed, then build via npm install and grunt.
- 5
If deploying to GitHub Pages, the README notes that you need to enable gh-pages in the repository settings; the theme gem approach and the boilerplate approach differ in updates and custom overrides.
License & source material
Usage conditions & limitations
Free to use · keep license noticeThis entry covers the free version under the MIT license from the public repository; the free scope applies to that version's code and does not imply that external services or third-party assets are free.
Must comply with when using
- You may use, modify, commercialize, and distribute this version's code for free.
- When distributing copies or substantial portions of the code, retain the original author's copyright notice and the full MIT license notice.
- The code is provided as is; warranties and limitations of liability are governed by the original license and applicable law.
Additional costs & items to verify
- The comment feature relies on the third-party Disqus service; you must register a Disqus account and configure the shortname in _config.yml to enable it; without configuration, there are no comments.
- Site statistics and webmaster verification require external services such as Google Analytics, Google Webmaster Tools, and Bing Webmaster Tools, and you must fill in the corresponding IDs or verification meta tags.
- Using Octopress to automatically create posts and pages is optional and requires installing the Octopress gem.
- Modifying and building JavaScript requires installing Node.js and Grunt and running npm install; without building, the Grunt concatenation and minification process cannot be used.
- When used as a boilerplate/fork, the README states that this approach is only suitable for scenarios hosted on GitHub Pages.
- Deploying to GitHub Pages requires manually enabling the gh-pages branch in the repository settings.
- Demo images, fonts, icons, and other third-party assets must be checked under their respective licenses and cannot be judged solely by the code's MIT license.
- External services such as domains, hosting, databases, payments, or AI may incur additional charges.
View Original Text Basis
Permission is hereby granted, free of charge
Original License Text
Create a [Disqus](http://disqus.com) account and change `disqus_shortname` in `_config.yml`
Original README
Your Google Analytics ID goes here along with meta tags for [Google Webmaster Tools]
Original README
To take advantage of it start by installing the [Octopress](https://github.com/octopress/octopress) gem if it isn't already.
Original README
[Install Node.js](http://nodejs.org/), then [install Grunt](http://gruntjs.com/getting-started), and then finally install the dependencies for the theme contained in `package.json`
Original README
Additionally you'll only be able to use this method if you want to host it on GitHub Pages, as [themes can't be submitted](https://pages.github.com/themes/)... yet.
Original README
https://github.com/nrbrd/neo-hpstr-jekyll-theme/blob/master/LICENSE.txthttps://github.com/nrbrd/neo-hpstr-jekyll-theme/blob/master/README.mdIf you are serving your blog at github, make sure to enale the gh-pages at yout repo settings
Original README
Compiled by DeepSeek based on repository license and README ·2026-10-01. Results only cover the materials read; dependencies, images, fonts, and subsequent term changes are subject to their respective original texts.
Project checks & description sources
Template Information
- Source platforms
- GitHub
- Documentation and maintenance reference score
- Partly documented · 68 / 100
- Technologies
- Jekyll
- Website type
- Blog
How this score is calculated
Our heuristic uses license records (up to 30), a demo link (12), a preview (10), stars (15), recorded maintenance (15), description completeness (8), feature records (5) and classification data (5). It is not a code, security or performance test, or a Google score. A link does not establish tested functionality.
What to verify for this project
- Repository update recorded
- 2023-01-18
- Screenshot last checked
- 2026-10-01
A demo link is listed. Check it with your own content and viewport sizes; its presence does not confirm that forms, authentication or payments work.
The catalog identifies Jekyll as the primary stack. Check the actual dependency manifest and lockfile for versions and hosting requirements. These notes use recorded metadata, not a code audit or a deployment test.
Use a selection guide →How this description was prepared
AI-assisted description based on catalog records and repository material. Repository authors are not automatically the reviewers of this description.
Automatically checked against source and license rules; no manual editorial review.
Inspect the recorded source material
SHA-256: dec07e7513330e4282a07fd0b80f84fbc11a5148b5fc9d9f53aaa9e72624119e
2026-10-01T14:24:05.016Z
Source file / repository# [Neo-HPSTR Jekyll Theme](http://aronbordin.com/neo-hpstr-jekyll-theme) [](https://badge.fury.io/rb/neo-hpstr-jekyll-theme) Neo-HPSTR Jekyll is a responsive and modern blog template.  Demo: http://aronbordin.com/neo-hpstr-jekyll-theme ## Contents - [Installation](#installation) - [Features](#features) - [Configuration](#configuration) - [Questions](#questions) - [Contributing](#contributing) - [Development](#development) - [License](#license) ## Installation ### As a Boilerplate / Fork 1. [Fork the repo](https://github.com/aron-bordin/neo-hpstr-jekyll-theme) 2. Clone down the repo with `$ git clone [email protected]:username/reponame.git` 3. Delete the `demo/` folder and `screenshot.png` files 4. Install bundler with `$ gem install bundler` 5. Install gems with `$ bundle install` 6. Run Jekyll with `$ bundle exec jekyll serve --watch` 7. Begin hacking for your project (If you are serving your blog at github, make sure to enale the gh-pages at yout repo settings) ### As a Jekyll >= 3.3 theme gem If you already have a jekyll project, jump to the instructions bellow. Otherwise, follow these steps: 1. Install jekyll and bundler with `$ gem install jekyll bundler`. 2. Create your website `jekyll new my-awesome-blog`. 3. `cd my-awesome-blog` Inside the project folder, install the theme as follows: 1. Download the starter `/demo` content, [quick download link](https://minhaskamal.github.io/DownGit/#/home?url=https://github.com/aron-bordin/neo-hpstr-jekyll-theme/tree/master/demo) and extract the content to the blog folter. 2. Install bundler with `$ gem install bundler` 3. Install gems with `$ bundle install` 4. Run Jekyll with `$ bundle exec jekyll serve --watch` 5. Begin hacking for your project ### Boilerplate & Theme differences The boilerplate kit is better for more drastic hacking and changes, a project that's quite different to any other and needs a lot of custom work done. Additionally you'll only be able to use this method if you want to host it on GitHub Pages, as [themes can't be submitted](https://pages.github.com/themes/)... yet. Using the theme will allow you to receive updates made and will be more programmatic. To make your own changes you'll need to overwrite the files with your own. ## Features * Modern design. * Responsive templates for post, page, and home `_layouts`. Looks great on mobile, tablet, and desktop devices. * Gracefully degrades in older browsers. Compatible with Internet Explorer 8+ and all modern browsers. * Sweet topbar animated menu with support for drop-downs. * Optional [Disqus](http://disqus.com) comments and social sharing links. * [Open Graph](https://developers.facebook.com/docs/opengraph/) and [Twitter Cards](https://dev.twitter.com/docs/cards) support for a better social sharing experience. * Simple [custom 404 page](x) to get you started. * [Syntax highlighting](x) to make your code examples look snazzy * Author panel, with social links ## Configuration Here are some tips on how to customize your blog theme. If you have questions, just open a new issue :) ### Project tree ├── about.md # about page, /about/ ├── assets/ # css, js, fonts, etc ├── categories.html ├── _config.yml # your blog configuration ├── demo/ # folder with quick start content ├── feed.xml # rss feed generator ├── Gemfile # project dependencies ├── Gruntfile.js # some grunt tasks, useful for theme developing ├── images/ # blog images ├── _includes │ ├── author.html # author banner (at the end of post) │ ├── browser-upgrade.html # ask for update │ ├── disqus_comments.html # comments │ ├── feed-footer.html # feed footers │ ├── footer.html # page footer │ ├── gallery # used for displaying images in a page │ ├── header.html # header menu │ ├── head.html # site head, with css includes and metadata │ ├── icons.html # site icons │ ├── pagination.html # pagination │ ├── read-more.html # read-more banner, to recommend posts │ ├── scripts.html # js scripts │ └── social-share.html # floating social share integration ├── index.html # homepage ├── _layouts # blog layouts │ ├── dark-post.html │ ├── home.html │ ├── page.html │ └── post.html ├── LICENSE.txt ├── neo-hpstr-jekyll-theme.gemspec ├── package.json ├── _posts # sample posts │ ├── 2016-11-26-sample-post-images.md │ ├── 2016-11-27-video-post.md │ ├── 2016-11-28-sample-link-post.md │ ├── 2016-11-29-background-image.md │ ├── 2016-11-30-dark-post.md │ ├── 2016-12-01-code-highlighting-post.md │ └── 2016-12-02-sample-post.md ├── posts.html # page for listing posts ├── README.md ├── _sass # blog style ├── screenshoot.png ├── search.html # search page ├── search.json ├── _site/ ├── tags.html # tags page ### Disqus Comments Create a [Disqus](http://disqus.com) account and change `disqus_shortname` in `_config.yml` to the Disqus *shortname* you just setup. By default comments appear on all post and pages if you assigned a shortname. To disable commenting on a post or page, add the following to its YAML Front Matter: comments: false ### Social Share Links To disable Facebook, Twitter, and Google+ share links on a post or page, add the following to its front matter: share: false ### Floating Social Share Links To enable floating share links on the left of the screen, edit it on `_config.yml`: float_share: true ### Owner/Author Information Change your name, and avatar photo (200x200 pixels or larger), email, and social networking URLs. If you want to link to an external image on Gravatar or something similar you'll need to edit the path in `_includes/author.html` since it assumes it is hosted on your site. ### Google Analytics and Webmaster Tools Your Google Analytics ID goes here along with meta tags for [Google Webmaster Tools](http://support.google.com/webmasters/bin/answer.py?hl=en&answer=35179) and [Bing Webmaster Tools](https://ssl.bing.com/webmaster/configure/verify/ownershi) site verification. ### Top Menu - Navigation Links To add additional links in the menu edit `_config.yml`. Use the following format to set the URL and title for as many links as you'd like. *External links will open in a new window..* You can create a sub-category using the `submenu` item. Also, you can list your post categories setting the `type: 'categories'` menu: - title: 'Home' url: '/' - title: 'Fork' url: 'http://github.com/aron-bordin/neo-hpstr-jekyll-theme' - title: 'Tags' url: '/tags' - title: 'Categories' url: '/categories' type: 'categories' - title: 'Favorites' url: '#' submenu: - title: 'highlighter' url: '/code-highlighting-post/' - title: 'intro' url: '/sample-post/' ### Adding New Content with Octopress While completely optional, I've included Octopress and some starter templates to automate the creation of new posts and pages. To take advantage of it start by installing the [Octopress](https://github.com/octopress/octopress) gem if it isn't already. $ gem install octopress #### New Post Default command $ octopress new post "Post Title" Default works great if you want all your posts in one directory, but if you're like me and want to group them into subfolders like `/posts`, `/portfolio`, etc. Then this is the command for you. By specifying the DIR it will create a new post in that folder and populate the `categories:` YAML with the same value. $ octopress new post "New Portfolio Post Title" --dir portfolio #### New Page To create a new page use the following command. $ octopress new page new-page/ ### Style Customization Here you'll find some useful scss variables to help you to customize your Blog interface. All variables can be found at `_sass/_variables.scss`. #### Top Navbar Size To change its size, edit the **`$menu-height`** value. It's recommended a value between 50px and 100px. This variable will automatically update the icon and menu size for you. #### Top Navbar Colors The navbar uses two colors, the top color and overflow color. The top color represents the navbar color when the window is not scrolled and the overflow color represents the color when we have a sufficient scroll to change its color. You can change these colors using the **`$menu-top`** and **`$menu-overflow`** variable values. #### Top Navbar hover color The color that you see in the item under the mouse can be changed in the **`$header-margin`** variable. ### Further Customization Jekyll 2.x added support for Sass files making it much easier to modify a theme's fonts and colors. By editing values found in `_sass/variables.scss` you can fine tune the site's colors and typography. For example if you wanted a red background instead of white you'd change `$bodycolor: #fff;` to `$bodycolor: $cc0033;`. To modify the site's JavaScript files I setup a Grunt build script to lint/concatenate/minify all scripts into `scripts.min.js`. [Install Node.js](http://nodejs.org/), then [install Grunt](http://gruntjs.com/getting-started), and then finally install the dependencies for the theme contained in `package.json`: npm install From the theme's root, use `grunt` to concatenate JavaScript files and optimize `.jpg`, `.png` and `.svg` files in the `images/` folder. You can also use `grunt dev` in combination with `bundle exec jekyll serve` to watch for updates in JS files that Grunt will then automatically re-build as you write your code, which will in turn auto-generate your Jekyll site when developing locally. ## Questions? Having a problem getting something to work or want to know why I setup something in a certain way? [File a GitHub Issue](http://github.com/aron-bordin/neo-hpstr-jekyll-theme/issues/new). And if you make something cool with this theme feel free to let me know. ## Contributing Bug reports and pull requests are welcome on GitHub at https://github.com/aron-bordin/neo-hpstr-jekyll-theme. This project is intended to be a safe, welcoming space for collaboration, and contributors are expected to adhere to the [Contributor Covenant](http://contributor-covenant.org) code of conduct. ## Development To set up your environment to develop this theme, run `bundle install`. Your theme is setup just like a normal Jekyll site! To test your theme, run `bundle exec jekyll serve` and open your browser at `http://localhost:4000`. This starts a Jekyll server using your theme. Add pages, documents, data, etc. like normal to test your theme's contents. As you make modifications to your theme and to your content, your site will regenerate and you should see the changes in the browser after a refresh, just like normal. When your theme is released, only the files in `_layouts`, `_includes`, and `_sass` tracked with Git will be released. ## License The theme is available as open source under the terms of the [MIT License](http://opensource.org/licenses/MIT).
Explore similar templates
Compare previews and descriptions within the same stack and category.
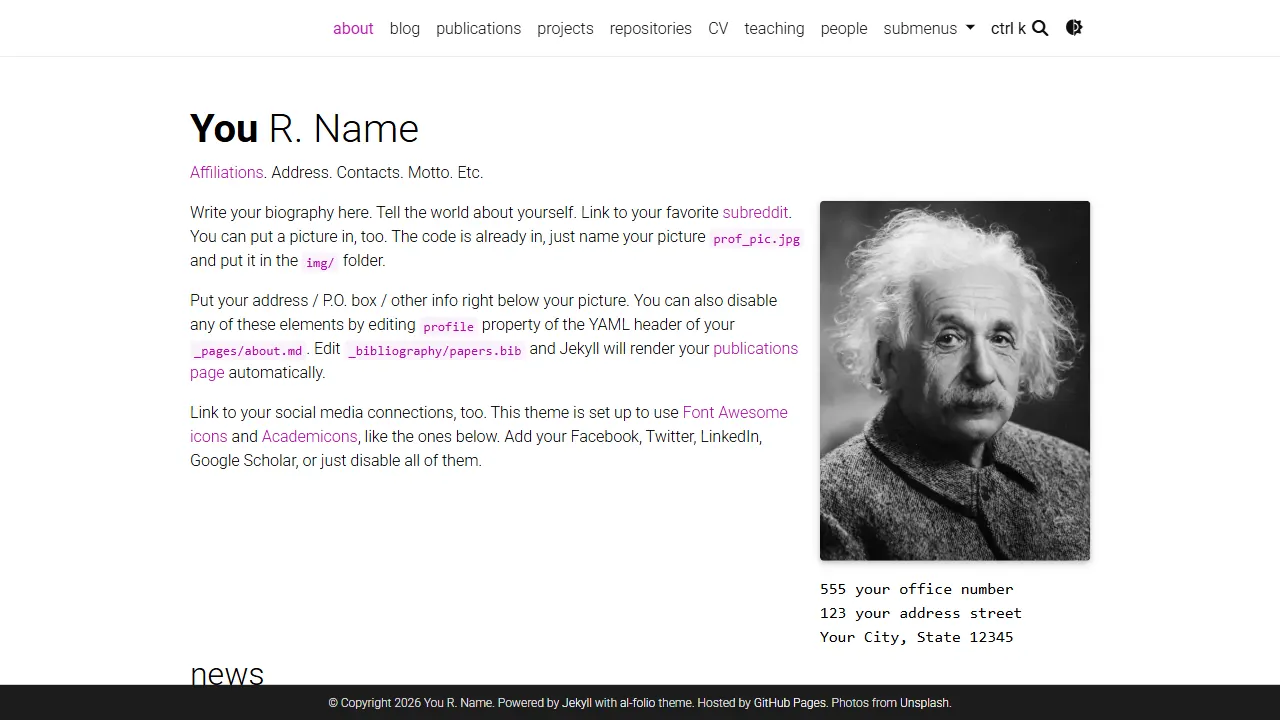
al-folio
A Jekyll academic homepage theme for scholars and researchers, with a clean responsive design and out-of-the-box support for publication lists, project showcases, CVs, and blogs.
Jekyll · Portfolio
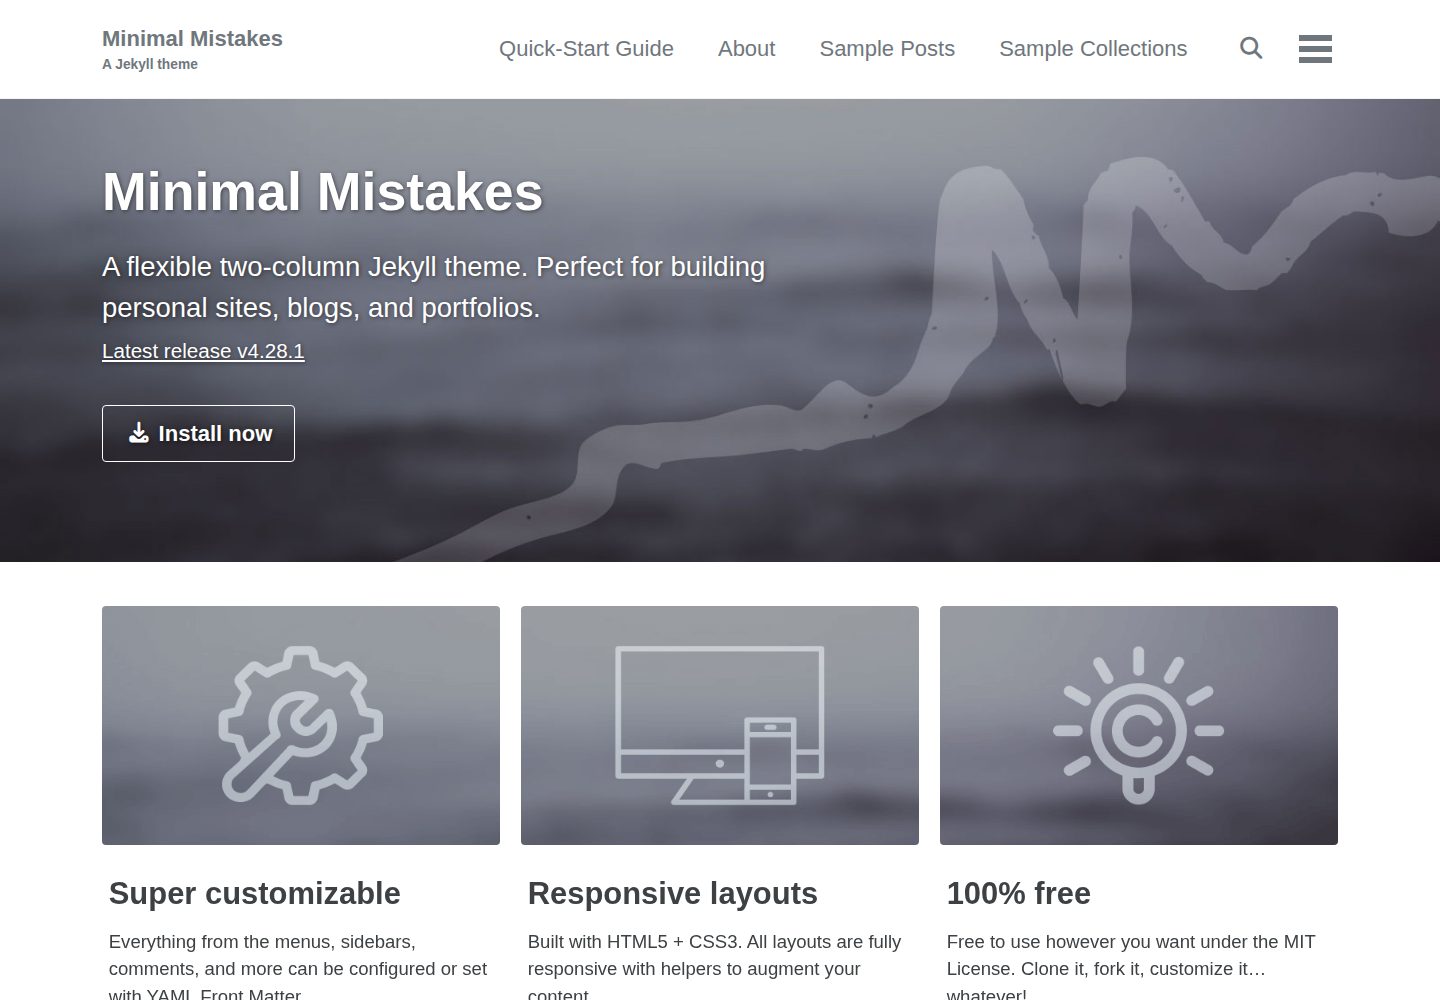
minimal-mistakes
Minimal Mistakes is a two-column Jekyll theme for personal sites, blogs, project documentation, or portfolios.
Jekyll · Portfolio
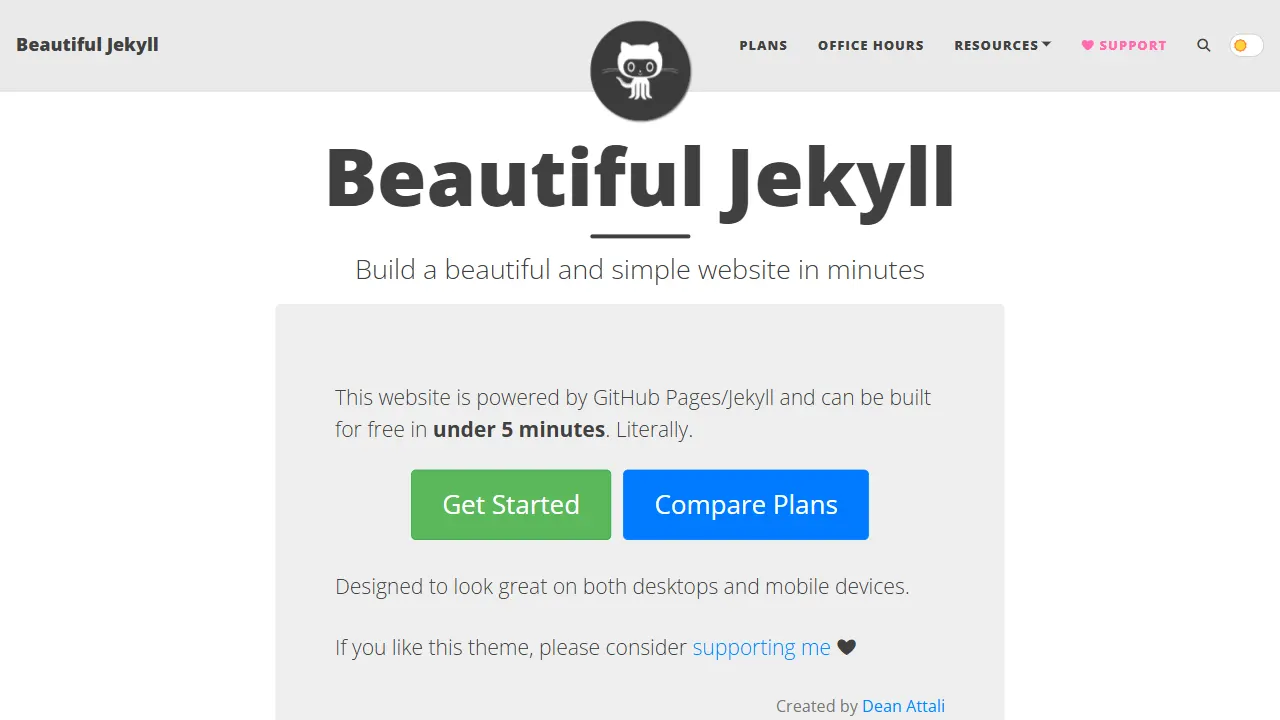
Beautiful Jekyll
Beautiful Jekyll is a mature, easy-to-use Jekyll blog theme maintained by Dean Attali since 2015, with over 50,000 users.
Jekyll · Blog
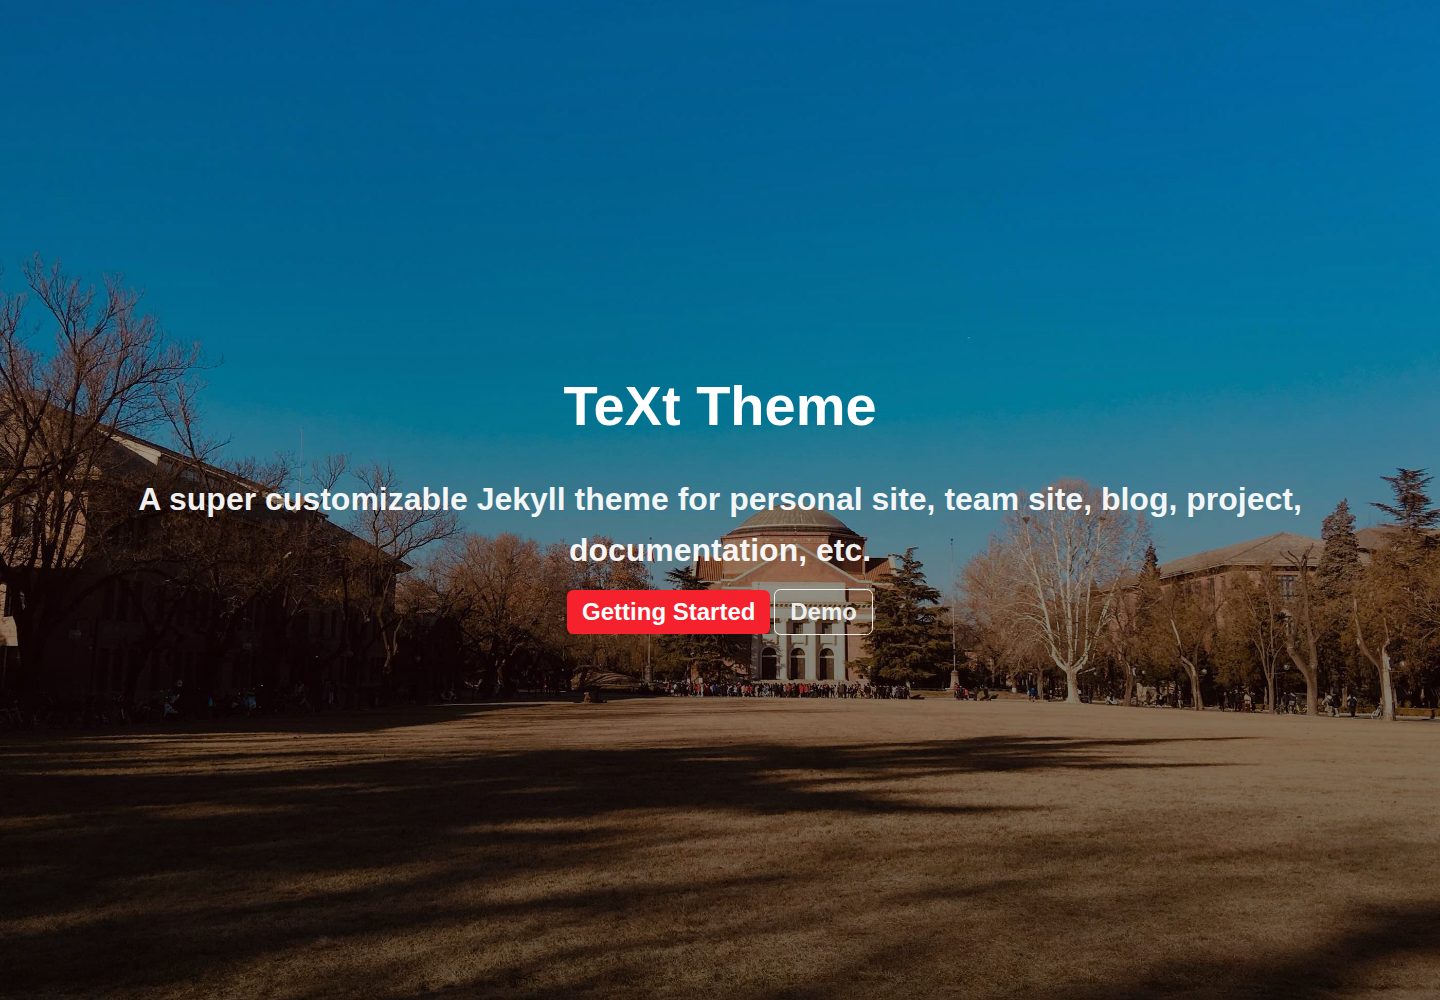
jekyll-TeXt-theme
A customizable Jekyll theme for personal sites, team sites, blogs, projects, and documentation.
Jekyll · Blog
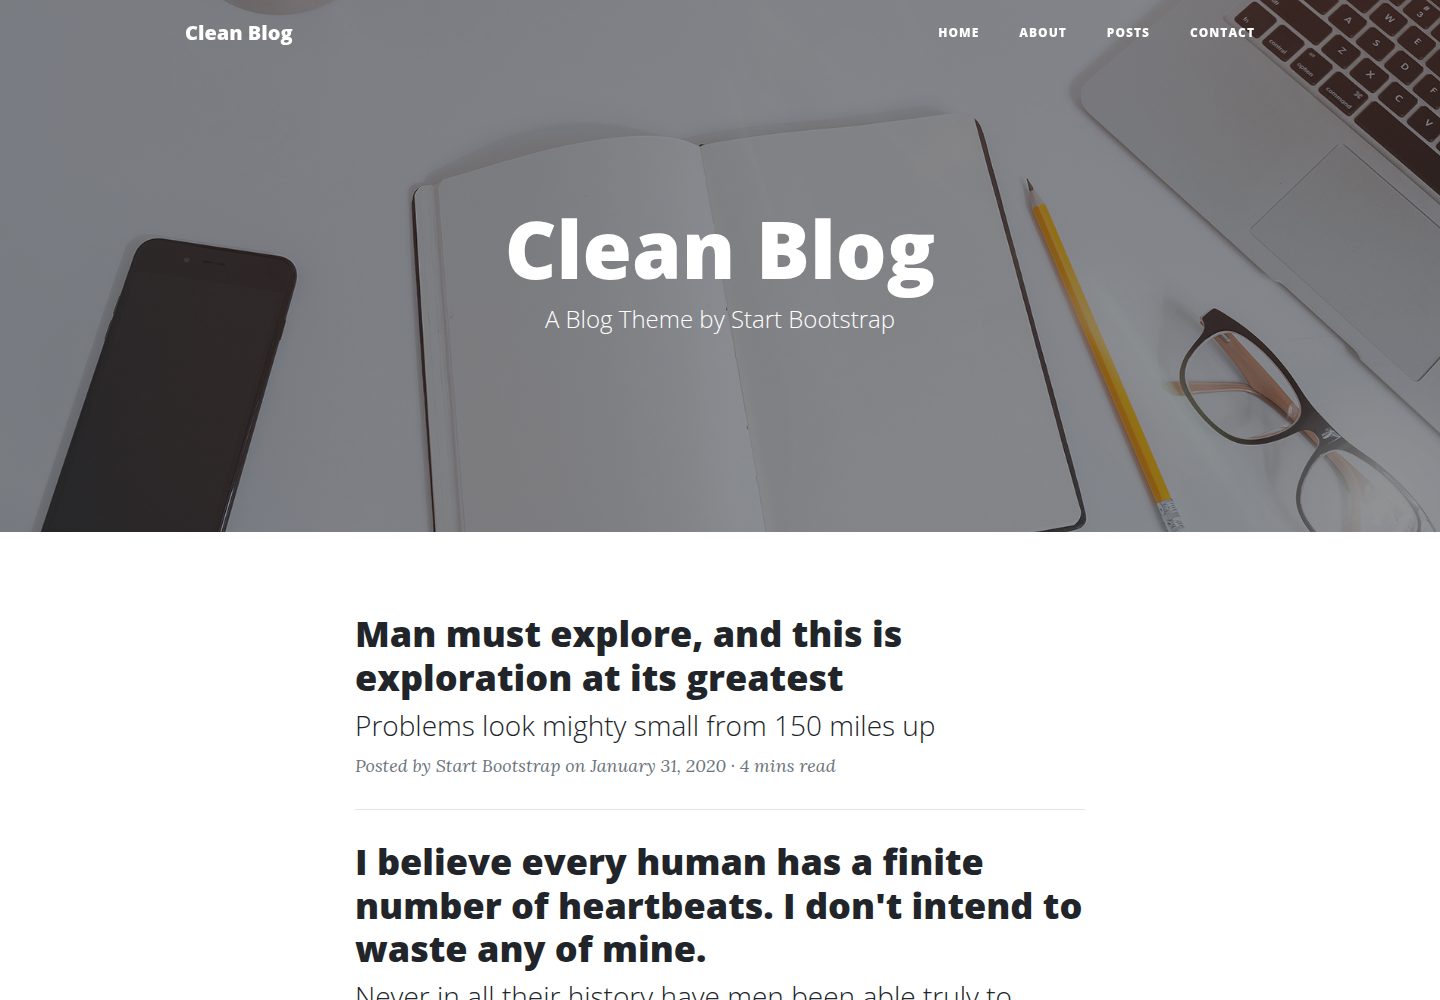
startbootstrap-clean-blog-jekyll
The official Jekyll version of Start Bootstrap's Clean Blog theme, offering a blog home page, about page, contact page, and sample post pages, with a Formspree-powered contact form.
Jekyll · Blog
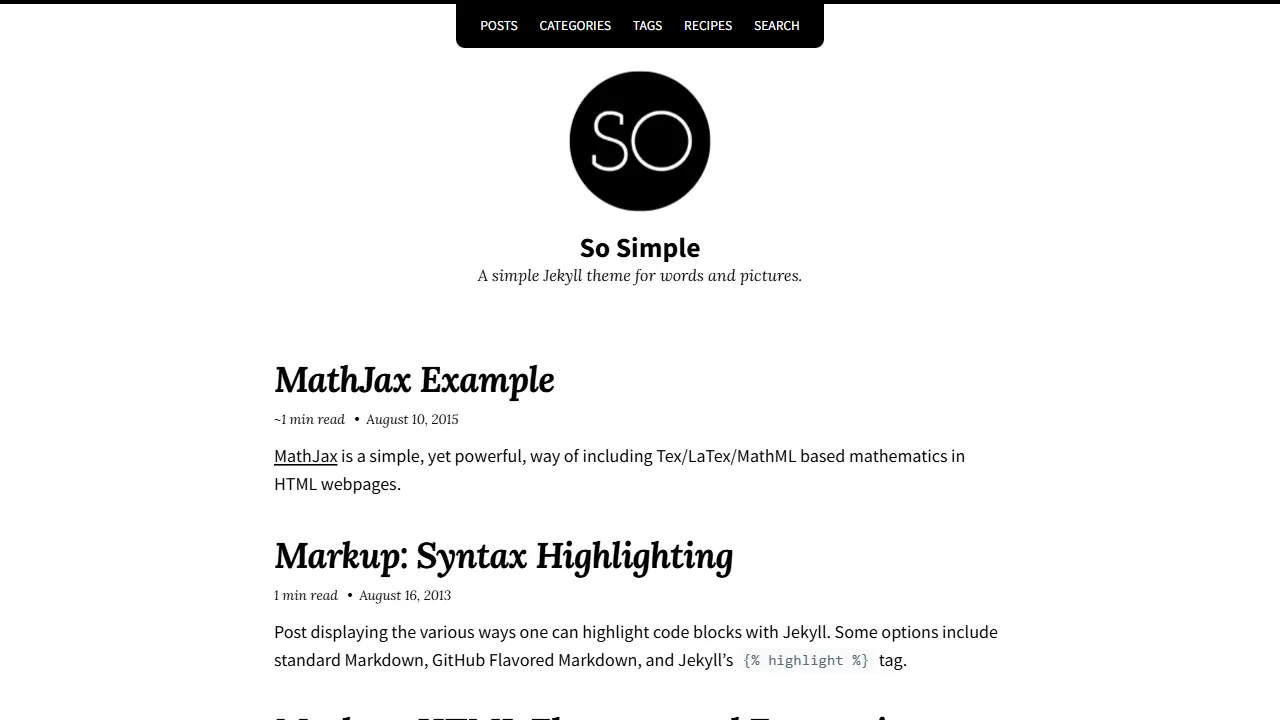
So Simple
A minimal reading-oriented Jekyll theme by Michael Rose for personal blogs, portfolios, and long-form reading. It offers multiple layouts, microformat markup, Disqus comments, Google Analytics, Jekyll SEO Tag, three skins, and aggregation by year, category, and tag with a grid view.
Jekyll · Blog