提供文章、页面、首页与 dark-post 四类布局,适配移动端、平板与桌面端
Jekyll博客
neo-hpstr-jekyll-theme — Jekyll 博客模板
作者 nrbrd
Neo-HPSTR 是一个基于 Jekyll 的响应式博客主题,提供文章、页面与首页布局,支持顶部动画菜单、Disqus 评论、社交分享和语法高亮。
看看你的网站会是什么样
浏览真实页面截图,比较内容排版与手机效果。点击下方缩略图切换,放大查看整页细节。
全部页面与视图 2
截图用于了解视觉与布局,交互效果请以实际项目为准。
采集于 2026-09-30查看来源
值得关注的模板亮点
从已有项目资料中,快速了解它的特点。
顶部动画菜单支持下拉子菜单,并可将分类列表作为菜单项
可选 Disqus 评论与社交分享,支持按文章或页面单独关闭
内置 Open Graph 与 Twitter Cards 元信息,便于社交平台分享展示
包含搜索页、标签页、分类页、RSS feed 与自定义 404 页面
通过 _sass 变量与 Grunt 任务调整配色、导航栏和脚本资源
模板详细介绍
Neo-HPSTR Jekyll Theme 是一个面向 Jekyll 的博客模板,仓库采用 MIT 许可,提供文章(post)、页面(page)和首页(home)三类响应式布局,并附带 dark-post 布局。主题包含顶部动画菜单(支持下拉与分类列表)、作者面板与社交链接、Disqus 评论开关、社交分享(含浮动分享)、Open Graph 与 Twitter Cards 元信息、自定义 404 页面、语法高亮、RSS 订阅(feed.xml)、搜索页、标签页与分类页。样式通过 _sass 变量集中管理,可调整导航栏高度、顶部与滚动后颜色、悬停颜色以及正文字体与背景色;JavaScript 由 Grunt 负责 lint、合并与压缩。
使用方式有两种:作为 boilerplate/fork 直接克隆仓库并删除 demo 与截图文件后运行;或作为 Jekyll 主题 gem 安装到已有项目中。仓库同时提供 demo 目录作为快速起步内容,并可选配合 Octopress 命令创建新文章与页面。
限制方面:主题自身不包含后端或数据库,评论依赖第三方 Disqus,社交分享链接指向 Facebook、Twitter 与 Google+;演示图片、字体、图标等第三方素材需按各自许可单独核对。README 中提到的浏览器兼容性(如 Internet Explorer 8+)属于模板作者原有说明,未在本次资料中独立验证。
Jekyll博客
适合你的项目吗?
适用场景
- 使用 Jekyll 搭建个人技术博客或写作站点
- 将主题作为 boilerplate 进行较大幅度的定制开发
- 在已有 Jekyll 项目中以主题 gem 方式引入博客外观
- 需要文章列表、标签、分类与搜索等基础内容组织功能的站点
适合人群
- 熟悉 Jekyll 与 Markdown 写作流程的开发者或写作者
- 希望以 MIT 许可免费使用并自行修改博客主题的用户
- 需要响应式布局与基础社交分享、评论能力的个人博客
- 接受以 Sass 变量和 Grunt 构建进行样式与脚本定制的项目
上手与定制指南
结合仓库当前版本的说明,按下面的资料检查内容、配置与运行要求。
- 1
作为 boilerplate 使用:fork 或克隆仓库,删除 demo/ 与 screenshot.png,执行 bundle install 后运行 bundle exec jekyll serve --watch。
- 2
作为主题 gem 使用:先安装 jekyll 与 bundler,创建站点后下载 demo 内容到博客目录,再执行 bundle install 并启动 Jekyll。
- 3
在 _config.yml 中配置 Disqus shortname、作者信息、Google Analytics、菜单链接等;文章或页面可通过 front matter 中的 comments: false 与 share: false 关闭评论和分享。
- 4
样式变量位于 _sass/_variables.scss,可调整 $menu-height、$menu-top、$menu-overflow 等;JavaScript 需安装 Node.js 与 Grunt 后通过 npm install 和 grunt 构建。
- 5
若部署到 GitHub Pages,README 提示需在仓库设置中启用 gh-pages;主题 gem 方式与 boilerplate 方式在更新与自定义覆盖上存在差异。
授权与来源资料
使用条件与限制
免费使用 · 保留许可声明本次收录的是公开仓库中采用 MIT 许可的免费版本;免费范围为该版本代码,不代表外部服务或第三方素材免费。
使用时需要遵守
- 允许免费使用、修改、商用和分发该版本代码。
- 分发代码副本或实质性部分时,保留原作者版权声明和完整 MIT 许可声明。
- 代码按现状提供;担保与责任限制以原许可证及适用法律为准。
额外费用与待核对事项
- 评论功能依赖第三方 Disqus 服务,需自行注册 Disqus 账号并在 _config.yml 中配置 shortname 才能启用;不配置则无评论。
- 站点统计与站长验证需使用 Google Analytics、Google Webmaster Tools 及 Bing Webmaster Tools 等外部服务,并填入相应 ID 或验证元标签。
- 使用 Octopress 自动创建文章与页面为可选功能,需额外安装 Octopress gem 才能使用。
- 修改并构建 JavaScript 需额外安装 Node.js 与 Grunt,并执行 npm install;不构建则无法使用 Grunt 的合并压缩流程。
- 以 boilerplate/fork 方式使用时,README 说明该方式仅适用于托管在 GitHub Pages 的场景。
- 部署到 GitHub Pages 需在仓库设置中手动启用 gh-pages 分支。
- 演示图片、字体、图标及其他第三方素材需按各自许可核对,不能仅凭代码的 MIT 许可判断。
- 域名、托管、数据库、支付或 AI 等外部服务可能另外收费。
查看原文依据
Permission is hereby granted, free of charge
许可证原文
Create a [Disqus](http://disqus.com) account and change `disqus_shortname` in `_config.yml`
README 原文
Your Google Analytics ID goes here along with meta tags for [Google Webmaster Tools]
README 原文
To take advantage of it start by installing the [Octopress](https://github.com/octopress/octopress) gem if it isn't already.
README 原文
[Install Node.js](http://nodejs.org/), then [install Grunt](http://gruntjs.com/getting-started), and then finally install the dependencies for the theme contained in `package.json`
README 原文
Additionally you'll only be able to use this method if you want to host it on GitHub Pages, as [themes can't be submitted](https://pages.github.com/themes/)... yet.
README 原文
https://github.com/nrbrd/neo-hpstr-jekyll-theme/blob/master/LICENSE.txthttps://github.com/nrbrd/neo-hpstr-jekyll-theme/blob/master/README.mdIf you are serving your blog at github, make sure to enale the gh-pages at yout repo settings
README 原文
DeepSeek 根据仓库许可证和 README 整理 ·2026-10-01。结果仅覆盖已读取资料,依赖、图片、字体及后续条款变更以各自原文为准。
项目核对记录与介绍依据
模板资料
- 来源平台
- GitHub
- 资料与维护参考分
- 资料一般 · 68 / 100
- 技术栈
- Jekyll
- 网站类型
- 博客
这个分数如何计算
本站按许可资料(最高30分)、演示链接(12分)、预览图(10分)、Star数(15分)、记录的维护时间(15分)、描述完整度(8分)、功能记录(5分)和分类资料(5分)计算。它不是代码、安全或性能测试,也不是 Google 评分;有链接不代表已实测可用。
这个项目需要核对什么
- 记录的仓库更新时间
- 2023-01-18
- 截图检查日期
- 2026-10-01
已收录演示链接。请用你的内容与屏幕尺寸检查;有演示不代表表单、认证或支付已经可用。
目录记录的主要技术栈是 Jekyll。请通过依赖清单和锁文件核对实际版本与托管要求。这些说明基于收录资料,不代表代码审计或部署实测。
查看具体选型方法 →介绍的制作与核对状态
介绍由 AI 辅助整理目录与仓库资料。仓库作者不等于这篇介绍的审核者。
已完成服务器许可规则与 AI 来源核对;未经过人工编辑审核。
查看当时使用的来源资料
SHA-256: dec07e7513330e4282a07fd0b80f84fbc11a5148b5fc9d9f53aaa9e72624119e
2026-10-01T14:24:05.016Z
来源文件 / 仓库# [Neo-HPSTR Jekyll Theme](http://aronbordin.com/neo-hpstr-jekyll-theme) [](https://badge.fury.io/rb/neo-hpstr-jekyll-theme) Neo-HPSTR Jekyll is a responsive and modern blog template.  Demo: http://aronbordin.com/neo-hpstr-jekyll-theme ## Contents - [Installation](#installation) - [Features](#features) - [Configuration](#configuration) - [Questions](#questions) - [Contributing](#contributing) - [Development](#development) - [License](#license) ## Installation ### As a Boilerplate / Fork 1. [Fork the repo](https://github.com/aron-bordin/neo-hpstr-jekyll-theme) 2. Clone down the repo with `$ git clone [email protected]:username/reponame.git` 3. Delete the `demo/` folder and `screenshot.png` files 4. Install bundler with `$ gem install bundler` 5. Install gems with `$ bundle install` 6. Run Jekyll with `$ bundle exec jekyll serve --watch` 7. Begin hacking for your project (If you are serving your blog at github, make sure to enale the gh-pages at yout repo settings) ### As a Jekyll >= 3.3 theme gem If you already have a jekyll project, jump to the instructions bellow. Otherwise, follow these steps: 1. Install jekyll and bundler with `$ gem install jekyll bundler`. 2. Create your website `jekyll new my-awesome-blog`. 3. `cd my-awesome-blog` Inside the project folder, install the theme as follows: 1. Download the starter `/demo` content, [quick download link](https://minhaskamal.github.io/DownGit/#/home?url=https://github.com/aron-bordin/neo-hpstr-jekyll-theme/tree/master/demo) and extract the content to the blog folter. 2. Install bundler with `$ gem install bundler` 3. Install gems with `$ bundle install` 4. Run Jekyll with `$ bundle exec jekyll serve --watch` 5. Begin hacking for your project ### Boilerplate & Theme differences The boilerplate kit is better for more drastic hacking and changes, a project that's quite different to any other and needs a lot of custom work done. Additionally you'll only be able to use this method if you want to host it on GitHub Pages, as [themes can't be submitted](https://pages.github.com/themes/)... yet. Using the theme will allow you to receive updates made and will be more programmatic. To make your own changes you'll need to overwrite the files with your own. ## Features * Modern design. * Responsive templates for post, page, and home `_layouts`. Looks great on mobile, tablet, and desktop devices. * Gracefully degrades in older browsers. Compatible with Internet Explorer 8+ and all modern browsers. * Sweet topbar animated menu with support for drop-downs. * Optional [Disqus](http://disqus.com) comments and social sharing links. * [Open Graph](https://developers.facebook.com/docs/opengraph/) and [Twitter Cards](https://dev.twitter.com/docs/cards) support for a better social sharing experience. * Simple [custom 404 page](x) to get you started. * [Syntax highlighting](x) to make your code examples look snazzy * Author panel, with social links ## Configuration Here are some tips on how to customize your blog theme. If you have questions, just open a new issue :) ### Project tree ├── about.md # about page, /about/ ├── assets/ # css, js, fonts, etc ├── categories.html ├── _config.yml # your blog configuration ├── demo/ # folder with quick start content ├── feed.xml # rss feed generator ├── Gemfile # project dependencies ├── Gruntfile.js # some grunt tasks, useful for theme developing ├── images/ # blog images ├── _includes │ ├── author.html # author banner (at the end of post) │ ├── browser-upgrade.html # ask for update │ ├── disqus_comments.html # comments │ ├── feed-footer.html # feed footers │ ├── footer.html # page footer │ ├── gallery # used for displaying images in a page │ ├── header.html # header menu │ ├── head.html # site head, with css includes and metadata │ ├── icons.html # site icons │ ├── pagination.html # pagination │ ├── read-more.html # read-more banner, to recommend posts │ ├── scripts.html # js scripts │ └── social-share.html # floating social share integration ├── index.html # homepage ├── _layouts # blog layouts │ ├── dark-post.html │ ├── home.html │ ├── page.html │ └── post.html ├── LICENSE.txt ├── neo-hpstr-jekyll-theme.gemspec ├── package.json ├── _posts # sample posts │ ├── 2016-11-26-sample-post-images.md │ ├── 2016-11-27-video-post.md │ ├── 2016-11-28-sample-link-post.md │ ├── 2016-11-29-background-image.md │ ├── 2016-11-30-dark-post.md │ ├── 2016-12-01-code-highlighting-post.md │ └── 2016-12-02-sample-post.md ├── posts.html # page for listing posts ├── README.md ├── _sass # blog style ├── screenshoot.png ├── search.html # search page ├── search.json ├── _site/ ├── tags.html # tags page ### Disqus Comments Create a [Disqus](http://disqus.com) account and change `disqus_shortname` in `_config.yml` to the Disqus *shortname* you just setup. By default comments appear on all post and pages if you assigned a shortname. To disable commenting on a post or page, add the following to its YAML Front Matter: comments: false ### Social Share Links To disable Facebook, Twitter, and Google+ share links on a post or page, add the following to its front matter: share: false ### Floating Social Share Links To enable floating share links on the left of the screen, edit it on `_config.yml`: float_share: true ### Owner/Author Information Change your name, and avatar photo (200x200 pixels or larger), email, and social networking URLs. If you want to link to an external image on Gravatar or something similar you'll need to edit the path in `_includes/author.html` since it assumes it is hosted on your site. ### Google Analytics and Webmaster Tools Your Google Analytics ID goes here along with meta tags for [Google Webmaster Tools](http://support.google.com/webmasters/bin/answer.py?hl=en&answer=35179) and [Bing Webmaster Tools](https://ssl.bing.com/webmaster/configure/verify/ownershi) site verification. ### Top Menu - Navigation Links To add additional links in the menu edit `_config.yml`. Use the following format to set the URL and title for as many links as you'd like. *External links will open in a new window..* You can create a sub-category using the `submenu` item. Also, you can list your post categories setting the `type: 'categories'` menu: - title: 'Home' url: '/' - title: 'Fork' url: 'http://github.com/aron-bordin/neo-hpstr-jekyll-theme' - title: 'Tags' url: '/tags' - title: 'Categories' url: '/categories' type: 'categories' - title: 'Favorites' url: '#' submenu: - title: 'highlighter' url: '/code-highlighting-post/' - title: 'intro' url: '/sample-post/' ### Adding New Content with Octopress While completely optional, I've included Octopress and some starter templates to automate the creation of new posts and pages. To take advantage of it start by installing the [Octopress](https://github.com/octopress/octopress) gem if it isn't already. $ gem install octopress #### New Post Default command $ octopress new post "Post Title" Default works great if you want all your posts in one directory, but if you're like me and want to group them into subfolders like `/posts`, `/portfolio`, etc. Then this is the command for you. By specifying the DIR it will create a new post in that folder and populate the `categories:` YAML with the same value. $ octopress new post "New Portfolio Post Title" --dir portfolio #### New Page To create a new page use the following command. $ octopress new page new-page/ ### Style Customization Here you'll find some useful scss variables to help you to customize your Blog interface. All variables can be found at `_sass/_variables.scss`. #### Top Navbar Size To change its size, edit the **`$menu-height`** value. It's recommended a value between 50px and 100px. This variable will automatically update the icon and menu size for you. #### Top Navbar Colors The navbar uses two colors, the top color and overflow color. The top color represents the navbar color when the window is not scrolled and the overflow color represents the color when we have a sufficient scroll to change its color. You can change these colors using the **`$menu-top`** and **`$menu-overflow`** variable values. #### Top Navbar hover color The color that you see in the item under the mouse can be changed in the **`$header-margin`** variable. ### Further Customization Jekyll 2.x added support for Sass files making it much easier to modify a theme's fonts and colors. By editing values found in `_sass/variables.scss` you can fine tune the site's colors and typography. For example if you wanted a red background instead of white you'd change `$bodycolor: #fff;` to `$bodycolor: $cc0033;`. To modify the site's JavaScript files I setup a Grunt build script to lint/concatenate/minify all scripts into `scripts.min.js`. [Install Node.js](http://nodejs.org/), then [install Grunt](http://gruntjs.com/getting-started), and then finally install the dependencies for the theme contained in `package.json`: npm install From the theme's root, use `grunt` to concatenate JavaScript files and optimize `.jpg`, `.png` and `.svg` files in the `images/` folder. You can also use `grunt dev` in combination with `bundle exec jekyll serve` to watch for updates in JS files that Grunt will then automatically re-build as you write your code, which will in turn auto-generate your Jekyll site when developing locally. ## Questions? Having a problem getting something to work or want to know why I setup something in a certain way? [File a GitHub Issue](http://github.com/aron-bordin/neo-hpstr-jekyll-theme/issues/new). And if you make something cool with this theme feel free to let me know. ## Contributing Bug reports and pull requests are welcome on GitHub at https://github.com/aron-bordin/neo-hpstr-jekyll-theme. This project is intended to be a safe, welcoming space for collaboration, and contributors are expected to adhere to the [Contributor Covenant](http://contributor-covenant.org) code of conduct. ## Development To set up your environment to develop this theme, run `bundle install`. Your theme is setup just like a normal Jekyll site! To test your theme, run `bundle exec jekyll serve` and open your browser at `http://localhost:4000`. This starts a Jekyll server using your theme. Add pages, documents, data, etc. like normal to test your theme's contents. As you make modifications to your theme and to your content, your site will regenerate and you should see the changes in the browser after a refresh, just like normal. When your theme is released, only the files in `_layouts`, `_includes`, and `_sass` tracked with Git will be released. ## License The theme is available as open source under the terms of the [MIT License](http://opensource.org/licenses/MIT).
看看同类模板
对比同技术栈与用途的模板,找到更适合的视觉与内容结构。
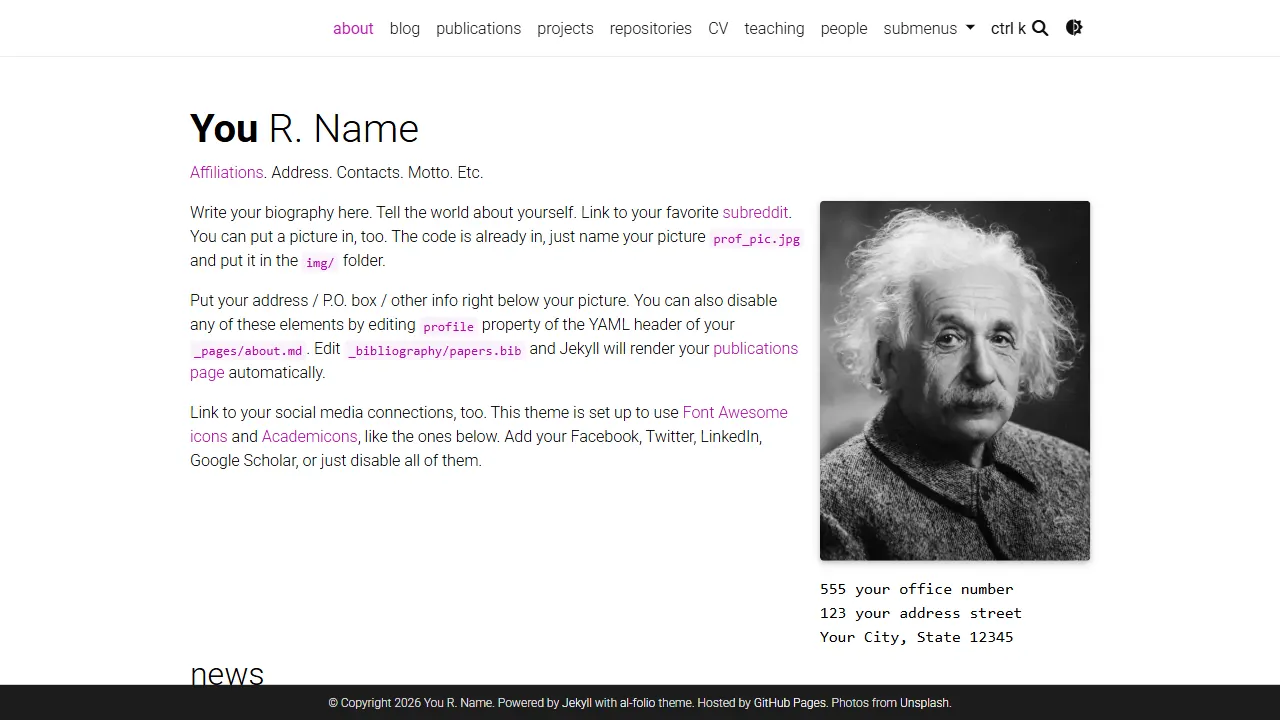
al-folio
al-folio 是一个面向学者与研究人员的 Jekyll 作品集主题,设计简洁、响应式,适合搭建个人学术主页。
Jekyll · 作品集
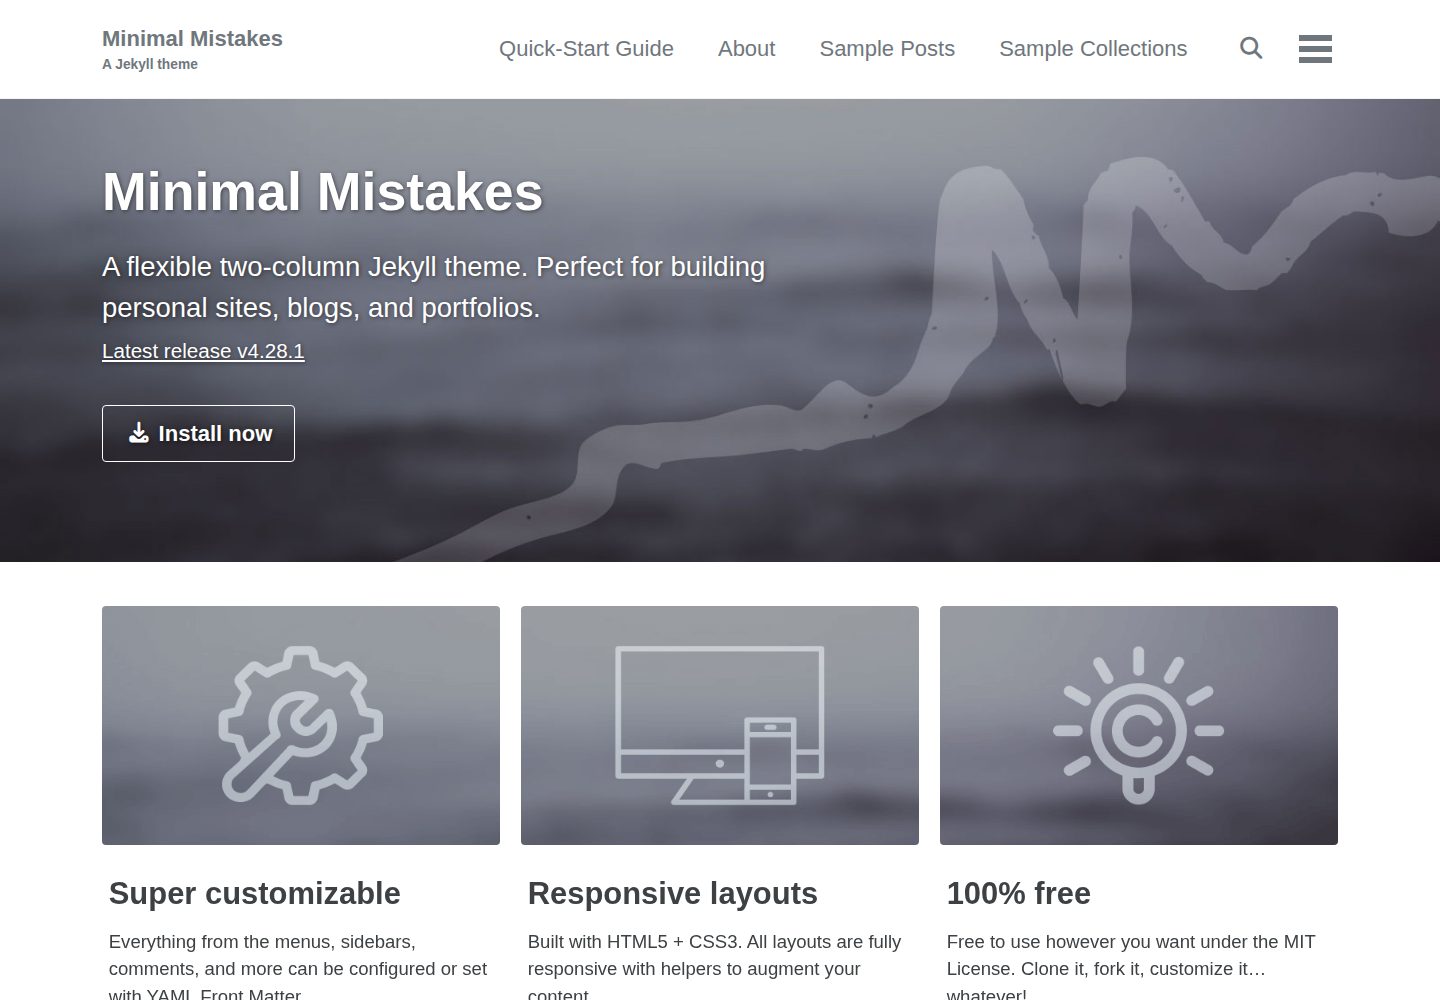
minimal-mistakes
:triangular_ruler: Jekyll theme for building a personal site, blog, project documentation, or portfolio.
Jekyll · 作品集
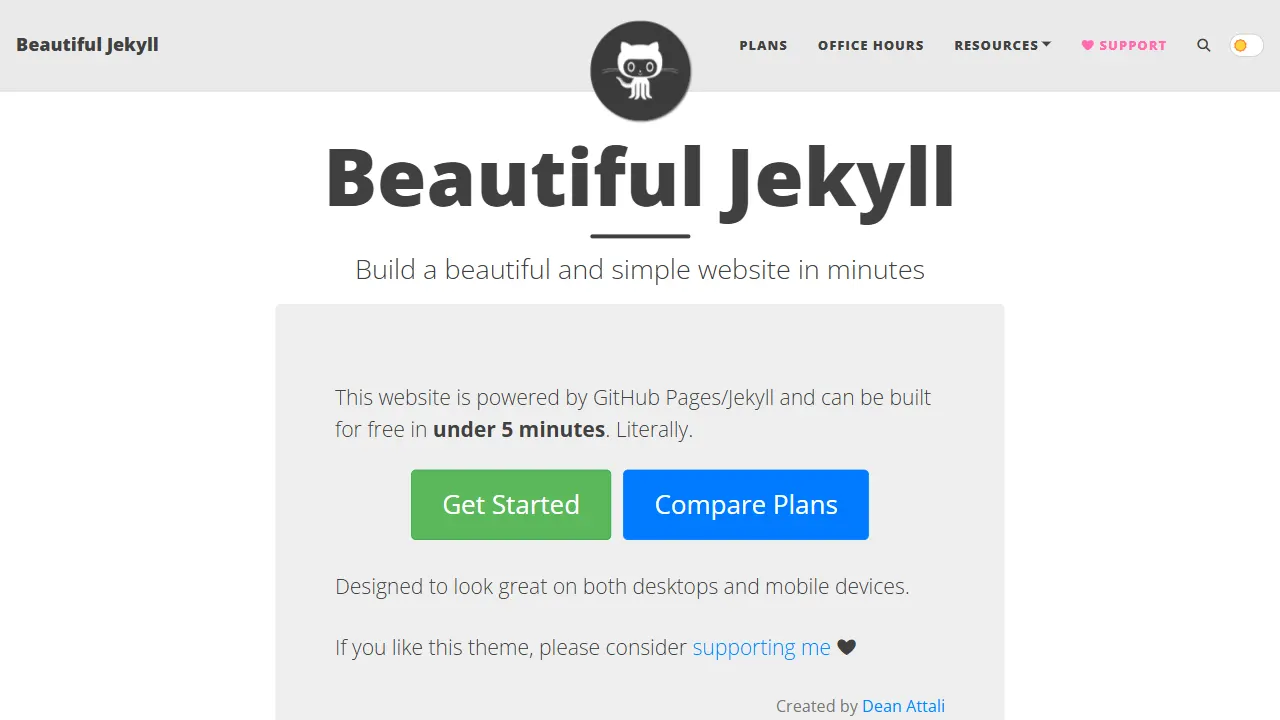
Beautiful Jekyll
Beautiful Jekyll 是一个在 Jekyll 生态中经过长期打磨的博客主题,由 Dean Attali 维护,自 2015 年起积累了超过 5 万用户。
Jekyll · 博客
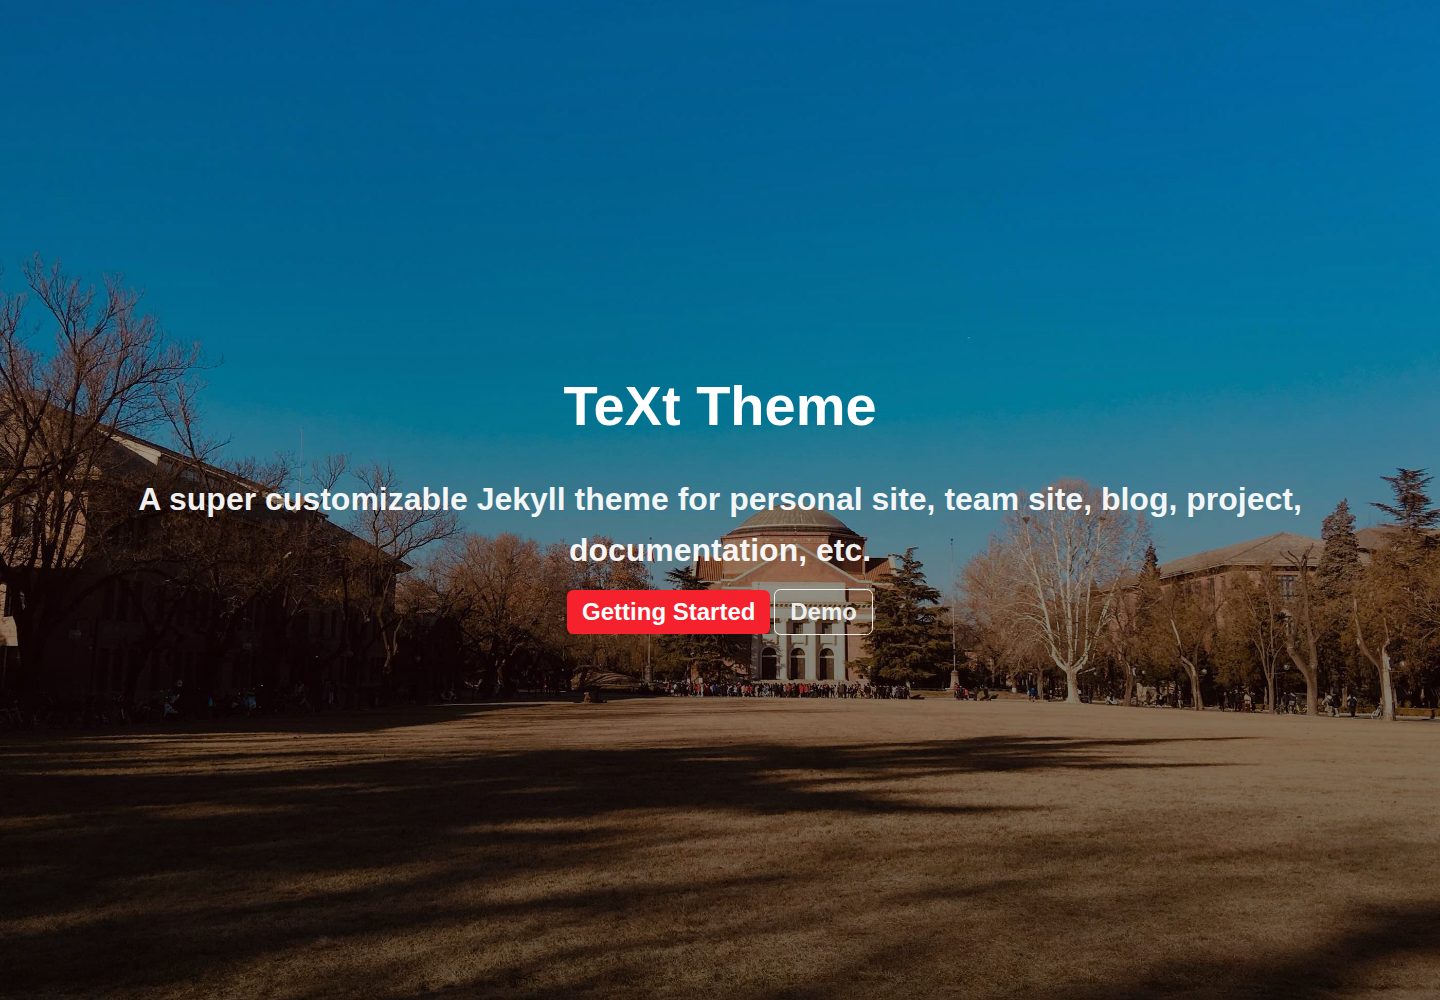
jekyll-TeXt-theme
💎 🐳 A super customizable Jekyll theme for personal site, team site, blog, project, documentation, etc.
Jekyll · 博客
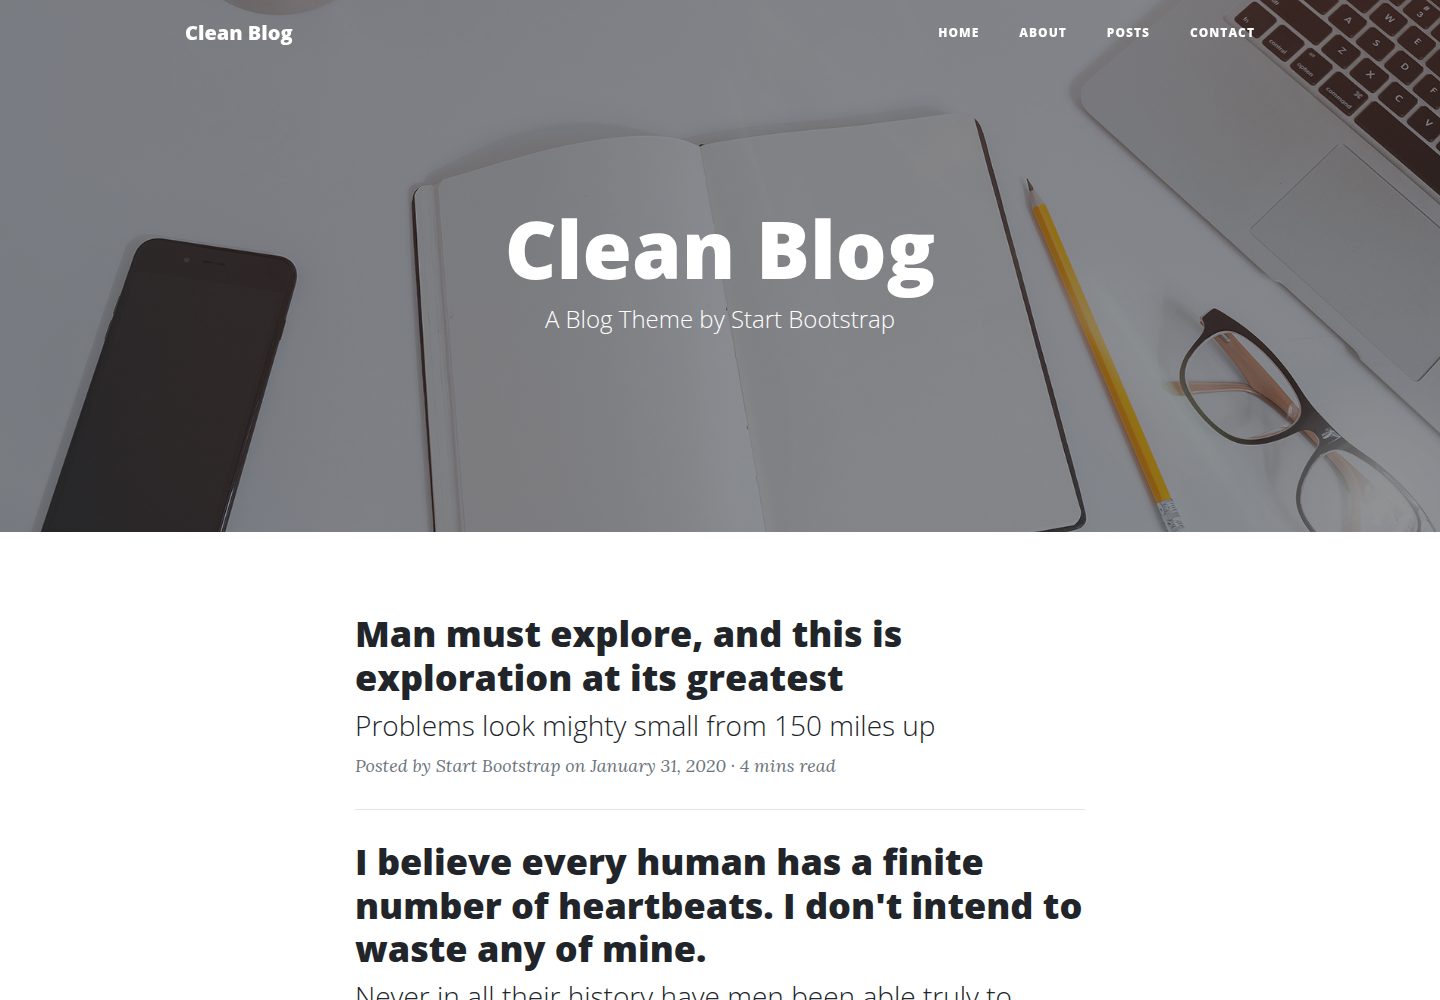
startbootstrap-clean-blog-jekyll
A Jekyll version of the Clean Blog theme by Start Bootstrap
Jekyll · 博客
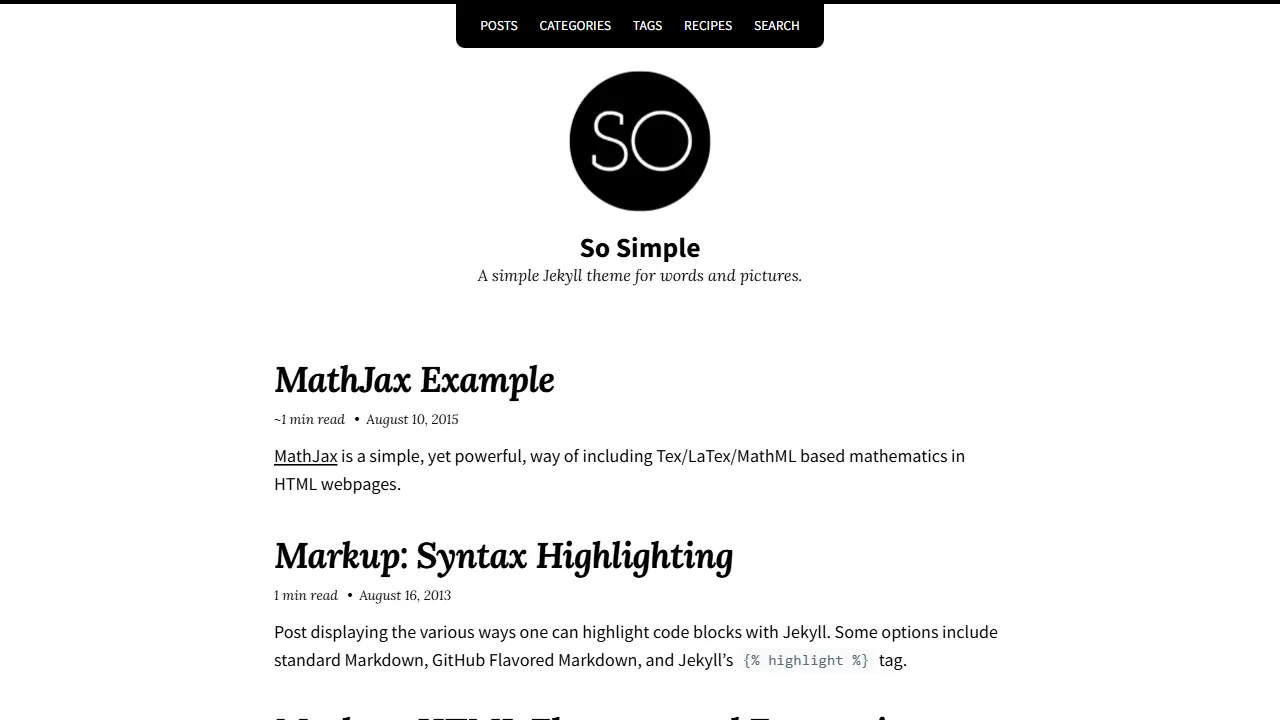
So Simple
So Simple 是 Michael Rose 开发的 Jekyll 主题,定位清晰:为文字和图片提供一个干净、可读性强的展示框架。
Jekyll · 博客