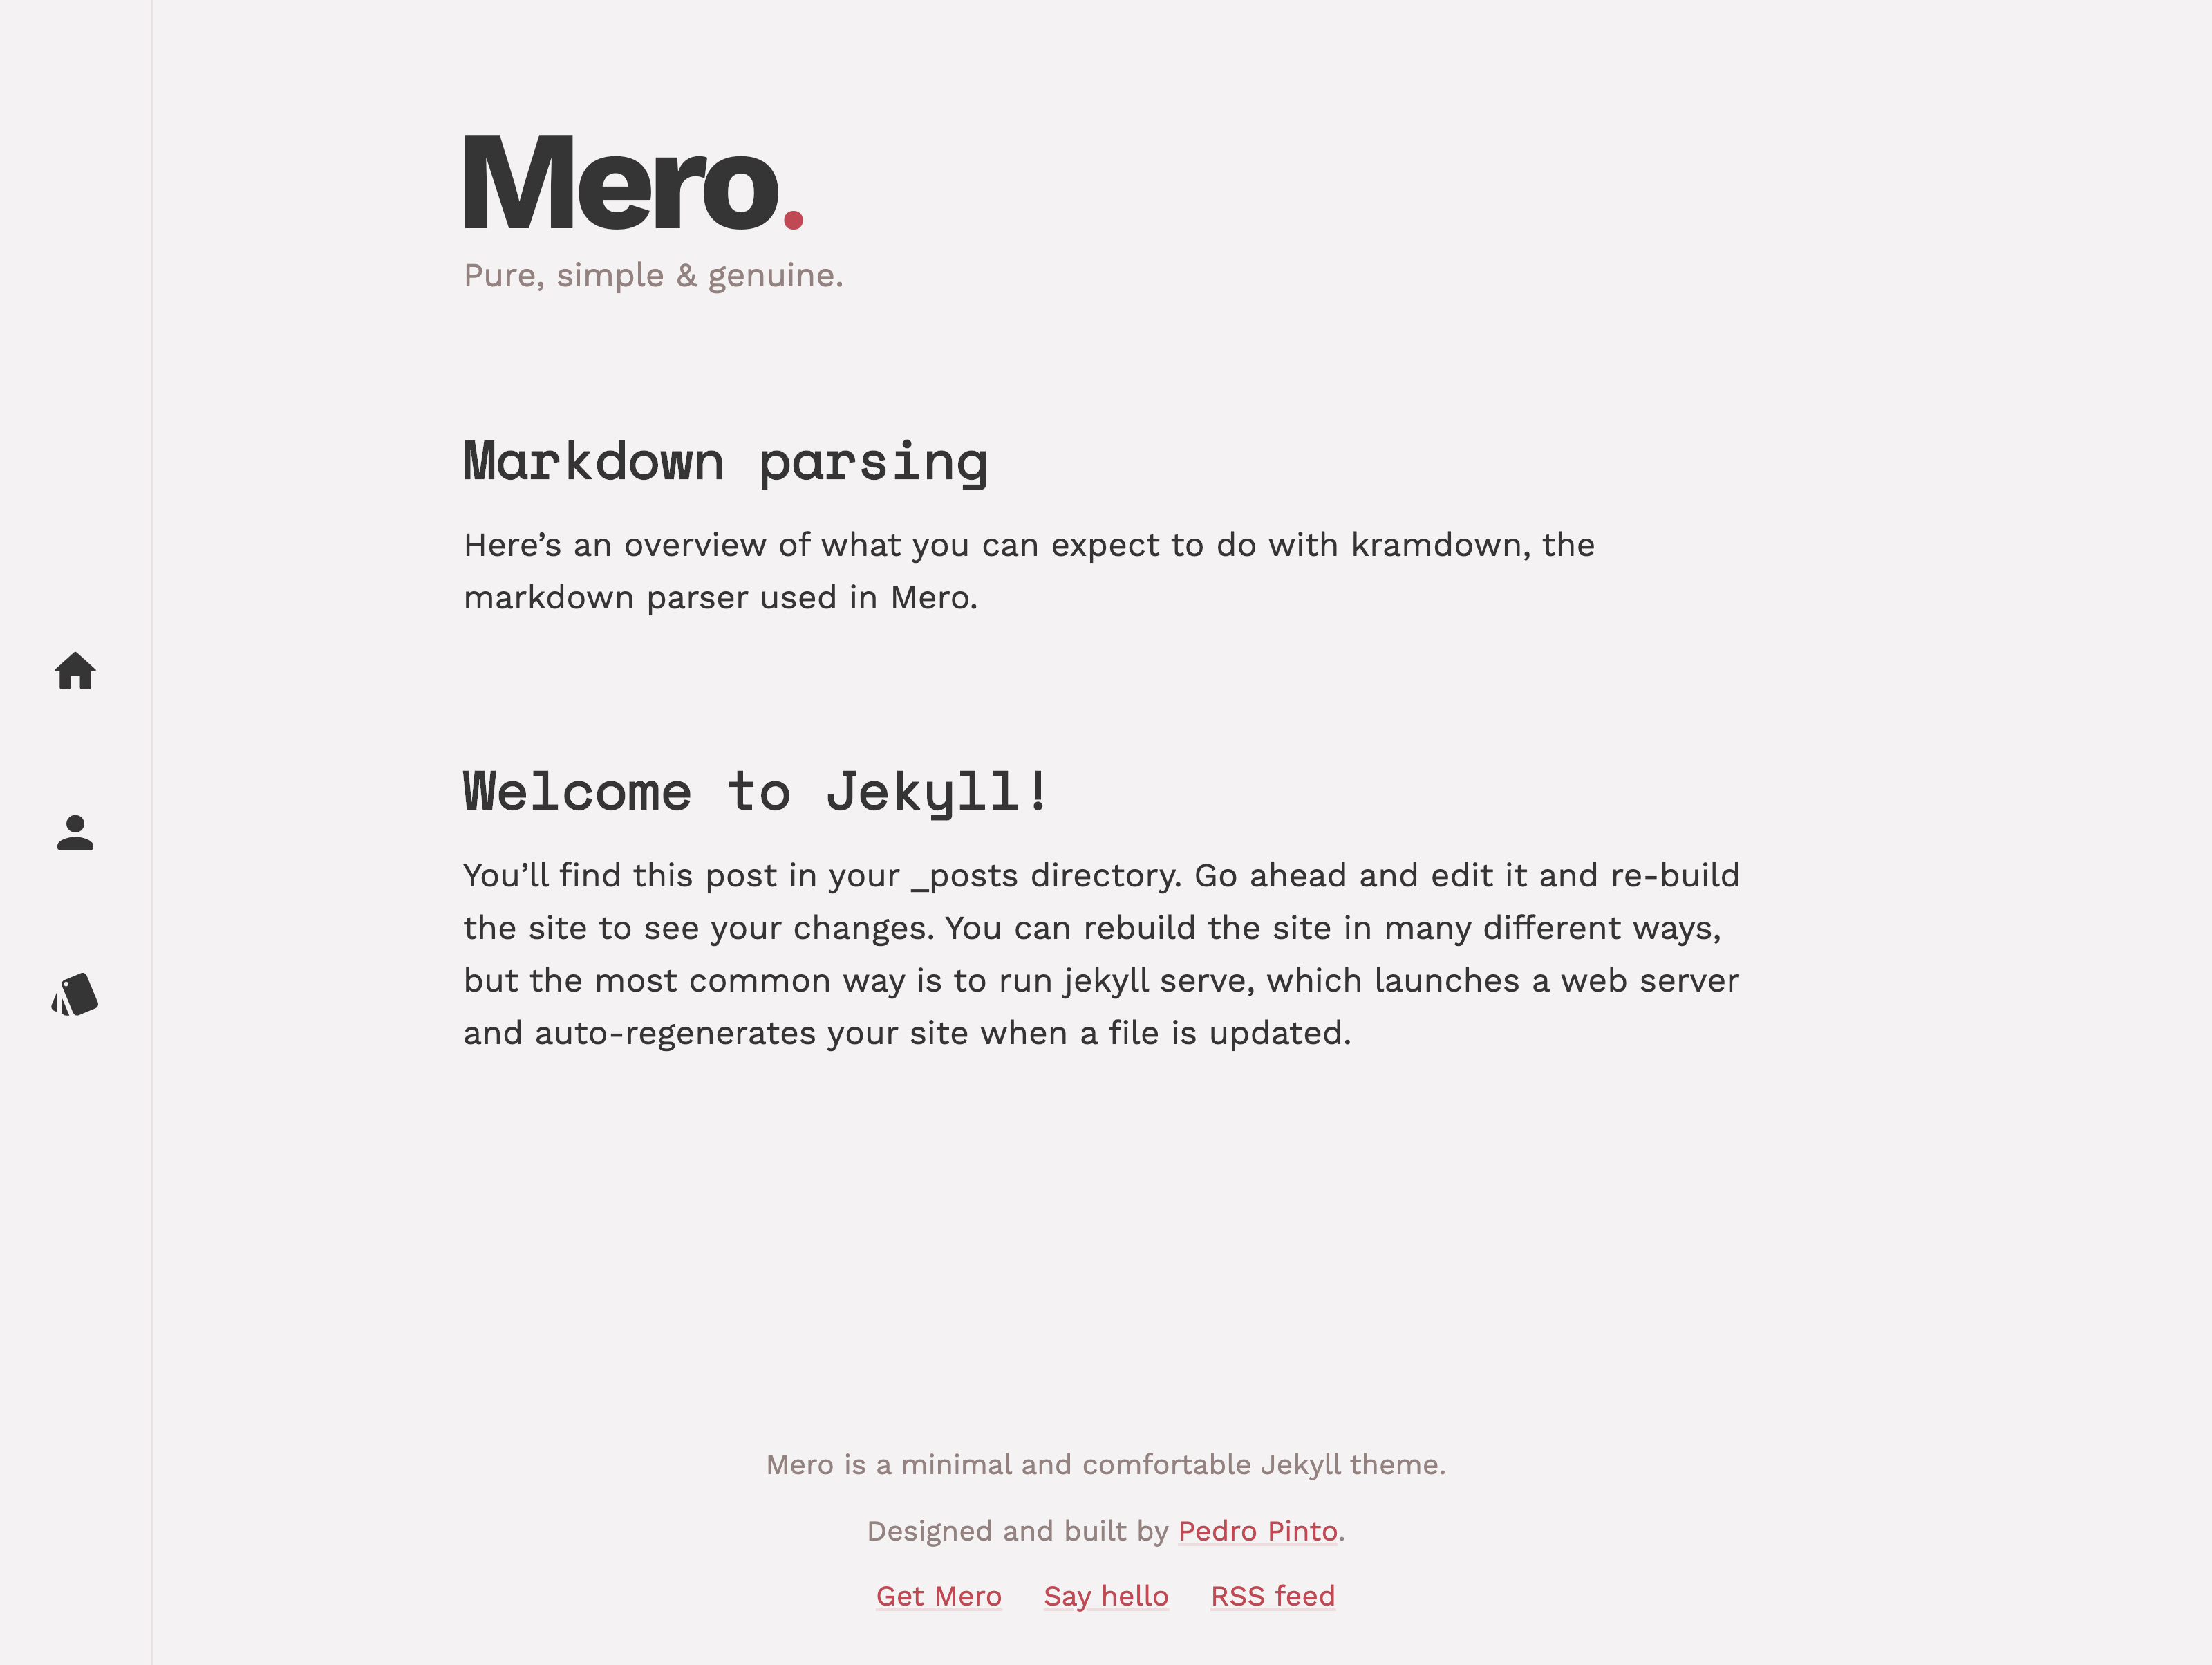
Responsive layout, adapting to different screen sizes
JekyllBlog
jekyll-mero — Jekyll Blog Template
By pmpinto
Mero is a lightweight, minimal Jekyll blog theme focused on reading experience, offering responsive layout, fluid typography, and multiple color schemes.
Explore the design
Compare the page layouts and mobile experience. Open any screenshot for a closer look.
Author preview
Author-provided previewTop of page
Preview provided in the project README.
One original preview is available. Open the full image to inspect the design.
Screenshots show visual appearance; interactive behavior may differ.
Recorded 2026-10-02View source
What stands out
A quick read of the recorded project description.
Body reading experience based on modular scale and fluid typography
Four color schemes: default, prefers-dark, mocha, and brand-red
Support for images with captions and code snippet display
Built-in category archives and pagination, depending on jekyll-paginate-v2 and jekyll-archives
Provides home, post, about, error, and other page layouts
Template Details
Mero is a lightweight, minimal blog theme for Jekyll, with a name derived from Portuguese meaning "real" and "simple." The theme centers on comfortable reading, using responsive design, modular scale, and fluid typography, and ensures good contrast between body text and background.
In terms of features, the theme supports images with captions, code snippets, Material Design icons, and uses the Space Mono and Work Sans fonts. Color schemes include default, prefers-dark (automatically switches between light and dark based on user system preference), mocha, and brand-red. Layouts include home, post, about, error, and other page types; posts support category archives, custom excerpts, and pagination.
Usage limitations: The theme depends on the jekyll-paginate-v2 and jekyll-archives plugins, which must be configured in the Gemfile and _config.yml; pagination must be explicitly enabled on the home page, otherwise no content will be displayed. Some static assets (such as open_graph.png, favicon series, site.webmanifest, etc.) need to be added by the user at the specified dimensions. The theme code is under the MIT license, but third-party assets such as demo images, fonts, and icons require separate license verification.
JekyllBlog
Is it right for your project?
Use Cases
- Building a personal blog focused on text reading
- Article list sites requiring category archives and pagination
- Blogs that want to automatically switch between light and dark themes based on user system preference
- Using the theme via remote_theme on GitHub Pages
Suitable For
- Developers building static blogs with Jekyll
- Content creators who prefer minimal typography and a comfortable reading experience
- Blog authors who need category archives and pagination
- Users willing to add static assets such as favicons and social preview images themselves
Getting started & customization
Use these recorded setup notes alongside the repository instructions for your chosen version.
- 1
Ruby, bundler, and jekyll must be installed locally, and bundle install must be run to install dependencies
- 2
Reference the theme in _config.yml via remote_theme: pmpinto/jekyll-mero
- 3
Add the jekyll-paginate-v2 and jekyll-archives plugins, and enable pagination in the home page front matter
- 4
Add static assets such as open_graph.png, favicon series, and site.webmanifest as per the documentation
- 5
Optional configuration includes Google Analytics ID, author and social information, and default front matter images
License & source material
Usage conditions & limitations
Free to use · keep license noticeThis entry covers the free version under the MIT license in the public repository; the free scope applies to that version's code and does not imply that external services or third-party assets are free.
Must comply with when using
- Free use, modification, commercial use, and distribution of this version's code are permitted.
- When distributing copies or substantial portions of the code, retain the original author's copyright notice and the full MIT license notice.
- The code is provided as is; warranties and limitations of liability are governed by the original license and applicable law.
Additional costs & items to verify
- The theme is referenced via remote_theme, which must be configured in _config.yml, and relies on GitHub Pages or Jekyll's remote theme loading mechanism.
- Pagination and category archive features depend on the jekyll-paginate-v2 and jekyll-archives plugins, which must be explicitly added and enabled in the Gemfile and _config.yml.
- Pagination must be explicitly enabled in the home page front matter (pagination.enabled: true), otherwise the home page will not display any content.
- The theme includes only some assets; open_graph.png, favicon series, site.webmanifest, browserconfig.xml, etc. must be added by the user at the specified dimensions.
- To use Google Analytics, a GA tracking ID must be provided and configured by the user; this is an optional external service.
- Demo images, fonts, icons, and other third-party assets require license verification according to their respective licenses; they cannot be judged solely by the code's MIT license.
- External services such as domain, hosting, database, payment, or AI may incur additional charges.
View Original Text Basis
Permission is hereby granted, free of charge
Original License Text
remote_theme: pmpinto/jekyll-mero
Original README
gem "jekyll-paginate-v2" gem "jekyll-archives"
Original README
If you don't add this, you won't see anything in your home page.
Original README
The theme comes bundled with a bunch of assets, but there are some that you will want to add yourself.
Original README
https://github.com/pmpinto/jekyll-mero/blob/master/LICENSE.txthttps://github.com/pmpinto/jekyll-mero/blob/master/README.mdgoogle_analytics_id: UA-XXXXXXXX-X
Original README
Compiled by DeepSeek based on repository license and README ·2026-10-02. Results only cover the materials read; dependencies, images, fonts, and subsequent term changes are subject to their respective original texts.
Project checks & description sources
Template Information
- Source platforms
- GitHub
- Documentation and maintenance reference score
- Partly documented · 56 / 100
- Technologies
- Jekyll
- Website type
- Blog
How this score is calculated
Our heuristic uses license records (up to 30), a demo link (12), a preview (10), stars (15), recorded maintenance (15), description completeness (8), feature records (5) and classification data (5). It is not a code, security or performance test, or a Google score. A link does not establish tested functionality.
What to verify for this project
- Repository update recorded
- 2023-01-04
- Screenshot last checked
- 2026-10-02
No demo link is recorded. Use the repository instructions to evaluate the project locally; the screenshot alone cannot establish interactive behavior.
The catalog identifies Jekyll as the primary stack. Check the actual dependency manifest and lockfile for versions and hosting requirements. These notes use recorded metadata, not a code audit or a deployment test.
Use a selection guide →How this description was prepared
AI-assisted description based on catalog records and repository material. Repository authors are not automatically the reviewers of this description.
Automatically checked against source and license rules; no manual editorial review.
Inspect the recorded source material
SHA-256: 928f4ddaa4d1649252300d6139d13ac5f1accfbf4fffaf1a88a2bc5d8969ec6b
2026-10-02T17:46:00.723Z
Source file / repository# Mero
Mero is a light-weight and minimal [Jekyll](https://jekyllrb.com/) theme focused on providing a comfortable reading experience.
It's also a 🇵🇹 portuguese word for _genuine_ and _simple_.
# Outline
- [Features](#features)
- [Screenshots](#screenshots)
- [Demo](#demo)
- [Installation](#installation)
- [Configuration](#configuration)
- [Options](#options)
- [Development](#development)
- [Contributing](#contributing)
- [License](#license)
- [Donations](#donations)
# Features
- Responsive web design.
- Built with a [modular scale](https://www.modularscale.com/?16&px&1.618).
- Fluid typography to make sure users get a similar experience no matter what screen size they're on.
- Great contrast between main text and background colors.
- Images with captions.
- Code snippets.
- [Material Design Icons](https://material.io/resources/icons/?style=baseline).
- Handpicked fonts: [Space Mono](https://fonts.google.com/specimen/Space+Mono) + [Work Sans](https://fonts.google.com/specimen/Work+Sans).
- A modular development approach so it's easier to expand.
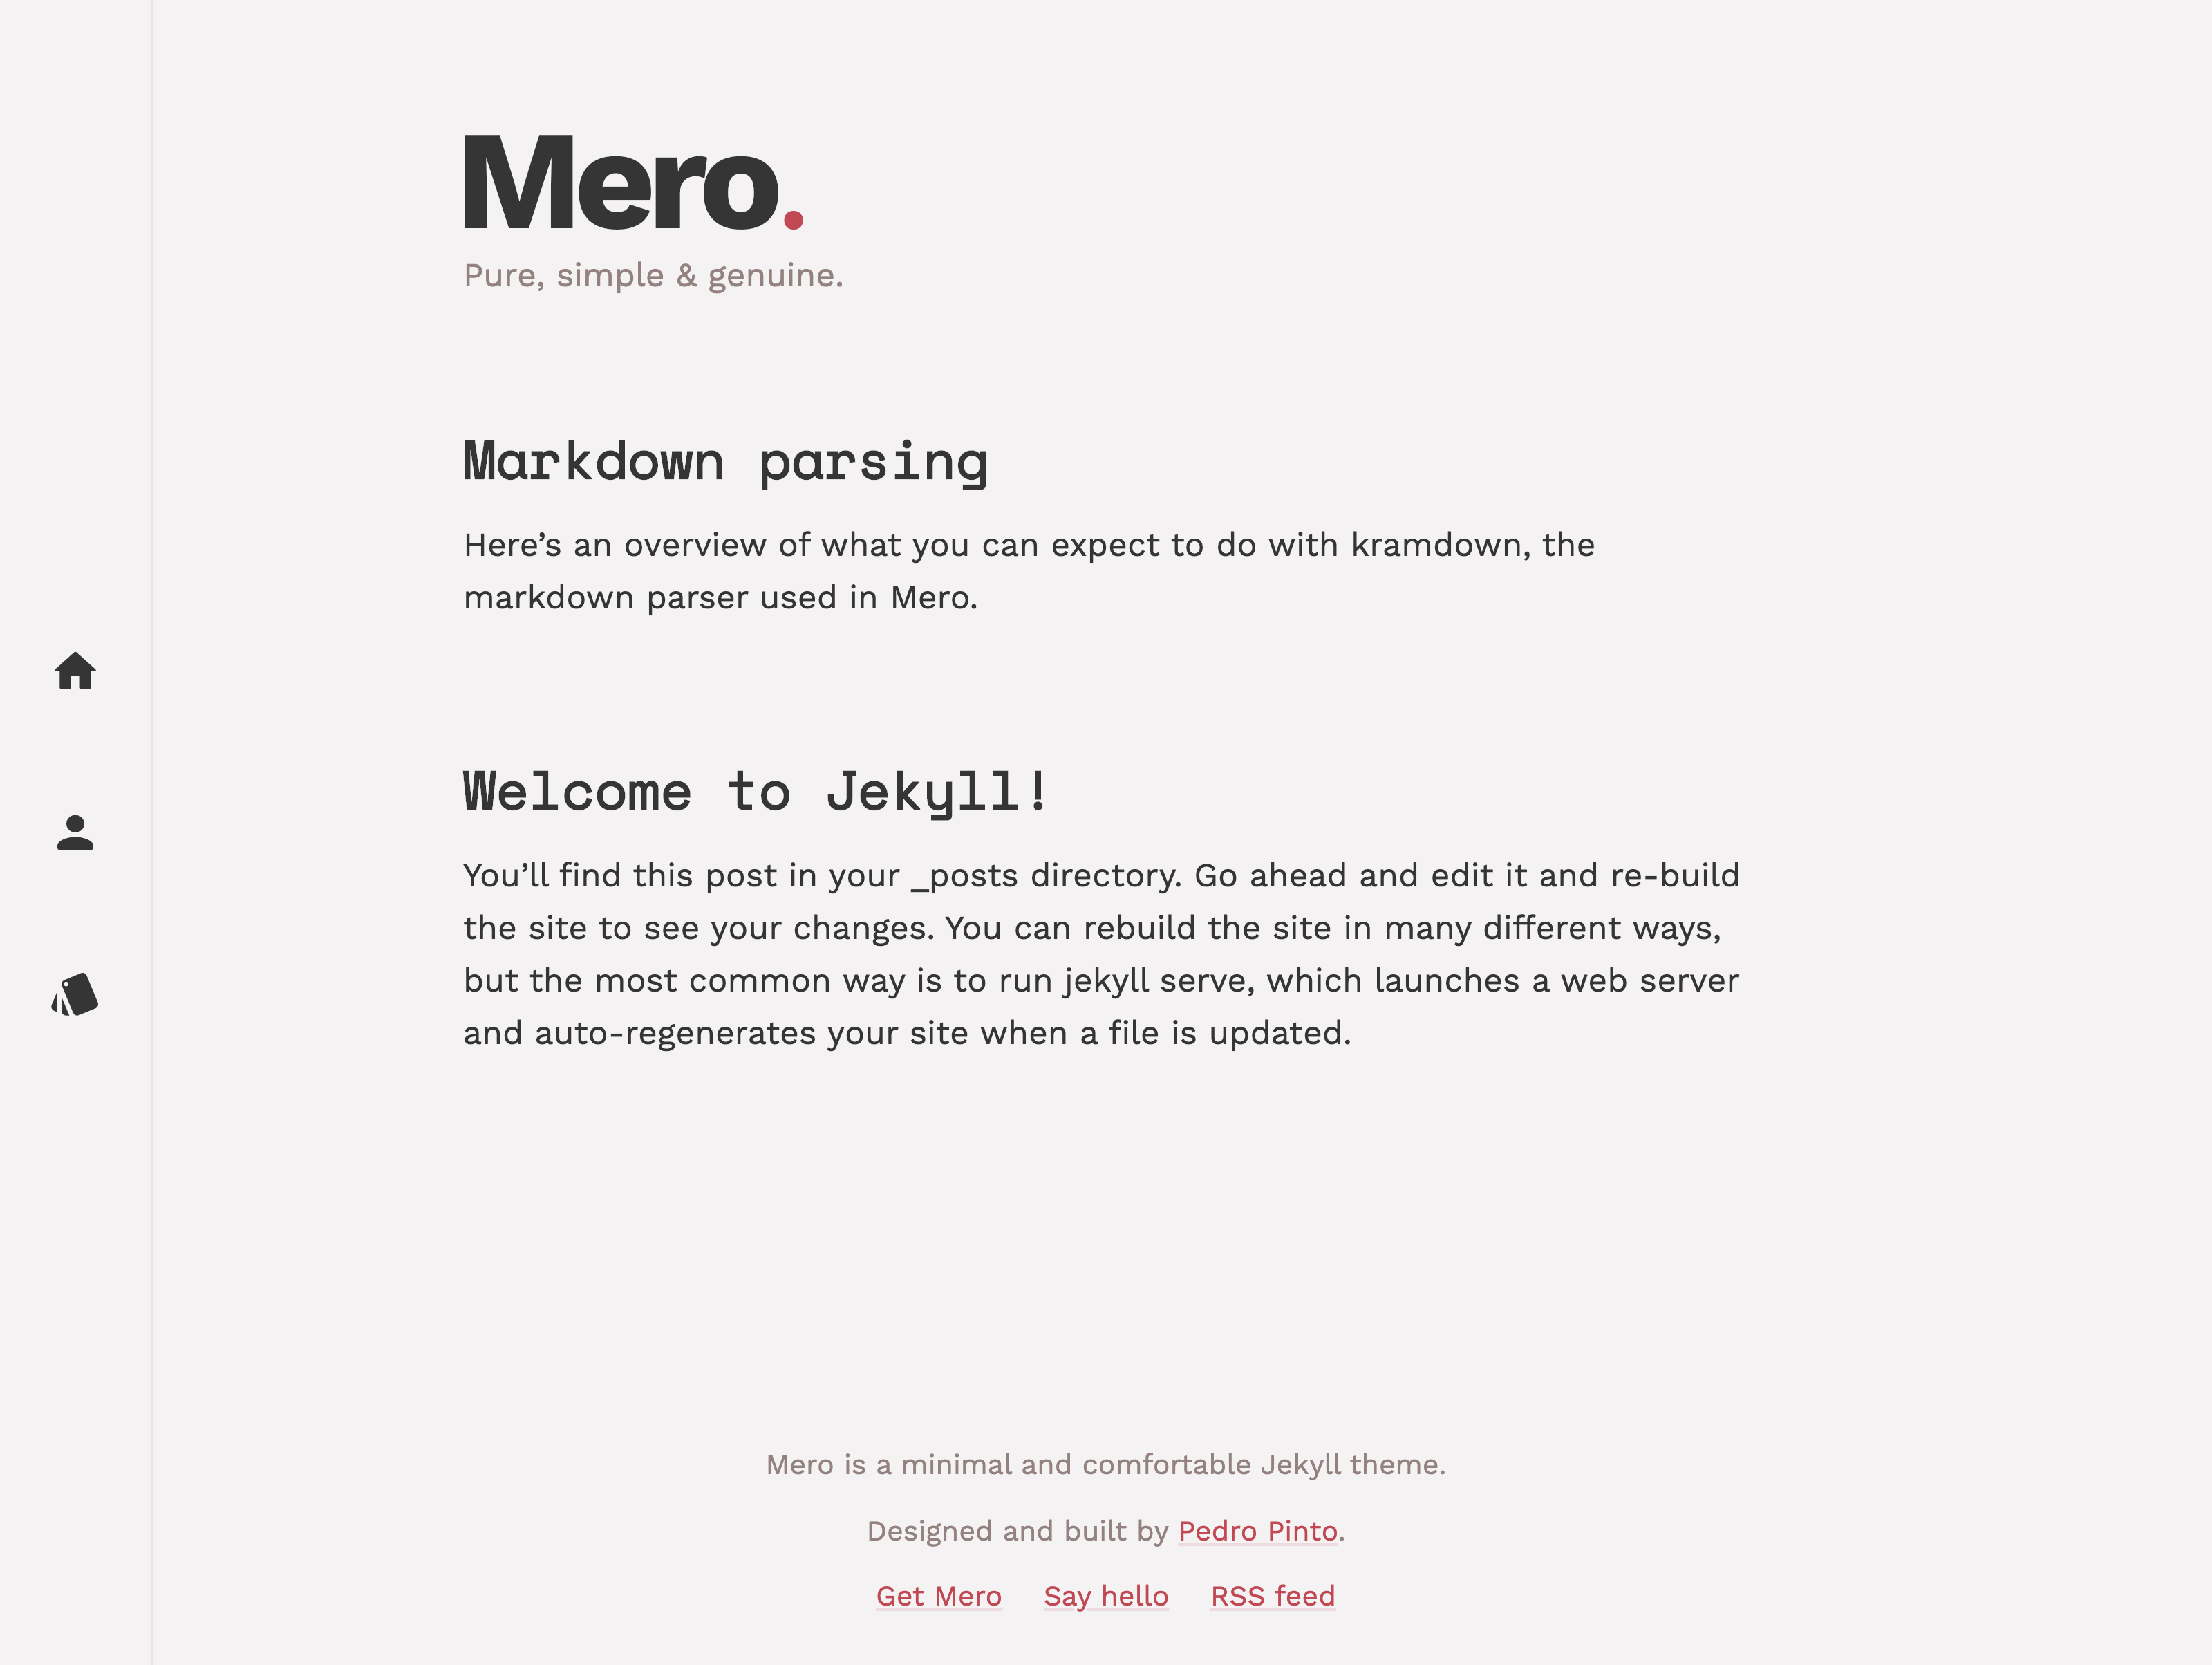
# Screenshots
## Home page
## Post page

# Demo
I've built this for myself first, so you can check [my blog](https://pedropinto.me/blog) for a live demo.
This blog also happens to be open source, take a look at how it's implemented in case you're having trouble: https://github.com/pmpinto/blog
# Installation
To use this theme, and especially to build your blog locally, you'll have to make sure you have all the tools you need.
For instance, if you're going to be using Mero on GitHub Pages, it's a good idea to mimic the same environment on your local machine.
Feel free to jump over the steps that do not apply to you.
## Make sure you have [Ruby](https://www.ruby-lang.org/) installed
Open up your terminal of choice and enter:
```
ruby -v
```
If the output resembles something like the following, you're good to go:
```
ruby 2.4.0p0 (2016-12-24 revision 57164) [x86_64-darwin18]
```
## Install `bundler` and `jekyll`
Refer to [Jekyll's website](https://jekyllrb.com/) if you need to.
```bash
gem install bundler jekyll
```
## Create a new jekyll blog
```bash
jekyll new my-blog
```
This will create a new folder called `my-blog` in the current location, so you can now move into it:
```bash
cd my-blog
```
## Open the project folder in your favorite text editor
For VS Code users, just enter `code .` and it should pop up.
## If you have a `Gemfile.lock`, remove it
This will prevent gem conflicts.
## Open `Gemfile` and do the followin
For GitHub Pages users, add this:
```ruby
gem "github-pages", group: :jekyll_plugins
```
Other than what's shipped with `github-pages` you will also need to add the following lines under `group :jekyll_plugins do`:
```ruby
gem "jekyll-paginate-v2"
gem "jekyll-archives"
```
## Remove any dependencies from your `Gemfile` that are already dependencies of `github-pages`
Refer to the latest dependencies file of the gem: https://github.com/github/pages-gem/blob/master/lib/github-pages/dependencies.rb
This will help prevent conflicts you might encounter in the future when `github-pages` has a different version (usually older) of a dependency you're specifying in your `Gemfile`.
## Install Ruby dependencies
Go back to your terminal and run:
```bash
bundle install
```
If you encounter any errors during installation, read them thoroughly and if needed, Google is your friend.
# Configuration
Now let's configure what you've just installed.
Go back to your favorite editor and open the Jekyll configuration file `_config.yml`.
## Remove the line with current `theme` you might have, and instead add the following
```yml
remote_theme: pmpinto/jekyll-mero
```
## Add pagination settings
This will provide a bunch of base configurations for `jekyll-paginate-v2`.
```yml
# Pagination
pagination:
enabled: true
per_page: 12 # How many items per page
title: "" # Content to add inside <title>
permalink: "/page/:num/" # Url to append to your `baseurl`: /blog/page/3
trail: # When you have many pages how many should be visible before and after the current one
before: 2
after: 2
sort_field: "date" # How the posts will be sorted
sort_reverse: true # Ascending or descending
```
## Add pagination settings to your `index` file
```yml
pagination:
enabled: true
```
If you don't add this, you won't see anything in your home page.
## Add archives settings
The gem `jekyll-archives` is responsible to create category pages in which you will have a list of posts by category.
```yml
# Archives / Category pages
jekyll-archives:
enabled: [categories] # Only for categories
layout: category # Layout to use
permalinks:
category: "/category/:name/" # Url of a category list page: /blog/category/funny
```
## Add plugins
```yml
plugins:
- jekyll-paginate-v2
- jekyll-archives
```
## Add SEO data
This will be used throughout the theme.
```yml
# SEO Tag data
author:
name: Your Name # The name you go by
twitter: yourTwitter # Your Twitter handle without the @ sign
website: https://yourdomainname.com # Your main web url
email: [email protected] # The email people can reach you at
logo: /assets/images/open_graph.png # Used as a preview image on social media, websites and apps
twitter:
username: yourTwitter # Same as author.twitter
card: summary_large_image # How should the Twitter preview card look like
social:
name: Your Name # Same as author.name
links: # Where else are you at on the internet
- https://github.com/yourGitHub
- https://twitter.com/yourTwitter
```
## Add default front matter
Make sure you change the path of the image as well as its size.
```yml
# Default front matter
defaults:
- scope:
path: ""
values:
image:
path: /assets/images/open_graph.png
width: 1024
height: 500
```
## Add Google Analytics
If you have it set up, add the ID of your Google Analytics here.
```yml
google_analytics_id: UA-XXXXXXXX-X
```
## Add missing assets
The theme comes bundled with a bunch of assets, but there are some that you will want to add yourself.
Refer to [this](https://realfavicongenerator.net/) or [this](https://favicon.io/) for more info.
| File | Location | Size (px) |
| ---------------------------- | ----------------- | ---------- |
| `open_graph.png` | `/assets/images/` | 1024 x 500 |
| `android-chrome-192x192.png` | `/` | 192 x 192 |
| `android-chrome-512x512.png` | `/` | 512 x 512 |
| `apple-touch-icon.png` | `/` | 180 x 180 |
| `favicon-16x16.png` | `/` | 16 x 16 |
| `favicon-32x32.png` | `/` | 32 x 32 |
| `mstile-150x150.png` | `/` | 150 x 150 |
| `safari-pinned-tab.svg` | `/` | 512 x 512 |
| `site.webmanifest` | `/` | - |
| `browserconfig.xml` | `/` | - |
# Options
## Global (`_config.yml`)
```yml
tagline: This will show up below the blog title.
google_analytics_id: UA-AAAAAAAA-2
```
## Color scheme
Currently, you can pick between three different color schemes: `prefers-dark`, `mocha` and `brand-red`. The first one, `prefers-dark` is special in one way: it will automatically select either a dark or a light color scheme based on the user's OS preferences.
If you don't specify a `color_scheme` in your `config.yml`, the default (black text on white background) will be applied.
Here's an overview of the themes:
| `default` | `prefers-dark` | `mocha` | `brand-red` |
| ------------------------------------------------------------------------------------------------------------------- | ----------------------------------------------------------------------------------------------------------------------------- | --------------------------------------------------------------------------------------------------------------- | ----------------------------------------------------------------------------------------------------------------------- |
|  |  |  |  |
| Static | Dynamic (depends on user's system preferences) | Static | Static |
## About page
In your about page, you should use the `about` layout, like so:
```yml
---
layout: about
---
```
And you also have the `heading` property to include a page heading:
```yml
---
layout: about
heading: All about myself
---
```
## Error page
In your error pages you should use the `error` layout and specify an `error_code` property, like so:
```yml
---
layout: error
error_code: "404"
---
```
## Home page
Along with the pagination settings mentioned above you should also use the `home` layout:
```yml
---
layout: home
pagination:
enabled: true
---
```
## Post page
Regarding front matter, besides the `post` layout, on the post page you have:
```yml
---
layout: post
title: Your awesome post
date: 2019-08-26 01:00:00 +0100
categories: [jekyll, markdown, documentation]
custom_excerpt: This text will have precedence as an excerpt over the usual and default first paragraph of text.
---
```
Categories will help you group posts together which you will then be able to see at whatever path you configured for `jekyll-archives`. For instance, `/blog/category/markdown`.
### Markdown parsing
Now let's talk about the options you have while writing your posts in markdown. First of all consider using `kramdown` as your markdown parser so you have a similar behaviour. It should be the default parser, but you can also specificaly state that in your `_config.yml` like this:
```yml
markdown: kramdown
```
With that put aside, feel free to grab an example file of what can be done with markdown/kramdown here: https://github.com/pmpinto/jekyll-mero/blob/master/_posts/2019-08-26-markdown-parsing.md
#### Headings
```markdown
# H1
## H2
### H3
#### H4
##### H5
###### H6
```
All the headings will have a JavaScript injected link, that points to their own section. This way you can easily share your posts to a specific section.
Note that `h1` will have a smaller size than the post title. Then `h2` will be slightly smaller, and from `h3` to `h6` all of them will have the same visual size. This is to avoid having too many typographic hierarchies.
#### Paragraphs
As usual in markdown parsers, any paragraph you type will be converted into a `p`.
The special thing here is the `.lead` paragraph style which you can apply by adding `{: .lead }` right below the paragraph. For instance:
```markdown
This paragraph will look bigger than the others.
{: .lead }
```
#### Text styles
These can be applied anywhere you can type text and they can also be mixed together.
```markdown
This is just an example paragraph to showcase **bold** text, _italic_ and also `code snippets`.
You might also need to [link some words](https://github.com/pmpinto/jekyll-mero) here and there.
And as mentioned above, you can have [links with **bold** words](https://github.com/pmpinto/jekyll-mero) as well.
```
#### Lists
These are pretty straight forward. You can have unordered lists by using a `-` or `*` as a bullet, or an ordered list by using `1.`, `2.`, `3.` and so on. And you can also nest them as you wish. Like so:
```markdown
1. Item number one
2. Followed by the second
3. And lastly the third
- Just an item without a number
- And another one
- And yet another one
1. Item one
- Sub item
- Sub item
2. Item two
- Another sub item
```
#### Images
Kramdown has a really nice feature for images in a recent version. Unfortunately the GitHub Pages gem, and therefore the environment you would find in the service, is currently using an older version of that gem, so we can't use it here.
The syntax for image tags are basically the same as links, with a prepended `!`:
```markdown
```
#### Photo sliders
For those times when you have more than 1 image to display, you can use one of these.
Just place a bunch of URLs (not links, just the URLs) in a paragraph and then end the paragraph with just `{: .photo-slider }` in the last line.
These links will later be transformed into an horizontal photo slider.
```markdown
https://cdn.shopify.com/s/files/1/2959/2384/products/ngogeokbcatt_large.jpg?v=1524987693
https://www.nationalgeographic.com/content/dam/news/2015/04/09/promo/step-cat-staircase-promo.ngsversion.1428612902610.png
http://pmdvod.nationalgeographic.com/NG_Video/802/635/160328-news-cat-dialects-vin_thumbnail_ds1602001-47_640x360_653681219883.jpg
{: .photo-slider }
```
#### Quotes
By prepending any paragraph with a `>` you will get a `blockquote` with special styles applied to it.
```markdown
Someone once said this:
> There's only so much one can do!
```
#### Horizontal rules
Whem you need to separate two blocks of content you can do so by placing an horizontal rule between the two blocks. In markdown you can do so by placing `---`.
```markdown
This is the first paragraph.
---
This is the second paragraph.
```
#### Code blocks
Special attention was given to these guys. The goal was to have a reliable and useful way to share small code snippets.
Kramdown provides us with some easy to remember code tags, called `highlight` to which we pass 2 arguments. The first is the language the snippet is using, for instance `html`. And the second one is `linenos` which you either add it to have line numbers in your code block, or you don't. Like so:
```markdown
{% highlight css linenos %}
body {
background-color: #abcdef;
font-size: 18px;
}
{% endhighlight %}
```
You can also use `diff` as the language value, and that will work as expected, that is, how git displays differences between file versions. You should also add a `+` on new lines and `-` on removed lines. Like so:
```markdown
{% highlight diff linenos %}
body {
- background-color: #abcdef;
* background-color: #012345;
font-size: 18px;
}
{% endhighlight %}
```
#### Tables
Tables are a bit tricky to get right unless you have an automatic formatter. Even though it works without a proper formatting, it's fairly easier to perceive what's going on with a good formatted table.
```markdown
|----------+----------|
| Header 1 | Header 2 |
|----------|----------|
| Cell L 1 | Cell R 1 |
| Cell L 2 | Cell R 2 |
|----------+----------|
```
By default tables will be left aligned. If you want to change how a specific row displays the text you have the option to do that in the line of text that separates the headers from the content, with a `:` on the side that you want it to be aligned to. If you add it to both sides, it will be centered.
```markdown
|----------+----------+----------|
| Left | Center | Right |
|----------|:--------:|---------:|
| Cell L 1 | Cell C 1 | Cell R 1 |
| Cell L 2 | Cell C 2 | Cell R 2 |
|----------+----------+----------|
```
As mentioned above, all the text styles can also be used inside a table.
# Development
To prevent source files from being picked up by Jekyll you will need to add the following list to `_config.yml`:
```yml
exclude:
- Gemfile
- Gemfile.lock
- node_modules
- package.json
- assets/javascript/*.es6.js
- assets/javascript/index.js
- webpack.config.js
- screenshots
```
## Install dependencies
Run both `bundle install` and `npm install`.
## Commands
| Command | What it does |
| ----------------------- | ------------------------------------------------------------- |
| `npm start` | Starts the jekyll development environment |
| `npm run start:webpack` | Starts the JavaScript development environment through webpack |
| `npm run build` | Builds jekyll and bundles JavaScript |
# Contributing
Bug reports and pull requests are welcome on GitHub at https://github.com/pmpinto/jekyll-mero. This project is intended to be a safe, welcoming space for collaboration, and contributors are expected to adhere to the [Contributor Covenant](http://contributor-covenant.org) code of conduct.
If you'd like to contribute feel free to fork this repo and do as many pull requests as you see fit towards `master`.
# License
The theme is available as open source under the terms of the [MIT License](https://opensource.org/licenses/MIT).
# Donations
If you like the theme and you feel like throwing some candy my way, click the button below and you'll be able to pick just the right amount. Thanks in advance 🙏
[](https://www.paypal.me/pmpintopt)
Explore similar templates
Compare previews and descriptions within the same stack and category.
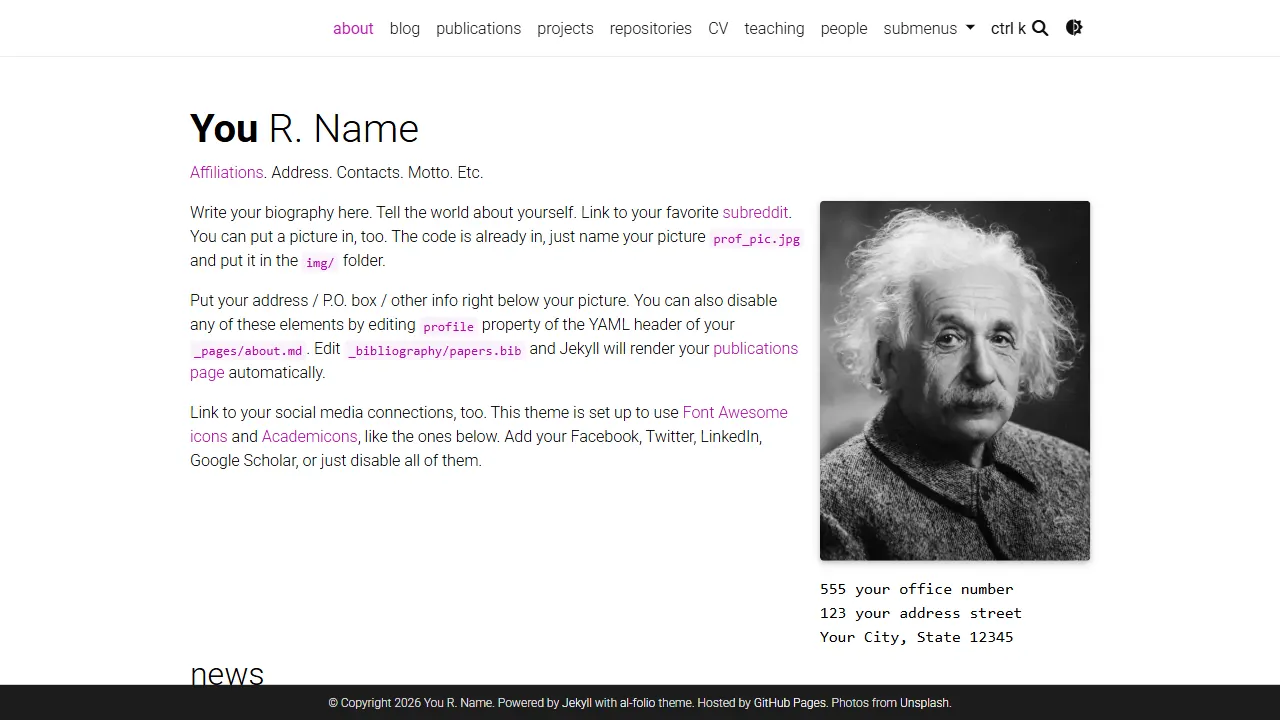
al-folio
A Jekyll academic homepage theme for scholars and researchers, with a clean responsive design and out-of-the-box support for publication lists, project showcases, CVs, and blogs.
Jekyll · Portfolio
minimal-mistakes
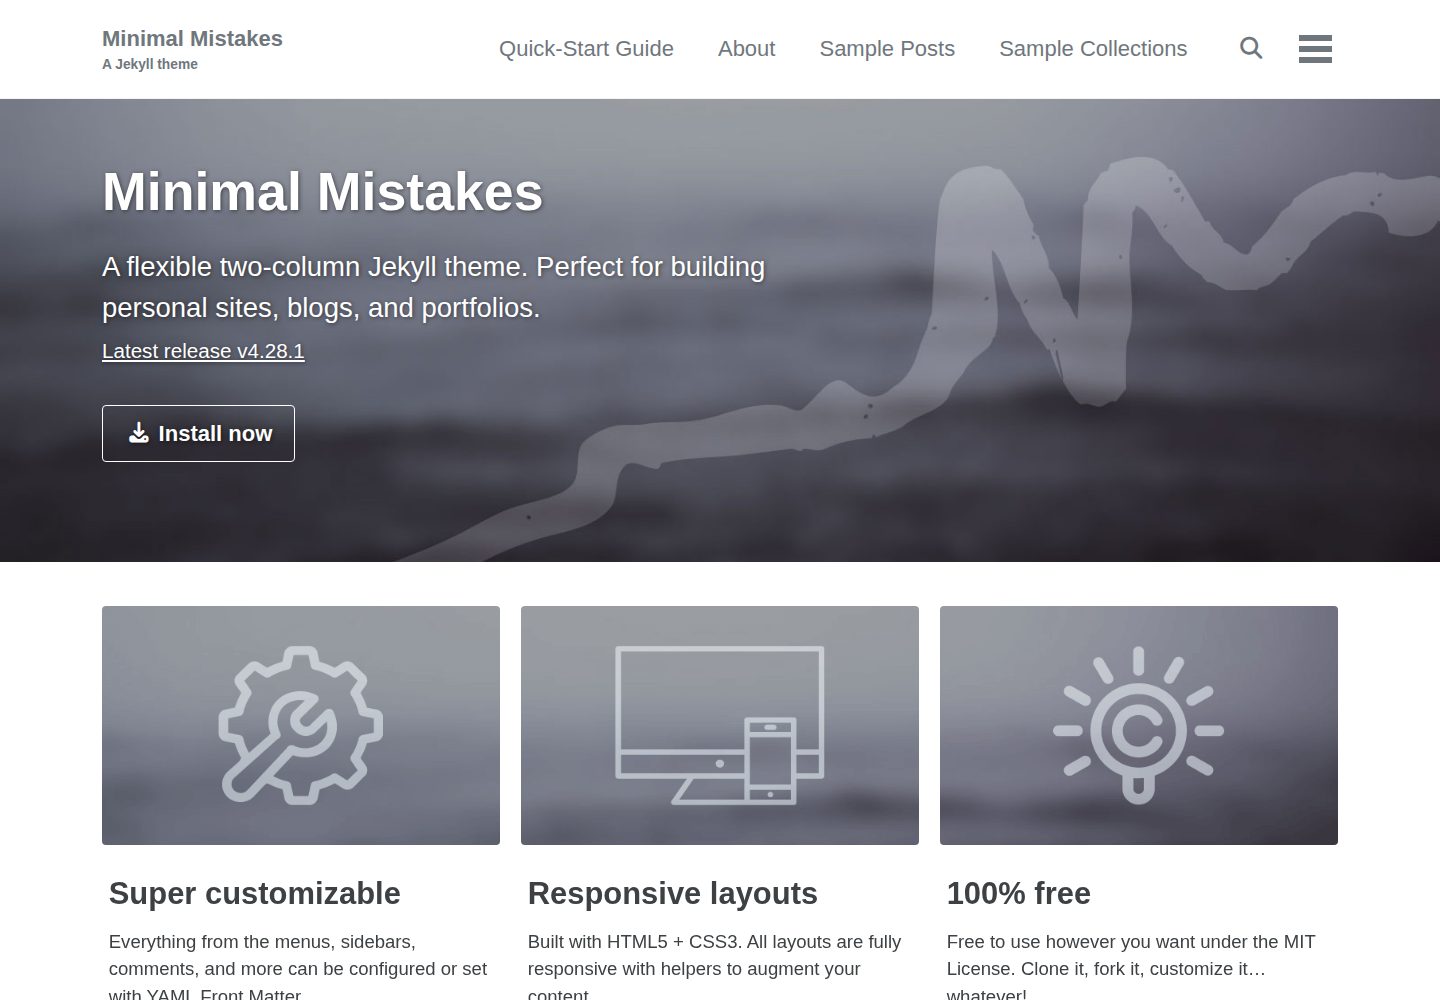
Minimal Mistakes is a two-column Jekyll theme for personal sites, blogs, project documentation, or portfolios.
Jekyll · Portfolio
Beautiful Jekyll
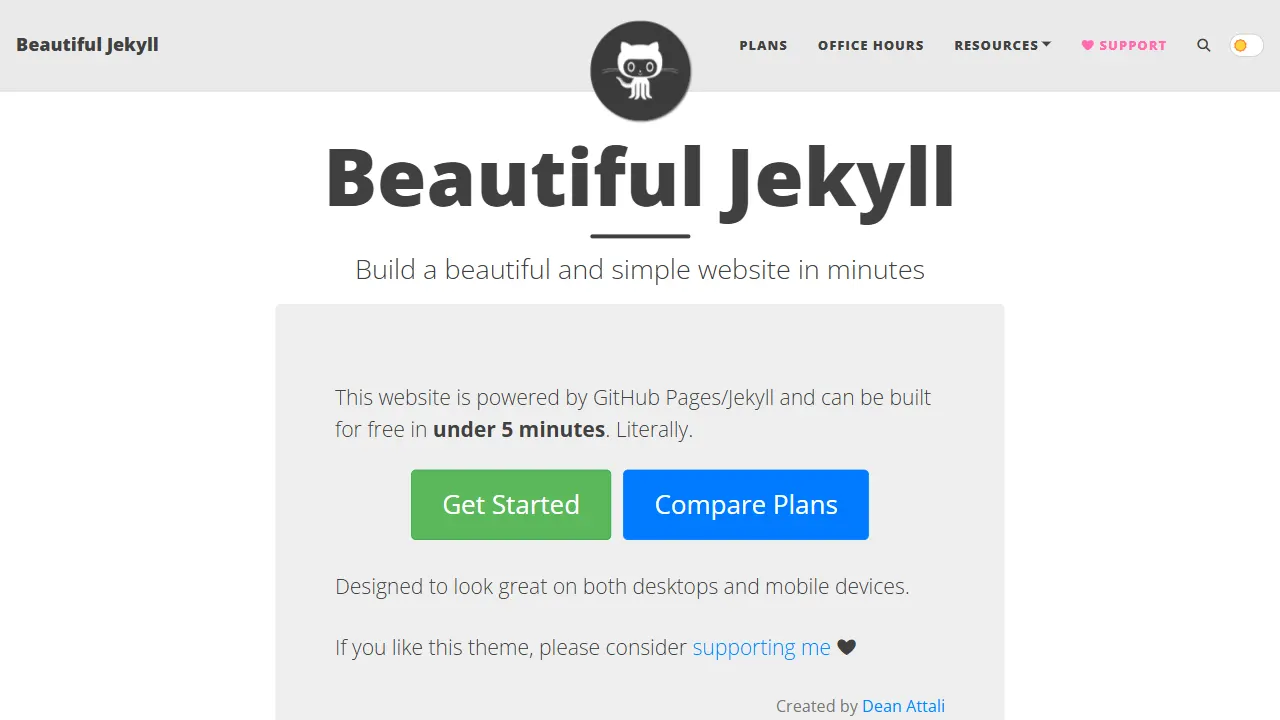
Beautiful Jekyll is a mature, easy-to-use Jekyll blog theme maintained by Dean Attali since 2015, with over 50,000 users.
Jekyll · Blog
jekyll-TeXt-theme
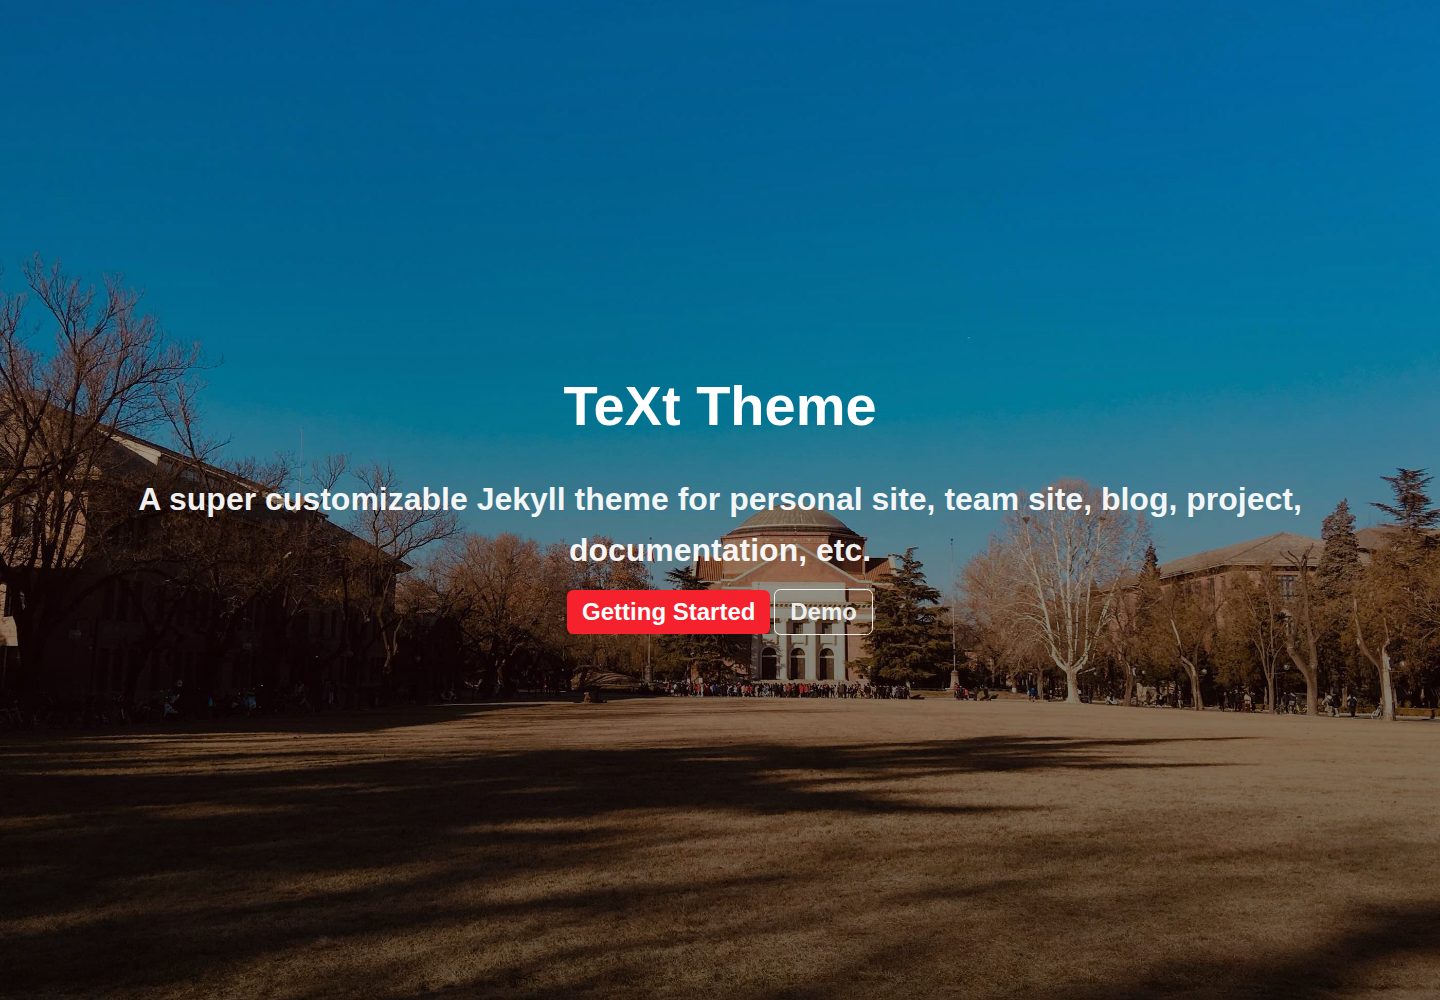
A customizable Jekyll theme for personal sites, team sites, blogs, projects, and documentation.
Jekyll · Blog
startbootstrap-clean-blog-jekyll
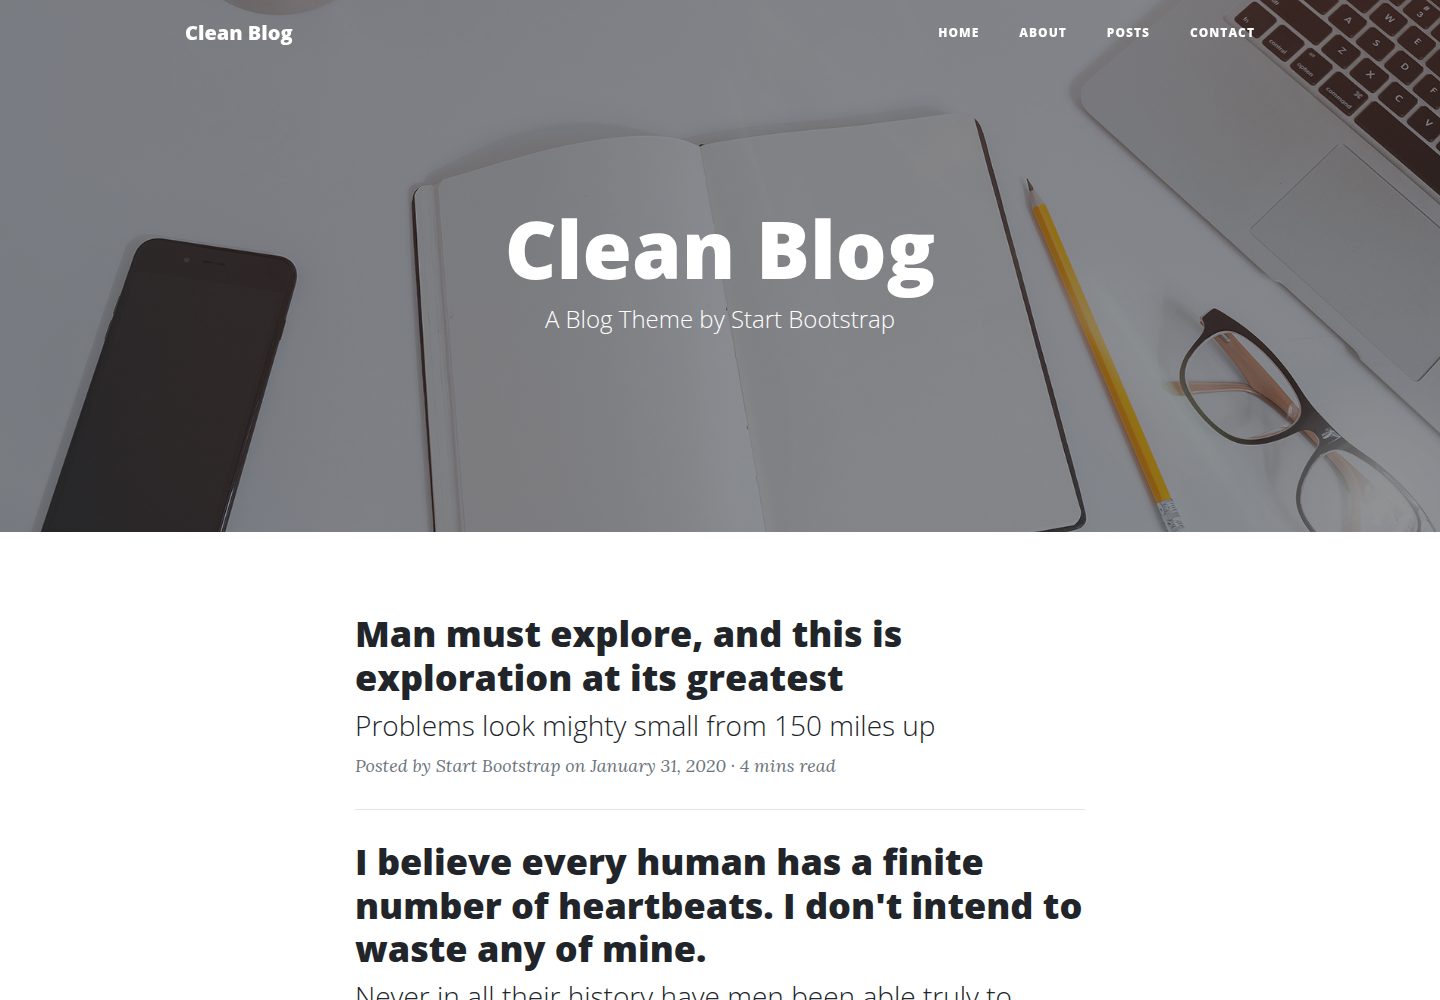
The official Jekyll version of Start Bootstrap's Clean Blog theme, offering a blog home page, about page, contact page, and sample post pages, with a Formspree-powered contact form.
Jekyll · Blog
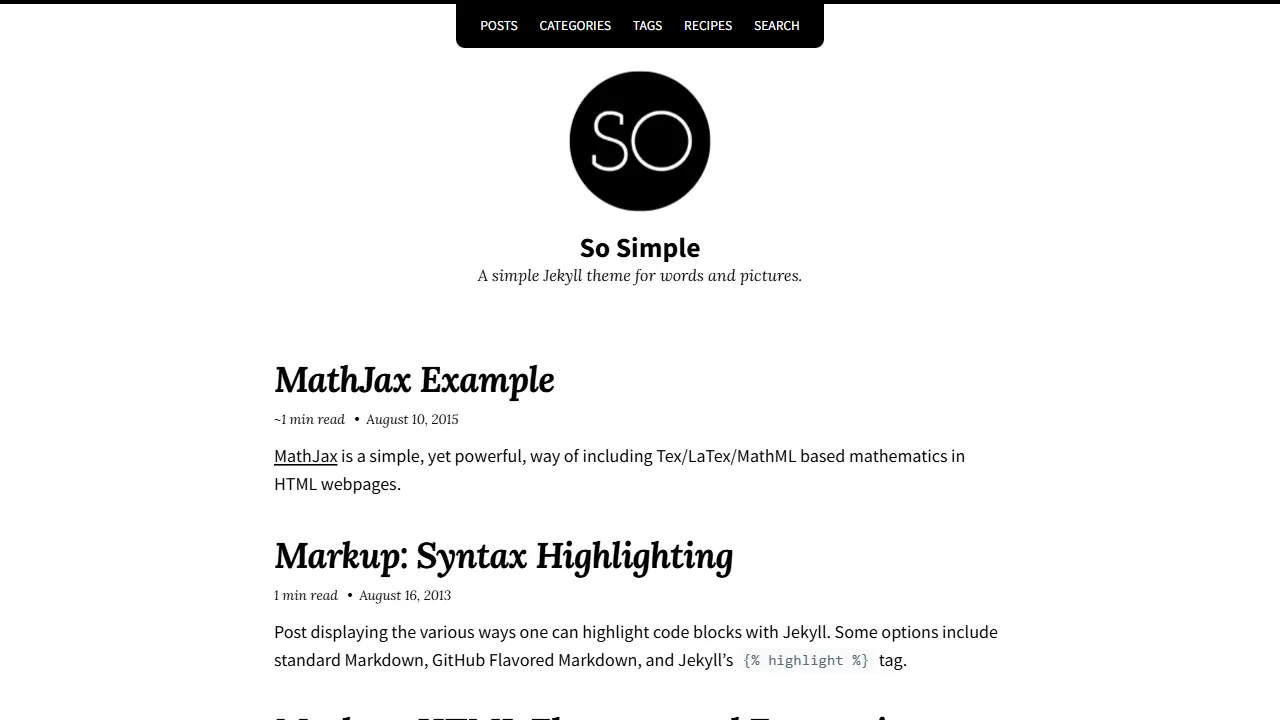
So Simple
A minimal reading-oriented Jekyll theme by Michael Rose for personal blogs, portfolios, and long-form reading. It offers multiple layouts, microformat markup, Disqus comments, Google Analytics, Jekyll SEO Tag, three skins, and aggregation by year, category, and tag with a grid view.
Jekyll · Blog