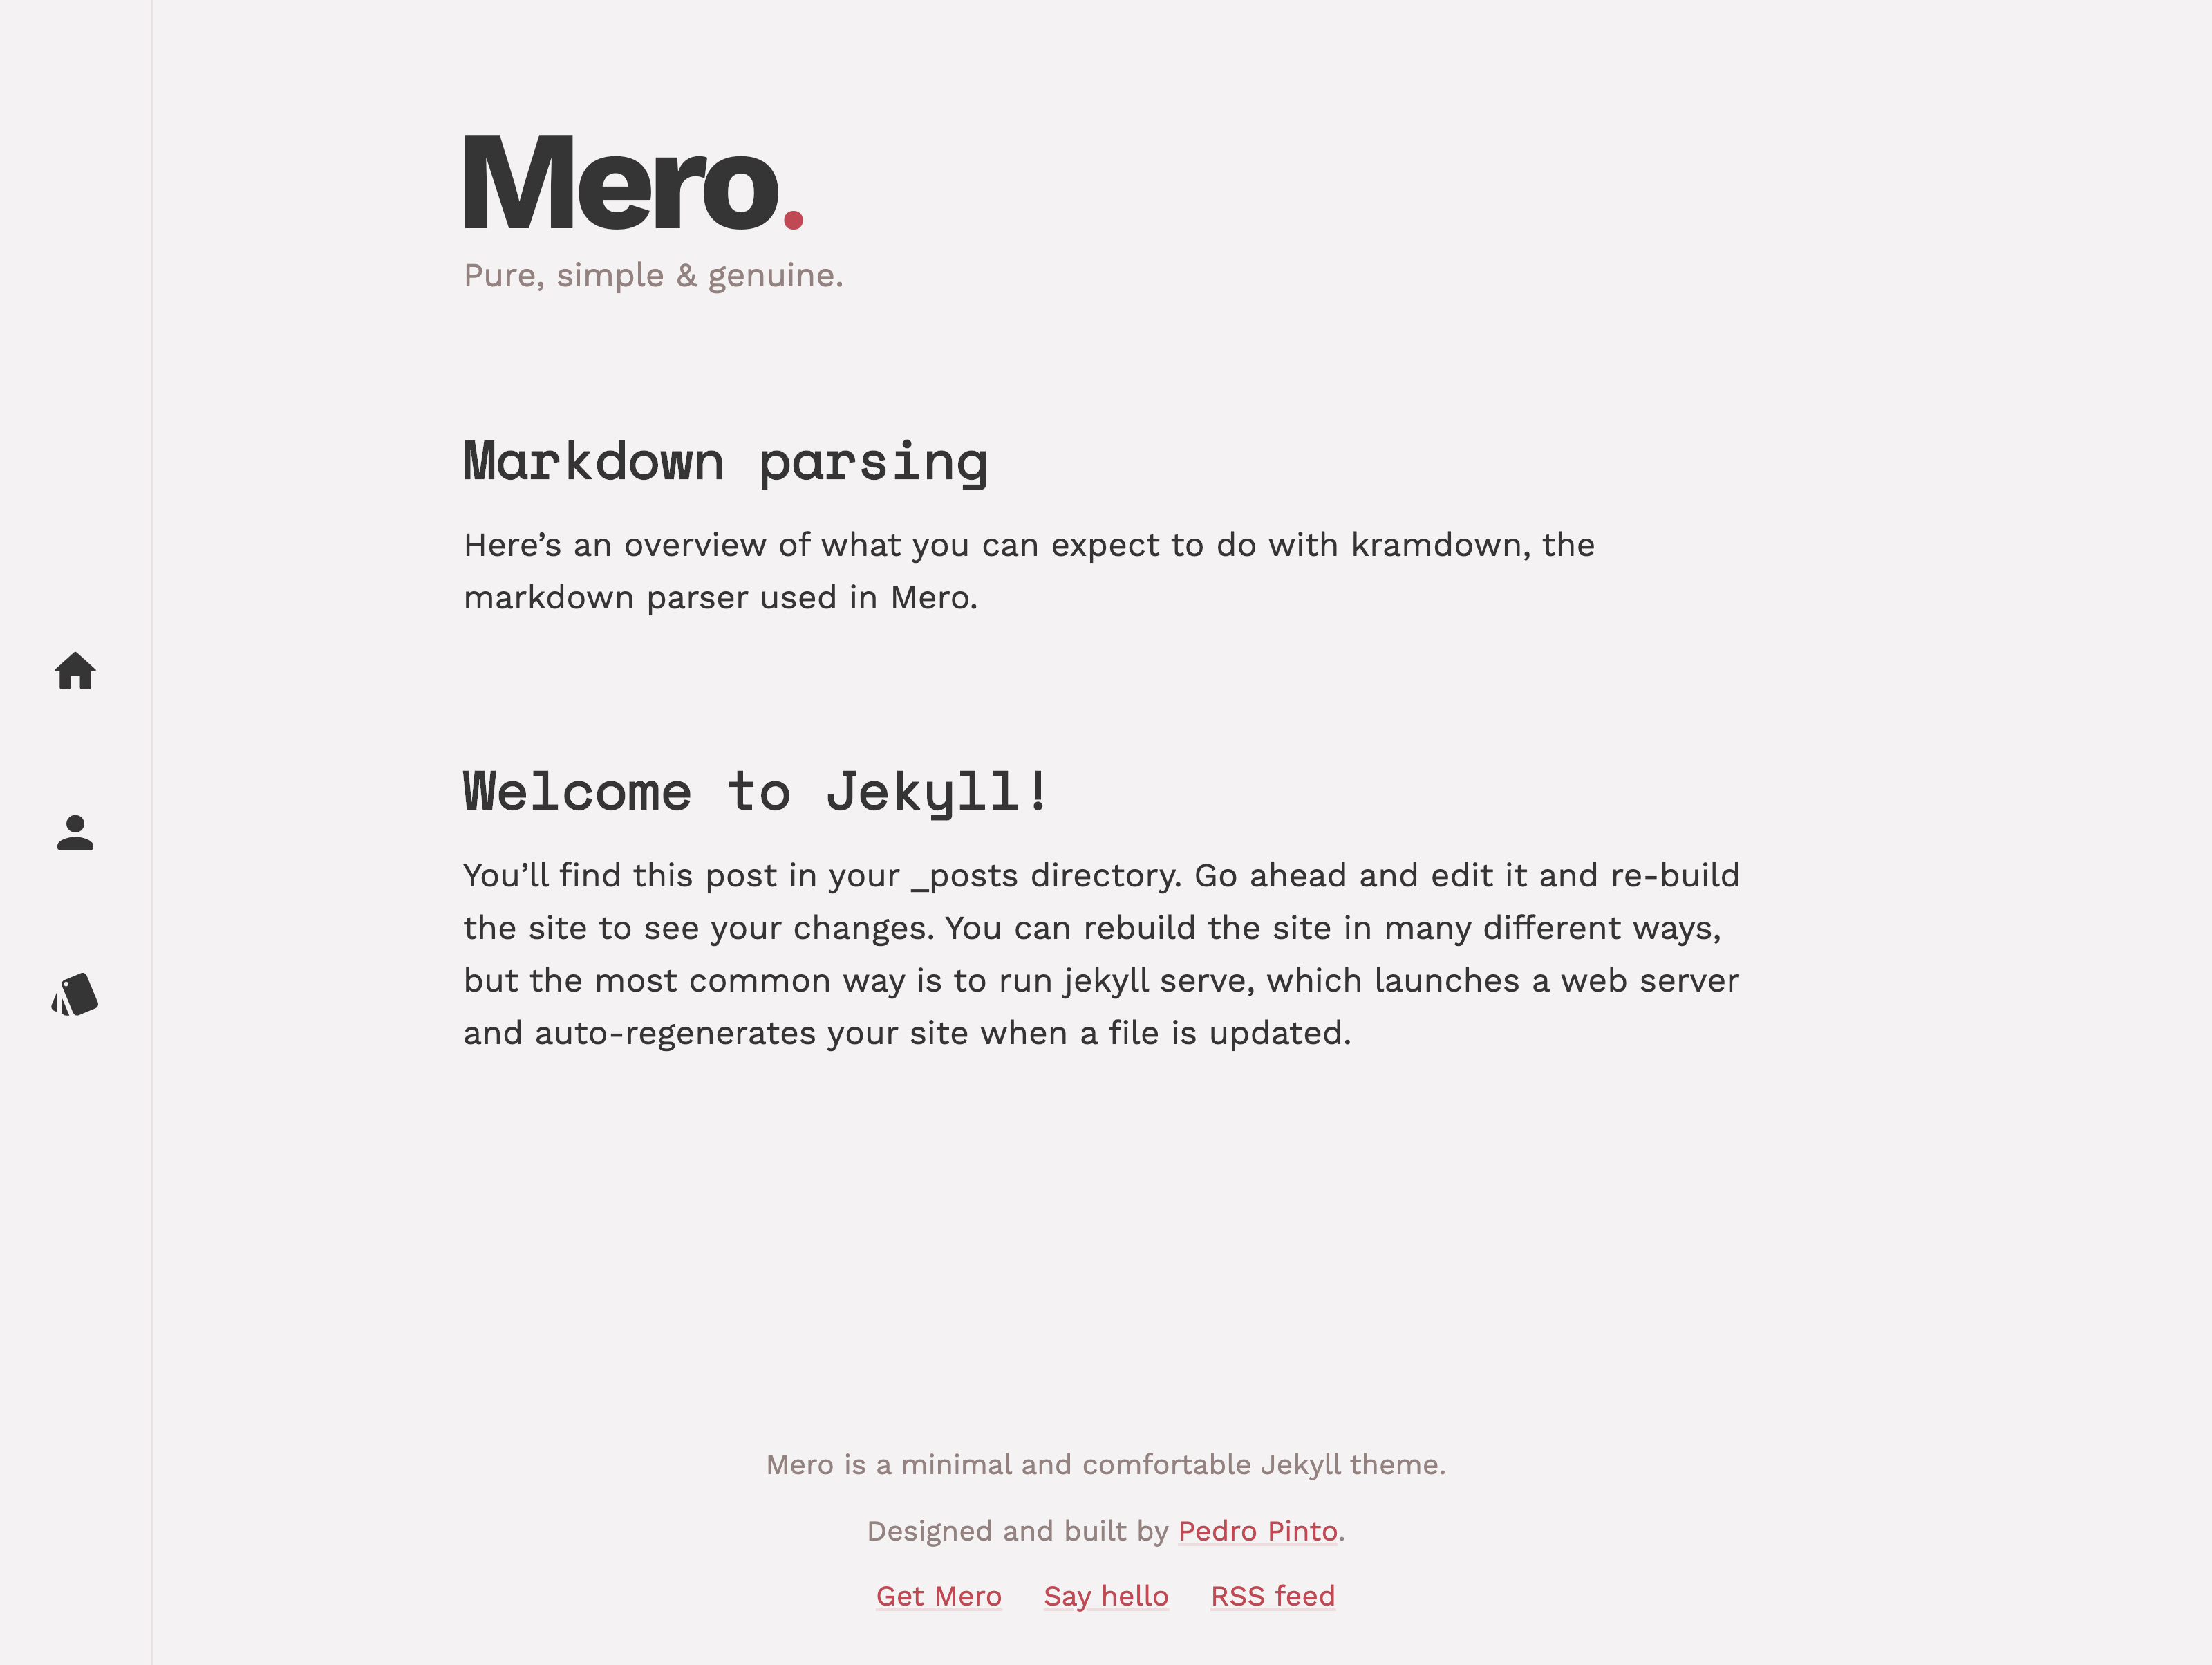
响应式布局,适配不同屏幕尺寸
Jekyll博客
jekyll-mero — Jekyll 博客模板
作者 pmpinto
Mero 是一个轻量、极简的 Jekyll 博客主题,侧重阅读体验,提供响应式布局、流式排版和多种配色方案。
看看你的网站会是什么样
浏览真实页面截图,比较内容排版与手机效果。点击下方缩略图切换,放大查看整页细节。
目前有 1 张原始预览,可打开完整图片查看设计细节。
截图用于了解视觉与布局,交互效果请以实际项目为准。
采集于 2026-10-02查看来源
值得关注的模板亮点
从已有项目资料中,快速了解它的特点。
基于模块化比例与流式排版的正文阅读体验
提供默认、prefers-dark、mocha、brand-red 四种配色方案
支持带说明文字的图片与代码片段展示
内置分类归档与分页功能,依赖 jekyll-paginate-v2 和 jekyll-archives
提供 home、post、about、error 等页面布局
模板详细介绍
Mero 是一个面向 Jekyll 的轻量极简博客主题,名称源自葡萄牙语,意为“真实”与“简单”。主题以舒适阅读为核心,采用响应式设计、模块化比例与流式排版,并保证正文与背景之间具有良好对比度。
功能方面,主题支持带说明文字的图片、代码片段、Material Design 图标,并选用 Space Mono 与 Work Sans 字体。配色方案包括默认、prefers-dark(根据用户系统偏好自动切换深浅色)、mocha 和 brand-red。布局上提供 home、post、about、error 等页面类型,文章支持分类归档、自定义摘要和分页。
使用限制:主题依赖 jekyll-paginate-v2 与 jekyll-archives 插件,需在 Gemfile 与 _config.yml 中配置;首页必须显式启用分页,否则不显示内容。部分静态资源(如 open_graph.png、favicon 系列、site.webmanifest 等)需自行按指定尺寸补充。主题代码采用 MIT 许可,但演示图片、字体、图标等第三方素材需单独核对许可。
Jekyll博客
适合你的项目吗?
适用场景
- 搭建以文字阅读为主的个人博客
- 需要分类归档与分页的文章列表站点
- 希望根据用户系统偏好自动切换深浅色主题的博客
- 在 GitHub Pages 上使用 remote_theme 方式引用主题
适合人群
- 使用 Jekyll 构建静态博客的开发者
- 偏好极简排版与舒适阅读体验的内容创作者
- 需要分类归档和分页功能的博客作者
- 愿意自行补充 favicon 与社交预览图等静态资源的用户
上手与定制指南
结合仓库当前版本的说明,按下面的资料检查内容、配置与运行要求。
- 1
本地需安装 Ruby、bundler 与 jekyll,并运行 bundle install 安装依赖
- 2
在 _config.yml 中通过 remote_theme: pmpinto/jekyll-mero 引用主题
- 3
需添加 jekyll-paginate-v2 与 jekyll-archives 插件,并在首页 front matter 中启用分页
- 4
按文档补充 open_graph.png、favicon 系列、site.webmanifest 等静态资源
- 5
可选配置 Google Analytics ID、作者与社交信息、默认 front matter 图片等
授权与来源资料
使用条件与限制
免费使用 · 保留许可声明本次收录的是公开仓库中采用 MIT 许可的免费版本;免费范围为该版本代码,不代表外部服务或第三方素材免费。
使用时需要遵守
- 允许免费使用、修改、商用和分发该版本代码。
- 分发代码副本或实质性部分时,保留原作者版权声明和完整 MIT 许可声明。
- 代码按现状提供;担保与责任限制以原许可证及适用法律为准。
额外费用与待核对事项
- 主题通过 remote_theme 方式引用,需在 _config.yml 中配置该字段,并依赖 GitHub Pages 或 Jekyll 的远程主题加载机制。
- 分页与分类归档功能依赖 jekyll-paginate-v2 和 jekyll-archives 两个插件,必须在 Gemfile 与 _config.yml 中显式添加并启用。
- 首页必须在 front matter 中显式启用分页(pagination.enabled: true),否则首页不会显示任何内容。
- 主题仅附带部分资源,open_graph.png、favicon 系列、site.webmanifest、browserconfig.xml 等需用户按指定尺寸自行补充。
- 如需使用 Google Analytics 统计,需自行提供并配置 GA 跟踪 ID,属于可选的外部服务。
- 演示图片、字体、图标及其他第三方素材需按各自许可核对,不能仅凭代码的 MIT 许可判断。
- 域名、托管、数据库、支付或 AI 等外部服务可能另外收费。
查看原文依据
Permission is hereby granted, free of charge
许可证原文
remote_theme: pmpinto/jekyll-mero
README 原文
gem "jekyll-paginate-v2" gem "jekyll-archives"
README 原文
If you don't add this, you won't see anything in your home page.
README 原文
The theme comes bundled with a bunch of assets, but there are some that you will want to add yourself.
README 原文
https://github.com/pmpinto/jekyll-mero/blob/master/LICENSE.txthttps://github.com/pmpinto/jekyll-mero/blob/master/README.mdgoogle_analytics_id: UA-XXXXXXXX-X
README 原文
DeepSeek 根据仓库许可证和 README 整理 ·2026-10-02。结果仅覆盖已读取资料,依赖、图片、字体及后续条款变更以各自原文为准。
项目核对记录与介绍依据
模板资料
- 来源平台
- GitHub
- 资料与维护参考分
- 资料一般 · 56 / 100
- 技术栈
- Jekyll
- 网站类型
- 博客
这个分数如何计算
本站按许可资料(最高30分)、演示链接(12分)、预览图(10分)、Star数(15分)、记录的维护时间(15分)、描述完整度(8分)、功能记录(5分)和分类资料(5分)计算。它不是代码、安全或性能测试,也不是 Google 评分;有链接不代表已实测可用。
这个项目需要核对什么
- 记录的仓库更新时间
- 2023-01-04
- 截图检查日期
- 2026-10-02
目前没有记录演示链接。请依据仓库说明在本地评估;仅凭截图无法确认交互行为。
目录记录的主要技术栈是 Jekyll。请通过依赖清单和锁文件核对实际版本与托管要求。这些说明基于收录资料,不代表代码审计或部署实测。
查看具体选型方法 →介绍的制作与核对状态
介绍由 AI 辅助整理目录与仓库资料。仓库作者不等于这篇介绍的审核者。
已完成服务器许可规则与 AI 来源核对;未经过人工编辑审核。
查看当时使用的来源资料
SHA-256: 928f4ddaa4d1649252300d6139d13ac5f1accfbf4fffaf1a88a2bc5d8969ec6b
2026-10-02T17:46:00.723Z
来源文件 / 仓库# Mero
Mero is a light-weight and minimal [Jekyll](https://jekyllrb.com/) theme focused on providing a comfortable reading experience.
It's also a 🇵🇹 portuguese word for _genuine_ and _simple_.
# Outline
- [Features](#features)
- [Screenshots](#screenshots)
- [Demo](#demo)
- [Installation](#installation)
- [Configuration](#configuration)
- [Options](#options)
- [Development](#development)
- [Contributing](#contributing)
- [License](#license)
- [Donations](#donations)
# Features
- Responsive web design.
- Built with a [modular scale](https://www.modularscale.com/?16&px&1.618).
- Fluid typography to make sure users get a similar experience no matter what screen size they're on.
- Great contrast between main text and background colors.
- Images with captions.
- Code snippets.
- [Material Design Icons](https://material.io/resources/icons/?style=baseline).
- Handpicked fonts: [Space Mono](https://fonts.google.com/specimen/Space+Mono) + [Work Sans](https://fonts.google.com/specimen/Work+Sans).
- A modular development approach so it's easier to expand.
# Screenshots
## Home page
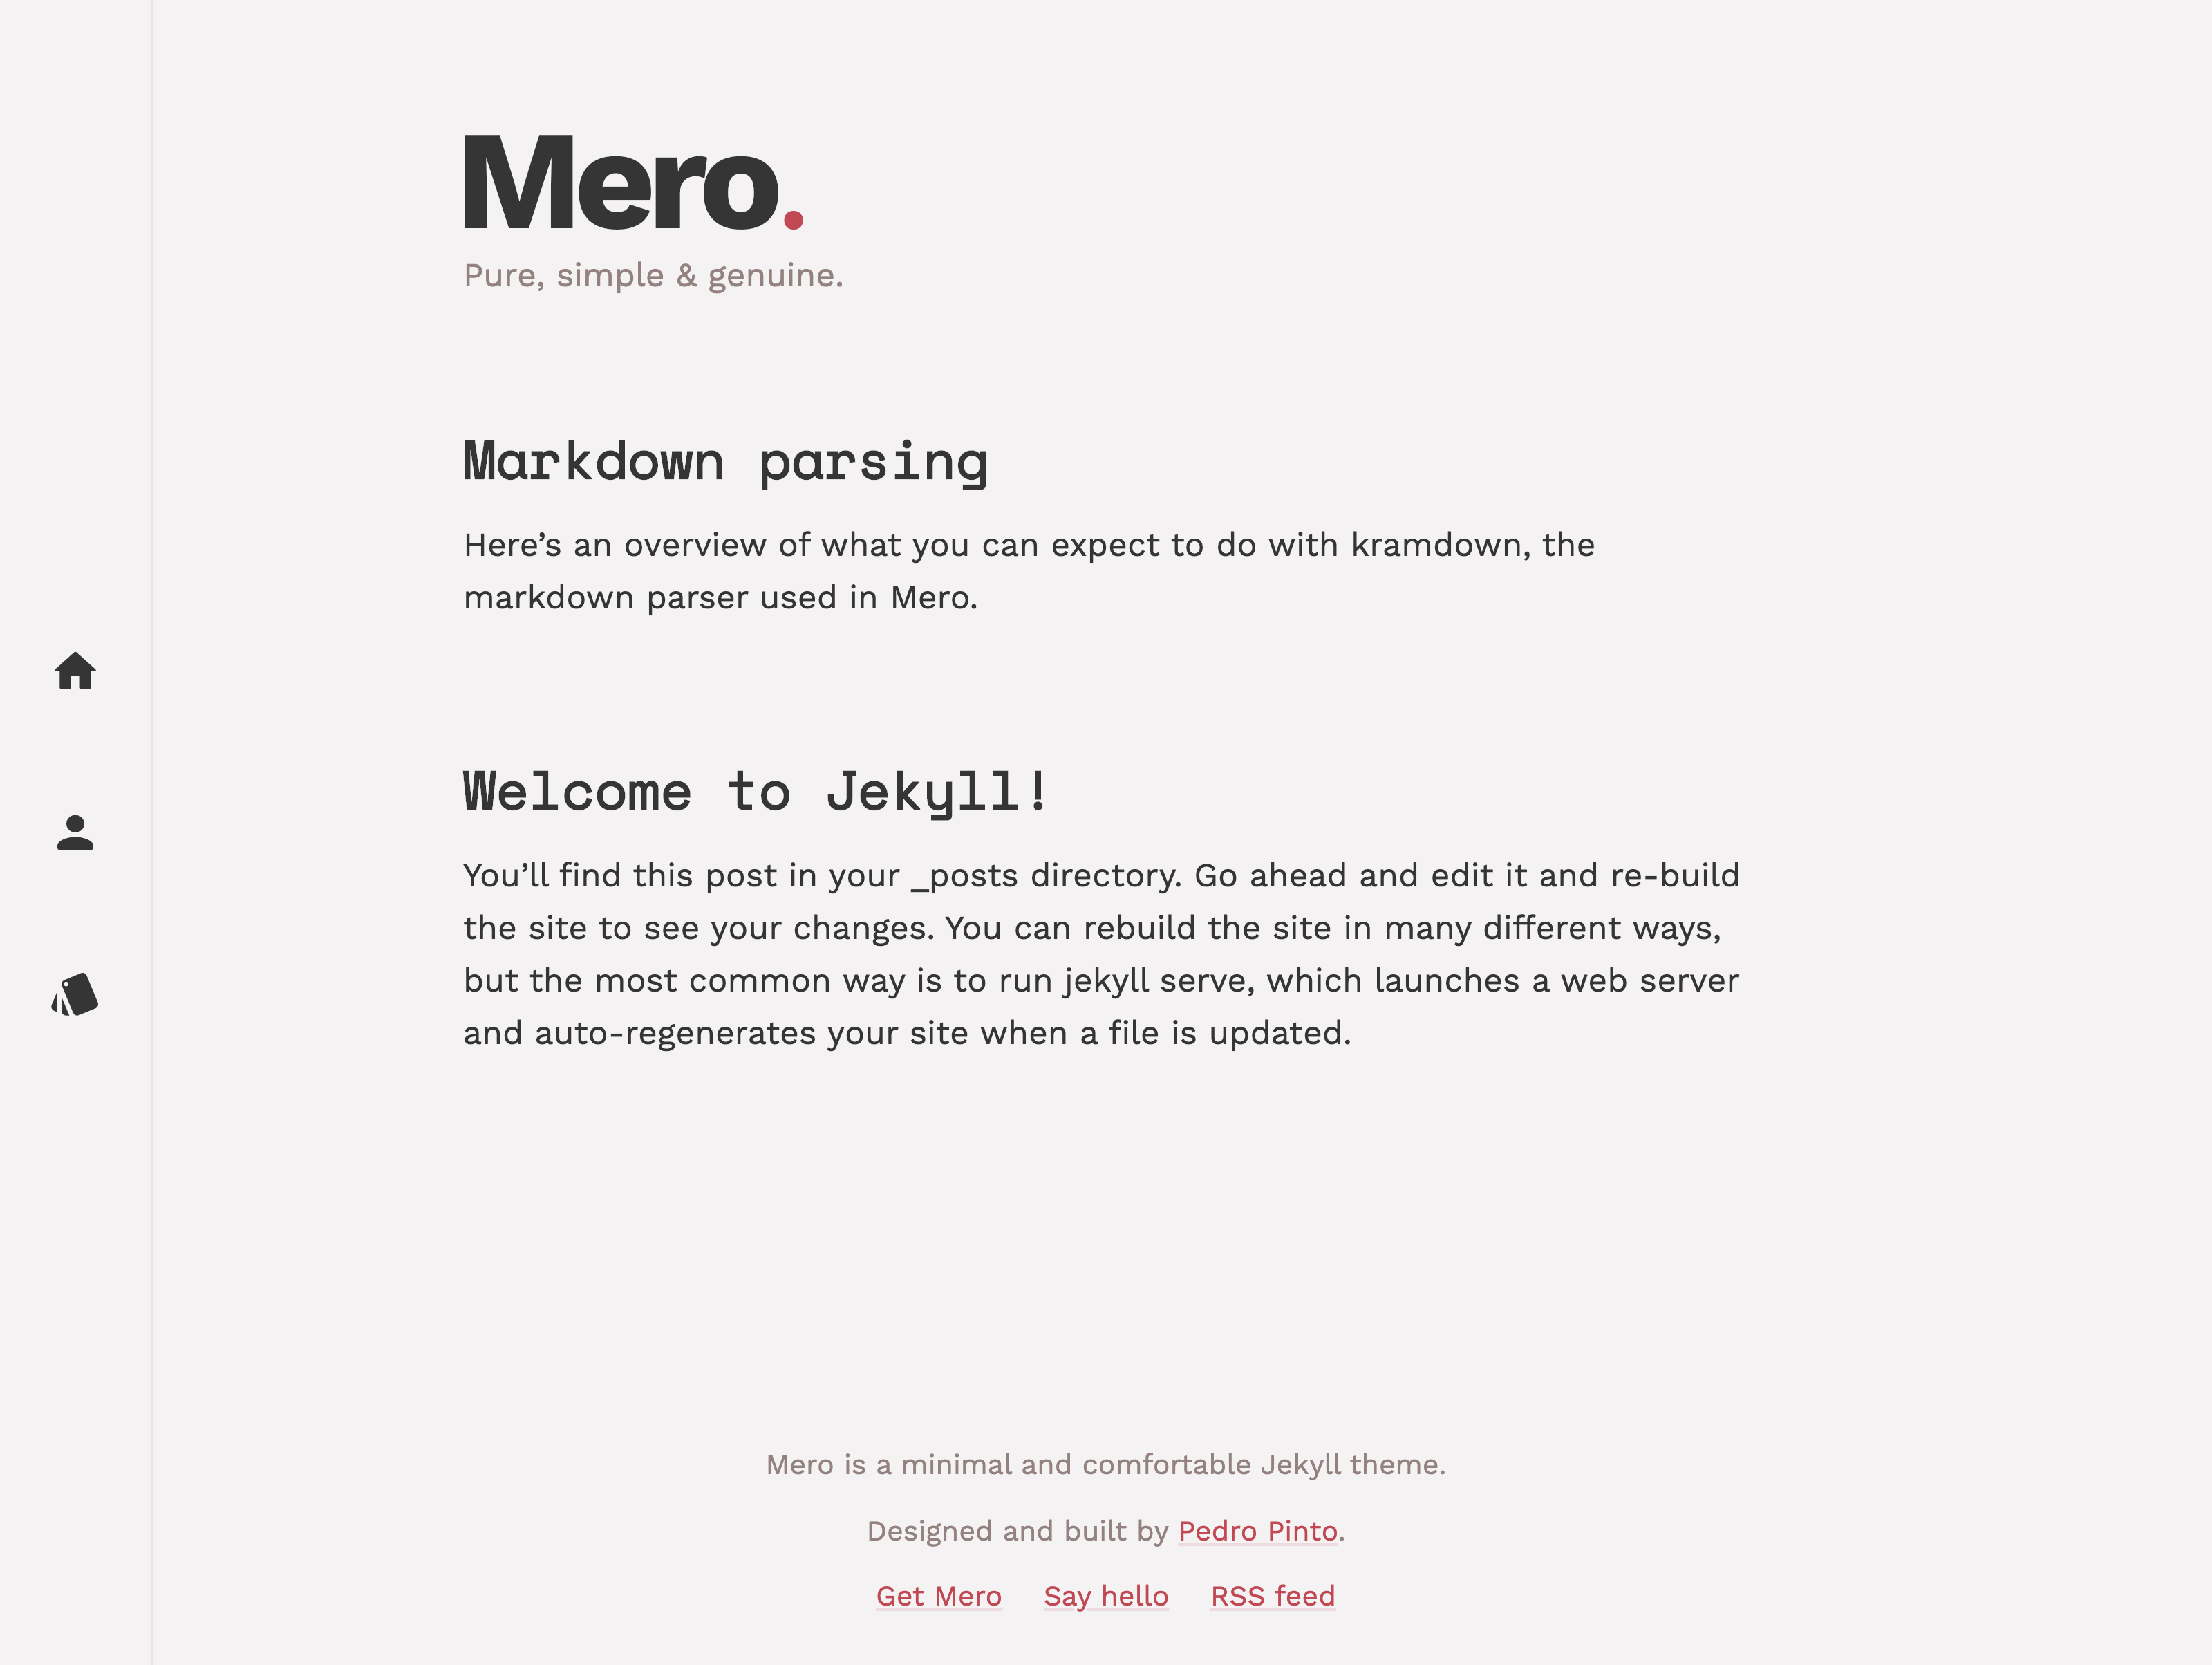
## Post page

# Demo
I've built this for myself first, so you can check [my blog](https://pedropinto.me/blog) for a live demo.
This blog also happens to be open source, take a look at how it's implemented in case you're having trouble: https://github.com/pmpinto/blog
# Installation
To use this theme, and especially to build your blog locally, you'll have to make sure you have all the tools you need.
For instance, if you're going to be using Mero on GitHub Pages, it's a good idea to mimic the same environment on your local machine.
Feel free to jump over the steps that do not apply to you.
## Make sure you have [Ruby](https://www.ruby-lang.org/) installed
Open up your terminal of choice and enter:
```
ruby -v
```
If the output resembles something like the following, you're good to go:
```
ruby 2.4.0p0 (2016-12-24 revision 57164) [x86_64-darwin18]
```
## Install `bundler` and `jekyll`
Refer to [Jekyll's website](https://jekyllrb.com/) if you need to.
```bash
gem install bundler jekyll
```
## Create a new jekyll blog
```bash
jekyll new my-blog
```
This will create a new folder called `my-blog` in the current location, so you can now move into it:
```bash
cd my-blog
```
## Open the project folder in your favorite text editor
For VS Code users, just enter `code .` and it should pop up.
## If you have a `Gemfile.lock`, remove it
This will prevent gem conflicts.
## Open `Gemfile` and do the followin
For GitHub Pages users, add this:
```ruby
gem "github-pages", group: :jekyll_plugins
```
Other than what's shipped with `github-pages` you will also need to add the following lines under `group :jekyll_plugins do`:
```ruby
gem "jekyll-paginate-v2"
gem "jekyll-archives"
```
## Remove any dependencies from your `Gemfile` that are already dependencies of `github-pages`
Refer to the latest dependencies file of the gem: https://github.com/github/pages-gem/blob/master/lib/github-pages/dependencies.rb
This will help prevent conflicts you might encounter in the future when `github-pages` has a different version (usually older) of a dependency you're specifying in your `Gemfile`.
## Install Ruby dependencies
Go back to your terminal and run:
```bash
bundle install
```
If you encounter any errors during installation, read them thoroughly and if needed, Google is your friend.
# Configuration
Now let's configure what you've just installed.
Go back to your favorite editor and open the Jekyll configuration file `_config.yml`.
## Remove the line with current `theme` you might have, and instead add the following
```yml
remote_theme: pmpinto/jekyll-mero
```
## Add pagination settings
This will provide a bunch of base configurations for `jekyll-paginate-v2`.
```yml
# Pagination
pagination:
enabled: true
per_page: 12 # How many items per page
title: "" # Content to add inside <title>
permalink: "/page/:num/" # Url to append to your `baseurl`: /blog/page/3
trail: # When you have many pages how many should be visible before and after the current one
before: 2
after: 2
sort_field: "date" # How the posts will be sorted
sort_reverse: true # Ascending or descending
```
## Add pagination settings to your `index` file
```yml
pagination:
enabled: true
```
If you don't add this, you won't see anything in your home page.
## Add archives settings
The gem `jekyll-archives` is responsible to create category pages in which you will have a list of posts by category.
```yml
# Archives / Category pages
jekyll-archives:
enabled: [categories] # Only for categories
layout: category # Layout to use
permalinks:
category: "/category/:name/" # Url of a category list page: /blog/category/funny
```
## Add plugins
```yml
plugins:
- jekyll-paginate-v2
- jekyll-archives
```
## Add SEO data
This will be used throughout the theme.
```yml
# SEO Tag data
author:
name: Your Name # The name you go by
twitter: yourTwitter # Your Twitter handle without the @ sign
website: https://yourdomainname.com # Your main web url
email: [email protected] # The email people can reach you at
logo: /assets/images/open_graph.png # Used as a preview image on social media, websites and apps
twitter:
username: yourTwitter # Same as author.twitter
card: summary_large_image # How should the Twitter preview card look like
social:
name: Your Name # Same as author.name
links: # Where else are you at on the internet
- https://github.com/yourGitHub
- https://twitter.com/yourTwitter
```
## Add default front matter
Make sure you change the path of the image as well as its size.
```yml
# Default front matter
defaults:
- scope:
path: ""
values:
image:
path: /assets/images/open_graph.png
width: 1024
height: 500
```
## Add Google Analytics
If you have it set up, add the ID of your Google Analytics here.
```yml
google_analytics_id: UA-XXXXXXXX-X
```
## Add missing assets
The theme comes bundled with a bunch of assets, but there are some that you will want to add yourself.
Refer to [this](https://realfavicongenerator.net/) or [this](https://favicon.io/) for more info.
| File | Location | Size (px) |
| ---------------------------- | ----------------- | ---------- |
| `open_graph.png` | `/assets/images/` | 1024 x 500 |
| `android-chrome-192x192.png` | `/` | 192 x 192 |
| `android-chrome-512x512.png` | `/` | 512 x 512 |
| `apple-touch-icon.png` | `/` | 180 x 180 |
| `favicon-16x16.png` | `/` | 16 x 16 |
| `favicon-32x32.png` | `/` | 32 x 32 |
| `mstile-150x150.png` | `/` | 150 x 150 |
| `safari-pinned-tab.svg` | `/` | 512 x 512 |
| `site.webmanifest` | `/` | - |
| `browserconfig.xml` | `/` | - |
# Options
## Global (`_config.yml`)
```yml
tagline: This will show up below the blog title.
google_analytics_id: UA-AAAAAAAA-2
```
## Color scheme
Currently, you can pick between three different color schemes: `prefers-dark`, `mocha` and `brand-red`. The first one, `prefers-dark` is special in one way: it will automatically select either a dark or a light color scheme based on the user's OS preferences.
If you don't specify a `color_scheme` in your `config.yml`, the default (black text on white background) will be applied.
Here's an overview of the themes:
| `default` | `prefers-dark` | `mocha` | `brand-red` |
| ------------------------------------------------------------------------------------------------------------------- | ----------------------------------------------------------------------------------------------------------------------------- | --------------------------------------------------------------------------------------------------------------- | ----------------------------------------------------------------------------------------------------------------------- |
|  |  |  |  |
| Static | Dynamic (depends on user's system preferences) | Static | Static |
## About page
In your about page, you should use the `about` layout, like so:
```yml
---
layout: about
---
```
And you also have the `heading` property to include a page heading:
```yml
---
layout: about
heading: All about myself
---
```
## Error page
In your error pages you should use the `error` layout and specify an `error_code` property, like so:
```yml
---
layout: error
error_code: "404"
---
```
## Home page
Along with the pagination settings mentioned above you should also use the `home` layout:
```yml
---
layout: home
pagination:
enabled: true
---
```
## Post page
Regarding front matter, besides the `post` layout, on the post page you have:
```yml
---
layout: post
title: Your awesome post
date: 2019-08-26 01:00:00 +0100
categories: [jekyll, markdown, documentation]
custom_excerpt: This text will have precedence as an excerpt over the usual and default first paragraph of text.
---
```
Categories will help you group posts together which you will then be able to see at whatever path you configured for `jekyll-archives`. For instance, `/blog/category/markdown`.
### Markdown parsing
Now let's talk about the options you have while writing your posts in markdown. First of all consider using `kramdown` as your markdown parser so you have a similar behaviour. It should be the default parser, but you can also specificaly state that in your `_config.yml` like this:
```yml
markdown: kramdown
```
With that put aside, feel free to grab an example file of what can be done with markdown/kramdown here: https://github.com/pmpinto/jekyll-mero/blob/master/_posts/2019-08-26-markdown-parsing.md
#### Headings
```markdown
# H1
## H2
### H3
#### H4
##### H5
###### H6
```
All the headings will have a JavaScript injected link, that points to their own section. This way you can easily share your posts to a specific section.
Note that `h1` will have a smaller size than the post title. Then `h2` will be slightly smaller, and from `h3` to `h6` all of them will have the same visual size. This is to avoid having too many typographic hierarchies.
#### Paragraphs
As usual in markdown parsers, any paragraph you type will be converted into a `p`.
The special thing here is the `.lead` paragraph style which you can apply by adding `{: .lead }` right below the paragraph. For instance:
```markdown
This paragraph will look bigger than the others.
{: .lead }
```
#### Text styles
These can be applied anywhere you can type text and they can also be mixed together.
```markdown
This is just an example paragraph to showcase **bold** text, _italic_ and also `code snippets`.
You might also need to [link some words](https://github.com/pmpinto/jekyll-mero) here and there.
And as mentioned above, you can have [links with **bold** words](https://github.com/pmpinto/jekyll-mero) as well.
```
#### Lists
These are pretty straight forward. You can have unordered lists by using a `-` or `*` as a bullet, or an ordered list by using `1.`, `2.`, `3.` and so on. And you can also nest them as you wish. Like so:
```markdown
1. Item number one
2. Followed by the second
3. And lastly the third
- Just an item without a number
- And another one
- And yet another one
1. Item one
- Sub item
- Sub item
2. Item two
- Another sub item
```
#### Images
Kramdown has a really nice feature for images in a recent version. Unfortunately the GitHub Pages gem, and therefore the environment you would find in the service, is currently using an older version of that gem, so we can't use it here.
The syntax for image tags are basically the same as links, with a prepended `!`:
```markdown

```
#### Photo sliders
For those times when you have more than 1 image to display, you can use one of these.
Just place a bunch of URLs (not links, just the URLs) in a paragraph and then end the paragraph with just `{: .photo-slider }` in the last line.
These links will later be transformed into an horizontal photo slider.
```markdown
https://cdn.shopify.com/s/files/1/2959/2384/products/ngogeokbcatt_large.jpg?v=1524987693
https://www.nationalgeographic.com/content/dam/news/2015/04/09/promo/step-cat-staircase-promo.ngsversion.1428612902610.png
http://pmdvod.nationalgeographic.com/NG_Video/802/635/160328-news-cat-dialects-vin_thumbnail_ds1602001-47_640x360_653681219883.jpg
{: .photo-slider }
```
#### Quotes
By prepending any paragraph with a `>` you will get a `blockquote` with special styles applied to it.
```markdown
Someone once said this:
> There's only so much one can do!
```
#### Horizontal rules
Whem you need to separate two blocks of content you can do so by placing an horizontal rule between the two blocks. In markdown you can do so by placing `---`.
```markdown
This is the first paragraph.
---
This is the second paragraph.
```
#### Code blocks
Special attention was given to these guys. The goal was to have a reliable and useful way to share small code snippets.
Kramdown provides us with some easy to remember code tags, called `highlight` to which we pass 2 arguments. The first is the language the snippet is using, for instance `html`. And the second one is `linenos` which you either add it to have line numbers in your code block, or you don't. Like so:
```markdown
{% highlight css linenos %}
body {
background-color: #abcdef;
font-size: 18px;
}
{% endhighlight %}
```
You can also use `diff` as the language value, and that will work as expected, that is, how git displays differences between file versions. You should also add a `+` on new lines and `-` on removed lines. Like so:
```markdown
{% highlight diff linenos %}
body {
- background-color: #abcdef;
* background-color: #012345;
font-size: 18px;
}
{% endhighlight %}
```
#### Tables
Tables are a bit tricky to get right unless you have an automatic formatter. Even though it works without a proper formatting, it's fairly easier to perceive what's going on with a good formatted table.
```markdown
|----------+----------|
| Header 1 | Header 2 |
|----------|----------|
| Cell L 1 | Cell R 1 |
| Cell L 2 | Cell R 2 |
|----------+----------|
```
By default tables will be left aligned. If you want to change how a specific row displays the text you have the option to do that in the line of text that separates the headers from the content, with a `:` on the side that you want it to be aligned to. If you add it to both sides, it will be centered.
```markdown
|----------+----------+----------|
| Left | Center | Right |
|----------|:--------:|---------:|
| Cell L 1 | Cell C 1 | Cell R 1 |
| Cell L 2 | Cell C 2 | Cell R 2 |
|----------+----------+----------|
```
As mentioned above, all the text styles can also be used inside a table.
# Development
To prevent source files from being picked up by Jekyll you will need to add the following list to `_config.yml`:
```yml
exclude:
- Gemfile
- Gemfile.lock
- node_modules
- package.json
- assets/javascript/*.es6.js
- assets/javascript/index.js
- webpack.config.js
- screenshots
```
## Install dependencies
Run both `bundle install` and `npm install`.
## Commands
| Command | What it does |
| ----------------------- | ------------------------------------------------------------- |
| `npm start` | Starts the jekyll development environment |
| `npm run start:webpack` | Starts the JavaScript development environment through webpack |
| `npm run build` | Builds jekyll and bundles JavaScript |
# Contributing
Bug reports and pull requests are welcome on GitHub at https://github.com/pmpinto/jekyll-mero. This project is intended to be a safe, welcoming space for collaboration, and contributors are expected to adhere to the [Contributor Covenant](http://contributor-covenant.org) code of conduct.
If you'd like to contribute feel free to fork this repo and do as many pull requests as you see fit towards `master`.
# License
The theme is available as open source under the terms of the [MIT License](https://opensource.org/licenses/MIT).
# Donations
If you like the theme and you feel like throwing some candy my way, click the button below and you'll be able to pick just the right amount. Thanks in advance 🙏
[](https://www.paypal.me/pmpintopt)
看看同类模板
对比同技术栈与用途的模板,找到更适合的视觉与内容结构。
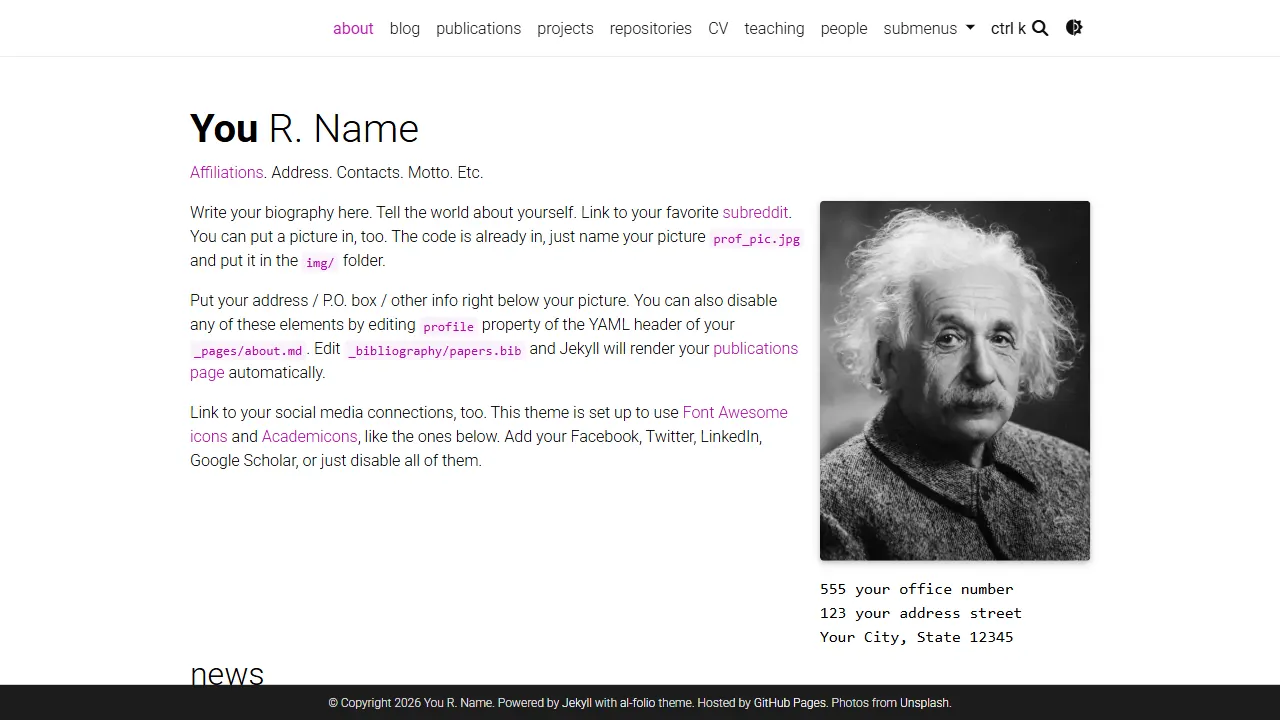
al-folio
al-folio 是一个面向学者与研究人员的 Jekyll 作品集主题,设计简洁、响应式,适合搭建个人学术主页。
Jekyll · 作品集
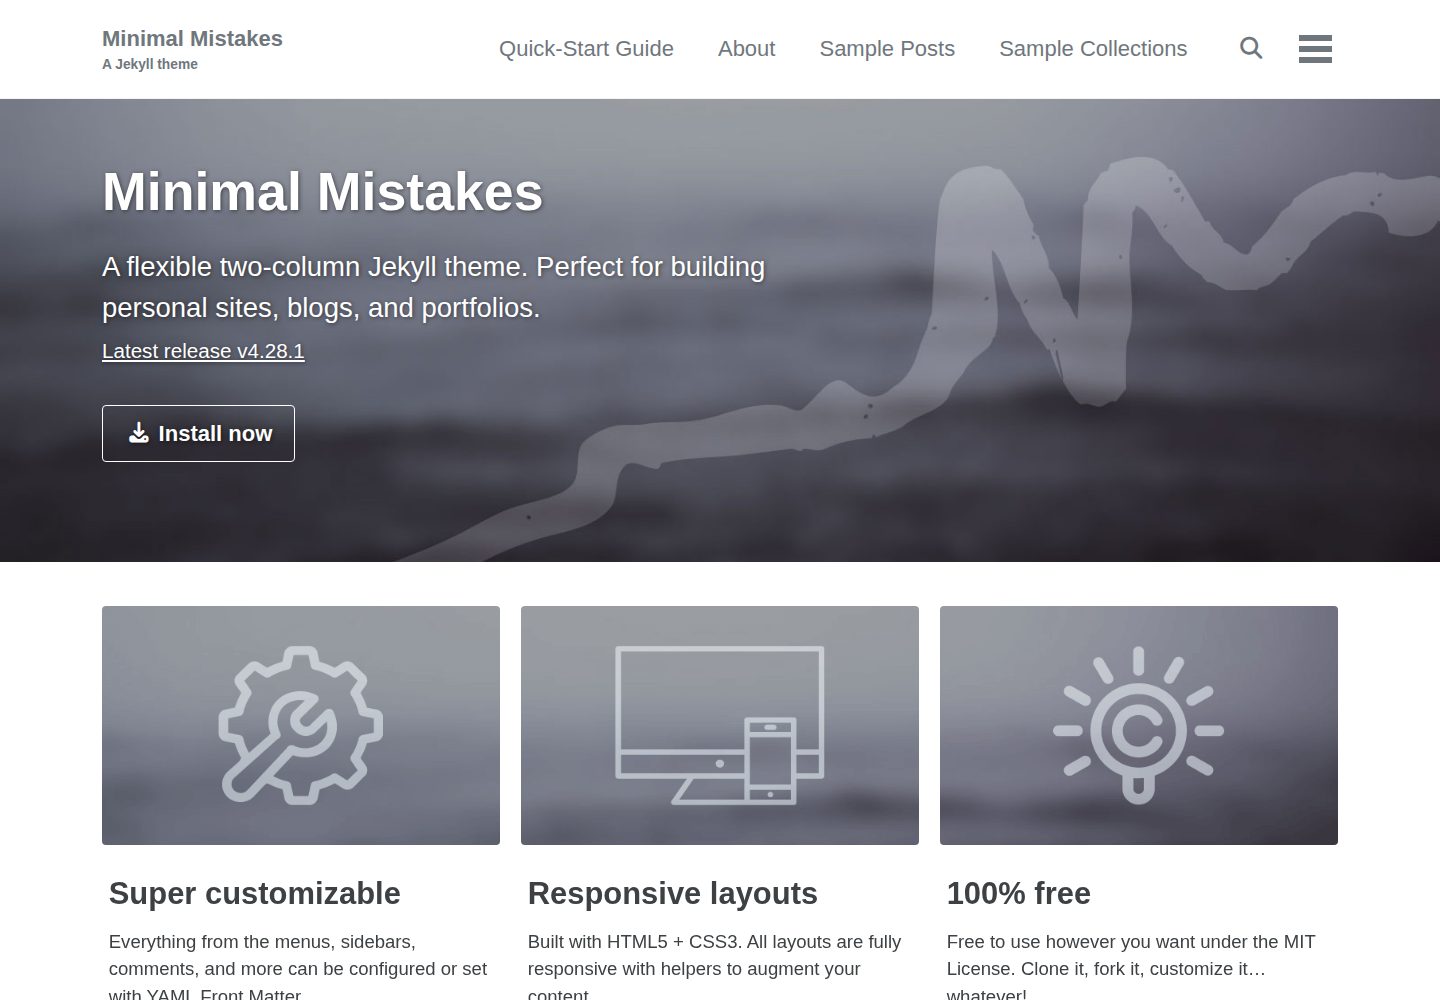
minimal-mistakes
:triangular_ruler: Jekyll theme for building a personal site, blog, project documentation, or portfolio.
Jekyll · 作品集
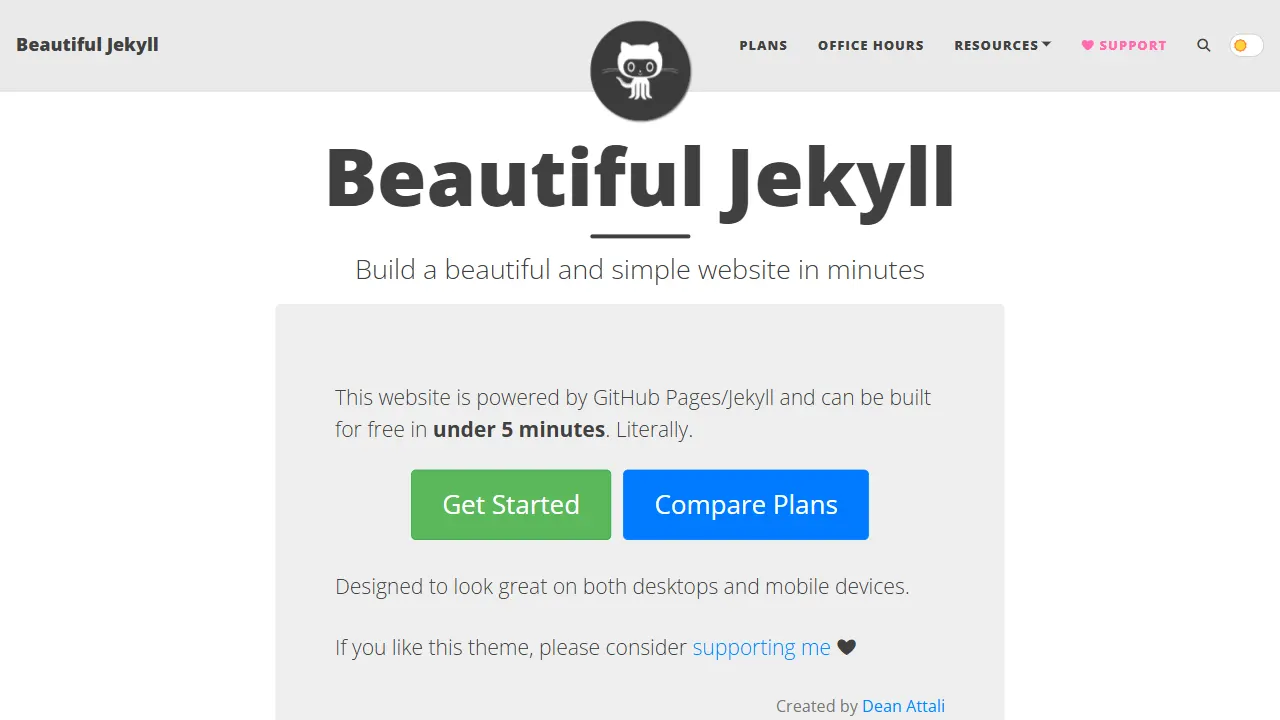
Beautiful Jekyll
Beautiful Jekyll 是一个在 Jekyll 生态中经过长期打磨的博客主题,由 Dean Attali 维护,自 2015 年起积累了超过 5 万用户。
Jekyll · 博客
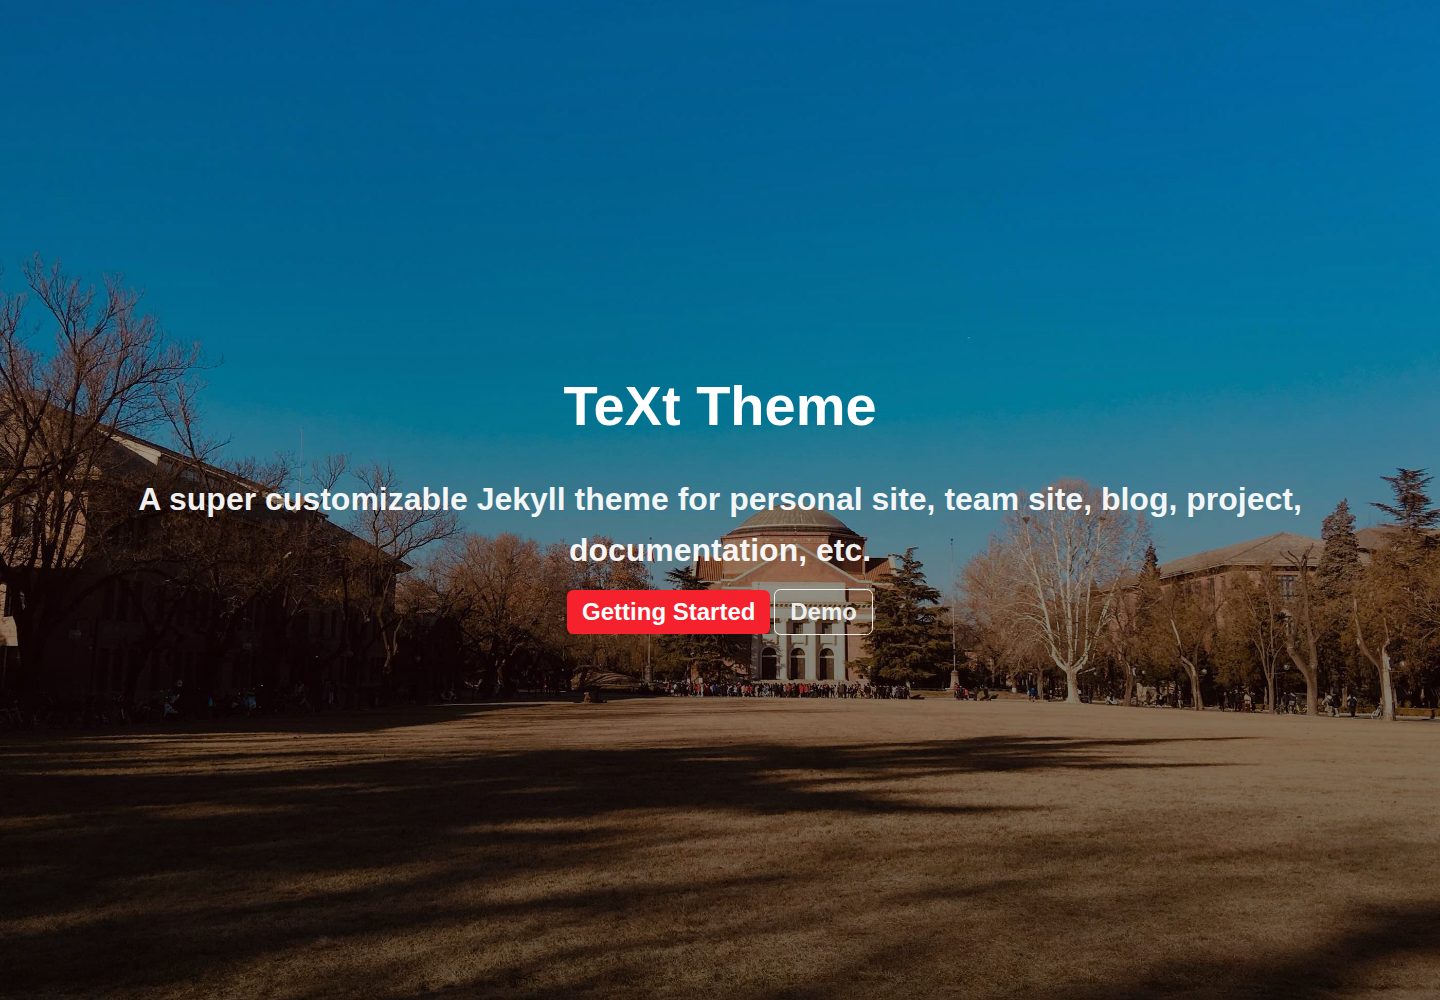
jekyll-TeXt-theme
💎 🐳 A super customizable Jekyll theme for personal site, team site, blog, project, documentation, etc.
Jekyll · 博客
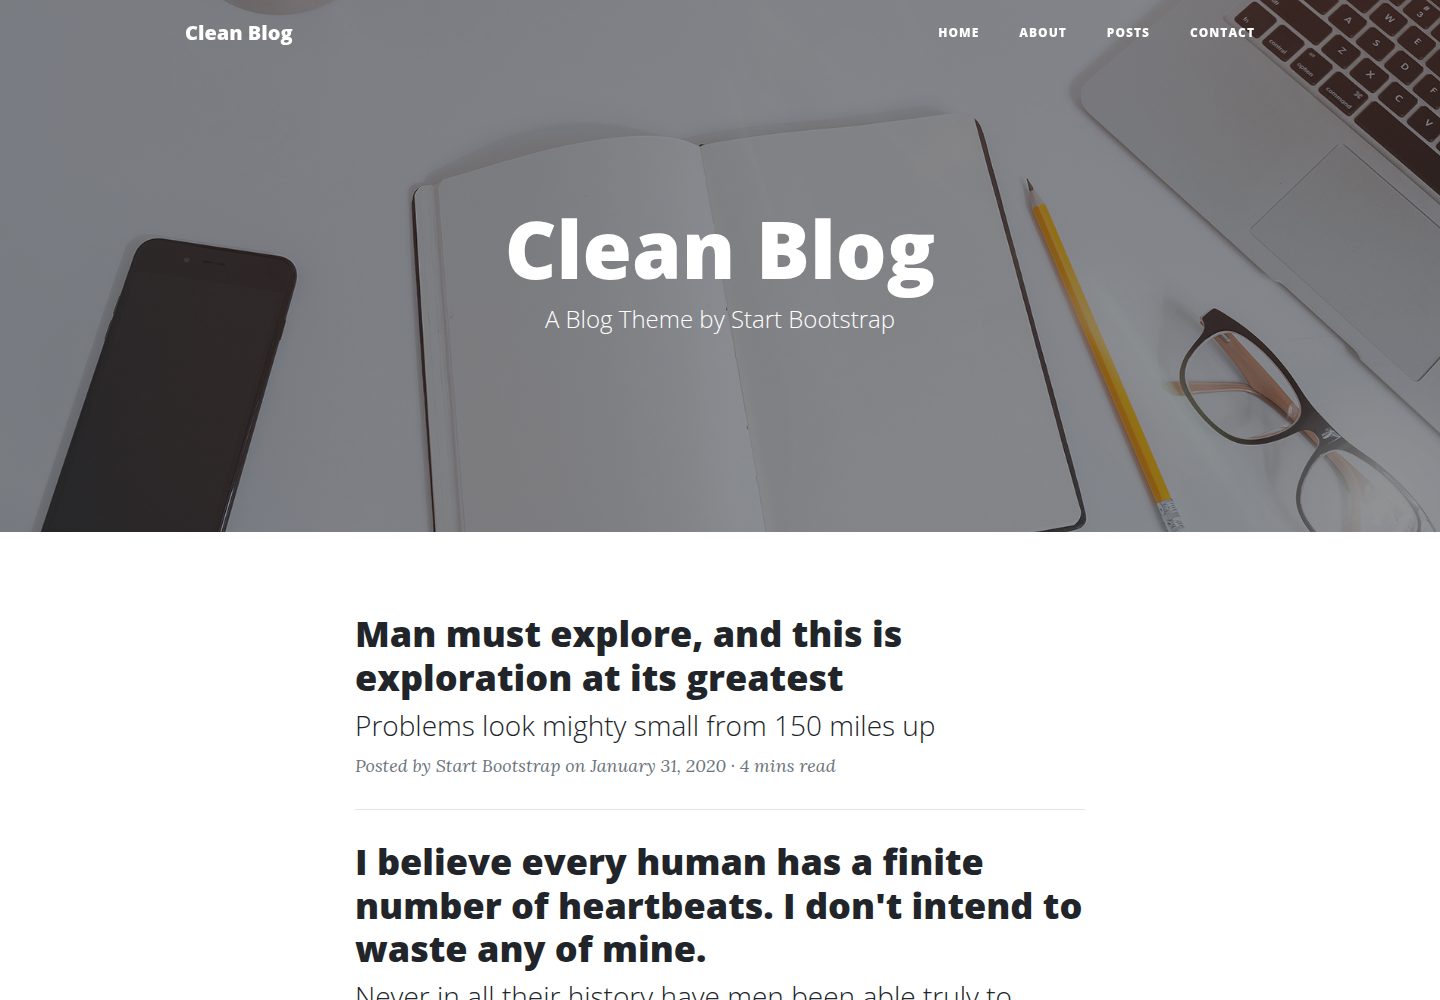
startbootstrap-clean-blog-jekyll
A Jekyll version of the Clean Blog theme by Start Bootstrap
Jekyll · 博客
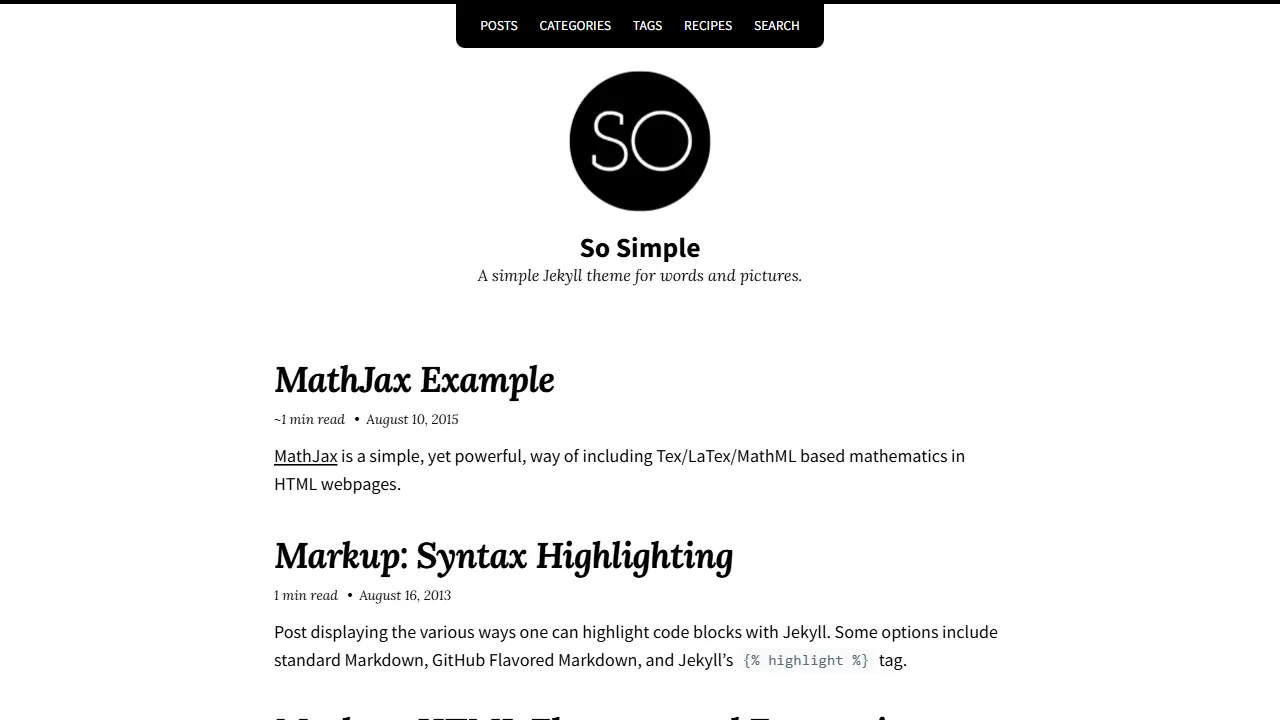
So Simple
So Simple 是 Michael Rose 开发的 Jekyll 主题,定位清晰:为文字和图片提供一个干净、可读性强的展示框架。
Jekyll · 博客