Jekyll static site blog theme; content is written as Markdown files in the _posts directory
JekyllBlog
jekyll-blog-embedded — Jekyll Blog Template
By ptmkhanh29
A minimal, responsive Jekyll blog theme for technical writing, supporting Markdown posts and multi-author configuration.
Explore the design
Compare the page layouts and mobile experience. Open any screenshot for a closer look.
Author preview
Author-provided preview
Preview provided in the project README.
One original preview is available. Open the full image to inspect the design.
Screenshots show visual appearance; interactive behavior may differ.
Recorded 2026-10-03View source
What stands out
A quick read of the recorded project description.
Post front matter supports fields such as title, date, categories, tags, author, and cover image
Author information is maintained centrally in _data/authors.yml, supporting single-author and multi-author lists
Post images can be placed in a directory under assets/img named after the post, or linked via CDN
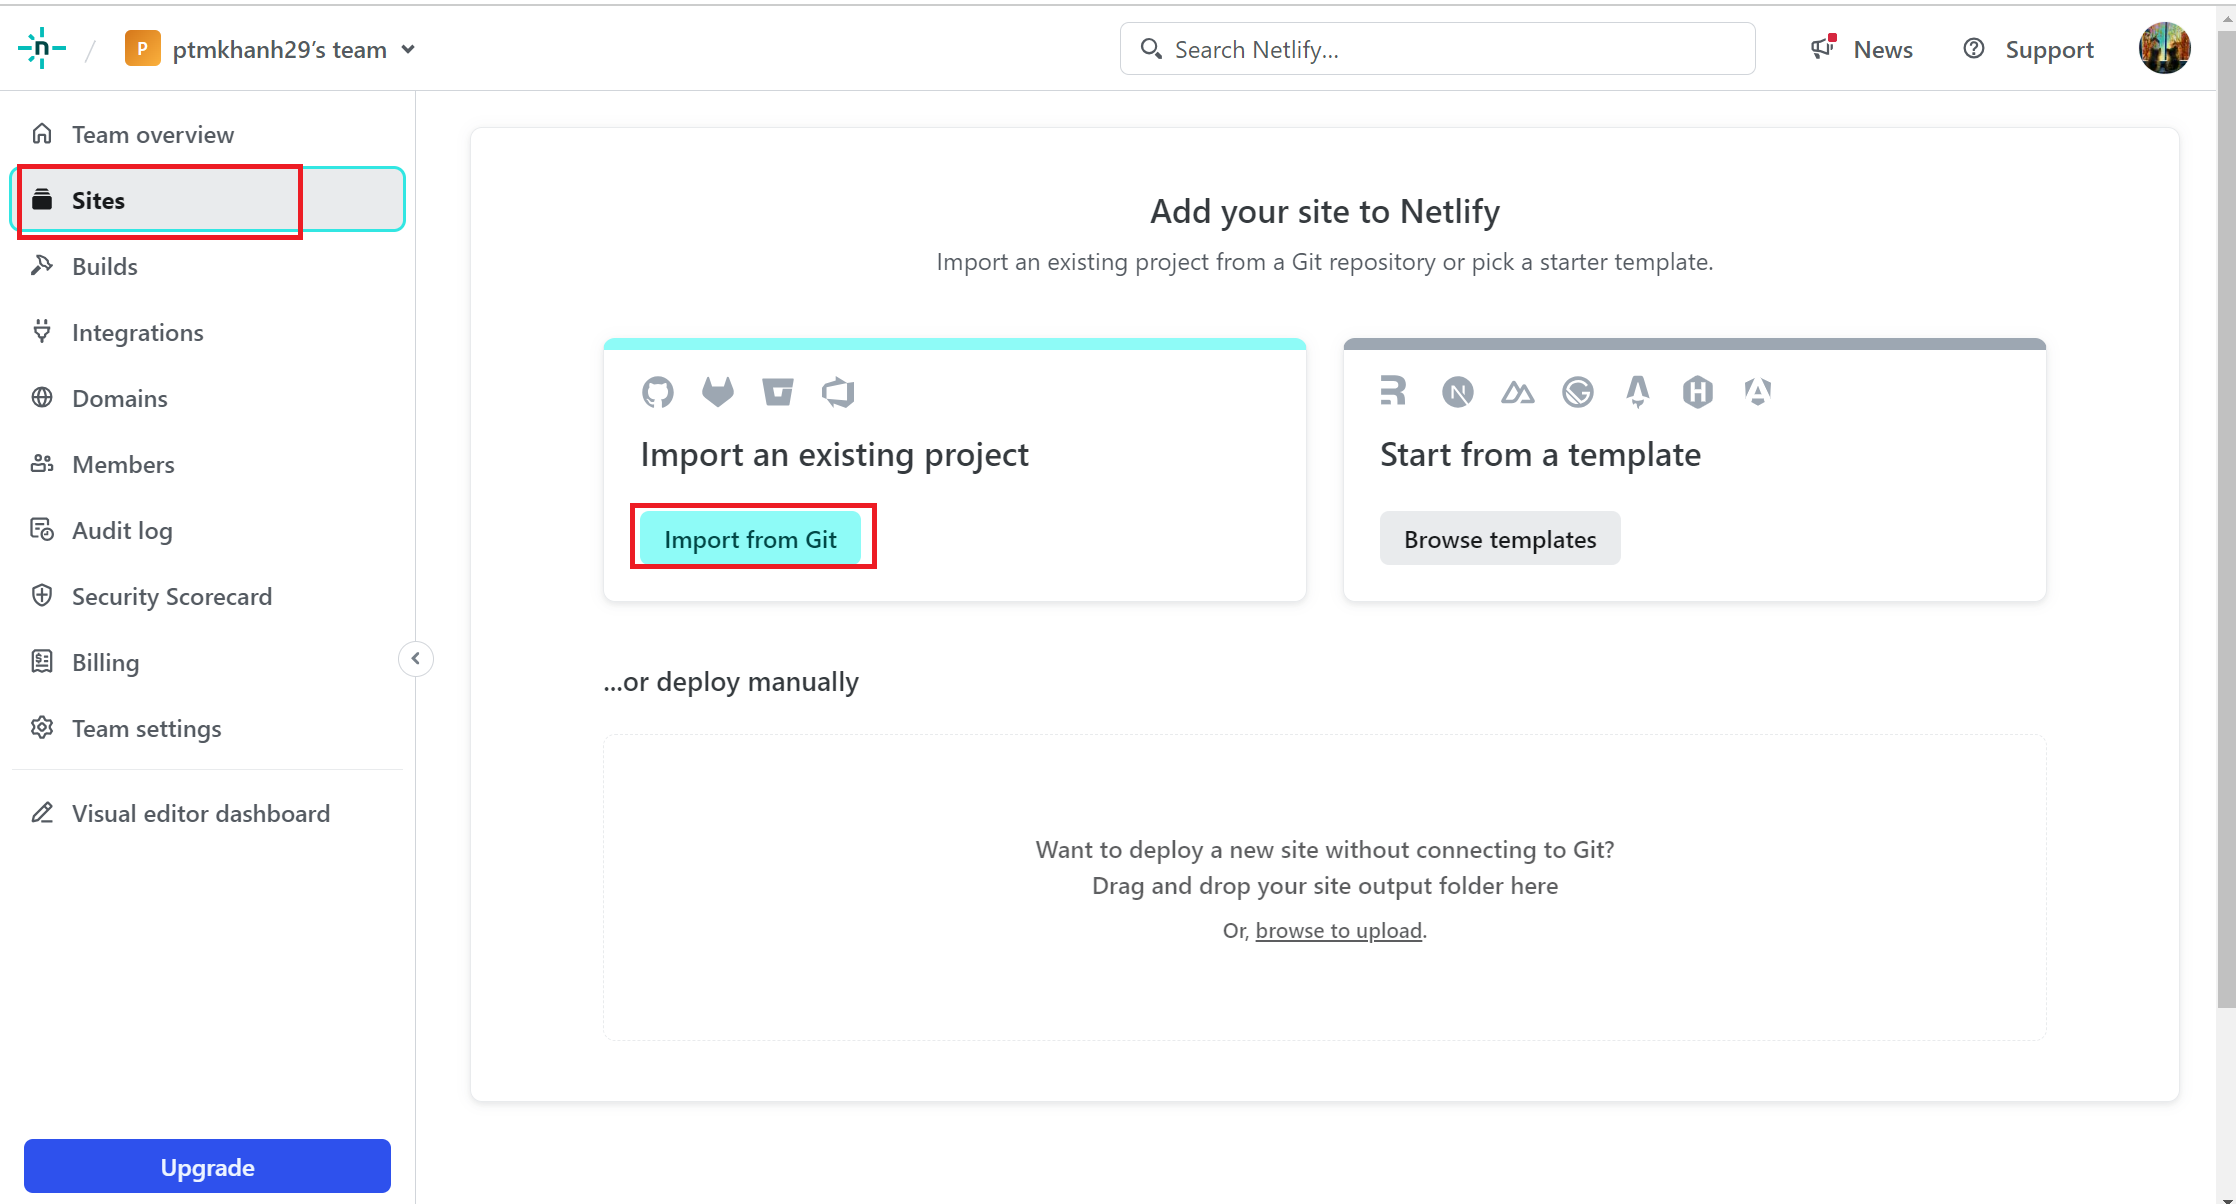
The README provides Netlify deployment steps, including build commands and the _site/ publish directory configuration
Template Details
This template is a Jekyll blog theme positioned as a minimal, responsive blog for technical writing. Content is stored as Markdown files in the _posts directory, and post metadata is configured in front matter, including fields such as title, date, categories, tags, author, and cover image path. Author information is maintained centrally in _data/authors.yml, supporting both single-author and multi-author (authors list) formats. Post images can be placed in a directory under assets/img named after the post, or linked via CDN.
The template provides local build and deployment instructions: locally, Ruby, bundler, and Jekyll must be installed; after running bundle and bundler exec jekyll s, the site can be viewed at localhost:4000. The deployment section gives Netlify steps for importing the repository, setting the build command (jekyll build or bundle exec jekyll build), and configuring the publish directory (_site/).
The repository README is primarily aimed at contributors submitting to that repository, not as general theme usage documentation; the fork, branch, commit, and Pull Request workflow targets the original project, and must be adjusted for your own repository when using it directly as a personal blog. The README does not describe the theme's style details, a list of configurable options, or version compatibility ranges; these must be based on the actual files in the repository.
JekyllBlog
Is it right for your project?
Use Cases
- Building a personal technical blog or notes site
- Collaborative technical writing and documentation submissions
- Content sites that need to organize posts by category and tag
- Static blogs deployed to Netlify
Suitable For
- Developers familiar with Markdown writing who want to publish technical content via a static site
- Blog maintainers who need multi-author attribution and a category/tag system
- Users willing to install Ruby, bundler, and Jekyll themselves and build locally
Getting started & customization
Use these recorded setup notes alongside the repository instructions for your chosen version.
- 1
Locally, install Ruby, bundler, and Jekyll first, then run bundle to install dependencies
- 2
Start the local server with bundler exec jekyll s; by default it is viewed at localhost:4000
- 3
New posts must be named YYYY-MM-DD-post-name.md and placed in the _posts directory, with front matter filled in
- 4
Author information must first be added in _data/authors.yml in the name, twitter, url format
- 5
When deploying to Netlify, use jekyll build or bundle exec jekyll build as the build command and set the publish directory to _site/
License & source material
Usage conditions & limitations
Free to use · keep license noticeThis entry covers the free version under the MIT license in the public repository; the free scope is the code of that version and does not mean external services or third-party assets are free.
Must comply with when using
- You may use, modify, commercialize, and distribute the code of this version for free.
- When distributing copies or substantial portions of the code, retain the original author's copyright notice and the full MIT license notice.
- The code is provided as is; warranties and limitations of liability are governed by the original license and applicable law.
Additional costs & items to verify
- Deploying to Netlify requires registering and logging into a Netlify account (GitHub login is available); this is an external service dependency, not required locally.
- Local building requires installing the Ruby, bundler, and Jekyll runtime environment yourself; it is not purely static and ready to use out of the box.
- The README suggests using CDN links for post images, which may involve third-party image hosting or CDN services and their fees and licenses, and must be verified independently.
- Demo images, fonts, icons, and other third-party assets must be checked against their respective licenses; they cannot be judged solely by the code's MIT license.
- External services such as domains, hosting, databases, payments, or AI may incur additional charges.
View Original Text Basis
Permission is hereby granted, free of charge
Original License Text
You can deploy it to https://app.netlify.com
Original README
Make sure you install the required dependencies like `Ruby`, `bundler` and `Jekyll` framework.
Original README
https://github.com/ptmkhanh29/jekyll-blog-embedded/blob/master/LICENSEhttps://github.com/ptmkhanh29/jekyll-blog-embedded/blob/master/README.mdIt's highly suggested to use CDN links for images.
Original README
Compiled by DeepSeek based on repository license and README ·2026-10-03. Results only cover the materials read; dependencies, images, fonts, and subsequent term changes are subject to their respective original texts.
Project checks & description sources
Template Information
- Source platforms
- GitHub
- Documentation and maintenance reference score
- Partly documented · 65 / 100
- Technologies
- Jekyll
- Website type
- Blog
How this score is calculated
Our heuristic uses license records (up to 30), a demo link (12), a preview (10), stars (15), recorded maintenance (15), description completeness (8), feature records (5) and classification data (5). It is not a code, security or performance test, or a Google score. A link does not establish tested functionality.
What to verify for this project
- Repository update recorded
- 2024-04-16
- Screenshot last checked
- 2026-10-03
A demo link is listed. Check it with your own content and viewport sizes; its presence does not confirm that forms, authentication or payments work.
The catalog identifies Jekyll as the primary stack. Check the actual dependency manifest and lockfile for versions and hosting requirements. These notes use recorded metadata, not a code audit or a deployment test.
Use a selection guide →How this description was prepared
AI-assisted description based on catalog records and repository material. Repository authors are not automatically the reviewers of this description.
Review declaration: [email protected] · 2026-10-04
Inspect the recorded source material
SHA-256: f9f3c40860240b4ab7200cdf13a8471625f9f3ea4c165eb632da1da913232800
2026-10-03T18:00:56.672Z
Source file / repository## Contribution
Hey there, fellow developer !!!... I'm happy to see you intrested in contributing to this open source project. Since, this project is an open notebook for everyone, you're always welcome to make your techinal writing contribution by writing you own blog, tip & trick, documentation and much more. All you have to do is write down your content in `markdown` *(just like how wrote this README.md file)* and place those file within `_posts` directory.
> First time ???... Then I highly recommend you to check out [CONTRIBUTING.md](CONTRIBUTING.md "goto CONTRIBUTING.md").
- **Step 1:** Make sure you install the required dependencies like `Ruby`, `bundler` and `Jekyll` framework. Installation varies from platform to platform, so make sure to check out the [CONTRIBUTING.md](CONTRIBUTING.md "goto CONTRIBUTING.md").
- **Step 2:** After installing the required dependencies, [fork](https://github.com/Grow-with-Open-Source/Notebook/fork "Let's fork this repo") this repository and clone it in your local system, using the following command:
```bash
git clone https://github.com/<your-github-profile>/Notebook.git
```
- **Step 3:** Build and run the project within your local machine.
```bash
# installing required dependencies for the project to run
bundle
# host the build within your local machine
bundler exec jekyll s
```
> [!NOTE]
> If project build is successful, then you can view the project build that is hosted through your [localhost:4000/Notebook](http://127.0.0.1:4000/Notebook/). Well done, you have successfully setted up the project within your local system.
- **Step 4:** After you have setted up the project and done analyzing it, Create a new branch to work on. Make sure your branch name is small and simple.
```bash
# create and checkout to your new branch
git checkout -b <your-post-name>
# checking which branch you currently in
git branch
```
- **Step 5:** Now, go ahead and enter your author details within the [`authors.yml`](_data/authors.yml) even before you started working on your technical writing. Just make sure you're entering the details in the following format:
```yml
# Make sure the key value does not match other authors
unique_key_value:
name: <author_name>
twitter: <twitter_id>
url: <personal (or) contact url>
```
<details>
<summary>Looking for an example ?</summary>
<div>
```yml
shamith_watchdogs:
name: Shamith Nakka
twitter: Shamith29188225
url: https://github.com/iamwatchdogs/
```
<div>
</details>
- **Step 6:** Now to the actual task, Create a new markdown file with `YYYY-MM_DD-your-post-name.md` *(make sure your post name is in small letters and separated by single dash)* within the [`_post`](/tree/main/_posts/) directory.
- **Step 7:** Each and every markdown file that you have created for content writing should contain the following meta data (or) config:
```md
---
title: <title>
date: YYYY-MM-DD HH:MM:SS +/-TTTT
categories: [<main_categories>, <sub_categories_1>, ..., <sub_categories_n>]
tags: [<tag_1>, ..., <tag_n>]
author: <respective_author_key_value>
img_path: "/assets/img/<your_img_directory_name>/"
image:
path: <name_of_the_img_for_page_cover>
alt: <alternative_text>
---
# Your content writing begins here
```
<details>
<summary>Looking for an example ?</summary>
<div>
```md
---
title: Welcome to the Notebook
date: 2023-09-21 20:34:00 +0530
categories: [Welcome, Guide]
tags: [introduction]
author: shamith_watchdogs
img_path: "/assets/img/welcome-page/"
image:
path: "welcome-img.jpg"
alt: "Welcome Page"
---
# remaining content down below
```
<div>
</details>
> [!NOTE]
> - Note that the `+/-TTTT` in the `date` section refers the **UTC offset**. You can find your **UTC offset** value by searching for your country in the [list of UTC](https://en.wikipedia.org/wiki/List_of_UTC_offsets "Goto List of UTC offsets"). And if you're from India, you can use the above UTC offset from the example.
> - Also not that `img_path` and `image` *(including its sub attributes)* are optional and only need when you're going to add images to your post.
> - If there are more than one person working on a single post use `authors` attribute instead of `author`. And the input for the `authors` attribute will be a list of key of authors specified within the [`authors.yml`](_data/authors.yml) file.
- **Step 8:** Now, you can proceed to write your technical content. And if you have any images that are part of your technical writing, then create a new directory using your post's name within `assets/img` directory as `assets/img/<your-post-name>`. Now add your images to your folder. After adding images to your folder, don't forget to add location to `img_path` attribute as `img_path: ../../assets/img/<your-post-name>`. Now, you can directly access your images with specifying full relative path.
> [!NOTE]
> It's highly suggested to use CDN links for images. But if you could not for any reason, then you can proceed with above process.
- **Step 9:** After you done with your changes, commit them and push them back to your forked repo.
```bash
# tracing new files and stagging new changes
git add .
# commiting your changes
git commit -m "Added <your-post-name>"
# check your branch name
git branch
# push your commits to your origin repo
git push origin <your-branch-name>
```
- **Step 10:** Now, create a pull request to the [original repo](https://github.com/Grow-with-Open-Source/Notebook). [Learn about Pull requests](https://docs.github.com/articles/using-pull-requests "offical GitHub documentaiton")
And that it, you have done it !!!... Now, it's time for the maintainer to review you work and merge you pull request. If there's any issue with your pull request, then the maintainer will contact you and asks for a few changes. And he merges your Pull request, you have successfully did your first open source contribution that actual help others.
Everybody can see you work and make use of it. Good job, mate !!...
## How to deploy to Netlify
You can deploy it to https://app.netlify.com
- **Step 1:** Now, you can login Netfiy with account Github
- **Step 2:** Add Your New Site:
Once you log in to Netlify, you'll be taken to https://app.netlify.com/. From here, select 'Site' in sidebar, click 'Add new site', click 'Import an existing project':
<div align="center">

</div>
- **Step 3:** Link to Your GitHub
Select 'Deploy with GitHub' to link your repository.
<div align="center">

</div>
It's time to allow Netlify and GitHub to talk to each other. Clicking the "Authorize Application" button will do just that. Netlify doesn't store your GitHub access token on our servers. If you'd like to know more about the permissions Netlify requests and why we need them, you can visit https://www.netlify.com/docs/github-permissions/.
- **Step 4**: Choose Your Repo
Now that you've connected Netlify and GitHub, you can see a list of your Git repos. There's the "jekyll" repo you just pushed to GitHub. Let's select it.
<div align="center">

</div>
- **Step 5**: Configure Build Setting
Netlify will automatically try to detect the build settings. For a Jekyll project, you need to configure the following:
Build Command: enter `jekyll build` or `bundle exec jekyll build` if you use Bundler.
Publish directory: enter `_site/`, this is the directory that Jekyll creates after building (unless you have another custom configuration).
(Optional) You may need to set an environment variable, like JEKYLL_ENV=production if needed. (In my site, I skip this option).
And click **Deploy 'Your-site'**
<div align="center">

</div>
- **Step 6**: Deploy succsee
<div align="center">

</div>
You can review the built steps in the **Deploy** tab
<div align="center">

</div>
Explore similar templates
Compare previews and descriptions within the same stack and category.
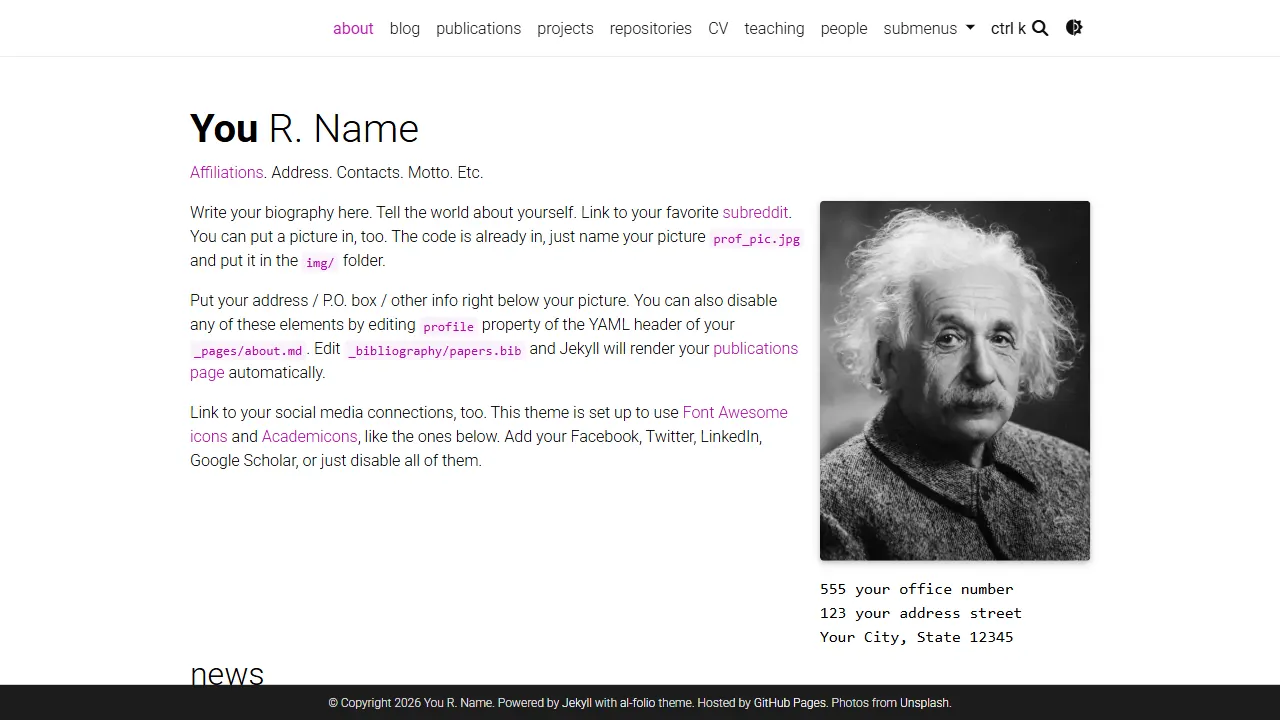
al-folio
A Jekyll academic homepage theme for scholars and researchers, with a clean responsive design and out-of-the-box support for publication lists, project showcases, CVs, and blogs.
Jekyll · Portfolio
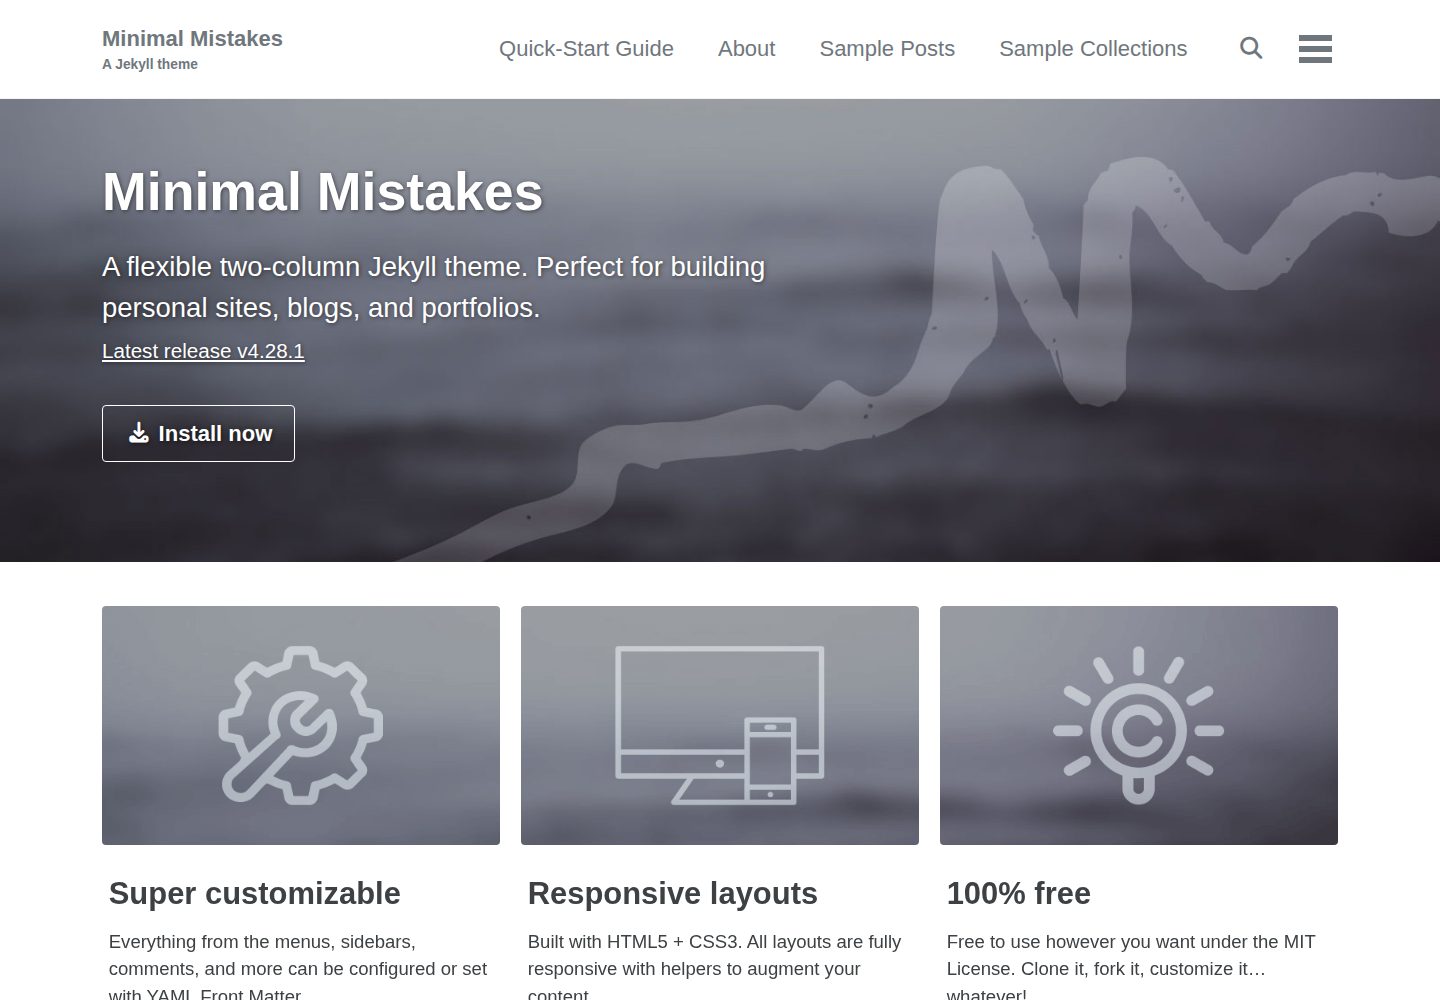
minimal-mistakes
Minimal Mistakes is a two-column Jekyll theme for personal sites, blogs, project documentation, or portfolios.
Jekyll · Portfolio
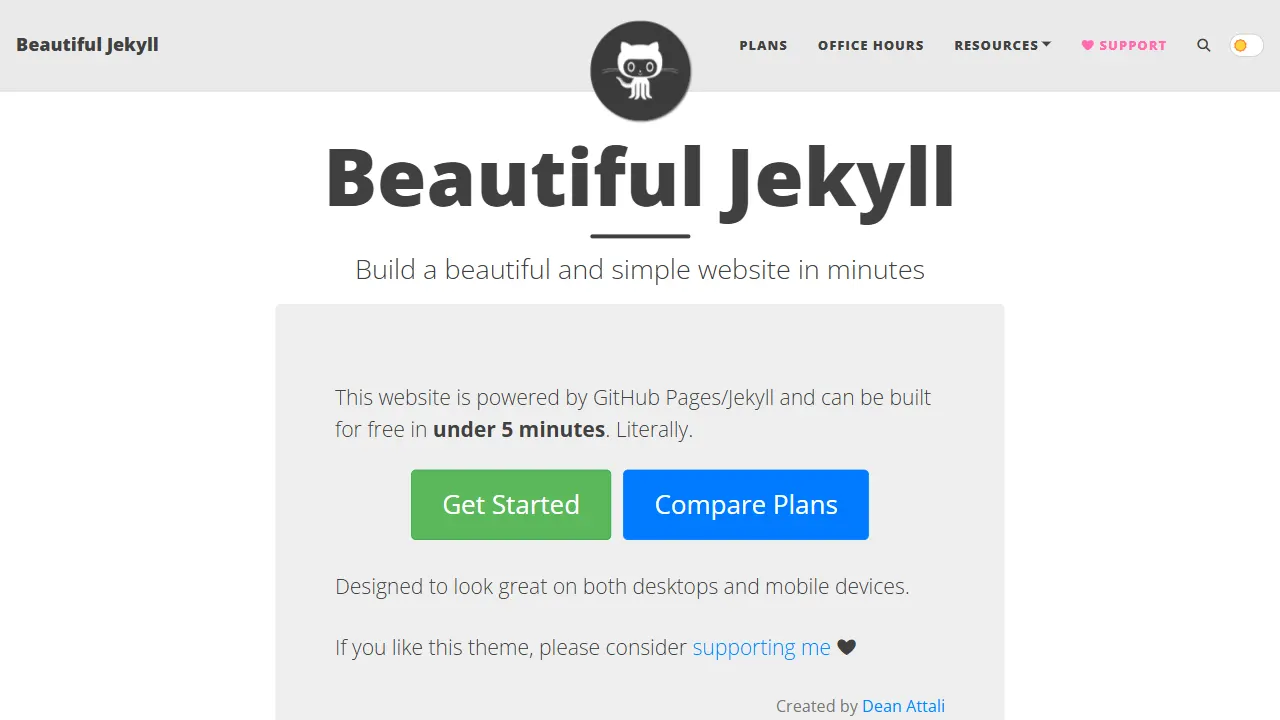
Beautiful Jekyll
Beautiful Jekyll is a mature, easy-to-use Jekyll blog theme maintained by Dean Attali since 2015, with over 50,000 users.
Jekyll · Blog
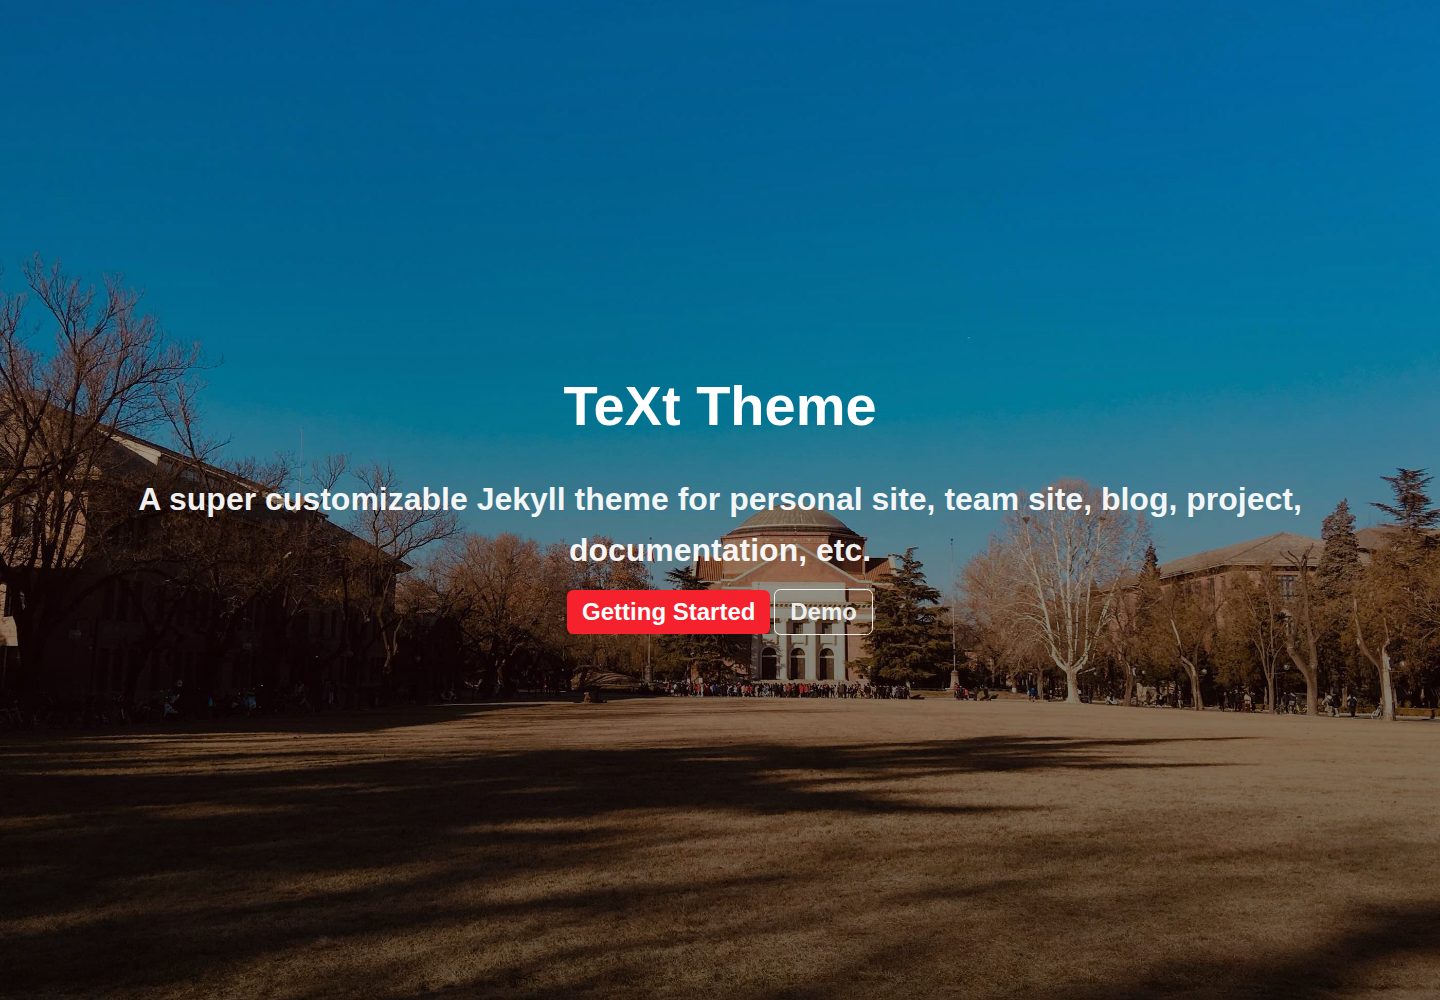
jekyll-TeXt-theme
A customizable Jekyll theme for personal sites, team sites, blogs, projects, and documentation.
Jekyll · Blog
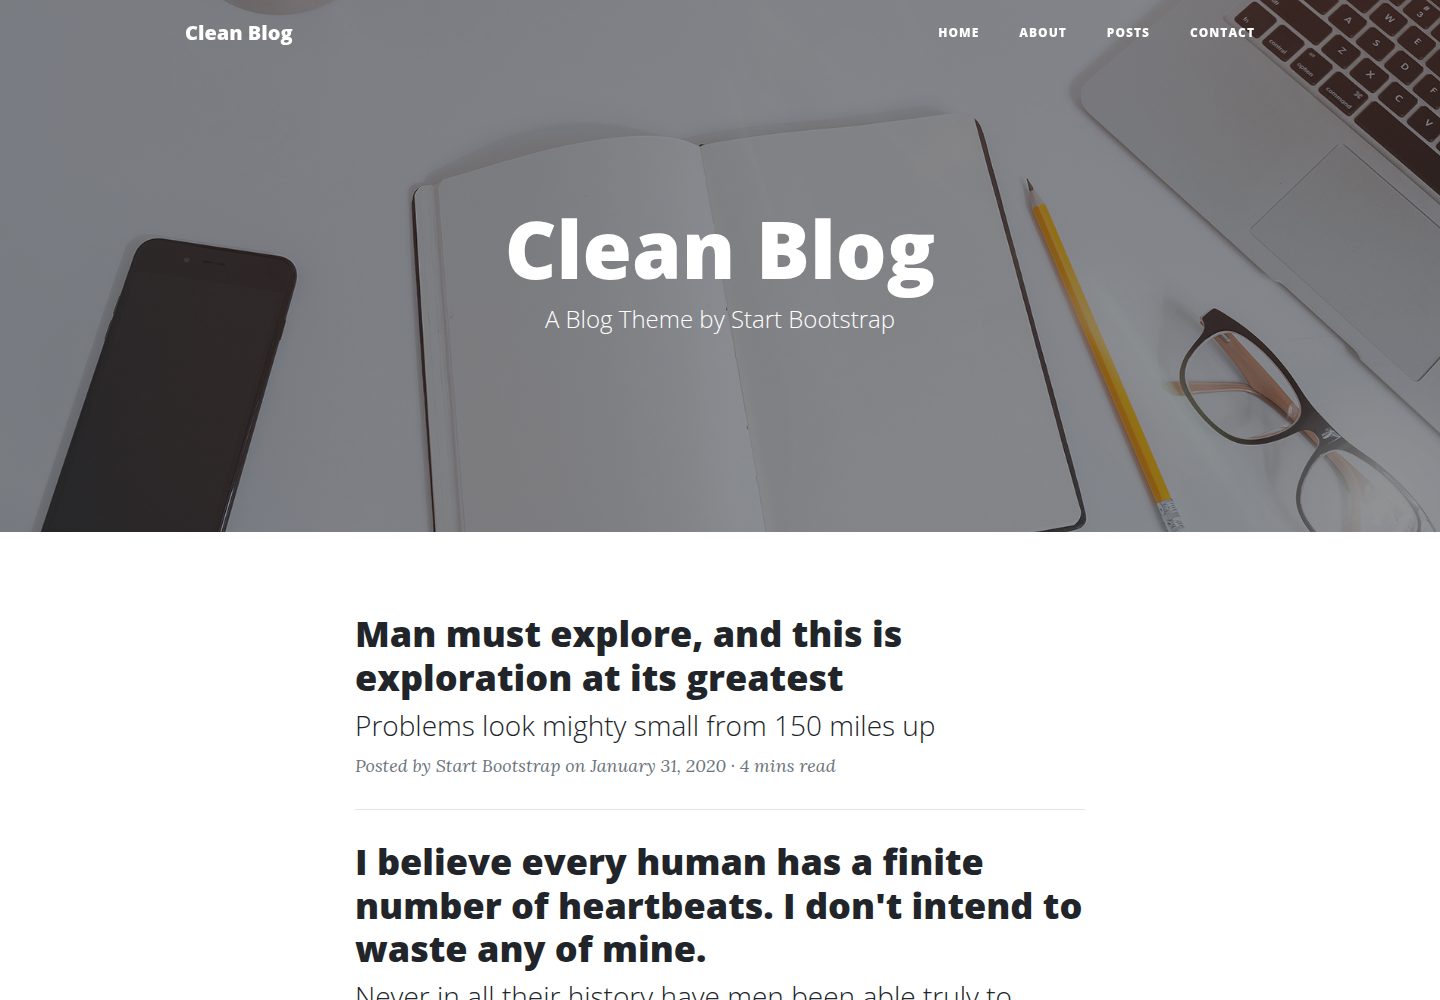
startbootstrap-clean-blog-jekyll
The official Jekyll version of Start Bootstrap's Clean Blog theme, offering a blog home page, about page, contact page, and sample post pages, with a Formspree-powered contact form.
Jekyll · Blog
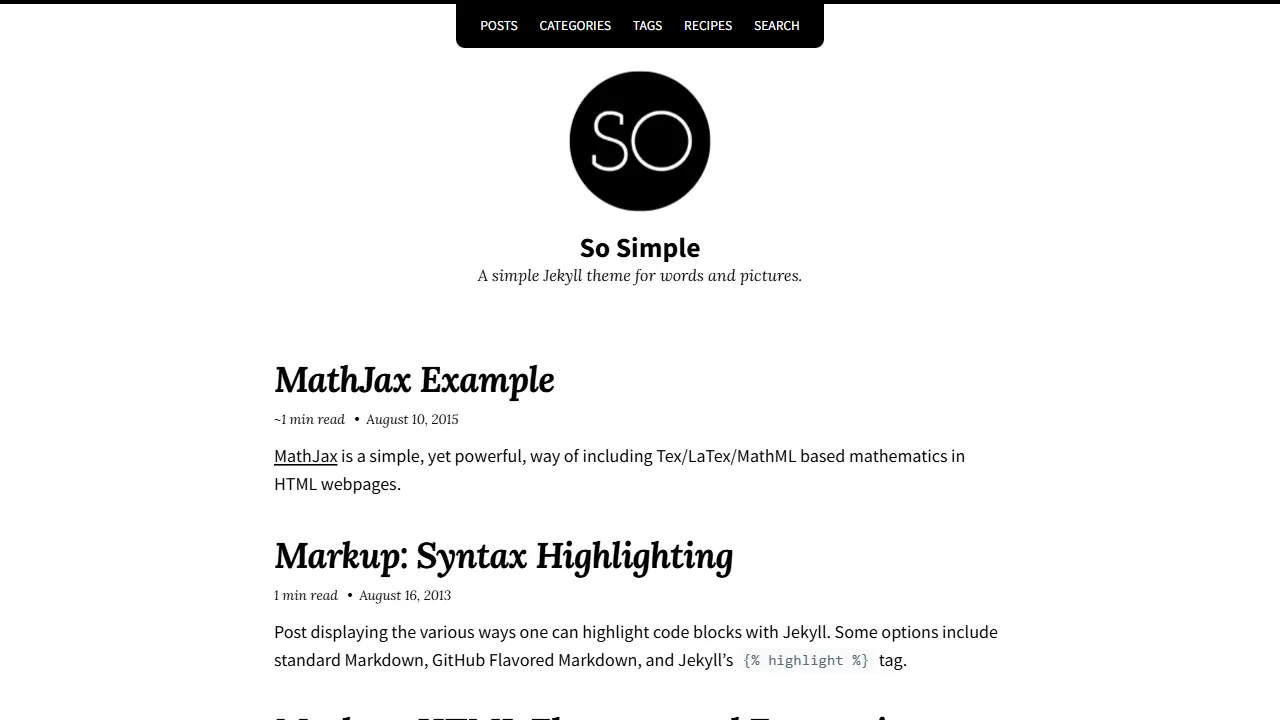
So Simple
A minimal reading-oriented Jekyll theme by Michael Rose for personal blogs, portfolios, and long-form reading. It offers multiple layouts, microformat markup, Disqus comments, Google Analytics, Jekyll SEO Tag, three skins, and aggregation by year, category, and tag with a grid view.
Jekyll · Blog