Jekyll 静态站点博客主题,内容以 Markdown 文件写入 _posts 目录
Jekyll博客
jekyll-blog-embedded — Jekyll 博客模板
作者 ptmkhanh29
一个基于 Jekyll 的极简响应式博客主题,面向技术写作,支持 Markdown 投稿与多作者配置。
看看你的网站会是什么样
浏览真实页面截图,比较内容排版与手机效果。点击下方缩略图切换,放大查看整页细节。
目前有 1 张原始预览,可打开完整图片查看设计细节。
截图用于了解视觉与布局,交互效果请以实际项目为准。
采集于 2026-10-03查看来源
值得关注的模板亮点
从已有项目资料中,快速了解它的特点。
文章 front matter 支持标题、日期、分类、标签、作者、封面图等字段
作者信息集中维护在 _data/authors.yml,支持单作者与多作者列表
文章图片可放在 assets/img 下的文章同名目录,或使用 CDN 链接
README 提供 Netlify 部署步骤,含构建命令与 _site/ 发布目录配置
模板详细介绍
该模板是一个 Jekyll 博客主题,定位为面向技术写作的极简、响应式博客。内容以 Markdown 文件形式存放在 _posts 目录,文章元数据在文件头(front matter)中配置,包括标题、日期、分类、标签、作者、封面图路径等字段。作者信息集中维护在 _data/authors.yml,支持单作者与多作者(authors 列表)两种写法。文章图片可放入 assets/img 下以文章名命名的目录,或使用 CDN 链接。
模板提供本地构建与部署说明:本地需安装 Ruby、bundler 与 Jekyll,执行 bundle 与 bundler exec jekyll s 后可在 localhost:4000 查看;部署部分给出 Netlify 的导入仓库、构建命令(jekyll build 或 bundle exec jekyll build)与发布目录(_site/)配置步骤。
仓库 README 主要面向向该仓库投稿的贡献者,而非通用主题使用文档;其中 fork、分支、提交与 Pull Request 的流程针对原项目,直接用作个人博客时需按自身仓库调整。README 未说明主题的样式细节、可配置项清单或版本兼容范围,这些需以仓库实际文件为准。
Jekyll博客
适合你的项目吗?
适用场景
- 个人技术博客或笔记站点的搭建
- 多人协作的技术写作与文档投稿
- 需要按分类、标签组织文章的内容站点
- 部署到 Netlify 的静态博客
适合人群
- 熟悉 Markdown 写作、希望用静态站点发布技术内容的开发者
- 需要多作者署名与分类标签体系的博客维护者
- 愿意自行安装 Ruby、bundler 与 Jekyll 并本地构建的用户
上手与定制指南
结合仓库当前版本的说明,按下面的资料检查内容、配置与运行要求。
- 1
本地需先安装 Ruby、bundler 与 Jekyll,再执行 bundle 安装依赖
- 2
使用 bundler exec jekyll s 启动本地服务,默认在 localhost:4000 查看
- 3
新文章需按 YYYY-MM-DD-文章名.md 命名放入 _posts 目录,并填写 front matter
- 4
作者信息需先在 _data/authors.yml 中按 name、twitter、url 格式添加
- 5
部署到 Netlify 时构建命令用 jekyll build 或 bundle exec jekyll build,发布目录填 _site/
授权与来源资料
使用条件与限制
免费使用 · 保留许可声明本次收录的是公开仓库中采用 MIT 许可的免费版本;免费范围为该版本代码,不代表外部服务或第三方素材免费。
使用时需要遵守
- 允许免费使用、修改、商用和分发该版本代码。
- 分发代码副本或实质性部分时,保留原作者版权声明和完整 MIT 许可声明。
- 代码按现状提供;担保与责任限制以原许可证及适用法律为准。
额外费用与待核对事项
- 部署到 Netlify 需注册并登录 Netlify 账号(可用 GitHub 账号登录),属于外部服务依赖,非本地必需。
- 本地构建需自行安装 Ruby、bundler 与 Jekyll 运行环境,非纯静态即开即用。
- README 建议文章图片使用 CDN 链接,可能涉及第三方图床或 CDN 服务及其费用与许可,需自行核实。
- 演示图片、字体、图标及其他第三方素材需按各自许可核对,不能仅凭代码的 MIT 许可判断。
- 域名、托管、数据库、支付或 AI 等外部服务可能另外收费。
查看原文依据
Permission is hereby granted, free of charge
许可证原文
You can deploy it to https://app.netlify.com
README 原文
Make sure you install the required dependencies like `Ruby`, `bundler` and `Jekyll` framework.
README 原文
https://github.com/ptmkhanh29/jekyll-blog-embedded/blob/master/LICENSEhttps://github.com/ptmkhanh29/jekyll-blog-embedded/blob/master/README.mdIt's highly suggested to use CDN links for images.
README 原文
DeepSeek 根据仓库许可证和 README 整理 ·2026-10-03。结果仅覆盖已读取资料,依赖、图片、字体及后续条款变更以各自原文为准。
项目核对记录与介绍依据
模板资料
- 来源平台
- GitHub
- 资料与维护参考分
- 资料一般 · 65 / 100
- 技术栈
- Jekyll
- 网站类型
- 博客
这个分数如何计算
本站按许可资料(最高30分)、演示链接(12分)、预览图(10分)、Star数(15分)、记录的维护时间(15分)、描述完整度(8分)、功能记录(5分)和分类资料(5分)计算。它不是代码、安全或性能测试,也不是 Google 评分;有链接不代表已实测可用。
这个项目需要核对什么
- 记录的仓库更新时间
- 2024-04-16
- 截图检查日期
- 2026-10-03
已收录演示链接。请用你的内容与屏幕尺寸检查;有演示不代表表单、认证或支付已经可用。
目录记录的主要技术栈是 Jekyll。请通过依赖清单和锁文件核对实际版本与托管要求。这些说明基于收录资料,不代表代码审计或部署实测。
查看具体选型方法 →介绍的制作与核对状态
介绍由 AI 辅助整理目录与仓库资料。仓库作者不等于这篇介绍的审核者。
审核声明: [email protected] · 2026-10-04
查看当时使用的来源资料
SHA-256: f9f3c40860240b4ab7200cdf13a8471625f9f3ea4c165eb632da1da913232800
2026-10-03T18:00:56.672Z
来源文件 / 仓库## Contribution
Hey there, fellow developer !!!... I'm happy to see you intrested in contributing to this open source project. Since, this project is an open notebook for everyone, you're always welcome to make your techinal writing contribution by writing you own blog, tip & trick, documentation and much more. All you have to do is write down your content in `markdown` *(just like how wrote this README.md file)* and place those file within `_posts` directory.
> First time ???... Then I highly recommend you to check out [CONTRIBUTING.md](CONTRIBUTING.md "goto CONTRIBUTING.md").
- **Step 1:** Make sure you install the required dependencies like `Ruby`, `bundler` and `Jekyll` framework. Installation varies from platform to platform, so make sure to check out the [CONTRIBUTING.md](CONTRIBUTING.md "goto CONTRIBUTING.md").
- **Step 2:** After installing the required dependencies, [fork](https://github.com/Grow-with-Open-Source/Notebook/fork "Let's fork this repo") this repository and clone it in your local system, using the following command:
```bash
git clone https://github.com/<your-github-profile>/Notebook.git
```
- **Step 3:** Build and run the project within your local machine.
```bash
# installing required dependencies for the project to run
bundle
# host the build within your local machine
bundler exec jekyll s
```
> [!NOTE]
> If project build is successful, then you can view the project build that is hosted through your [localhost:4000/Notebook](http://127.0.0.1:4000/Notebook/). Well done, you have successfully setted up the project within your local system.
- **Step 4:** After you have setted up the project and done analyzing it, Create a new branch to work on. Make sure your branch name is small and simple.
```bash
# create and checkout to your new branch
git checkout -b <your-post-name>
# checking which branch you currently in
git branch
```
- **Step 5:** Now, go ahead and enter your author details within the [`authors.yml`](_data/authors.yml) even before you started working on your technical writing. Just make sure you're entering the details in the following format:
```yml
# Make sure the key value does not match other authors
unique_key_value:
name: <author_name>
twitter: <twitter_id>
url: <personal (or) contact url>
```
<details>
<summary>Looking for an example ?</summary>
<div>
```yml
shamith_watchdogs:
name: Shamith Nakka
twitter: Shamith29188225
url: https://github.com/iamwatchdogs/
```
<div>
</details>
- **Step 6:** Now to the actual task, Create a new markdown file with `YYYY-MM_DD-your-post-name.md` *(make sure your post name is in small letters and separated by single dash)* within the [`_post`](/tree/main/_posts/) directory.
- **Step 7:** Each and every markdown file that you have created for content writing should contain the following meta data (or) config:
```md
---
title: <title>
date: YYYY-MM-DD HH:MM:SS +/-TTTT
categories: [<main_categories>, <sub_categories_1>, ..., <sub_categories_n>]
tags: [<tag_1>, ..., <tag_n>]
author: <respective_author_key_value>
img_path: "/assets/img/<your_img_directory_name>/"
image:
path: <name_of_the_img_for_page_cover>
alt: <alternative_text>
---
# Your content writing begins here
```
<details>
<summary>Looking for an example ?</summary>
<div>
```md
---
title: Welcome to the Notebook
date: 2023-09-21 20:34:00 +0530
categories: [Welcome, Guide]
tags: [introduction]
author: shamith_watchdogs
img_path: "/assets/img/welcome-page/"
image:
path: "welcome-img.jpg"
alt: "Welcome Page"
---
# remaining content down below
```
<div>
</details>
> [!NOTE]
> - Note that the `+/-TTTT` in the `date` section refers the **UTC offset**. You can find your **UTC offset** value by searching for your country in the [list of UTC](https://en.wikipedia.org/wiki/List_of_UTC_offsets "Goto List of UTC offsets"). And if you're from India, you can use the above UTC offset from the example.
> - Also not that `img_path` and `image` *(including its sub attributes)* are optional and only need when you're going to add images to your post.
> - If there are more than one person working on a single post use `authors` attribute instead of `author`. And the input for the `authors` attribute will be a list of key of authors specified within the [`authors.yml`](_data/authors.yml) file.
- **Step 8:** Now, you can proceed to write your technical content. And if you have any images that are part of your technical writing, then create a new directory using your post's name within `assets/img` directory as `assets/img/<your-post-name>`. Now add your images to your folder. After adding images to your folder, don't forget to add location to `img_path` attribute as `img_path: ../../assets/img/<your-post-name>`. Now, you can directly access your images with specifying full relative path.
> [!NOTE]
> It's highly suggested to use CDN links for images. But if you could not for any reason, then you can proceed with above process.
- **Step 9:** After you done with your changes, commit them and push them back to your forked repo.
```bash
# tracing new files and stagging new changes
git add .
# commiting your changes
git commit -m "Added <your-post-name>"
# check your branch name
git branch
# push your commits to your origin repo
git push origin <your-branch-name>
```
- **Step 10:** Now, create a pull request to the [original repo](https://github.com/Grow-with-Open-Source/Notebook). [Learn about Pull requests](https://docs.github.com/articles/using-pull-requests "offical GitHub documentaiton")
And that it, you have done it !!!... Now, it's time for the maintainer to review you work and merge you pull request. If there's any issue with your pull request, then the maintainer will contact you and asks for a few changes. And he merges your Pull request, you have successfully did your first open source contribution that actual help others.
Everybody can see you work and make use of it. Good job, mate !!...
## How to deploy to Netlify
You can deploy it to https://app.netlify.com
- **Step 1:** Now, you can login Netfiy with account Github
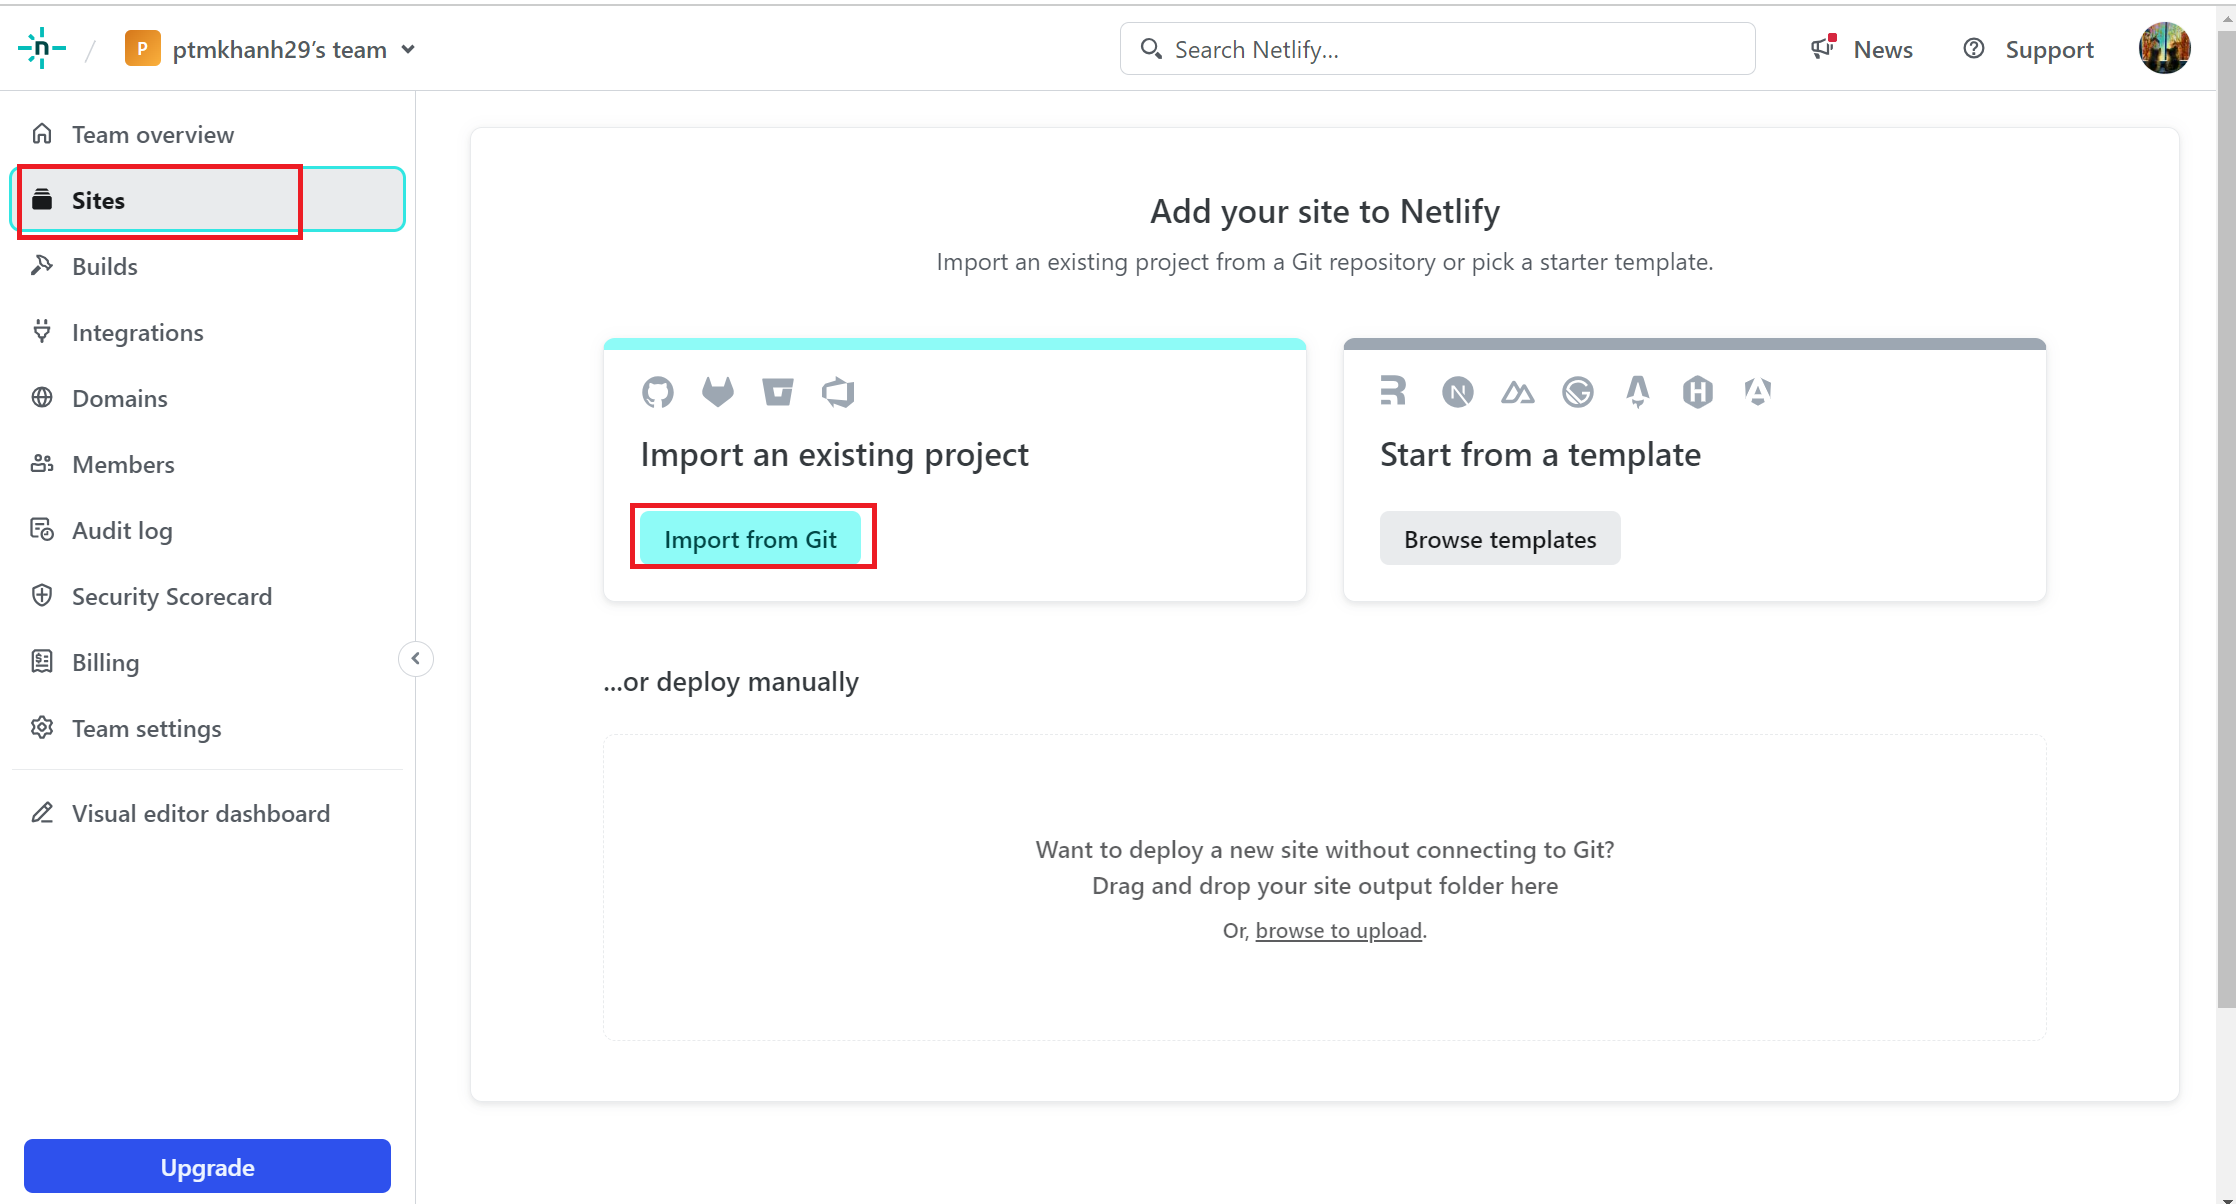
- **Step 2:** Add Your New Site:
Once you log in to Netlify, you'll be taken to https://app.netlify.com/. From here, select 'Site' in sidebar, click 'Add new site', click 'Import an existing project':
<div align="center">

</div>
- **Step 3:** Link to Your GitHub
Select 'Deploy with GitHub' to link your repository.
<div align="center">

</div>
It's time to allow Netlify and GitHub to talk to each other. Clicking the "Authorize Application" button will do just that. Netlify doesn't store your GitHub access token on our servers. If you'd like to know more about the permissions Netlify requests and why we need them, you can visit https://www.netlify.com/docs/github-permissions/.
- **Step 4**: Choose Your Repo
Now that you've connected Netlify and GitHub, you can see a list of your Git repos. There's the "jekyll" repo you just pushed to GitHub. Let's select it.
<div align="center">

</div>
- **Step 5**: Configure Build Setting
Netlify will automatically try to detect the build settings. For a Jekyll project, you need to configure the following:
Build Command: enter `jekyll build` or `bundle exec jekyll build` if you use Bundler.
Publish directory: enter `_site/`, this is the directory that Jekyll creates after building (unless you have another custom configuration).
(Optional) You may need to set an environment variable, like JEKYLL_ENV=production if needed. (In my site, I skip this option).
And click **Deploy 'Your-site'**
<div align="center">

</div>
- **Step 6**: Deploy succsee
<div align="center">

</div>
You can review the built steps in the **Deploy** tab
<div align="center">

</div>
看看同类模板
对比同技术栈与用途的模板,找到更适合的视觉与内容结构。
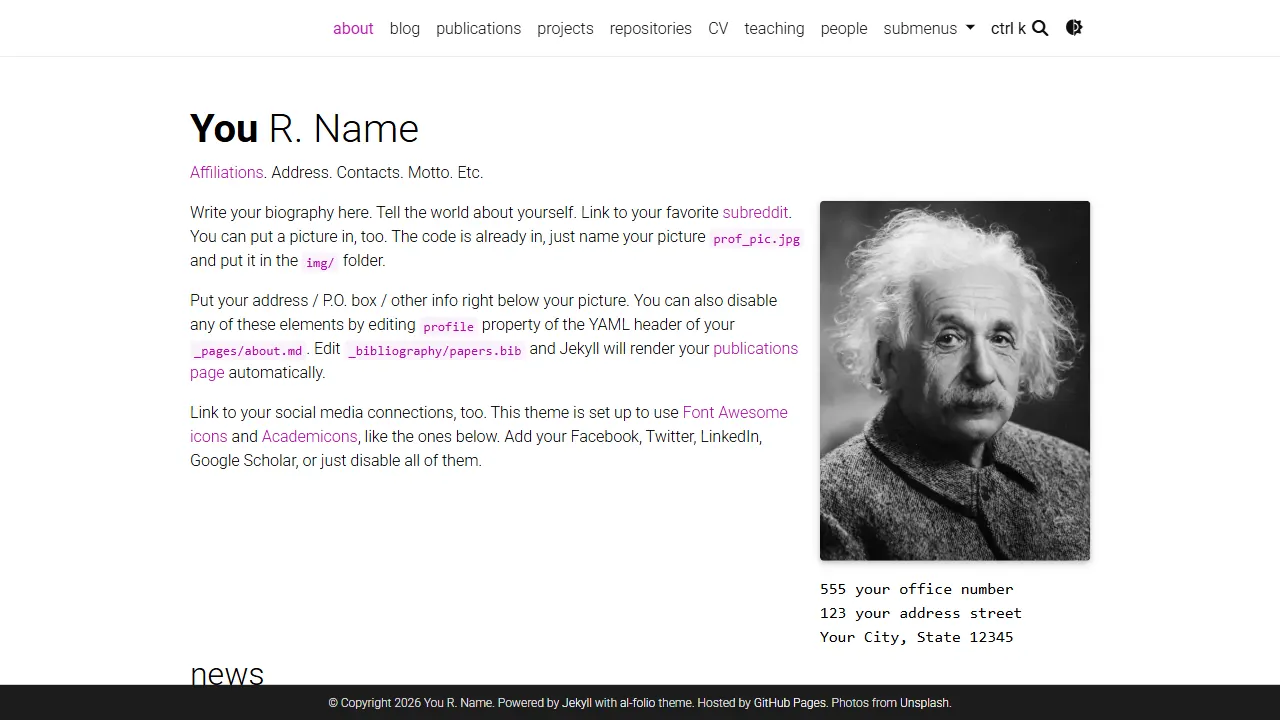
al-folio
al-folio 是一个面向学者与研究人员的 Jekyll 作品集主题,设计简洁、响应式,适合搭建个人学术主页。
Jekyll · 作品集
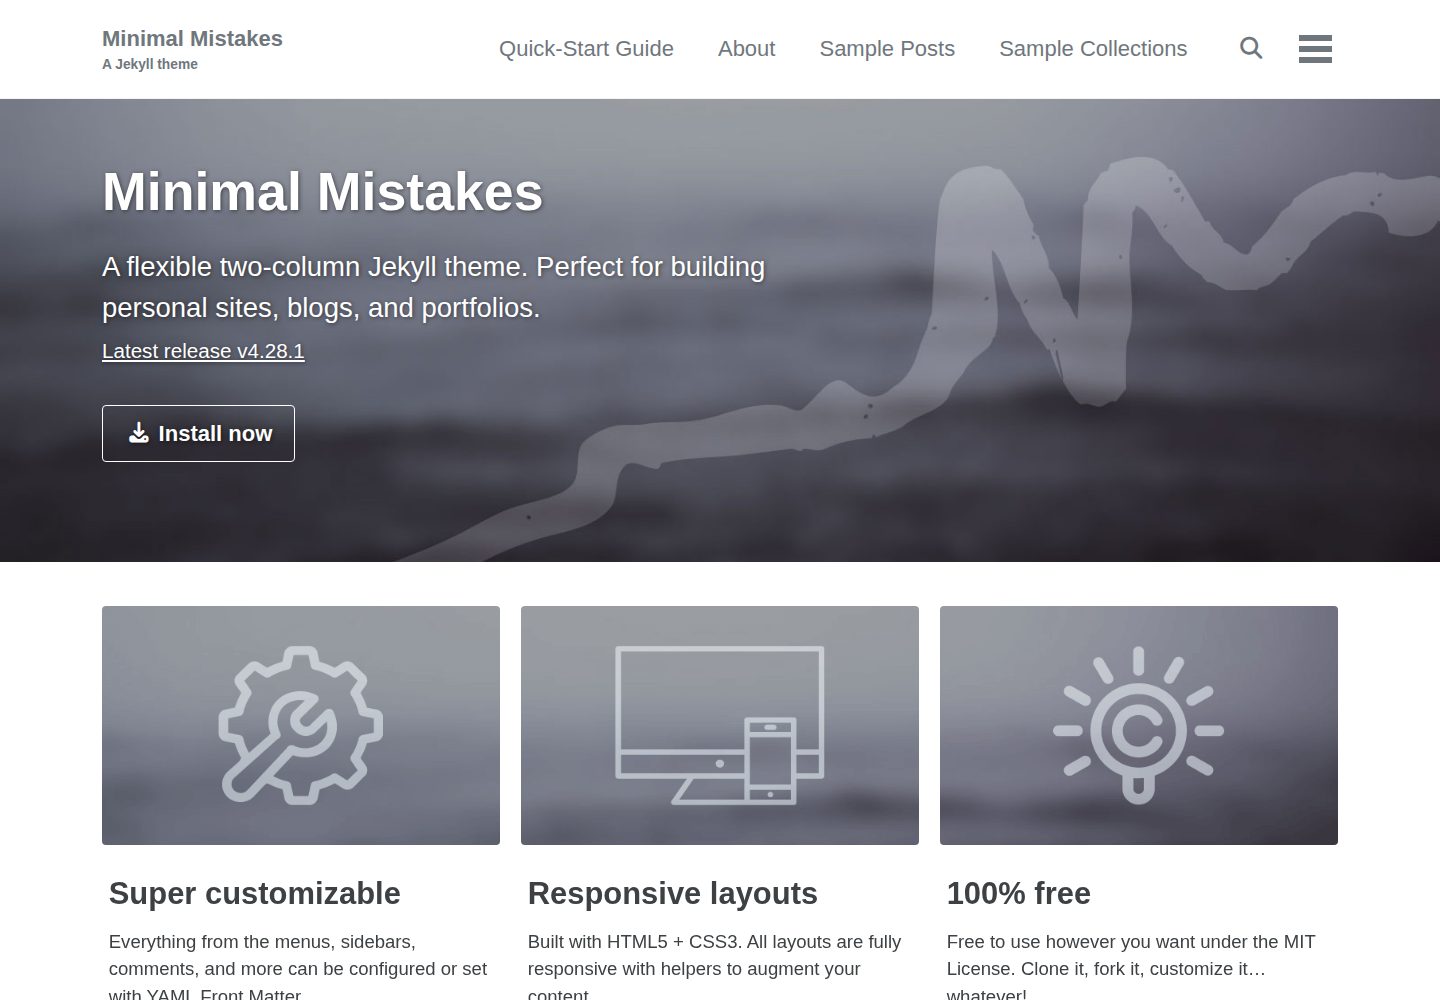
minimal-mistakes
:triangular_ruler: Jekyll theme for building a personal site, blog, project documentation, or portfolio.
Jekyll · 作品集
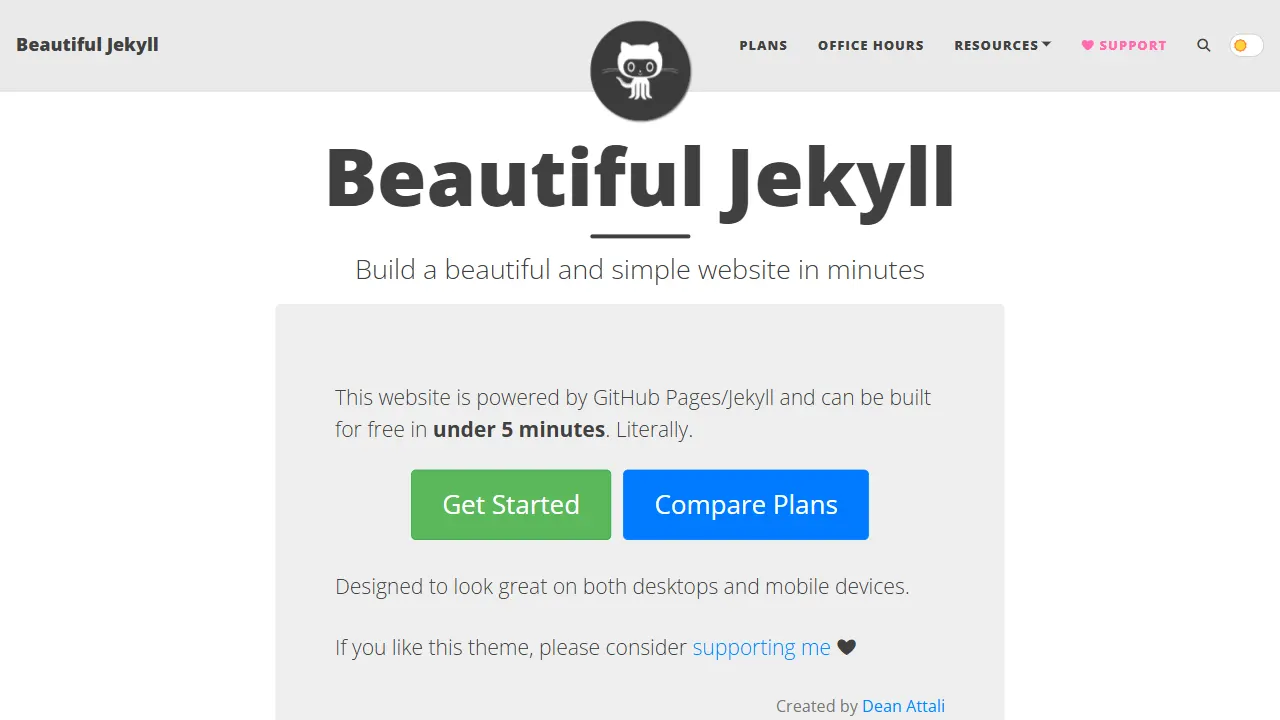
Beautiful Jekyll
Beautiful Jekyll 是一个在 Jekyll 生态中经过长期打磨的博客主题,由 Dean Attali 维护,自 2015 年起积累了超过 5 万用户。
Jekyll · 博客
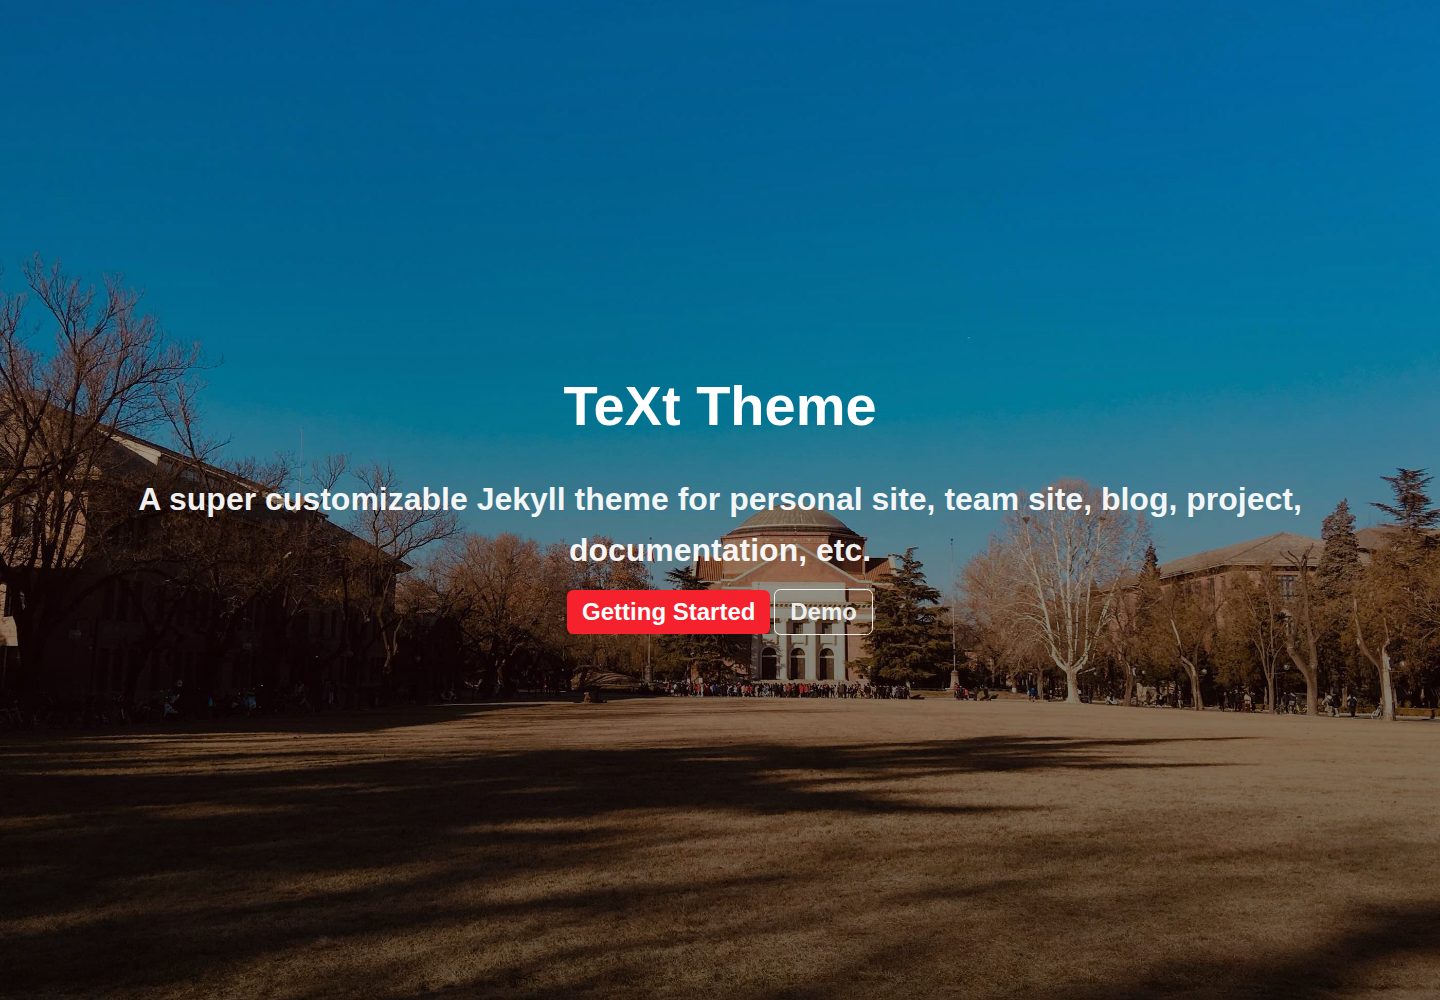
jekyll-TeXt-theme
💎 🐳 A super customizable Jekyll theme for personal site, team site, blog, project, documentation, etc.
Jekyll · 博客
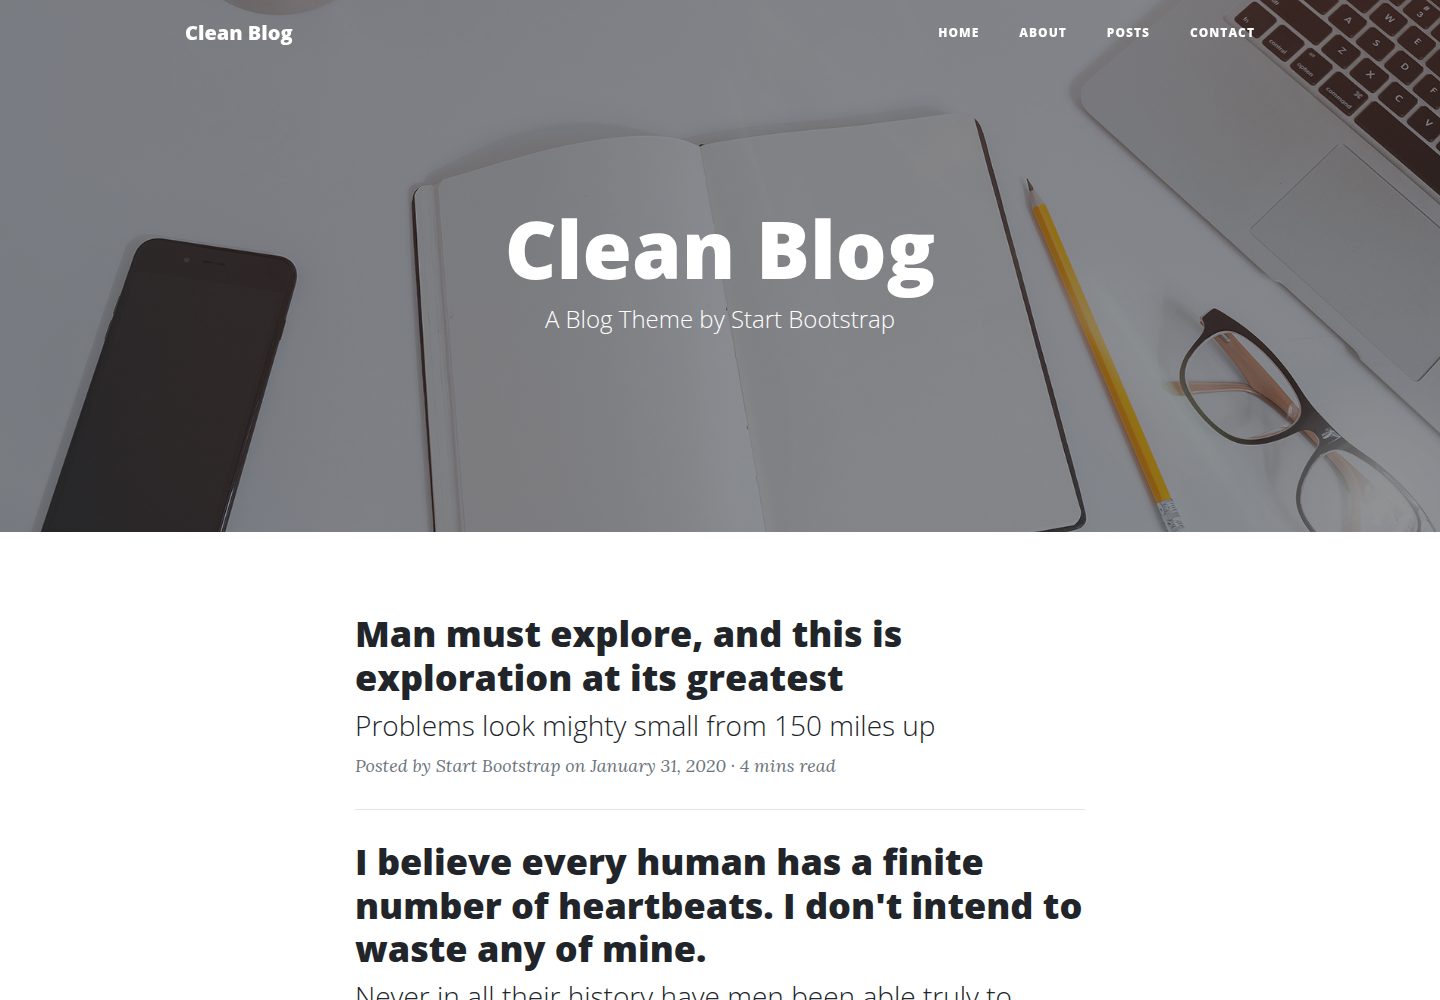
startbootstrap-clean-blog-jekyll
A Jekyll version of the Clean Blog theme by Start Bootstrap
Jekyll · 博客
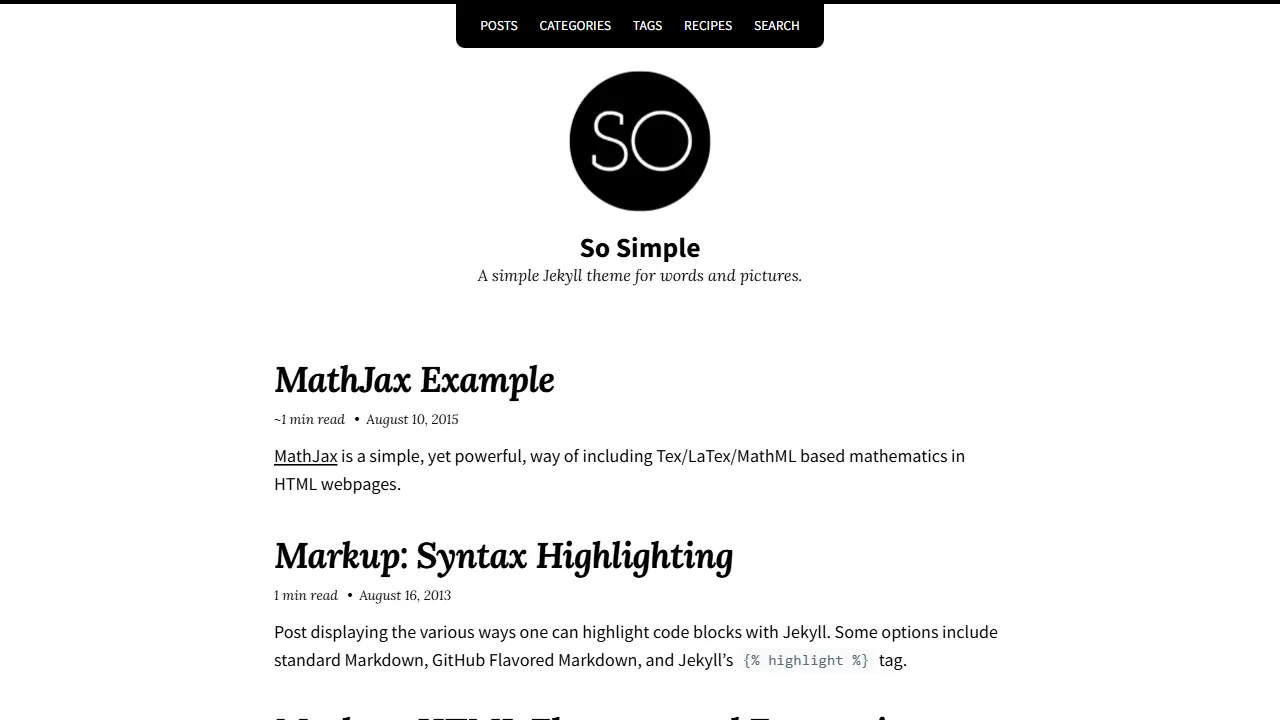
So Simple
So Simple 是 Michael Rose 开发的 Jekyll 主题,定位清晰:为文字和图片提供一个干净、可读性强的展示框架。
Jekyll · 博客