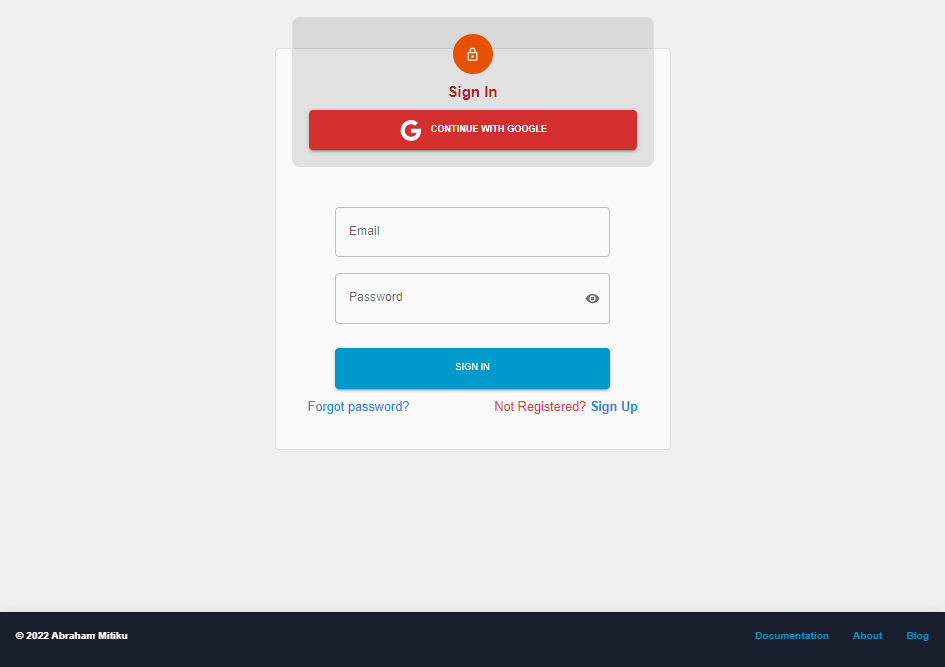
Supports both local account and Google OAuth registration and login
ReactAdmin dashboard
MERN-Dashboard-Template — React Admin dashboard Template
By purewebstar
A React admin dashboard template based on the MERN stack, providing modules for account registration and login, email verification, password reset, profile management, and scheduled tasks.
Explore the design
Compare the page layouts and mobile experience. Open any screenshot for a closer look.
Author preview
Author-provided previewTop of page
Preview provided in the project README.
One original preview is available. Open the full image to inspect the design.
Screenshots show visual appearance; interactive behavior may differ.
Recorded 2026-10-03View source
What stands out
A quick read of the recorded project description.
Completes new account verification and password reset processes via email
JWT-based REST API authentication and React route permission control
Profile management supports CRUD operations such as image upload
Includes an example of scheduled tasks based on Agenda.js
Directories are split by responsibility such as config, controllers, models, routes, and middleware
Template Details
MERN-Dashboard-Template is an open-source template for admin dashboard scenarios. It uses React as the frontend framework, with a backend based on Node.js, Express.js, and MongoDB, and the frontend paired with Material-UI and Redux. The template includes a built-in account system: it supports local account and Google OAuth registration and login, completes new account verification and password reset via email, and provides JWT-based REST API authentication and React route permission control. The profile module supports CRUD operations such as image upload, and the project also includes an example of scheduled tasks based on Agenda.js.
The repository divides directories by responsibility: client holds the frontend implementation, config handles backend initialization, controllers carry business logic, models define MongoDB data models, routes organize API endpoints, middleware handles authentication interception, email-templates stores EJS email templates, and schedules is used for scheduled tasks. The README provides example code and extension methods for each directory.
Before use, you need to prepare a MongoDB instance, SendGrid API, and Google OAuth credentials yourself, and configure the database address, JWT secret, site address, and email-related variables in .env. The template uses the MIT license, allowing free use, modification, commercial use, and distribution, but third-party assets such as demo images, fonts, and icons need to be checked separately for licensing, and external services such as domains, hosting, and databases may incur costs.
ReactBackend
Is it right for your project?
Use Cases
- Admin systems that require account registration, login, and email verification
- Rapidly building an authenticated admin interface with the MERN stack
- Backend projects that need profile maintenance and image upload functionality
- Backend application prototypes that need scheduled tasks for data operations
Suitable For
- Full-stack developers familiar with React, Node.js, and MongoDB
- Teams that need a commercially usable MIT-licensed admin template
- Learners who want to reference directory layering and authentication implementation approaches
Getting started & customization
Use these recorded setup notes alongside the repository instructions for your chosen version.
- 1
Run npm install in the main directory for the backend; for the frontend, enter the client directory and run npm install
- 2
Create a .env and configure variables such as PORT, DATABASE_URI, ACCESS_KEY, REFRESH_KEY, ORIGIN_ACCESS_HOST, SITE_HOST, verification route, SENDGRID_API_KEY, and email account
- 3
JWT secrets can be generated by running require('crypto').randomBytes(64).toString('hex') with node
- 4
Prepare a MongoDB instance, SendGrid API, and Google OAuth credentials in advance
- 5
Email templates use EJS; set the view engine in server.js and configure the template path
License & source material
Usage conditions & limitations
Free to use · keep license noticeThis entry covers the free version under the MIT license in the public repository; the free scope is the code of this version and does not mean that external services or third-party assets are free.
Must comply with when using
- Allows free use, modification, commercial use, and distribution of this version's code.
- When distributing copies or substantial portions of the code, retain the original author's copyright notice and the full MIT license notice.
- The code is provided as is; warranties and limitations of liability are governed by the original license and applicable law.
Additional costs & items to verify
- Using email verification and password reset features requires registering for SendGrid yourself and configuring environment variables such as SENDGRID_API_KEY; SendGrid is an external service and may incur costs.
- Using Google OAuth login requires creating and configuring credentials yourself in the Google Console, which is an external service dependency.
- You need to prepare a MongoDB database yourself (such as MongoDB Atlas) and configure DATABASE_URI; hosted databases may incur costs.
- Demo images, fonts, icons, and other third-party assets need to be checked against their respective licenses and cannot be judged solely by the code's MIT license.
- External services such as domains, hosting, databases, payments, or AI may incur additional charges.
View Original Text Basis
Permission is hereby granted, free of charge
Original License Text
@SendGrid API setup [SendGridAPI](https://sendgrid.com/)
Original README
Google oAuth setup [Google Console](https://console.cloud.google.com/)
Original README
https://github.com/purewebstar/MERN-Dashboard-Template/blob/main/License.mdhttps://github.com/purewebstar/MERN-Dashboard-Template/blob/main/README.mdMongoDB setup [MongoDB Atlas](https://www.mongodb.com/cloud/atlas/register)
Original README
Compiled by DeepSeek based on repository license and README ·2026-10-03. Results only cover the materials read; dependencies, images, fonts, and subsequent term changes are subject to their respective original texts.
Project checks & description sources
Template Information
- Source platforms
- GitHub
- Documentation and maintenance reference score
- Partly documented · 60 / 100
- Technologies
- React
- Website type
- Admin dashboard
How this score is calculated
Our heuristic uses license records (up to 30), a demo link (12), a preview (10), stars (15), recorded maintenance (15), description completeness (8), feature records (5) and classification data (5). It is not a code, security or performance test, or a Google score. A link does not establish tested functionality.
What to verify for this project
- Repository update recorded
- 2022-03-14
- Screenshot last checked
- 2026-10-03
No demo link is recorded. Use the repository instructions to evaluate the project locally; the screenshot alone cannot establish interactive behavior.
The catalog identifies React as the primary stack. Check the actual dependency manifest and lockfile for versions and hosting requirements. These notes use recorded metadata, not a code audit or a deployment test.
Use a selection guide →How this description was prepared
AI-assisted description based on catalog records and repository material. Repository authors are not automatically the reviewers of this description.
Automatically checked against source and license rules; no manual editorial review.
Inspect the recorded source material
SHA-256: 739b4555fa822a82680cd21801bba2931d634dabb782973152f7fd484a857390
2026-10-03T08:35:45.333Z
Source file / repository# MERN Dashboard Template This Template allows you to quickly and easily develop a web application using MERN stack. It helps you if you read through this README to get the most our of what this template has to offer. I appreciate any issue reports or recommendations for further development. Screenshot 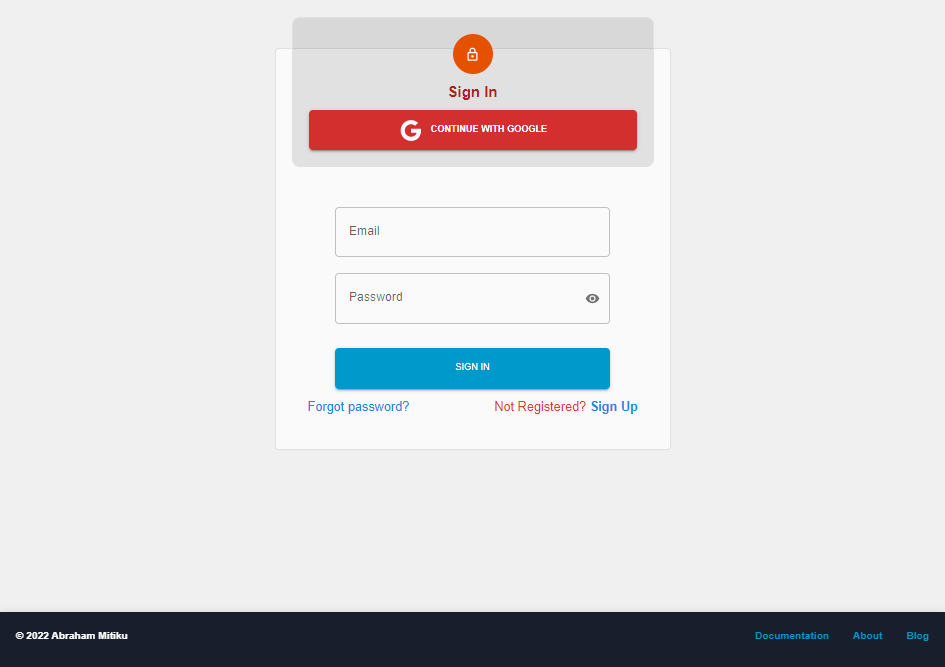 ## Getting Started These instructions will guide you on how to use and integrate with your design or next app idea. For Front-End implementation guides, you can find necessary informations in clients directory. ## Features :white_check_mark: Signup & Sign-in with Google OAuth and Local Account. :white_check_mark: New account verification via email address. :white_check_mark: Reset password verification via email address. :white_check_mark: Profile Management, picture upload, ...(CRUD operations). :white_check_mark: React Routes authentications. :white_check_mark: REST API with (passport, jsonwebtoken) for authentication. :white_check_mark: Scheduling Job tasks. ## Pre-requisite :exclamation: npm + (node) latest version [nodejs](https://nodejs.org/en/download/) :exclamation: React 16.8++ [ReactJs](https://reactjs.org/) :exclamation: React Router V6 [react-router-dom](https://reactrouter.com/docs/en/v6/getting-started/overview) :exclamation: Material UI [MUI](https://mui.com/getting-started/installation/) :exclamation: MongoDB setup [MongoDB Atlas](https://www.mongodb.com/cloud/atlas/register) :grey_exclamation: @SendGrid API setup [SendGridAPI](https://sendgrid.com/) :grey_exclamation: Google oAuth setup [Google Console](https://console.cloud.google.com/) ## Frameworks / Tools ### **Backend** :heavy_check_mark: Node.js :heavy_check_mark: Express.js ### **Frontend** :heavy_check_mark: React.js :heavy_check_mark: Material-UI :heavy_check_mark: Redux ### **Database** :heavy_check_mark: MongodDB ## Installation - [x] **Backend setup** > In the current/main directory folder run this command, Which will install all dependencies for [Backend] ```bash > npm install --save ``` > Add Environmental variable **.env** file! and add accordingly ``` PORT= ? // port number for [backend development] e.g 4000 DATABASE_URI= ? // database URI ACCESS_KEY= ? // secret access_key for jwt authentication REFRESH_KEY= ? // secret refresh_key for jwt authentication ORIGIN_ACCESS_HOST= ? FrontEnd Host Link e.g https://example.com || http://localhost:3000 SITE_HOST= ? Backend Host Link e.g e.g https://api.example.com || http://localhost:4000 NEW_ACCOUNT_VERIFY_ROUTE= ? // New account verification link e.g auth/verify-email/1 RESET_PASSWORD_VERIFY_ROUTE=? // Reset password verification link e.g auth/verify-email/0 SENDGRID_API_KEY= ? // SENDGRID API KEY SECRET_SITE_EMAIL= ? // your sendgrid connected -> email address e.g [email protected] SECRET_SITE_EMAIL_PASSWORD= ? // your sendgrid connected -> password ``` > To Generate **TOKENS** using **CRYPTO** write & run this below in your terminal. ```bash > node > require('crypto').randomBytes(64).toString('hex') ``` - [x] **Frontend setup** > In the current/main directory folder run this command, Which will install all dependencies for [Frontend] ```bash > cd client > npm install --save ``` ## Implementation **:heavy_check_mark: Below is Implementation of Backend** For Front-End implementations you can visit to **Client** directory folder [Frontend README](https://github.com/abriilo/MERN-Dashboard-Template/blob/main/client/README.md) ## Table of Contents 1. [File Structure](#file-structure) 2. [Config](#config) 3. [Models](#models) 4. [Controllers](#controllers) 5. [Routes/Api](#routes) 6. [Middleware](#middleware) 7. [Email-Templates](#email-templates) 8. [Schedules/Task](#schedules) ## File Structure <a id="file-structure"></a> | Folder | Description | | --- | --- | | `client` | Front end implementation directory | | `config` | Configuration folder for back end | | `controllers` | Where business logic applied (data manipulations) | | `email-templates` | Ejs/html files that will be rendered and send to emails | | `middleware` | Intercepts every request which requires authorization| | `models` | Mongodb database schemas | | `routes` | API endpoints | | `schedules` | Scheduling tasks for data manipulations (CRUD) operations | ## Configuration <a id="config"></a> > Here initiation of important libraries will be implement here. You can Add any libraries for initiation here. For example: initializing Database (mongodb) ```javascript // create initMongdob file in config director and then inside, create initMongDb function - which accepts mongoose object // One Parameter - Accepts (mongoose object) // after exporting ... you require and add mongoose object from server.js file const initMongoDb = (mongoose) =>{ mongoose.connect(process.env.DATABASE_URI,{ useNewUrlParser: true, useUnifiedTopology: true }) .then(() => console.log("Connected to mongoDB")) .catch(err => console.log(err.message)) }; // export and call this function from server.js file module.exports = initMongoDb; // Then later in server.js file // import mongoose library // import initMongodb function const mongoose = require('mongoose'); const initMongoDb = require('./config/initMongoDb'); // call initMongodb function initMongoDb(mongoose); // so, every initializing will goes like this. ``` ## Models <a id="models"></a> > Models - Database Schemas will be designed in this folder For example: to create new model ```javascript // create a file in models folder.. e.g User.js // import mongoose library // and implement your model schema for User document // simple example const mongoose = require('mongoose'); const UserSchema = mongoose.Schema({ email: String, password: String, },{timestamps:true}); // then export this module module.exports = mongoose.model('User', UserSchema); // later on, these models will be imported in controllers director folder. ``` ## Controllers <a id="controllers"></a> > Controllers - Here where we manipulate user data, ... business logics For example: to create new controller ```javascript // create a file in controllers folder.. e.g Account.controller.js // first thing is import database from models directory folder const User = require('../models/User'); // here you can import any libraries or models you think useful // create a controller functions [eg. creatAccount] const createAccount = (req, res)=>{ // steps to do // 1. implement your logic here // 2. then export it // 3. import it on your routes -> api directory folder } // then export this module module.exports = {createAccount} // later on, these controllers will be imported in routes director filder ``` ## Routes - API Endpoints <a id="routes"></a> > Routes - which contains [ api directory folder && index.js file] **api folder** - contains all api end-point js files **index.js file** - imports all api's and lined with a single api route. For example: api folders > ```javascript // contains [many api routes and one index.js file] // index.js file - import api routes and arrange them accordingly // many api route files - each describes their own api routes // e.g lets create account api route in api directory [account.js] // and create index.js file // [account.js] // import necessary modules/libraries here // imports controller from account.controller const express = requre('express'); // we have created [createAccount function before] in account.controller.js file const {createAccount} == require('../../controllers/Account.controller'); const router = express.Router(); // now create endpoints for account route router.post('/create-account', createAccount); // implement many as you need an api endpoint for account route. // the export it module.exports = router // later on will be imported in index.js file in [same director] // [index.js] const router = require('express').Router(); const accountRoutes = require('./account'); // account route router.use('/account', accountRoutes); // same as https://****/user/account/*** // add many routes eg[ profile, ..etc] // export this file module.exports = router; // later on wil be imported and used with [router folder] index.js file // which all will be as a single line endpoint [user/] // in [routes folder] index.js file // import root or collected api routes const router = require('express').Router(); const apiRoutes = require('./api'); // api routes router.use('/user', apiRoutes); // export this router // later on, will be imported and called from server.js file // in server.js file const routes = require('./routes'); app.use(routes); // done.. ``` ## Middleware <a id="middleware"></a> > Middleware - Intercepts in every requests for required authorization routes. For example: create checkAuthorized.js file in middleware folder ```javascript // import any necessary library for authorization purporse. // in this case, we use passport const passport = require('passport'); // create passport authenticate const checkAuthorized = passport.authenticate('jwt', { session: false }); // export it module.exports = checkAuthorized; // later on, will be used in routes -> api -> api's file // e.g create api file in one of api endpoint files => [profile.js] const express = require('express'); const checkAuthorized = require('../../middleware/checkAuthorized'); const {readProfile} = require('../../controllers/Profile.controller'); const router = express.Router(); // here will will add checkAuthorized between api endoint and controller function router.get('/auth/read-profile', checkAuthorized, readProfile.auth.byId); // module.exports = router; // ``` ## Email Templates <a id="email-templates"></a> > email-templates - This is an ejs file templates which can be rendered and send to a user email address. create ejs file and to render: ```javascript // after/before creating an email template make sure: // you created a path and set view [ejs] in server.js file // you can use any templates here // In [server.js] file add app.set('view engine', 'ejs'); // you can use any templates // then ``` ```javascript // in any controllers file // import necessary libraries // for this case const ejs = require('ejs'); // ejs template for nodejs const path = require('path'); // path of email template // import your initialized mailing system. const sendMail = require('../config/initMailer'); // for this case, we used, sendgrid api // render your ejs file as this code below let ejsTemplate = 'your template name'; let to = '[email protected]'; let from = 'your sendgrid api email'; let subject = 'testing ejs file template'; let text= 'it works good'; let dataToRender = { username: 'sampleuser', linkToRedirect: 'https://exmaple.com/verify/...', image: 'https://imagelinksifnecessary.com' } ejs.renderFile(path.join(__dirname, `path/to/email-template/${ejsTemplate}`), // here you can use any data's or information you want to render // this data later on be displayed on users email address // make sure to use same varables name in your ejs/anytemplate file dataToRender ) .then(async(result) => { let emailTemplate = result; await sendMail(from, to, subject, text, emailTemplate); }) .catch(err => { console.log('unable to render email template!') }); // ``` ## Scheduling - Job tasking <a id="schedules"></a> > Scheduling - are job tasks which can be used for data manipulation in some time intervals. For example: create a schedule job file in - schedules directory folder ```javascript // first you are required to use job tasks libraries for this purpose // In this case, We used Agenda.js // initialize and create Agenda in config folder like we do // export and import initAgenda file it in server.js file // You can use any job tasking libraries. // Next step, // before creating job tasks make sure to call jobs tasks in controllers const removeAccount = async(req,res)=>{ //schedule your job task here first, then } // create job task file in schedules folder // import, initAgenda/or job tasks initializer function from config // import any useful controllers for data manipulations // DEFINE ALL JOB TASKS // add many tasks as you need here, then // create a function for intercepting in every request const AccountJobs = app =>{ app.use("/account-jobs", (req, res) => { res.send("Database job added to queue!"); }); } // export accountjobs and import it in server.js // Later on, const AccountJobs = require('./schedules/AccountJobs'); AccountJobs(app); // ``` ## Contribution Let me know if you find any issue or difficulties. ## Author :man: **Abraham Mitiku** - [Website](https://abraham-mitiku.com) - [Github](https://github.com/abriilo) - [Linkedin](https://www.linkedin.com/in/abrilo/) ## If this helps Give this a :star:
Explore similar templates
Compare previews and descriptions within the same stack and category.
ant-design-pro
Ant Design Pro is an enterprise-grade React admin scaffold built on React 19, Umi Max 4, and antd 6 with TypeScript.
React · Admin dashboard
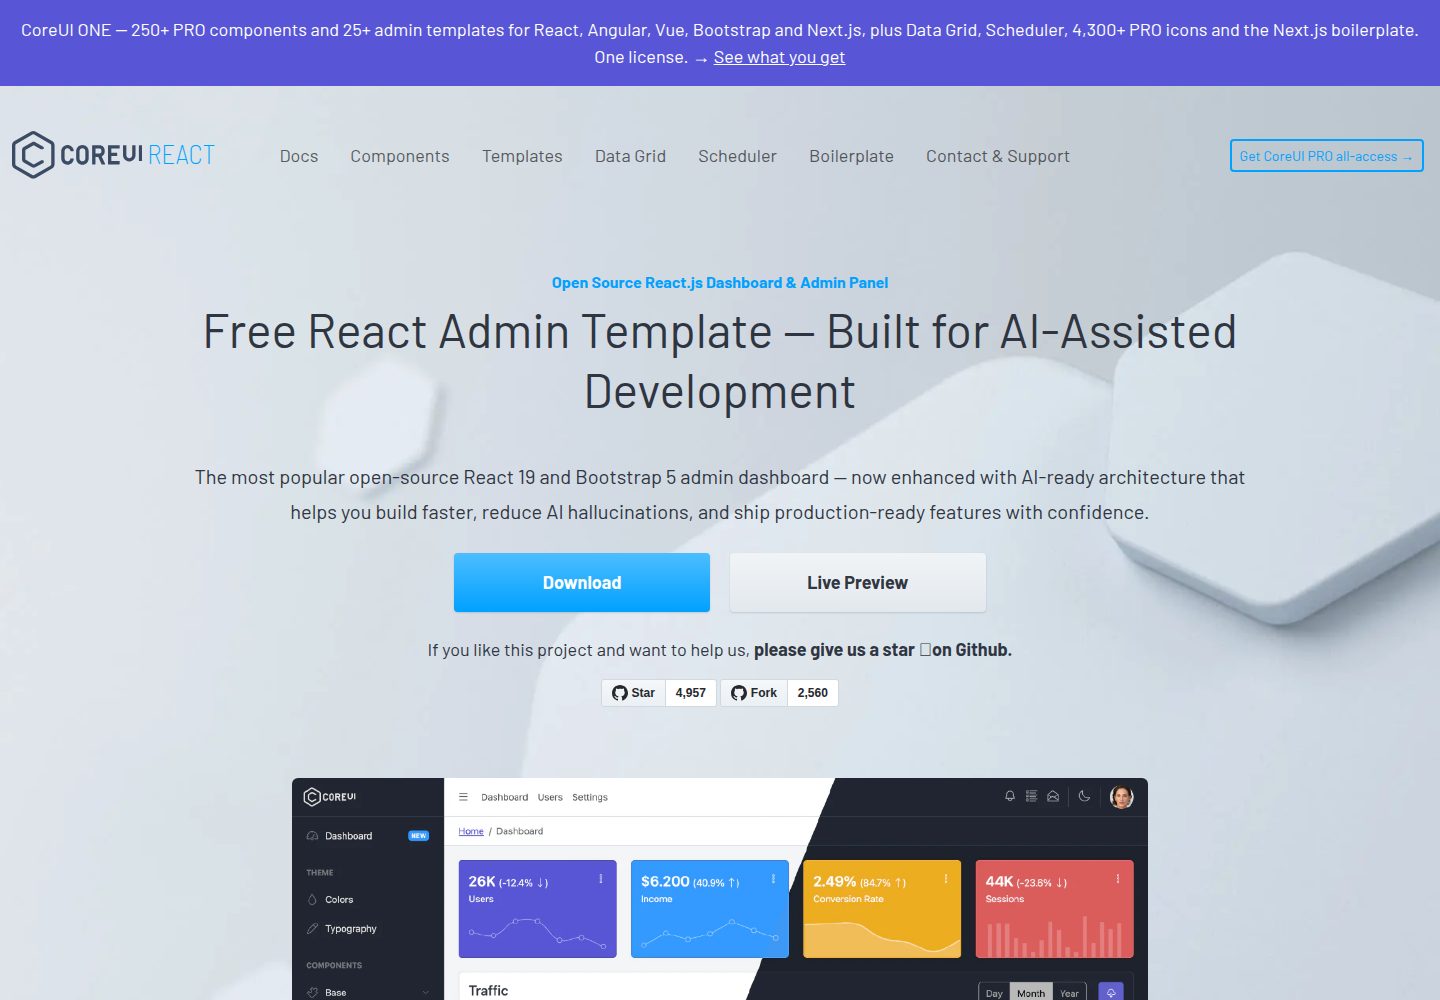
coreui-free-react-admin-template
CoreUI's free React admin template, built on React and the CoreUI component library, provides dashboard layouts, sidebar navigation, routing, and example views. It includes .cursorrules, ARCHITECTURE.md, and DEVELOPMENT.md context files, plus JSDoc comments and PropTypes, to support AI-assisted development.
React · Admin dashboard
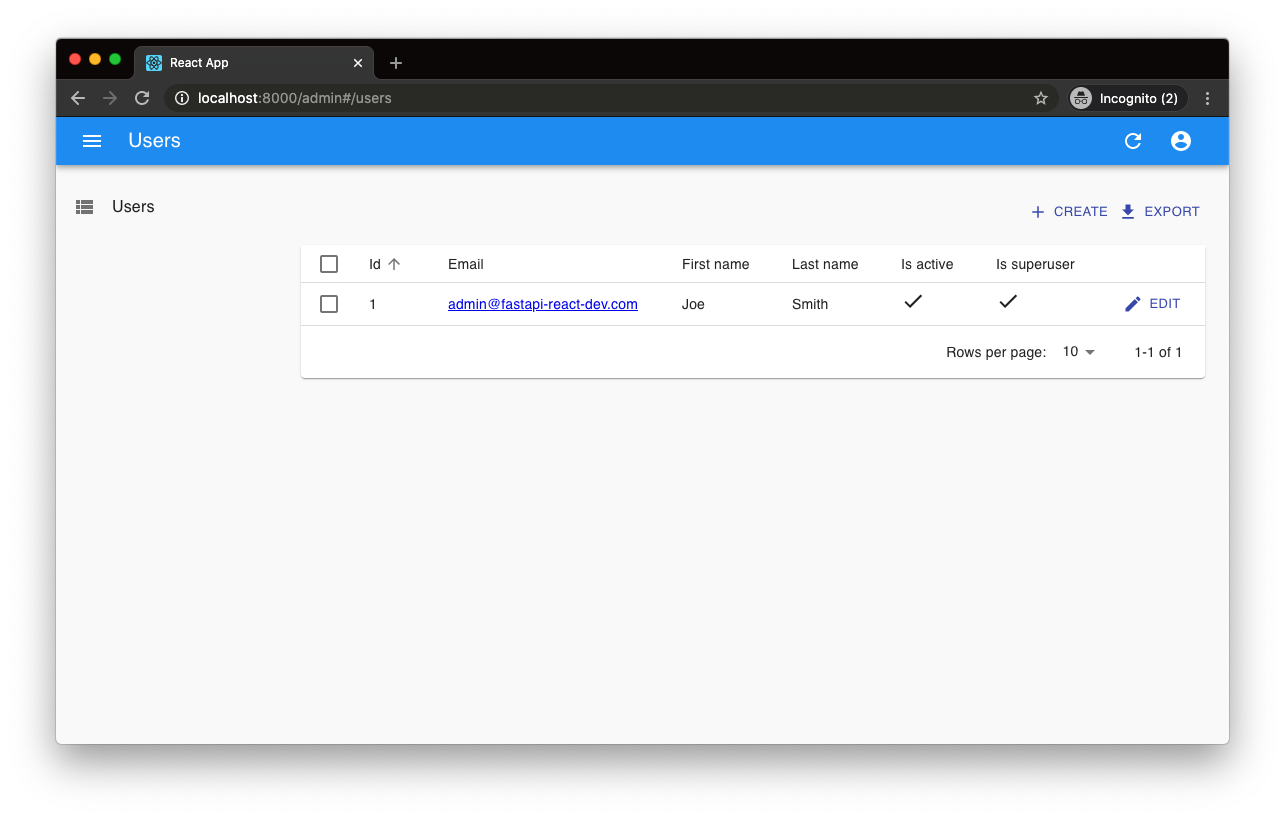
fastapi-react
A Cookiecutter template for FastAPI + React (TypeScript) full-stack projects, integrating PostgreSQL, SQLAlchemy, Alembic, Celery, Redis, JWT authentication, a react-admin admin panel, and a Docker Compose development environment with Nginx reverse proxy.
React · Admin dashboard

react-antd-admin-template
A React + Ant Design admin template for mid- and back-office products, with built-in login/logout, dynamic routing, permission checks, and user management.
React · Admin dashboard
react-saas-template
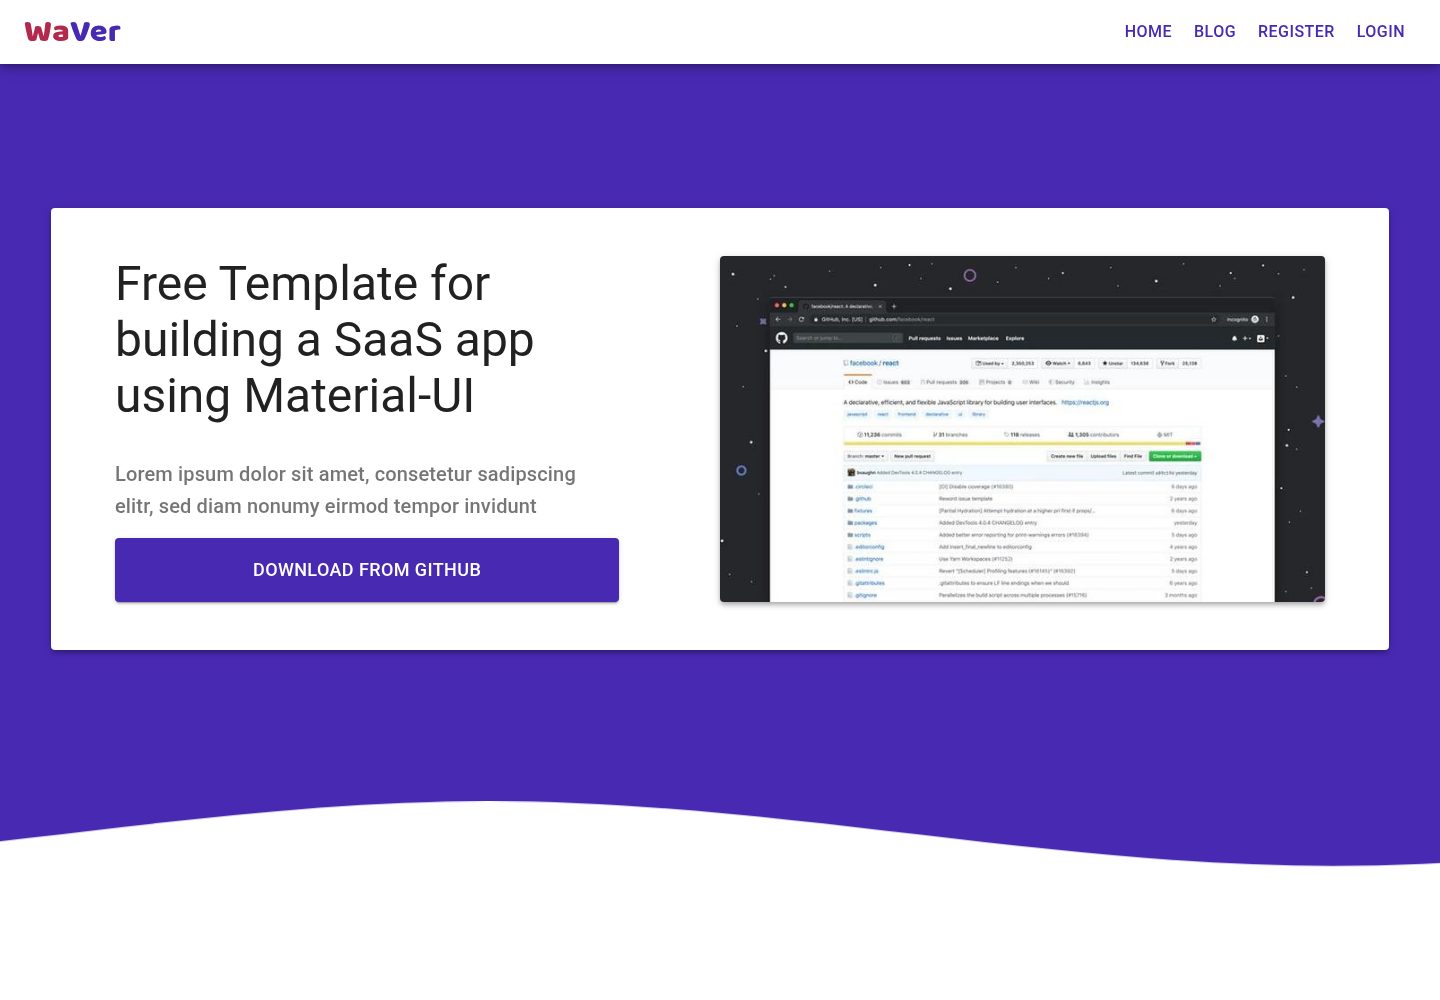
A React and Material-UI template for SaaS or admin websites, offering dashboard, chart, blog, payment, and file upload components. It uses Create-React-App, React-Router, Recharts, React-Stripe-js, React-Dropzone, and React-Cropper, with theme colors centralized in src/theme.js.
React · Admin dashboard
react-material-admin
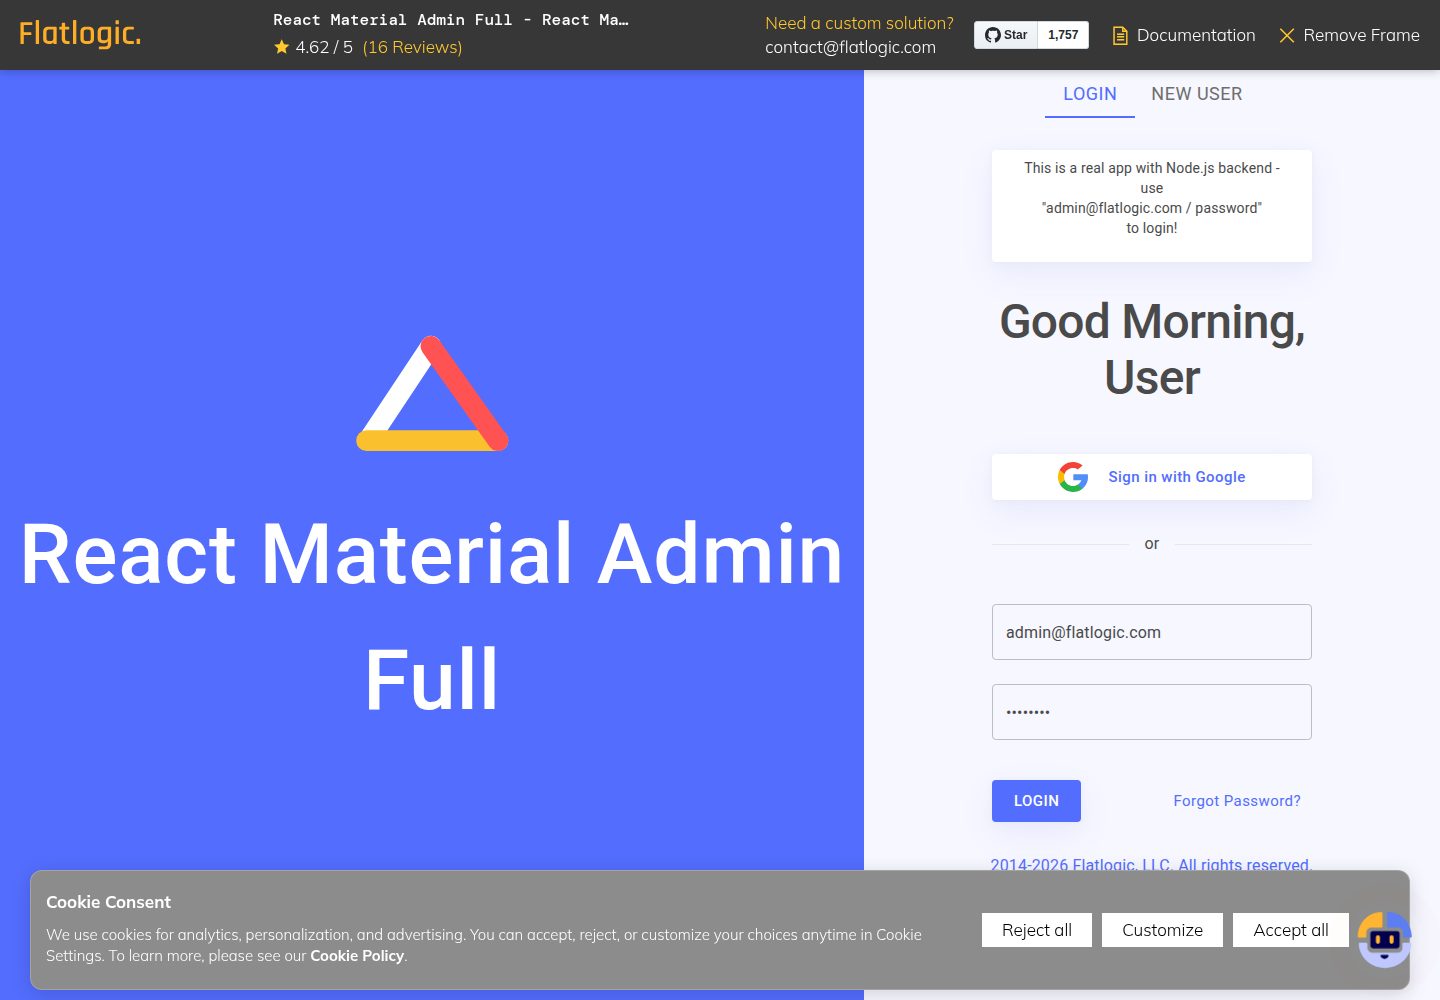
React Material Admin is an MIT-licensed React admin template by Flatlogic, built on Material-UI. It provides dashboards, charts, tables, authentication, profile, and notification pages, with three color themes and responsive layouts.
React · Admin dashboard