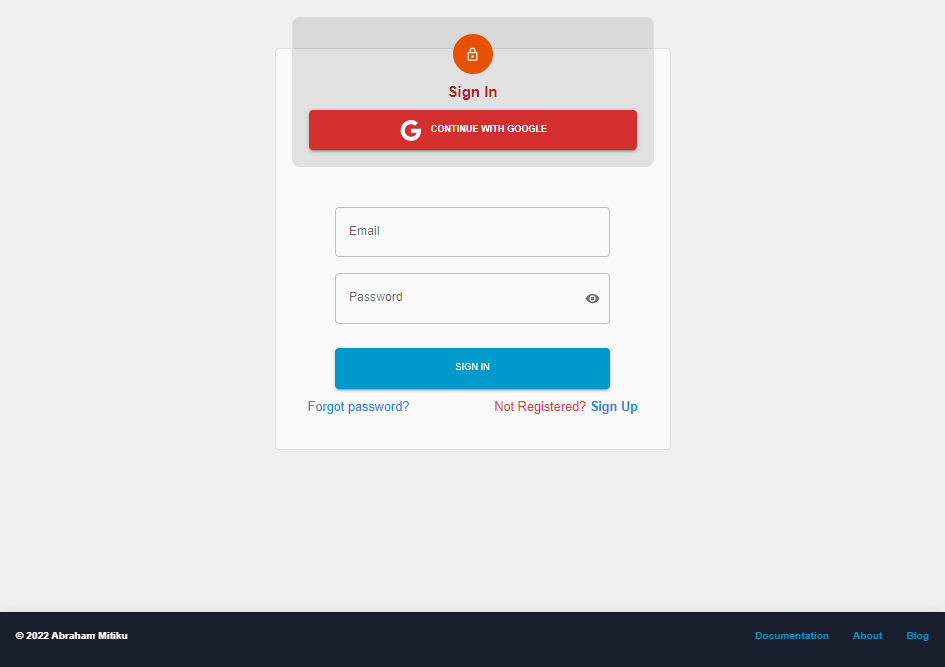
支持本地账号与 Google OAuth 两种注册登录方式
React后台
MERN-Dashboard-Template — React 后台模板
作者 purewebstar
基于 MERN 栈的 React 后台管理模板,提供账号注册登录、邮箱验证、密码重置、个人资料管理与定时任务等模块。
看看你的网站会是什么样
浏览真实页面截图,比较内容排版与手机效果。点击下方缩略图切换,放大查看整页细节。
目前有 1 张原始预览,可打开完整图片查看设计细节。
截图用于了解视觉与布局,交互效果请以实际项目为准。
采集于 2026-10-03查看来源
值得关注的模板亮点
从已有项目资料中,快速了解它的特点。
通过邮箱完成新账号验证与密码重置流程
基于 JWT 的 REST API 鉴权与 React 路由权限控制
个人资料管理支持图片上传等 CRUD 操作
内置基于 Agenda.js 的定时任务示例
目录按 config、controllers、models、routes、middleware 等职责拆分
模板详细介绍
MERN-Dashboard-Template 是一个面向后台管理场景的开源模板,使用 React 作为前端框架,后端基于 Node.js、Express.js 与 MongoDB,前端搭配 Material-UI 与 Redux。模板内置账号体系:支持本地账号与 Google OAuth 注册登录、通过邮箱完成新账号验证与密码重置,并提供基于 JWT 的 REST API 鉴权与 React 路由权限控制。个人资料模块支持图片上传等 CRUD 操作,项目还包含基于 Agenda.js 的定时任务示例。
仓库按职责划分目录:client 存放前端实现,config 负责后端初始化,controllers 承载业务逻辑,models 定义 MongoDB 数据模型,routes 组织 API 端点,middleware 处理鉴权拦截,email-templates 存放 EJS 邮件模板,schedules 用于定时任务。README 提供了各目录的示例代码与扩展方式。
使用前需要自行准备 MongoDB 实例、SendGrid API 与 Google OAuth 凭据,并在 .env 中配置数据库地址、JWT 密钥、站点地址与邮件相关变量。模板采用 MIT 许可,允许免费使用、修改、商用与分发,但演示图片、字体、图标等第三方素材需单独核对许可,域名、托管、数据库等外部服务可能产生费用。
React后台
适合你的项目吗?
适用场景
- 需要账号注册、登录与邮箱验证的后台管理系统
- 希望以 MERN 栈快速搭建带鉴权的管理界面
- 需要个人资料维护与图片上传功能的后台项目
- 需要定时任务处理数据操作的后台应用原型
适合人群
- 熟悉 React、Node.js 与 MongoDB 的前后端开发者
- 需要可商用 MIT 许可后台模板的团队
- 希望参考目录分层与鉴权实现方式的学习者
上手与定制指南
结合仓库当前版本的说明,按下面的资料检查内容、配置与运行要求。
- 1
后端在主目录执行 npm install,前端需进入 client 目录再执行 npm install
- 2
需创建 .env 并配置 PORT、DATABASE_URI、ACCESS_KEY、REFRESH_KEY、ORIGIN_ACCESS_HOST、SITE_HOST、验证路由、SENDGRID_API_KEY 与邮件账号等变量
- 3
JWT 密钥可用 node 执行 require('crypto').randomBytes(64).toString('hex') 生成
- 4
需提前准备 MongoDB 实例、SendGrid API 与 Google OAuth 凭据
- 5
邮件模板使用 EJS,需在 server.js 中设置 view engine 并配置模板路径
授权与来源资料
使用条件与限制
免费使用 · 保留许可声明本次收录的是公开仓库中采用 MIT 许可的免费版本;免费范围为该版本代码,不代表外部服务或第三方素材免费。
使用时需要遵守
- 允许免费使用、修改、商用和分发该版本代码。
- 分发代码副本或实质性部分时,保留原作者版权声明和完整 MIT 许可声明。
- 代码按现状提供;担保与责任限制以原许可证及适用法律为准。
额外费用与待核对事项
- 使用邮箱验证与密码重置功能需自行注册 SendGrid 并配置 SENDGRID_API_KEY 等环境变量,SendGrid 为外部服务,可能产生费用。
- 使用 Google OAuth 登录需在 Google Console 自行创建凭据并配置,属于外部服务依赖。
- 需自行准备 MongoDB 数据库(如 MongoDB Atlas)并配置 DATABASE_URI,托管数据库可能产生费用。
- 演示图片、字体、图标及其他第三方素材需按各自许可核对,不能仅凭代码的 MIT 许可判断。
- 域名、托管、数据库、支付或 AI 等外部服务可能另外收费。
查看原文依据
Permission is hereby granted, free of charge
许可证原文
@SendGrid API setup [SendGridAPI](https://sendgrid.com/)
README 原文
Google oAuth setup [Google Console](https://console.cloud.google.com/)
README 原文
https://github.com/purewebstar/MERN-Dashboard-Template/blob/main/License.mdhttps://github.com/purewebstar/MERN-Dashboard-Template/blob/main/README.mdMongoDB setup [MongoDB Atlas](https://www.mongodb.com/cloud/atlas/register)
README 原文
DeepSeek 根据仓库许可证和 README 整理 ·2026-10-03。结果仅覆盖已读取资料,依赖、图片、字体及后续条款变更以各自原文为准。
项目核对记录与介绍依据
模板资料
- 来源平台
- GitHub
- 资料与维护参考分
- 资料一般 · 60 / 100
- 技术栈
- React
- 网站类型
- 后台
这个分数如何计算
本站按许可资料(最高30分)、演示链接(12分)、预览图(10分)、Star数(15分)、记录的维护时间(15分)、描述完整度(8分)、功能记录(5分)和分类资料(5分)计算。它不是代码、安全或性能测试,也不是 Google 评分;有链接不代表已实测可用。
这个项目需要核对什么
- 记录的仓库更新时间
- 2022-03-14
- 截图检查日期
- 2026-10-03
目前没有记录演示链接。请依据仓库说明在本地评估;仅凭截图无法确认交互行为。
目录记录的主要技术栈是 React。请通过依赖清单和锁文件核对实际版本与托管要求。这些说明基于收录资料,不代表代码审计或部署实测。
查看具体选型方法 →介绍的制作与核对状态
介绍由 AI 辅助整理目录与仓库资料。仓库作者不等于这篇介绍的审核者。
已完成服务器许可规则与 AI 来源核对;未经过人工编辑审核。
查看当时使用的来源资料
SHA-256: 739b4555fa822a82680cd21801bba2931d634dabb782973152f7fd484a857390
2026-10-03T08:35:45.333Z
来源文件 / 仓库# MERN Dashboard Template This Template allows you to quickly and easily develop a web application using MERN stack. It helps you if you read through this README to get the most our of what this template has to offer. I appreciate any issue reports or recommendations for further development. Screenshot 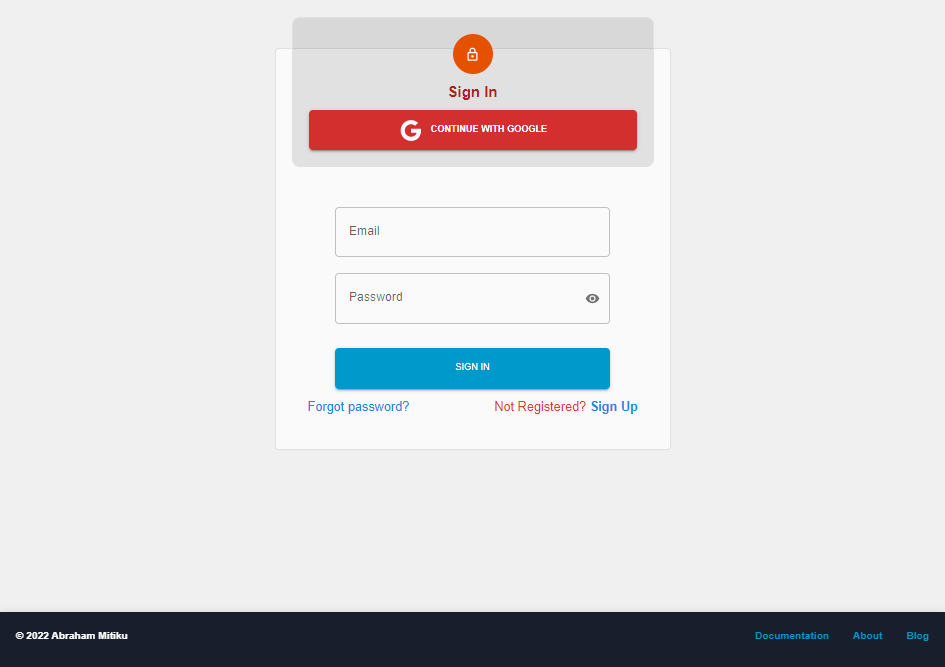 ## Getting Started These instructions will guide you on how to use and integrate with your design or next app idea. For Front-End implementation guides, you can find necessary informations in clients directory. ## Features :white_check_mark: Signup & Sign-in with Google OAuth and Local Account. :white_check_mark: New account verification via email address. :white_check_mark: Reset password verification via email address. :white_check_mark: Profile Management, picture upload, ...(CRUD operations). :white_check_mark: React Routes authentications. :white_check_mark: REST API with (passport, jsonwebtoken) for authentication. :white_check_mark: Scheduling Job tasks. ## Pre-requisite :exclamation: npm + (node) latest version [nodejs](https://nodejs.org/en/download/) :exclamation: React 16.8++ [ReactJs](https://reactjs.org/) :exclamation: React Router V6 [react-router-dom](https://reactrouter.com/docs/en/v6/getting-started/overview) :exclamation: Material UI [MUI](https://mui.com/getting-started/installation/) :exclamation: MongoDB setup [MongoDB Atlas](https://www.mongodb.com/cloud/atlas/register) :grey_exclamation: @SendGrid API setup [SendGridAPI](https://sendgrid.com/) :grey_exclamation: Google oAuth setup [Google Console](https://console.cloud.google.com/) ## Frameworks / Tools ### **Backend** :heavy_check_mark: Node.js :heavy_check_mark: Express.js ### **Frontend** :heavy_check_mark: React.js :heavy_check_mark: Material-UI :heavy_check_mark: Redux ### **Database** :heavy_check_mark: MongodDB ## Installation - [x] **Backend setup** > In the current/main directory folder run this command, Which will install all dependencies for [Backend] ```bash > npm install --save ``` > Add Environmental variable **.env** file! and add accordingly ``` PORT= ? // port number for [backend development] e.g 4000 DATABASE_URI= ? // database URI ACCESS_KEY= ? // secret access_key for jwt authentication REFRESH_KEY= ? // secret refresh_key for jwt authentication ORIGIN_ACCESS_HOST= ? FrontEnd Host Link e.g https://example.com || http://localhost:3000 SITE_HOST= ? Backend Host Link e.g e.g https://api.example.com || http://localhost:4000 NEW_ACCOUNT_VERIFY_ROUTE= ? // New account verification link e.g auth/verify-email/1 RESET_PASSWORD_VERIFY_ROUTE=? // Reset password verification link e.g auth/verify-email/0 SENDGRID_API_KEY= ? // SENDGRID API KEY SECRET_SITE_EMAIL= ? // your sendgrid connected -> email address e.g [email protected] SECRET_SITE_EMAIL_PASSWORD= ? // your sendgrid connected -> password ``` > To Generate **TOKENS** using **CRYPTO** write & run this below in your terminal. ```bash > node > require('crypto').randomBytes(64).toString('hex') ``` - [x] **Frontend setup** > In the current/main directory folder run this command, Which will install all dependencies for [Frontend] ```bash > cd client > npm install --save ``` ## Implementation **:heavy_check_mark: Below is Implementation of Backend** For Front-End implementations you can visit to **Client** directory folder [Frontend README](https://github.com/abriilo/MERN-Dashboard-Template/blob/main/client/README.md) ## Table of Contents 1. [File Structure](#file-structure) 2. [Config](#config) 3. [Models](#models) 4. [Controllers](#controllers) 5. [Routes/Api](#routes) 6. [Middleware](#middleware) 7. [Email-Templates](#email-templates) 8. [Schedules/Task](#schedules) ## File Structure <a id="file-structure"></a> | Folder | Description | | --- | --- | | `client` | Front end implementation directory | | `config` | Configuration folder for back end | | `controllers` | Where business logic applied (data manipulations) | | `email-templates` | Ejs/html files that will be rendered and send to emails | | `middleware` | Intercepts every request which requires authorization| | `models` | Mongodb database schemas | | `routes` | API endpoints | | `schedules` | Scheduling tasks for data manipulations (CRUD) operations | ## Configuration <a id="config"></a> > Here initiation of important libraries will be implement here. You can Add any libraries for initiation here. For example: initializing Database (mongodb) ```javascript // create initMongdob file in config director and then inside, create initMongDb function - which accepts mongoose object // One Parameter - Accepts (mongoose object) // after exporting ... you require and add mongoose object from server.js file const initMongoDb = (mongoose) =>{ mongoose.connect(process.env.DATABASE_URI,{ useNewUrlParser: true, useUnifiedTopology: true }) .then(() => console.log("Connected to mongoDB")) .catch(err => console.log(err.message)) }; // export and call this function from server.js file module.exports = initMongoDb; // Then later in server.js file // import mongoose library // import initMongodb function const mongoose = require('mongoose'); const initMongoDb = require('./config/initMongoDb'); // call initMongodb function initMongoDb(mongoose); // so, every initializing will goes like this. ``` ## Models <a id="models"></a> > Models - Database Schemas will be designed in this folder For example: to create new model ```javascript // create a file in models folder.. e.g User.js // import mongoose library // and implement your model schema for User document // simple example const mongoose = require('mongoose'); const UserSchema = mongoose.Schema({ email: String, password: String, },{timestamps:true}); // then export this module module.exports = mongoose.model('User', UserSchema); // later on, these models will be imported in controllers director folder. ``` ## Controllers <a id="controllers"></a> > Controllers - Here where we manipulate user data, ... business logics For example: to create new controller ```javascript // create a file in controllers folder.. e.g Account.controller.js // first thing is import database from models directory folder const User = require('../models/User'); // here you can import any libraries or models you think useful // create a controller functions [eg. creatAccount] const createAccount = (req, res)=>{ // steps to do // 1. implement your logic here // 2. then export it // 3. import it on your routes -> api directory folder } // then export this module module.exports = {createAccount} // later on, these controllers will be imported in routes director filder ``` ## Routes - API Endpoints <a id="routes"></a> > Routes - which contains [ api directory folder && index.js file] **api folder** - contains all api end-point js files **index.js file** - imports all api's and lined with a single api route. For example: api folders > ```javascript // contains [many api routes and one index.js file] // index.js file - import api routes and arrange them accordingly // many api route files - each describes their own api routes // e.g lets create account api route in api directory [account.js] // and create index.js file // [account.js] // import necessary modules/libraries here // imports controller from account.controller const express = requre('express'); // we have created [createAccount function before] in account.controller.js file const {createAccount} == require('../../controllers/Account.controller'); const router = express.Router(); // now create endpoints for account route router.post('/create-account', createAccount); // implement many as you need an api endpoint for account route. // the export it module.exports = router // later on will be imported in index.js file in [same director] // [index.js] const router = require('express').Router(); const accountRoutes = require('./account'); // account route router.use('/account', accountRoutes); // same as https://****/user/account/*** // add many routes eg[ profile, ..etc] // export this file module.exports = router; // later on wil be imported and used with [router folder] index.js file // which all will be as a single line endpoint [user/] // in [routes folder] index.js file // import root or collected api routes const router = require('express').Router(); const apiRoutes = require('./api'); // api routes router.use('/user', apiRoutes); // export this router // later on, will be imported and called from server.js file // in server.js file const routes = require('./routes'); app.use(routes); // done.. ``` ## Middleware <a id="middleware"></a> > Middleware - Intercepts in every requests for required authorization routes. For example: create checkAuthorized.js file in middleware folder ```javascript // import any necessary library for authorization purporse. // in this case, we use passport const passport = require('passport'); // create passport authenticate const checkAuthorized = passport.authenticate('jwt', { session: false }); // export it module.exports = checkAuthorized; // later on, will be used in routes -> api -> api's file // e.g create api file in one of api endpoint files => [profile.js] const express = require('express'); const checkAuthorized = require('../../middleware/checkAuthorized'); const {readProfile} = require('../../controllers/Profile.controller'); const router = express.Router(); // here will will add checkAuthorized between api endoint and controller function router.get('/auth/read-profile', checkAuthorized, readProfile.auth.byId); // module.exports = router; // ``` ## Email Templates <a id="email-templates"></a> > email-templates - This is an ejs file templates which can be rendered and send to a user email address. create ejs file and to render: ```javascript // after/before creating an email template make sure: // you created a path and set view [ejs] in server.js file // you can use any templates here // In [server.js] file add app.set('view engine', 'ejs'); // you can use any templates // then ``` ```javascript // in any controllers file // import necessary libraries // for this case const ejs = require('ejs'); // ejs template for nodejs const path = require('path'); // path of email template // import your initialized mailing system. const sendMail = require('../config/initMailer'); // for this case, we used, sendgrid api // render your ejs file as this code below let ejsTemplate = 'your template name'; let to = '[email protected]'; let from = 'your sendgrid api email'; let subject = 'testing ejs file template'; let text= 'it works good'; let dataToRender = { username: 'sampleuser', linkToRedirect: 'https://exmaple.com/verify/...', image: 'https://imagelinksifnecessary.com' } ejs.renderFile(path.join(__dirname, `path/to/email-template/${ejsTemplate}`), // here you can use any data's or information you want to render // this data later on be displayed on users email address // make sure to use same varables name in your ejs/anytemplate file dataToRender ) .then(async(result) => { let emailTemplate = result; await sendMail(from, to, subject, text, emailTemplate); }) .catch(err => { console.log('unable to render email template!') }); // ``` ## Scheduling - Job tasking <a id="schedules"></a> > Scheduling - are job tasks which can be used for data manipulation in some time intervals. For example: create a schedule job file in - schedules directory folder ```javascript // first you are required to use job tasks libraries for this purpose // In this case, We used Agenda.js // initialize and create Agenda in config folder like we do // export and import initAgenda file it in server.js file // You can use any job tasking libraries. // Next step, // before creating job tasks make sure to call jobs tasks in controllers const removeAccount = async(req,res)=>{ //schedule your job task here first, then } // create job task file in schedules folder // import, initAgenda/or job tasks initializer function from config // import any useful controllers for data manipulations // DEFINE ALL JOB TASKS // add many tasks as you need here, then // create a function for intercepting in every request const AccountJobs = app =>{ app.use("/account-jobs", (req, res) => { res.send("Database job added to queue!"); }); } // export accountjobs and import it in server.js // Later on, const AccountJobs = require('./schedules/AccountJobs'); AccountJobs(app); // ``` ## Contribution Let me know if you find any issue or difficulties. ## Author :man: **Abraham Mitiku** - [Website](https://abraham-mitiku.com) - [Github](https://github.com/abriilo) - [Linkedin](https://www.linkedin.com/in/abrilo/) ## If this helps Give this a :star:
看看同类模板
对比同技术栈与用途的模板,找到更适合的视觉与内容结构。
ant-design-pro
Ant Design Pro 是 Ant Design 官方推出的企业级中后台前端脚手架,基于 React 19、Umi Max 4 和 antd 6 构建,内置 TypeScript 支持。
React · 后台
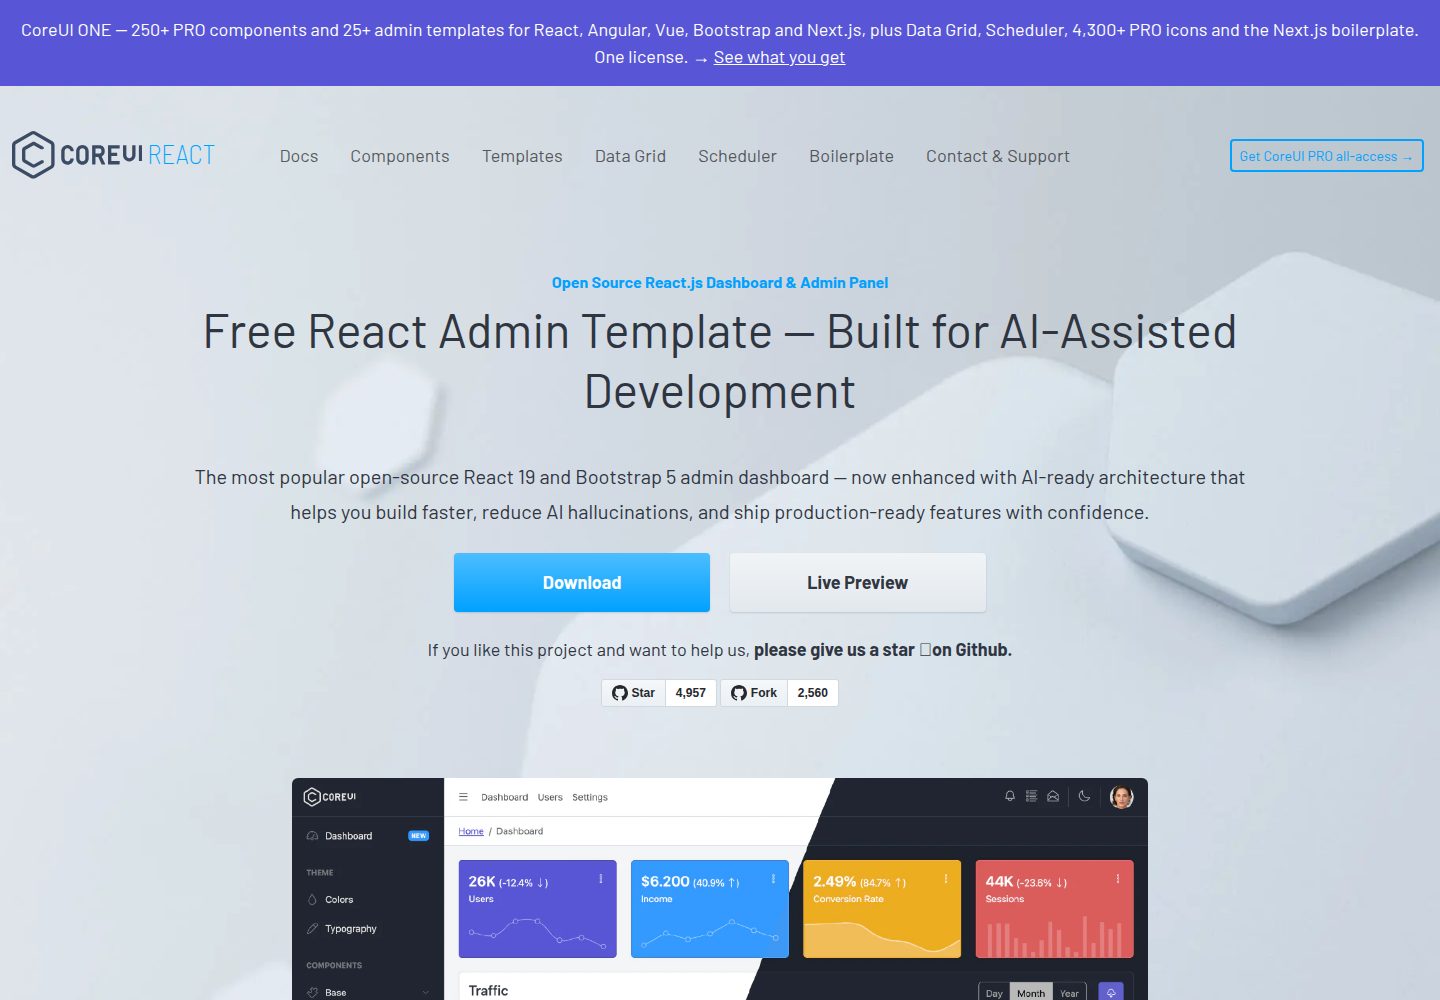
coreui-free-react-admin-template
Free React Admin & Dashboard Template Built for AI-Assisted Development
React · 后台
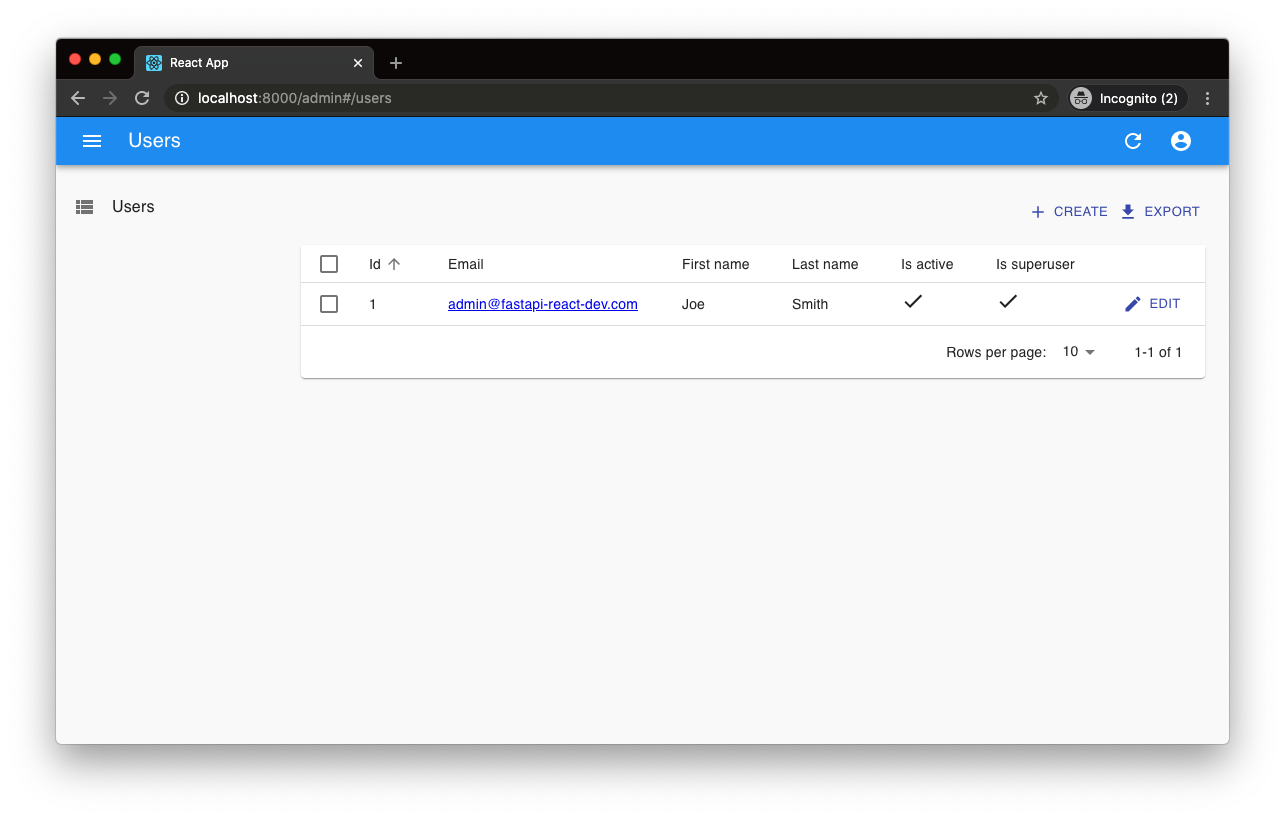
fastapi-react
fastapi-react 是一个基于 Cookiecutter 的模板,用于快速搭建 FastAPI 与 React(TypeScript)的全栈项目。
React · 后台

react-antd-admin-template
一个基于React+Antd的后台管理模版,在线预览https://nlrx-wjc.github.io/react-antd-admin-template/
React · 后台
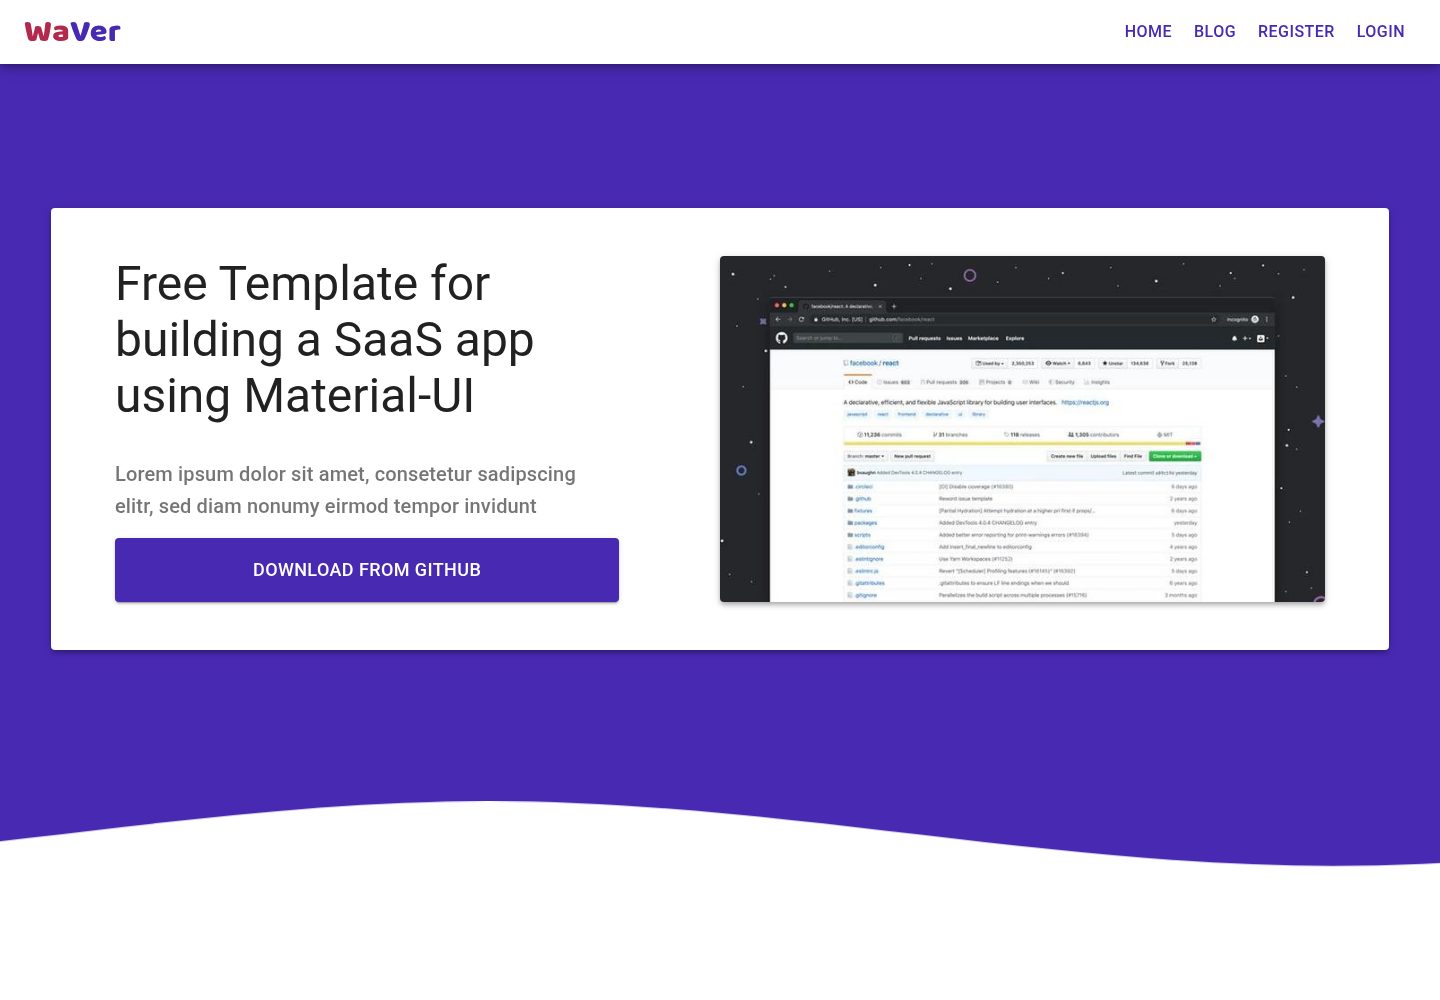
react-saas-template
🌊 Template for building an SaaS / admin website using React + Material-UI
React · 后台
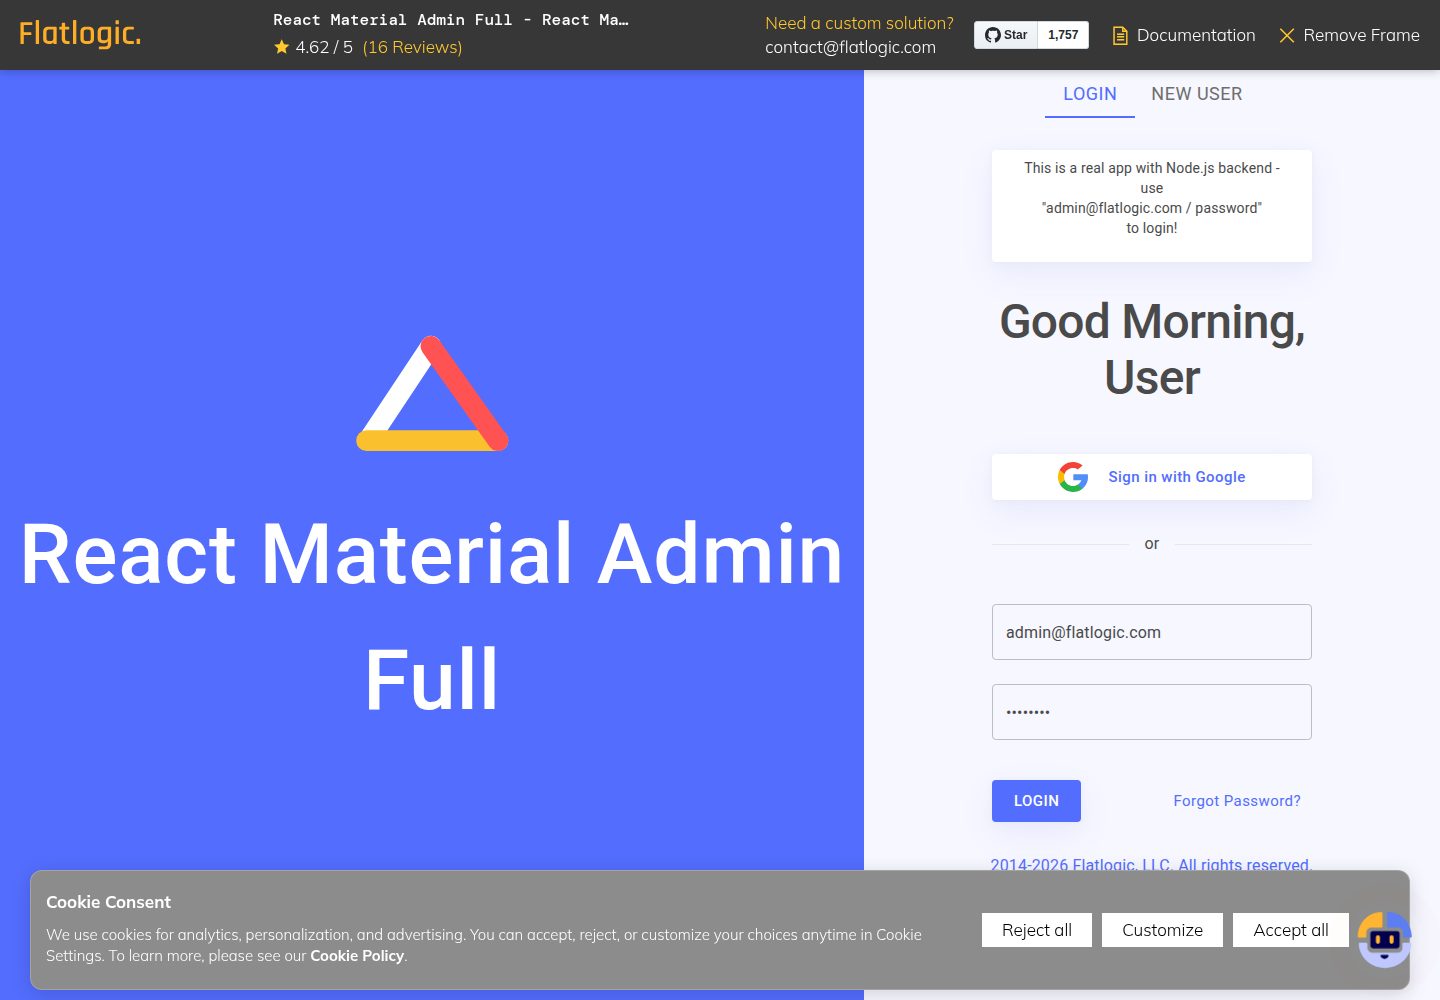
react-material-admin
☄️React Material Admin is a React template built with Material-UI
React · 后台