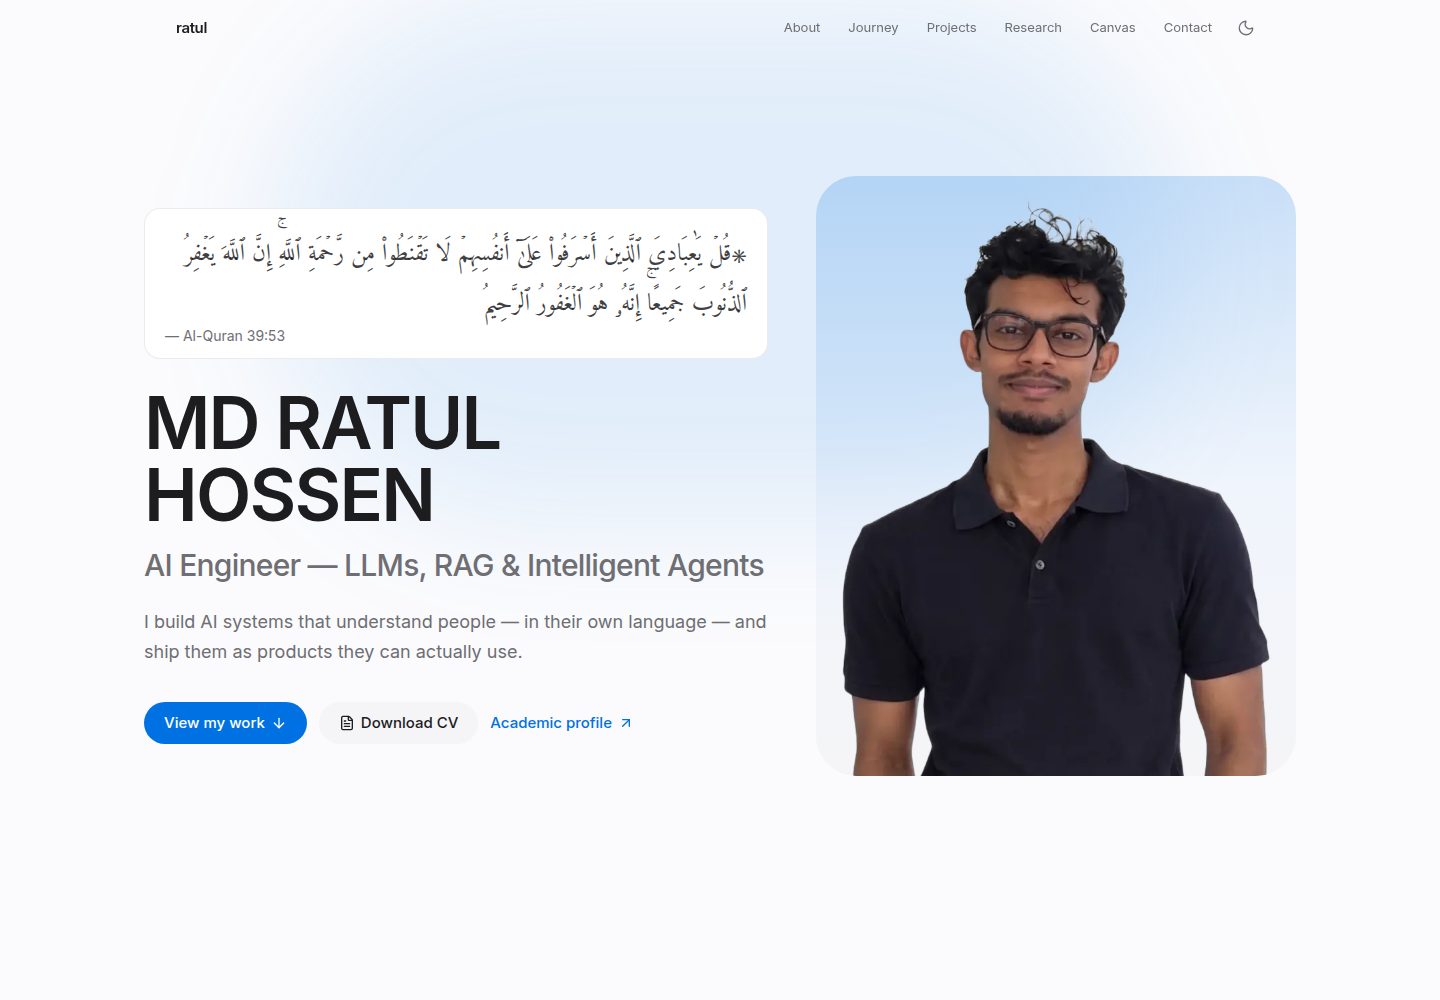
Front end and /admin admin panel in the same project; forms edit each section without writing code or JSON by hand
Next.jsReactAdmin dashboardPortfolio
portfolio (ratul-hossen) — Next.js Admin dashboard Template
By ratul-hossen
A Next.js-based personal portfolio template with a built-in admin panel, supporting Google login, Neon database, and Vercel Blob uploads, for showcasing projects, education, research, and life galleries.
Explore the design
Compare the page layouts and mobile experience. Open any screenshot for a closer look.
Desktop homepage1 / 3
Desktop captureTop of page
Actual screenshot captured by the server browser.
All pages & views 3
Screenshots show visual appearance; interactive behavior may differ.
Recorded 2026-09-30View source
What stands out
A quick read of the recorded project description.
Supports Google login (Auth.js); only emails in ADMIN_EMAILS can access the admin panel
Content can be stored in Neon Postgres, uploaded files in Vercel Blob; online saves take effect immediately
Photos are automatically resized and converted to WebP after upload; PDFs and videos are supported
Each save keeps a historical version with one-click restore; locally, without a database, writes go to a single JSON file
Built-in SEO configuration: page titles, Open Graph, JSON-LD, sitemap.xml, and robots.txt
Template Details
This template puts a personal portfolio website and an admin panel in the same Next.js project. The front end includes home, about, experience, skills, project case studies, research/publications, life gallery, and academic CV pages, supports light and dark themes and responsive layouts, and comes with built-in SEO configuration such as page titles, Open Graph, JSON-LD, sitemap.xml, and robots.txt. The admin panel is at /admin, where forms edit each section and allow uploading photos, PDFs, and videos; photos are automatically resized and converted to WebP, with support for ordering, pinning, live collage preview, keyboard shortcuts for saving, and toggling sections and rewriting titles via settings. Content is stored by default in src/content/site.json, and the admin panel requires no login during local development; after connecting Neon Postgres and Vercel Blob, online saves take effect immediately, and a version history of each save is kept with one-click restore. The admin panel uses Auth.js Google login, and only emails listed in ADMIN_EMAILS can access it; optional Microsoft / Office 365 login is also available.
Next.jsAdmin panelPortfolio
Is it right for your project?
Use Cases
- Build a personal portfolio website to showcase project case studies, education, skills, and research publications
- Need a non-technical way to update website content, replacing text and images through admin panel forms and uploads
- Prepare a one-page academic CV page (/academic) for university applications
- Showcase life outside work, including interests, Instagram embeds, and photo galleries
Suitable For
- Developers or students who want to quickly launch a personal portfolio and maintain its content themselves
- Users who accept using external services such as Vercel, Neon, and Google OAuth
- Personal site projects that need admin editing, version history, and file upload features
Getting started & customization
Use these recorded setup notes alongside the repository instructions for your chosen version.
- 1
Requires Node.js 22 or newer and Git; clone your own fork or a repository created from the template, not the original author's repository
- 2
Run npm install and npm run dev locally, then visit localhost:3000 and localhost:3000/admin; the local admin panel requires no login by default
- 3
To use Google login online, create an OAuth client in Google Cloud Console and configure the AUTH_GOOGLE_ID, AUTH_GOOGLE_SECRET, AUTH_SECRET, and ADMIN_EMAILS environment variables
- 4
Only after connecting a Neon database and Vercel Blob can the online admin panel save content and upload files; before that, the admin panel is read-only
- 5
After deploying to Vercel, each push to the main branch triggers an automatic redeploy; a custom domain must be added to the OAuth redirect URI
License & source material
Usage conditions & limitations
Free to use · keep license noticeThis entry covers the free version under the MIT license in the public repository; the free scope is that version's code and does not mean external services or third-party assets are free.
Must comply with when using
- You may use, modify, commercialize, and distribute this version's code for free.
- When distributing copies or substantial portions of the code, retain the original author's copyright notice and the full MIT license notice.
- The code is provided as is; warranties and limitations of liability are governed by the original license and applicable law.
Additional costs & items to verify
- Saving content and uploading files in the online admin panel depends on external services: a Neon Postgres database and Vercel Blob storage, which must be created and connected in Vercel (both have free tiers); otherwise the online admin panel is read-only and cannot save or upload.
- Using Google login for the admin panel requires creating an OAuth client in Google Cloud Console yourself and configuring environment variables such as AUTH_GOOGLE_ID, AUTH_GOOGLE_SECRET, AUTH_SECRET, and ADMIN_EMAILS, which are external account and configuration requirements.
- Online deployment depends on Vercel hosting (Hobby free plan) and requires a GitHub account and repository; a custom domain must be purchased separately and added to the OAuth redirect URI.
- After connecting a database, directly editing and pushing src/content/site.json no longer affects the online site; content must be modified through the /admin panel, limiting pure code-based content updates.
- Demo images, fonts, icons, and other third-party assets must be checked against their respective licenses and cannot be judged solely by the code's MIT license.
- External services such as domains, hosting, databases, payments, or AI may incur additional charges.
View Original Text Basis
Permission is hereby granted, free of charge
Original License Text
The live site needs somewhere to keep your edits and uploads. Both have free plans and are **one click each inside Vercel**.
Original README
This takes about 5 minutes and is free.
Original README
[Vercel](https://vercel.com) hosts Next.js sites for free on the Hobby plan.
Original README
https://github.com/ratul-hossen/portfolio/blob/main/LICENSEhttps://github.com/ratul-hossen/portfolio/blob/main/README.mdOnce the database is connected, **the database is the source of truth**. Editing `site.json` and pushing it no longer changes the live site.
Original README
Compiled by DeepSeek based on repository license and README ·2026-09-30. Results only cover the materials read; dependencies, images, fonts, and subsequent term changes are subject to their respective original texts.
Project checks & description sources
Template Information
- Source platforms
- GitHub
- Documentation and maintenance reference score
- More documented · 85 / 100
- Technologies
- Next.js · React
- Website type
- Admin dashboard · Portfolio
How this score is calculated
Our heuristic uses license records (up to 30), a demo link (12), a preview (10), stars (15), recorded maintenance (15), description completeness (8), feature records (5) and classification data (5). It is not a code, security or performance test, or a Google score. A link does not establish tested functionality.
What to verify for this project
- Repository update recorded
- 2026-09-29
- Screenshot last checked
- 2026-09-30
A demo link is listed. Check it with your own content and viewport sizes; its presence does not confirm that forms, authentication or payments work.
The catalog identifies Next.js as the primary stack. Check the actual dependency manifest and lockfile for versions and hosting requirements. These notes use recorded metadata, not a code audit or a deployment test.
Use a selection guide →How this description was prepared
AI-assisted description based on catalog records and repository material. Repository authors are not automatically the reviewers of this description.
Automatically checked against source and license rules; no manual editorial review.
Inspect the recorded source material
SHA-256: 4f0d104b1f7e6021c02f39bb9a9a614ba00e5b173281de216a19e1789e23e097
2026-09-30T08:00:48.329Z
Source file / repository<div align="center">
# Portfolio
**A personal portfolio site with its own admin panel. Clone it, sign in with Google, fill in your story, and it's live in an afternoon.**
Next.js 16 · TypeScript · Tailwind CSS v4 · Auth.js · Neon Postgres · Vercel Blob · free hosting on Vercel
### 🌐 Live example: **[ratul.world](https://ratul.world)**
[](https://ratul.world)


[](https://vercel.com/new/clone?repository-url=https%3A%2F%2Fgithub.com%2Fratul-hossen%2Fportfolio&project-name=portfolio&repository-name=portfolio)
<a href="https://ratul.world"><img src="docs/screenshots/home.png" alt="ratul.world home page, light theme" width="100%"></a>
<sub>Screenshots are from <a href="https://ratul.world">ratul.world</a>, the site this template was built for. The repo itself ships with demo content that you replace with your own.</sub>
</div>
<table>
<tr>
<td width="50%"><img src="docs/screenshots/home-dark.png" alt="Home page, dark theme"></td>
<td width="50%"><img src="docs/screenshots/journey.png" alt="Journey section with education and a GPA chart"></td>
</tr>
<tr>
<td><img src="docs/screenshots/project.png" alt="Project case-study page"></td>
<td><img src="docs/screenshots/academic.png" alt="Academic profile page"></td>
</tr>
<tr>
<td><img src="docs/screenshots/admin.png" alt="Admin panel, editing projects"></td>
<td><img src="docs/screenshots/login.png" alt="Admin sign-in with Google"></td>
</tr>
</table>
---
## Contents
1. [Features](#features)
2. [How it works](#how-it-works)
3. [Quick start (on your computer)](#1-quick-start-on-your-computer)
4. [Make it yours](#2-make-it-yours)
5. [Put it online with Vercel](#3-put-it-online-with-vercel)
6. [Admin login with Google](#4-admin-login-with-google)
7. [Edit from anywhere (Neon database + Vercel Blob)](#5-edit-from-anywhere-neon-database--vercel-blob)
8. [Your own domain](#6-your-own-domain-optional)
9. [Environment variables](#environment-variables)
10. [Project structure](#project-structure)
11. [Troubleshooting](#troubleshooting)
12. [Getting updates from this template](#getting-updates-from-this-template)
13. [বাংলায় সংক্ষেপে](#বাংলায়-সংক্ষেপে)
14. [Contributors](#contributors)
---
## Features
**The site**
- **Hero** with your photo (or several that rotate), headline, status line, and a CV download button
- **About** with a "global journey" timeline and the languages you speak
- **Journey**: education as a collage with a **GPA trend chart** and course lists, experience & leadership, plus a carousel of honours, talks and events
- **Skills** as a bento-style collage
- **Projects** with full **case-study pages** (problem → approach → impact → tech)
- **Research** statement, interests and **publication pages**
- **Canvas** for life outside work: interests, Instagram embeds and a photo gallery
- **Academic profile** at `/academic`, a calm one-page CV for university applications
- **Light & dark theme**, smooth scroll animations (switched off for people who prefer reduced motion), fully responsive
- **SEO built in**: page titles, Open Graph previews, JSON-LD, `sitemap.xml`, `robots.txt`
**The admin panel** (`/admin`)
- Edit **every section** with forms. No code and no JSON.
- **Upload** photos, PDFs and videos. Photos are resized and converted to WebP automatically.
- Reorder and pin items, preview collages live, and press <kbd>⌘</kbd>/<kbd>Ctrl</kbd>+<kbd>S</kbd> to save
- **Show or hide any section** and rewrite every heading and menu label under **Settings**
- **Google sign-in** (Auth.js): only the email addresses you list can get in. A Microsoft / Office 365 login can be added too.
- **Saves go live instantly**: content lives in a free **Neon** Postgres database, uploads on **Vercel Blob**
- **Version history**: every save keeps the previous version, and any of them can be restored in one click
- **Works without a database, too**: on your computer everything is saved to one JSON file, and Publish pushes it to GitHub
## How it works
```
you ──► /admin ──► Sign in with Google ──► Save
(only emails in ADMIN_EMAILS) │
├──► Neon Postgres ── your content (+ every earlier version)
└──► Vercel Blob ──── your photos, PDFs and videos
│
the site reads them ◄───────┘ → live within seconds, no redeploy
```
| Where you edit | Content is saved to | How it goes live |
| --- | --- | --- |
| **Live site** (`yoursite.com/admin`) | Neon database + Vercel Blob | Instantly, on Save |
| **Your computer** (`npm run dev`, no database) | `src/content/site.json` + `public/uploads/` | Press **Publish**. It does a git push, and Vercel redeploys. |
The file `src/content/site.json` also **seeds** the database: until your first save on the live site, the site shows what's in that file.
---
## 1. Quick start (on your computer)
You need **[Node.js 22](https://nodejs.org)** (or newer) and **[Git](https://git-scm.com)**.
**a) Get your own copy of the repo.** [**Sign in to GitHub**](https://github.com/login) first — the button only appears when you're signed in. Then, at the top of this page, click the green **Use this template** button (left of **Code**, above the file list) → **Create a new repository**. On a phone, open the page in *desktop mode*. Or use [**this direct link**](https://github.com/new?template_name=portfolio&template_owner=ratul-hossen), or **Fork**. Name it `portfolio`. GitHub now has a copy that belongs to **you**, at `https://github.com/YOUR-GITHUB-USERNAME/portfolio`.
> [!IMPORTANT]
> Wherever this guide says **`YOUR-GITHUB-USERNAME`**, type **your own** GitHub username.
> For example, if your profile is `github.com/jane-doe`, the command below becomes
> `git clone https://github.com/jane-doe/portfolio.git`.
> Clone **your copy**, not this repo. The admin panel's Publish button pushes to the repo you cloned.
```bash
git clone https://github.com/YOUR-GITHUB-USERNAME/portfolio.git
```
```bash
cd portfolio
```
**b) Install and run:**
```bash
npm install
```
```bash
npm run dev
```
Open **http://localhost:3000** to see the demo site, and **http://localhost:3000/admin** for the admin panel.
On your own computer the admin panel opens **without a login** until you set up Google (step 4).
## 2. Make it yours
Open **http://localhost:3000/admin** and go through the sidebar from top to bottom:
| Admin page | What to fill in |
| --- | --- |
| **Profile** | Name, headline, tagline, photo, CV (PDF), email, About paragraphs, languages, social links (the demo links say `your-username`, so put in your real GitHub, LinkedIn and Instagram) |
| **Skills** | Groups of skills. The first box is the big one. |
| **Education** | Degrees and schools. Add term GPAs (with credits) and the CGPA and chart are calculated for you. |
| **Experience** | Jobs, internships and leadership roles |
| **Honours & events** | Awards, hackathons and talks. Pinned ones come first. |
| **Projects** | Each project gets its own page at `/projects/<slug>`. Pin up to three as featured. |
| **Research / Publications** | Your research statement, interests and papers (each gets a page) |
| **Canvas & Instagram** | Hobbies, Instagram post links, and a photo gallery |
| **Settings** | Turn sections on or off, rewrite every heading, choose menu labels, enable `/academic` |
Every **Save** updates the page at `localhost:3000` right away. When you're happy, press **Publish** (bottom-left). It commits your changes and pushes them to GitHub.
> [!TIP]
> Delete the demo images in `public/demo/` once you've replaced them all with your own photos.
**Optional tweaks in code**
- **Colours**: edit the tokens at the top of [`src/app/globals.css`](src/app/globals.css). Change `--accent` to recolour the whole site.
- **Font**: swap `Inter` in [`src/app/layout.tsx`](src/app/layout.tsx) for any [Google Font](https://fonts.google.com).
- **Favicon**: replace [`src/app/favicon.ico`](src/app/favicon.ico).
- **Content by hand**: everything lives in [`src/content/site.json`](src/content/site.json), and the shape is documented in [`src/content/types.ts`](src/content/types.ts).
## 3. Put it online with Vercel
[Vercel](https://vercel.com) hosts Next.js sites for free on the Hobby plan.
1. Push your repo to GitHub (the **Publish** button does it, or `git push`).
2. Go to **[vercel.com/new](https://vercel.com/new)** and sign in with GitHub.
3. **Import** your `portfolio` repository. Vercel detects Next.js, so leave every setting as it is.
4. Click **Deploy**. About a minute later your site is live at `https://YOUR-PROJECT.vercel.app`.
(`YOUR-PROJECT` is the name Vercel shows on the success screen, e.g. `jane-portfolio.vercel.app`. The steps below use it.)
From now on, **every push to `main` redeploys the site automatically.**
> [!TIP]
> **In a hurry? Use the "Deploy with Vercel" button** at the top of this page instead of steps 1–4.
> It creates **your own copy** of this repo in your GitHub account and deploys it in one go.
> Two things to know:
> - It deploys the **demo content**. Replace it from the admin panel once steps 4 and 5 are done.
> - It does **not** set up the login, database or uploads. That's what steps 4 and 5 are for (about 10 minutes).
> At this point the public site works, and `/admin` on the live site asks you to sign in. The next two steps turn that on.
## 4. Admin login with Google
This takes about 5 minutes and is free.
### 4.1 Create a Google OAuth client
1. Open the **[Google Cloud Console](https://console.cloud.google.com/)** and create a project (top bar → project picker → **New project**, name it e.g. `portfolio`).
2. Go to **APIs & Services → OAuth consent screen** (called **Google Auth Platform** in newer consoles) and click **Get started**:
- **App name**: `Portfolio admin`, **User support email**: your email
- **Audience**: **External**
- **Contact email**: your email → **Create**
3. Under **Audience → Test users**, click **Add users** and add **your Gmail address**.
(Or click **Publish app**. With only the basic profile and email scopes, Google doesn't need to review it.)
4. Go to **Clients** (or **Credentials → Create credentials → OAuth client ID**):
- **Application type**: **Web application**
- **Name**: `Portfolio`
- **Authorized redirect URIs**, add **both** of these:
```
http://localhost:3000/api/auth/callback/google
https://YOUR-PROJECT.vercel.app/api/auth/callback/google
```
(Add your custom domain too later, e.g. `https://yourname.com/api/auth/callback/google`.)
5. Click **Create** and copy the **Client ID** and **Client secret**.
### 4.2 Generate a secret
This random string signs your login cookie. Run either of these:
```bash
npx auth secret
```
```bash
openssl rand -base64 33
```
Any long random string (40+ characters) works too, e.g. from a password generator.
### 4.3 Add the variables to Vercel
In Vercel, open your project → **Settings → Environment Variables** and add:
| Name | Value |
| --- | --- |
| `AUTH_GOOGLE_ID` | the Client ID from 4.1 |
| `AUTH_GOOGLE_SECRET` | the Client secret from 4.1 |
| `AUTH_SECRET` | the random string from 4.2 |
| `ADMIN_EMAILS` | your Gmail address. For several people, separate with commas: `[email protected],[email protected]` |
Then **Deployments → ⋯ on the latest → Redeploy** so the new variables take effect.
Visit `https://YOUR-PROJECT.vercel.app/admin`, click **Continue with Google**, and you're in. 🎉
The panel says **Read-only** until you do step 5.
<details>
<summary><b>Optional: also allow a Microsoft / Office 365 account</b> (e.g. a university email)</summary>
1. In the **[Microsoft Entra admin center](https://entra.microsoft.com/)** → **App registrations → New registration**.
2. **Supported account types**: *Accounts in any organizational directory and personal Microsoft accounts*.
3. **Redirect URI** (Web): `https://YOUR-PROJECT.vercel.app/api/auth/callback/microsoft-entra-id`
4. Copy the **Application (client) ID**, then under **Certificates & secrets** create a **client secret**.
5. Add to Vercel: `AUTH_MICROSOFT_ENTRA_ID_ID`, `AUTH_MICROSOFT_ENTRA_ID_SECRET` and
`AUTH_MICROSOFT_ENTRA_ID_ISSUER=https://login.microsoftonline.com/common/v2.0`. Add that email to `ADMIN_EMAILS` too, then Redeploy.
A **Continue with Microsoft** button then appears on the sign-in page.
</details>
**To require the login on your computer too**, copy the example file, fill in the same values, and set `ADMIN_REQUIRE_LOGIN=true`:
```bash
cp .env.example .env.local
```
## 5. Edit from anywhere (Neon database + Vercel Blob)
The live site needs somewhere to keep your edits and uploads. Both have free plans and are **one click each inside Vercel**. Vercel adds the environment variables for you.
**5.1 Database (Neon)**: stores your content and its version history.
1. Vercel → your project → **Storage** tab → **Create Database** → choose **Neon** (Serverless Postgres) → **Continue**.
2. Pick the **Free** plan and a region close to you → **Create**.
3. When asked, **connect it to your project** (all environments). This adds `DATABASE_URL`.
**5.2 File storage (Vercel Blob)**: stores the photos, PDFs and videos you upload.
1. Same **Storage** tab → **Create Database** → **Blob** → **Create**.
2. Connect it to your project. This adds `BLOB_READ_WRITE_TOKEN`.
**5.3 Redeploy**: **Deployments → ⋯ → Redeploy**.
Now, on the live site:
- **Save** writes to the database, and the change is **live within seconds**. There's no Publish step.
- **Uploads** go straight from your browser to Blob. Photos are resized to WebP first. There's no small size limit (up to 100 MB per file).
- **Version history** on the admin dashboard lists earlier saves. **Restore** brings one back.
- The tables are created automatically the first time. Until your first save, the site shows the content from `src/content/site.json`.
> [!IMPORTANT]
> Once the database is connected, **the database is the source of truth**. Editing `site.json` and pushing it no longer changes the live site. Make your edits in `/admin`.
## 6. Your own domain (optional)
1. Buy a domain from any registrar (Namecheap, Cloudflare, Porkbun…).
2. Vercel → your project → **Settings → Domains → Add** and follow the DNS instructions.
3. Add the domain's callback to your Google OAuth client (step 4.1.4):
`https://yourname.com/api/auth/callback/google`
4. Add `NEXT_PUBLIC_SITE_URL=https://yourname.com` in Vercel so link previews and the sitemap use it, then **Redeploy**.
---
## Environment variables
All of them are optional for `npm run dev`. See [`.env.example`](.env.example).
| Variable | Needed for | Description |
| --- | --- | --- |
| `AUTH_SECRET` | Admin login | Long random string that signs the session cookie |
| `AUTH_GOOGLE_ID` | Admin login | OAuth client ID from Google Cloud |
| `AUTH_GOOGLE_SECRET` | Admin login | OAuth client secret |
| `ADMIN_EMAILS` | Admin login | Comma-separated accounts allowed into `/admin` |
| `DATABASE_URL` | Editing on the live site | Neon connection string. **Added automatically** when you connect Neon in Vercel. |
| `BLOB_READ_WRITE_TOKEN` | Uploads on the live site | **Added automatically** when you connect Blob in Vercel |
| `AUTH_MICROSOFT_ENTRA_ID_ID` / `_SECRET` / `_ISSUER` | Optional Microsoft login | See the collapsible section in step 4 |
| `ADMIN_REQUIRE_LOGIN` | Optional | `true` requires the login on your own computer too |
| `NEXT_PUBLIC_SITE_URL` | Custom domain | Public URL for the sitemap and previews. Defaults to your Vercel domain. |
## Project structure
```
src/
├─ auth.ts ← Auth.js setup: Google (+ optional Microsoft), ADMIN_EMAILS check
├─ content/
│ ├─ site.json ← starting content (and all content when there's no database)
│ └─ types.ts ← the shape of that content, with comments
├─ app/
│ ├─ (site)/ ← public pages: home, /academic, /projects/[slug], /research/[slug]
│ ├─ admin/ ← the admin panel (forms are defined in _editor/schema.ts)
│ ├─ api/auth/ ← Auth.js sign-in / callback routes
│ └─ login/ ← the sign-in page
├─ components/
│ ├─ sections/ ← Hero, About, Journey, Skills, Projects, Research, Canvas, Contact
│ ├─ site/ ← navbar, footer, theme toggle
│ └─ ui/ ← buttons, carousels, media rotator, charts…
└─ lib/
├─ admin.ts ← "who is the signed-in admin?" (open on your own computer)
├─ store.ts ← reads/writes content: Neon database, or the JSON file
└─ content.ts ← the read API every page uses
public/
├─ uploads/ ← local uploads (when Blob isn't connected)
└─ demo/ ← demo images (delete once replaced)
```
**Adding a field** to a section takes two small edits: add it to the type in `src/content/types.ts`, then add one line to the section's form in `src/app/admin/_editor/schema.ts`. The editor renders forms from that schema automatically.
**Security in short:** `/admin`, every save and restore action and the upload endpoints all check the session. Sign-in goes through Auth.js, and only verified emails listed in `ADMIN_EMAILS` get a session (a signed, HTTP-only cookie). The database and Blob keys only ever live on the server.
## Scripts
```bash
npm run dev # local site + admin at http://localhost:3000
npm run build # production build (what Vercel runs)
npm run start # serve the production build locally
npm run lint # ESLint
```
## Troubleshooting
<details>
<summary><b>Google says <code>Error 400: redirect_uri_mismatch</code></b></summary>
The address you're signing in from isn't in **Authorized redirect URIs** (step 4.1.4). It must match exactly: `https://`, no trailing slash, ending in `/api/auth/callback/google`. Changes can take a few minutes to apply.
</details>
<details>
<summary><b>"That account isn't on the admin list"</b></summary>
Add the exact email to `ADMIN_EMAILS` in Vercel (comma-separated, no quotes) and **Redeploy**.
</details>
<details>
<summary><b>"Sign-in isn't set up correctly" (Configuration error)</b></summary>
`AUTH_SECRET`, `AUTH_GOOGLE_ID` or `AUTH_GOOGLE_SECRET` is missing or mistyped in Vercel. Check the names exactly as in step 4.3, then **Redeploy**.
</details>
<details>
<summary><b>Google says "Access blocked: app has not completed the verification process"</b></summary>
Your OAuth app is in **Testing** mode and your email isn't a test user. Add it under **Audience → Test users**, or click **Publish app**.
</details>
<details>
<summary><b>The admin panel says "Read-only", or Save is greyed out</b></summary>
The database isn't connected yet, or you haven't redeployed since connecting it (step 5). Check that `DATABASE_URL` is listed under **Settings → Environment Variables**.
</details>
<details>
<summary><b>Upload fails with "Uploads need Vercel Blob to be connected"</b></summary>
Connect Blob (step 5.2) and **Redeploy**. Check that `BLOB_READ_WRITE_TOKEN` is listed under **Settings → Environment Variables**.
</details>
<details>
<summary><b>I edited <code>site.json</code> and pushed, but the live site didn't change</b></summary>
With a database connected, the site reads from the database, not the file. Make the change in `/admin` instead.
</details>
<details>
<summary><b>I saved something by mistake</b></summary>
Open the admin **Dashboard → Version history** and **Restore** the version from before the mistake. The current version is kept in history too.
</details>
<details>
<summary><b>Publish fails on my computer with a git error</b></summary>
Publish runs `git add`, `git commit`, `git pull` and `git push` for you, so your folder must be a clone of your GitHub repo and you must be able to `git push` from a terminal. Run `git push` once by hand to see the real error.
</details>
## Getting updates from this template
Want improvements made here after you copied it? Add this repo as a second remote and merge:
```bash
git remote add upstream https://github.com/ratul-hossen/portfolio.git
```
```bash
git pull upstream main --allow-unrelated-histories
```
With the database connected, your content lives there, so updates never touch it. If git reports a conflict in `src/content/site.json`, keep **your** version.
---
## বাংলায় সংক্ষেপে
1. উপরে **Use this template** চাপ দিয়ে নিজের GitHub-এ একটা কপি বানাও, তারপর সেটা clone করো।
2. `npm install`, তারপর `npm run dev`। এরপর **localhost:3000/admin** খুলে নিজের সব তথ্য বসাও এবং **Publish** চাপো।
3. **[vercel.com/new](https://vercel.com/new)**-এ গিয়ে রিপোটা Import করে **Deploy** দাও। তোমার সাইট লাইভ হয়ে যাবে।
4. **Google লগইন**: Google Cloud Console-এ একটা OAuth Client (Web application) বানাও, redirect URI দাও `https://<তোমার-সাইট>/api/auth/callback/google`। তারপর Vercel-এ `AUTH_GOOGLE_ID`, `AUTH_GOOGLE_SECRET`, `AUTH_SECRET` আর `ADMIN_EMAILS` সেট করে Redeploy দাও (ধাপ ৪ দেখো)।
5. **লাইভ সাইট থেকে এডিট**: Vercel-এ প্রজেক্টের **Storage** ট্যাব থেকে **Neon** (database) আর **Blob** (ফাইল রাখার জায়গা) যোগ করো। দুটোই ফ্রি, আর environment variable নিজে থেকেই বসে যায়। তারপর Redeploy দাও (ধাপ ৫ দেখো)। এরপর থেকে Save চাপলেই সাথে সাথে সাইটে দেখাবে, আর ভুল হলে Dashboard-এর **Version history** থেকে আগের version ফেরত আনা যাবে।
কোনো সমস্যা হলে উপরের **Troubleshooting** অংশটা দেখো, অথবা একটা Issue খোলো।
---
## Contributors
<table>
<tr>
<td align="center">
<a href="https://www.instagram.com/_hossen_ratul/">
<img src="https://github.com/ratul-hossen.png" width="100" alt="MD Ratul Hossen on Instagram"><br>
<b>MD Ratul Hossen</b>
</a><br>
<sub>Creator & maintainer</sub><br>
<a href="https://ratul.world">🌐 ratul.world</a> · <a href="https://github.com/ratul-hossen">GitHub</a>
</td>
</tr>
</table>
Pull requests are welcome. Found a bug or have an idea? [Open an issue](https://github.com/ratul-hossen/portfolio/issues).
## License
[MIT](LICENSE). Use it for your own portfolio and change anything you like. A ⭐ on the repo is appreciated if it helped you.
Made with ❤️ by **[MD Ratul Hossen](https://ratul.world)**. See it live at **[ratul.world](https://ratul.world)**.
Explore similar templates
Compare previews and descriptions within the same stack and category.
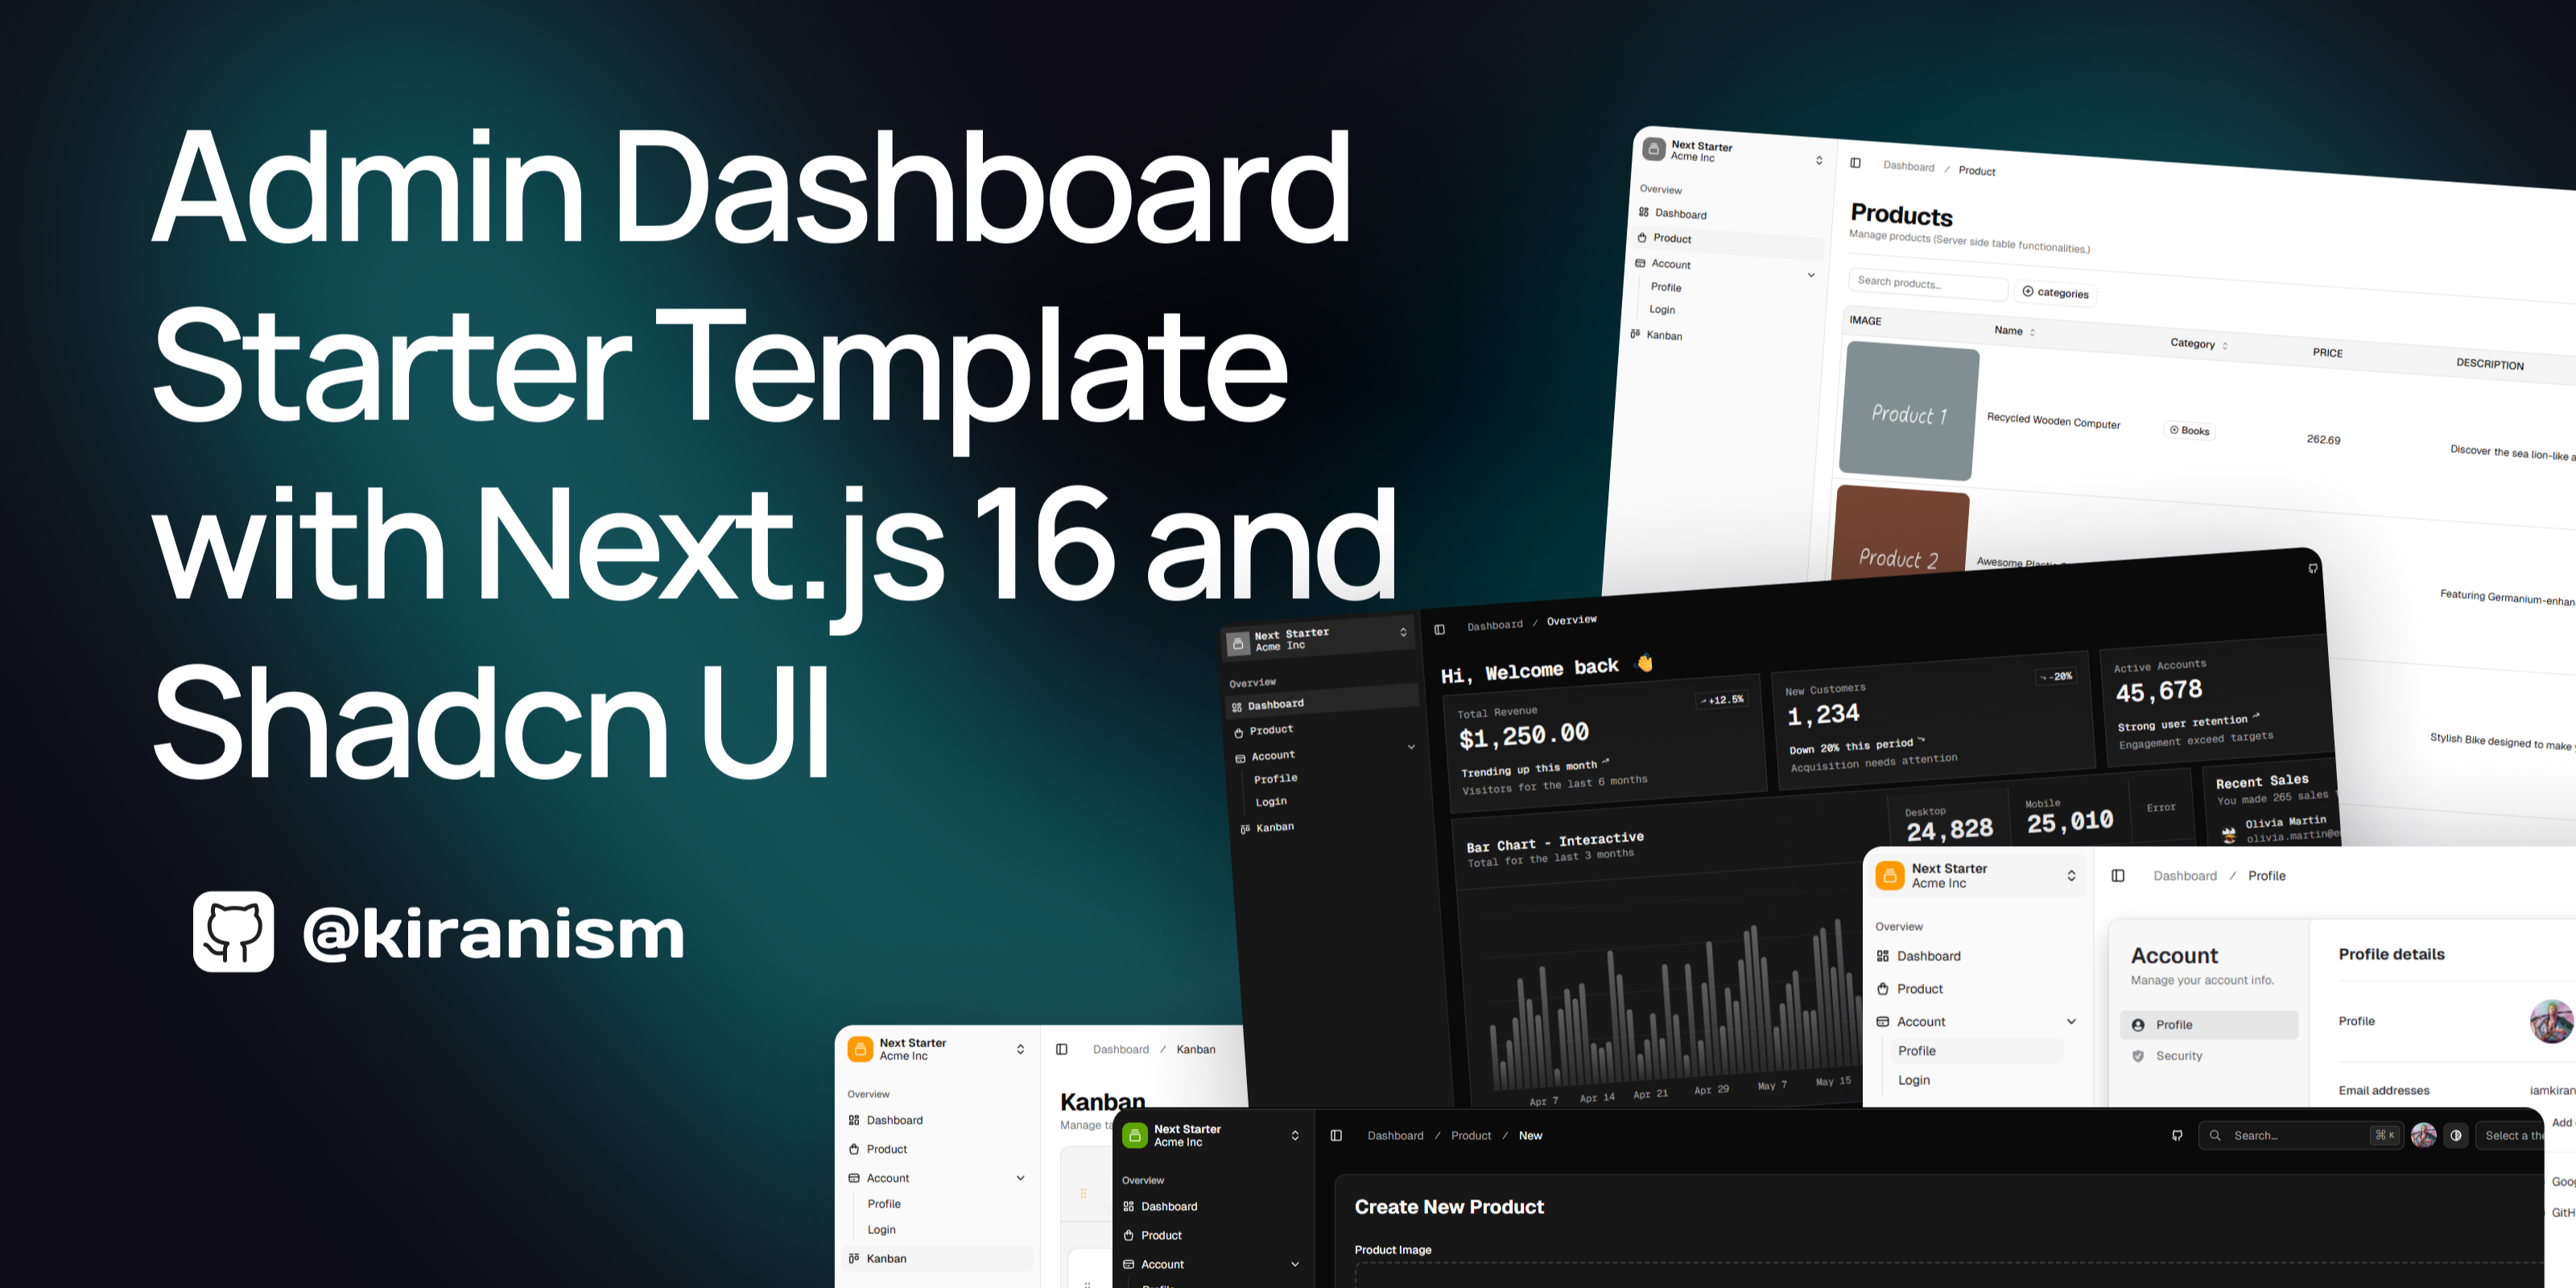
next-shadcn-dashboard-starter
An MIT-licensed admin dashboard starter built with Next.js 16, shadcn/ui, Tailwind CSS v4, and TypeScript.
Next.js · Admin dashboard
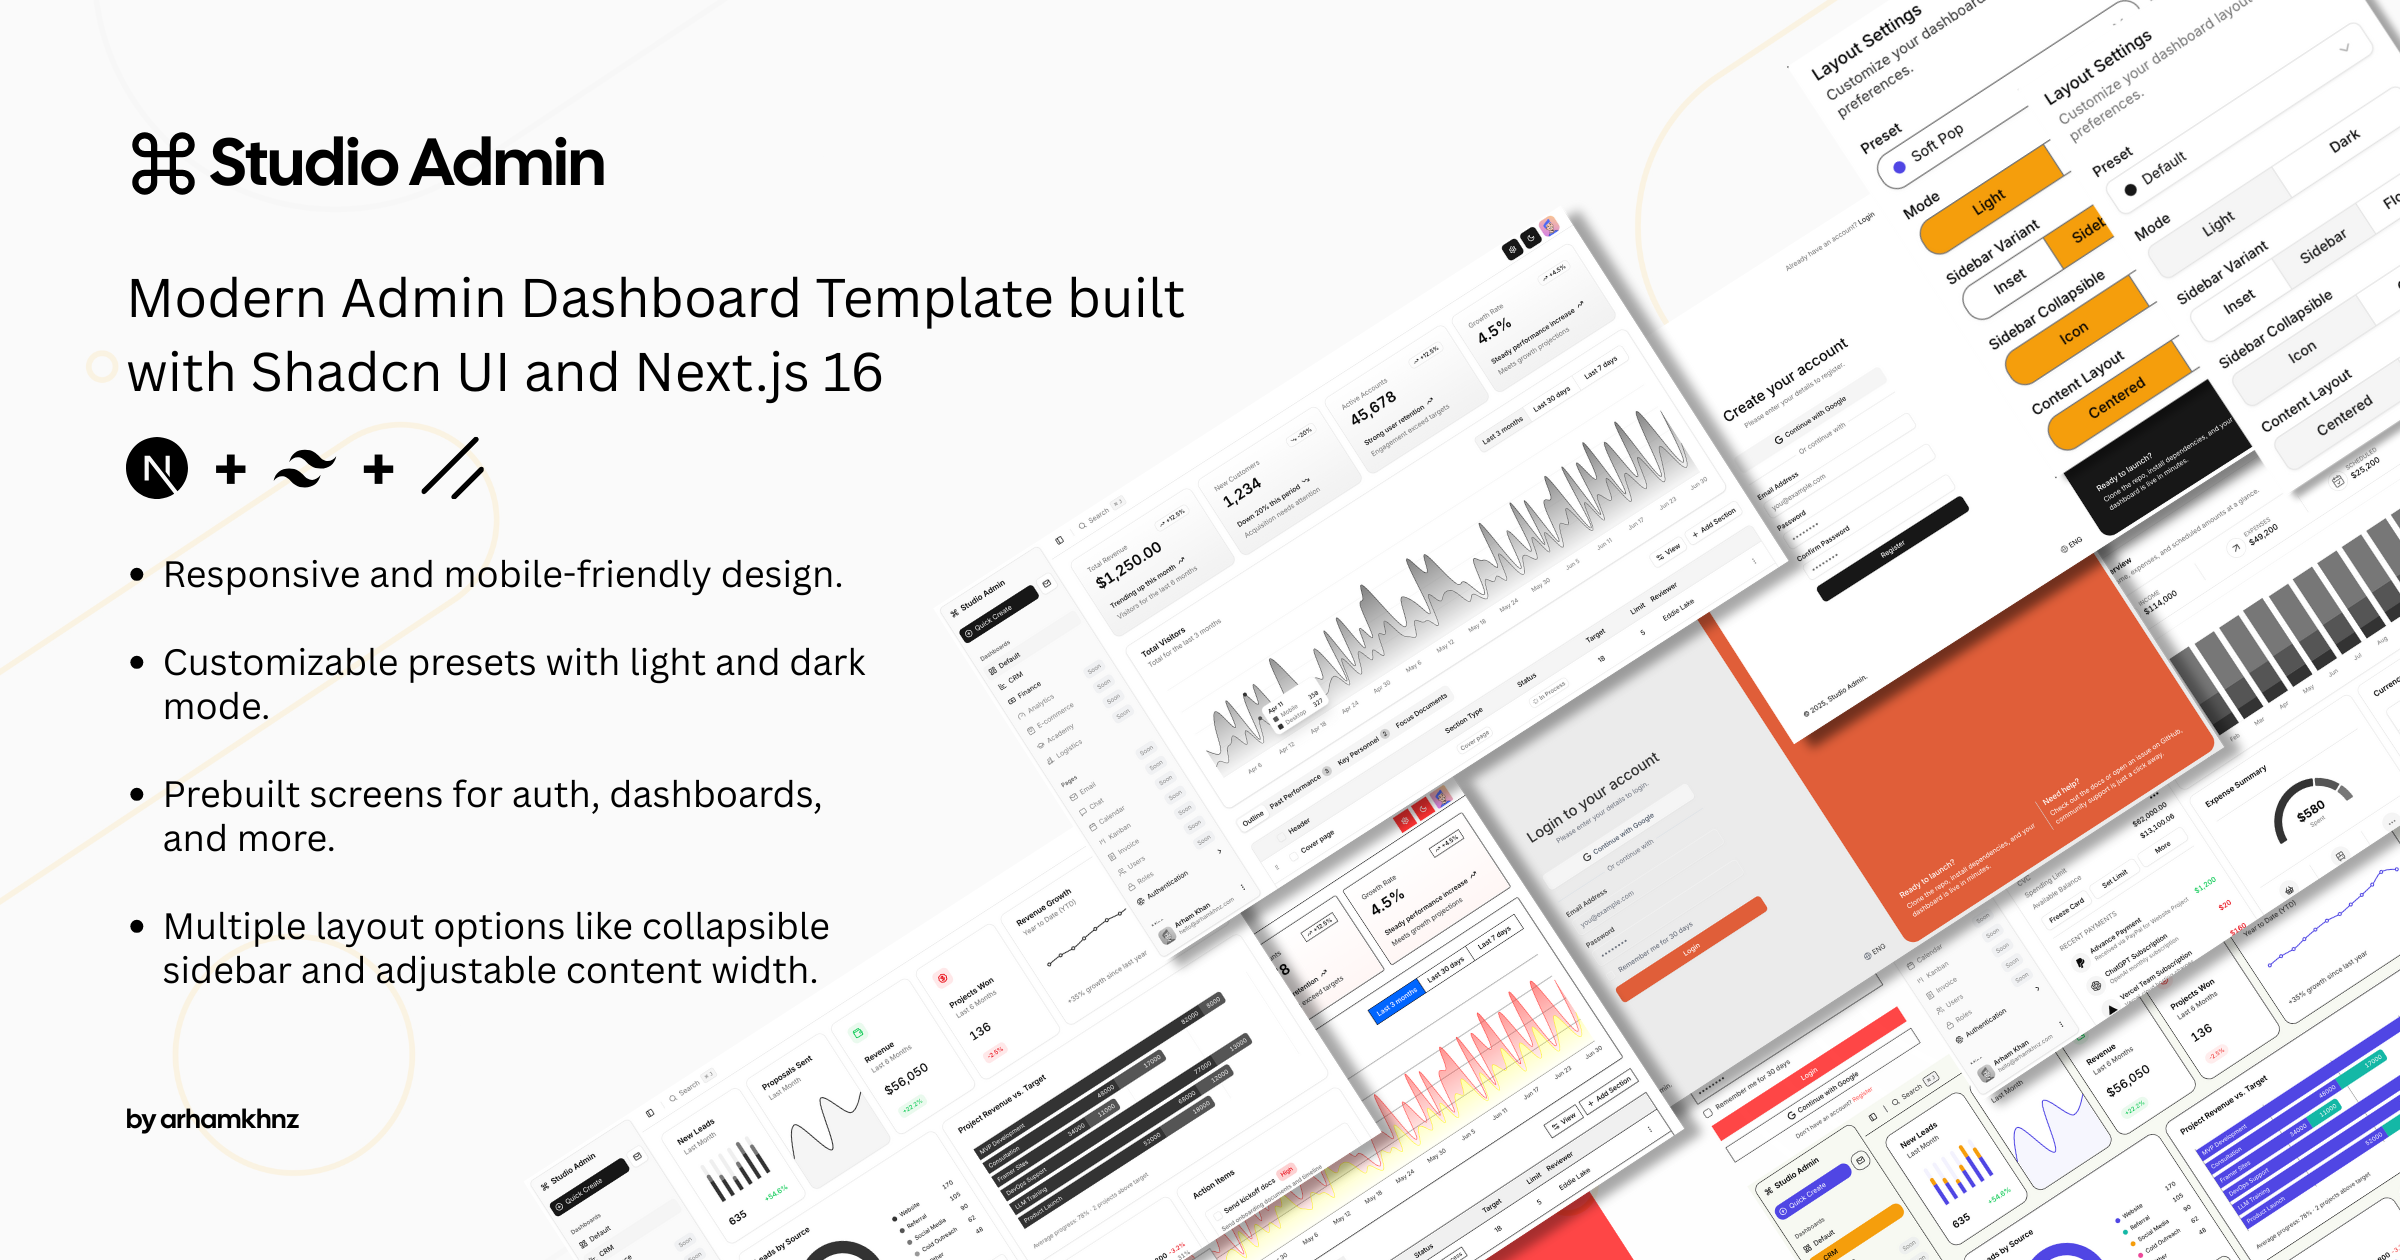
Studio Admin · Radix UI
Studio Admin is an admin dashboard template built with Next.js 16, TypeScript, Tailwind CSS v4, and Shadcn UI.
Next.js · Admin dashboard
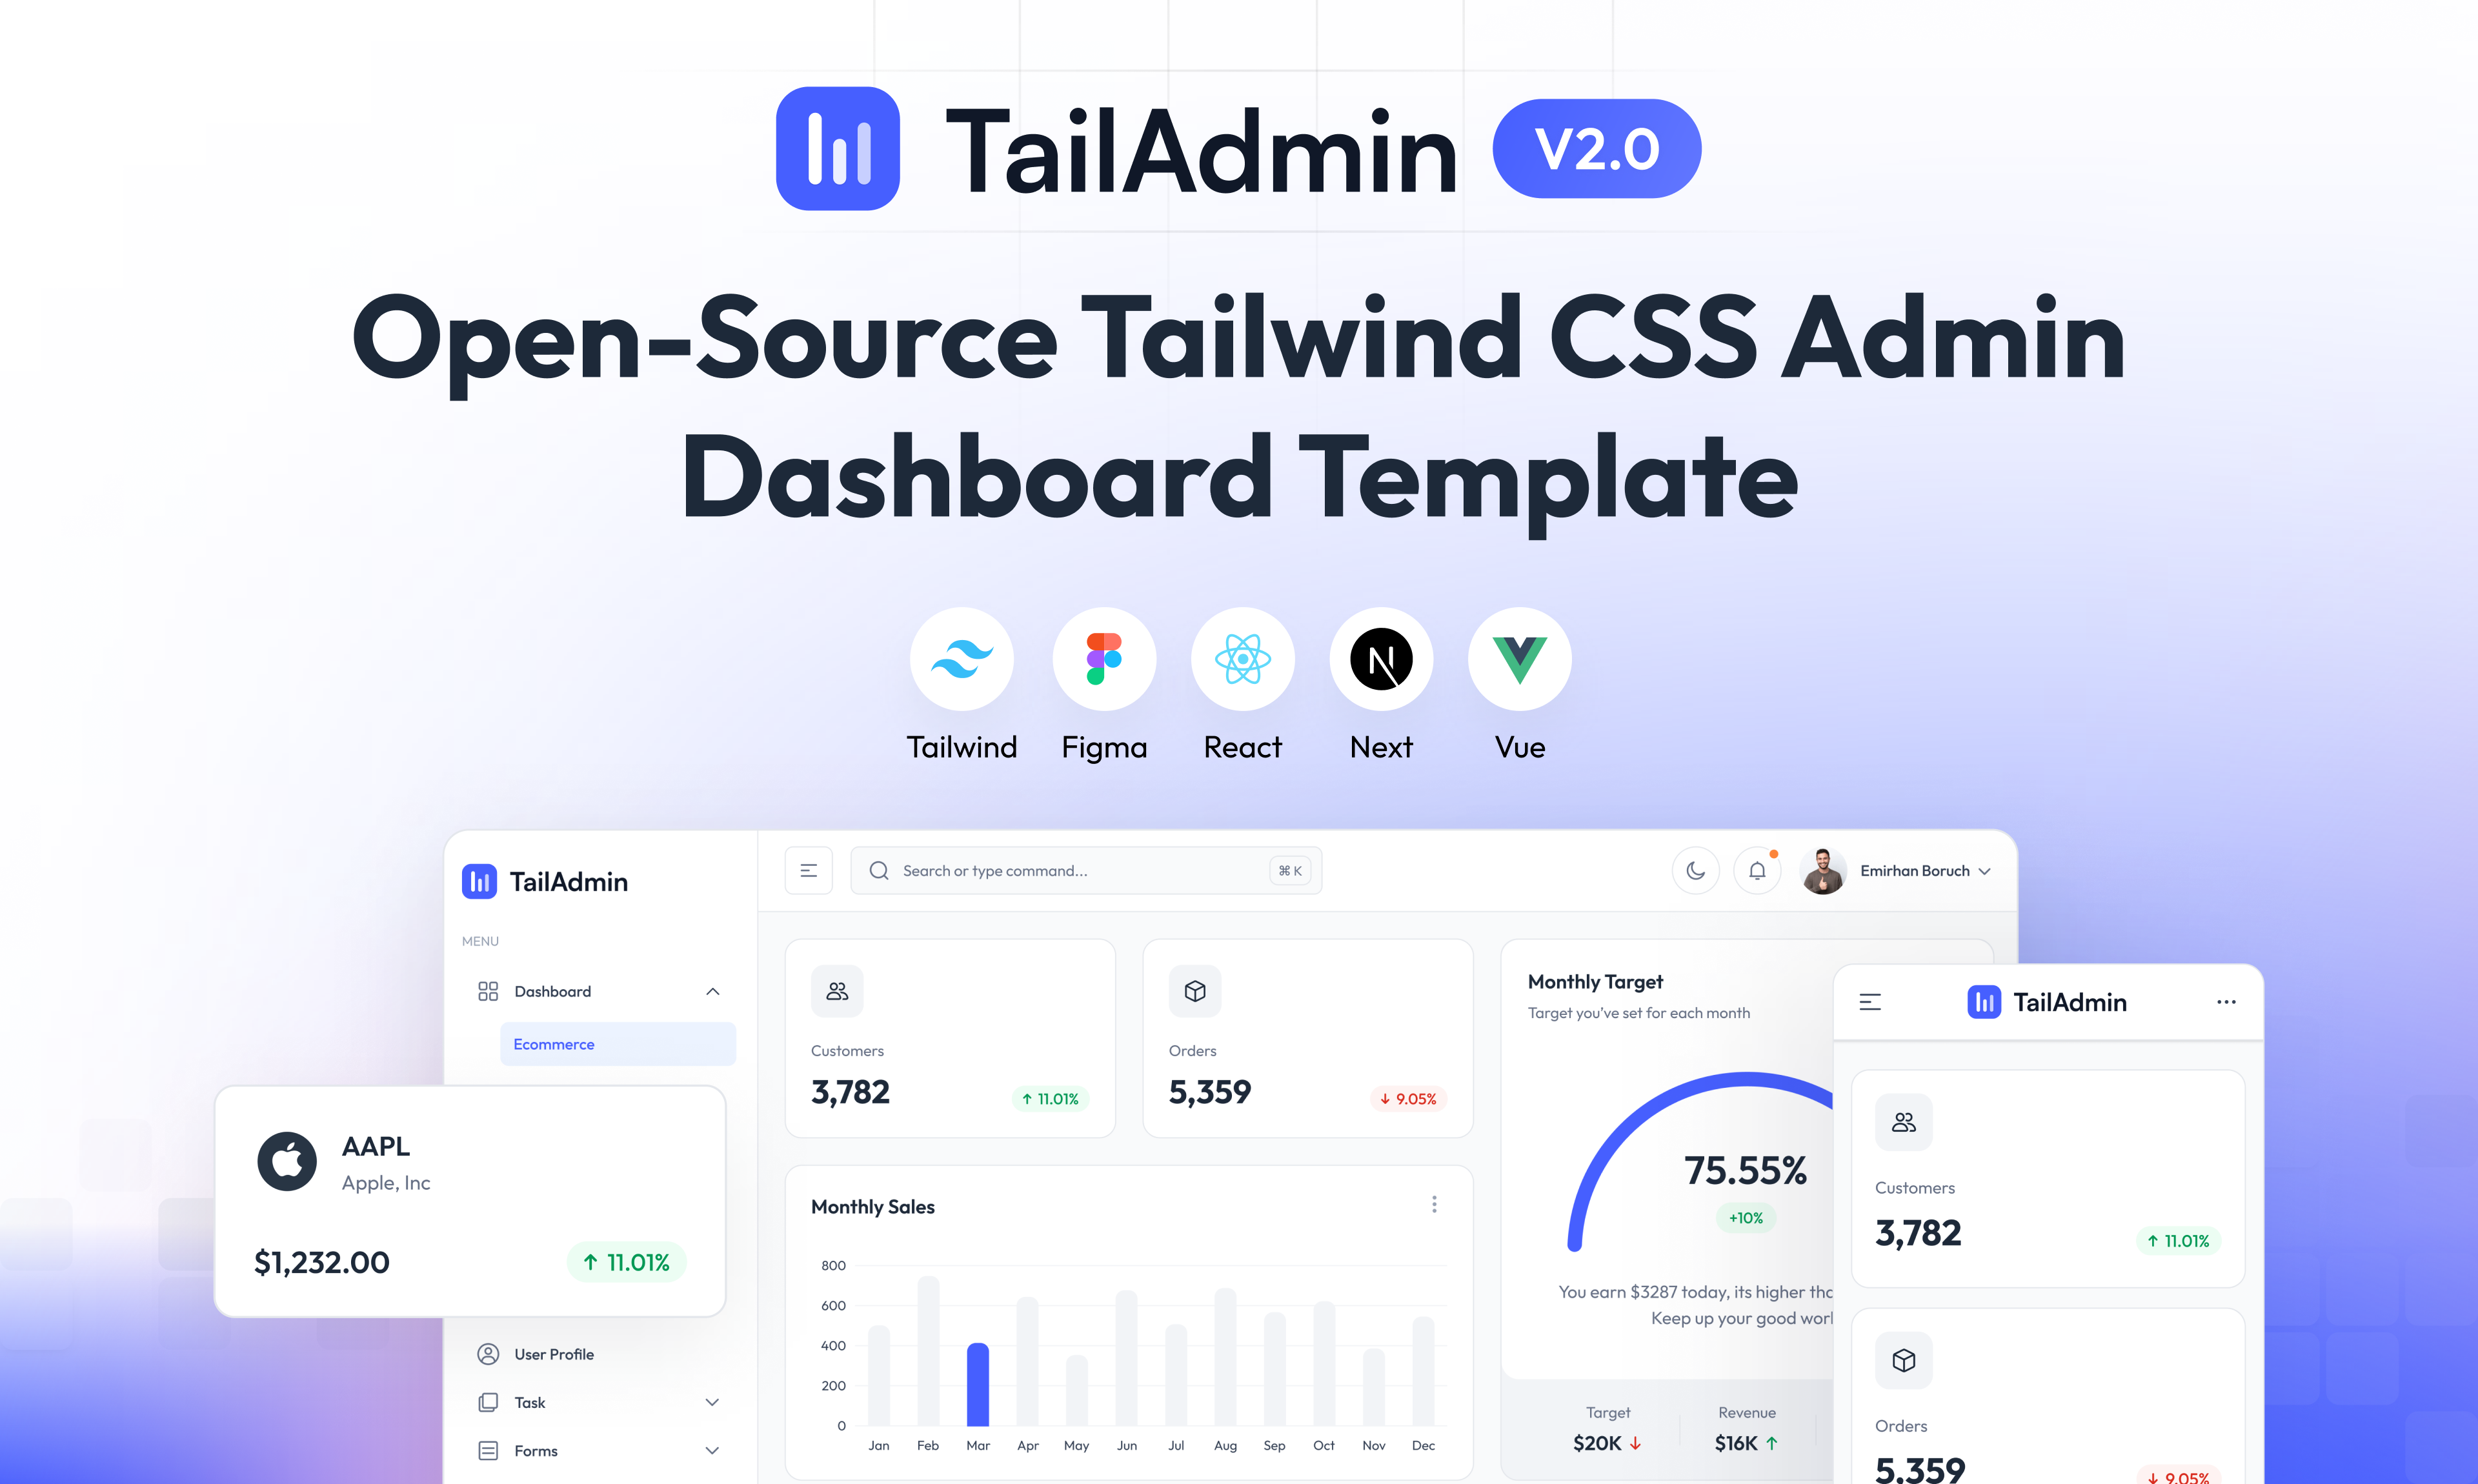
free-nextjs-admin-dashboard
A free, open-source admin dashboard template built on Next.js 16, React 19, TypeScript, and Tailwind CSS v4. It provides a collapsible sidebar, charts, tables, authentication forms, modals, dropdowns, and dark mode, with internationalization and RTL support since version 2.4.0.
Next.js · Admin dashboard
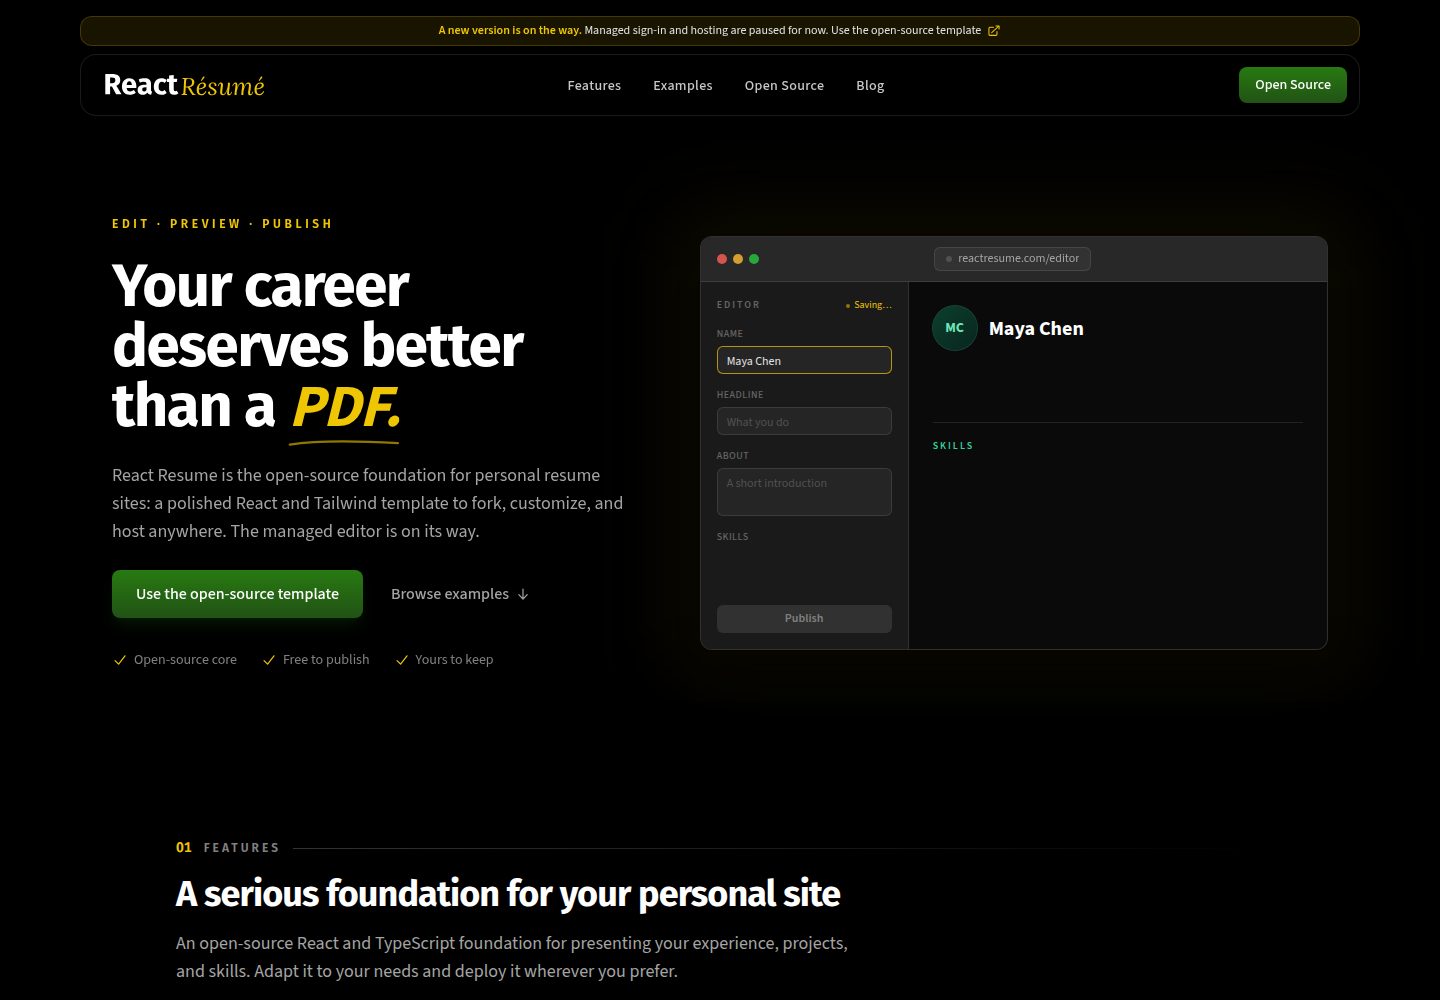
react-resume-template
A personal resume website template for software developers, built with Next.js, React, and TypeScript and styled with Tailwind CSS. Site content is driven by a single data file at /src/data/data.tsx, with types in dataDef.ts and images in src/images/.
Next.js · Portfolio
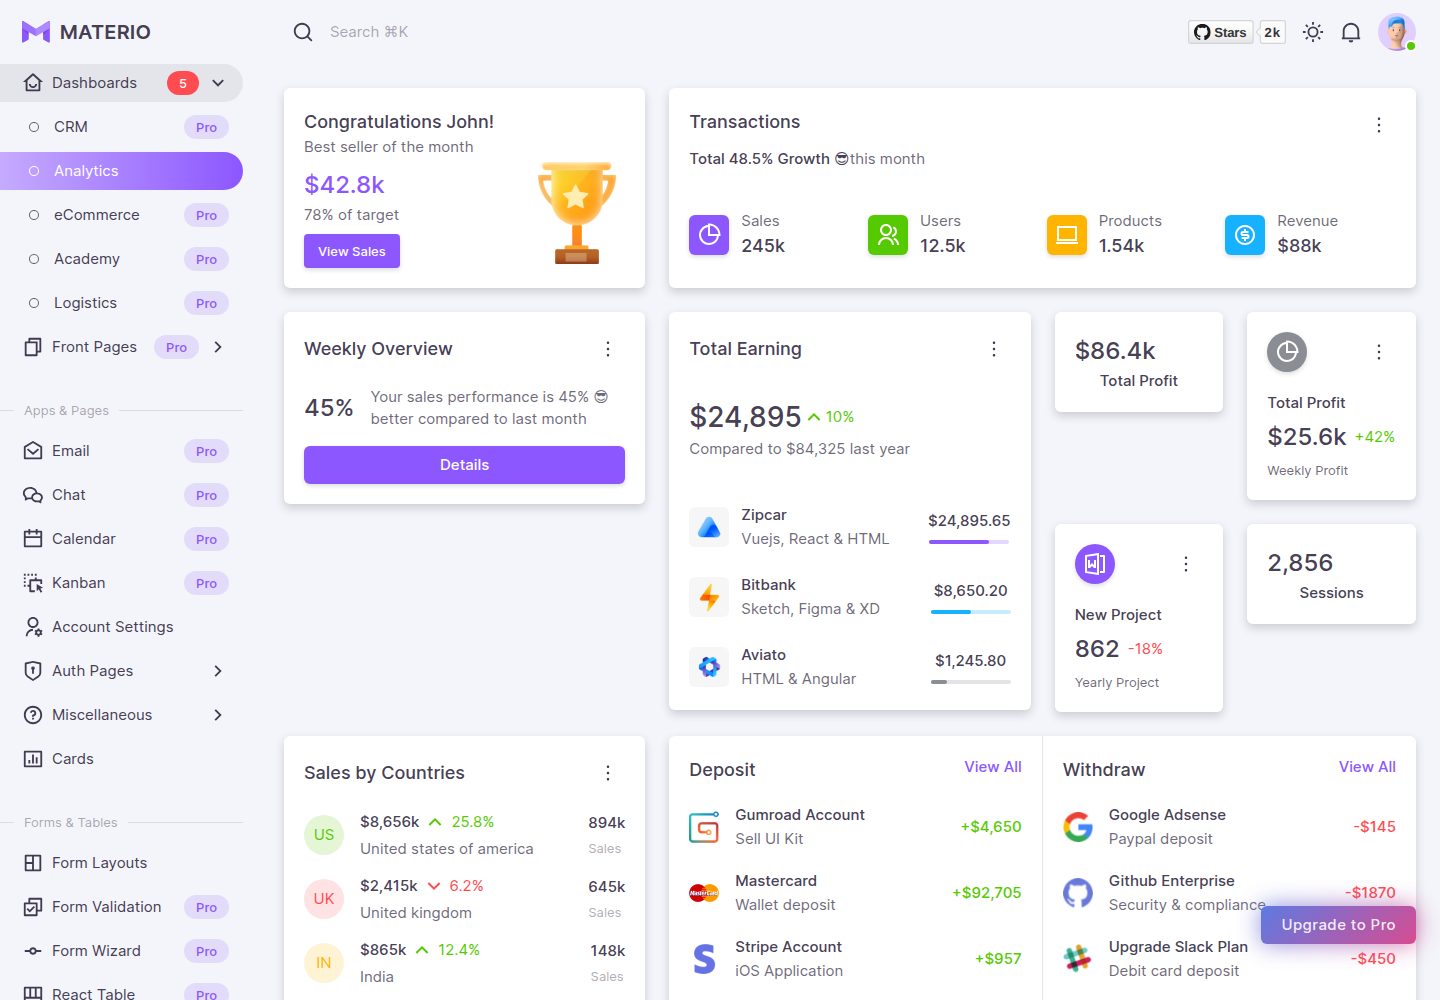
materio-mui-nextjs-admin-template-free
Materio Free is a Next.js admin dashboard template based on App Router and MUI, integrating Tailwind CSS and available in TypeScript and JavaScript versions.
Next.js · Admin dashboard
nextjs-postgres-nextauth-tailwindcss-template
A Vercel-maintained Next.js App Router admin dashboard starter with Auth.js GitHub OAuth, Postgres, Tailwind CSS, and Shadcn UI, plus a sample products table, seed endpoint, and CRUD interface.
Next.js · Admin dashboard