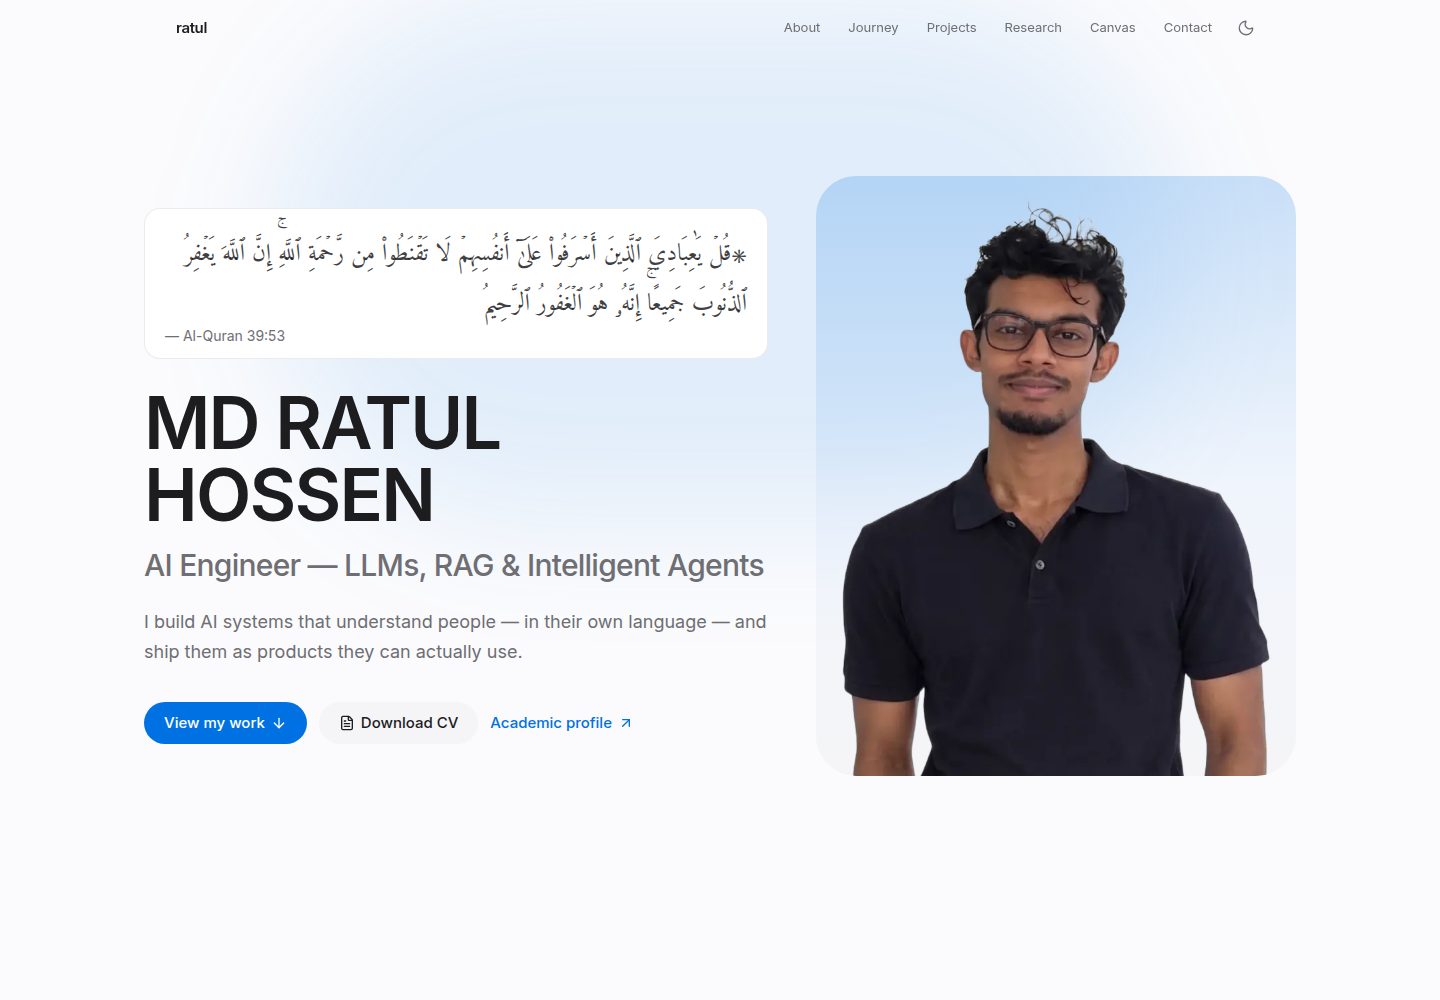
前台与 /admin 管理后台同项目,表单编辑各板块,无需手写代码或 JSON
Next.jsReact后台作品集
portfolio (ratul-hossen) — Next.js 后台模板
作者 ratul-hossen
一个基于 Next.js 的个人作品集模板,自带管理后台,支持 Google 登录、Neon 数据库与 Vercel Blob 上传,可展示项目、教育经历、研究与生活相册。
看看你的网站会是什么样
浏览真实页面截图,比较内容排版与手机效果。点击下方缩略图切换,放大查看整页细节。
全部页面与视图 3
截图用于了解视觉与布局,交互效果请以实际项目为准。
采集于 2026-09-30查看来源
值得关注的模板亮点
从已有项目资料中,快速了解它的特点。
支持 Google 登录(Auth.js),仅允许 ADMIN_EMAILS 中的邮箱访问后台
内容可存 Neon Postgres,上传文件存 Vercel Blob,线上保存即时生效
照片上传后自动缩放并转换为 WebP,支持 PDF 与视频
每次保存保留历史版本,可一键恢复;本地无数据库时写入单个 JSON 文件
内置 SEO 配置:页面标题、Open Graph、JSON-LD、sitemap.xml 与 robots.txt
模板详细介绍
这个模板把个人作品集网站和管理后台放在同一个 Next.js 项目里。前台包含首页、关于、经历、技能、项目案例、研究/出版物、生活相册以及学术简历页,支持明暗主题和响应式布局,并内置页面标题、Open Graph、JSON-LD、sitemap.xml 与 robots.txt 等 SEO 配置。后台位于 /admin,用表单编辑各个板块,可上传照片、PDF 和视频,照片会自动缩放并转为 WebP,支持排序、置顶、实时预览拼贴、快捷键保存,以及按设置开关板块和改写标题。内容默认保存在 src/content/site.json,本地开发时后台无需登录;接入 Neon Postgres 和 Vercel Blob 后,线上保存即时生效,并保留每次保存的版本历史,可一键恢复。管理后台使用 Auth.js 的 Google 登录,只有 ADMIN_EMAILS 中列出的邮箱可以进入,也可选配 Microsoft / Office 365 登录。
Next.js后台作品集
适合你的项目吗?
适用场景
- 搭建个人作品集网站,展示项目案例、教育经历、技能与研究出版物
- 需要非技术方式更新网站内容,通过后台表单和上传替换文字与图片
- 为大学申请准备一页式学术简历页(/academic)
- 展示工作之外的生活内容,包括兴趣、Instagram 嵌入和照片画廊
适合人群
- 希望快速上线个人作品集并自行维护内容的开发者或学生
- 接受使用 Vercel、Neon 和 Google OAuth 等外部服务的用户
- 需要后台编辑、版本历史和文件上传功能的个人站点项目
上手与定制指南
结合仓库当前版本的说明,按下面的资料检查内容、配置与运行要求。
- 1
需要 Node.js 22 或更新版本以及 Git;克隆自己 fork 或基于模板创建的仓库,而非原作者仓库
- 2
本地运行 npm install 与 npm run dev,访问 localhost:3000 和 localhost:3000/admin;本地后台默认无需登录
- 3
线上使用 Google 登录需在 Google Cloud Console 创建 OAuth 客户端,并配置 AUTH_GOOGLE_ID、AUTH_GOOGLE_SECRET、AUTH_SECRET、ADMIN_EMAILS 环境变量
- 4
接入 Neon 数据库和 Vercel Blob 后,线上后台才能保存内容与上传文件;此前后台显示为只读
- 5
部署到 Vercel 后每次推送到 main 分支会自动重新部署;自定义域名需在 OAuth 重定向 URI 中补充
授权与来源资料
使用条件与限制
免费使用 · 保留许可声明本次收录的是公开仓库中采用 MIT 许可的免费版本;免费范围为该版本代码,不代表外部服务或第三方素材免费。
使用时需要遵守
- 允许免费使用、修改、商用和分发该版本代码。
- 分发代码副本或实质性部分时,保留原作者版权声明和完整 MIT 许可声明。
- 代码按现状提供;担保与责任限制以原许可证及适用法律为准。
额外费用与待核对事项
- 线上后台保存内容与上传文件依赖外部服务:Neon Postgres 数据库和 Vercel Blob 存储,需在 Vercel 中创建并连接(均有免费额度),否则线上后台为只读,无法保存或上传。
- 使用管理后台的 Google 登录需自行在 Google Cloud Console 创建 OAuth 客户端,并配置 AUTH_GOOGLE_ID、AUTH_GOOGLE_SECRET、AUTH_SECRET、ADMIN_EMAILS 等环境变量,属于外部账号与配置要求。
- 线上部署依赖 Vercel 托管(Hobby 免费计划),并需 GitHub 账号与仓库;自定义域名需自行购买域名并在 OAuth 重定向 URI 中补充。
- 接入数据库后,直接编辑并推送 src/content/site.json 不再影响线上站点,内容必须通过 /admin 后台修改,限制了纯代码方式更新内容。
- 演示图片、字体、图标及其他第三方素材需按各自许可核对,不能仅凭代码的 MIT 许可判断。
- 域名、托管、数据库、支付或 AI 等外部服务可能另外收费。
查看原文依据
Permission is hereby granted, free of charge
许可证原文
The live site needs somewhere to keep your edits and uploads. Both have free plans and are **one click each inside Vercel**.
README 原文
This takes about 5 minutes and is free.
README 原文
[Vercel](https://vercel.com) hosts Next.js sites for free on the Hobby plan.
README 原文
https://github.com/ratul-hossen/portfolio/blob/main/LICENSEhttps://github.com/ratul-hossen/portfolio/blob/main/README.mdOnce the database is connected, **the database is the source of truth**. Editing `site.json` and pushing it no longer changes the live site.
README 原文
DeepSeek 根据仓库许可证和 README 整理 ·2026-09-30。结果仅覆盖已读取资料,依赖、图片、字体及后续条款变更以各自原文为准。
项目核对记录与介绍依据
模板资料
- 来源平台
- GitHub
- 资料与维护参考分
- 资料较完整 · 85 / 100
- 技术栈
- Next.js · React
- 网站类型
- 后台 · 作品集
这个分数如何计算
本站按许可资料(最高30分)、演示链接(12分)、预览图(10分)、Star数(15分)、记录的维护时间(15分)、描述完整度(8分)、功能记录(5分)和分类资料(5分)计算。它不是代码、安全或性能测试,也不是 Google 评分;有链接不代表已实测可用。
这个项目需要核对什么
- 记录的仓库更新时间
- 2026-09-29
- 截图检查日期
- 2026-09-30
已收录演示链接。请用你的内容与屏幕尺寸检查;有演示不代表表单、认证或支付已经可用。
目录记录的主要技术栈是 Next.js。请通过依赖清单和锁文件核对实际版本与托管要求。这些说明基于收录资料,不代表代码审计或部署实测。
查看具体选型方法 →介绍的制作与核对状态
介绍由 AI 辅助整理目录与仓库资料。仓库作者不等于这篇介绍的审核者。
已完成服务器许可规则与 AI 来源核对;未经过人工编辑审核。
查看当时使用的来源资料
SHA-256: 4f0d104b1f7e6021c02f39bb9a9a614ba00e5b173281de216a19e1789e23e097
2026-09-30T08:00:48.329Z
来源文件 / 仓库<div align="center">
# Portfolio
**A personal portfolio site with its own admin panel. Clone it, sign in with Google, fill in your story, and it's live in an afternoon.**
Next.js 16 · TypeScript · Tailwind CSS v4 · Auth.js · Neon Postgres · Vercel Blob · free hosting on Vercel
### 🌐 Live example: **[ratul.world](https://ratul.world)**
[](https://ratul.world)


[](https://vercel.com/new/clone?repository-url=https%3A%2F%2Fgithub.com%2Fratul-hossen%2Fportfolio&project-name=portfolio&repository-name=portfolio)
<a href="https://ratul.world"><img src="docs/screenshots/home.png" alt="ratul.world home page, light theme" width="100%"></a>
<sub>Screenshots are from <a href="https://ratul.world">ratul.world</a>, the site this template was built for. The repo itself ships with demo content that you replace with your own.</sub>
</div>
<table>
<tr>
<td width="50%"><img src="docs/screenshots/home-dark.png" alt="Home page, dark theme"></td>
<td width="50%"><img src="docs/screenshots/journey.png" alt="Journey section with education and a GPA chart"></td>
</tr>
<tr>
<td><img src="docs/screenshots/project.png" alt="Project case-study page"></td>
<td><img src="docs/screenshots/academic.png" alt="Academic profile page"></td>
</tr>
<tr>
<td><img src="docs/screenshots/admin.png" alt="Admin panel, editing projects"></td>
<td><img src="docs/screenshots/login.png" alt="Admin sign-in with Google"></td>
</tr>
</table>
---
## Contents
1. [Features](#features)
2. [How it works](#how-it-works)
3. [Quick start (on your computer)](#1-quick-start-on-your-computer)
4. [Make it yours](#2-make-it-yours)
5. [Put it online with Vercel](#3-put-it-online-with-vercel)
6. [Admin login with Google](#4-admin-login-with-google)
7. [Edit from anywhere (Neon database + Vercel Blob)](#5-edit-from-anywhere-neon-database--vercel-blob)
8. [Your own domain](#6-your-own-domain-optional)
9. [Environment variables](#environment-variables)
10. [Project structure](#project-structure)
11. [Troubleshooting](#troubleshooting)
12. [Getting updates from this template](#getting-updates-from-this-template)
13. [বাংলায় সংক্ষেপে](#বাংলায়-সংক্ষেপে)
14. [Contributors](#contributors)
---
## Features
**The site**
- **Hero** with your photo (or several that rotate), headline, status line, and a CV download button
- **About** with a "global journey" timeline and the languages you speak
- **Journey**: education as a collage with a **GPA trend chart** and course lists, experience & leadership, plus a carousel of honours, talks and events
- **Skills** as a bento-style collage
- **Projects** with full **case-study pages** (problem → approach → impact → tech)
- **Research** statement, interests and **publication pages**
- **Canvas** for life outside work: interests, Instagram embeds and a photo gallery
- **Academic profile** at `/academic`, a calm one-page CV for university applications
- **Light & dark theme**, smooth scroll animations (switched off for people who prefer reduced motion), fully responsive
- **SEO built in**: page titles, Open Graph previews, JSON-LD, `sitemap.xml`, `robots.txt`
**The admin panel** (`/admin`)
- Edit **every section** with forms. No code and no JSON.
- **Upload** photos, PDFs and videos. Photos are resized and converted to WebP automatically.
- Reorder and pin items, preview collages live, and press <kbd>⌘</kbd>/<kbd>Ctrl</kbd>+<kbd>S</kbd> to save
- **Show or hide any section** and rewrite every heading and menu label under **Settings**
- **Google sign-in** (Auth.js): only the email addresses you list can get in. A Microsoft / Office 365 login can be added too.
- **Saves go live instantly**: content lives in a free **Neon** Postgres database, uploads on **Vercel Blob**
- **Version history**: every save keeps the previous version, and any of them can be restored in one click
- **Works without a database, too**: on your computer everything is saved to one JSON file, and Publish pushes it to GitHub
## How it works
```
you ──► /admin ──► Sign in with Google ──► Save
(only emails in ADMIN_EMAILS) │
├──► Neon Postgres ── your content (+ every earlier version)
└──► Vercel Blob ──── your photos, PDFs and videos
│
the site reads them ◄───────┘ → live within seconds, no redeploy
```
| Where you edit | Content is saved to | How it goes live |
| --- | --- | --- |
| **Live site** (`yoursite.com/admin`) | Neon database + Vercel Blob | Instantly, on Save |
| **Your computer** (`npm run dev`, no database) | `src/content/site.json` + `public/uploads/` | Press **Publish**. It does a git push, and Vercel redeploys. |
The file `src/content/site.json` also **seeds** the database: until your first save on the live site, the site shows what's in that file.
---
## 1. Quick start (on your computer)
You need **[Node.js 22](https://nodejs.org)** (or newer) and **[Git](https://git-scm.com)**.
**a) Get your own copy of the repo.** [**Sign in to GitHub**](https://github.com/login) first — the button only appears when you're signed in. Then, at the top of this page, click the green **Use this template** button (left of **Code**, above the file list) → **Create a new repository**. On a phone, open the page in *desktop mode*. Or use [**this direct link**](https://github.com/new?template_name=portfolio&template_owner=ratul-hossen), or **Fork**. Name it `portfolio`. GitHub now has a copy that belongs to **you**, at `https://github.com/YOUR-GITHUB-USERNAME/portfolio`.
> [!IMPORTANT]
> Wherever this guide says **`YOUR-GITHUB-USERNAME`**, type **your own** GitHub username.
> For example, if your profile is `github.com/jane-doe`, the command below becomes
> `git clone https://github.com/jane-doe/portfolio.git`.
> Clone **your copy**, not this repo. The admin panel's Publish button pushes to the repo you cloned.
```bash
git clone https://github.com/YOUR-GITHUB-USERNAME/portfolio.git
```
```bash
cd portfolio
```
**b) Install and run:**
```bash
npm install
```
```bash
npm run dev
```
Open **http://localhost:3000** to see the demo site, and **http://localhost:3000/admin** for the admin panel.
On your own computer the admin panel opens **without a login** until you set up Google (step 4).
## 2. Make it yours
Open **http://localhost:3000/admin** and go through the sidebar from top to bottom:
| Admin page | What to fill in |
| --- | --- |
| **Profile** | Name, headline, tagline, photo, CV (PDF), email, About paragraphs, languages, social links (the demo links say `your-username`, so put in your real GitHub, LinkedIn and Instagram) |
| **Skills** | Groups of skills. The first box is the big one. |
| **Education** | Degrees and schools. Add term GPAs (with credits) and the CGPA and chart are calculated for you. |
| **Experience** | Jobs, internships and leadership roles |
| **Honours & events** | Awards, hackathons and talks. Pinned ones come first. |
| **Projects** | Each project gets its own page at `/projects/<slug>`. Pin up to three as featured. |
| **Research / Publications** | Your research statement, interests and papers (each gets a page) |
| **Canvas & Instagram** | Hobbies, Instagram post links, and a photo gallery |
| **Settings** | Turn sections on or off, rewrite every heading, choose menu labels, enable `/academic` |
Every **Save** updates the page at `localhost:3000` right away. When you're happy, press **Publish** (bottom-left). It commits your changes and pushes them to GitHub.
> [!TIP]
> Delete the demo images in `public/demo/` once you've replaced them all with your own photos.
**Optional tweaks in code**
- **Colours**: edit the tokens at the top of [`src/app/globals.css`](src/app/globals.css). Change `--accent` to recolour the whole site.
- **Font**: swap `Inter` in [`src/app/layout.tsx`](src/app/layout.tsx) for any [Google Font](https://fonts.google.com).
- **Favicon**: replace [`src/app/favicon.ico`](src/app/favicon.ico).
- **Content by hand**: everything lives in [`src/content/site.json`](src/content/site.json), and the shape is documented in [`src/content/types.ts`](src/content/types.ts).
## 3. Put it online with Vercel
[Vercel](https://vercel.com) hosts Next.js sites for free on the Hobby plan.
1. Push your repo to GitHub (the **Publish** button does it, or `git push`).
2. Go to **[vercel.com/new](https://vercel.com/new)** and sign in with GitHub.
3. **Import** your `portfolio` repository. Vercel detects Next.js, so leave every setting as it is.
4. Click **Deploy**. About a minute later your site is live at `https://YOUR-PROJECT.vercel.app`.
(`YOUR-PROJECT` is the name Vercel shows on the success screen, e.g. `jane-portfolio.vercel.app`. The steps below use it.)
From now on, **every push to `main` redeploys the site automatically.**
> [!TIP]
> **In a hurry? Use the "Deploy with Vercel" button** at the top of this page instead of steps 1–4.
> It creates **your own copy** of this repo in your GitHub account and deploys it in one go.
> Two things to know:
> - It deploys the **demo content**. Replace it from the admin panel once steps 4 and 5 are done.
> - It does **not** set up the login, database or uploads. That's what steps 4 and 5 are for (about 10 minutes).
> At this point the public site works, and `/admin` on the live site asks you to sign in. The next two steps turn that on.
## 4. Admin login with Google
This takes about 5 minutes and is free.
### 4.1 Create a Google OAuth client
1. Open the **[Google Cloud Console](https://console.cloud.google.com/)** and create a project (top bar → project picker → **New project**, name it e.g. `portfolio`).
2. Go to **APIs & Services → OAuth consent screen** (called **Google Auth Platform** in newer consoles) and click **Get started**:
- **App name**: `Portfolio admin`, **User support email**: your email
- **Audience**: **External**
- **Contact email**: your email → **Create**
3. Under **Audience → Test users**, click **Add users** and add **your Gmail address**.
(Or click **Publish app**. With only the basic profile and email scopes, Google doesn't need to review it.)
4. Go to **Clients** (or **Credentials → Create credentials → OAuth client ID**):
- **Application type**: **Web application**
- **Name**: `Portfolio`
- **Authorized redirect URIs**, add **both** of these:
```
http://localhost:3000/api/auth/callback/google
https://YOUR-PROJECT.vercel.app/api/auth/callback/google
```
(Add your custom domain too later, e.g. `https://yourname.com/api/auth/callback/google`.)
5. Click **Create** and copy the **Client ID** and **Client secret**.
### 4.2 Generate a secret
This random string signs your login cookie. Run either of these:
```bash
npx auth secret
```
```bash
openssl rand -base64 33
```
Any long random string (40+ characters) works too, e.g. from a password generator.
### 4.3 Add the variables to Vercel
In Vercel, open your project → **Settings → Environment Variables** and add:
| Name | Value |
| --- | --- |
| `AUTH_GOOGLE_ID` | the Client ID from 4.1 |
| `AUTH_GOOGLE_SECRET` | the Client secret from 4.1 |
| `AUTH_SECRET` | the random string from 4.2 |
| `ADMIN_EMAILS` | your Gmail address. For several people, separate with commas: `[email protected],[email protected]` |
Then **Deployments → ⋯ on the latest → Redeploy** so the new variables take effect.
Visit `https://YOUR-PROJECT.vercel.app/admin`, click **Continue with Google**, and you're in. 🎉
The panel says **Read-only** until you do step 5.
<details>
<summary><b>Optional: also allow a Microsoft / Office 365 account</b> (e.g. a university email)</summary>
1. In the **[Microsoft Entra admin center](https://entra.microsoft.com/)** → **App registrations → New registration**.
2. **Supported account types**: *Accounts in any organizational directory and personal Microsoft accounts*.
3. **Redirect URI** (Web): `https://YOUR-PROJECT.vercel.app/api/auth/callback/microsoft-entra-id`
4. Copy the **Application (client) ID**, then under **Certificates & secrets** create a **client secret**.
5. Add to Vercel: `AUTH_MICROSOFT_ENTRA_ID_ID`, `AUTH_MICROSOFT_ENTRA_ID_SECRET` and
`AUTH_MICROSOFT_ENTRA_ID_ISSUER=https://login.microsoftonline.com/common/v2.0`. Add that email to `ADMIN_EMAILS` too, then Redeploy.
A **Continue with Microsoft** button then appears on the sign-in page.
</details>
**To require the login on your computer too**, copy the example file, fill in the same values, and set `ADMIN_REQUIRE_LOGIN=true`:
```bash
cp .env.example .env.local
```
## 5. Edit from anywhere (Neon database + Vercel Blob)
The live site needs somewhere to keep your edits and uploads. Both have free plans and are **one click each inside Vercel**. Vercel adds the environment variables for you.
**5.1 Database (Neon)**: stores your content and its version history.
1. Vercel → your project → **Storage** tab → **Create Database** → choose **Neon** (Serverless Postgres) → **Continue**.
2. Pick the **Free** plan and a region close to you → **Create**.
3. When asked, **connect it to your project** (all environments). This adds `DATABASE_URL`.
**5.2 File storage (Vercel Blob)**: stores the photos, PDFs and videos you upload.
1. Same **Storage** tab → **Create Database** → **Blob** → **Create**.
2. Connect it to your project. This adds `BLOB_READ_WRITE_TOKEN`.
**5.3 Redeploy**: **Deployments → ⋯ → Redeploy**.
Now, on the live site:
- **Save** writes to the database, and the change is **live within seconds**. There's no Publish step.
- **Uploads** go straight from your browser to Blob. Photos are resized to WebP first. There's no small size limit (up to 100 MB per file).
- **Version history** on the admin dashboard lists earlier saves. **Restore** brings one back.
- The tables are created automatically the first time. Until your first save, the site shows the content from `src/content/site.json`.
> [!IMPORTANT]
> Once the database is connected, **the database is the source of truth**. Editing `site.json` and pushing it no longer changes the live site. Make your edits in `/admin`.
## 6. Your own domain (optional)
1. Buy a domain from any registrar (Namecheap, Cloudflare, Porkbun…).
2. Vercel → your project → **Settings → Domains → Add** and follow the DNS instructions.
3. Add the domain's callback to your Google OAuth client (step 4.1.4):
`https://yourname.com/api/auth/callback/google`
4. Add `NEXT_PUBLIC_SITE_URL=https://yourname.com` in Vercel so link previews and the sitemap use it, then **Redeploy**.
---
## Environment variables
All of them are optional for `npm run dev`. See [`.env.example`](.env.example).
| Variable | Needed for | Description |
| --- | --- | --- |
| `AUTH_SECRET` | Admin login | Long random string that signs the session cookie |
| `AUTH_GOOGLE_ID` | Admin login | OAuth client ID from Google Cloud |
| `AUTH_GOOGLE_SECRET` | Admin login | OAuth client secret |
| `ADMIN_EMAILS` | Admin login | Comma-separated accounts allowed into `/admin` |
| `DATABASE_URL` | Editing on the live site | Neon connection string. **Added automatically** when you connect Neon in Vercel. |
| `BLOB_READ_WRITE_TOKEN` | Uploads on the live site | **Added automatically** when you connect Blob in Vercel |
| `AUTH_MICROSOFT_ENTRA_ID_ID` / `_SECRET` / `_ISSUER` | Optional Microsoft login | See the collapsible section in step 4 |
| `ADMIN_REQUIRE_LOGIN` | Optional | `true` requires the login on your own computer too |
| `NEXT_PUBLIC_SITE_URL` | Custom domain | Public URL for the sitemap and previews. Defaults to your Vercel domain. |
## Project structure
```
src/
├─ auth.ts ← Auth.js setup: Google (+ optional Microsoft), ADMIN_EMAILS check
├─ content/
│ ├─ site.json ← starting content (and all content when there's no database)
│ └─ types.ts ← the shape of that content, with comments
├─ app/
│ ├─ (site)/ ← public pages: home, /academic, /projects/[slug], /research/[slug]
│ ├─ admin/ ← the admin panel (forms are defined in _editor/schema.ts)
│ ├─ api/auth/ ← Auth.js sign-in / callback routes
│ └─ login/ ← the sign-in page
├─ components/
│ ├─ sections/ ← Hero, About, Journey, Skills, Projects, Research, Canvas, Contact
│ ├─ site/ ← navbar, footer, theme toggle
│ └─ ui/ ← buttons, carousels, media rotator, charts…
└─ lib/
├─ admin.ts ← "who is the signed-in admin?" (open on your own computer)
├─ store.ts ← reads/writes content: Neon database, or the JSON file
└─ content.ts ← the read API every page uses
public/
├─ uploads/ ← local uploads (when Blob isn't connected)
└─ demo/ ← demo images (delete once replaced)
```
**Adding a field** to a section takes two small edits: add it to the type in `src/content/types.ts`, then add one line to the section's form in `src/app/admin/_editor/schema.ts`. The editor renders forms from that schema automatically.
**Security in short:** `/admin`, every save and restore action and the upload endpoints all check the session. Sign-in goes through Auth.js, and only verified emails listed in `ADMIN_EMAILS` get a session (a signed, HTTP-only cookie). The database and Blob keys only ever live on the server.
## Scripts
```bash
npm run dev # local site + admin at http://localhost:3000
npm run build # production build (what Vercel runs)
npm run start # serve the production build locally
npm run lint # ESLint
```
## Troubleshooting
<details>
<summary><b>Google says <code>Error 400: redirect_uri_mismatch</code></b></summary>
The address you're signing in from isn't in **Authorized redirect URIs** (step 4.1.4). It must match exactly: `https://`, no trailing slash, ending in `/api/auth/callback/google`. Changes can take a few minutes to apply.
</details>
<details>
<summary><b>"That account isn't on the admin list"</b></summary>
Add the exact email to `ADMIN_EMAILS` in Vercel (comma-separated, no quotes) and **Redeploy**.
</details>
<details>
<summary><b>"Sign-in isn't set up correctly" (Configuration error)</b></summary>
`AUTH_SECRET`, `AUTH_GOOGLE_ID` or `AUTH_GOOGLE_SECRET` is missing or mistyped in Vercel. Check the names exactly as in step 4.3, then **Redeploy**.
</details>
<details>
<summary><b>Google says "Access blocked: app has not completed the verification process"</b></summary>
Your OAuth app is in **Testing** mode and your email isn't a test user. Add it under **Audience → Test users**, or click **Publish app**.
</details>
<details>
<summary><b>The admin panel says "Read-only", or Save is greyed out</b></summary>
The database isn't connected yet, or you haven't redeployed since connecting it (step 5). Check that `DATABASE_URL` is listed under **Settings → Environment Variables**.
</details>
<details>
<summary><b>Upload fails with "Uploads need Vercel Blob to be connected"</b></summary>
Connect Blob (step 5.2) and **Redeploy**. Check that `BLOB_READ_WRITE_TOKEN` is listed under **Settings → Environment Variables**.
</details>
<details>
<summary><b>I edited <code>site.json</code> and pushed, but the live site didn't change</b></summary>
With a database connected, the site reads from the database, not the file. Make the change in `/admin` instead.
</details>
<details>
<summary><b>I saved something by mistake</b></summary>
Open the admin **Dashboard → Version history** and **Restore** the version from before the mistake. The current version is kept in history too.
</details>
<details>
<summary><b>Publish fails on my computer with a git error</b></summary>
Publish runs `git add`, `git commit`, `git pull` and `git push` for you, so your folder must be a clone of your GitHub repo and you must be able to `git push` from a terminal. Run `git push` once by hand to see the real error.
</details>
## Getting updates from this template
Want improvements made here after you copied it? Add this repo as a second remote and merge:
```bash
git remote add upstream https://github.com/ratul-hossen/portfolio.git
```
```bash
git pull upstream main --allow-unrelated-histories
```
With the database connected, your content lives there, so updates never touch it. If git reports a conflict in `src/content/site.json`, keep **your** version.
---
## বাংলায় সংক্ষেপে
1. উপরে **Use this template** চাপ দিয়ে নিজের GitHub-এ একটা কপি বানাও, তারপর সেটা clone করো।
2. `npm install`, তারপর `npm run dev`। এরপর **localhost:3000/admin** খুলে নিজের সব তথ্য বসাও এবং **Publish** চাপো।
3. **[vercel.com/new](https://vercel.com/new)**-এ গিয়ে রিপোটা Import করে **Deploy** দাও। তোমার সাইট লাইভ হয়ে যাবে।
4. **Google লগইন**: Google Cloud Console-এ একটা OAuth Client (Web application) বানাও, redirect URI দাও `https://<তোমার-সাইট>/api/auth/callback/google`। তারপর Vercel-এ `AUTH_GOOGLE_ID`, `AUTH_GOOGLE_SECRET`, `AUTH_SECRET` আর `ADMIN_EMAILS` সেট করে Redeploy দাও (ধাপ ৪ দেখো)।
5. **লাইভ সাইট থেকে এডিট**: Vercel-এ প্রজেক্টের **Storage** ট্যাব থেকে **Neon** (database) আর **Blob** (ফাইল রাখার জায়গা) যোগ করো। দুটোই ফ্রি, আর environment variable নিজে থেকেই বসে যায়। তারপর Redeploy দাও (ধাপ ৫ দেখো)। এরপর থেকে Save চাপলেই সাথে সাথে সাইটে দেখাবে, আর ভুল হলে Dashboard-এর **Version history** থেকে আগের version ফেরত আনা যাবে।
কোনো সমস্যা হলে উপরের **Troubleshooting** অংশটা দেখো, অথবা একটা Issue খোলো।
---
## Contributors
<table>
<tr>
<td align="center">
<a href="https://www.instagram.com/_hossen_ratul/">
<img src="https://github.com/ratul-hossen.png" width="100" alt="MD Ratul Hossen on Instagram"><br>
<b>MD Ratul Hossen</b>
</a><br>
<sub>Creator & maintainer</sub><br>
<a href="https://ratul.world">🌐 ratul.world</a> · <a href="https://github.com/ratul-hossen">GitHub</a>
</td>
</tr>
</table>
Pull requests are welcome. Found a bug or have an idea? [Open an issue](https://github.com/ratul-hossen/portfolio/issues).
## License
[MIT](LICENSE). Use it for your own portfolio and change anything you like. A ⭐ on the repo is appreciated if it helped you.
Made with ❤️ by **[MD Ratul Hossen](https://ratul.world)**. See it live at **[ratul.world](https://ratul.world)**.
看看同类模板
对比同技术栈与用途的模板,找到更适合的视觉与内容结构。
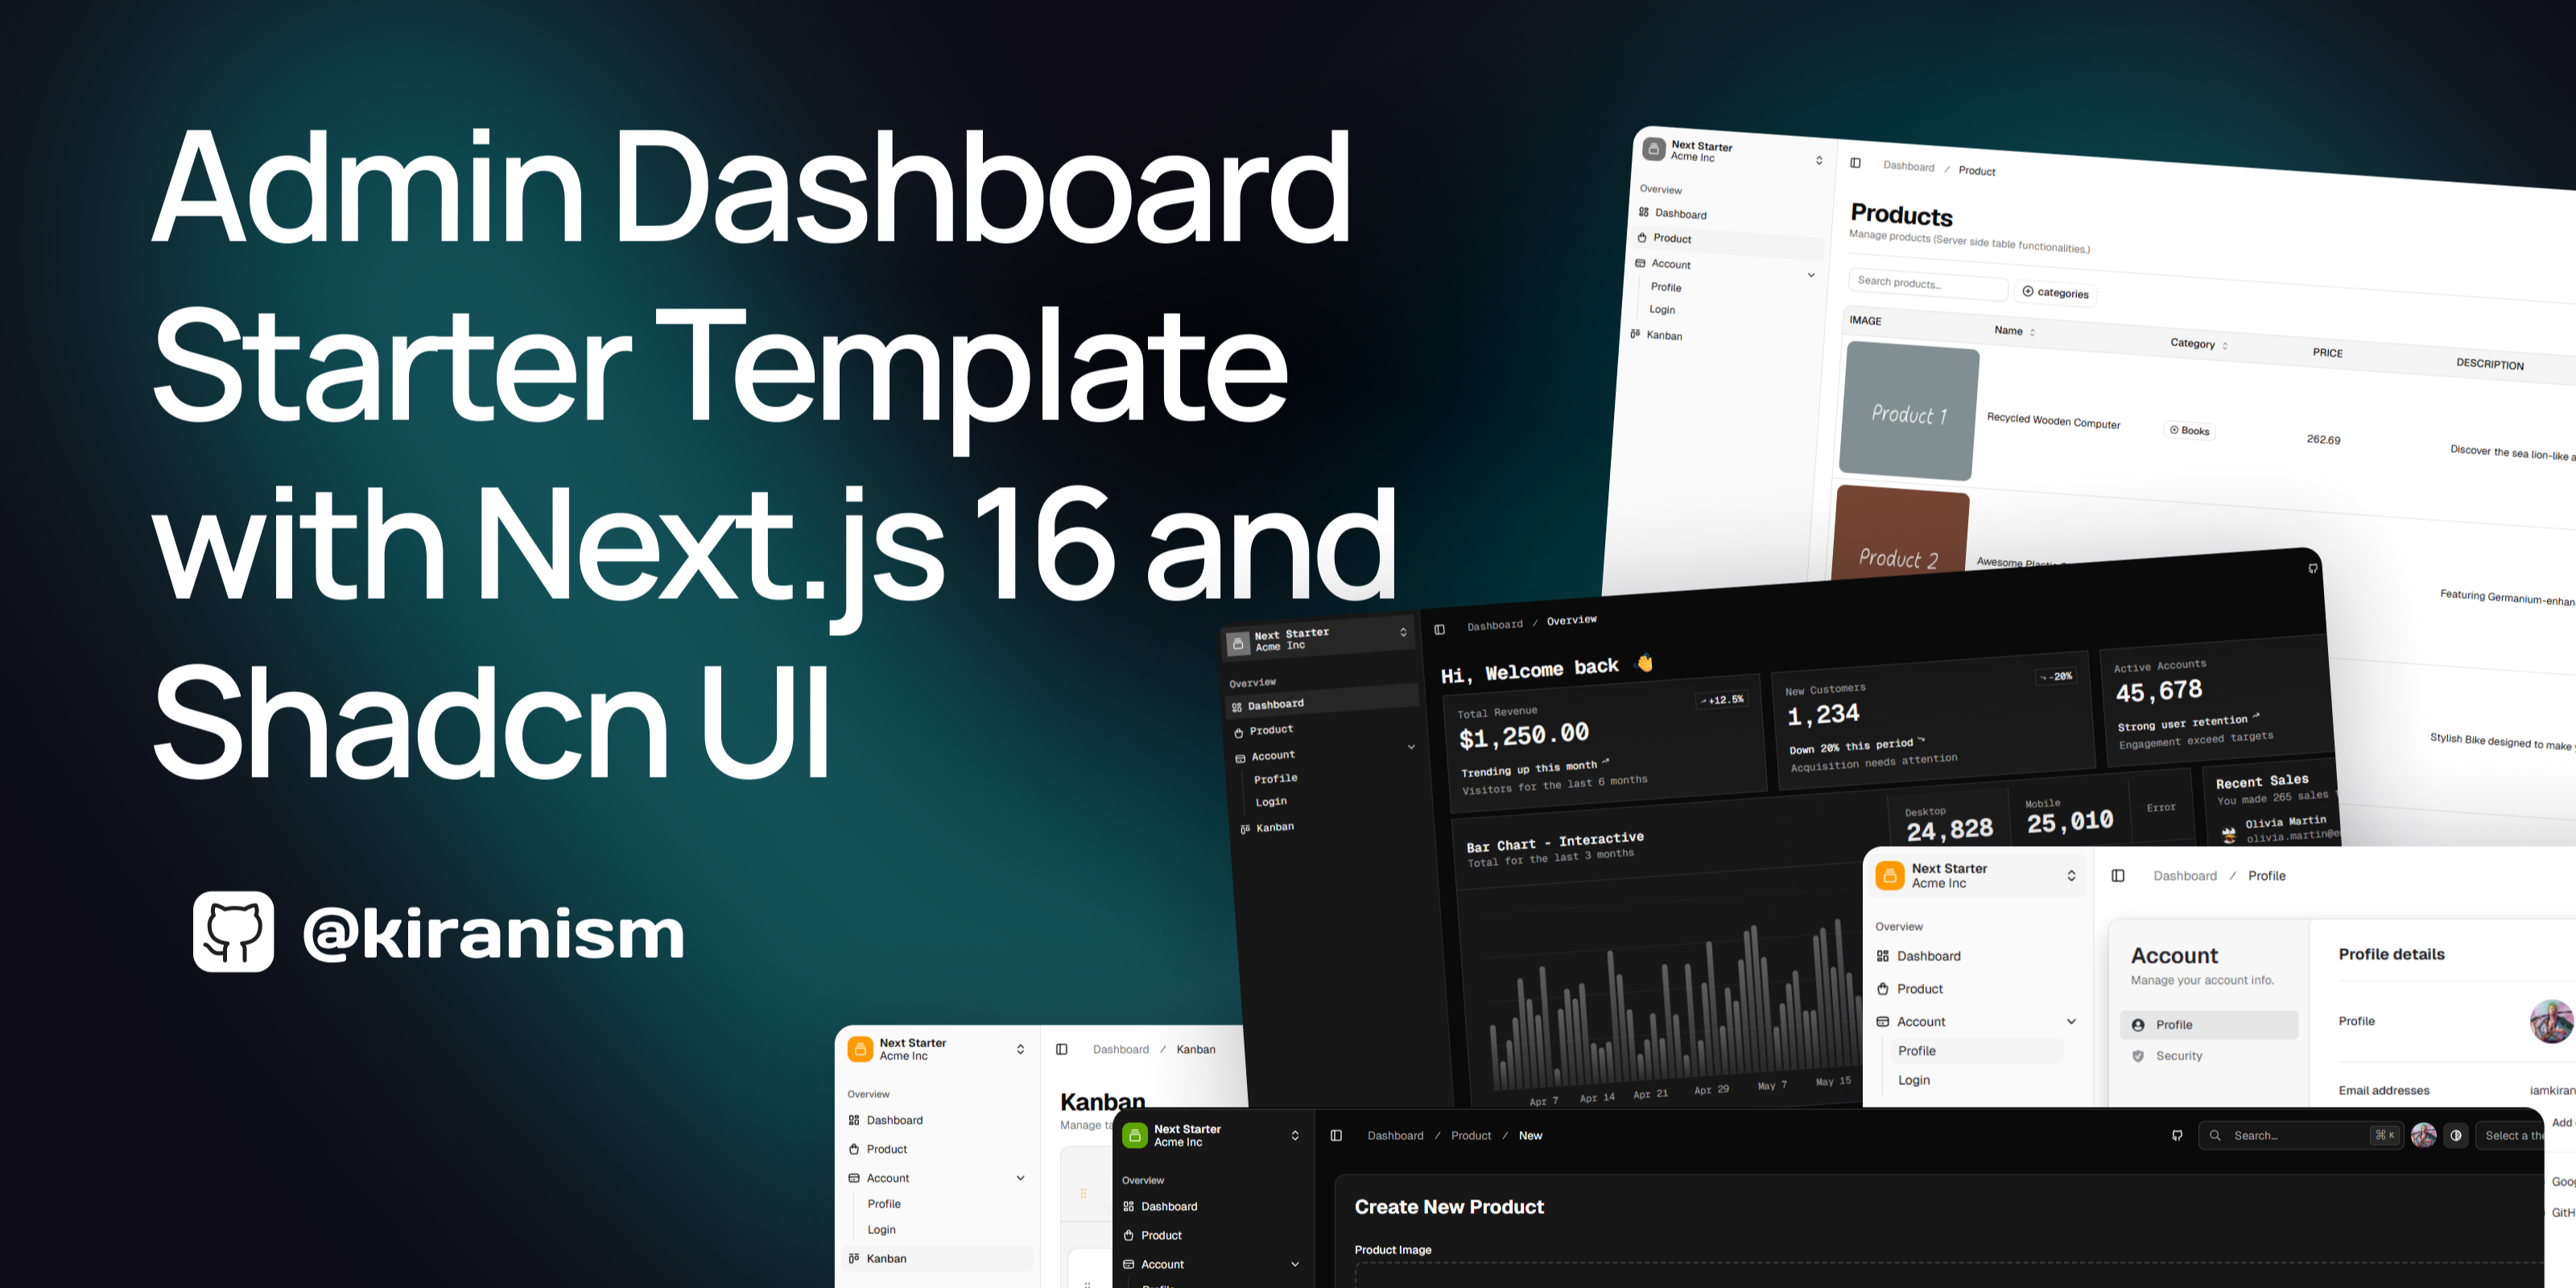
next-shadcn-dashboard-starter
Free, open source, AI-friendly admin dashboard template built with Next.js 16, shadcn/ui, Tailwind CSS, and Ty…
Next.js · 后台
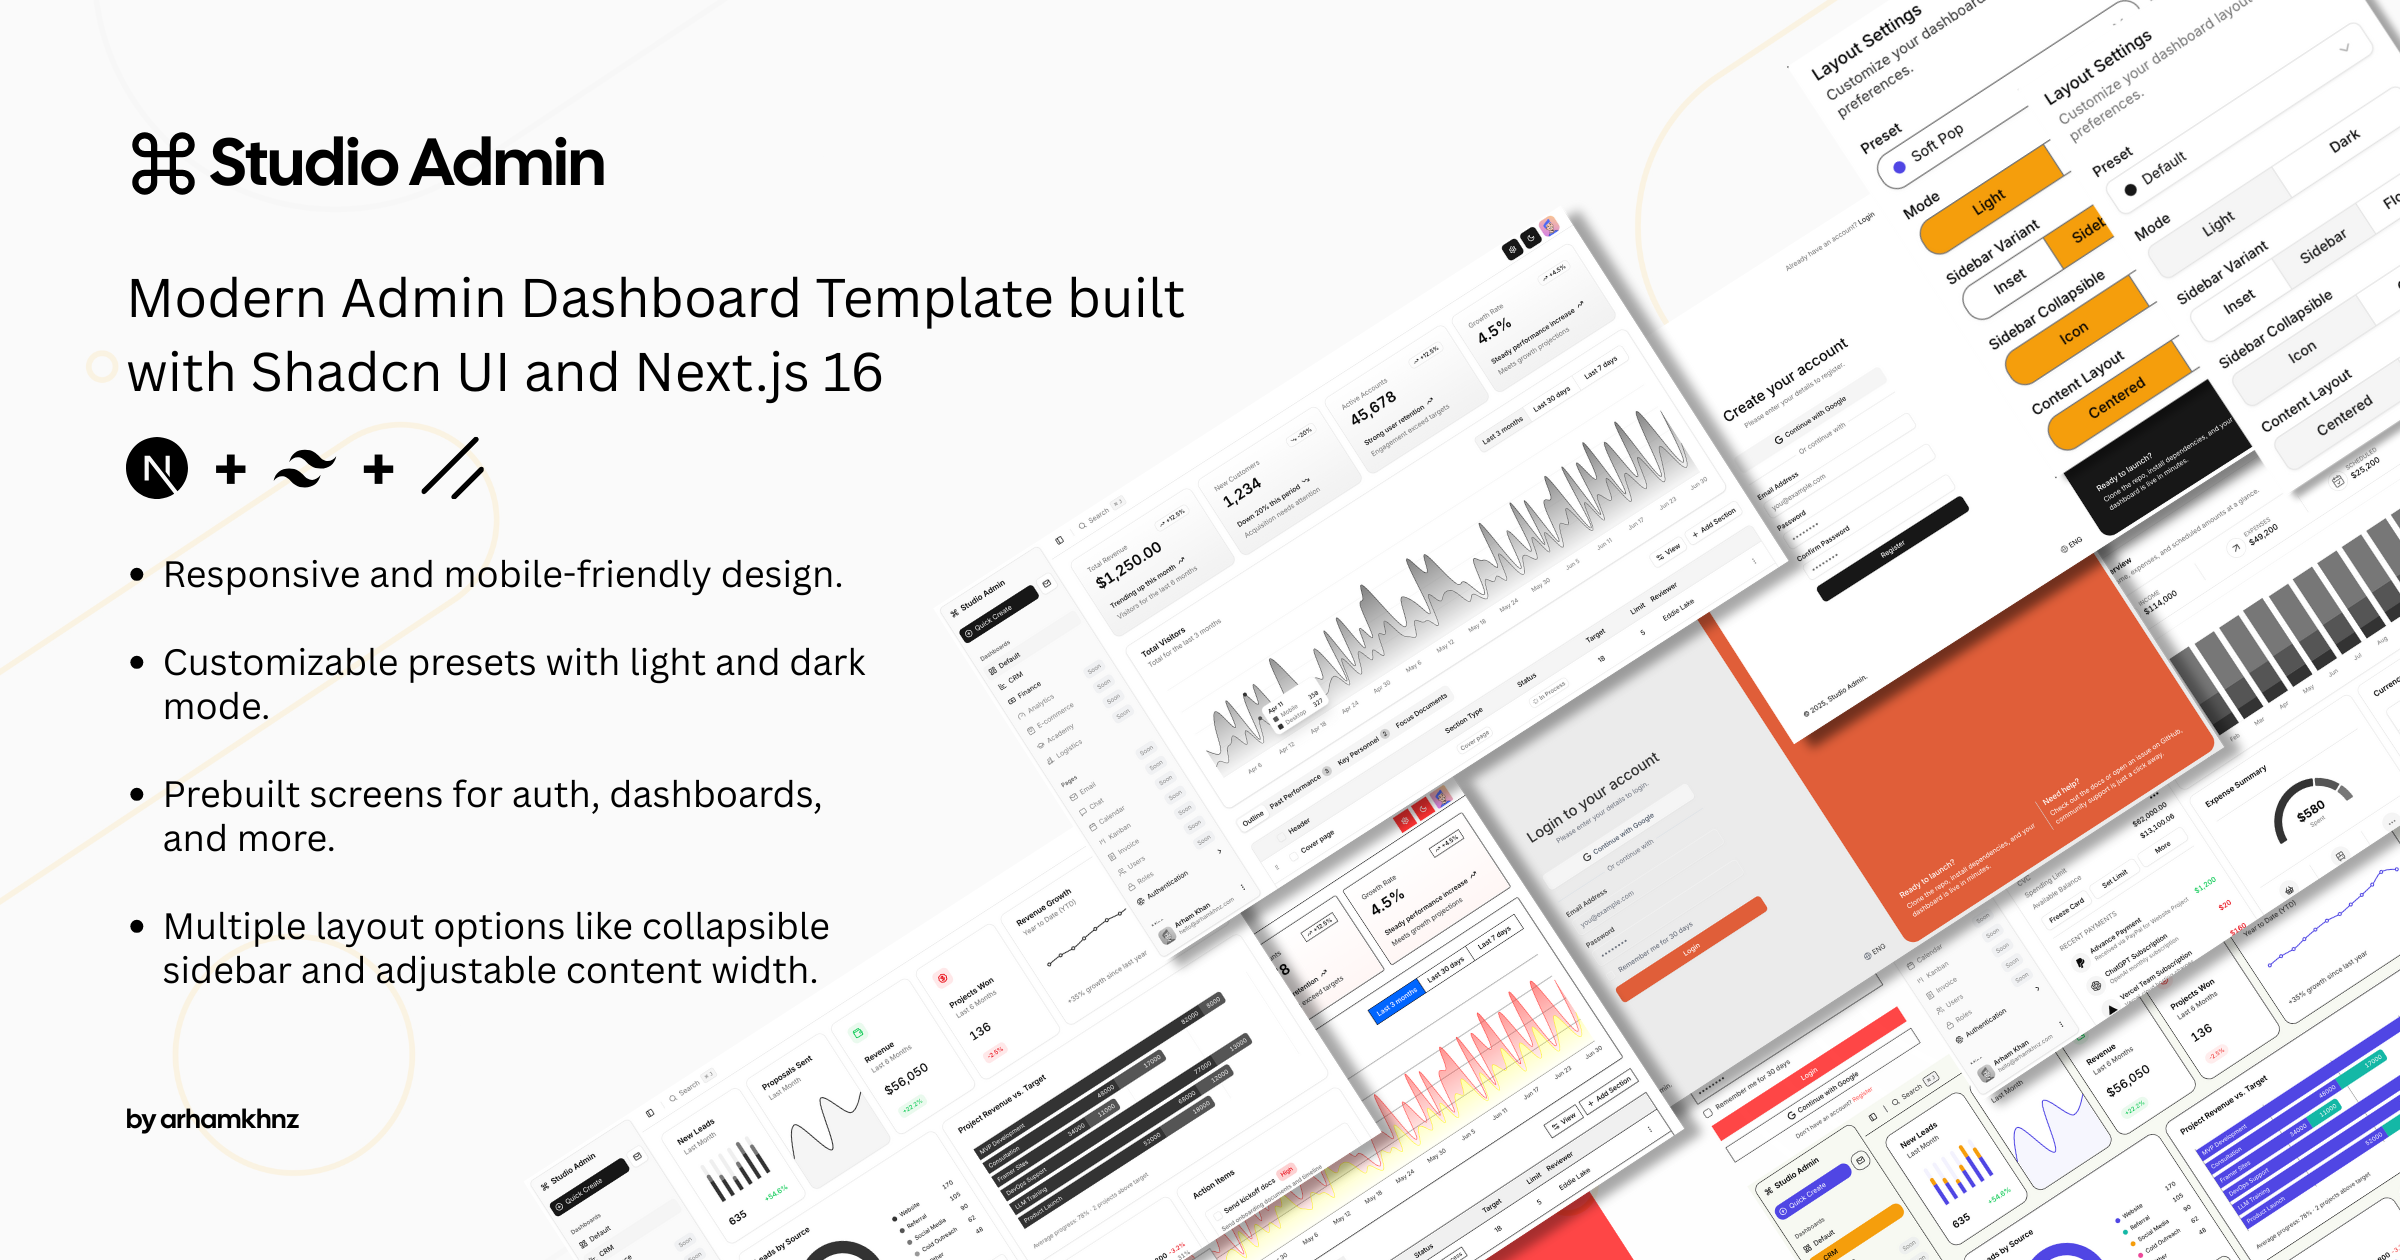
Studio Admin · Radix UI
Modern Admin Dashboard Template built with Shadcn UI and Next.js 16
Next.js · 后台
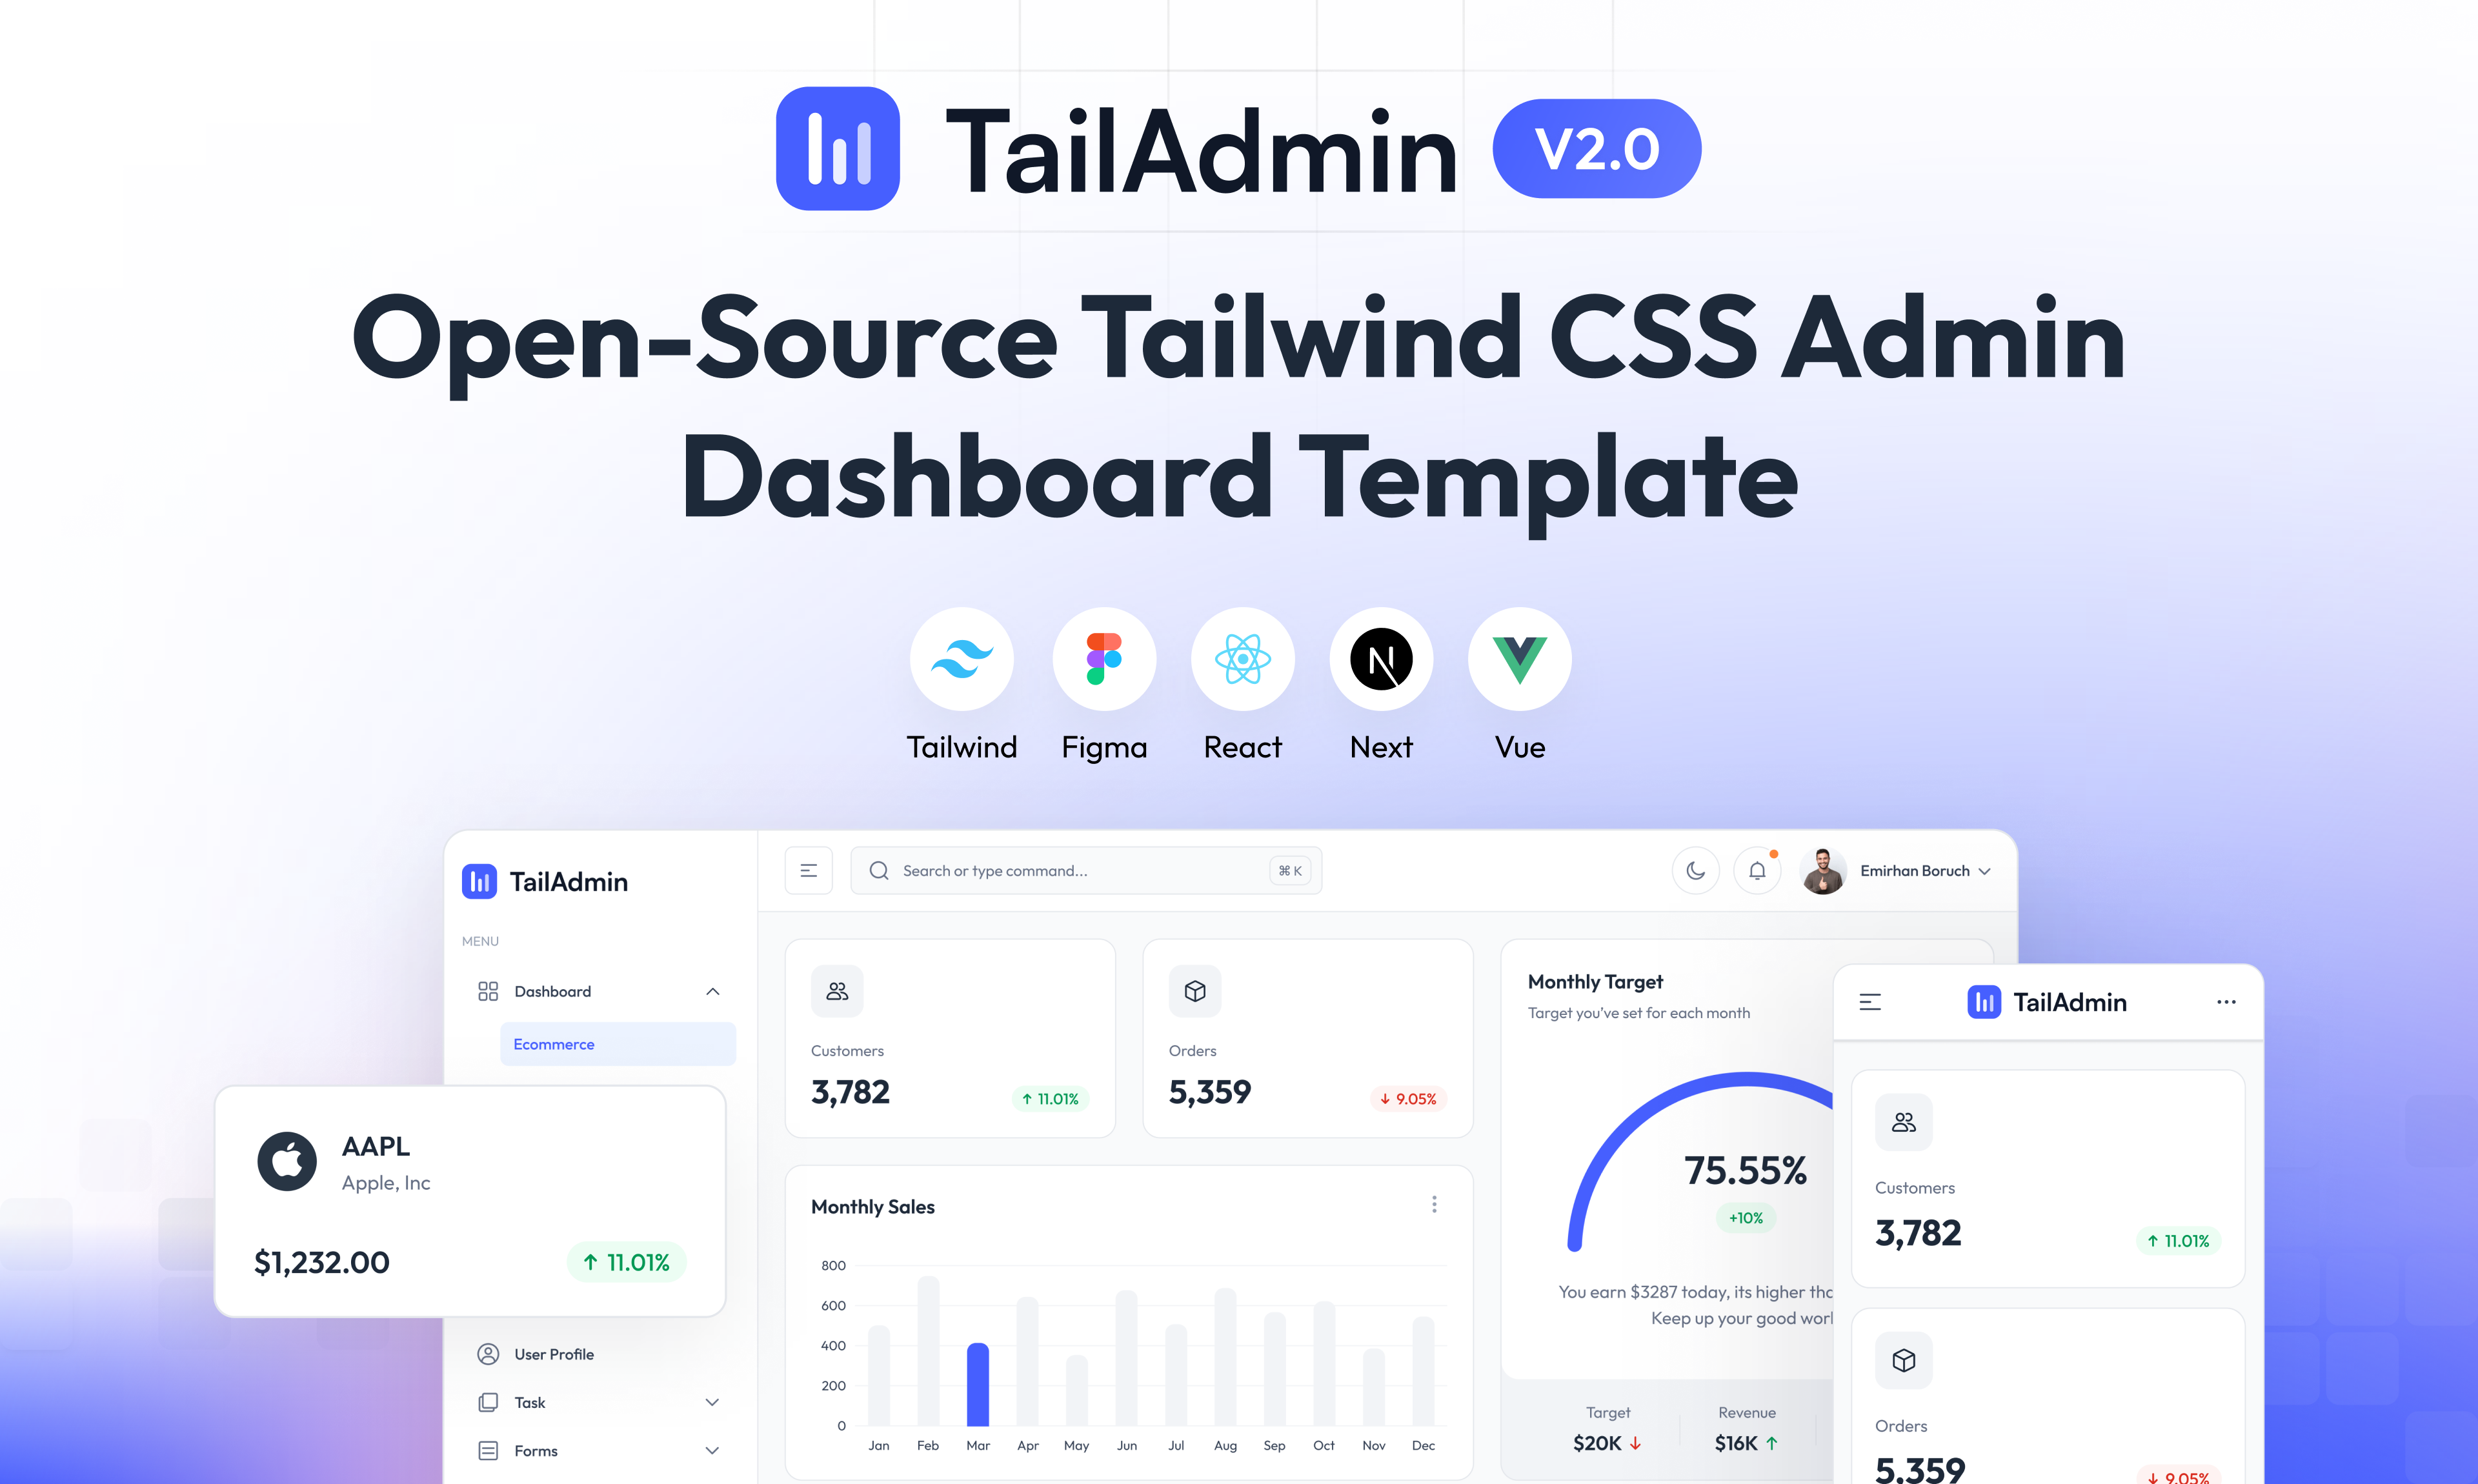
free-nextjs-admin-dashboard
TailAdmin is a Next.js and Tailwind CSS free, open-source admin dashboard template. Provides developers with t…
Next.js · 后台
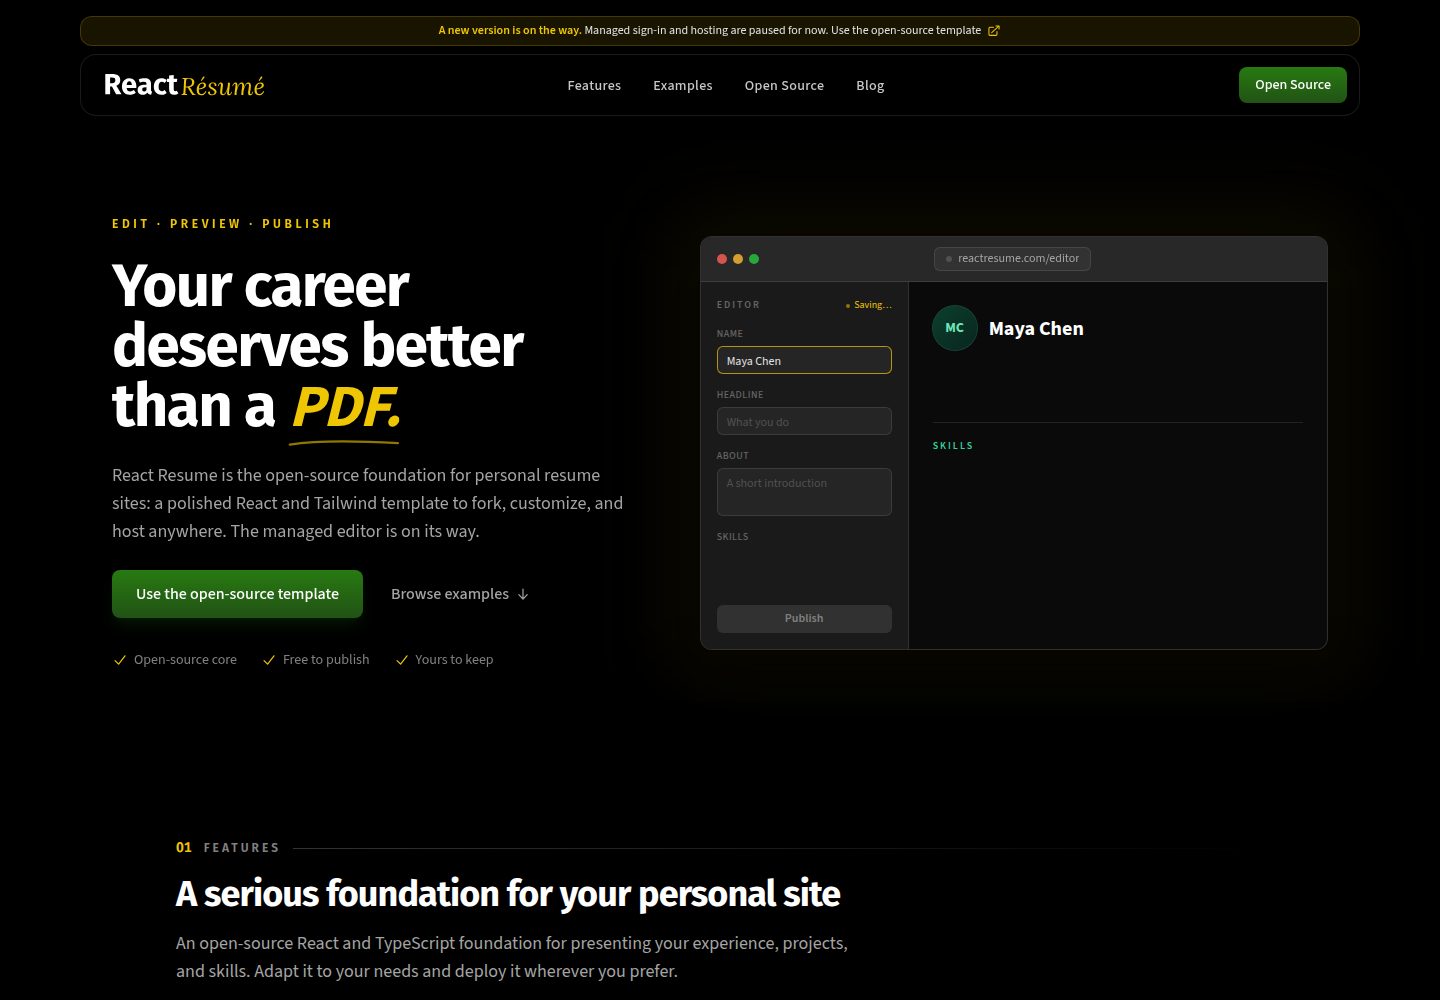
react-resume-template
A personal resume website template built with React.js, Typescript, Next.js, and styled with Tailwind css
Next.js · 作品集
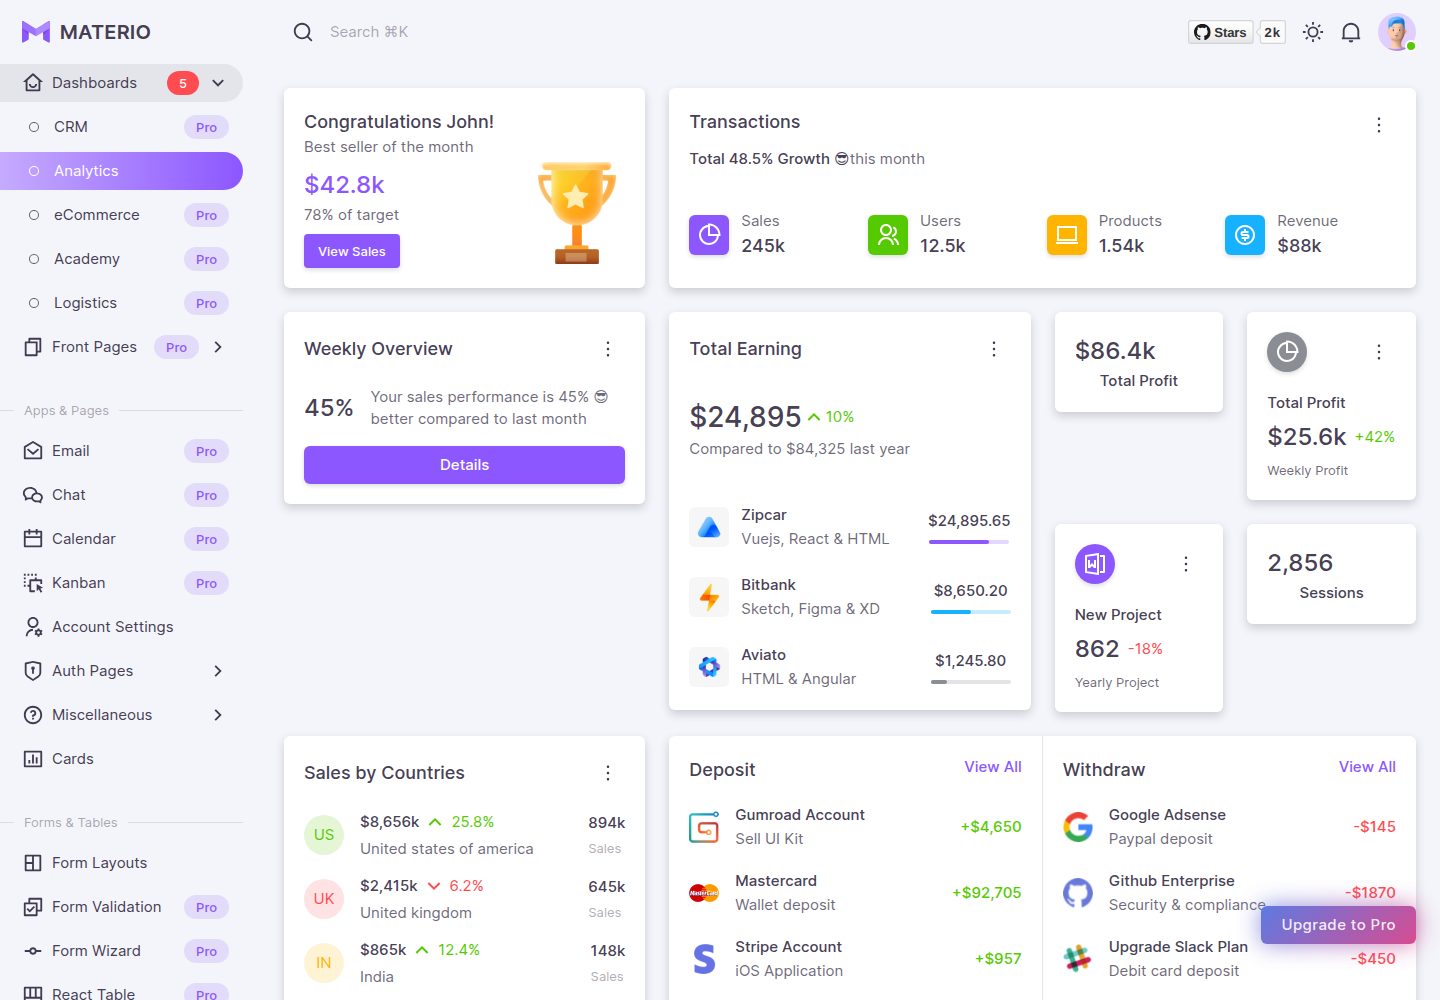
materio-mui-nextjs-admin-template-free
An enterprise-grade Next.js admin dashboard template. Made with developer experience first: Next.js v14 (App R…
Next.js · 后台
nextjs-postgres-nextauth-tailwindcss-template
Admin dashboard template.
Next.js · 后台