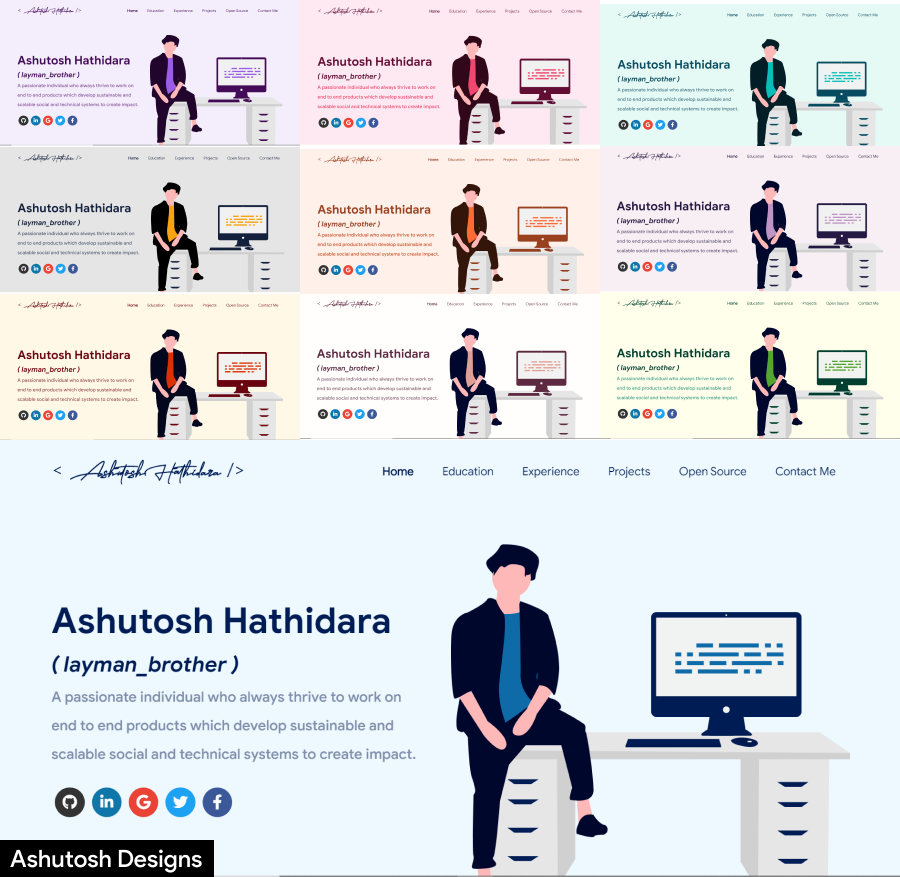
Content modules cover bio, skills, GitHub open-source projects, experience, certifications, blog, education, and contact information
HTMLPortfolio
masterPortfolio — HTML Portfolio Template
By ravisane
A responsive portfolio template for software developers, built with React, displaying bio, skills, projects, experience, certifications, blog, and contact information through centralized configuration files, with theme switching and GitHub data fetching.
Explore the design
Compare the page layouts and mobile experience. Open any screenshot for a closer look.
Author preview
Author-provided previewTop of page
Preview provided in the project README.
One original preview is available. Open the full image to inspect the design.
Screenshots show visual appearance; interactive behavior may differ.
Recorded 2026-10-13View source
What stands out
A quick read of the recorded project description.
Personal information is configured centrally in src/portfolio.js, and theme colors are switched in src/theme.js
GitHub data is fetched by the git_data_fetcher.mjs script and automatically replaced in the project
Supports using Iconify icons or custom images in the public/skills directory in the skills section
Provides a splash animation logo, which can be skipped via the isSplash switch
The README provides two deployment methods based on GitHub Pages
Template Details
masterPortfolio is a personal portfolio template for software developers. The repository is a modified version of the original masterPortfolio and is released under the MIT License. The template is built with React and requires Node.js and npm. Install dependencies with npm install and preview locally with npm start.
Page content is organized into modules, including bio, skills, open-source projects linked to GitHub, work experience, certifications, blog, education, and contact information. Most personal information is configured in src/portfolio.js, and theme colors are defined in src/theme.js and switched by modifying the chosenTheme variable.
GitHub-related data is fetched by the git_data_fetcher.mjs script in the repository root. You need to create a .env file and fill in GITHUB_TOKEN and GITHUB_USERNAME. After running node git_data_fetcher.mjs, the fetched data is replaced in the project; you must rerun the script each time you update GitHub information.
The template includes a splash animation logo. This part is not directly configurable; you need to design it yourself in a tool such as Figma and implement the animation by referring to the src/components/Loader directory, or set isSplash to false in the settings in src/portfolio.js to skip the splash. For deployment, the README recommends GitHub Pages and provides two methods: directly pushing the build output and using npm run deploy to generate a gh-pages branch.
Note that third-party assets such as images, fonts, and icons shown in the repository must be checked separately under their respective licenses; the MIT License of the code alone is not sufficient to judge them. External services such as domains and hosting may incur separate charges.
HTMLPortfolio
Is it right for your project?
Use Cases
- Software developers building a personal portfolio website to centrally showcase skills, projects, and experience
- Wanting to automatically sync GitHub open-source projects, PRs, issues, and other data to a personal homepage
- Needing to quickly adjust the portfolio's visual style by theme color
- Using GitHub Pages to host a static personal homepage for free
Suitable For
- Software developers with basic React and npm knowledge who are willing to maintain content by modifying configuration files
- Individual developers who want to use and modify the portfolio template for free under the MIT License
- Open-source contributors who need to display GitHub data on their personal homepage
- Those planning to deploy a static portfolio using GitHub Pages
Getting started & customization
Use these recorded setup notes alongside the repository instructions for your chosen version.
- 1
Install Node.js and npm first, with versions no lower than those indicated in the README badges
- 2
After cloning the repository, run npm install to install dependencies, then preview locally with npm start
- 3
Change homepage in package.json to https://<your-github-username>.github.io, keeping the https:// prefix
- 4
Before using the GitHub data fetching feature, create a .env file and fill in GITHUB_TOKEN and GITHUB_USERNAME, then run node git_data_fetcher.mjs
- 5
When deploying to GitHub Pages, the repository name must be <your-github-username>.github.io, and you must choose either to push the build output or use npm run deploy to generate a gh-pages branch
License & source material
Usage conditions & limitations
Free to use · keep license noticeThis entry covers the free version under the MIT License in the public repository; the free scope is the code of that version and does not mean external services or third-party assets are free.
Must comply with when using
- Free use, modification, commercial use, and distribution of this version's code are permitted.
- When distributing copies or substantial portions of the code, retain the original author's copyright notice and the full MIT License notice.
- The code is provided as is; warranties and limitations of liability are governed by the original license and applicable law.
Additional costs & items to verify
- Demo images, fonts, icons, and other third-party assets must be checked under their respective licenses; the MIT License of the code alone is not sufficient to judge them.
- External services such as domains, hosting, databases, payments, or AI may incur separate charges.
- Using the GitHub data fetching feature requires creating your own GitHub personal access token and granting all permissions as required by the README; the token must be filled in the .env file.
- Before fetching GitHub data, you must create a .env file and fill in GITHUB_TOKEN and GITHUB_USERNAME; otherwise the script cannot run.
- GitHub-related information does not update automatically; you must rerun node git_data_fetcher.mjs each time you need to update it.
- The splash animation logo part is not directly configurable; you need to design it yourself and refer to src/components/Loader for implementation, or set isSplash to false in settings to skip it.
- When deploying to GitHub Pages as per the README, the repository name must be <your-github-username>.github.io; other names cannot be used.
- The deployment method using npm run deploy to generate a gh-pages branch is not applicable to GitHub user pages.
- This project is a modified version of the original masterPortfolio, and the README requires retaining all attribution to the original author.
View Original Text Basis
Permission is hereby granted, free of charge
Original License Text
You can get a github token as described [here](https://docs.github.com/en/github/authenticating-to-github/creating-a-personal-access-token). Give all permissions while generating token.
Original README
In the project you will see a `env.example` file, create a new file named `.env` and copy contents of `env.example` into it.
Original README
Whenever you want to update the github related information on the website you need to run this command.
Original README
Therefore, this part of portfolio is not customizable.
Original README
First you need to create a github repository with the name `<your-github-username>.github.io`. Please don't give it any other name.
Original README
**Option 2 (will not work with [user pages](https://docs.github.com/en/github/working-with-github-pages/about-github-pages)):**
Original README
https://github.com/ravisane/masterPortfolio/blob/main/LICENSEhttps://github.com/ravisane/masterPortfolio/blob/main/README.md"This project is a modified version of <a href="[http://www.youtube.com/watch?v=IwBS39TOmpA](https://github.com/ashutosh1919/masterPortfolio)" target="_blank">[https://github.com/ashutosh1919/masterPortfolio]</a>. All credit to the original authors."
Original README
Compiled by DeepSeek based on repository license and README ·2026-10-13. Results only cover the materials read; dependencies, images, fonts, and subsequent term changes are subject to their respective original texts.
Project checks & description sources
Template Information
- Source platforms
- GitHub
- Documentation and maintenance reference score
- Partly documented · 74 / 100
- Technologies
- HTML
- Website type
- Portfolio
How this score is calculated
Our heuristic uses license records (up to 30), a demo link (12), a preview (10), stars (15), recorded maintenance (15), description completeness (8), feature records (5) and classification data (5). It is not a code, security or performance test, or a Google score. A link does not establish tested functionality.
What to verify for this project
- Repository update recorded
- 2025-06-25
- Screenshot last checked
- 2026-10-13
A demo link is listed. Check it with your own content and viewport sizes; its presence does not confirm that forms, authentication or payments work.
The catalog identifies HTML as the primary stack. Check the actual dependency manifest and lockfile for versions and hosting requirements. These notes use recorded metadata, not a code audit or a deployment test.
Use a selection guide →How this description was prepared
AI-assisted description based on catalog records and repository material. Repository authors are not automatically the reviewers of this description.
Review declaration: [email protected] · 2026-10-13
Inspect the recorded source material
SHA-256: 4369886e143cf22105af11656b22c7692ff116cb05ea1d853833c45412c76b54
2026-10-13T04:23:52.548Z
Source file / repository<p align="center">
<img src="images/masterportfolio-banner-light.png" align="center" height="150"></img>
</p>
<h1 align="center"> Software Developer Master Portfolio 🔥 </h1>
<h3 align="center"> A clean, beautiful, responsive, and 100% customizable portfolio <br /> template for Software Developers! </h3>
<p align="center">
<a href="https://nodejs.org/en/blog/release/v20.11.1"><img alt="NodeJS" src="https://img.shields.io/badge/node-20.11.1-important?style=flat-square" /></a>
<a href="https://www.npmjs.com/package/npm/v/10.2.4"><img alt="NPM" src="https://img.shields.io/badge/npm-10.2.4-blueviolet?style=flat-square" /></a>
<a href="https://reactjs.org/"><img alt="Made With React" src="https://img.shields.io/badge/made%20with-react-61DAFB?style=flat-square" /></a>
<a href="https://join.slack.com/t/masterportfolio/shared_invite/zt-g772n1fo-Ns4usanURF8jVb8wk2lRAA">
<a href="https://github.com/prettier/prettier"><img alt="code style: prettier" src="https://img.shields.io/badge/code_style-prettier-ff69b4.svg?style=flat-square?style=flat-square" /></a>
<br/>
<a href="https://app.netlify.com/sites/ravisaneportfolio/deploys"><img alt="Netlify Status" src="https://api.netlify.com/api/v1/badges/abf59f82-3251-4040-b24c-949b86691642/deploy-status?style=flat-square" /></a>
<a href="http://badges.mit-license.org/"><img alt="License" src="http://img.shields.io/:license-mit-blue.svg?style=flat-square?style=flat-square" /></a>
<a href="https://github.com/ravisane/masterPortfolio/commits/master"><img alt="Maintenance" src="https://img.shields.io/badge/maintained-yes-green.svg?style=flat-square" /></a>
<a href="http://badges.mit-license.org/"><img alt="Website" src="https://img.shields.io/badge/website-up-yellow?style=flat-square" /></a>
<a href="https://ravisane.com/"><img alt="License" src="http://img.shields.io/:license-mit-blue.svg?style=flat-square?style=flat-square" /></a>
<a href="https://img.shields.io/badge/price-free-ff69b4"><img alt="Price" src="https://img.shields.io/badge/price-free-ff69b4?style=flat-square" /></a>
</p>
<p align="center">
<a href="https://ravisane.com" target="_blank">
<img src="images/masterPortfolioThemes.png"></img>
</a>
</p>
:star: Star us on GitHub — it helps!
# Sections 📚
✔️ Summary and About me\
✔️ Skills \
✔️ Open Source Projects Connected with Github\
✔️ Experience\
✔️ Certifications 🏆\
✔️ Blogs\
✔️ Education\
✔️ Contact me
To view a live example, **[click here](https://ravisane.com/)**
# Clone and Use 📋
- The website is completely built on `react-js` library of `javascript` and that's why we need `nodejs` and `npm` installed
- While installing `nodejs` and `npm`, try to install versions which are equal or greater than the versions mentioned in badges above
- In case you want to help developing it or simply saving it, you can fork the repository just by clicking the button on the top-right corner of this page
- After the successful installation of `nodejs` and `npm`, clone the repository into your local system using below command:
```bash
git clone https://github.com/ravisane/masterPortfolio.git
```
This will clone the whole repository in your system.
- To download required dependencies to your system, navigate to the directory where the cloned repository resides and execute following command:
```node
npm install
```
- Now the project is ready to use
- You can check it using `npm start`, it will open the website locally on your browser.
# Customize it to make your own portfolio ✏️
In this project, there are basically 4 things that you need to change to customize this to anyone else's portfolio: **package.json**, **Personal Information**, **Github Information** and **Splash Logo**.
### package.json
Open this file, which is in the main cloned directory, choose any "name" and change "homepage " to `https://<your-github-username>.github.io`. Do not forget the `https://`, otherwise fonts will not load.
### Personal Information
You will find `src/portfolio.js` file which contains the complete information about the user. The file looks something like below:
```javascript
// Home Page
const greeting = {
...
}
// Social Media
const socialMediaLinks = {
...
}
...
```
You can change the personal information, experience, education, social media, certifications, blog information, contact information etc. in `src/portfolio.js` to directly reflect them in portfolio website.
### How to change the icons on homepage under what i do section?
1. This section pulls data from `skills` in portfolio.js file.
2. Visit this website: https://icon-sets.iconify.design/
3. Search for the skill you are looking to add.
4. Select the icon of your choice.
5. Copy the text beside **Selected Icon** and replace it with `fontAwesomeClassName` of that particular softwareSkill.
#### How to use custom images instead of Iconify Icons?
1. Add a valid image file into the `public/skills` folder
2. Insert the image name into the `imageSrc` attribute of the particular softwareSkill
3. Remove the `fontAwesomeClassName` property or leave it empty because it takes precedence over `imageSrc`
4. Add custom styling to the `img` using the `style` Property
### Github Information
You will find `git_data_fetcher.mjs` file in the main directory of the repository. This file is used to fetch the data (Pull requests, Issues, Organizations, Pinned projects etc.) from your github.
In the project you will see a `env.example` file, create a new file named `.env` and copy contents of `env.example` into it. In that file, you will see the following environment variables
```javascript
GITHUB_TOKEN = your_token;
GITHUB_USERNAME = your_username;
```
You can get a github token as described [here](https://docs.github.com/en/github/authenticating-to-github/creating-a-personal-access-token). Give all permissions while generating token. Add your github username and the token generated in `GITHUB_USERNAME` and `GITHUB_TOKEN` variables in the .env file.
Now, you need to run following command. (Make sure you executed `npm install` before this)
**Warning:** Treat your tokens like passwords and keep them secret. When working with the API, use tokens as environment variables instead of hardcoding them into your programs.
```node
node git_data_fetcher.mjs
```
This will fetch all the data from your github and it will automatically replace my data with yours.
Whenever you want to update the github related information on the website you need to run this command.
### Splash Logo
Note here that if you click [my portfolio](https://ravisane.com), you can see animating the logo at the beginning. I have designed that logo in [`Figma`](https://www.figma.com/) and then animated it using css.
Therefore, this part of portfolio is not customizable. But don't worry we have a solution to this problem. You have below two alternatives:
- If you want to design your own logo, then you can design it using `Figma` or `Adobe XD` or `Adobe Illustrator` or `Inkscape`. If you want to animate it, you can refer to `./src/components/Loader` directory which contains `js` and `css` files which animates the logo
- If you don't want Splash screen or you don't know how to design logo, then this option is for you
- You can open `src/portfolio.js` file and at the top of this file you will see `settings` component as below:
```javascript
// Website related settings
const settings = {
isSplash: true,
};
```
- Change `isSplash` from `true` to `false`
- Now, if you see your website using `npm start`, it will directly open `home` rather than animating logo `splash` screen
- If you design your logo in future, then edit the files in `./src/components/Loader` and then revert `isSplash` to `true` in `src/portfolio.js`.
## Other
- You need to change the website title and other descriptions in `public/index.html`
- You can define your own favicon in `public/icons` directory. If you don't have a favicon, you can generate favicons from [Favicon Generator](https://www.favicon-generator.org/) and [Favicon IO](https://favicon.io/)
- You can also edit your website preview (known as description image). Run your site locally, take a screenshot and replace with `public/icons/desc.png`. Note that your screenshot should be 1280x640 for better preview.
# Choose Theme 🌈
- You can take a look at `src/theme.js` file where all available themes are mentioned with their respective color codes
- At the bottom of this file you will see the below code:
- `export const chosenTheme = blueTheme;`
- You need to change the name from `blueTheme` to whatever theme you want to set your website to
- You can define new theme similarly as other themes and you can assign name of that new defined theme to `chosenTheme`
- That's it. You just need to change the theme name and the code will take care of everything else
- Run `npm start` to check if everything is ok.
# Deployment 📦
- Once you are done with your setup and have successfully completed all steps above, you need to put your website online!
- I highly recommend using [Github Pages](https://create-react-app.dev/docs/deployment/#github-pages) to achieve this the EASIEST WAY.
- To deploy your website, you have two options. First you need to create a github repository with the name `<your-github-username>.github.io`. Please don't give it any other name.
- Now, you need to generate a production build and deploy the website.
**Option 1:**
- Run `npm run build` to generate the production build folder.
- Enter the build folder, `git init` and push the generated code to the `master` branch of your new repository on github. That's it. It's Done.
- You may need to `git init` and force push at every new build.
**Option 2 (will not work with [user pages](https://docs.github.com/en/github/working-with-github-pages/about-github-pages)):**
- Run `npm run deploy` to build and create a branch called `gh-pages`. It will push the `build` files to that branch.
- The last step in deploying is to enable `Github Pages` in settings of the repository and select `gh-pages` branch.
Now, your website is successfully deployed and you can visit it at `<your-github-username>.github.io`.
If you are stuck somewhere and want to observe the deployment process in depth, then please watch below video.
<p align="center">
<a href="http://www.youtube.com/watch?v=IwBS39TOmpA" target="_blank">
<img src="http://img.youtube.com/vi/IwBS39TOmpA/0.jpg"></img>
</a>
</p>
# Technologies used 🛠️
- [React](https://reactjs.org/)
- [graphql](https://graphql.org/)
- [apollo-boost](https://www.apollographql.com/docs/react/get-started/)
- [baseui](https://github.com/uber/baseweb)
- [react-reveal](https://www.react-reveal.com/)
- [styled-components](https://styled-components.com/)
# illustrations 🍥
- [UnDraw](https://undraw.co/illustrations)
# License 📄
"This project is a modified version of <a href="[http://www.youtube.com/watch?v=IwBS39TOmpA](https://github.com/ashutosh1919/masterPortfolio)" target="_blank">[https://github.com/ashutosh1919/masterPortfolio]</a>. All credit to the original authors."
This project is licensed under the MIT License - see the [LICENSE.md](./LICENSE) file for details.
# References 👏🏻
- Some Design and Implementation Ideas are taken from [Saad Pasta's Portfolio Project](https://github.com/saadpasta/developerFolio).
- The Logo of MasterPortfolio is inspired from [prettier-logo](https://github.com/prettier/prettier-logo) for [prettier](https://github.com/prettier/prettier) designed by @ianstormtaylor.
Explore similar templates
Compare previews and descriptions within the same stack and category.
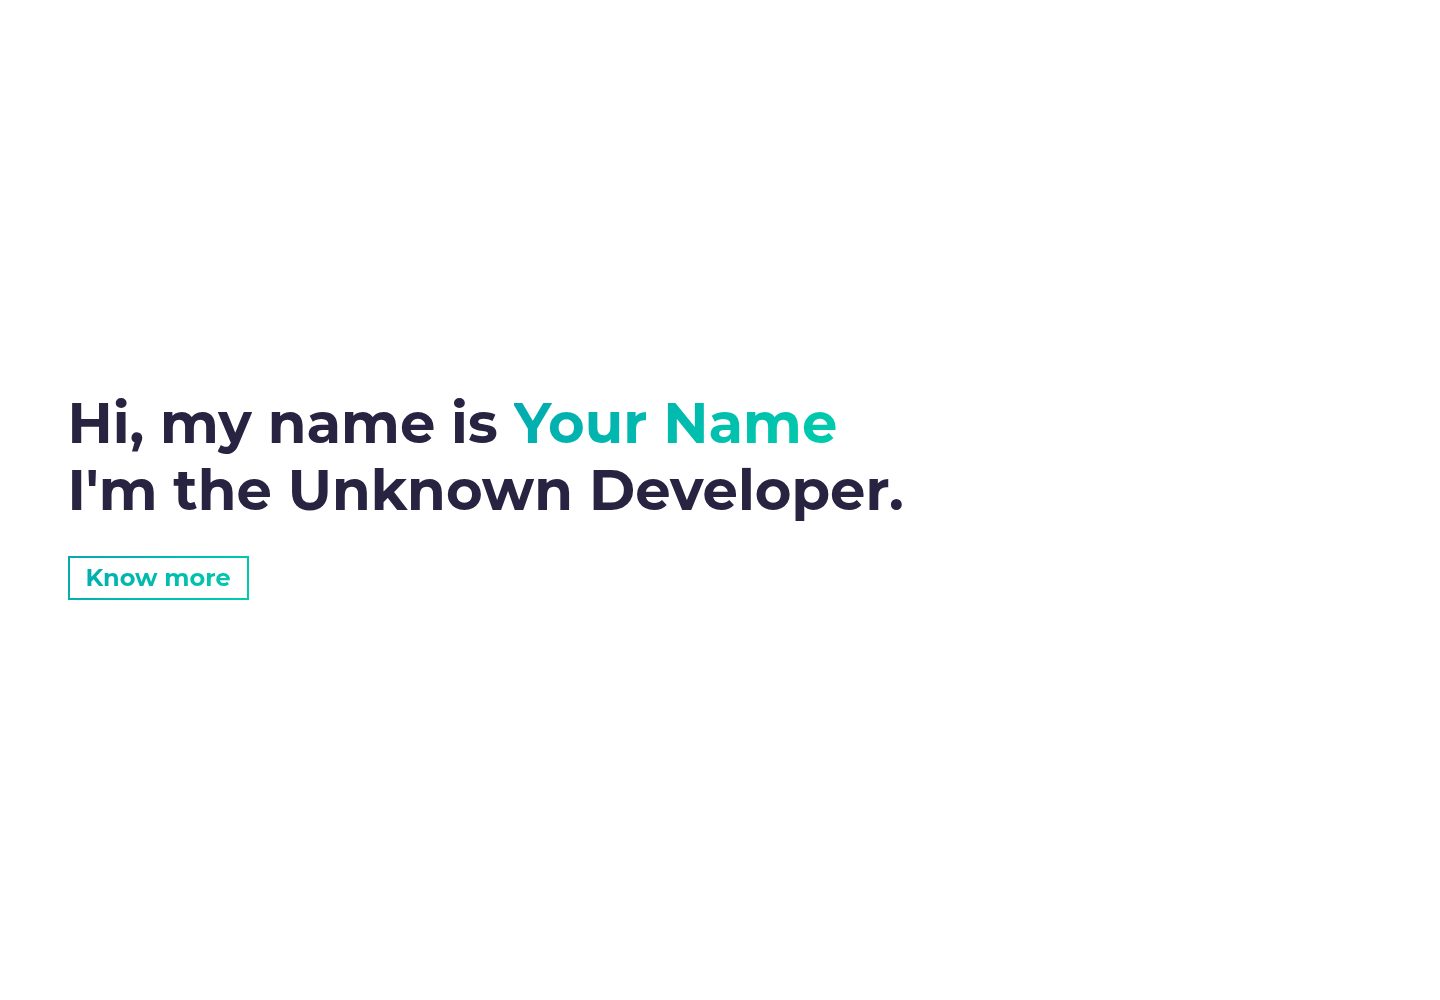
simplefolio
Simplefolio is a minimal single-page portfolio template for developers, built with HTML, Bootstrap, SCSS, and Parcel under the MIT license. It includes Hero, About, Projects, Contact, and Footer sections, with content edited in /src/index.html and theme colors controlled by two SCSS variables.
HTML · Portfolio
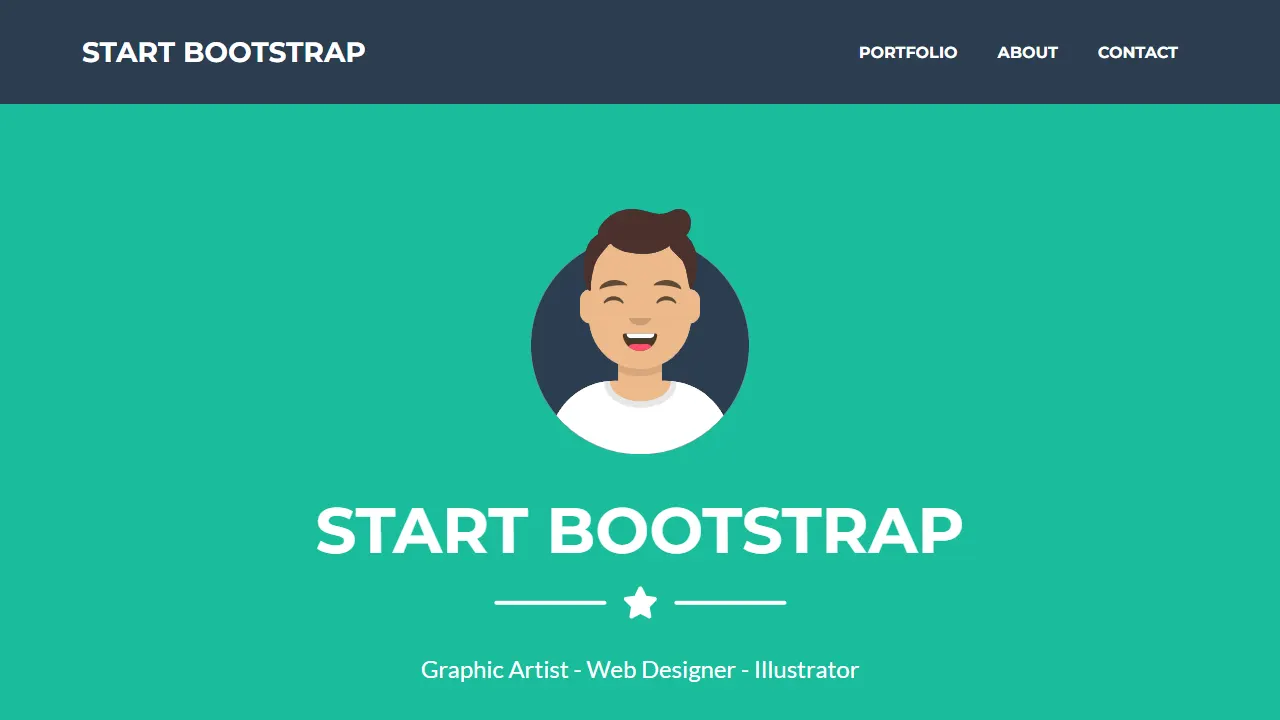
Freelancer
A bright, single-page Bootstrap portfolio template for freelancers, designers, and small studios. It includes a responsive portfolio grid with modal detail windows and an SB Forms contact form that requires an API token.
HTML · Portfolio
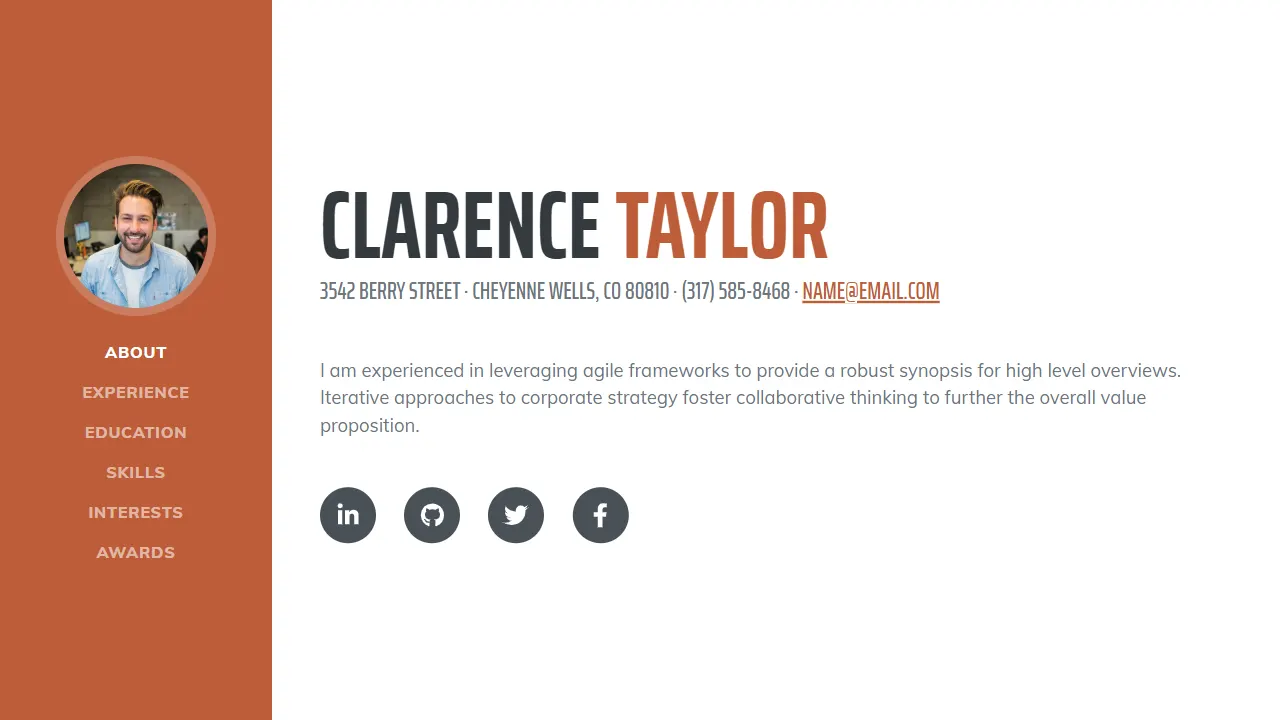
Resume
A single-page resume and CV template from Start Bootstrap, built on Bootstrap with a fixed sidebar and content sections.
HTML · Portfolio
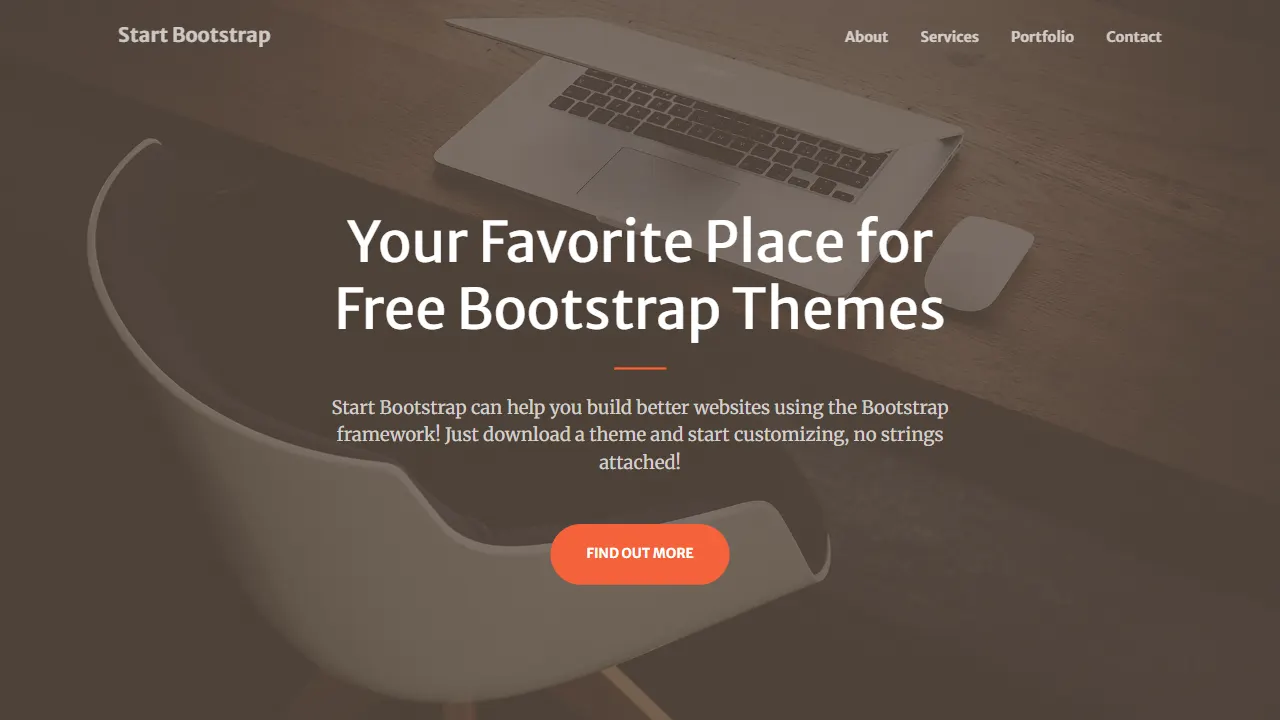
Creative
A single-page marketing template by Start Bootstrap for creative agencies and product services, built on Bootstrap with SCSS, featuring a portfolio grid and call-to-action sections. It includes pre-set SB Forms markers for form integration and npm build scripts for source customization.
HTML · Corporate Website
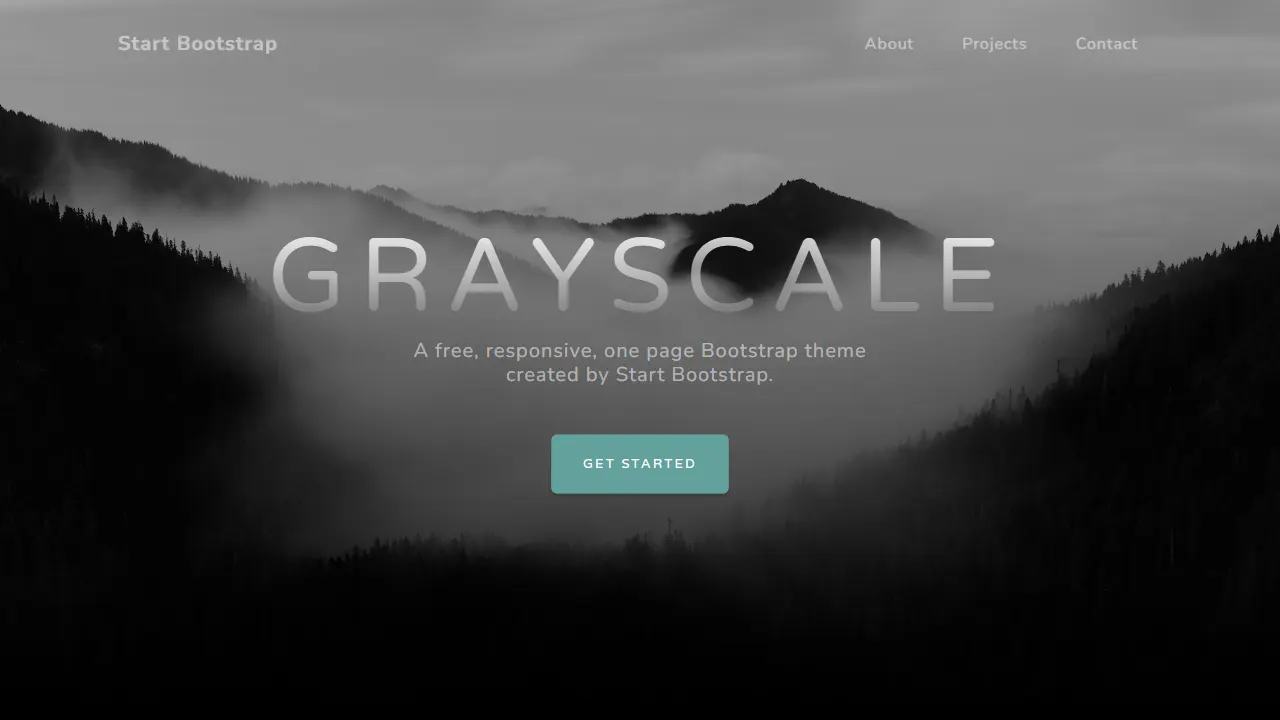
Grayscale
A dark single-page Bootstrap template from Start Bootstrap for photography, events and brand storytelling, with a large hero and clearly separated sections.
HTML · Corporate Website
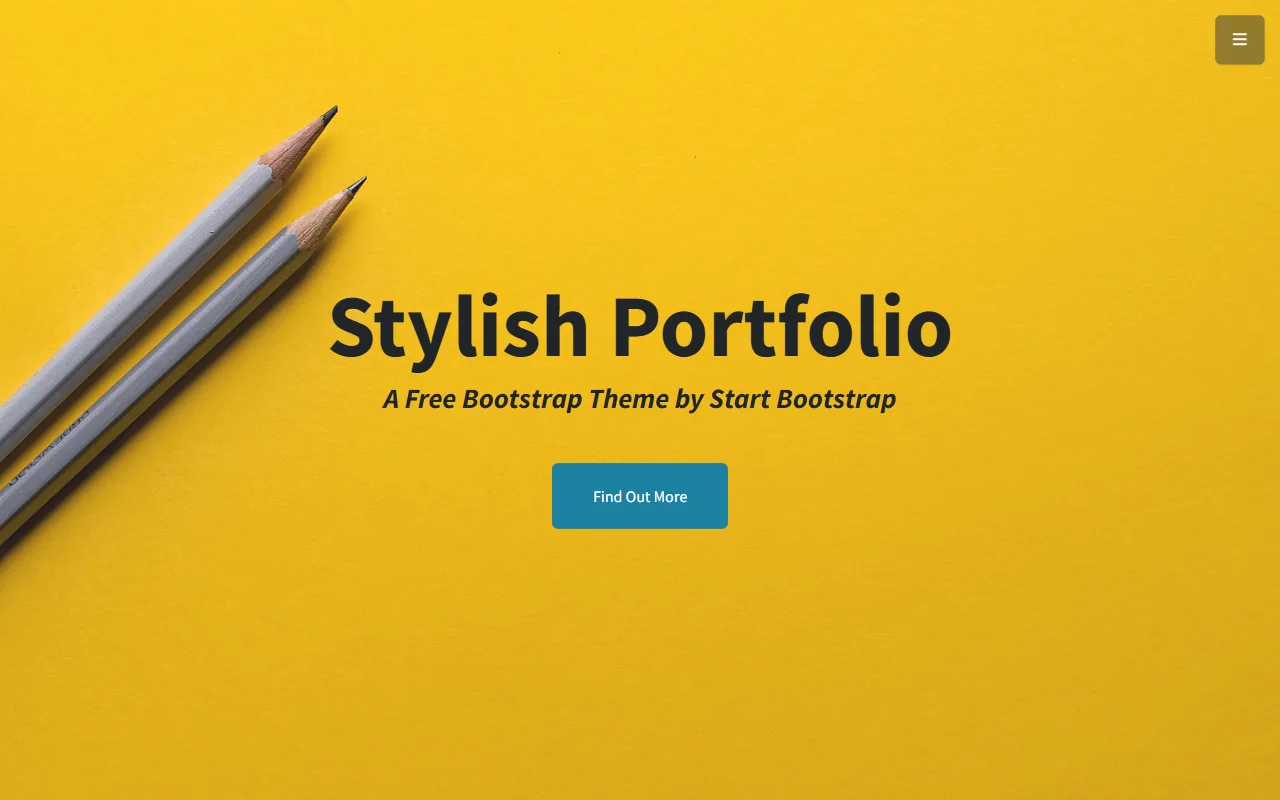
startbootstrap-stylish-portfolio
A one-page Bootstrap portfolio theme from Start Bootstrap with multiple content sections and an off-canvas navigation menu. Basic use means editing HTML/CSS under dist and opening index.html; advanced use relies on npm with Pug and SCSS build scripts.
HTML · Portfolio