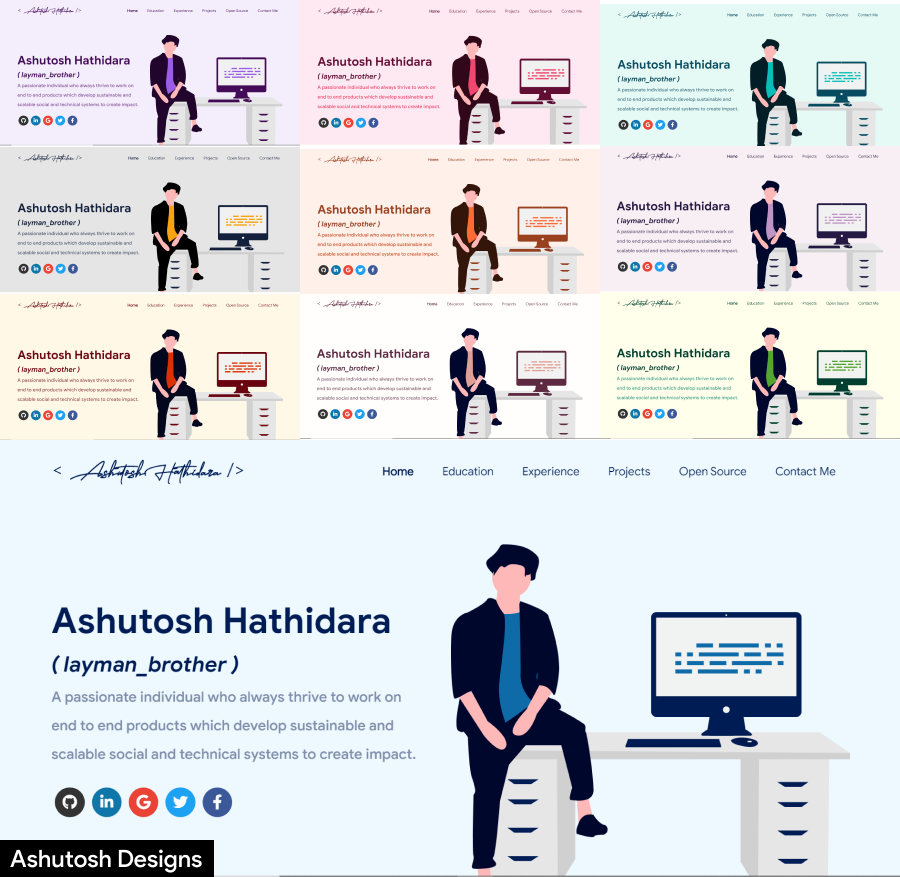
内容模块覆盖个人简介、技能、GitHub 开源项目、经历、认证、博客、教育与联系方式
HTML作品集
masterPortfolio — HTML 作品集模板
作者 ravisane
面向软件开发者的响应式作品集模板,基于 React 构建,通过集中配置文件展示个人简介、技能、项目、经历、认证、博客与联系方式,并支持主题切换与 GitHub 数据抓取。
看看你的网站会是什么样
浏览真实页面截图,比较内容排版与手机效果。点击下方缩略图切换,放大查看整页细节。
目前有 1 张原始预览,可打开完整图片查看设计细节。
截图用于了解视觉与布局,交互效果请以实际项目为准。
采集于 2026-10-13查看来源
值得关注的模板亮点
从已有项目资料中,快速了解它的特点。
个人信息集中在 src/portfolio.js 中配置,主题颜色在 src/theme.js 中切换
通过 git_data_fetcher.mjs 脚本抓取 GitHub 数据并自动替换到项目中
支持在技能区使用 Iconify 图标或 public/skills 目录下的自定义图片
提供开屏动画 Logo,可通过 isSplash 开关跳过
README 给出基于 GitHub Pages 的两种部署方式
模板详细介绍
masterPortfolio 是一个面向软件开发者的个人作品集模板,仓库为原版 masterPortfolio 的修改版本,采用 MIT 许可。模板基于 React 构建,需要 Node.js 与 npm 环境,通过 npm install 安装依赖、npm start 本地预览。
页面内容按模块组织,包括个人简介、技能、与 GitHub 关联的开源项目、工作经历、认证、博客、教育背景和联系方式。大部分个人信息集中在 src/portfolio.js 中配置,主题颜色在 src/theme.js 中定义,通过修改 chosenTheme 变量切换。
GitHub 相关数据由仓库根目录的 git_data_fetcher.mjs 脚本抓取,需要创建 .env 文件并填入 GITHUB_TOKEN 与 GITHUB_USERNAME,运行 node git_data_fetcher.mjs 后会将抓取到的数据替换到项目中;每次更新 GitHub 信息都需重新运行该脚本。
模板包含一个开屏动画 Logo,该部分不可直接配置,需自行在 Figma 等工具中设计并参考 src/components/Loader 目录实现动画,或在 src/portfolio.js 的 settings 中将 isSplash 设为 false 以跳过开屏。部署方面,README 推荐使用 GitHub Pages,提供直接推送构建产物与 npm run deploy 生成 gh-pages 分支两种方式。
需要注意,仓库中展示的图片、字体、图标等第三方素材需按各自许可单独核对,不能仅凭代码的 MIT 许可判断;域名、托管等外部服务可能另行收费。
HTML作品集
适合你的项目吗?
适用场景
- 软件开发者搭建个人作品集网站,集中展示技能、项目与经历
- 希望将 GitHub 上的开源项目、PR、Issue 等数据自动同步到个人主页
- 需要按主题色快速调整作品集视觉风格
- 使用 GitHub Pages 免费托管静态个人主页
适合人群
- 具备 React 与 npm 基础、愿意通过修改配置文件维护内容的软件开发者
- 希望以 MIT 许可免费使用并自行修改作品集模板的个人开发者
- 需要将 GitHub 数据展示在个人主页上的开源贡献者
- 计划使用 GitHub Pages 部署静态作品集的人
上手与定制指南
结合仓库当前版本的说明,按下面的资料检查内容、配置与运行要求。
- 1
需先安装 Node.js 与 npm,版本不低于 README 徽章中标注的版本
- 2
克隆仓库后执行 npm install 安装依赖,再通过 npm start 本地预览
- 3
修改 package.json 中的 homepage 为 https://<your-github-username>.github.io,并保留 https:// 前缀
- 4
使用 GitHub 数据抓取功能前,需创建 .env 文件并填入 GITHUB_TOKEN 与 GITHUB_USERNAME,再运行 node git_data_fetcher.mjs
- 5
部署到 GitHub Pages 时,仓库名需为 <your-github-username>.github.io,并选择推送构建产物或使用 npm run deploy 生成 gh-pages 分支
授权与来源资料
使用条件与限制
免费使用 · 保留许可声明本次收录的是公开仓库中采用 MIT 许可的免费版本;免费范围为该版本代码,不代表外部服务或第三方素材免费。
使用时需要遵守
- 允许免费使用、修改、商用和分发该版本代码。
- 分发代码副本或实质性部分时,保留原作者版权声明和完整 MIT 许可声明。
- 代码按现状提供;担保与责任限制以原许可证及适用法律为准。
额外费用与待核对事项
- 演示图片、字体、图标及其他第三方素材需按各自许可核对,不能仅凭代码的 MIT 许可判断。
- 域名、托管、数据库、支付或 AI 等外部服务可能另外收费。
- 使用 GitHub 数据抓取功能需自行创建 GitHub 个人访问令牌,并按 README 要求授予全部权限,令牌需填入 .env 文件。
- 抓取 GitHub 数据前必须创建 .env 文件并填入 GITHUB_TOKEN 与 GITHUB_USERNAME,否则脚本无法运行。
- GitHub 相关信息不会自动更新,每次需要更新时都必须重新运行 node git_data_fetcher.mjs。
- 开屏动画 Logo 部分不可直接配置,需自行设计并参考 src/components/Loader 实现,或在 settings 中将 isSplash 设为 false 跳过。
- 按 README 部署到 GitHub Pages 时,仓库名必须为 <your-github-username>.github.io,不能使用其他名称。
- npm run deploy 生成 gh-pages 分支的部署方式不适用于 GitHub 用户主页(user pages)。
- 本项目是原版 masterPortfolio 的修改版本,README 要求保留对原作者的全部署名。
查看原文依据
Permission is hereby granted, free of charge
许可证原文
You can get a github token as described [here](https://docs.github.com/en/github/authenticating-to-github/creating-a-personal-access-token). Give all permissions while generating token.
README 原文
In the project you will see a `env.example` file, create a new file named `.env` and copy contents of `env.example` into it.
README 原文
Whenever you want to update the github related information on the website you need to run this command.
README 原文
Therefore, this part of portfolio is not customizable.
README 原文
First you need to create a github repository with the name `<your-github-username>.github.io`. Please don't give it any other name.
README 原文
**Option 2 (will not work with [user pages](https://docs.github.com/en/github/working-with-github-pages/about-github-pages)):**
README 原文
https://github.com/ravisane/masterPortfolio/blob/main/LICENSEhttps://github.com/ravisane/masterPortfolio/blob/main/README.md"This project is a modified version of <a href="[http://www.youtube.com/watch?v=IwBS39TOmpA](https://github.com/ashutosh1919/masterPortfolio)" target="_blank">[https://github.com/ashutosh1919/masterPortfolio]</a>. All credit to the original authors."
README 原文
DeepSeek 根据仓库许可证和 README 整理 ·2026-10-13。结果仅覆盖已读取资料,依赖、图片、字体及后续条款变更以各自原文为准。
项目核对记录与介绍依据
模板资料
- 来源平台
- GitHub
- 资料与维护参考分
- 资料一般 · 74 / 100
- 技术栈
- HTML
- 网站类型
- 作品集
这个分数如何计算
本站按许可资料(最高30分)、演示链接(12分)、预览图(10分)、Star数(15分)、记录的维护时间(15分)、描述完整度(8分)、功能记录(5分)和分类资料(5分)计算。它不是代码、安全或性能测试,也不是 Google 评分;有链接不代表已实测可用。
这个项目需要核对什么
- 记录的仓库更新时间
- 2025-06-25
- 截图检查日期
- 2026-10-13
已收录演示链接。请用你的内容与屏幕尺寸检查;有演示不代表表单、认证或支付已经可用。
目录记录的主要技术栈是 HTML。请通过依赖清单和锁文件核对实际版本与托管要求。这些说明基于收录资料,不代表代码审计或部署实测。
查看具体选型方法 →介绍的制作与核对状态
介绍由 AI 辅助整理目录与仓库资料。仓库作者不等于这篇介绍的审核者。
审核声明: [email protected] · 2026-10-13
查看当时使用的来源资料
SHA-256: 4369886e143cf22105af11656b22c7692ff116cb05ea1d853833c45412c76b54
2026-10-13T04:23:52.548Z
来源文件 / 仓库<p align="center">
<img src="images/masterportfolio-banner-light.png" align="center" height="150"></img>
</p>
<h1 align="center"> Software Developer Master Portfolio 🔥 </h1>
<h3 align="center"> A clean, beautiful, responsive, and 100% customizable portfolio <br /> template for Software Developers! </h3>
<p align="center">
<a href="https://nodejs.org/en/blog/release/v20.11.1"><img alt="NodeJS" src="https://img.shields.io/badge/node-20.11.1-important?style=flat-square" /></a>
<a href="https://www.npmjs.com/package/npm/v/10.2.4"><img alt="NPM" src="https://img.shields.io/badge/npm-10.2.4-blueviolet?style=flat-square" /></a>
<a href="https://reactjs.org/"><img alt="Made With React" src="https://img.shields.io/badge/made%20with-react-61DAFB?style=flat-square" /></a>
<a href="https://join.slack.com/t/masterportfolio/shared_invite/zt-g772n1fo-Ns4usanURF8jVb8wk2lRAA">
<a href="https://github.com/prettier/prettier"><img alt="code style: prettier" src="https://img.shields.io/badge/code_style-prettier-ff69b4.svg?style=flat-square?style=flat-square" /></a>
<br/>
<a href="https://app.netlify.com/sites/ravisaneportfolio/deploys"><img alt="Netlify Status" src="https://api.netlify.com/api/v1/badges/abf59f82-3251-4040-b24c-949b86691642/deploy-status?style=flat-square" /></a>
<a href="http://badges.mit-license.org/"><img alt="License" src="http://img.shields.io/:license-mit-blue.svg?style=flat-square?style=flat-square" /></a>
<a href="https://github.com/ravisane/masterPortfolio/commits/master"><img alt="Maintenance" src="https://img.shields.io/badge/maintained-yes-green.svg?style=flat-square" /></a>
<a href="http://badges.mit-license.org/"><img alt="Website" src="https://img.shields.io/badge/website-up-yellow?style=flat-square" /></a>
<a href="https://ravisane.com/"><img alt="License" src="http://img.shields.io/:license-mit-blue.svg?style=flat-square?style=flat-square" /></a>
<a href="https://img.shields.io/badge/price-free-ff69b4"><img alt="Price" src="https://img.shields.io/badge/price-free-ff69b4?style=flat-square" /></a>
</p>
<p align="center">
<a href="https://ravisane.com" target="_blank">
<img src="images/masterPortfolioThemes.png"></img>
</a>
</p>
:star: Star us on GitHub — it helps!
# Sections 📚
✔️ Summary and About me\
✔️ Skills \
✔️ Open Source Projects Connected with Github\
✔️ Experience\
✔️ Certifications 🏆\
✔️ Blogs\
✔️ Education\
✔️ Contact me
To view a live example, **[click here](https://ravisane.com/)**
# Clone and Use 📋
- The website is completely built on `react-js` library of `javascript` and that's why we need `nodejs` and `npm` installed
- While installing `nodejs` and `npm`, try to install versions which are equal or greater than the versions mentioned in badges above
- In case you want to help developing it or simply saving it, you can fork the repository just by clicking the button on the top-right corner of this page
- After the successful installation of `nodejs` and `npm`, clone the repository into your local system using below command:
```bash
git clone https://github.com/ravisane/masterPortfolio.git
```
This will clone the whole repository in your system.
- To download required dependencies to your system, navigate to the directory where the cloned repository resides and execute following command:
```node
npm install
```
- Now the project is ready to use
- You can check it using `npm start`, it will open the website locally on your browser.
# Customize it to make your own portfolio ✏️
In this project, there are basically 4 things that you need to change to customize this to anyone else's portfolio: **package.json**, **Personal Information**, **Github Information** and **Splash Logo**.
### package.json
Open this file, which is in the main cloned directory, choose any "name" and change "homepage " to `https://<your-github-username>.github.io`. Do not forget the `https://`, otherwise fonts will not load.
### Personal Information
You will find `src/portfolio.js` file which contains the complete information about the user. The file looks something like below:
```javascript
// Home Page
const greeting = {
...
}
// Social Media
const socialMediaLinks = {
...
}
...
```
You can change the personal information, experience, education, social media, certifications, blog information, contact information etc. in `src/portfolio.js` to directly reflect them in portfolio website.
### How to change the icons on homepage under what i do section?
1. This section pulls data from `skills` in portfolio.js file.
2. Visit this website: https://icon-sets.iconify.design/
3. Search for the skill you are looking to add.
4. Select the icon of your choice.
5. Copy the text beside **Selected Icon** and replace it with `fontAwesomeClassName` of that particular softwareSkill.
#### How to use custom images instead of Iconify Icons?
1. Add a valid image file into the `public/skills` folder
2. Insert the image name into the `imageSrc` attribute of the particular softwareSkill
3. Remove the `fontAwesomeClassName` property or leave it empty because it takes precedence over `imageSrc`
4. Add custom styling to the `img` using the `style` Property
### Github Information
You will find `git_data_fetcher.mjs` file in the main directory of the repository. This file is used to fetch the data (Pull requests, Issues, Organizations, Pinned projects etc.) from your github.
In the project you will see a `env.example` file, create a new file named `.env` and copy contents of `env.example` into it. In that file, you will see the following environment variables
```javascript
GITHUB_TOKEN = your_token;
GITHUB_USERNAME = your_username;
```
You can get a github token as described [here](https://docs.github.com/en/github/authenticating-to-github/creating-a-personal-access-token). Give all permissions while generating token. Add your github username and the token generated in `GITHUB_USERNAME` and `GITHUB_TOKEN` variables in the .env file.
Now, you need to run following command. (Make sure you executed `npm install` before this)
**Warning:** Treat your tokens like passwords and keep them secret. When working with the API, use tokens as environment variables instead of hardcoding them into your programs.
```node
node git_data_fetcher.mjs
```
This will fetch all the data from your github and it will automatically replace my data with yours.
Whenever you want to update the github related information on the website you need to run this command.
### Splash Logo
Note here that if you click [my portfolio](https://ravisane.com), you can see animating the logo at the beginning. I have designed that logo in [`Figma`](https://www.figma.com/) and then animated it using css.
Therefore, this part of portfolio is not customizable. But don't worry we have a solution to this problem. You have below two alternatives:
- If you want to design your own logo, then you can design it using `Figma` or `Adobe XD` or `Adobe Illustrator` or `Inkscape`. If you want to animate it, you can refer to `./src/components/Loader` directory which contains `js` and `css` files which animates the logo
- If you don't want Splash screen or you don't know how to design logo, then this option is for you
- You can open `src/portfolio.js` file and at the top of this file you will see `settings` component as below:
```javascript
// Website related settings
const settings = {
isSplash: true,
};
```
- Change `isSplash` from `true` to `false`
- Now, if you see your website using `npm start`, it will directly open `home` rather than animating logo `splash` screen
- If you design your logo in future, then edit the files in `./src/components/Loader` and then revert `isSplash` to `true` in `src/portfolio.js`.
## Other
- You need to change the website title and other descriptions in `public/index.html`
- You can define your own favicon in `public/icons` directory. If you don't have a favicon, you can generate favicons from [Favicon Generator](https://www.favicon-generator.org/) and [Favicon IO](https://favicon.io/)
- You can also edit your website preview (known as description image). Run your site locally, take a screenshot and replace with `public/icons/desc.png`. Note that your screenshot should be 1280x640 for better preview.
# Choose Theme 🌈
- You can take a look at `src/theme.js` file where all available themes are mentioned with their respective color codes
- At the bottom of this file you will see the below code:
- `export const chosenTheme = blueTheme;`
- You need to change the name from `blueTheme` to whatever theme you want to set your website to
- You can define new theme similarly as other themes and you can assign name of that new defined theme to `chosenTheme`
- That's it. You just need to change the theme name and the code will take care of everything else
- Run `npm start` to check if everything is ok.
# Deployment 📦
- Once you are done with your setup and have successfully completed all steps above, you need to put your website online!
- I highly recommend using [Github Pages](https://create-react-app.dev/docs/deployment/#github-pages) to achieve this the EASIEST WAY.
- To deploy your website, you have two options. First you need to create a github repository with the name `<your-github-username>.github.io`. Please don't give it any other name.
- Now, you need to generate a production build and deploy the website.
**Option 1:**
- Run `npm run build` to generate the production build folder.
- Enter the build folder, `git init` and push the generated code to the `master` branch of your new repository on github. That's it. It's Done.
- You may need to `git init` and force push at every new build.
**Option 2 (will not work with [user pages](https://docs.github.com/en/github/working-with-github-pages/about-github-pages)):**
- Run `npm run deploy` to build and create a branch called `gh-pages`. It will push the `build` files to that branch.
- The last step in deploying is to enable `Github Pages` in settings of the repository and select `gh-pages` branch.
Now, your website is successfully deployed and you can visit it at `<your-github-username>.github.io`.
If you are stuck somewhere and want to observe the deployment process in depth, then please watch below video.
<p align="center">
<a href="http://www.youtube.com/watch?v=IwBS39TOmpA" target="_blank">
<img src="http://img.youtube.com/vi/IwBS39TOmpA/0.jpg"></img>
</a>
</p>
# Technologies used 🛠️
- [React](https://reactjs.org/)
- [graphql](https://graphql.org/)
- [apollo-boost](https://www.apollographql.com/docs/react/get-started/)
- [baseui](https://github.com/uber/baseweb)
- [react-reveal](https://www.react-reveal.com/)
- [styled-components](https://styled-components.com/)
# illustrations 🍥
- [UnDraw](https://undraw.co/illustrations)
# License 📄
"This project is a modified version of <a href="[http://www.youtube.com/watch?v=IwBS39TOmpA](https://github.com/ashutosh1919/masterPortfolio)" target="_blank">[https://github.com/ashutosh1919/masterPortfolio]</a>. All credit to the original authors."
This project is licensed under the MIT License - see the [LICENSE.md](./LICENSE) file for details.
# References 👏🏻
- Some Design and Implementation Ideas are taken from [Saad Pasta's Portfolio Project](https://github.com/saadpasta/developerFolio).
- The Logo of MasterPortfolio is inspired from [prettier-logo](https://github.com/prettier/prettier-logo) for [prettier](https://github.com/prettier/prettier) designed by @ianstormtaylor.
看看同类模板
对比同技术栈与用途的模板,找到更适合的视觉与内容结构。
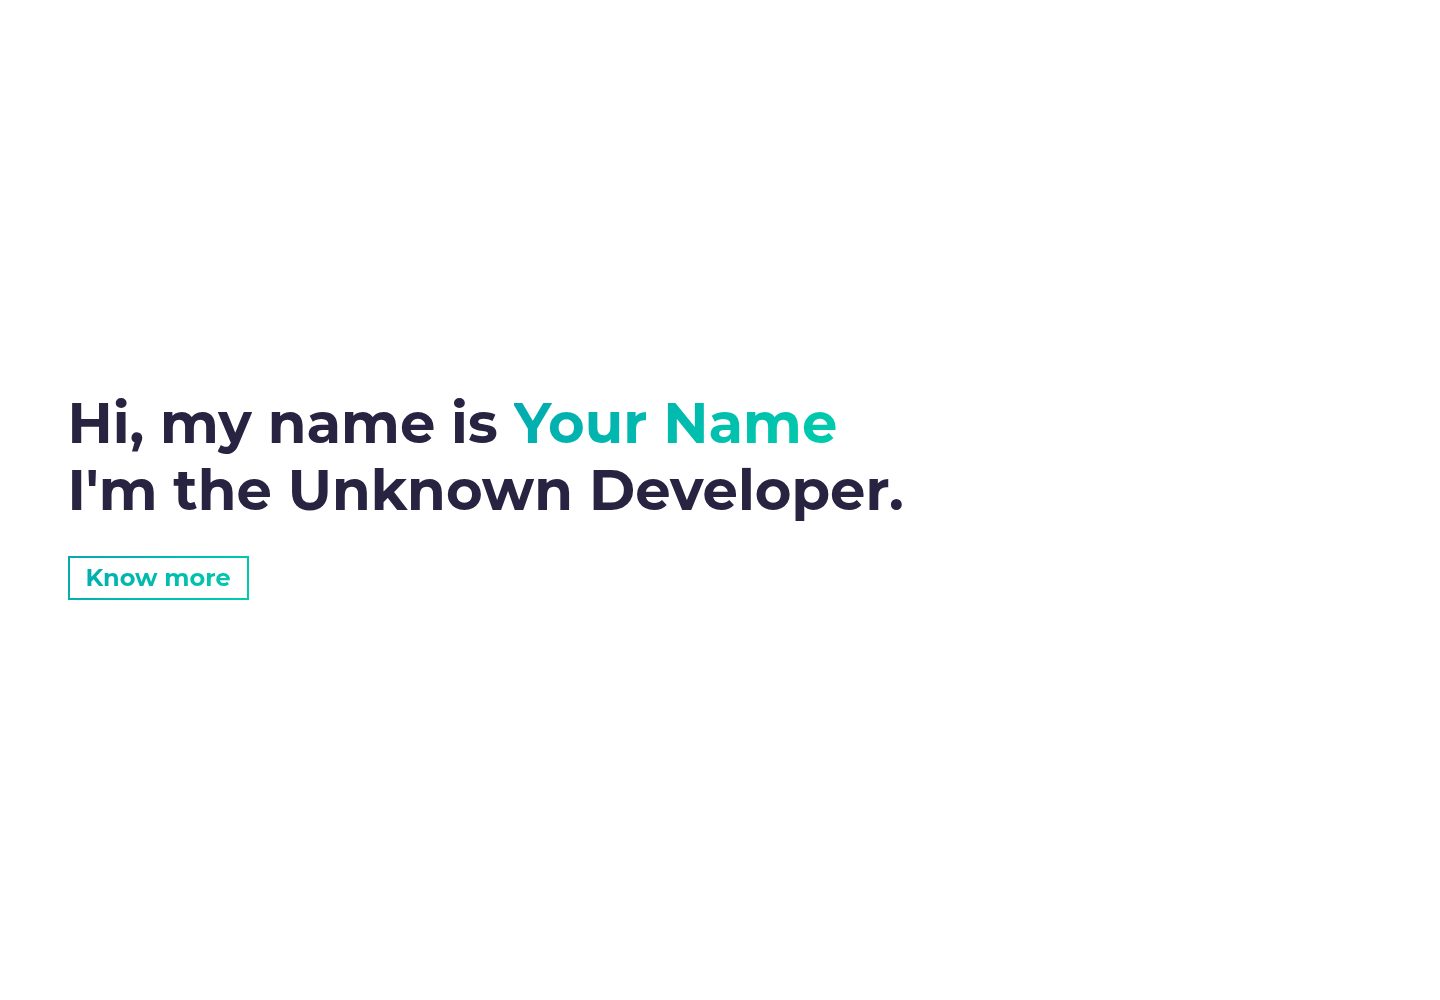
simplefolio
⚡️ A minimal portfolio template for Developers
HTML · 作品集
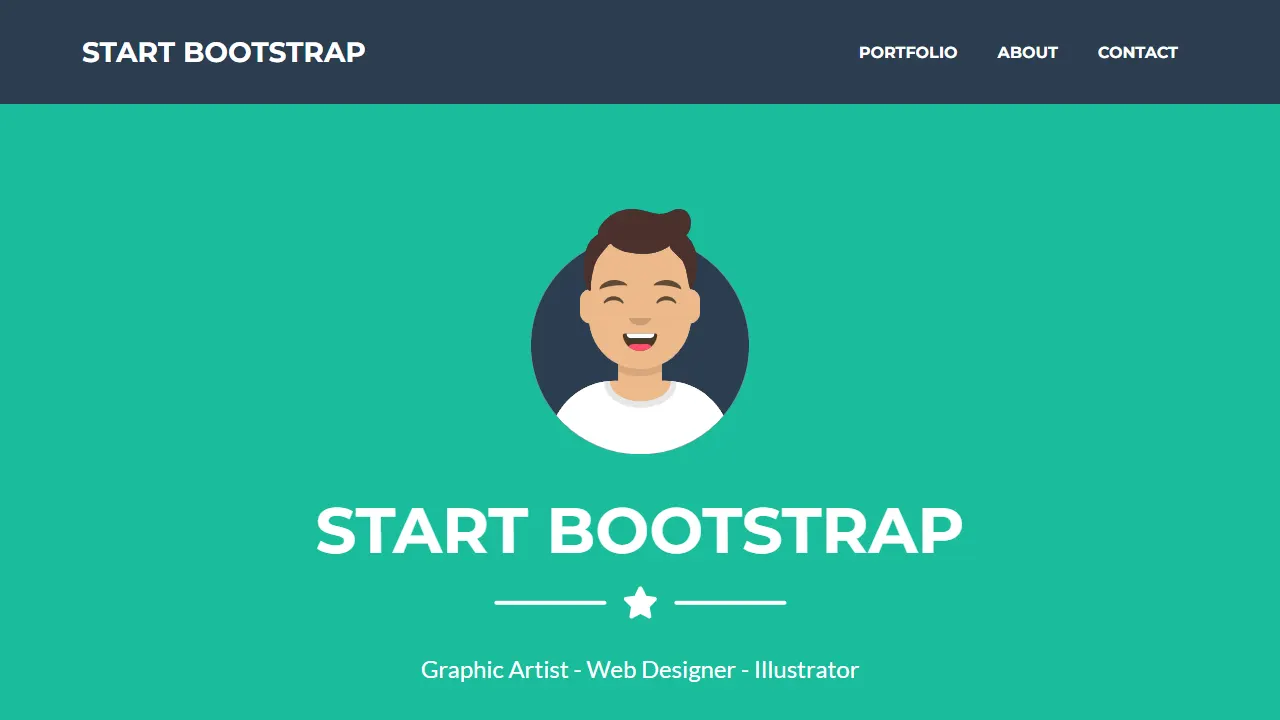
Freelancer
Freelancer 是 Start Bootstrap 出品的单页作品集模板,专为自由职业者、设计师和小型工作室设计。 页面结构清晰,包含多个内容区块、响应式作品集网格,每个作品项目配有模态窗口展示详情。
HTML · 作品集
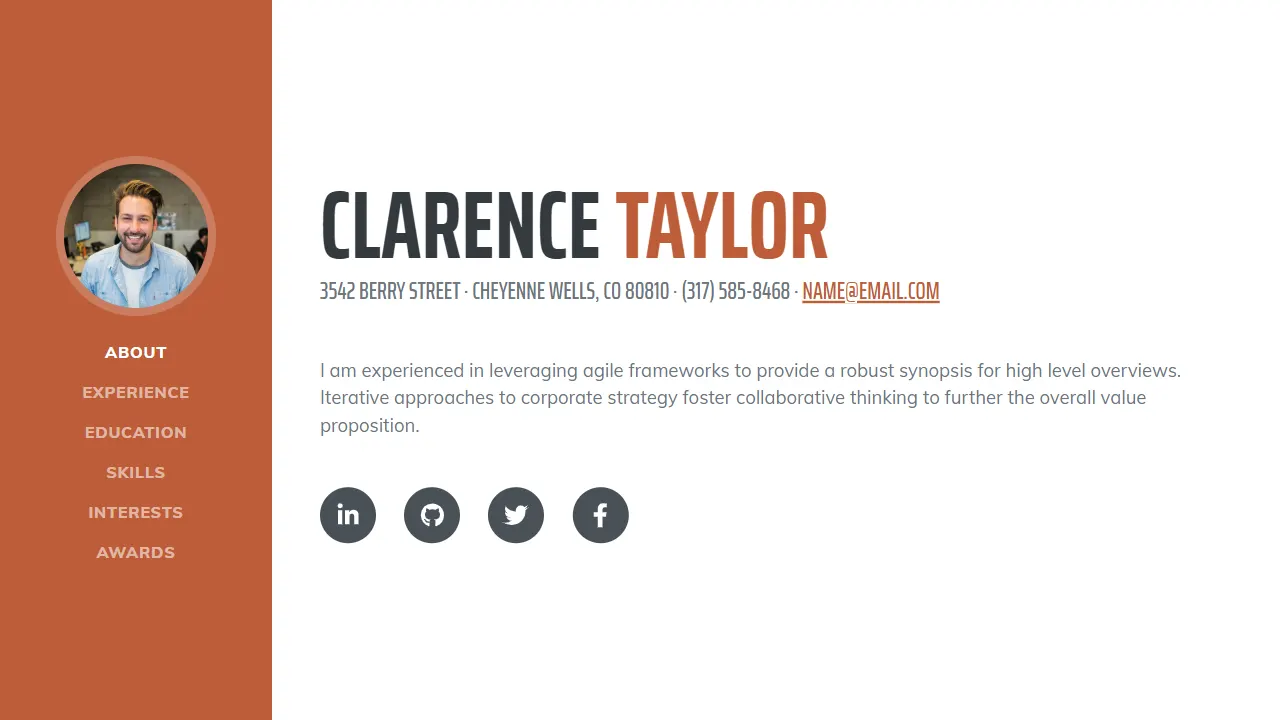
Resume
Resume 是 Start Bootstrap 推出的简历与 CV 主题,基于 Bootstrap 构建,采用固定侧边栏加内容区块的结构。
HTML · 作品集
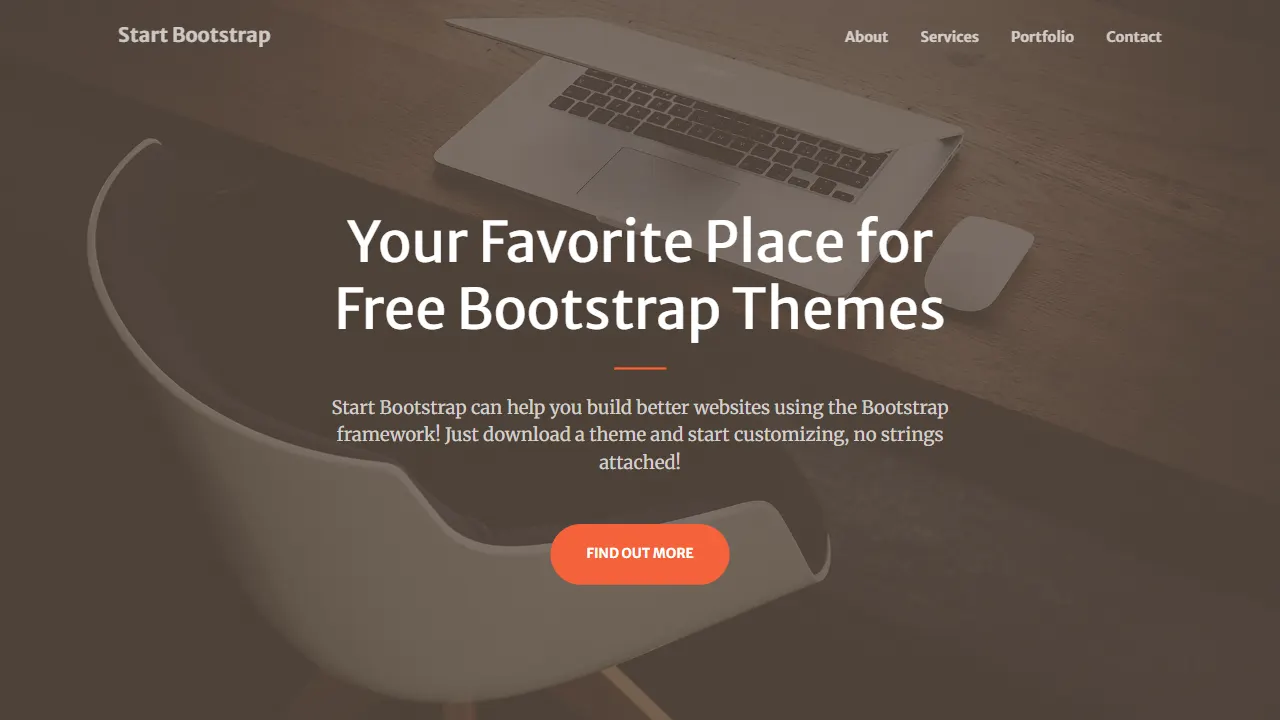
Creative
Creative 是 Start Bootstrap 团队维护的一款单页营销模板,定位明确:为创意机构或产品服务提供一个以作品展示和行动号召为核心的落地页。
HTML · 企业官网
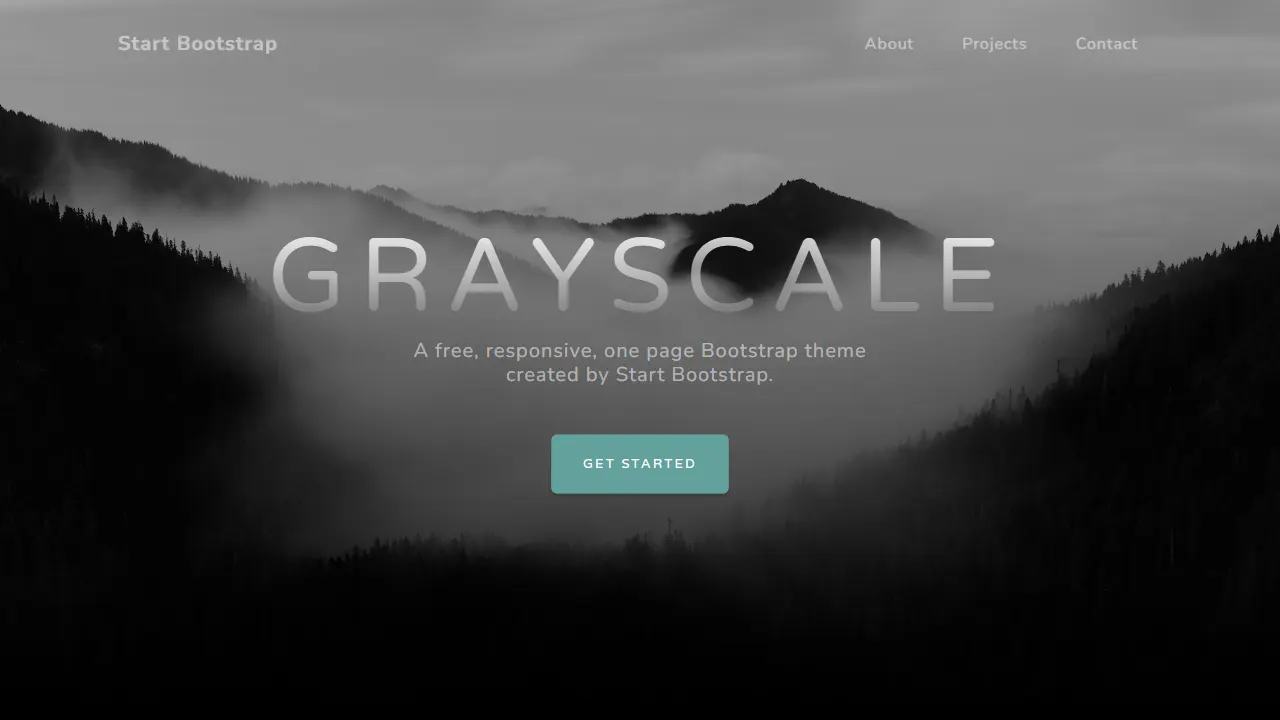
Grayscale
Grayscale 是 Start Bootstrap 出品的深色系单页 HTML 模板,基于 Bootstrap 构建。 它的视觉重心放在大尺寸首屏和清晰的内容分区上,整体氛围偏暗,适合摄影、活动或品牌叙事类网站。
HTML · 企业官网
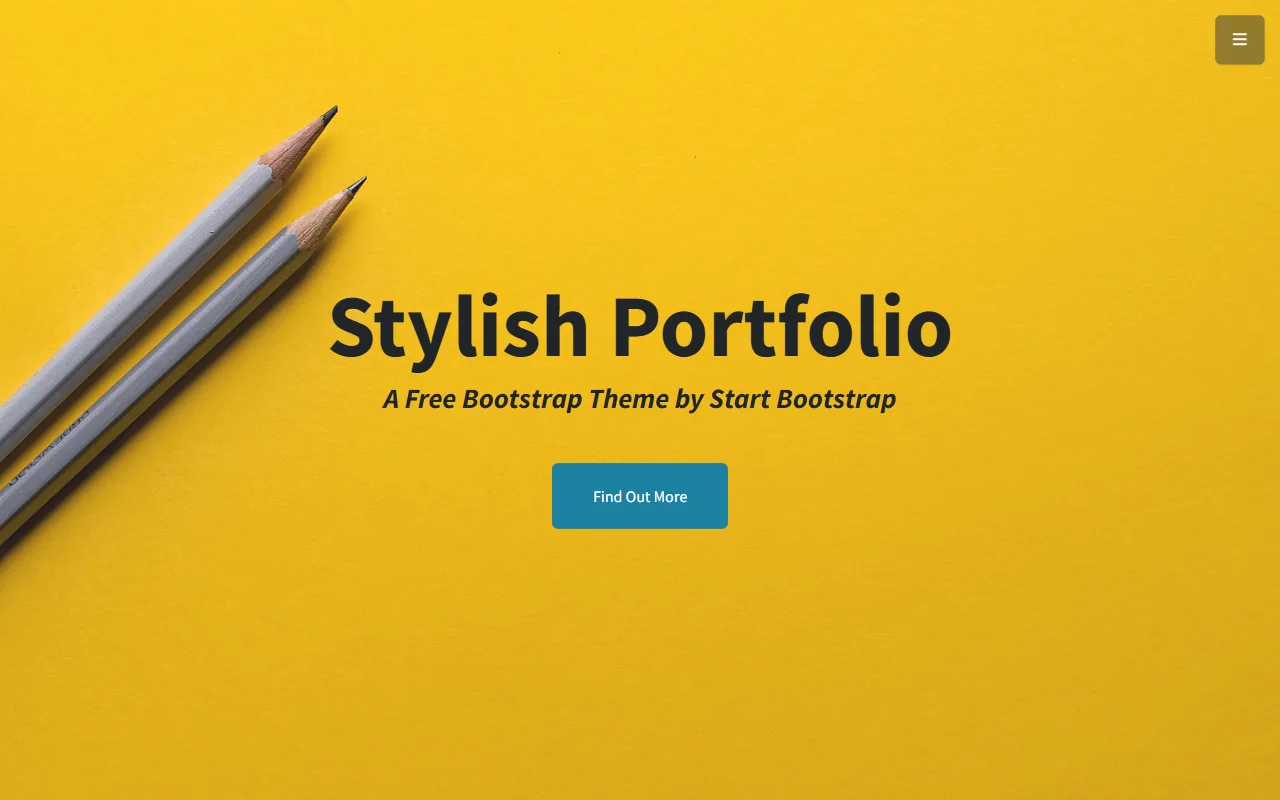
startbootstrap-stylish-portfolio
Stylish Portfolio 是 Start Bootstrap 维护的单页作品集主题,基于 Bootstrap 构建,采用多个内容区块加离屏导航菜单的结构。
HTML · 作品集