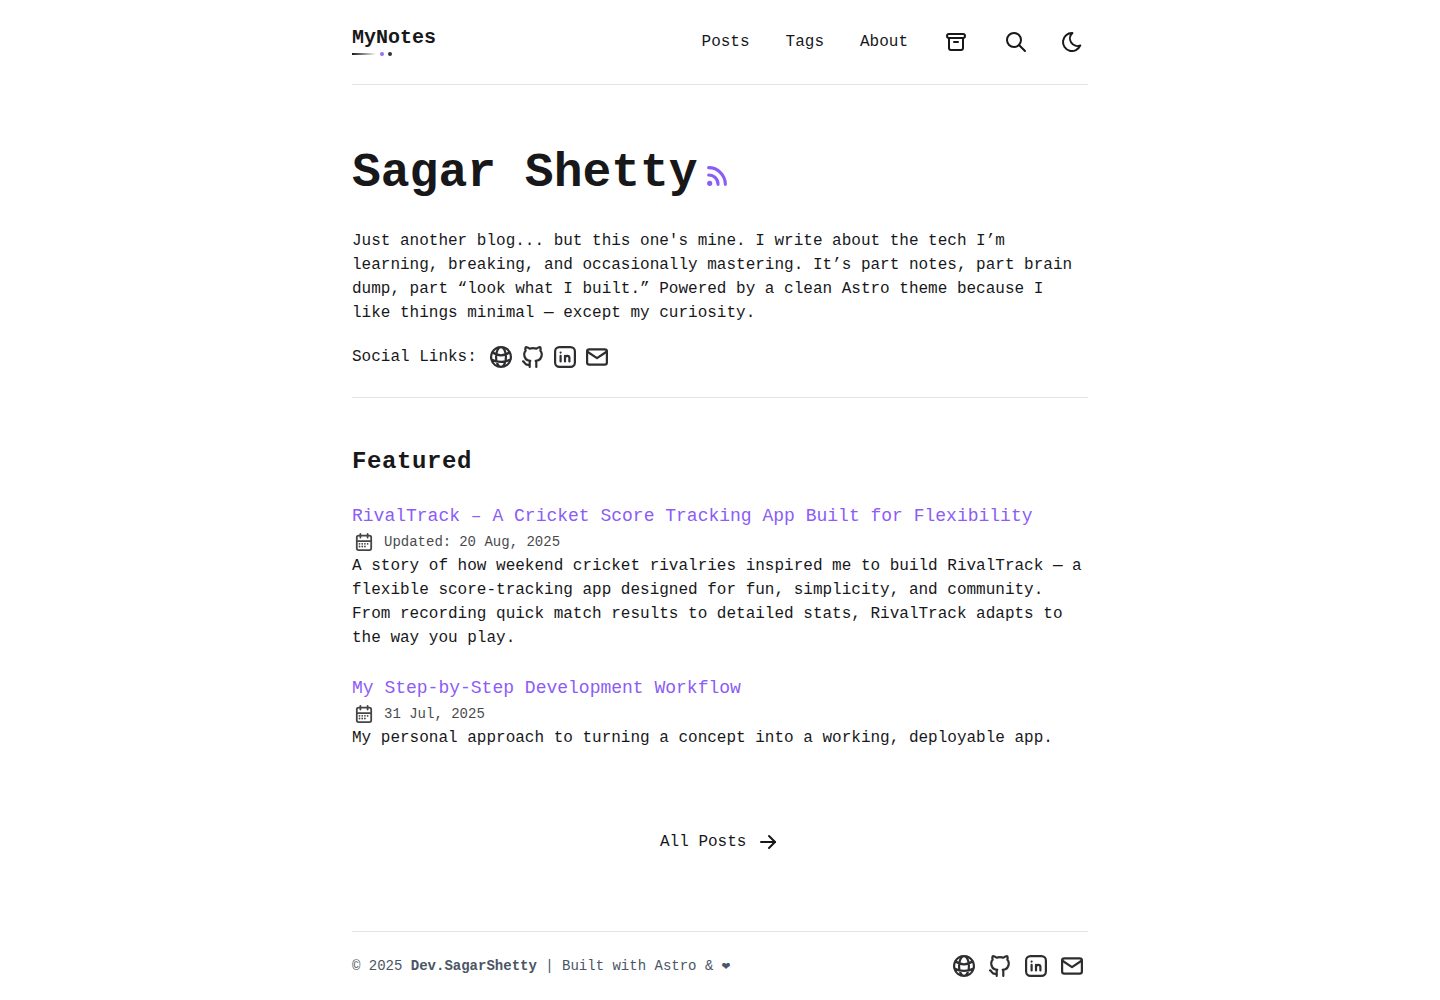
Based on the Astro Paper theme, retaining its blog front-end layout and page structures such as articles, tags, and archives
AstroAdmin dashboardBlog
My-Notes — Astro Admin dashboard Template
By Sagar-Shetty21
MyNotes is a blog template fork based on the Astro Paper theme, adding a Supabase database and an admin panel on top of the original static blog, allowing articles to be written, edited, and managed in the browser.
Explore the design
Compare the page layouts and mobile experience. Open any screenshot for a closer look.
Desktop homepage1 / 3
Desktop captureTop of page
Actual screenshot captured by the server browser.
All pages & views 3
Screenshots show visual appearance; interactive behavior may differ.
Recorded 2026-10-12View source
What stands out
A quick read of the recorded project description.
Built-in admin panel including login, article list, article editing, and settings pages
Article data is stored in the Supabase blogs table, with row-level security policies distinguishing public reads from authenticated management
The admin editor supports live Markdown preview and provides fields such as draft, pinned, tags, and OG image
Provides a script to sync data from Supabase, as well as a Dockerfile and docker-compose.yml
Template Details
MyNotes is a fork of the Astro Paper theme. It retains the theme's blog front-end structure and extends it with an admin panel. Front-end articles no longer come only from local Markdown files; they are read from a Supabase database, so blog content can be maintained through the admin interface without directly modifying files in the code repository.
The admin section includes login, article list, article management, and settings pages. Login uses Supabase Auth, and the blogs database table controls read/write access through row-level security policies: unpublished drafts are not visible externally, and authenticated users can create and edit articles. The admin editor provides live Markdown preview and supports fields such as draft, pinned, tags, OG image, and canonical URL. The project also includes a script to sync data from Supabase, as well as a Dockerfile and docker-compose.yml.
Before use, you need to create your own Supabase project, run the table creation SQL provided in the README, configure the authentication callback URL, and fill in variables such as PUBLIC_SUPABASE_URL and PUBLIC_SUPABASE_ANON_KEY in .env. The table creation statement in the README has inconsistent field naming (such as pubDaetime, slug, content, etc.); in actual use, refer to the queries in the project code and correct them yourself.
AstroAdmin panelBlog
Is it right for your project?
Use Cases
- Personal blogs that want to maintain blog articles through a browser-based admin panel without committing Markdown files every time
- Projects starting from Astro Paper that need to add database-driven content management on top of it
- Lightweight content publishing scenarios that require login before publishing and keep drafts invisible externally
- Sites using Supabase as the backend and wanting to reuse its authentication and row-level security capabilities
Suitable For
- Developers familiar with basic Astro and Supabase concepts who are willing to configure the database and authentication themselves
- Individuals or small teams that need an integrated blog front end and admin panel and accept Supabase as content storage
- Projects that want to do secondary development based on the Astro Paper theme and add their own management features
Getting started & customization
Use these recorded setup notes alongside the repository instructions for your chosen version.
- 1
Requires a Node.js environment; after cloning the repository, run npm install to install dependencies
- 2
Create a project in Supabase, create the blogs table according to the README SQL, and enable row-level security policies; note that the field names in the README table creation statement are inconsistent with the example insert statement and need to be corrected according to the actual code
- 3
Configure PUBLIC_SUPABASE_URL and PUBLIC_SUPABASE_ANON_KEY in .env; for production, also set SITE_URL
- 4
Configure the Site URL and redirect URL in Supabase Authentication, and manually create an admin user before logging in from /admin/login
- 5
When deploying, set the same environment variables on the hosting platform and update the site address in Supabase accordingly
License & source material
Usage conditions & limitations
Free to use · keep license noticeThis listing covers the free version in the public repository under the MIT license; the free scope is the code of that version and does not mean external services or third-party assets are free.
Must comply with when using
- The code of this version may be used, modified, used commercially, and distributed for free.
- When distributing copies or substantial portions of the code, retain the original author's copyright notice and the complete MIT license notice.
- The code is provided as is; warranties and limitations of liability are governed by the original license and applicable law.
Additional costs & items to verify
- Demo images, fonts, icons, and other third-party assets must be checked against their respective licenses and cannot be judged solely by the code's MIT license.
- External services such as domains, hosting, databases, payments, or AI may incur additional charges.
- A Supabase account is required before use; the project depends on this external service for database and authentication.
- Content storage depends on the Supabase database and cannot run independently of that external service.
- Admin login uses Supabase Auth and depends on that external authentication service.
- You must apply for and configure the Supabase project URL and anon key yourself before it can run.
- The authentication site URL and redirect must be manually configured in the Supabase console.
- The admin account must be manually created in the Supabase backend and cannot be completed only on the front end.
- When deploying, these environment variables must be set on the hosting platform; otherwise, the site cannot read data properly.
View Original Text Basis
Permission is hereby granted, free of charge
Original License Text
- A Supabase account
Original README
- **Database**: [Supabase](https://supabase.com/)
Original README
- **Authentication**: Supabase Auth
Original README
PUBLIC_SUPABASE_URL=https://your-project-id.supabase.co PUBLIC_SUPABASE_ANON_KEY=your-anon-key-here
Original README
1. In your Supabase dashboard, go to **Authentication** > **Settings**
Original README
- Go to your Supabase dashboard - Navigate to **Authentication** > **Users** - Click "Add user"
Original README
https://github.com/Sagar-Shetty21/My-Notes/blob/main/LICENSEhttps://github.com/Sagar-Shetty21/My-Notes/blob/main/README.md- `PUBLIC_SUPABASE_URL`: Your Supabase project URL - `PUBLIC_SUPABASE_ANON_KEY`: Your Supabase anon key - `SITE_URL`: Your production domain
Original README
Compiled by DeepSeek based on repository license and README ·2026-10-12. Results only cover the materials read; dependencies, images, fonts, and subsequent term changes are subject to their respective original texts.
Project checks & description sources
Template Information
- Source platforms
- GitHub
- Documentation and maintenance reference score
- More documented · 79 / 100
- Technologies
- Astro
- Website type
- Admin dashboard · Blog
How this score is calculated
Our heuristic uses license records (up to 30), a demo link (12), a preview (10), stars (15), recorded maintenance (15), description completeness (8), feature records (5) and classification data (5). It is not a code, security or performance test, or a Google score. A link does not establish tested functionality.
What to verify for this project
- Repository update recorded
- 2025-08-21
- Screenshot last checked
- 2026-10-12
A demo link is listed. Check it with your own content and viewport sizes; its presence does not confirm that forms, authentication or payments work.
The catalog identifies Astro as the primary stack. Check the actual dependency manifest and lockfile for versions and hosting requirements. These notes use recorded metadata, not a code audit or a deployment test.
Use a selection guide →How this description was prepared
AI-assisted description based on catalog records and repository material. Repository authors are not automatically the reviewers of this description.
Review declaration: [email protected] · 2026-10-13
Inspect the recorded source material
SHA-256: 1cb1a76c322ebc5d3f2c83df99e8b8d00f2c08c3ef5c0daafaf1c2dda17d86e2
2026-10-12T20:22:06.299Z
Source file / repository# 📓 MyNotes – An Astro Paper Fork with Admin Panel
MyNotes is a fork of the popular [Astro Paper](https://github.com/satnaing/astro-paper) theme, extended with a built-in admin panel to make blogging seamless.
It allows you to write, edit, and manage blog posts on the go without diving into markdown files or touching the codebase.
## ✨ Features
- **Dynamic Blog Management**: Fetch and display articles from Supabase database
- **Admin Authentication**: Secure login system using Supabase Auth
- **Live Preview Editor**: Real-time markdown editor with preview in admin dashboard
- **Responsive Design**: Built on the beautiful Astro Paper theme
- **Fast Performance**: Powered by Astro's static site generation
## 🚀 Tech Stack
- **Framework**: [Astro](https://astro.build/)
- **Theme**: [Astro Paper](https://github.com/satnaing/astro-paper)
- **Database**: [Supabase](https://supabase.com/)
- **Authentication**: Supabase Auth
- **Styling**: Tailwind CSS
## 📋 Prerequisites
Before you begin, ensure you have:
- Node.js (v18 or higher)
- npm or yarn package manager
- A Supabase account
## 🛠️ Setup Instructions
### 1. Clone and Install
```bash
git clone https://github.com/Sagar-Shetty21/My-Notes.git
cd My-Notes
npm install
```
### 2. Supabase Project Setup
#### Create a New Supabase Project
1. Go to [Supabase Dashboard](https://supabase.com/dashboard)
2. Click "New Project"
3. Choose your organization
4. Fill in project details:
- **Name**: MyNotes (or your preferred name)
- **Database Password**: Create a strong password
- **Region**: Choose closest to your location
5. Click "Create new project"
6. Wait for the project to be set up (usually 1-2 minutes)
#### Database Schema Setup
Navigate to the SQL Editor in your Supabase dashboard and run the following queries:
```sql
-- Create blogs table
CREATE TABLE blogs (
id UUID DEFAULT gen_random_uuid() PRIMARY KEY,
title VARCHAR(255) NOT NULL,
description TEXT,
body TEXT NOT NULL,
author VARCHAR(100) DEFAULT 'Admin',
pubDaetime TIMESTAMP WITH TIME ZONE DEFAULT NOW(),
modDatetime TIMESTAMP WITH TIME ZONE DEFAULT NOW(),
featured BOOLEAN DEFAULT FALSE,
draft BOOLEAN DEFAULT FALSE,
tags TEXT[],
ogImage VARCHAR(500),
canonicalURL VARCHAR(500),
hideEditPost BOOLEAN DEFAULT FALSE,
timezone VARCHAR(100),
collection VARCHAR(100)
);
-- Create RLS (Row Level Security) policies
ALTER TABLE blogs ENABLE ROW LEVEL SECURITY;
-- Policy to allow public read access to published blogs
CREATE POLICY "Public blogs are viewable by everyone" ON blogs
FOR SELECT USING (draft = FALSE);
-- Policy to allow authenticated users to manage all blogs
CREATE POLICY "Authenticated users can manage blogs" ON blogs
FOR ALL USING (auth.role() = 'authenticated');
-- Create indexes for better performance
CREATE INDEX idx_blogs_slug ON blogs(slug);
CREATE INDEX idx_blogs_pub_date ON blogs(pub_date DESC);
CREATE INDEX idx_blogs_featured ON blogs(featured) WHERE featured = TRUE;
-- Insert sample blog post
INSERT INTO blogs (title, slug, description, content, tags, featured) VALUES (
'Welcome to MyNotes',
'welcome-to-mynotes',
'Your personal publishing platform is ready!',
'# Welcome to MyNotes
This is your first blog post! You can edit this content from the admin dashboard.
## Features
- **Markdown Support**: Write in markdown and see live preview
- **Tag System**: Organize your posts with tags
- **Featured Posts**: Highlight important articles
- **Draft Mode**: Work on posts privately before publishing
## Getting Started
1. Login to the admin dashboard
2. Create your first post
3. Publish and share your thoughts with the world!
Happy writing! ✍️',
ARRAY['welcome', 'getting-started'],
true
);
```
#### Set up Authentication
1. In your Supabase dashboard, go to **Authentication** > **Settings**
2. Configure your site URL:
- **Site URL**: `http://localhost:4321` (for development)
- Add your production URL when deploying
3. (Optional) Configure additional auth providers if needed
### 3. Environment Variables
#### Get Supabase Credentials
1. In your Supabase dashboard, go to **Settings** > **API**
2. Copy the following values:
- **Project URL** (looks like: `https://your-project-id.supabase.co`)
- **anon public key** (starts with `eyJ`)
#### Create .env File
Create a `.env` file in your project root:
```env
# Supabase Configuration
PUBLIC_SUPABASE_URL=https://your-project-id.supabase.co
PUBLIC_SUPABASE_ANON_KEY=your-anon-key-here
# Optional: Add your site URL for production
SITE_URL=http://localhost:4321
```
**Important**:
- Replace `your-project-id` with your actual Supabase project ID
- Replace `your-anon-key-here` with your actual anon key
- Never commit your `.env` file to version control
- Add `.env` to your `.gitignore` file
### 4. Run the Application
```bash
# Development server
npm run dev
# Build for production
npm run build
# Preview production build
npm run preview
```
The app will be available at `http://localhost:4321`
## 🔐 Admin Access
### First Time Login
1. Go to `/admin/login` or `/admin
2. Since this is your first time, you'll need to create an admin account:
- Go to your Supabase dashboard
- Navigate to **Authentication** > **Users**
- Click "Add user"
- Enter email and temporary password
- The user will receive a confirmation email
3. Use these credentials to login to your admin dashboard
### Admin Dashboard Features
Once logged in, you can:
- **Create New Posts**: Use the live preview editor
- **Edit Existing Posts**: Modify any published or draft content
- **Manage Drafts**: Save work-in-progress posts
- **Set Featured Posts**: Highlight important articles
- **Organize with Tags**: Categorize your content
- **Real-time Preview**: See how your markdown renders instantly
## 📁 Project Structure
```bash
├── .astro/ # Astro build cache
├── .github/ # GitHub configuration (e.g., workflows)
├── .vercel/ # Vercel deployment config
├── dist/ # Production build output
├── node_modules/ # Project dependencies
├── public/ # Static assets
├── scripts/
│ └── syncFromSupabase.ts # Script to sync data from Supabase
├── src/
│ ├── assets/ # Static assets used in components/pages
│ ├── components/ # Reusable UI components
│ ├── data/
│ │ └── blog/
│ │ └── my-step-by-step-development-workflow.md
│ │ └── config.ts
│ ├── layouts/ # Layout components
│ │ ├── AboutLayout.astro
│ │ ├── Layout.astro
│ │ ├── Main.astro
│ │ └── PostDetails.astro
│ ├── lib/
│ │ └── supabaseClient.ts # Supabase client setup
│ ├── pages/
│ │ ├── admin/
│ │ │ ├── articles/
│ │ │ │ └── index.astro
│ │ │ ├── login/
│ │ │ │ └── index.astro
│ │ │ └── manage/
│ │ │ ├── index.astro
│ │ │ └── settings/
│ │ │ └── index.astro
│ │ ├── api/
│ │ │ ├── blog-files.ts
│ │ │ └── create-blog.ts
│ │ ├── archives/
│ │ ├── posts/
│ │ ├── tags/
│ │ ├── 404.astro
│ │ ├── about.md
│ │ ├── index.astro
│ │ ├── og.png.ts
│ │ ├── robots.txt.ts
│ │ ├── rss.xml.ts
│ │ └── search.astro
│ ├── styles/
│ │ ├── global.css
│ │ └── typography.css
│ ├── types/
│ │ └── astro.d.ts
│ └── utils/
│ ├── config.ts
│ ├── constants.ts
│ ├── content.config.ts
│ ├── middleware.ts
│ ├── transformers/
│ │ ├── generateOgImages.ts
│ │ ├── getPath.ts
│ │ ├── getPostsByGroupCondition.ts
│ │ ├── getPostsByTag.ts
│ │ ├── getSortedPosts.ts
│ │ ├── getUniqueTags.ts
│ │ ├── loadGoogleFont.ts
│ │ ├── postFilter.ts
│ │ └── slugify.ts
│ └── og-templates/
├── .env # Environment variables
├── .gitignore
├── astro.config.ts # Astro config
├── tsconfig.json # TypeScript config
├── eslint.config.js
├── Dockerfile
├── docker-compose.yml
├── README.md
├── package.json
└── pnpm-lock.yaml
```
## 🚀 Deployment
### Environment Variables for Production
When deploying, make sure to set these environment variables:
- `PUBLIC_SUPABASE_URL`: Your Supabase project URL
- `PUBLIC_SUPABASE_ANON_KEY`: Your Supabase anon key
- `SITE_URL`: Your production domain
### Update Supabase Settings
1. In Supabase dashboard, go to **Authentication** > **Settings**
2. Update **Site URL** to your production domain
3. Add your production domain to **Redirect URLs**
## 🛡️ Security Notes
- The anon key is safe to use in client-side code
- Row Level Security (RLS) is enabled to protect your data
- Only authenticated users can create/edit posts
- Published posts are publicly readable
## 🤝 Contributing
1. Fork the repository
2. Create a feature branch (`git checkout -b feature/amazing-feature`)
3. Commit your changes (`git commit -m 'Add amazing feature'`)
4. Push to the branch (`git push origin feature/amazing-feature`)
5. Open a Pull Request
## 📝 License
This project is licensed under the MIT License - see the [LICENSE](LICENSE) file for details.
## 🙏 Acknowledgments
- [Astro Paper Theme](https://github.com/satnaing/astro-paper) by Sat Naing
- [Astro](https://astro.build/) for the amazing framework
- [Supabase](https://supabase.com/) for backend services
---
**Happy blogging with MyNotes! 🎉**
Explore similar templates
Compare previews and descriptions within the same stack and category.
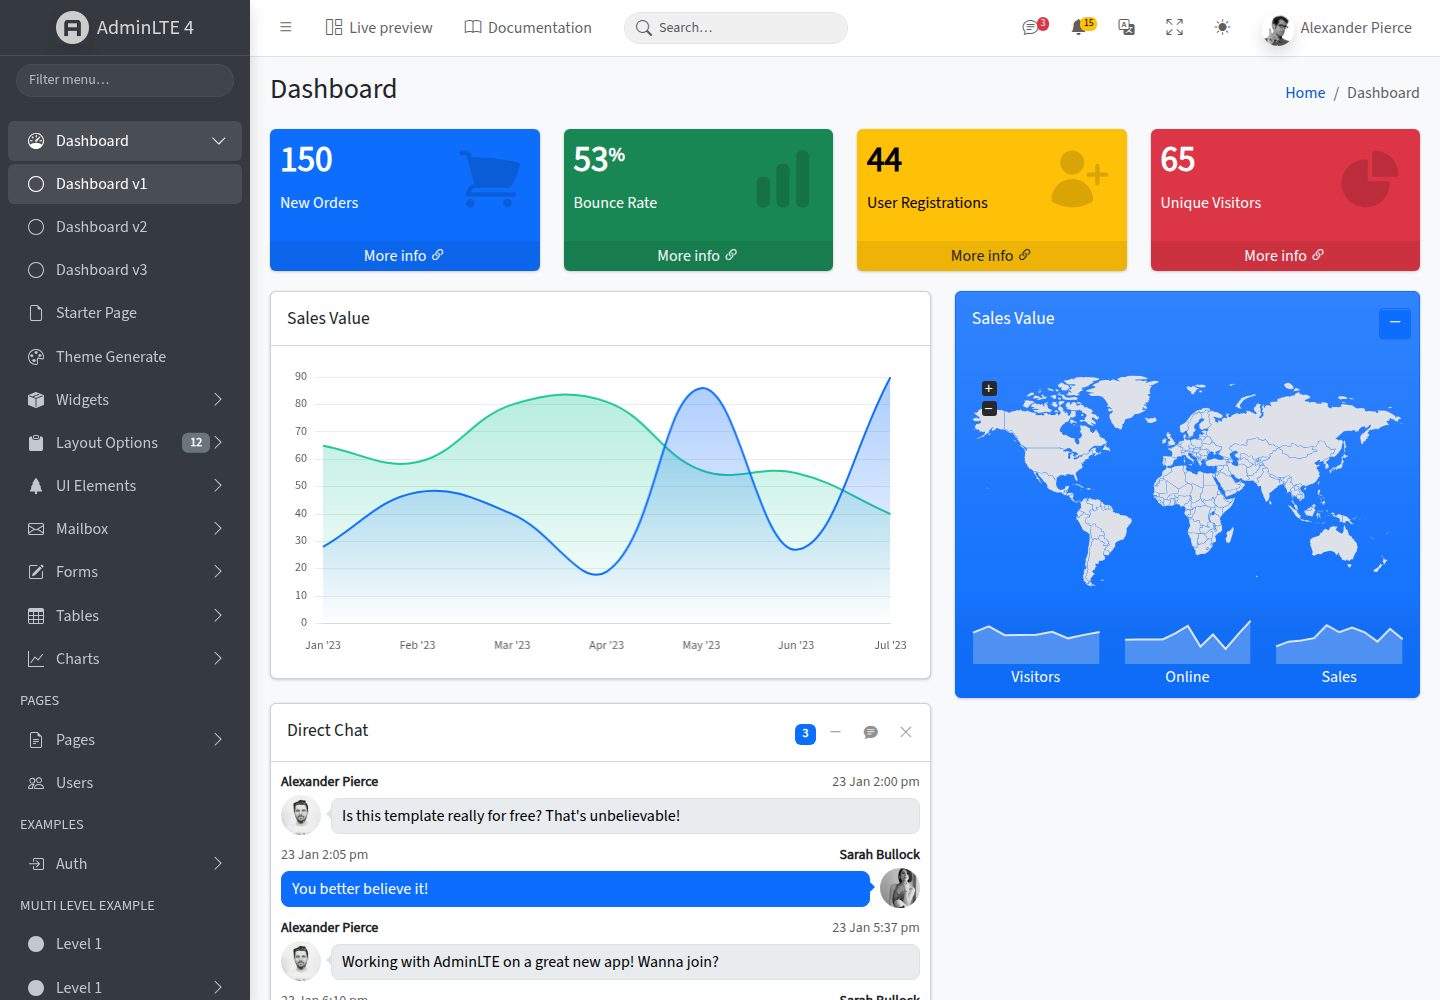
AdminLTE
AdminLTE is a free, open-source admin dashboard template built on Bootstrap 5 and vanilla JavaScript, with no jQuery dependency.
Astro · Admin dashboard
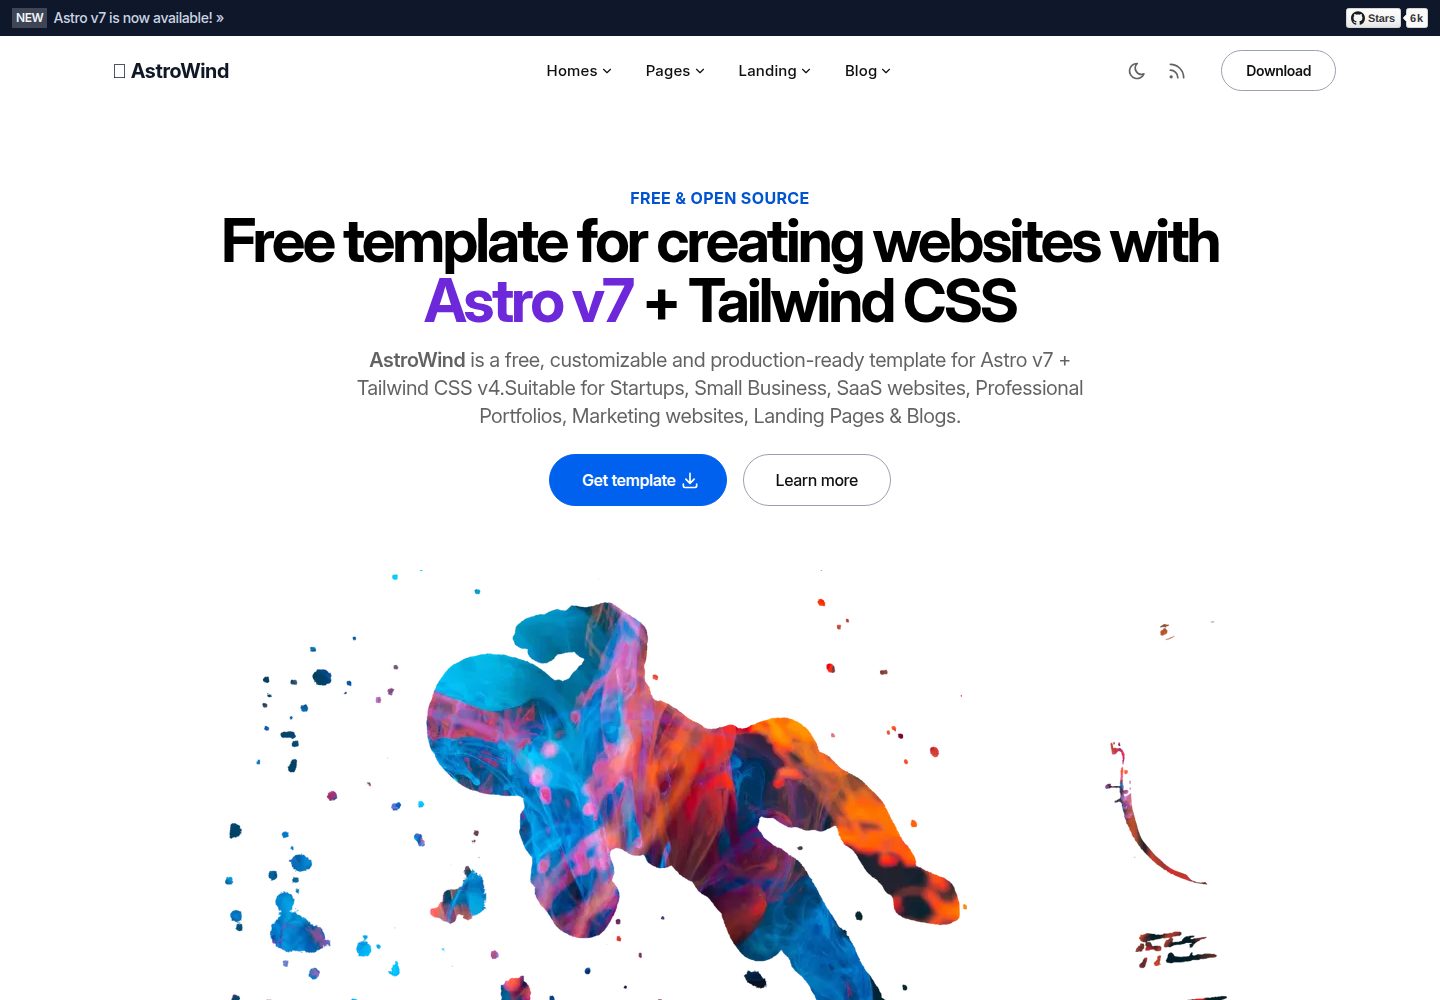
astrowind
AstroWind is a free, open-source Astro starter theme using Astro and Tailwind CSS, released under the MIT license.
Astro · Blog
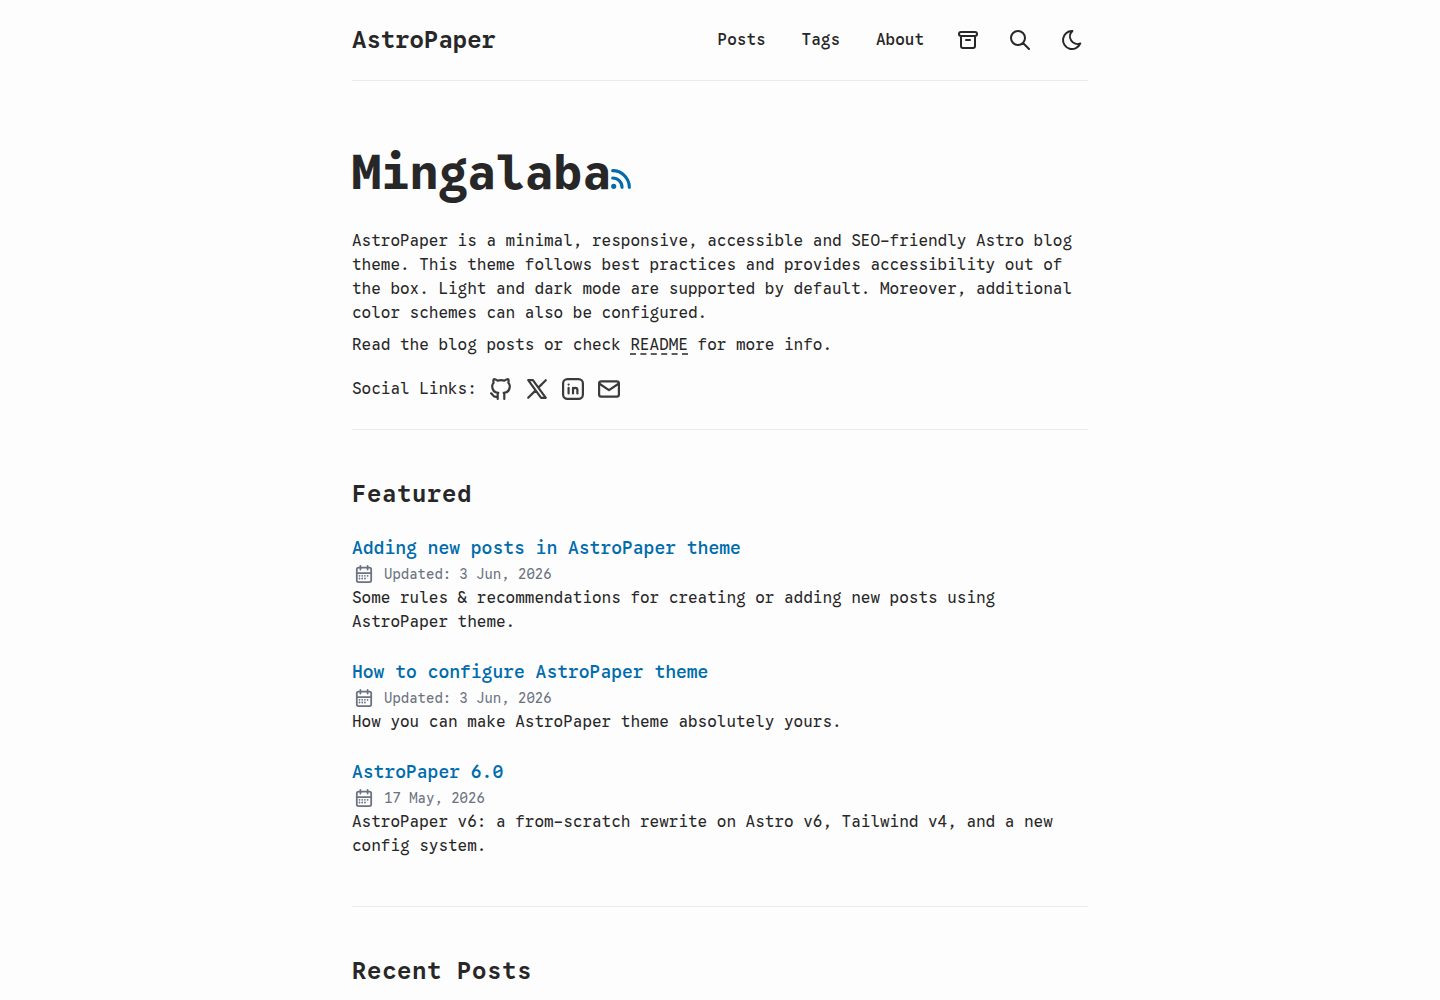
astro-paper
AstroPaper is a minimal, responsive, accessible, and SEO-friendly Astro blog theme. Articles are stored as Markdown/MDX in src/content/posts/, with subdirectories affecting URLs.
Astro · Blog
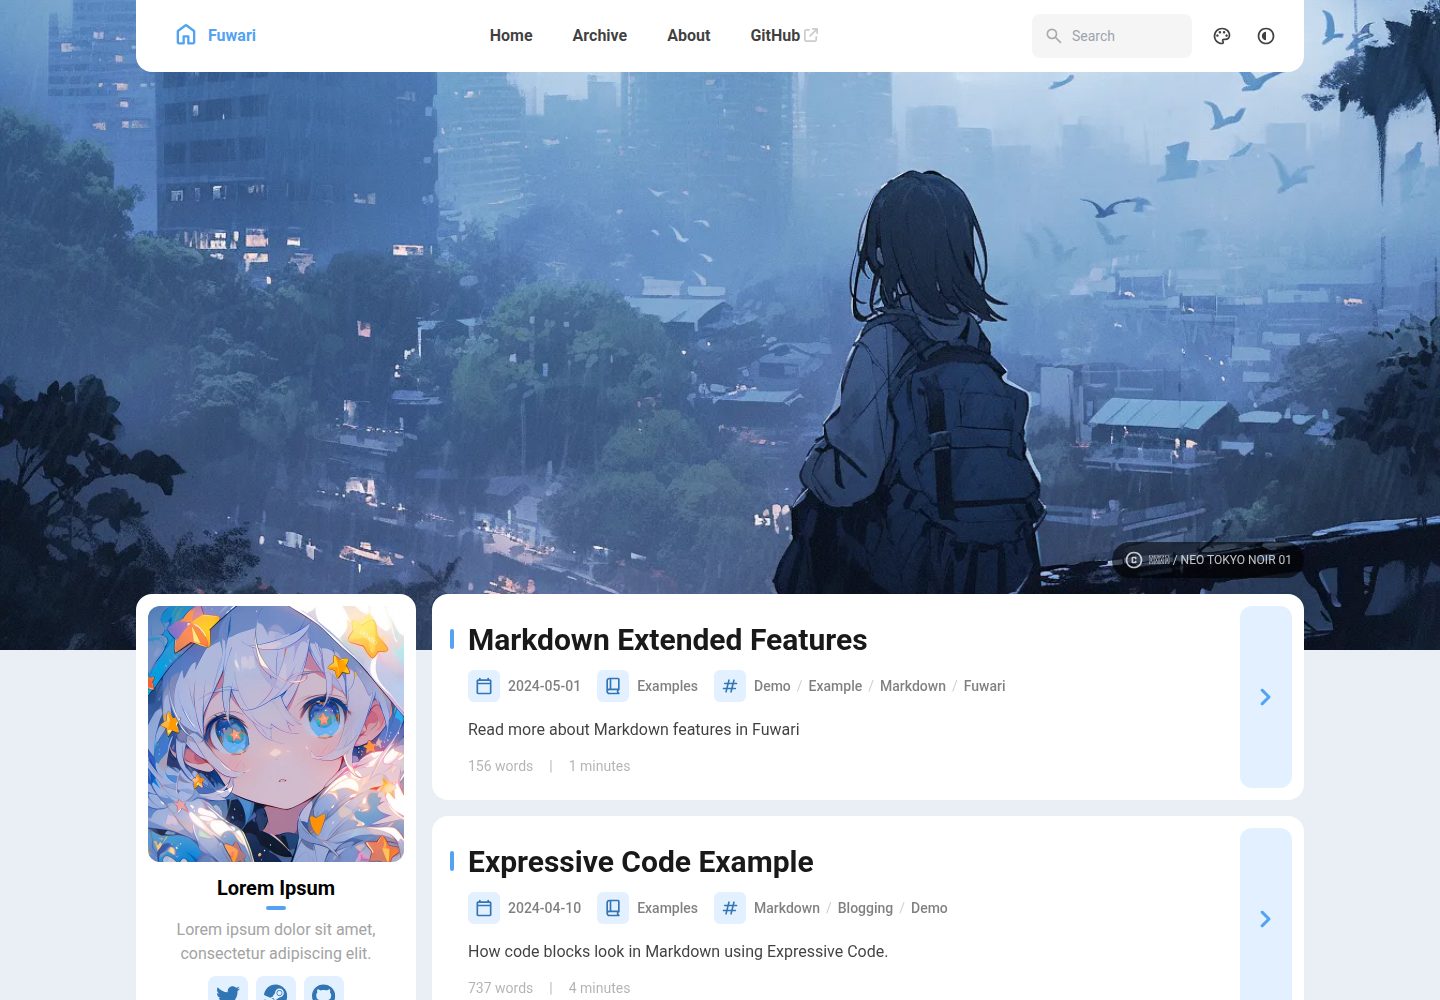
fuwari
Fuwari is a static blog template built with Astro and Tailwind CSS for personal blogs. It manages posts as Markdown files in src/content/posts/, with frontmatter for title, date, description, cover, tags, categories, draft status, and language.
Astro · Blog
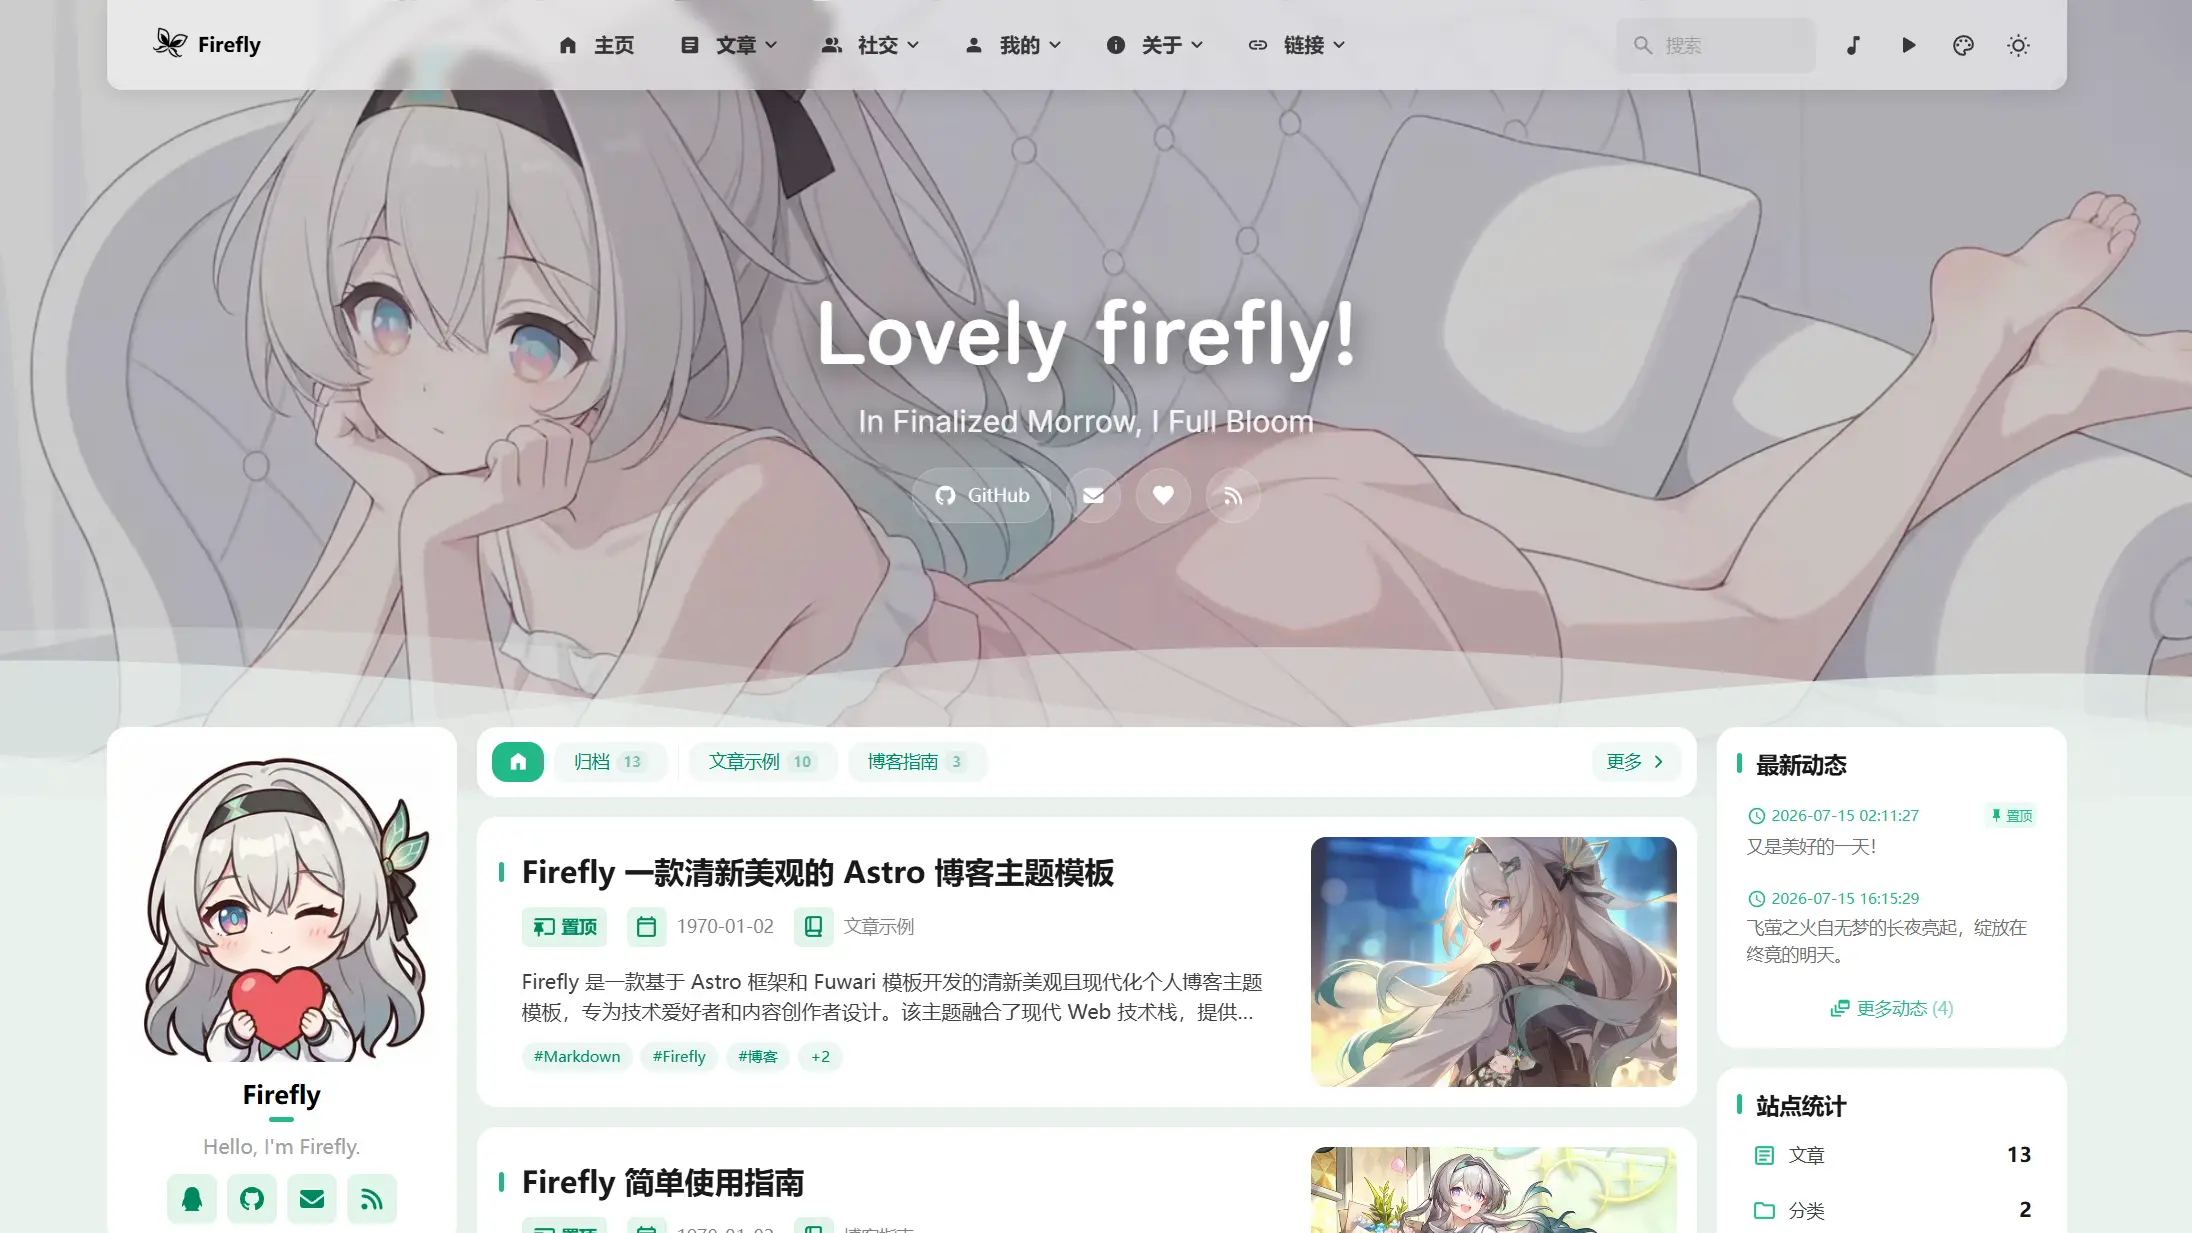
Firefly
Firefly is a clean personal blog theme forked from Astro and Fuwari, offering four background modes, single/double sidebar and list/grid layouts, Pagefind client-side full-text search, and a six-language UI.
Astro · Blog
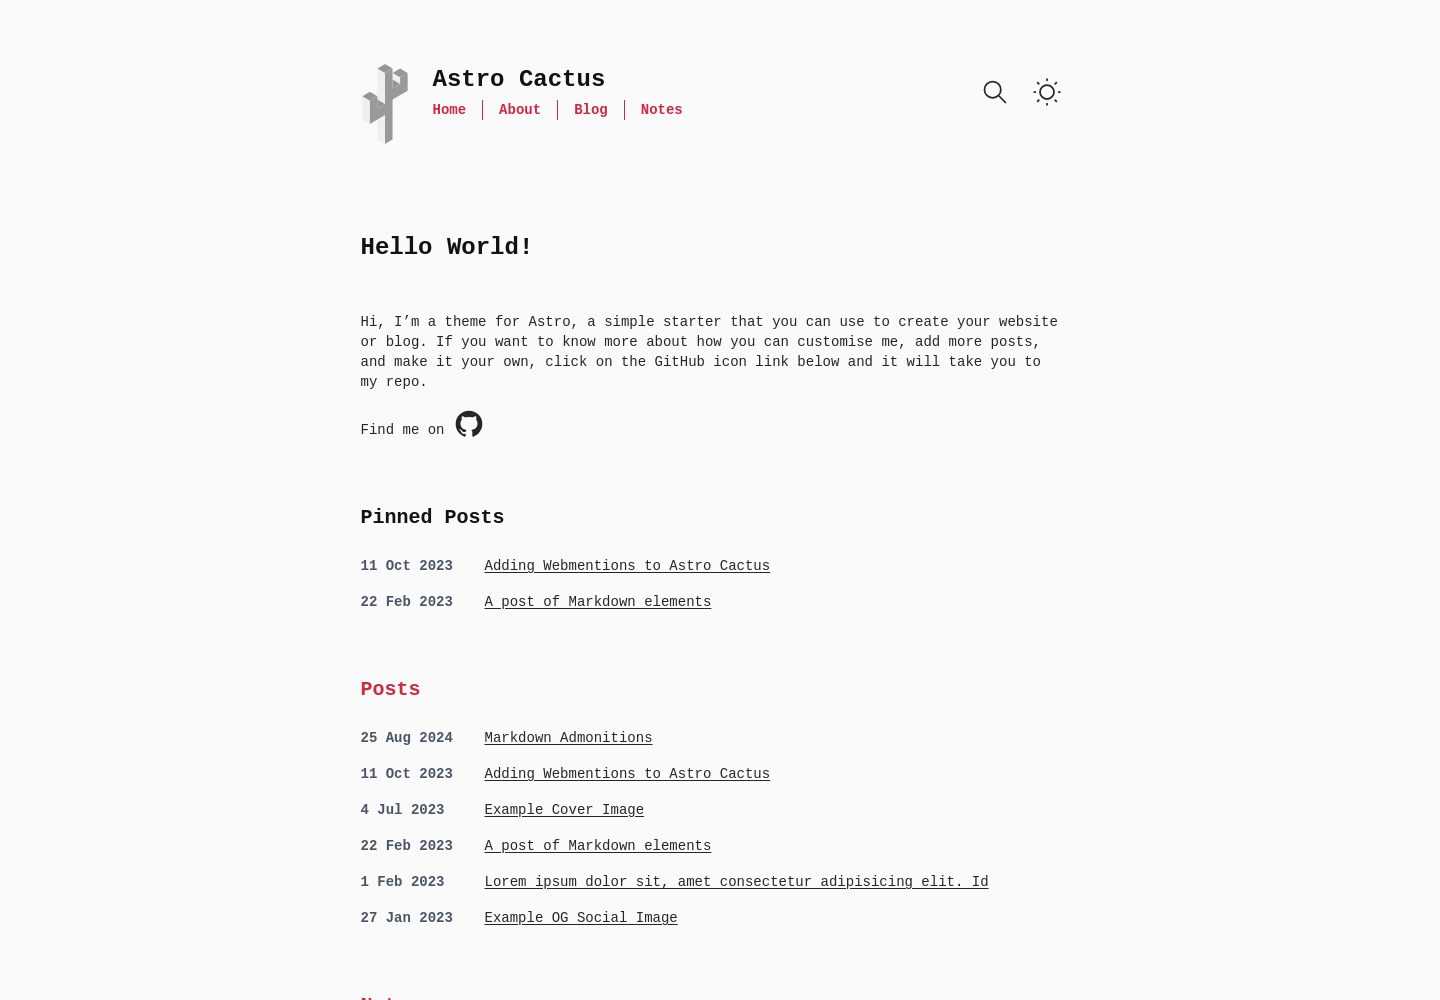
astro-theme-cactus
Astro Cactus is an Astro-based blog and portfolio theme that uses Markdown/MDX content collections to manage posts, notes, and tags, with frontmatter type-checked by a schema.
Astro · Portfolio