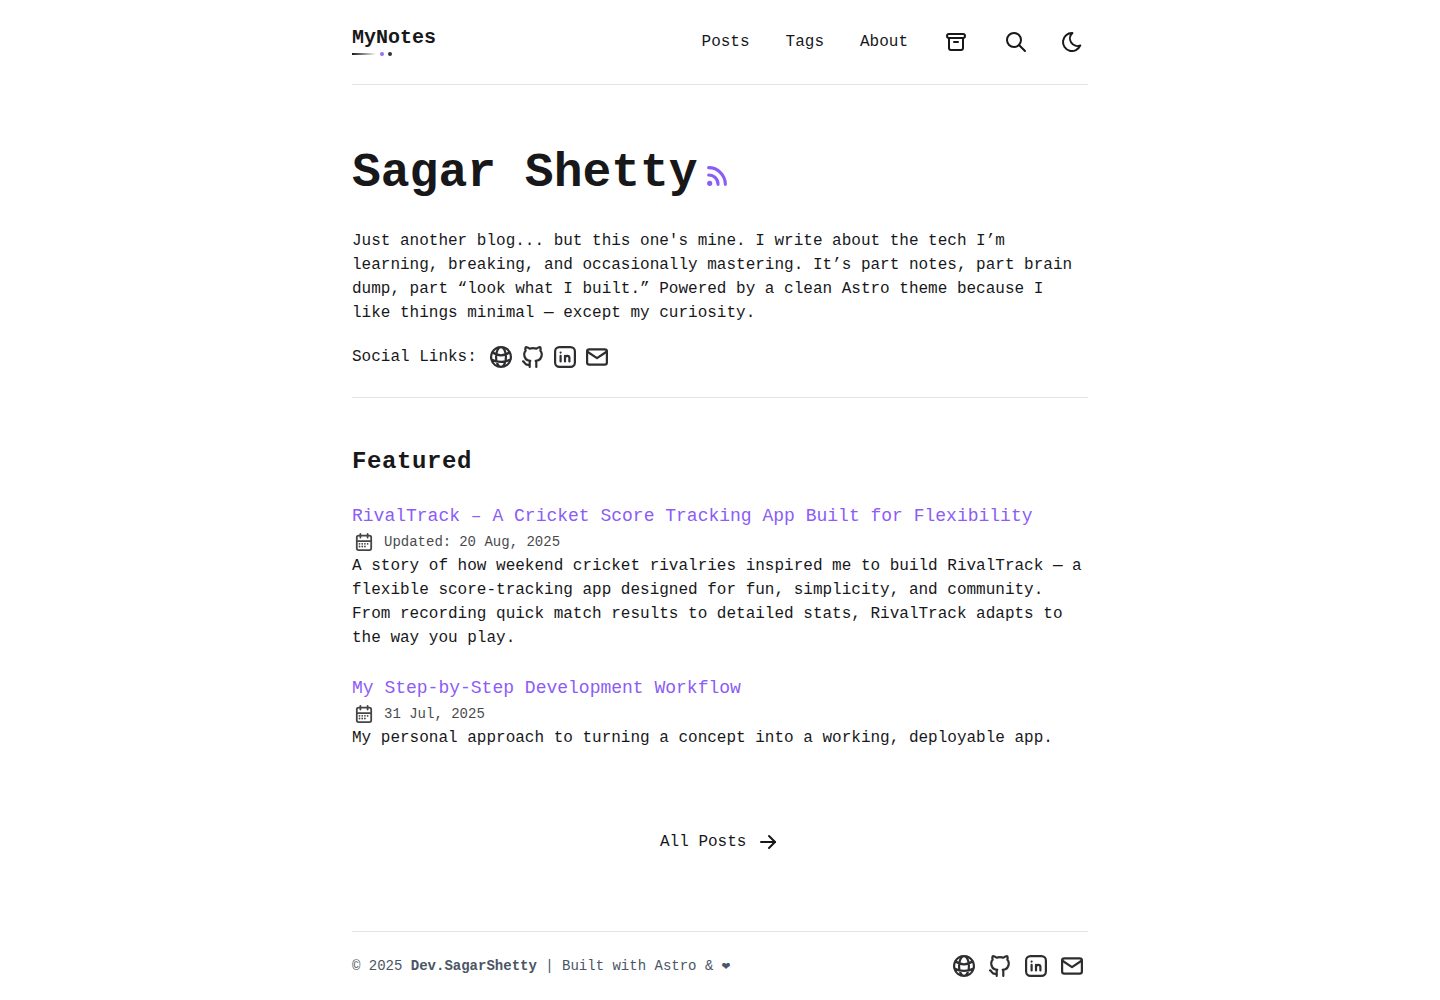
基于 Astro Paper 主题,保留其博客前台布局与文章、标签、归档等页面结构
Astro后台博客
My-Notes — Astro 后台模板
作者 Sagar-Shetty21
MyNotes 是基于 Astro Paper 主题的博客模板分支,在原有静态博客基础上加入 Supabase 数据库与后台管理面板,可在浏览器中撰写、编辑和管理文章。
看看你的网站会是什么样
浏览真实页面截图,比较内容排版与手机效果。点击下方缩略图切换,放大查看整页细节。
全部页面与视图 3
截图用于了解视觉与布局,交互效果请以实际项目为准。
采集于 2026-10-12查看来源
值得关注的模板亮点
从已有项目资料中,快速了解它的特点。
内置后台管理面板,包含登录、文章列表、文章编辑与设置页面
文章数据存储在 Supabase 的 blogs 表中,通过行级安全策略区分公开读取与登录后管理
后台编辑器支持 Markdown 实时预览,并提供草稿、置顶、标签、OG 图片等字段
提供从 Supabase 同步数据的脚本,以及 Dockerfile 与 docker-compose.yml
模板详细介绍
MyNotes 是 Astro Paper 主题的一个分支版本,保留该主题的博客前台结构,并在其上扩展出一套后台管理面板。前台文章不再只来自本地 Markdown 文件,而是从 Supabase 数据库读取,因此博客内容可以通过后台界面维护,而不必直接修改代码仓库中的文件。
后台部分包含登录、文章列表、文章管理与设置页面,登录使用 Supabase Auth,数据库表 blogs 通过行级安全策略控制读写:未发布的草稿对外不可见,已认证用户可以创建和编辑文章。后台编辑器提供 Markdown 实时预览,支持草稿、置顶、标签、OG 图片、canonical URL 等字段。项目还包含一个从 Supabase 同步数据的脚本,以及 Dockerfile 与 docker-compose.yml。
使用前需要自行创建 Supabase 项目、执行 README 中给出的建表 SQL、配置认证回调地址,并在 .env 中填入 PUBLIC_SUPABASE_URL、PUBLIC_SUPABASE_ANON_KEY 等变量。README 中的建表语句存在字段命名不一致(如 pubDaetime、slug、content 等),实际使用时应以项目代码中的查询为准并自行校正。
Astro后台博客
适合你的项目吗?
适用场景
- 希望用浏览器后台维护博客文章、不想每次改动都提交 Markdown 文件的个人博客
- 以 Astro Paper 为起点,需要在其上增加数据库驱动内容管理的项目
- 需要登录后才能发布、草稿对外不可见的轻量内容发布场景
- 使用 Supabase 作为后端,并希望复用其认证与行级安全能力的站点
适合人群
- 熟悉 Astro 与 Supabase 基本概念、愿意自行配置数据库和认证的开发者
- 需要博客前台与后台管理一体、且接受以 Supabase 作为内容存储的个人或小团队
- 希望基于 Astro Paper 主题做二次开发、增加自有管理功能的项目
上手与定制指南
结合仓库当前版本的说明,按下面的资料检查内容、配置与运行要求。
- 1
需要 Node.js 环境,克隆仓库后执行 npm install 安装依赖
- 2
在 Supabase 创建项目,按 README 的 SQL 建 blogs 表并启用行级安全策略;注意 README 中建表语句的字段名与示例插入语句不一致,需按实际代码校正
- 3
在 .env 中配置 PUBLIC_SUPABASE_URL、PUBLIC_SUPABASE_ANON_KEY,生产环境另需设置 SITE_URL
- 4
在 Supabase Authentication 中配置 Site URL 与重定向地址,并手动创建管理员用户后从 /admin/login 登录
- 5
部署时需在托管平台设置相同的环境变量,并同步更新 Supabase 中的站点地址
授权与来源资料
使用条件与限制
免费使用 · 保留许可声明本次收录的是公开仓库中采用 MIT 许可的免费版本;免费范围为该版本代码,不代表外部服务或第三方素材免费。
使用时需要遵守
- 允许免费使用、修改、商用和分发该版本代码。
- 分发代码副本或实质性部分时,保留原作者版权声明和完整 MIT 许可声明。
- 代码按现状提供;担保与责任限制以原许可证及适用法律为准。
额外费用与待核对事项
- 演示图片、字体、图标及其他第三方素材需按各自许可核对,不能仅凭代码的 MIT 许可判断。
- 域名、托管、数据库、支付或 AI 等外部服务可能另外收费。
- 使用前必须拥有 Supabase 账号,项目依赖该外部服务提供数据库与认证。
- 内容存储依赖 Supabase 数据库,无法脱离该外部服务独立运行。
- 后台登录使用 Supabase Auth,需依赖该外部认证服务。
- 必须自行申请并配置 Supabase 项目 URL 与 anon key 才能运行。
- 需在 Supabase 控制台手动配置认证站点地址与重定向。
- 管理员账号需在 Supabase 后台手动创建,无法仅在前端完成。
- 部署时必须在托管平台设置这些环境变量,否则站点无法正常读取数据。
查看原文依据
Permission is hereby granted, free of charge
许可证原文
- A Supabase account
README 原文
- **Database**: [Supabase](https://supabase.com/)
README 原文
- **Authentication**: Supabase Auth
README 原文
PUBLIC_SUPABASE_URL=https://your-project-id.supabase.co PUBLIC_SUPABASE_ANON_KEY=your-anon-key-here
README 原文
1. In your Supabase dashboard, go to **Authentication** > **Settings**
README 原文
- Go to your Supabase dashboard - Navigate to **Authentication** > **Users** - Click "Add user"
README 原文
https://github.com/Sagar-Shetty21/My-Notes/blob/main/LICENSEhttps://github.com/Sagar-Shetty21/My-Notes/blob/main/README.md- `PUBLIC_SUPABASE_URL`: Your Supabase project URL - `PUBLIC_SUPABASE_ANON_KEY`: Your Supabase anon key - `SITE_URL`: Your production domain
README 原文
DeepSeek 根据仓库许可证和 README 整理 ·2026-10-12。结果仅覆盖已读取资料,依赖、图片、字体及后续条款变更以各自原文为准。
项目核对记录与介绍依据
模板资料
- 来源平台
- GitHub
- 资料与维护参考分
- 资料较完整 · 79 / 100
- 技术栈
- Astro
- 网站类型
- 后台 · 博客
这个分数如何计算
本站按许可资料(最高30分)、演示链接(12分)、预览图(10分)、Star数(15分)、记录的维护时间(15分)、描述完整度(8分)、功能记录(5分)和分类资料(5分)计算。它不是代码、安全或性能测试,也不是 Google 评分;有链接不代表已实测可用。
这个项目需要核对什么
- 记录的仓库更新时间
- 2025-08-21
- 截图检查日期
- 2026-10-12
已收录演示链接。请用你的内容与屏幕尺寸检查;有演示不代表表单、认证或支付已经可用。
目录记录的主要技术栈是 Astro。请通过依赖清单和锁文件核对实际版本与托管要求。这些说明基于收录资料,不代表代码审计或部署实测。
查看具体选型方法 →介绍的制作与核对状态
介绍由 AI 辅助整理目录与仓库资料。仓库作者不等于这篇介绍的审核者。
审核声明: [email protected] · 2026-10-13
查看当时使用的来源资料
SHA-256: 1cb1a76c322ebc5d3f2c83df99e8b8d00f2c08c3ef5c0daafaf1c2dda17d86e2
2026-10-12T20:22:06.299Z
来源文件 / 仓库# 📓 MyNotes – An Astro Paper Fork with Admin Panel
MyNotes is a fork of the popular [Astro Paper](https://github.com/satnaing/astro-paper) theme, extended with a built-in admin panel to make blogging seamless.
It allows you to write, edit, and manage blog posts on the go without diving into markdown files or touching the codebase.
## ✨ Features
- **Dynamic Blog Management**: Fetch and display articles from Supabase database
- **Admin Authentication**: Secure login system using Supabase Auth
- **Live Preview Editor**: Real-time markdown editor with preview in admin dashboard
- **Responsive Design**: Built on the beautiful Astro Paper theme
- **Fast Performance**: Powered by Astro's static site generation
## 🚀 Tech Stack
- **Framework**: [Astro](https://astro.build/)
- **Theme**: [Astro Paper](https://github.com/satnaing/astro-paper)
- **Database**: [Supabase](https://supabase.com/)
- **Authentication**: Supabase Auth
- **Styling**: Tailwind CSS
## 📋 Prerequisites
Before you begin, ensure you have:
- Node.js (v18 or higher)
- npm or yarn package manager
- A Supabase account
## 🛠️ Setup Instructions
### 1. Clone and Install
```bash
git clone https://github.com/Sagar-Shetty21/My-Notes.git
cd My-Notes
npm install
```
### 2. Supabase Project Setup
#### Create a New Supabase Project
1. Go to [Supabase Dashboard](https://supabase.com/dashboard)
2. Click "New Project"
3. Choose your organization
4. Fill in project details:
- **Name**: MyNotes (or your preferred name)
- **Database Password**: Create a strong password
- **Region**: Choose closest to your location
5. Click "Create new project"
6. Wait for the project to be set up (usually 1-2 minutes)
#### Database Schema Setup
Navigate to the SQL Editor in your Supabase dashboard and run the following queries:
```sql
-- Create blogs table
CREATE TABLE blogs (
id UUID DEFAULT gen_random_uuid() PRIMARY KEY,
title VARCHAR(255) NOT NULL,
description TEXT,
body TEXT NOT NULL,
author VARCHAR(100) DEFAULT 'Admin',
pubDaetime TIMESTAMP WITH TIME ZONE DEFAULT NOW(),
modDatetime TIMESTAMP WITH TIME ZONE DEFAULT NOW(),
featured BOOLEAN DEFAULT FALSE,
draft BOOLEAN DEFAULT FALSE,
tags TEXT[],
ogImage VARCHAR(500),
canonicalURL VARCHAR(500),
hideEditPost BOOLEAN DEFAULT FALSE,
timezone VARCHAR(100),
collection VARCHAR(100)
);
-- Create RLS (Row Level Security) policies
ALTER TABLE blogs ENABLE ROW LEVEL SECURITY;
-- Policy to allow public read access to published blogs
CREATE POLICY "Public blogs are viewable by everyone" ON blogs
FOR SELECT USING (draft = FALSE);
-- Policy to allow authenticated users to manage all blogs
CREATE POLICY "Authenticated users can manage blogs" ON blogs
FOR ALL USING (auth.role() = 'authenticated');
-- Create indexes for better performance
CREATE INDEX idx_blogs_slug ON blogs(slug);
CREATE INDEX idx_blogs_pub_date ON blogs(pub_date DESC);
CREATE INDEX idx_blogs_featured ON blogs(featured) WHERE featured = TRUE;
-- Insert sample blog post
INSERT INTO blogs (title, slug, description, content, tags, featured) VALUES (
'Welcome to MyNotes',
'welcome-to-mynotes',
'Your personal publishing platform is ready!',
'# Welcome to MyNotes
This is your first blog post! You can edit this content from the admin dashboard.
## Features
- **Markdown Support**: Write in markdown and see live preview
- **Tag System**: Organize your posts with tags
- **Featured Posts**: Highlight important articles
- **Draft Mode**: Work on posts privately before publishing
## Getting Started
1. Login to the admin dashboard
2. Create your first post
3. Publish and share your thoughts with the world!
Happy writing! ✍️',
ARRAY['welcome', 'getting-started'],
true
);
```
#### Set up Authentication
1. In your Supabase dashboard, go to **Authentication** > **Settings**
2. Configure your site URL:
- **Site URL**: `http://localhost:4321` (for development)
- Add your production URL when deploying
3. (Optional) Configure additional auth providers if needed
### 3. Environment Variables
#### Get Supabase Credentials
1. In your Supabase dashboard, go to **Settings** > **API**
2. Copy the following values:
- **Project URL** (looks like: `https://your-project-id.supabase.co`)
- **anon public key** (starts with `eyJ`)
#### Create .env File
Create a `.env` file in your project root:
```env
# Supabase Configuration
PUBLIC_SUPABASE_URL=https://your-project-id.supabase.co
PUBLIC_SUPABASE_ANON_KEY=your-anon-key-here
# Optional: Add your site URL for production
SITE_URL=http://localhost:4321
```
**Important**:
- Replace `your-project-id` with your actual Supabase project ID
- Replace `your-anon-key-here` with your actual anon key
- Never commit your `.env` file to version control
- Add `.env` to your `.gitignore` file
### 4. Run the Application
```bash
# Development server
npm run dev
# Build for production
npm run build
# Preview production build
npm run preview
```
The app will be available at `http://localhost:4321`
## 🔐 Admin Access
### First Time Login
1. Go to `/admin/login` or `/admin
2. Since this is your first time, you'll need to create an admin account:
- Go to your Supabase dashboard
- Navigate to **Authentication** > **Users**
- Click "Add user"
- Enter email and temporary password
- The user will receive a confirmation email
3. Use these credentials to login to your admin dashboard
### Admin Dashboard Features
Once logged in, you can:
- **Create New Posts**: Use the live preview editor
- **Edit Existing Posts**: Modify any published or draft content
- **Manage Drafts**: Save work-in-progress posts
- **Set Featured Posts**: Highlight important articles
- **Organize with Tags**: Categorize your content
- **Real-time Preview**: See how your markdown renders instantly
## 📁 Project Structure
```bash
├── .astro/ # Astro build cache
├── .github/ # GitHub configuration (e.g., workflows)
├── .vercel/ # Vercel deployment config
├── dist/ # Production build output
├── node_modules/ # Project dependencies
├── public/ # Static assets
├── scripts/
│ └── syncFromSupabase.ts # Script to sync data from Supabase
├── src/
│ ├── assets/ # Static assets used in components/pages
│ ├── components/ # Reusable UI components
│ ├── data/
│ │ └── blog/
│ │ └── my-step-by-step-development-workflow.md
│ │ └── config.ts
│ ├── layouts/ # Layout components
│ │ ├── AboutLayout.astro
│ │ ├── Layout.astro
│ │ ├── Main.astro
│ │ └── PostDetails.astro
│ ├── lib/
│ │ └── supabaseClient.ts # Supabase client setup
│ ├── pages/
│ │ ├── admin/
│ │ │ ├── articles/
│ │ │ │ └── index.astro
│ │ │ ├── login/
│ │ │ │ └── index.astro
│ │ │ └── manage/
│ │ │ ├── index.astro
│ │ │ └── settings/
│ │ │ └── index.astro
│ │ ├── api/
│ │ │ ├── blog-files.ts
│ │ │ └── create-blog.ts
│ │ ├── archives/
│ │ ├── posts/
│ │ ├── tags/
│ │ ├── 404.astro
│ │ ├── about.md
│ │ ├── index.astro
│ │ ├── og.png.ts
│ │ ├── robots.txt.ts
│ │ ├── rss.xml.ts
│ │ └── search.astro
│ ├── styles/
│ │ ├── global.css
│ │ └── typography.css
│ ├── types/
│ │ └── astro.d.ts
│ └── utils/
│ ├── config.ts
│ ├── constants.ts
│ ├── content.config.ts
│ ├── middleware.ts
│ ├── transformers/
│ │ ├── generateOgImages.ts
│ │ ├── getPath.ts
│ │ ├── getPostsByGroupCondition.ts
│ │ ├── getPostsByTag.ts
│ │ ├── getSortedPosts.ts
│ │ ├── getUniqueTags.ts
│ │ ├── loadGoogleFont.ts
│ │ ├── postFilter.ts
│ │ └── slugify.ts
│ └── og-templates/
├── .env # Environment variables
├── .gitignore
├── astro.config.ts # Astro config
├── tsconfig.json # TypeScript config
├── eslint.config.js
├── Dockerfile
├── docker-compose.yml
├── README.md
├── package.json
└── pnpm-lock.yaml
```
## 🚀 Deployment
### Environment Variables for Production
When deploying, make sure to set these environment variables:
- `PUBLIC_SUPABASE_URL`: Your Supabase project URL
- `PUBLIC_SUPABASE_ANON_KEY`: Your Supabase anon key
- `SITE_URL`: Your production domain
### Update Supabase Settings
1. In Supabase dashboard, go to **Authentication** > **Settings**
2. Update **Site URL** to your production domain
3. Add your production domain to **Redirect URLs**
## 🛡️ Security Notes
- The anon key is safe to use in client-side code
- Row Level Security (RLS) is enabled to protect your data
- Only authenticated users can create/edit posts
- Published posts are publicly readable
## 🤝 Contributing
1. Fork the repository
2. Create a feature branch (`git checkout -b feature/amazing-feature`)
3. Commit your changes (`git commit -m 'Add amazing feature'`)
4. Push to the branch (`git push origin feature/amazing-feature`)
5. Open a Pull Request
## 📝 License
This project is licensed under the MIT License - see the [LICENSE](LICENSE) file for details.
## 🙏 Acknowledgments
- [Astro Paper Theme](https://github.com/satnaing/astro-paper) by Sat Naing
- [Astro](https://astro.build/) for the amazing framework
- [Supabase](https://supabase.com/) for backend services
---
**Happy blogging with MyNotes! 🎉**
看看同类模板
对比同技术栈与用途的模板,找到更适合的视觉与内容结构。
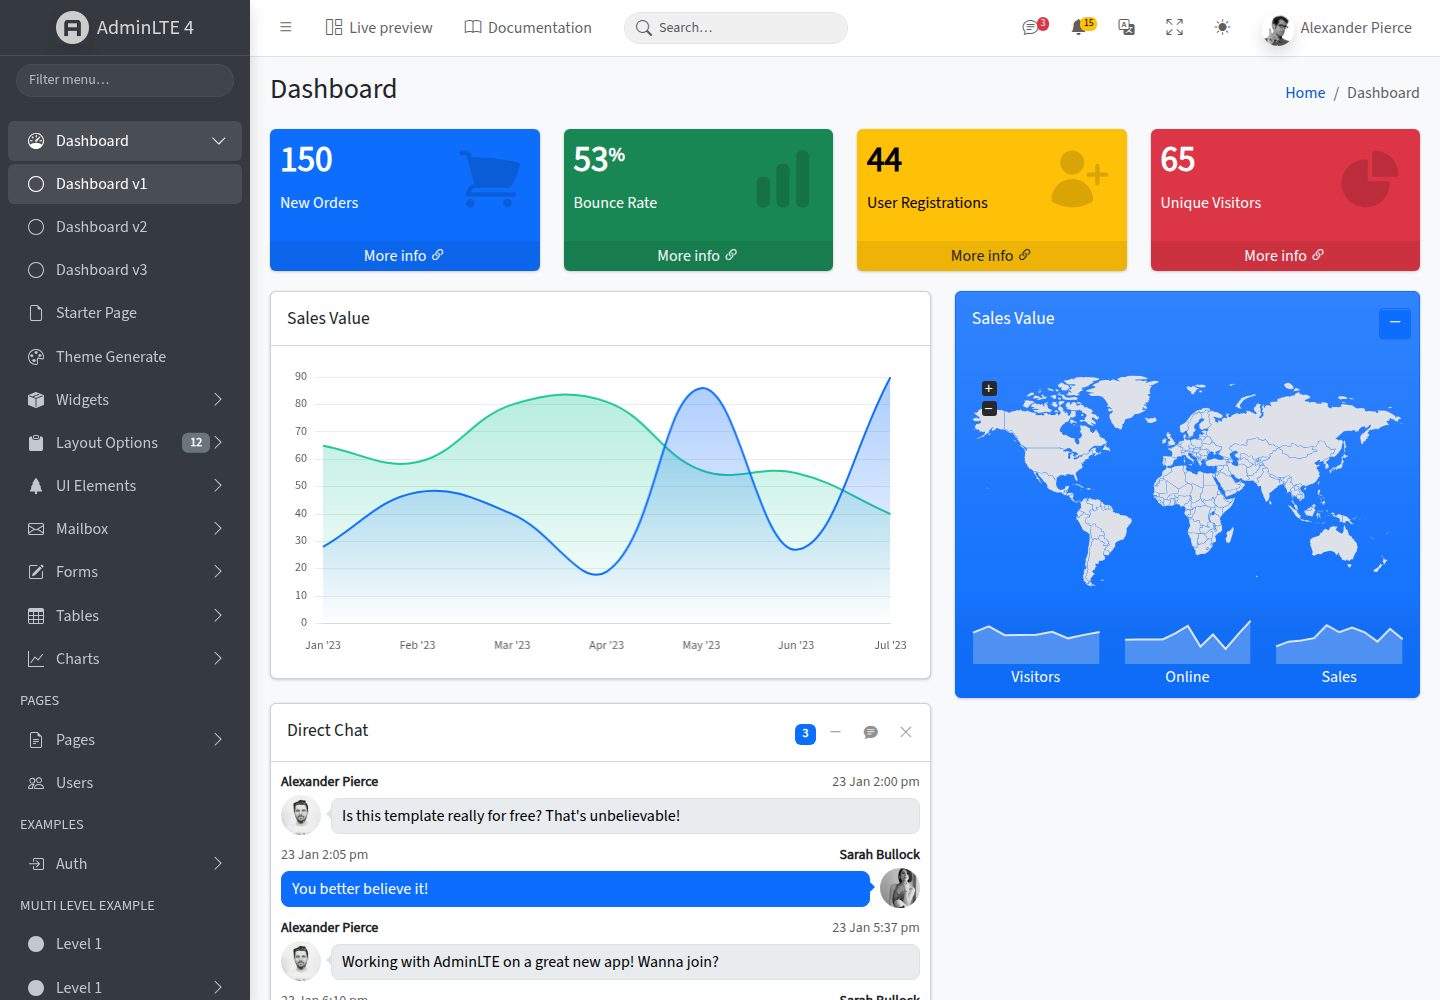
AdminLTE
AdminLTE - Free admin dashboard template based on Bootstrap 5
Astro · 后台
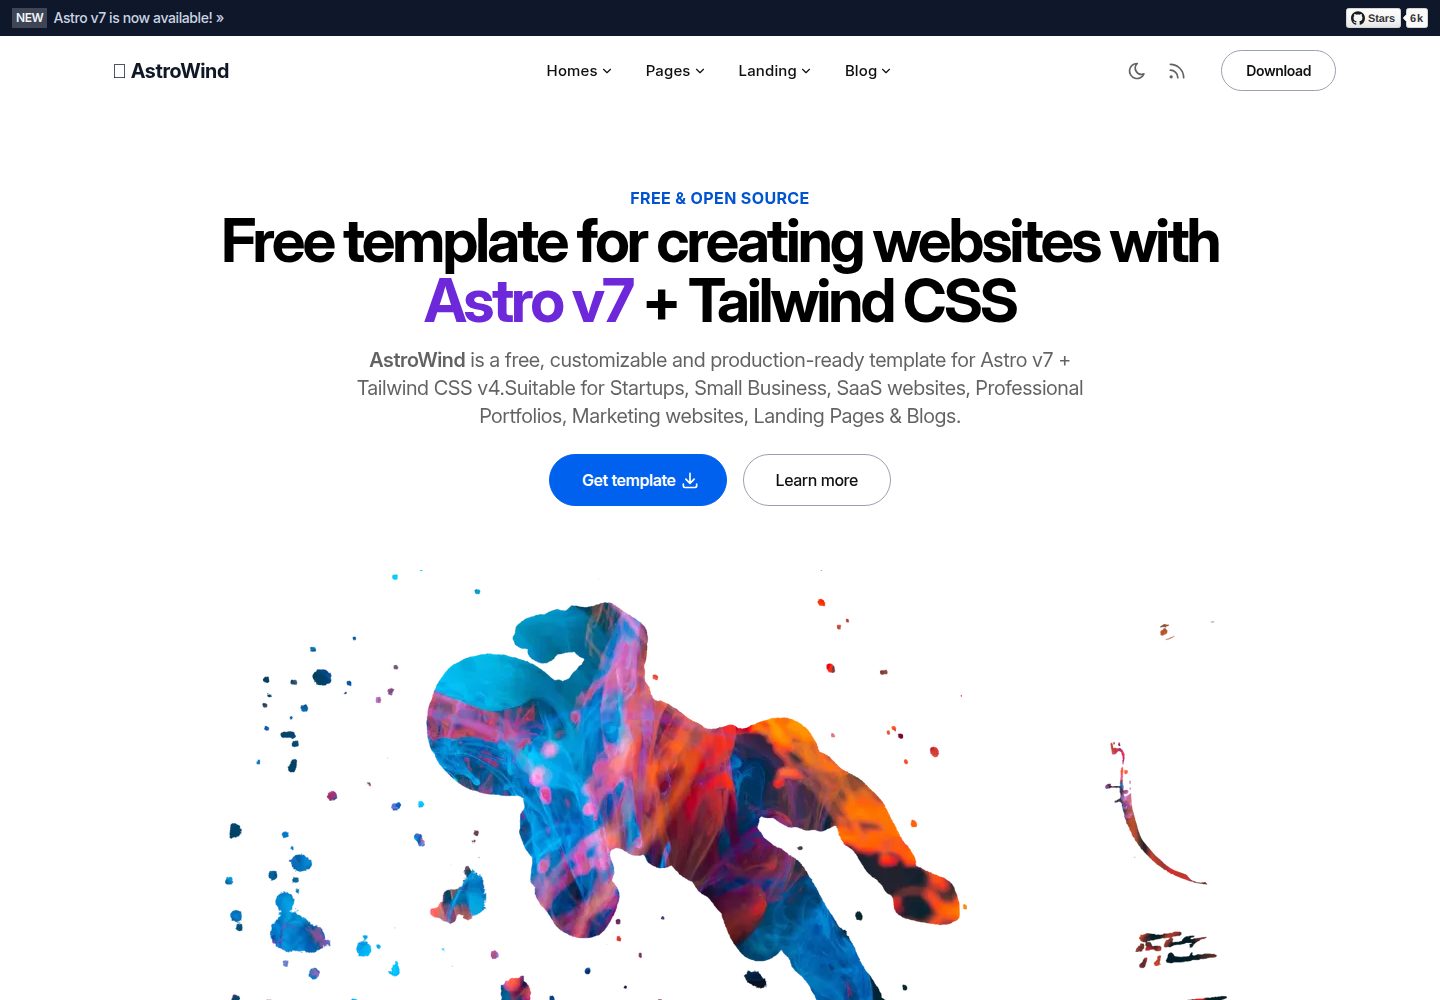
astrowind
⭕️ AstroWind: A free template using Astro v7 and Tailwind CSS v4. Astro starter theme.
Astro · 博客
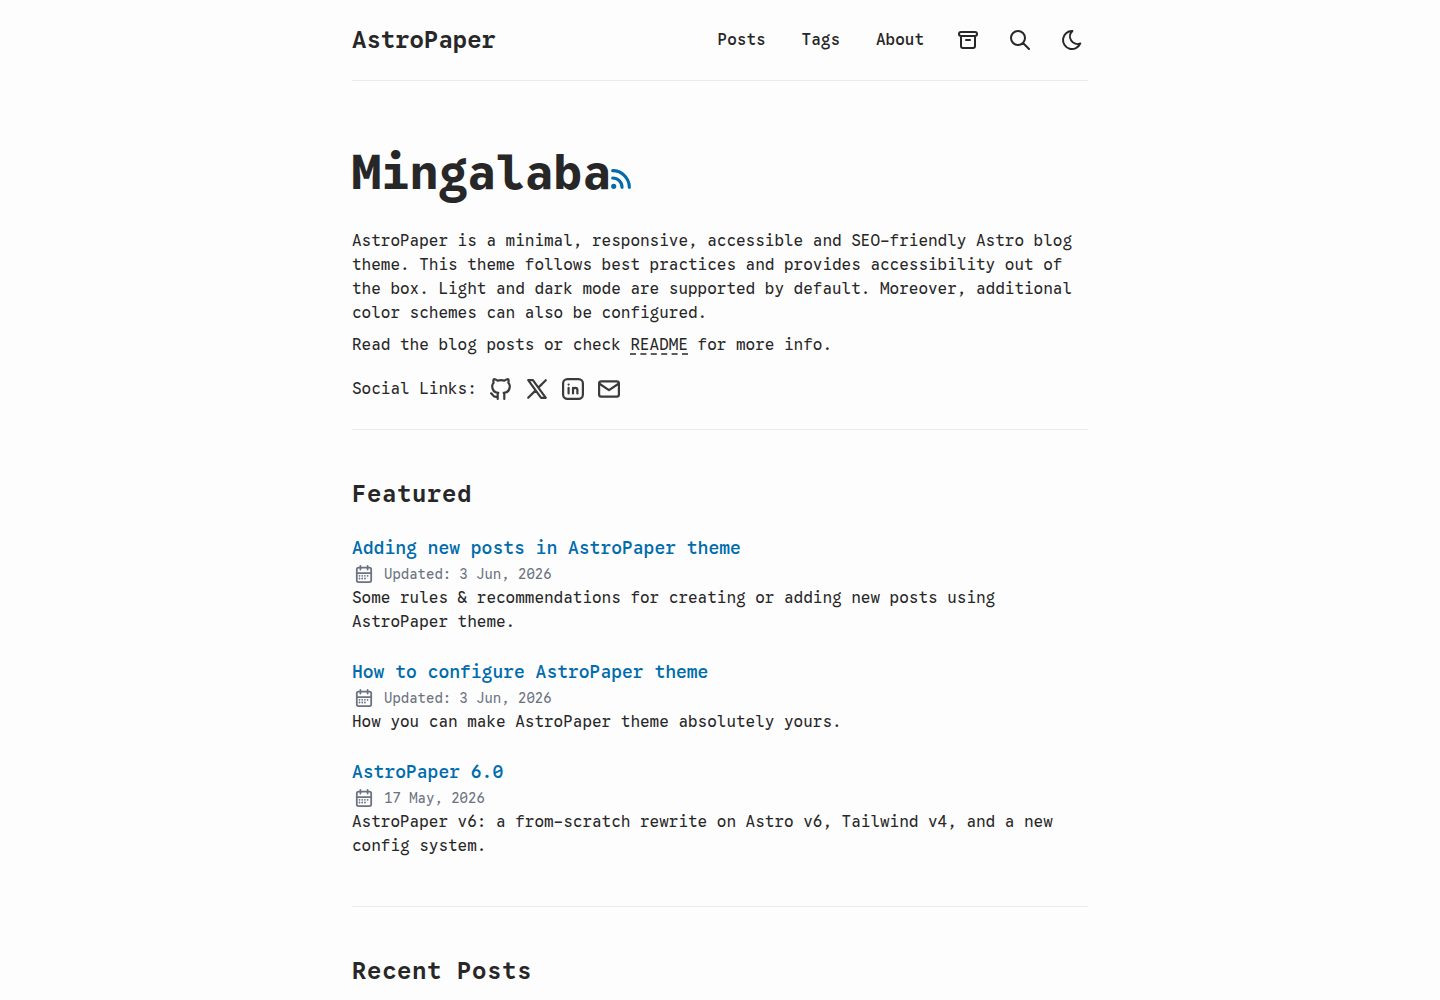
astro-paper
A minimal, accessible and SEO-friendly Astro blog theme.
Astro · 博客
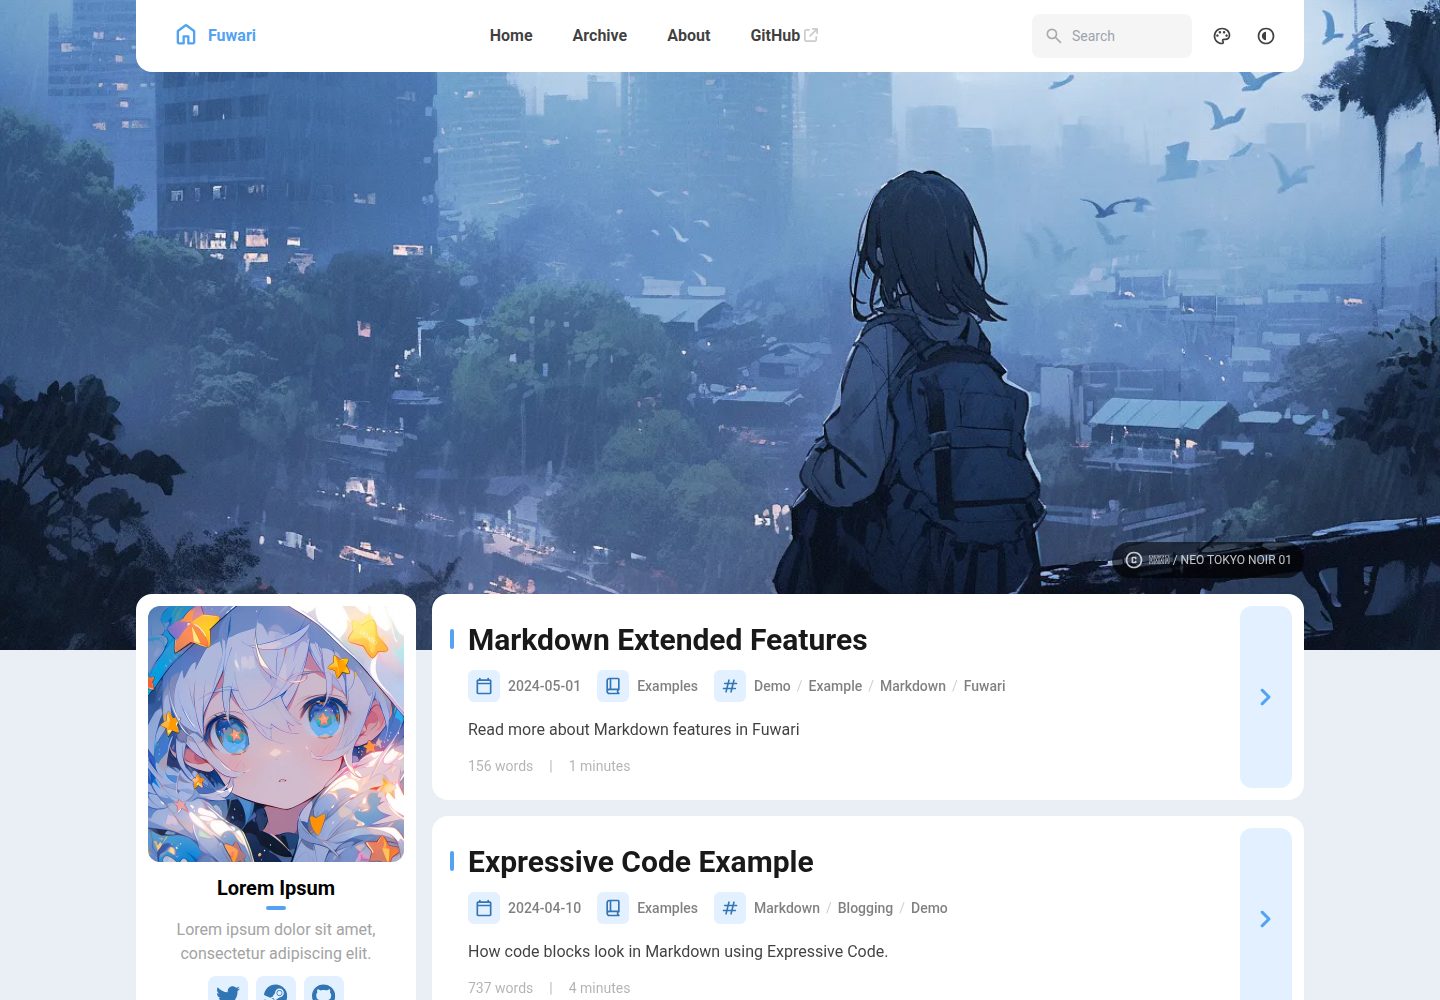
fuwari
✨A static blog template built with Astro.
Astro · 博客
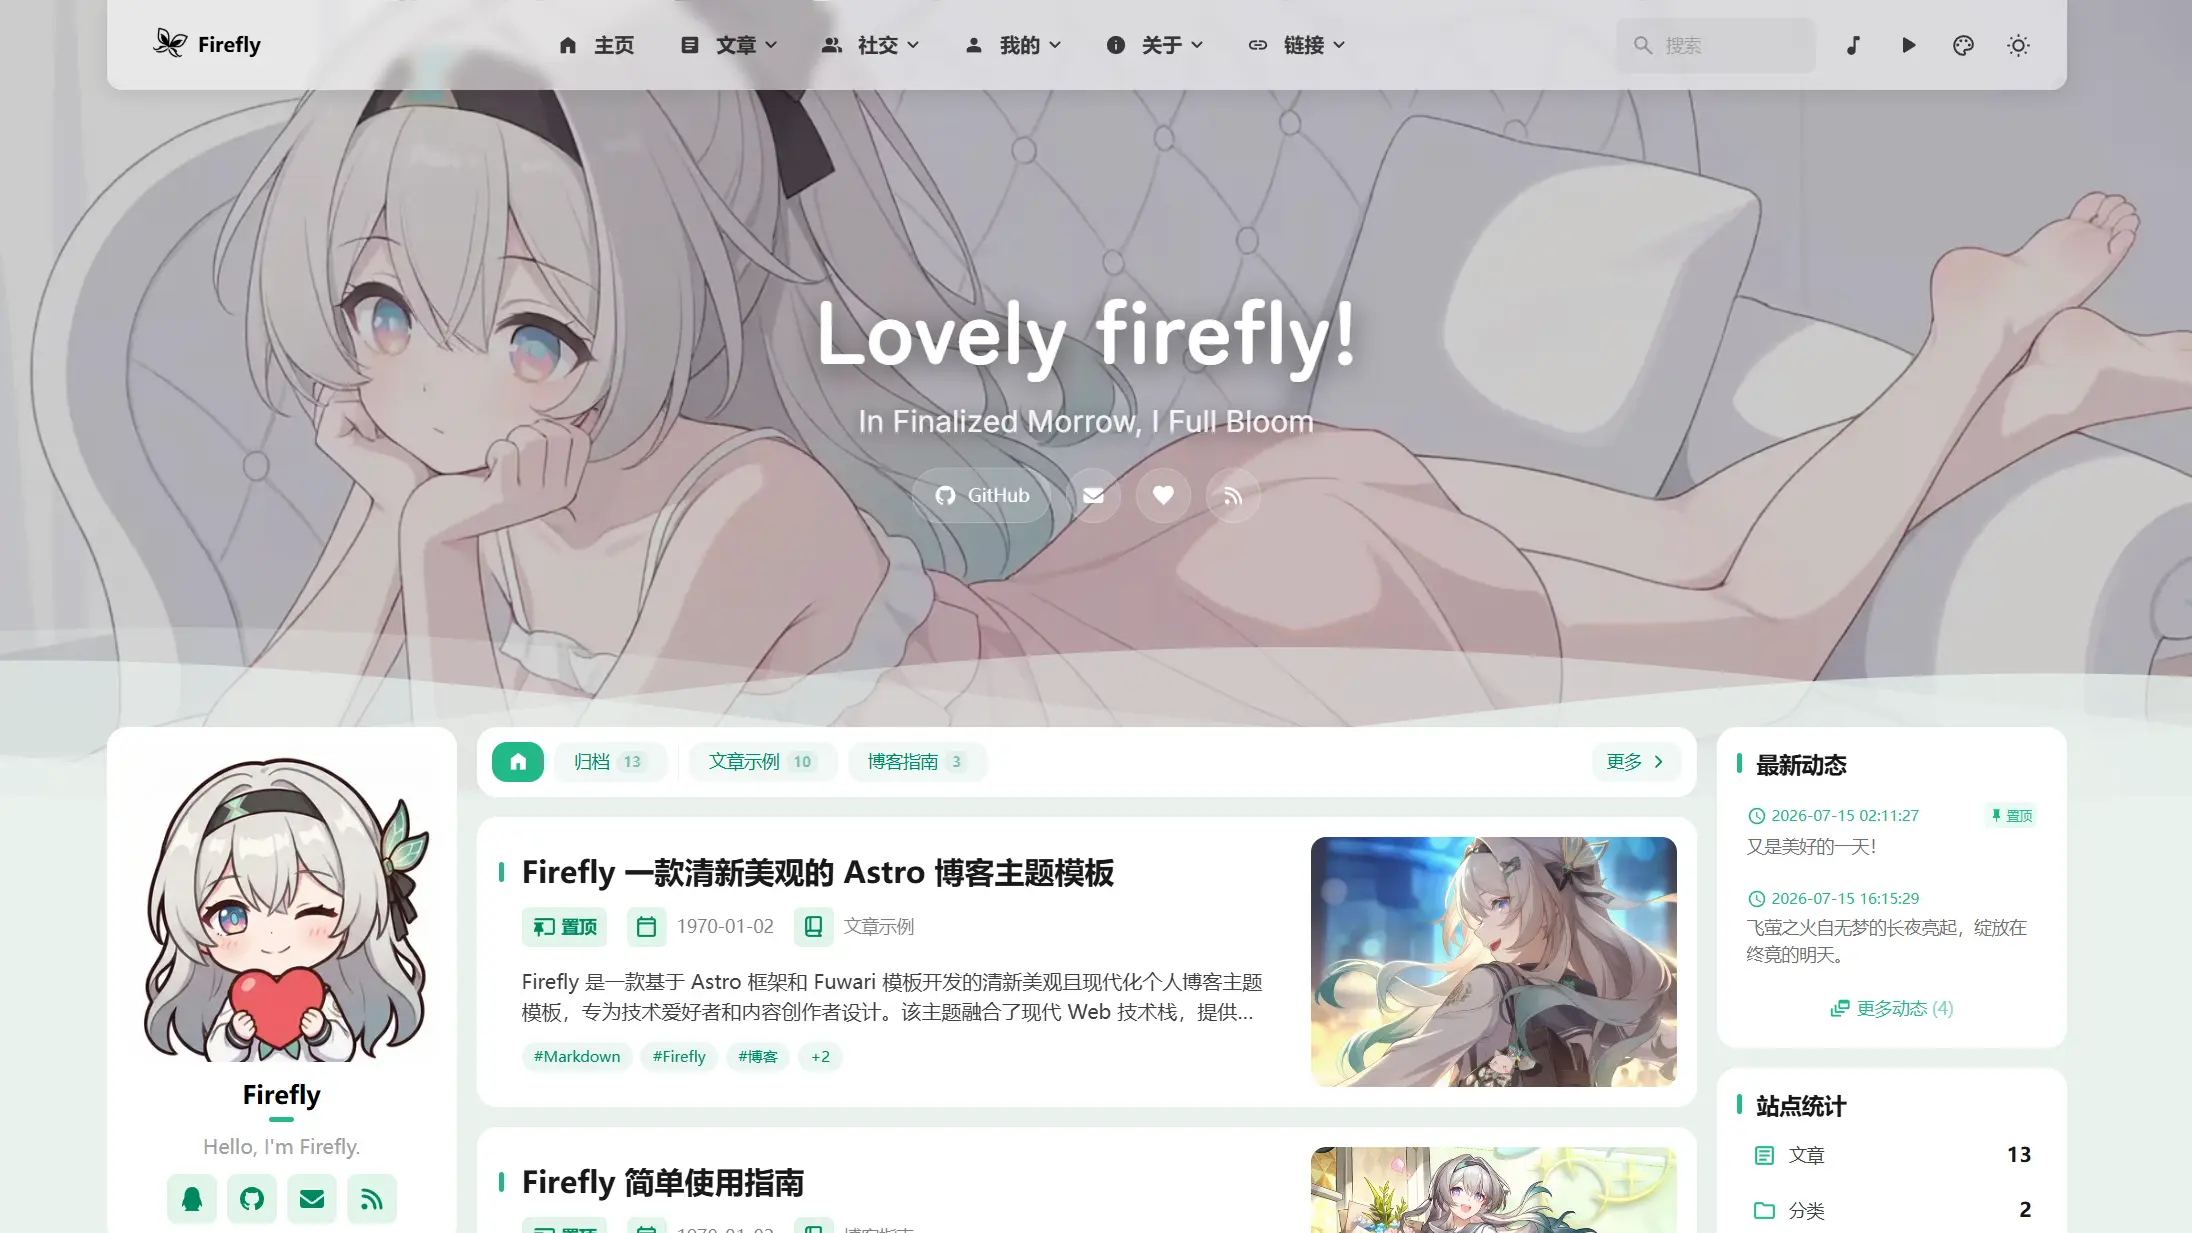
Firefly
Firefly 是一款基于 Astro 的静态博客主题,由 CuteLeaf 在 saicaca 的 Fuwari 模板基础上二次开发,主打清新美观的视觉风格。
Astro · 博客
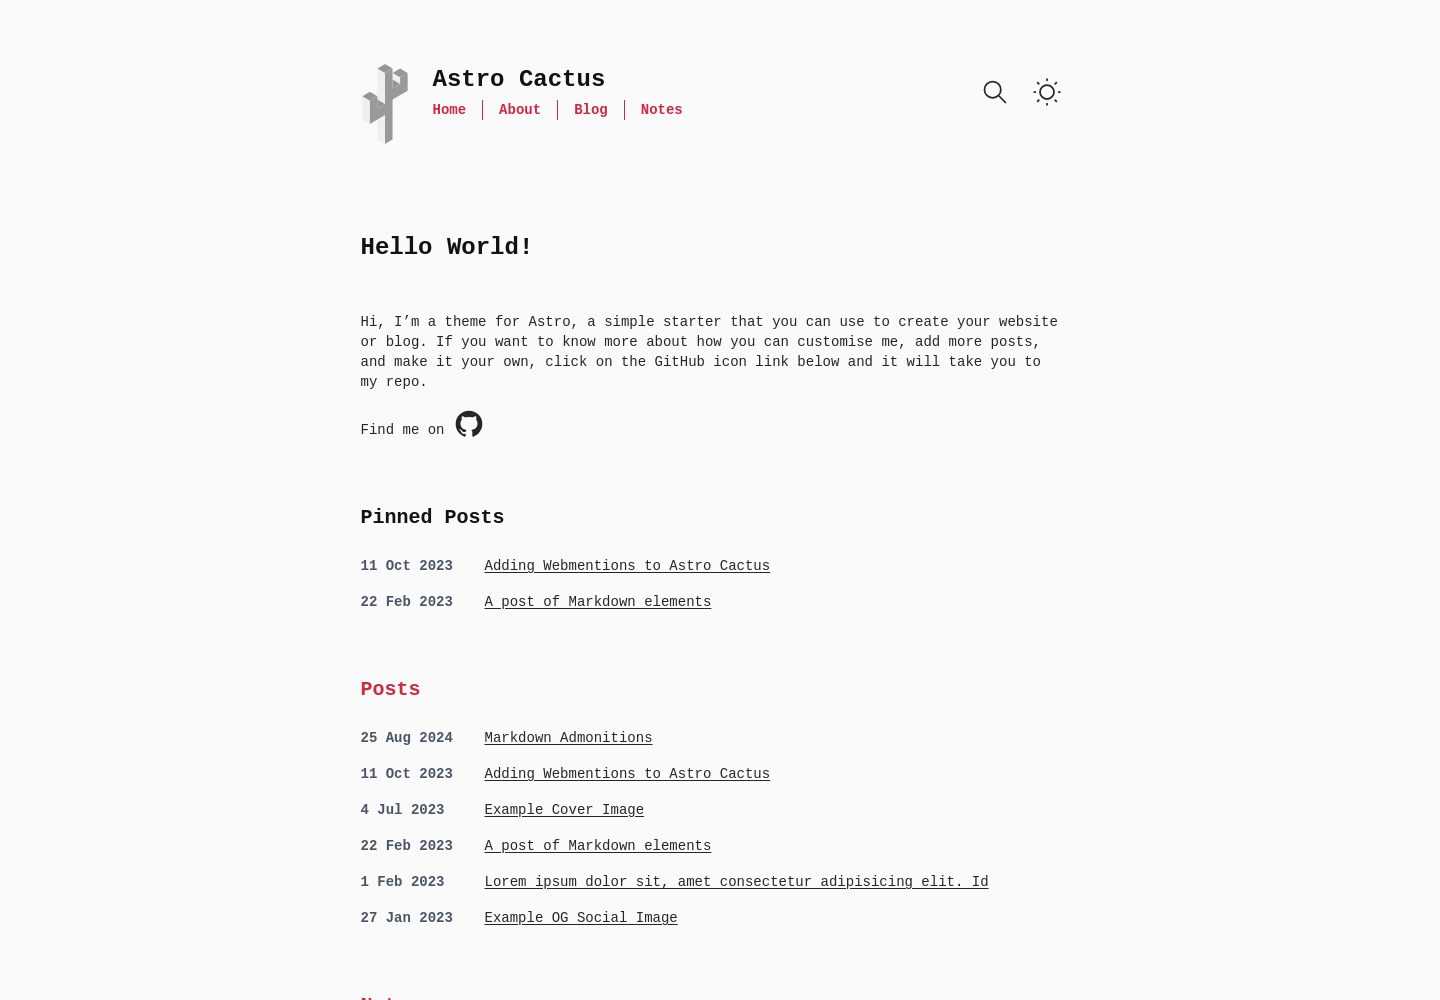
astro-theme-cactus
A simple Astro theme. Use it to create your blog or website.
Astro · 作品集