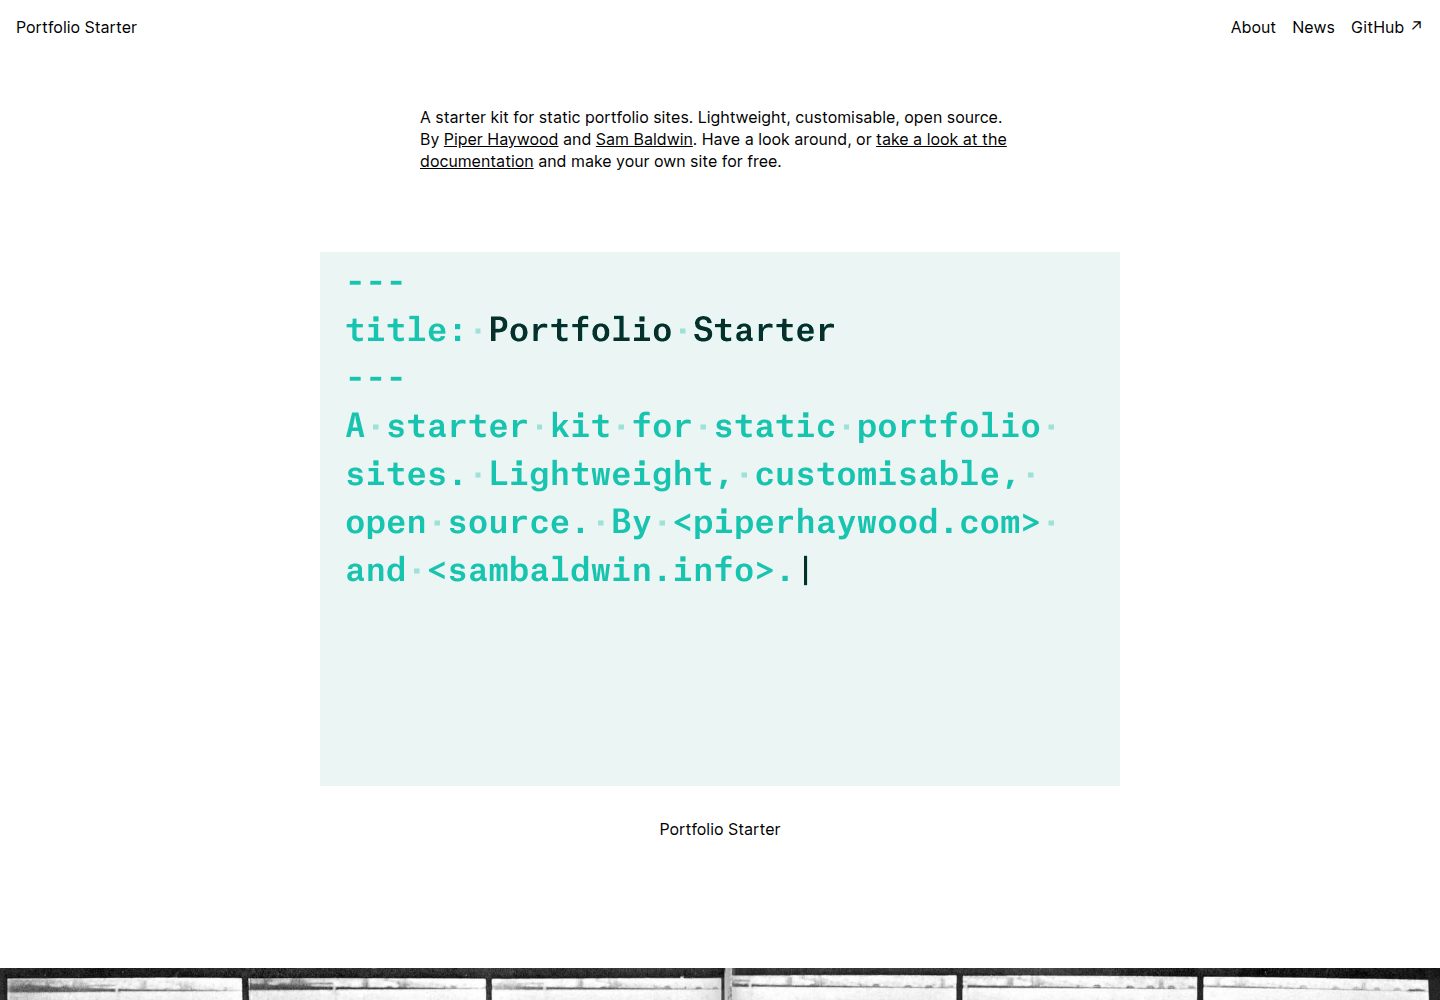
Generates a static site with Eleventy, building output to the _site directory
EleventyPortfolioStarter
portfolio-starter — Eleventy Portfolio Template
By sb-ph
An Eleventy-based static portfolio starter for non-programmers such as designers, illustrators, and architects, with content edited in Markdown and support for no-code deployment.
Explore the design
Compare the page layouts and mobile experience. Open any screenshot for a closer look.
Desktop homepage1 / 3
Desktop captureTop of page
Actual screenshot captured by the server browser.
All pages & views 3
Screenshots show visual appearance; interactive behavior may differ.
Recorded 2026-09-30View source
What stands out
A quick read of the recorded project description.
Content is written in Markdown and YAML frontmatter, centralized in the /content directory
Built-in support for posts, projects, pages, a single-level menu, and RSS output
Provides a command-line-free option to edit content in the GitHub web interface and deploy with Netlify or ZEIT
Global data (site title, language, footer, URL, author) is centralized in /content/_data/global.json
Template Details
Portfolio Starter is a lightweight static portfolio starter built with Eleventy, maintained by sb-ph, and released under the MIT license. It targets individuals such as designers, illustrators, and architects who want to showcase their work and updates. The intended users may not be familiar with programming but are willing to write in Markdown and follow the documentation.
Site content is centralized in the /content directory, containing global data files, Markdown pages, and media files. It includes built-in support for posts, projects, pages, a single-level menu, and RSS output. The README notes that the project is still a "WORK IN PROGRESS," and some feature descriptions carry TODO markers.
For deployment, two paths are provided: one uses the GitHub web interface with Netlify or ZEIT for command-line-free deployment and content editing; the other uses the command line, requires Node.js 8 or higher, builds to the _site directory via npx @11ty/eleventy, or starts a local development server with --serve. Custom domains, updates, and backups must be handled manually according to the documentation.
EleventyPortfolioStarter
Is it right for your project?
Use Cases
- Designers, illustrators, or architects building a personal portfolio site
- Users unfamiliar with the command line who want to maintain content through the GitHub web interface
- Static personal sites that need posts, projects, standalone pages, and RSS output
- Beginners willing to write in Markdown and follow the documentation to adjust the template themselves
Suitable For
- Individual creators who want to showcase their work and updates as a static site
- Users who accept editing content in Markdown and do not require a visual admin panel
- Users willing to manually complete deployment, domain configuration, and version updates according to the documentation
- Developers who need a starter template that can be freely modified and distributed under the MIT license
Getting started & customization
Use these recorded setup notes alongside the repository instructions for your chosen version.
- 1
Command-line-free approach: register a GitHub account, clone the repository via the deploy button for Netlify or ZEIT and connect the hosting service, then edit files under /content in the GitHub web interface.
- 2
Command-line approach: requires Node.js 8 or higher, run git clone and npm install, build with npx @11ty/eleventy, or preview locally at localhost:8080 with npx @11ty/eleventy --serve.
- 3
On first use, modify the site title, language, footer, URL, and author information in /content/_data/global.json.
- 4
When updating the template, it is recommended to manually replace folders and files other than /content, and to back up the repository in advance.
- 5
Third-party assets such as demo images, fonts, and icons must be checked separately under their respective licenses; the MIT license for the code does not cover these assets.
License & source material
Usage conditions & limitations
Free to use · keep license noticeThis entry covers the free version of the public repository under the MIT license; the free scope applies to that version's code and does not mean external services or third-party assets are free.
Must comply with when using
- The code of this version may be used, modified, used commercially, and distributed free of charge.
- When distributing copies or substantial portions of the code, retain the original author's copyright notice and the full MIT license notice.
- The code is provided as is; warranties and limitations of liability are governed by the original license and applicable law.
Additional costs & items to verify
- Using the command-line-free deployment path requires registering a GitHub account; a free personal account is sufficient, but the account is required.
- Command-line-free deployment relies on third-party static hosting services such as Netlify or ZEIT, which require separate account registration; the README only states that they offer free tiers and does not guarantee long-term free availability or sufficient quotas.
- The command-line approach requires Node.js 8 or higher installed locally and uses npm to install dependencies.
- Using a custom domain requires configuring DNS yourself according to the hosting provider's documentation; this is an additional step and may involve external costs such as domain registration.
- The author offers paid or separately negotiated customization assistance as an optional extra service; this does not affect the free use of the template itself.
- Demo images, fonts, icons, and other third-party assets must be checked under their respective licenses and cannot be judged solely by the code's MIT license.
- External services such as domains, hosting, databases, payments, or AI may incur additional charges.
View Original Text Basis
Permission is hereby granted, free of charge
Original License Text
The free individual account is sufficient.
Original README
Netlify](https://www.netlify.com/) and [ZEIT](https://zeit.co/) are hosting providers that offer generous free tiers
Original README
you have version 8 or higher of Node.js installed on your computer
Original README
If you want to use your own domain, you should follow their instructions to set this up.
Original README
https://github.com/sb-ph/portfolio-starter/blob/master/LICENSEhttps://github.com/sb-ph/portfolio-starter/blob/master/README.mdIf you’re interested in our help making some modifications, just [get in touch](mailto:[email protected]) and we’ll discuss!
Original README
Compiled by DeepSeek based on repository license and README ·2026-10-01. Results only cover the materials read; dependencies, images, fonts, and subsequent term changes are subject to their respective original texts.
Project checks & description sources
Template Information
- Source platforms
- GitHub
- Documentation and maintenance reference score
- More documented · 77 / 100
- Technologies
- Eleventy
- Website type
- Portfolio · Starter
How this score is calculated
Our heuristic uses license records (up to 30), a demo link (12), a preview (10), stars (15), recorded maintenance (15), description completeness (8), feature records (5) and classification data (5). It is not a code, security or performance test, or a Google score. A link does not establish tested functionality.
What to verify for this project
- Repository update recorded
- 2021-05-11
- Screenshot last checked
- 2026-10-01
A demo link is listed. Check it with your own content and viewport sizes; its presence does not confirm that forms, authentication or payments work.
The catalog identifies Eleventy as the primary stack. Check the actual dependency manifest and lockfile for versions and hosting requirements. These notes use recorded metadata, not a code audit or a deployment test.
Use a selection guide →How this description was prepared
AI-assisted description based on catalog records and repository material. Repository authors are not automatically the reviewers of this description.
Automatically checked against source and license rules; no manual editorial review.
Inspect the recorded source material
SHA-256: c366f51259d80e655909214a26679eb7275a3114ec569bb5efe9fc60c8713c46
2026-10-01T14:43:59.262Z
Source file / repository<aside>🚧 WORK IN PROGRESS</aside>
# 
This is a lightweight portfolio starterkit built with [Eleventy](https://www.11ty.dev/). It is geared towards designers, illustrators, architects, and any other individuals who are interested in sharing their work and activity.
The intended user may not know how to code but is interested in the tech behind their website, is willing to write in [Markdown](https://daringfireball.net/projects/markdown/), and is happy to follow along with this documentation.
Visit [portfolio-starter.sb-ph.com](https://portfolio-starter.sb-ph.com/) to check it out. The content and code in this repository drives the demo site.
- [Features](#features)
- [No-code setup](#no-code-setup)
- [1. Get a GitHub account](#1-get-a-github-account)
- [2. Get an account with a static hosting provider](#2-get-an-account-with-a-static-hosting-provider)
- [3. Deploy your website](#3-deploy-your-website)
- [4. Edit content in GitHub](#4-edit-content-in-github)
- [Command line setup](#command-line-setup)
- [1. Set up repo locally and on GitHub](#1-set-up-your-repository)
- [2. Build or serve your website](#2-build-or-serve-your-website)
- [3. Deploy your website](#3-deploy-your-website)
- [4. Edit content locally](#4-edit-content-locally)
- [Using a custom domain](#using-a-custom-domain)
- [Updates and backups](#updates-and-backup)
- [Content reference](#content-reference)
- [Global data](#global-data)
- [Markdown files and YAML frontmatter](#markdown-files-and-yaml-frontmatter)
- [Basic properties](#basic-properties)
- [Pages](#pages)
- [Posts](#posts)
- [Projects](#projects)
- [Homepage](#homepage)
- [Blog page](#blog-page)
- [Error page](#error-page)
- [RSS feed](#rss-feed)
- [Media](#media)
- [Altering and extending your site](#altering-and-extending-your-site)
## Features
- Understated design with an eye towards accessibility [TODO]
- A deliberately basic codebase that encourages tinkering and customisation even for people unfamiliar with code
- Generates a static site; static sites tend to load a lot faster than database-driven websites and can be hosted for free
- Supports posts, projects, pages, a one-level menu, and RSS out-of-the-box
- Command line not required; you don’t have to use a code editor or the command line to edit or even deploy this website
## No-code setup
“No-code” is a _little_ bit of a misnomer. Your content files are technically written in code, but it is a very readable syntax called Markdown (more on this later). What we mean by “no-code” is that you won’t have to touch the command line, Git, or open a code editor on your computer.
### 1. Get a GitHub account
GitHub is a platform that stores code. Your website code and content are going to live on GitHub. If you have an account already, go ahead and log in. If not, [sign up for an account](https://github.com/join). The free individual account is sufficient.
### 2. Get an account with a static hosting provider
[Netlify](https://www.netlify.com/) and [ZEIT](https://zeit.co/) are hosting providers that offer generous free tiers for people with static websites such as this. Netlify is perhaps a _tiny_ bit more straightforward for the following steps and seems to be used by more Eleventy users, but they are both solid platforms. If you have an account with either of these platforms already, log in. If you don’t, sign up for one.
### 3. Deploy your website
By clicking one of the buttons below, you will clone this repository (i.e. create a duplicate version that lives in your own GitHub account) and then deploy this new website to your static hosting.
Before proceeding, decide on a name for your repository. It should be something that is similar to the name of your site, but it should only include lowercase letters, numbers, and dashes. For example, the name of this repository is `portfolio-starter`.
**If you have a Netlify account**, click this button and follow Netlify’s simple instructions to connect Netlify and GitHub:
[](https://app.netlify.com/start/deploy?repository=https://github.com/sb-ph/portfolio-starter)
**If you have a ZEIT account**, click the button below and then follow Zeit’s instructions:
[](https://zeit.co/import/project?template=https://github.com/sb-ph/portfolio-starter)
Zeit’s instructions will walk you through how to install Zeit Now for GitHub so that it can create a repository for you and can deploy your changes. Give permission to all repositories when installing Zeit Now. Zeit should auto-detect that you are using Eleventy with settings as follows (you don’t need to worry about the development command):
Build command: `npx @11ty/eleventy`
Output directory: `_site`
**When you have finished following the instructions above for Netlify or Zeit**, you will be redirected to your website dashboard. This displays your default subdomain and other important information about your site. You’ll also receive some emails letting you know that the services are connected.
Zeit allows you to select the visibility of your repository when you set it up. Netlify, on the other hand, automatically creates a public repository. See the [GitHub documentation](https://help.github.com/en/github/administering-a-repository/setting-repository-visibility) if you want to adjust the visibility of your repository.
### 4. Edit content in GitHub
To edit or add content without the command line, you need to use GitHub’s interface to navigate your files within the [`/content`](/content) folder in your repository. See the [content reference](#content-reference) to learn more about the structure of the `/content` folder and each of the files within it, particularly the [global data](#global-data) file that includes your website title and URL.
To edit or delete an existing file, you must open the relevant file in GitHub and then click either the Edit button (the button with the pencil icon) or the Delete button (the button with the bin) in the upper-right corner above the page contents.
If you want to add a new page, you must navigate to the [`posts`](/content/posts), [`projects`](/content/projects), or [`pages`](/content/pages) folder depending on what you want to add and then click the “Create new file” button near the top of the page. This will open a new editor page where you can add your filename and file contents. Since all text content is written in Markdown, the filename must end in `md` (i.e. `my-post-name.md`).
If you want to add media, you must navigate to the [`media`](/content/media) folder and then click the “Upload files” button near the top of the page. This will give you an area to upload one or more files. See the [media guidance](#media) for tips on file types and sizes.
To save edits or additions made in GitHub, you must commit your changes using GitHub’s interface at the base of the page. If you hooked up Netlify or ZEIT in the previous step, a commit will also tell GitHub to automatically deploy your changes. For more on what a commit is, see the [GitHub Glossary](https://help.github.com/en/github/getting-started-with-github/github-glossary). When you commit an edit or an addition directly in GitHub, you can use the default commit message that is pre-filled and should commit directly to the `master` branch (the default setting).
## Command line setup
The command line setup instructions assume that you have familiarity with the command line, that you have version 8 or higher of Node.js installed on your computer, and that you have a GitHub account.
### 1. Set up your repository
Clone repository locally into a named project folder by running `git clone https://github.com/sb-ph/portfolio-starter.git my-website` and then change to the new project folder by running `cd my-website`. Run `npm install` to install the dependencies including Eleventy.
Run `rm -rf .git` to remove the Git history for a fresh start, and then run `git init` to initialise a new git repo. Commit all of your files to create a new `master` branch, and then [add your project to GitHub using the command line](https://help.github.com/en/github/importing-your-projects-to-github/adding-an-existing-project-to-github-using-the-command-line).
### 2. Build or serve your website
To build the website in to the gitignored `/_site` directory, run `npx @11ty/eleventy`. To spin up a server for local development or content editing, run `npx @11ty/eleventy --serve`. This will make your site available at <http://localhost:8080>, and the site will automatically reload when you make any changes.
### 3. Deploy your website
If you want to use Netlify or ZEIT, follow their documentation to get your repository hooked up to your hosting account for continuous deployment. If you want to use another hosting provider, you can find your static files in the `/_site` directory after you generate a build.
### 4. Edit content locally
To edit content locally, spin up a server by running `npx @11ty/eleventy --serve` and then adjust the Markdown and JSON files within the `/content` directory. If your site is hooked up to continuous deployment, make sure you commit your changes to the right branch (probably `master`) otherwise they will not be deployed.
## Using a custom domain
Netlify and ZEIT give you a default subdomain automatically when you deploy your website, so this is an optional step. If you want to use your own domain, you should follow their instructions to set this up. [Read more about custom domains on ZEIT](https://zeit.co/docs/v2/custom-domains), or [read more about custom domains on Netlify](https://docs.netlify.com/domains-https/custom-domains/).
Both of these guides will walk you through how to set up your domain’s Domain Name System (DNS). Note that **DNS can be delicate.** The DNS records for your domain tell browsers where to find your website and tell email servers how to direct emails to you. Be sure to write down any existing DNS records before changing anything.
If you repoint the nameservers as part of the custom domain setup process and are already using your domain for email, you must add your MX records and any other records related to email to your new hosting provider _before_ you repoint the nameservers. If you do not, your email may go down.
## Updates and backups
If you’re on an older version of Portfolio Starter and want to update it to a newer version, we recommend doing this manually by replacing all of the folders and files _except_ for the `/content` folder. You should back up your website before making any updates or major changes. Visit your repository homepage and click the green “Clone or download” button to download a zipped file of the entire repository, then store it somewhere safe.
## Content reference
All of the content lives in the [`/content`](/content) folder. By default, Portfolio Starter is filled with the content in use on the [demo site](https://portfolio-starter.sb-ph.com/).
The content includes the [global data](#global-data), [Markdown files for each page](#markdown-files-and-yaml-frontmatter), and [media](#media). It is important to format and organise each of these files in a particular way so that your site deploys without errors and looks as expected.
### Global data
Certain metadata such as the site title and URL are used throughout the website. All of this global data is contained in the [`/content/_data/global.json`](/content/_data/global.json) file.
The details in this file should be set when the website is first set up and then likely will not be touched again unless the website is moved or the domain changes. This is an example of the `global.json` file:
```json
{
"title": "Tortor Parturient Ridiculus",
"lang": "en",
"footer": "(c) Jane Doe, 2020",
"url": "https://tpr.com",
"author": {
"name": "Jane Doe",
"email": "[email protected]"
}
}
```
This is the only piece of content that must be written in JSON, a text format that is used to structure data. JSON syntax is _very_ strict. All keys (i.e. `title`) and all strings (i.e. `My website`) are enclosed in double quotes, and all properties (i.e. `"title": "My website"`) are separated by commas except for the last property. All JSON objects are enclosed in curly brackets `{}`. **Incorrect syntax in this file will result in an error, meaning your changes will not be deployed.**
These are the properties in more detail.
| Key | Format | Default | Description |
| --------- | ----------- | -------------- | ------------------------------------------------------------------------------------------------------------------------------------- |
| `author` | JSON object | - | A JSON object that includes the name and email address of the website author |
| `footer` | Markdown | a short credit | The footer text written in Markdown |
| `lang`\* | text | `en` | The [IANA language tag](https://www.w3.org/International/questions/qa-html-language-declarations) that declares your website language |
| `title`\* | text | - | The title of your website |
| `url`\* | url | - | Your website URL |
The footer includes a short credit by default. Feel free to replace it with whatever text works best for you. This might include a copyright notice, a colophon, contact details or other salient information. The footer does not support line breaks.
### Markdown files and YAML frontmatter
All of the main content pages including the [posts](#posts), [projects](#projects), [pages](#pages), [homepage](#homepage), [404 error page](#error), [blog](#blog-page), and [RSS feed](#rss-feed) are written in [Markdown](https://daringfireball.net/projects/markdown/). Markdown allows you to write using an easy-to-read, easy-to-write plain text format that can be converted to valid HTML. Visit the [markdown-it](https://markdown-it.github.io/) website for a full list of formatting options including lists, links, headings, and more. You can also take a look at the source for this README file; it’s written in Markdown too!
All Markdown files end in the `.md` extension, and this starterkit uses the rest of the filename to generate the page slug (the final part of a page’s URL).
Any folders or files that are preceded by an underscore `_` will not be published. Because of that, you can use an underscore to create drafts such as `/content/posts/_testing-a-draft.md`. _However_, it is critical to remember that your draft will be visible to others in GitHub if your repository is public.
Each Markdown file begins with [YAML](https://yaml.org/) frontmatter. YAML is a plain text syntax that allows human-readable text to be formatted as structured data. Frontmatter is the text at the top of the file that is fenced in by three dashes on either side, like so:
```yaml
---
layout: page
title: Contact
description: Get in touch with me via email or phone.
image: cloud-01.jpeg
---
```
The YAML frontmatter includes a series of properties—keys and values separated by a colon—that define page-specific metadata. Keys must always be written exactly as shown in this documentation. Writing `Layout` instead of `layout` for example will result in an error.
### Basic properties
These are the basic YAML properties that should be used in the frontmatter on every page.
| Key | Format | Default | Description |
| -------------------- | ------ | ------- | -------------------------------------------------------------------- |
| `description` | text | - | Short description of the page contents |
| `eleventyNavigation` | YAML | - | A YAML object, described below |
| `image` | text | - | The filename of the image that should be used for social media cards |
| `layout`\* | text | - | The page layout |
| `permalink` | text | various | The page permalink |
| `title`\* | text | - | The page title |
The page title and layout are required on every Markdown file. The page layout determines how the content is displayed. When creating new pages, you should use the `project`, `post`, or `page` layouts.
The `description` property is highly recommended for all pages since it is used for social media cards and displayed in search engine results. It should be between 50 and 160 characters, and it should never be duplicated across different pages.
If using an `image` for social media, refer to the documentation provided by the social media platforms for guidance about an appropriate image size. As a rule of thumb, a landscape-format 1200px wide JPG should be appropriate across most platforms.
The `permalink` property allows you to set the URL for a page or to turn it off completely. The permalinks are always generated automatically, so you should rarely need to use this property.
The `eleventyNavigation` property is slightly more complex. It tells the [Eleventy Navigation Plugin](https://www.11ty.dev/docs/plugins/navigation/) what to put in the menu. This is an example of the property in use on the About page [`/content/pages/about.md`](/content/pages/about.md):
```yaml
---
layout: default
title: About
eleventyNavigation:
key: About
order: 0
---
```
The `key` sub-property tells Eleventy to add this page to the navigation with the text “About”. The `order` sub-property tells Eleventy that it should come first in the navigation.
You can also add external links to the navigation, for example a link to your GitHub. See the [`/content/pages/github.md`](/content/pages/github.md) page for an example with the following frontmatter:
If you want to add an external link to the navigation, you can create a new Markdown file (for example, `/content/external.md`) with the below frontmatter:
```yaml
---
eleventyNavigation:
key: GitHub ↗
order: 3
url: http://github.com/sb-ph/portfolio-starter
permalink: false
---
```
The `key` sub-property tells Eleventy to add this page to the navigation with the text “GitHub ” (`↗` is the HTML code for a northeast arrow). The `order` sub-property is set to 3 so that it comes last in the menu, and the `url` sub-property is set to the desired URL. The `permalink` property is set to false so that this doesn’t publish a corresponding page on our website.
### Pages
Pages are found in the [`/content/pages`](/content/pages) folder.
A page’s `layout` must be set to `page` in the frontmatter. Pages support only the [basic properties](#basic-properties) listed above.
### Posts
Posts are found in the [`/content/posts`](/content/posts) folder.
A post’s `layout` must be set to `post` in the frontmatter. Posts support the [basic properties](#basic-properties) as well as the `date` property. This is an example of a post’s frontmatter:
```yaml
---
layout: post
title: Demo post
date: 2020-03-29 18:00:00
---
```
The `date` property determines the publish date of the post and thus the order in the blog and RSS.
You can use the HTML comment `<!--more-->` within your Markdown content to generate an excerpt for your posts like so:
```markdown
Maecenas faucibus mollis interdum. Aenean eu leo quam. Pellentesque ornare sem lacinia quam venenatis vestibulum.
<!--more-->
Integer posuere erat a ante venenatis dapibus posuere velit aliquet. Donec ullamcorper nulla non metus auctor fringilla. Sed posuere consectetur est at lobortis.
```
If you use the `more` comment, only the text preceding the comment will be displayed on the blog and a “Read more” link will be displayed after this excerpt.
### Projects
Projects are found in the [`/content/projects`](/content/projects) folder.
A project’s `layout` must be set to `project` in the frontmatter. Projects support the [basic properties](#basic-properties) as well as the `dateStart`, `dateEnd`, and `media` properties. This is an example of the frontmatter for a project page.
```yaml
---
layout: project
title: Your project title
dateStart: 1988-02-01
dateEnd: 2001-03-01
media:
- type: image
filename: cloud-01.jpeg
size: md
alt: A cloud
caption: A collaboration with [Piper Haywood](https://piperhaywood.com)
- type: video
filename: ria-pacquee.mp4
controls: false
caption: A piece by [Ria Pacquée](http://riapacquee.com/)
---
```
And these are the project-specific properties in more detail:
| Key | Format | Default | Description |
| ----------- | ------------ | ------- | ------------------------------------------------------- |
| `dateEnd`\* | `YYYY-MM-DD` | - | The end date of your project, used for sorting purposes |
| `dateStart` | `YYYY-MM-DD` | - | The start date of your project |
| `media` | YAML | - | A YAML list of media blocks, described below |
The media property is a strictly-formatted YAML list that can contain image and video blocks. The properties that apply to both images and videos are outlined below.
| Key | Format | Default | Description |
| ------------ | -------- | ------- | ---------------------------------------------------------------- |
| `caption` | markdown | - | A caption describing your media |
| `filename`\* | text | - | The filename of your media |
| `height` | integer | - | The height of your media in pixels |
| `width` | integer | - | The width of your media in pixels |
| `size` | text | `lg` | The size that the media should be displayed; `sm`, `md`, or `lg` |
| `type`\* | text | - | `image` or `video` |
Image blocks support the following additional properties:
| Key | Format | Default | Description |
| ---------- | ------- | ------- | ----------------------------------------------------------------- |
| `alt`\* | text | - | The alt text for your image |
| `featured` | boolean | false | Whether or not the image should be used to represent this project |
The `featured` property is used to determine which image should be used to represent this project on the homepage. If multiple images are marked as featured, then the first one will be used.
Video blocks allow the following additional properties. Note that video autoplay is only supported in certain browsers and devices.
| Key | Format | Default | Description |
| ---------- | ------- | ------- | ----------------------------------------------------- |
| `controls` | boolean | false | Whether or not the video controls should be displayed |
| `loop` | boolean | false | Whether or not the video should loop |
| `autoplay` | boolean | false | Whether or not the video should automatically play |
| `muted` | boolean | false | Whether or not the video should be muted |
### Homepage
The homepage is the [`/content/index.md`](/content/index.md) file.
The homepage’s `layout` must be set to `home` in the frontmatter. The homepage supports most [basic properties](#basic-properties), however the `permalink` property must not be used.
The additional `entries` property allows you to specify exactly which projects you want to appear on the homepage. If the `entries` property is not filled out, then the homepage will automatically display all of the projects in order with the most recent first.
This is an example of the `entries` property in use:
```yaml
---
layout: home
entries:
- portfolio-starter
- sample-project-muybridge
- sample-project-optics
- sample-project-eames
- sample-project-letters
- sample-project-traffic-signs
---
```
The first `featured` image for each project is shown. If no images are `featured`, then the first image will be shown.
### Blog page
The blog page is the [`/content/posts.md`](/content/posts.md) file.
The blog page’s `layout` must be set to `posts` in the frontmatter. The blog page supports the [basic properties](#basic-properties). Markdown written beneath the frontmatter is not displayed.
### Error page
The 404 error page is the [`/content/404.md`](/content/404.md) file.
The 404 error page’s `layout` must be set to `error` in the frontmatter. The error page supports only the `layout` and `title` [basic properties](#basic-properties). The `permalink` property must not be used.
### RSS feed
The RSS page is the [`/content/rss.md`](/content/rss.md) file.
The RSS page’s `layout` must be set to `feed` in the frontmatter. The RSS page supports only the `layout` and `title` [basic properties](#basic-properties). The `permalink` property must not be used.
The RSS feed is automatically published to `/feed.xml`, so for example `https://yoursite.com/feed.xml`. If you want to add an RSS link in your navigation, see the [basic properties](#basic-properties) guidance to add an external link.
## Media
All of the media is stored in the `/content/media` folder.
Media files must be as small as possible to save space in your GitHub repository and your hosting. [Read more about GitHub’s repository limits](https://help.github.com/en/github/managing-large-files/what-is-my-disk-quota). Smaller media files will also load faster for your readers.
Small images should be around 800px wide, medium images should be around 1400px wide, and large images should be around 3000px wide. Images with large areas of flat colour may work best as PNGs. Images with more detail such as photography should be saved as JPGs.
The more images you add to a page, the longer it will take for that page to load. Be judicious about how many images you add to any one page.
## Altering and extending your site
As mentioned above, this is a deliberately basic codebase that welcomes tinkering.
Smaller customisations such as altering the CSS can be done without the command line by editing the CSS file directly in GitHub. More extensive customisations are best done by developing locally with the command line. Refer to the [Eleventy documentation](https://www.11ty.dev/docs/) if you are interested in altering the [Nunjucks](https://mozilla.github.io/nunjucks/) layouts or snippets in [`/_includes`](/_includes).
These are a few suggestions for altering and extending this site:
- Edit the CSS to change the fonts or background colours
- Edit the [`/_includes/layouts/base.njk`](/_includes/layouts/base.njk) layout to create a more complex footer
- Add tags to the blog
- Add project attributes such as `client` or `category`
- Add a Projects page that displays a list of all projects
- Alter the templates to work with a content delivery network (CDN) such as [`imgix`](https://www.imgix.com/) so that your media doesn’t live on GitHub
- Add your projects to AirTable and use their API to populate your website
- Hook your site up to a content management system (CMS) like [Forestry](https://forestry.io/) or [Sanity](https://www.sanity.io/)
If you’re interested in our help making some modifications, just [get in touch](mailto:[email protected]) and we’ll discuss!
Explore similar templates
Compare previews and descriptions within the same stack and category.
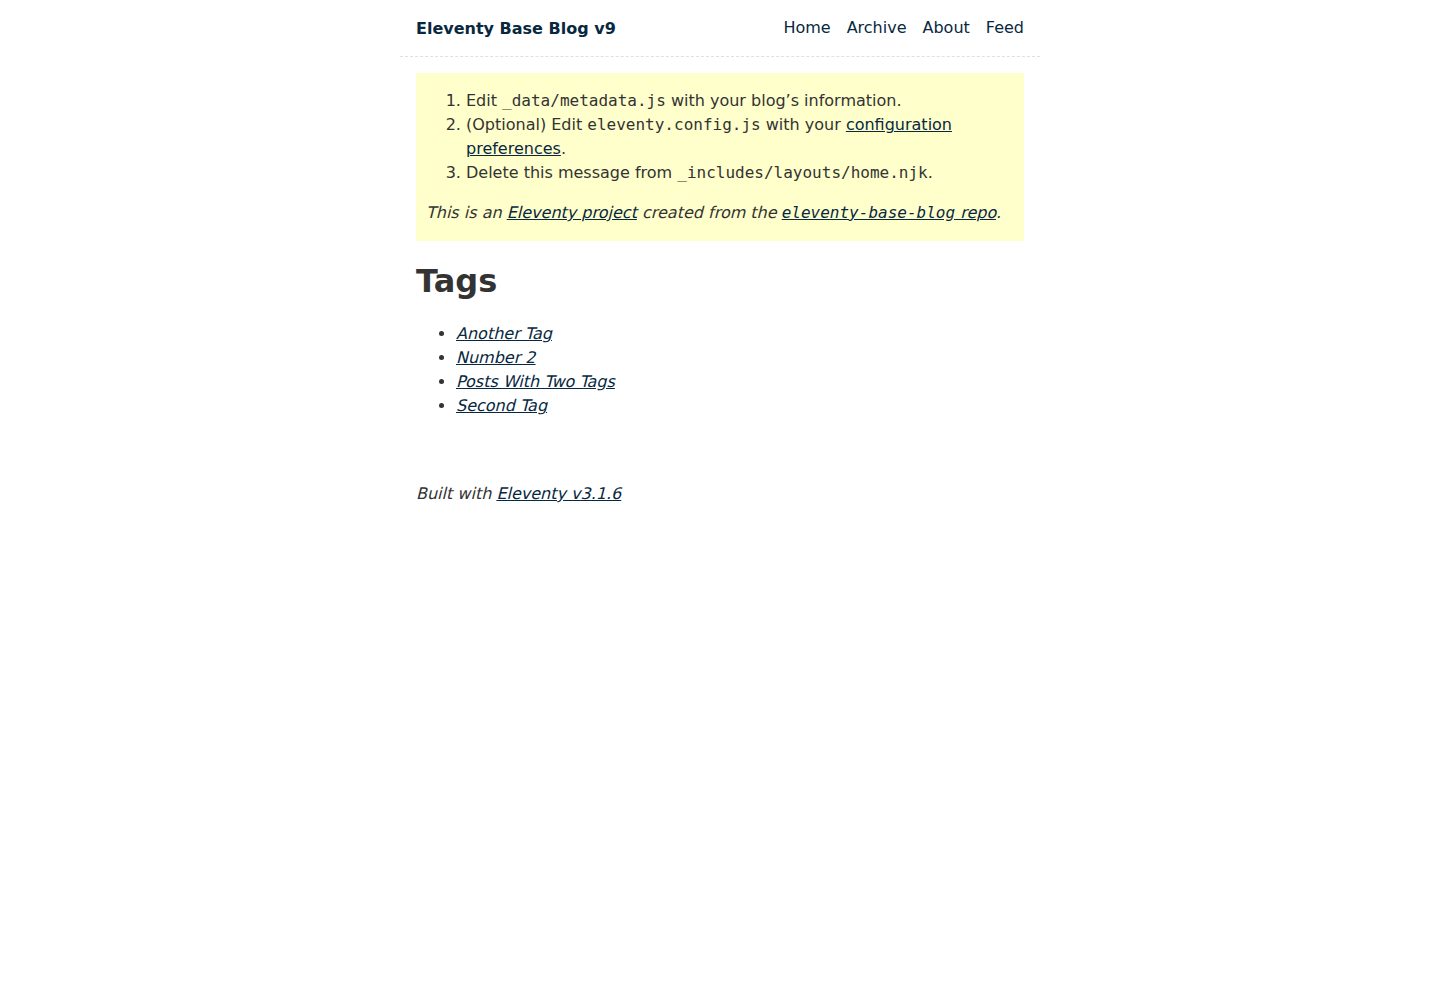
eleventy-base-blog
The officially maintained Eleventy blog starter template, MIT licensed, includes posts, tag pages, archives, an about page, a 404 page, an Atom feed, and sitemap.xml, with per-page CSS bundling, syntax highlighting, and image optimization.
Eleventy · Blog
eleventy-garden
An Eleventy-based digital garden starter template for building a personal knowledge site organized through hyperlinks. It supports Roam-style double-bracket links, backlink display, and hover cards for backlinks.
Eleventy · Starter
eleventastic
Eleventastic is an Eleventy starter kit by Max Böck, used as the base for new 11ty projects. It integrates Sass, Webpack, SVG icon sprites, critical CSS, and HTML minification into the 11ty build without external steps.
Eleventy · Starter
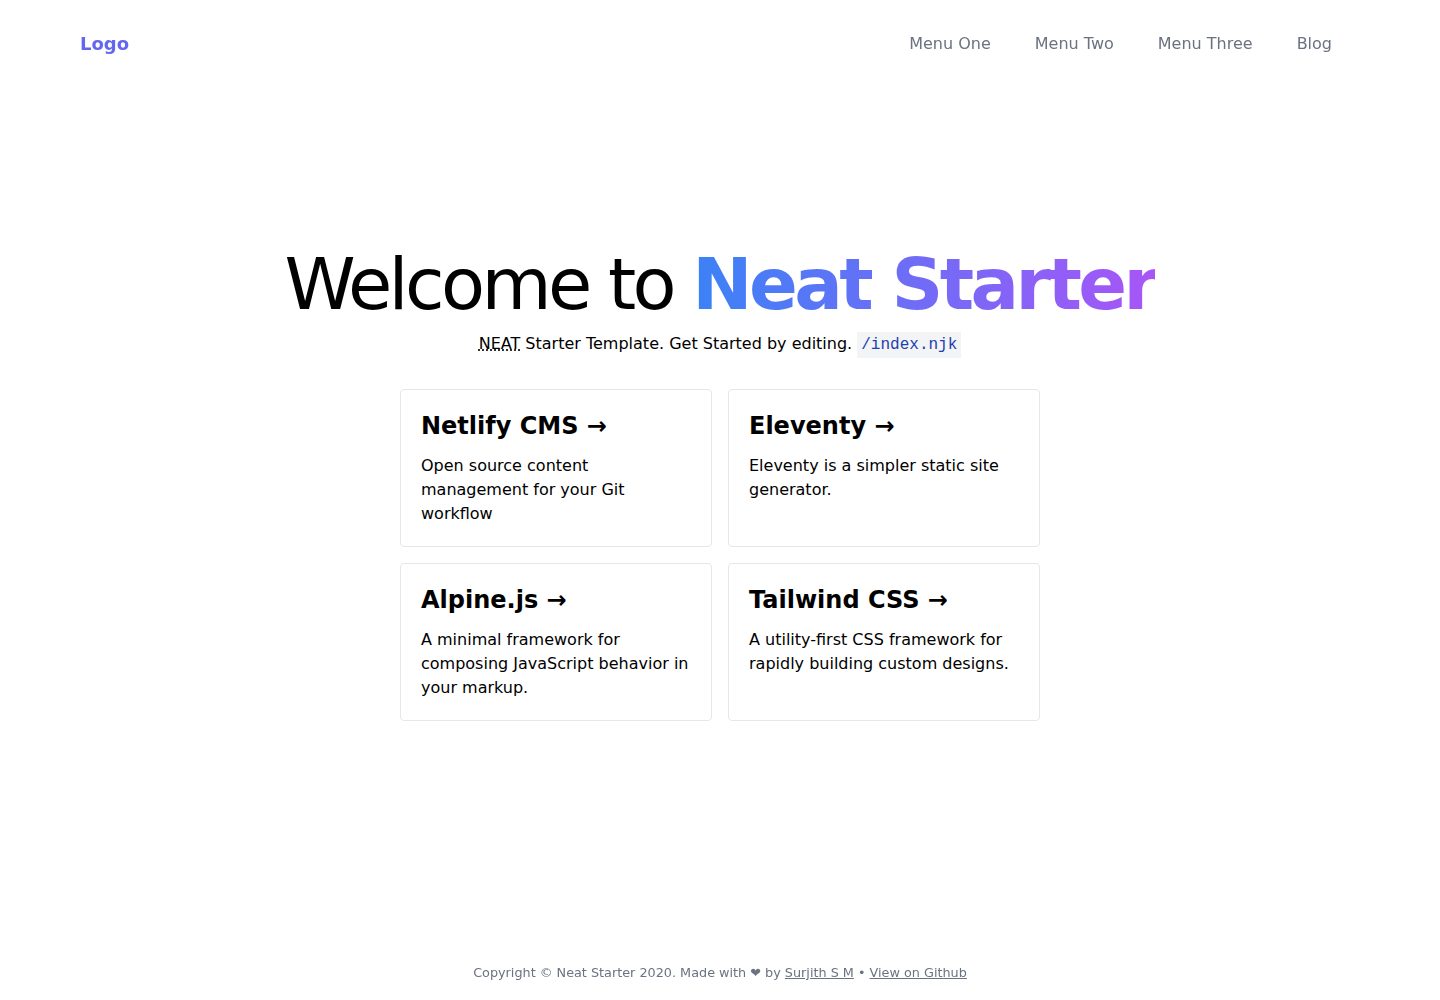
neat-starter
An Eleventy-based static site starter template integrating Netlify CMS, Alpine.js, and Tailwind CSS. It provides a ready-to-run example site, a one-click Netlify deploy button, and an MIT-licensed codebase.
Eleventy · Starter
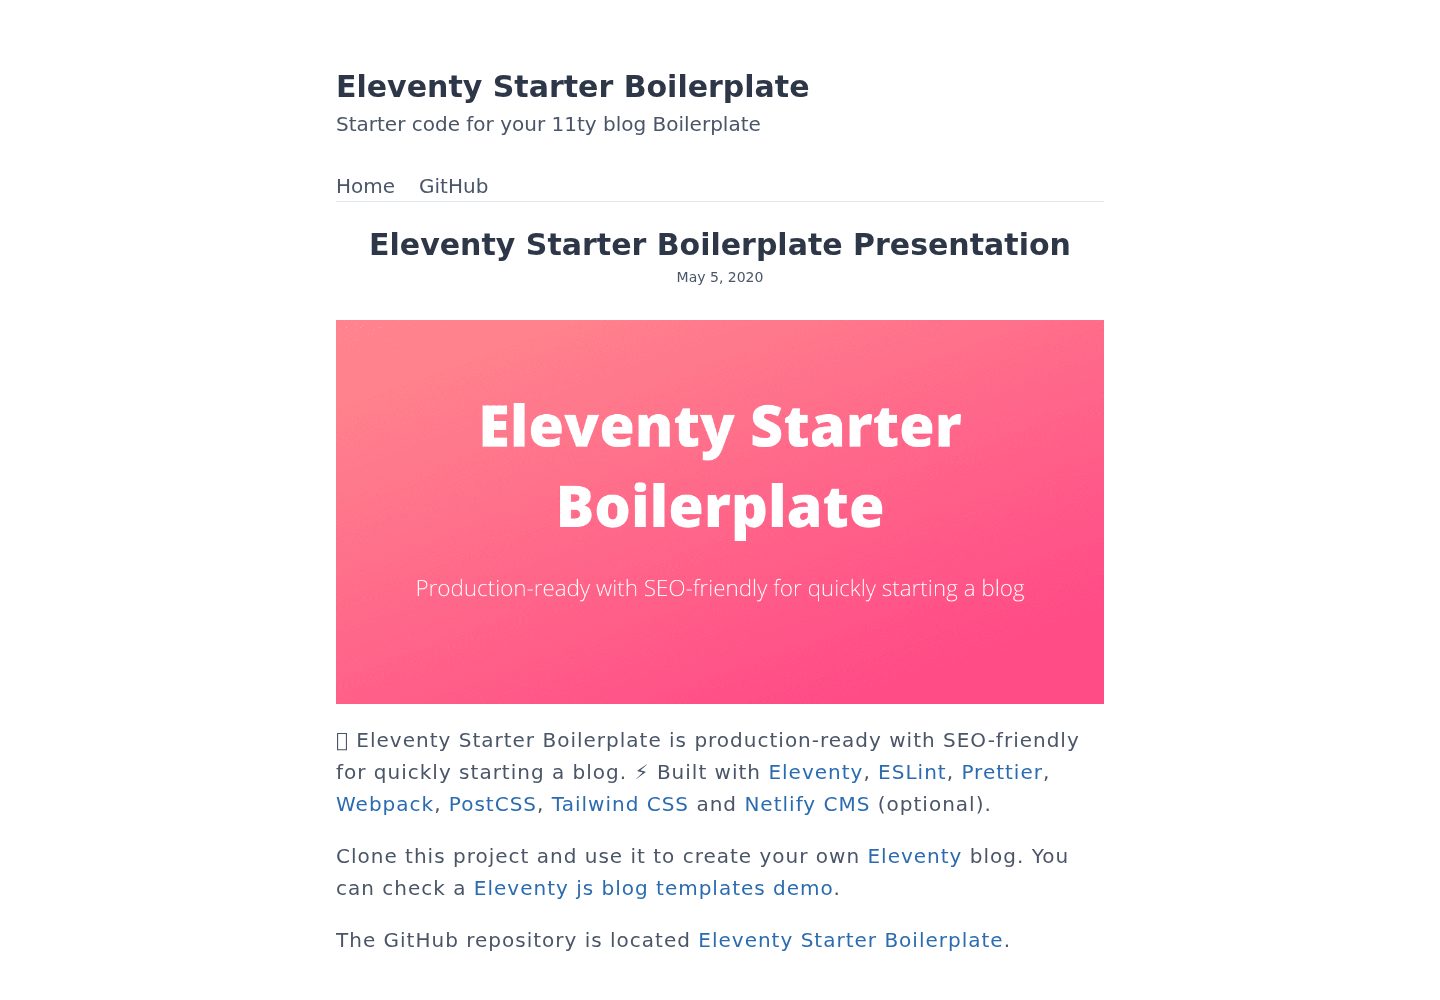
Eleventy-Starter-Boilerplate
An Eleventy-based blog starter template with Tailwind CSS, Webpack, PostCSS, ESLint, and Prettier, optional Netlify CMS, and built-in SEO metadata, sitemap, and 404 page.
Eleventy · Blog
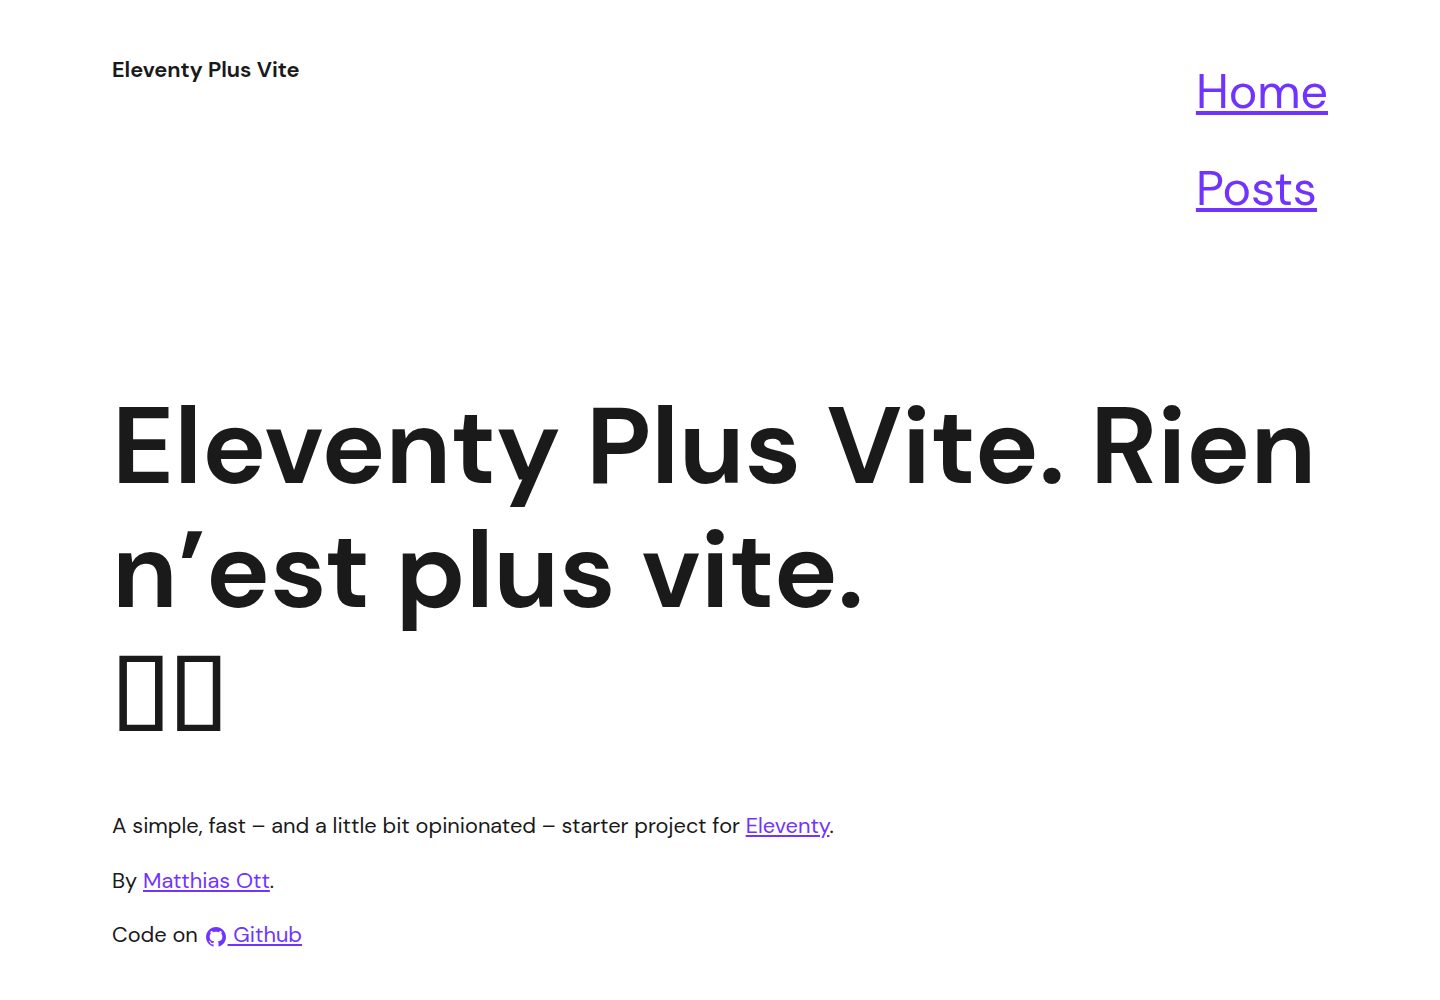
eleventy-plus-vite
A static site starter combining Eleventy and Vite, with a live-reloading development server, Vite-based production post-processing, a PostCSS pipeline with Autoprefixer and cssnano, critical CSS inlining and asynchronous CSS loading, a web font loading strategy example, fluid typography, basic dark mode, an…
Eleventy · Starter