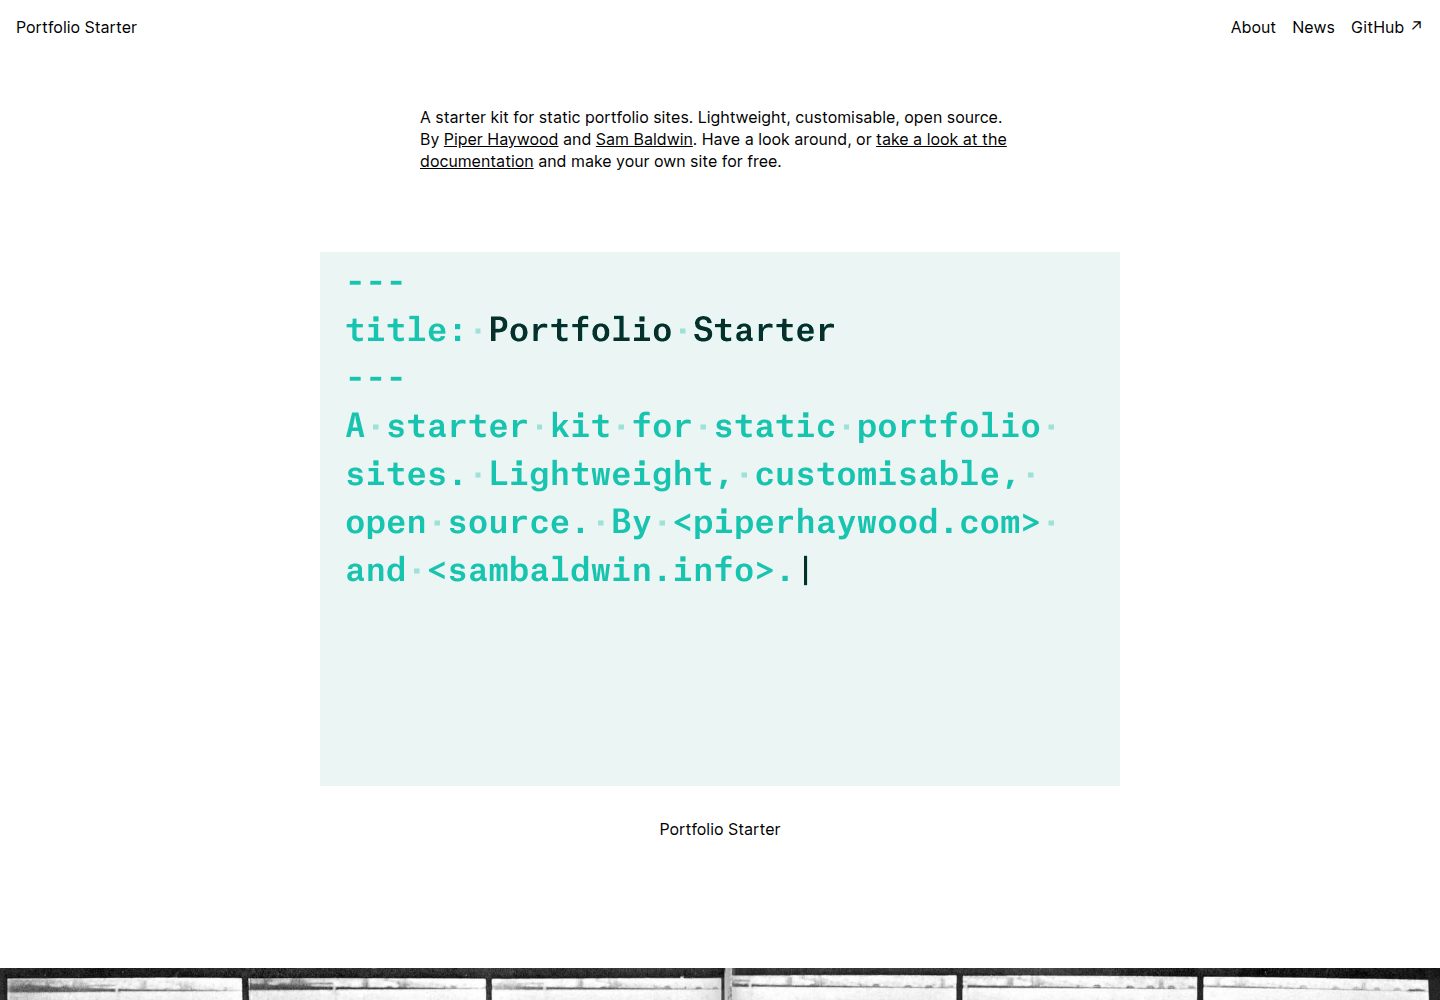
基于 Eleventy 生成静态站点,构建输出到 _site 目录
Eleventy作品集启动器
portfolio-starter — Eleventy 作品集模板
作者 sb-ph
基于 Eleventy 的静态作品集启动器,面向设计师、插画师和建筑师等非程序员用户,通过 Markdown 编辑内容,支持无代码部署。
看看你的网站会是什么样
浏览真实页面截图,比较内容排版与手机效果。点击下方缩略图切换,放大查看整页细节。
全部页面与视图 3
截图用于了解视觉与布局,交互效果请以实际项目为准。
采集于 2026-09-30查看来源
值得关注的模板亮点
从已有项目资料中,快速了解它的特点。
内容以 Markdown 和 YAML frontmatter 编写,集中在 /content 目录
内置支持文章、项目、页面、单层菜单和 RSS 输出
提供无命令行方案,可在 GitHub 网页界面编辑内容并配合 Netlify 或 ZEIT 部署
全局数据(站点标题、语言、页脚、URL、作者)集中在 /content/_data/global.json
模板详细介绍
Portfolio Starter 是一个用 Eleventy 构建的轻量级静态作品集启动器,仓库由 sb-ph 维护,采用 MIT 许可。它面向设计师、插画师、建筑师等希望展示作品与动态的个人,目标用户可能不熟悉编程,但愿意用 Markdown 写作并跟随文档操作。
站点内容集中在 /content 目录,包含全局数据文件、Markdown 页面与媒体文件。内置支持文章、项目、页面、单层菜单和 RSS 输出。README 标注项目仍处于「WORK IN PROGRESS」状态,部分功能描述带有 TODO 标记。
部署方面提供两条路径:一条通过 GitHub 网页界面配合 Netlify 或 ZEIT 完成无命令行部署与内容编辑;另一条使用命令行,要求 Node.js 8 或更高版本,通过 npx @11ty/eleventy 构建到 _site 目录,或用 --serve 启动本地开发服务器。自定义域名、更新与备份均需按文档手动操作。
Eleventy作品集启动器
适合你的项目吗?
适用场景
- 设计师、插画师或建筑师搭建个人作品展示站点
- 不熟悉命令行、希望通过 GitHub 网页界面维护内容的用户
- 需要文章、项目、独立页面和 RSS 输出的静态个人站点
- 愿意用 Markdown 写作并跟随文档自行调整模板的初学者
适合人群
- 希望以静态站点形式展示作品与动态的个人创作者
- 接受用 Markdown 编辑内容、不要求可视化后台的用户
- 愿意按文档手动完成部署、域名配置与版本更新的使用者
- 需要 MIT 许可下可自由修改和分发的启动模板的开发者
上手与定制指南
结合仓库当前版本的说明,按下面的资料检查内容、配置与运行要求。
- 1
无命令行方式:注册 GitHub 账号,通过 Netlify 或 ZEIT 的部署按钮克隆仓库并连接托管服务,之后在 GitHub 网页界面编辑 /content 下的文件。
- 2
命令行方式:需要 Node.js 8 或更高版本,执行 git clone、npm install,用 npx @11ty/eleventy 构建,或用 npx @11ty/eleventy --serve 在 localhost:8080 本地预览。
- 3
首次使用应修改 /content/_data/global.json 中的站点标题、语言、页脚、URL 和作者信息。
- 4
更新模板时建议手动替换除 /content 以外的文件夹和文件,并提前备份仓库。
- 5
演示图片、字体、图标等第三方素材需按各自许可单独核对,代码的 MIT 许可不覆盖这些素材。
授权与来源资料
使用条件与限制
免费使用 · 保留许可声明本次收录的是公开仓库中采用 MIT 许可的免费版本;免费范围为该版本代码,不代表外部服务或第三方素材免费。
使用时需要遵守
- 允许免费使用、修改、商用和分发该版本代码。
- 分发代码副本或实质性部分时,保留原作者版权声明和完整 MIT 许可声明。
- 代码按现状提供;担保与责任限制以原许可证及适用法律为准。
额外费用与待核对事项
- 使用无命令行部署路径需要注册 GitHub 账号;免费个人账号即可满足,但必须拥有该账号。
- 无命令行部署依赖 Netlify 或 ZEIT 等第三方静态托管服务,需另行注册账号;README 仅称其提供免费额度,未保证长期免费或额度充足。
- 命令行方式要求本机安装 Node.js 8 或更高版本,并需使用 npm 安装依赖。
- 使用自定义域名需按托管商文档自行配置 DNS,属于额外操作,可能涉及域名注册等外部费用。
- 作者提供付费或另行商谈的定制修改协助,属于可选的额外服务,不影响模板本身的免费使用。
- 演示图片、字体、图标及其他第三方素材需按各自许可核对,不能仅凭代码的 MIT 许可判断。
- 域名、托管、数据库、支付或 AI 等外部服务可能另外收费。
查看原文依据
Permission is hereby granted, free of charge
许可证原文
The free individual account is sufficient.
README 原文
Netlify](https://www.netlify.com/) and [ZEIT](https://zeit.co/) are hosting providers that offer generous free tiers
README 原文
you have version 8 or higher of Node.js installed on your computer
README 原文
If you want to use your own domain, you should follow their instructions to set this up.
README 原文
https://github.com/sb-ph/portfolio-starter/blob/master/LICENSEhttps://github.com/sb-ph/portfolio-starter/blob/master/README.mdIf you’re interested in our help making some modifications, just [get in touch](mailto:[email protected]) and we’ll discuss!
README 原文
DeepSeek 根据仓库许可证和 README 整理 ·2026-10-01。结果仅覆盖已读取资料,依赖、图片、字体及后续条款变更以各自原文为准。
项目核对记录与介绍依据
模板资料
- 来源平台
- GitHub
- 资料与维护参考分
- 资料较完整 · 77 / 100
- 技术栈
- Eleventy
- 网站类型
- 作品集 · 启动器
这个分数如何计算
本站按许可资料(最高30分)、演示链接(12分)、预览图(10分)、Star数(15分)、记录的维护时间(15分)、描述完整度(8分)、功能记录(5分)和分类资料(5分)计算。它不是代码、安全或性能测试,也不是 Google 评分;有链接不代表已实测可用。
这个项目需要核对什么
- 记录的仓库更新时间
- 2021-05-11
- 截图检查日期
- 2026-10-01
已收录演示链接。请用你的内容与屏幕尺寸检查;有演示不代表表单、认证或支付已经可用。
目录记录的主要技术栈是 Eleventy。请通过依赖清单和锁文件核对实际版本与托管要求。这些说明基于收录资料,不代表代码审计或部署实测。
查看具体选型方法 →介绍的制作与核对状态
介绍由 AI 辅助整理目录与仓库资料。仓库作者不等于这篇介绍的审核者。
已完成服务器许可规则与 AI 来源核对;未经过人工编辑审核。
查看当时使用的来源资料
SHA-256: c366f51259d80e655909214a26679eb7275a3114ec569bb5efe9fc60c8713c46
2026-10-01T14:43:59.262Z
来源文件 / 仓库<aside>🚧 WORK IN PROGRESS</aside>
# 
This is a lightweight portfolio starterkit built with [Eleventy](https://www.11ty.dev/). It is geared towards designers, illustrators, architects, and any other individuals who are interested in sharing their work and activity.
The intended user may not know how to code but is interested in the tech behind their website, is willing to write in [Markdown](https://daringfireball.net/projects/markdown/), and is happy to follow along with this documentation.
Visit [portfolio-starter.sb-ph.com](https://portfolio-starter.sb-ph.com/) to check it out. The content and code in this repository drives the demo site.
- [Features](#features)
- [No-code setup](#no-code-setup)
- [1. Get a GitHub account](#1-get-a-github-account)
- [2. Get an account with a static hosting provider](#2-get-an-account-with-a-static-hosting-provider)
- [3. Deploy your website](#3-deploy-your-website)
- [4. Edit content in GitHub](#4-edit-content-in-github)
- [Command line setup](#command-line-setup)
- [1. Set up repo locally and on GitHub](#1-set-up-your-repository)
- [2. Build or serve your website](#2-build-or-serve-your-website)
- [3. Deploy your website](#3-deploy-your-website)
- [4. Edit content locally](#4-edit-content-locally)
- [Using a custom domain](#using-a-custom-domain)
- [Updates and backups](#updates-and-backup)
- [Content reference](#content-reference)
- [Global data](#global-data)
- [Markdown files and YAML frontmatter](#markdown-files-and-yaml-frontmatter)
- [Basic properties](#basic-properties)
- [Pages](#pages)
- [Posts](#posts)
- [Projects](#projects)
- [Homepage](#homepage)
- [Blog page](#blog-page)
- [Error page](#error-page)
- [RSS feed](#rss-feed)
- [Media](#media)
- [Altering and extending your site](#altering-and-extending-your-site)
## Features
- Understated design with an eye towards accessibility [TODO]
- A deliberately basic codebase that encourages tinkering and customisation even for people unfamiliar with code
- Generates a static site; static sites tend to load a lot faster than database-driven websites and can be hosted for free
- Supports posts, projects, pages, a one-level menu, and RSS out-of-the-box
- Command line not required; you don’t have to use a code editor or the command line to edit or even deploy this website
## No-code setup
“No-code” is a _little_ bit of a misnomer. Your content files are technically written in code, but it is a very readable syntax called Markdown (more on this later). What we mean by “no-code” is that you won’t have to touch the command line, Git, or open a code editor on your computer.
### 1. Get a GitHub account
GitHub is a platform that stores code. Your website code and content are going to live on GitHub. If you have an account already, go ahead and log in. If not, [sign up for an account](https://github.com/join). The free individual account is sufficient.
### 2. Get an account with a static hosting provider
[Netlify](https://www.netlify.com/) and [ZEIT](https://zeit.co/) are hosting providers that offer generous free tiers for people with static websites such as this. Netlify is perhaps a _tiny_ bit more straightforward for the following steps and seems to be used by more Eleventy users, but they are both solid platforms. If you have an account with either of these platforms already, log in. If you don’t, sign up for one.
### 3. Deploy your website
By clicking one of the buttons below, you will clone this repository (i.e. create a duplicate version that lives in your own GitHub account) and then deploy this new website to your static hosting.
Before proceeding, decide on a name for your repository. It should be something that is similar to the name of your site, but it should only include lowercase letters, numbers, and dashes. For example, the name of this repository is `portfolio-starter`.
**If you have a Netlify account**, click this button and follow Netlify’s simple instructions to connect Netlify and GitHub:
[](https://app.netlify.com/start/deploy?repository=https://github.com/sb-ph/portfolio-starter)
**If you have a ZEIT account**, click the button below and then follow Zeit’s instructions:
[](https://zeit.co/import/project?template=https://github.com/sb-ph/portfolio-starter)
Zeit’s instructions will walk you through how to install Zeit Now for GitHub so that it can create a repository for you and can deploy your changes. Give permission to all repositories when installing Zeit Now. Zeit should auto-detect that you are using Eleventy with settings as follows (you don’t need to worry about the development command):
Build command: `npx @11ty/eleventy`
Output directory: `_site`
**When you have finished following the instructions above for Netlify or Zeit**, you will be redirected to your website dashboard. This displays your default subdomain and other important information about your site. You’ll also receive some emails letting you know that the services are connected.
Zeit allows you to select the visibility of your repository when you set it up. Netlify, on the other hand, automatically creates a public repository. See the [GitHub documentation](https://help.github.com/en/github/administering-a-repository/setting-repository-visibility) if you want to adjust the visibility of your repository.
### 4. Edit content in GitHub
To edit or add content without the command line, you need to use GitHub’s interface to navigate your files within the [`/content`](/content) folder in your repository. See the [content reference](#content-reference) to learn more about the structure of the `/content` folder and each of the files within it, particularly the [global data](#global-data) file that includes your website title and URL.
To edit or delete an existing file, you must open the relevant file in GitHub and then click either the Edit button (the button with the pencil icon) or the Delete button (the button with the bin) in the upper-right corner above the page contents.
If you want to add a new page, you must navigate to the [`posts`](/content/posts), [`projects`](/content/projects), or [`pages`](/content/pages) folder depending on what you want to add and then click the “Create new file” button near the top of the page. This will open a new editor page where you can add your filename and file contents. Since all text content is written in Markdown, the filename must end in `md` (i.e. `my-post-name.md`).
If you want to add media, you must navigate to the [`media`](/content/media) folder and then click the “Upload files” button near the top of the page. This will give you an area to upload one or more files. See the [media guidance](#media) for tips on file types and sizes.
To save edits or additions made in GitHub, you must commit your changes using GitHub’s interface at the base of the page. If you hooked up Netlify or ZEIT in the previous step, a commit will also tell GitHub to automatically deploy your changes. For more on what a commit is, see the [GitHub Glossary](https://help.github.com/en/github/getting-started-with-github/github-glossary). When you commit an edit or an addition directly in GitHub, you can use the default commit message that is pre-filled and should commit directly to the `master` branch (the default setting).
## Command line setup
The command line setup instructions assume that you have familiarity with the command line, that you have version 8 or higher of Node.js installed on your computer, and that you have a GitHub account.
### 1. Set up your repository
Clone repository locally into a named project folder by running `git clone https://github.com/sb-ph/portfolio-starter.git my-website` and then change to the new project folder by running `cd my-website`. Run `npm install` to install the dependencies including Eleventy.
Run `rm -rf .git` to remove the Git history for a fresh start, and then run `git init` to initialise a new git repo. Commit all of your files to create a new `master` branch, and then [add your project to GitHub using the command line](https://help.github.com/en/github/importing-your-projects-to-github/adding-an-existing-project-to-github-using-the-command-line).
### 2. Build or serve your website
To build the website in to the gitignored `/_site` directory, run `npx @11ty/eleventy`. To spin up a server for local development or content editing, run `npx @11ty/eleventy --serve`. This will make your site available at <http://localhost:8080>, and the site will automatically reload when you make any changes.
### 3. Deploy your website
If you want to use Netlify or ZEIT, follow their documentation to get your repository hooked up to your hosting account for continuous deployment. If you want to use another hosting provider, you can find your static files in the `/_site` directory after you generate a build.
### 4. Edit content locally
To edit content locally, spin up a server by running `npx @11ty/eleventy --serve` and then adjust the Markdown and JSON files within the `/content` directory. If your site is hooked up to continuous deployment, make sure you commit your changes to the right branch (probably `master`) otherwise they will not be deployed.
## Using a custom domain
Netlify and ZEIT give you a default subdomain automatically when you deploy your website, so this is an optional step. If you want to use your own domain, you should follow their instructions to set this up. [Read more about custom domains on ZEIT](https://zeit.co/docs/v2/custom-domains), or [read more about custom domains on Netlify](https://docs.netlify.com/domains-https/custom-domains/).
Both of these guides will walk you through how to set up your domain’s Domain Name System (DNS). Note that **DNS can be delicate.** The DNS records for your domain tell browsers where to find your website and tell email servers how to direct emails to you. Be sure to write down any existing DNS records before changing anything.
If you repoint the nameservers as part of the custom domain setup process and are already using your domain for email, you must add your MX records and any other records related to email to your new hosting provider _before_ you repoint the nameservers. If you do not, your email may go down.
## Updates and backups
If you’re on an older version of Portfolio Starter and want to update it to a newer version, we recommend doing this manually by replacing all of the folders and files _except_ for the `/content` folder. You should back up your website before making any updates or major changes. Visit your repository homepage and click the green “Clone or download” button to download a zipped file of the entire repository, then store it somewhere safe.
## Content reference
All of the content lives in the [`/content`](/content) folder. By default, Portfolio Starter is filled with the content in use on the [demo site](https://portfolio-starter.sb-ph.com/).
The content includes the [global data](#global-data), [Markdown files for each page](#markdown-files-and-yaml-frontmatter), and [media](#media). It is important to format and organise each of these files in a particular way so that your site deploys without errors and looks as expected.
### Global data
Certain metadata such as the site title and URL are used throughout the website. All of this global data is contained in the [`/content/_data/global.json`](/content/_data/global.json) file.
The details in this file should be set when the website is first set up and then likely will not be touched again unless the website is moved or the domain changes. This is an example of the `global.json` file:
```json
{
"title": "Tortor Parturient Ridiculus",
"lang": "en",
"footer": "(c) Jane Doe, 2020",
"url": "https://tpr.com",
"author": {
"name": "Jane Doe",
"email": "[email protected]"
}
}
```
This is the only piece of content that must be written in JSON, a text format that is used to structure data. JSON syntax is _very_ strict. All keys (i.e. `title`) and all strings (i.e. `My website`) are enclosed in double quotes, and all properties (i.e. `"title": "My website"`) are separated by commas except for the last property. All JSON objects are enclosed in curly brackets `{}`. **Incorrect syntax in this file will result in an error, meaning your changes will not be deployed.**
These are the properties in more detail.
| Key | Format | Default | Description |
| --------- | ----------- | -------------- | ------------------------------------------------------------------------------------------------------------------------------------- |
| `author` | JSON object | - | A JSON object that includes the name and email address of the website author |
| `footer` | Markdown | a short credit | The footer text written in Markdown |
| `lang`\* | text | `en` | The [IANA language tag](https://www.w3.org/International/questions/qa-html-language-declarations) that declares your website language |
| `title`\* | text | - | The title of your website |
| `url`\* | url | - | Your website URL |
The footer includes a short credit by default. Feel free to replace it with whatever text works best for you. This might include a copyright notice, a colophon, contact details or other salient information. The footer does not support line breaks.
### Markdown files and YAML frontmatter
All of the main content pages including the [posts](#posts), [projects](#projects), [pages](#pages), [homepage](#homepage), [404 error page](#error), [blog](#blog-page), and [RSS feed](#rss-feed) are written in [Markdown](https://daringfireball.net/projects/markdown/). Markdown allows you to write using an easy-to-read, easy-to-write plain text format that can be converted to valid HTML. Visit the [markdown-it](https://markdown-it.github.io/) website for a full list of formatting options including lists, links, headings, and more. You can also take a look at the source for this README file; it’s written in Markdown too!
All Markdown files end in the `.md` extension, and this starterkit uses the rest of the filename to generate the page slug (the final part of a page’s URL).
Any folders or files that are preceded by an underscore `_` will not be published. Because of that, you can use an underscore to create drafts such as `/content/posts/_testing-a-draft.md`. _However_, it is critical to remember that your draft will be visible to others in GitHub if your repository is public.
Each Markdown file begins with [YAML](https://yaml.org/) frontmatter. YAML is a plain text syntax that allows human-readable text to be formatted as structured data. Frontmatter is the text at the top of the file that is fenced in by three dashes on either side, like so:
```yaml
---
layout: page
title: Contact
description: Get in touch with me via email or phone.
image: cloud-01.jpeg
---
```
The YAML frontmatter includes a series of properties—keys and values separated by a colon—that define page-specific metadata. Keys must always be written exactly as shown in this documentation. Writing `Layout` instead of `layout` for example will result in an error.
### Basic properties
These are the basic YAML properties that should be used in the frontmatter on every page.
| Key | Format | Default | Description |
| -------------------- | ------ | ------- | -------------------------------------------------------------------- |
| `description` | text | - | Short description of the page contents |
| `eleventyNavigation` | YAML | - | A YAML object, described below |
| `image` | text | - | The filename of the image that should be used for social media cards |
| `layout`\* | text | - | The page layout |
| `permalink` | text | various | The page permalink |
| `title`\* | text | - | The page title |
The page title and layout are required on every Markdown file. The page layout determines how the content is displayed. When creating new pages, you should use the `project`, `post`, or `page` layouts.
The `description` property is highly recommended for all pages since it is used for social media cards and displayed in search engine results. It should be between 50 and 160 characters, and it should never be duplicated across different pages.
If using an `image` for social media, refer to the documentation provided by the social media platforms for guidance about an appropriate image size. As a rule of thumb, a landscape-format 1200px wide JPG should be appropriate across most platforms.
The `permalink` property allows you to set the URL for a page or to turn it off completely. The permalinks are always generated automatically, so you should rarely need to use this property.
The `eleventyNavigation` property is slightly more complex. It tells the [Eleventy Navigation Plugin](https://www.11ty.dev/docs/plugins/navigation/) what to put in the menu. This is an example of the property in use on the About page [`/content/pages/about.md`](/content/pages/about.md):
```yaml
---
layout: default
title: About
eleventyNavigation:
key: About
order: 0
---
```
The `key` sub-property tells Eleventy to add this page to the navigation with the text “About”. The `order` sub-property tells Eleventy that it should come first in the navigation.
You can also add external links to the navigation, for example a link to your GitHub. See the [`/content/pages/github.md`](/content/pages/github.md) page for an example with the following frontmatter:
If you want to add an external link to the navigation, you can create a new Markdown file (for example, `/content/external.md`) with the below frontmatter:
```yaml
---
eleventyNavigation:
key: GitHub ↗
order: 3
url: http://github.com/sb-ph/portfolio-starter
permalink: false
---
```
The `key` sub-property tells Eleventy to add this page to the navigation with the text “GitHub ” (`↗` is the HTML code for a northeast arrow). The `order` sub-property is set to 3 so that it comes last in the menu, and the `url` sub-property is set to the desired URL. The `permalink` property is set to false so that this doesn’t publish a corresponding page on our website.
### Pages
Pages are found in the [`/content/pages`](/content/pages) folder.
A page’s `layout` must be set to `page` in the frontmatter. Pages support only the [basic properties](#basic-properties) listed above.
### Posts
Posts are found in the [`/content/posts`](/content/posts) folder.
A post’s `layout` must be set to `post` in the frontmatter. Posts support the [basic properties](#basic-properties) as well as the `date` property. This is an example of a post’s frontmatter:
```yaml
---
layout: post
title: Demo post
date: 2020-03-29 18:00:00
---
```
The `date` property determines the publish date of the post and thus the order in the blog and RSS.
You can use the HTML comment `<!--more-->` within your Markdown content to generate an excerpt for your posts like so:
```markdown
Maecenas faucibus mollis interdum. Aenean eu leo quam. Pellentesque ornare sem lacinia quam venenatis vestibulum.
<!--more-->
Integer posuere erat a ante venenatis dapibus posuere velit aliquet. Donec ullamcorper nulla non metus auctor fringilla. Sed posuere consectetur est at lobortis.
```
If you use the `more` comment, only the text preceding the comment will be displayed on the blog and a “Read more” link will be displayed after this excerpt.
### Projects
Projects are found in the [`/content/projects`](/content/projects) folder.
A project’s `layout` must be set to `project` in the frontmatter. Projects support the [basic properties](#basic-properties) as well as the `dateStart`, `dateEnd`, and `media` properties. This is an example of the frontmatter for a project page.
```yaml
---
layout: project
title: Your project title
dateStart: 1988-02-01
dateEnd: 2001-03-01
media:
- type: image
filename: cloud-01.jpeg
size: md
alt: A cloud
caption: A collaboration with [Piper Haywood](https://piperhaywood.com)
- type: video
filename: ria-pacquee.mp4
controls: false
caption: A piece by [Ria Pacquée](http://riapacquee.com/)
---
```
And these are the project-specific properties in more detail:
| Key | Format | Default | Description |
| ----------- | ------------ | ------- | ------------------------------------------------------- |
| `dateEnd`\* | `YYYY-MM-DD` | - | The end date of your project, used for sorting purposes |
| `dateStart` | `YYYY-MM-DD` | - | The start date of your project |
| `media` | YAML | - | A YAML list of media blocks, described below |
The media property is a strictly-formatted YAML list that can contain image and video blocks. The properties that apply to both images and videos are outlined below.
| Key | Format | Default | Description |
| ------------ | -------- | ------- | ---------------------------------------------------------------- |
| `caption` | markdown | - | A caption describing your media |
| `filename`\* | text | - | The filename of your media |
| `height` | integer | - | The height of your media in pixels |
| `width` | integer | - | The width of your media in pixels |
| `size` | text | `lg` | The size that the media should be displayed; `sm`, `md`, or `lg` |
| `type`\* | text | - | `image` or `video` |
Image blocks support the following additional properties:
| Key | Format | Default | Description |
| ---------- | ------- | ------- | ----------------------------------------------------------------- |
| `alt`\* | text | - | The alt text for your image |
| `featured` | boolean | false | Whether or not the image should be used to represent this project |
The `featured` property is used to determine which image should be used to represent this project on the homepage. If multiple images are marked as featured, then the first one will be used.
Video blocks allow the following additional properties. Note that video autoplay is only supported in certain browsers and devices.
| Key | Format | Default | Description |
| ---------- | ------- | ------- | ----------------------------------------------------- |
| `controls` | boolean | false | Whether or not the video controls should be displayed |
| `loop` | boolean | false | Whether or not the video should loop |
| `autoplay` | boolean | false | Whether or not the video should automatically play |
| `muted` | boolean | false | Whether or not the video should be muted |
### Homepage
The homepage is the [`/content/index.md`](/content/index.md) file.
The homepage’s `layout` must be set to `home` in the frontmatter. The homepage supports most [basic properties](#basic-properties), however the `permalink` property must not be used.
The additional `entries` property allows you to specify exactly which projects you want to appear on the homepage. If the `entries` property is not filled out, then the homepage will automatically display all of the projects in order with the most recent first.
This is an example of the `entries` property in use:
```yaml
---
layout: home
entries:
- portfolio-starter
- sample-project-muybridge
- sample-project-optics
- sample-project-eames
- sample-project-letters
- sample-project-traffic-signs
---
```
The first `featured` image for each project is shown. If no images are `featured`, then the first image will be shown.
### Blog page
The blog page is the [`/content/posts.md`](/content/posts.md) file.
The blog page’s `layout` must be set to `posts` in the frontmatter. The blog page supports the [basic properties](#basic-properties). Markdown written beneath the frontmatter is not displayed.
### Error page
The 404 error page is the [`/content/404.md`](/content/404.md) file.
The 404 error page’s `layout` must be set to `error` in the frontmatter. The error page supports only the `layout` and `title` [basic properties](#basic-properties). The `permalink` property must not be used.
### RSS feed
The RSS page is the [`/content/rss.md`](/content/rss.md) file.
The RSS page’s `layout` must be set to `feed` in the frontmatter. The RSS page supports only the `layout` and `title` [basic properties](#basic-properties). The `permalink` property must not be used.
The RSS feed is automatically published to `/feed.xml`, so for example `https://yoursite.com/feed.xml`. If you want to add an RSS link in your navigation, see the [basic properties](#basic-properties) guidance to add an external link.
## Media
All of the media is stored in the `/content/media` folder.
Media files must be as small as possible to save space in your GitHub repository and your hosting. [Read more about GitHub’s repository limits](https://help.github.com/en/github/managing-large-files/what-is-my-disk-quota). Smaller media files will also load faster for your readers.
Small images should be around 800px wide, medium images should be around 1400px wide, and large images should be around 3000px wide. Images with large areas of flat colour may work best as PNGs. Images with more detail such as photography should be saved as JPGs.
The more images you add to a page, the longer it will take for that page to load. Be judicious about how many images you add to any one page.
## Altering and extending your site
As mentioned above, this is a deliberately basic codebase that welcomes tinkering.
Smaller customisations such as altering the CSS can be done without the command line by editing the CSS file directly in GitHub. More extensive customisations are best done by developing locally with the command line. Refer to the [Eleventy documentation](https://www.11ty.dev/docs/) if you are interested in altering the [Nunjucks](https://mozilla.github.io/nunjucks/) layouts or snippets in [`/_includes`](/_includes).
These are a few suggestions for altering and extending this site:
- Edit the CSS to change the fonts or background colours
- Edit the [`/_includes/layouts/base.njk`](/_includes/layouts/base.njk) layout to create a more complex footer
- Add tags to the blog
- Add project attributes such as `client` or `category`
- Add a Projects page that displays a list of all projects
- Alter the templates to work with a content delivery network (CDN) such as [`imgix`](https://www.imgix.com/) so that your media doesn’t live on GitHub
- Add your projects to AirTable and use their API to populate your website
- Hook your site up to a content management system (CMS) like [Forestry](https://forestry.io/) or [Sanity](https://www.sanity.io/)
If you’re interested in our help making some modifications, just [get in touch](mailto:[email protected]) and we’ll discuss!
看看同类模板
对比同技术栈与用途的模板,找到更适合的视觉与内容结构。
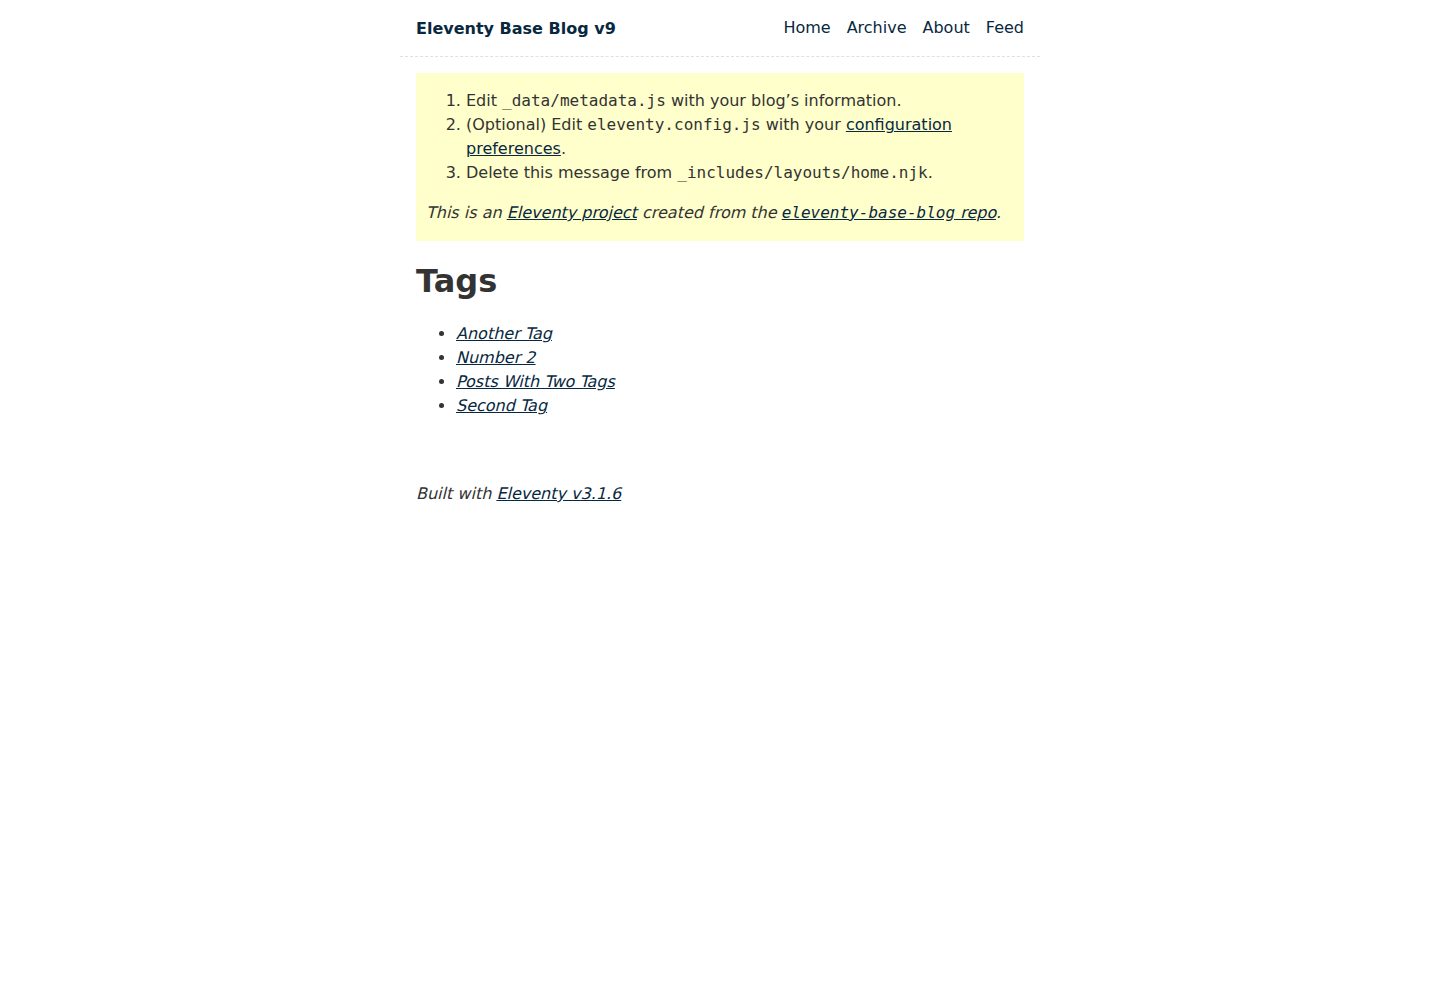
eleventy-base-blog
A starter repository for a blog web site using the Eleventy static site generator.
Eleventy · 博客
eleventy-garden
:seedling: A starter site for building a mind garden with eleventy
Eleventy · 启动器
eleventastic
An Eleventy Starter Kit
Eleventy · 启动器
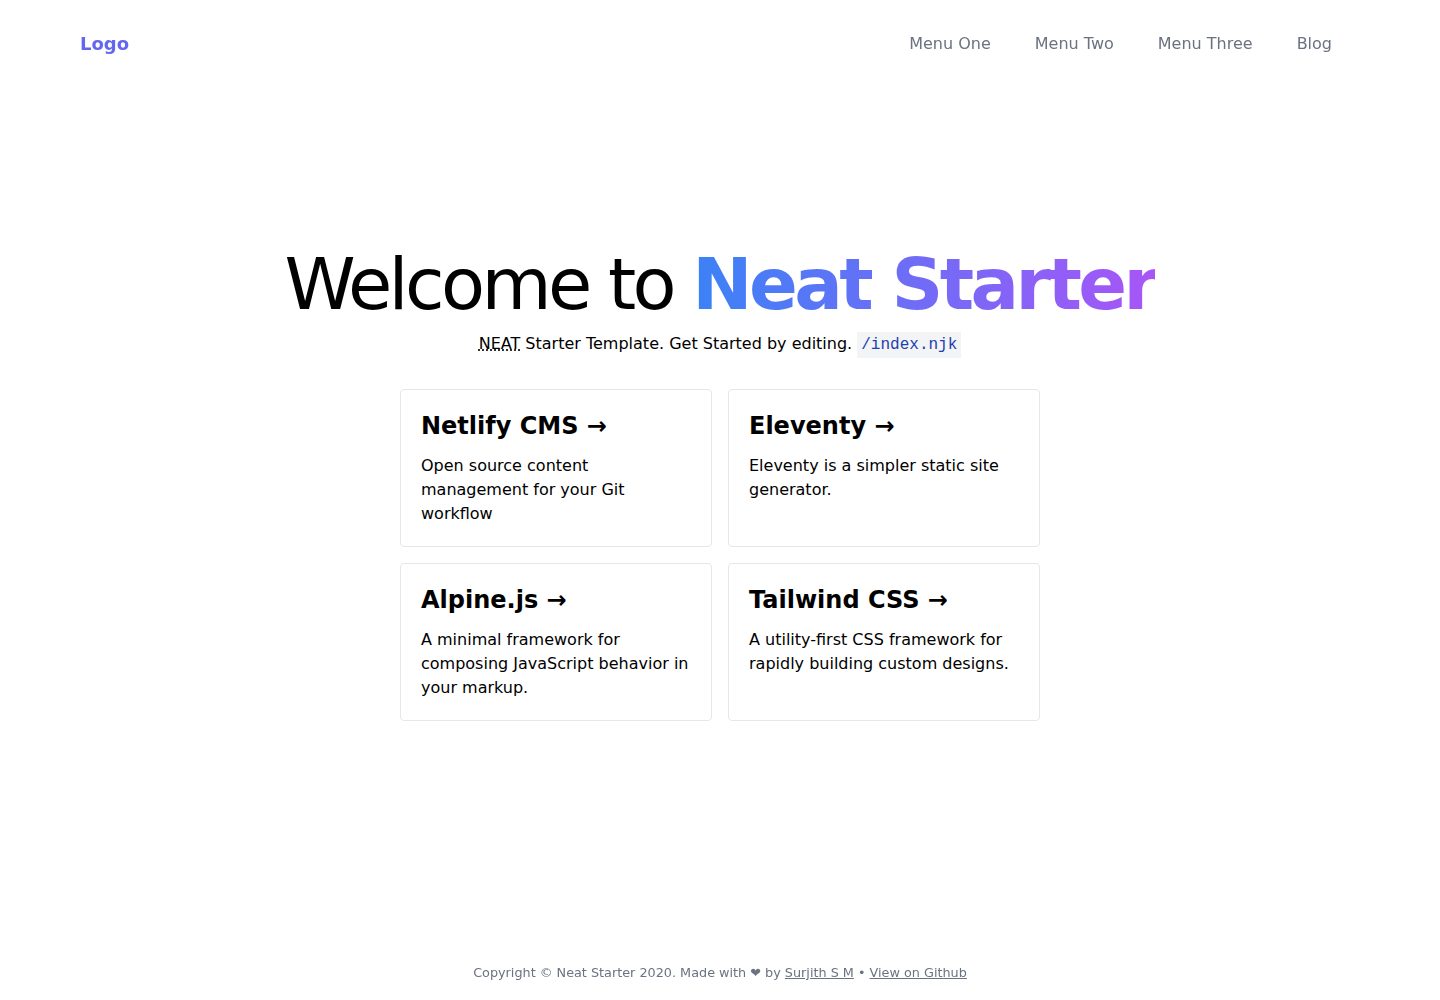
neat-starter
Starter Template for Netlify CMS, Eleventy, Alpine JS & Tailwind CSS
Eleventy · 启动器
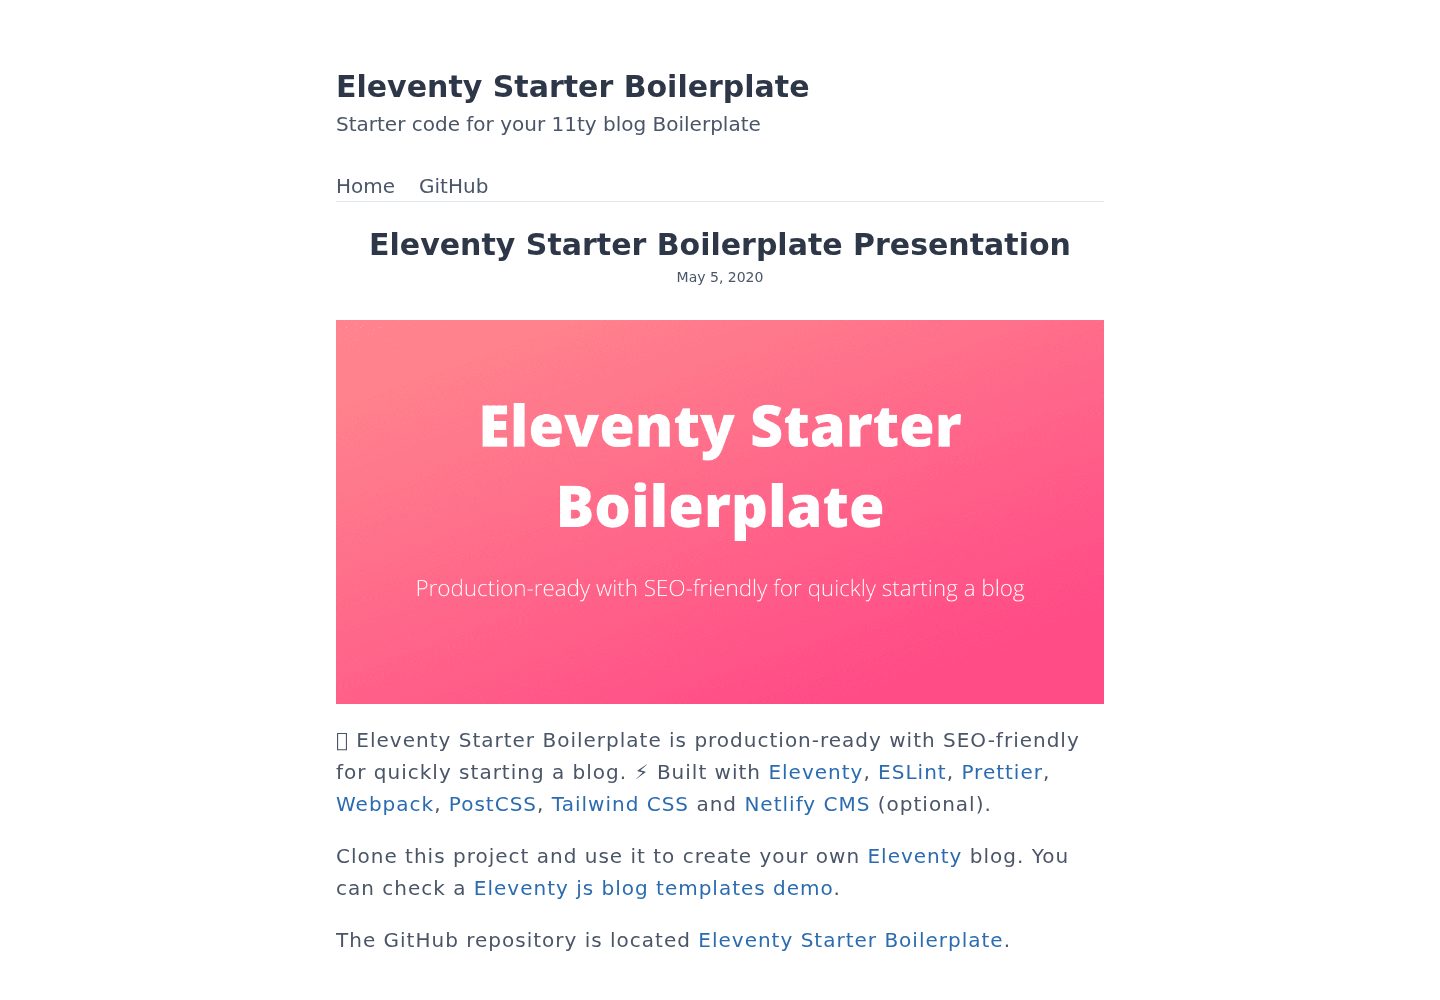
Eleventy-Starter-Boilerplate
🚀 Eleventy Starter is production-ready with SEO-friendly for quickly starting a blog. ⚡ Built with Eleventy, …
Eleventy · 博客
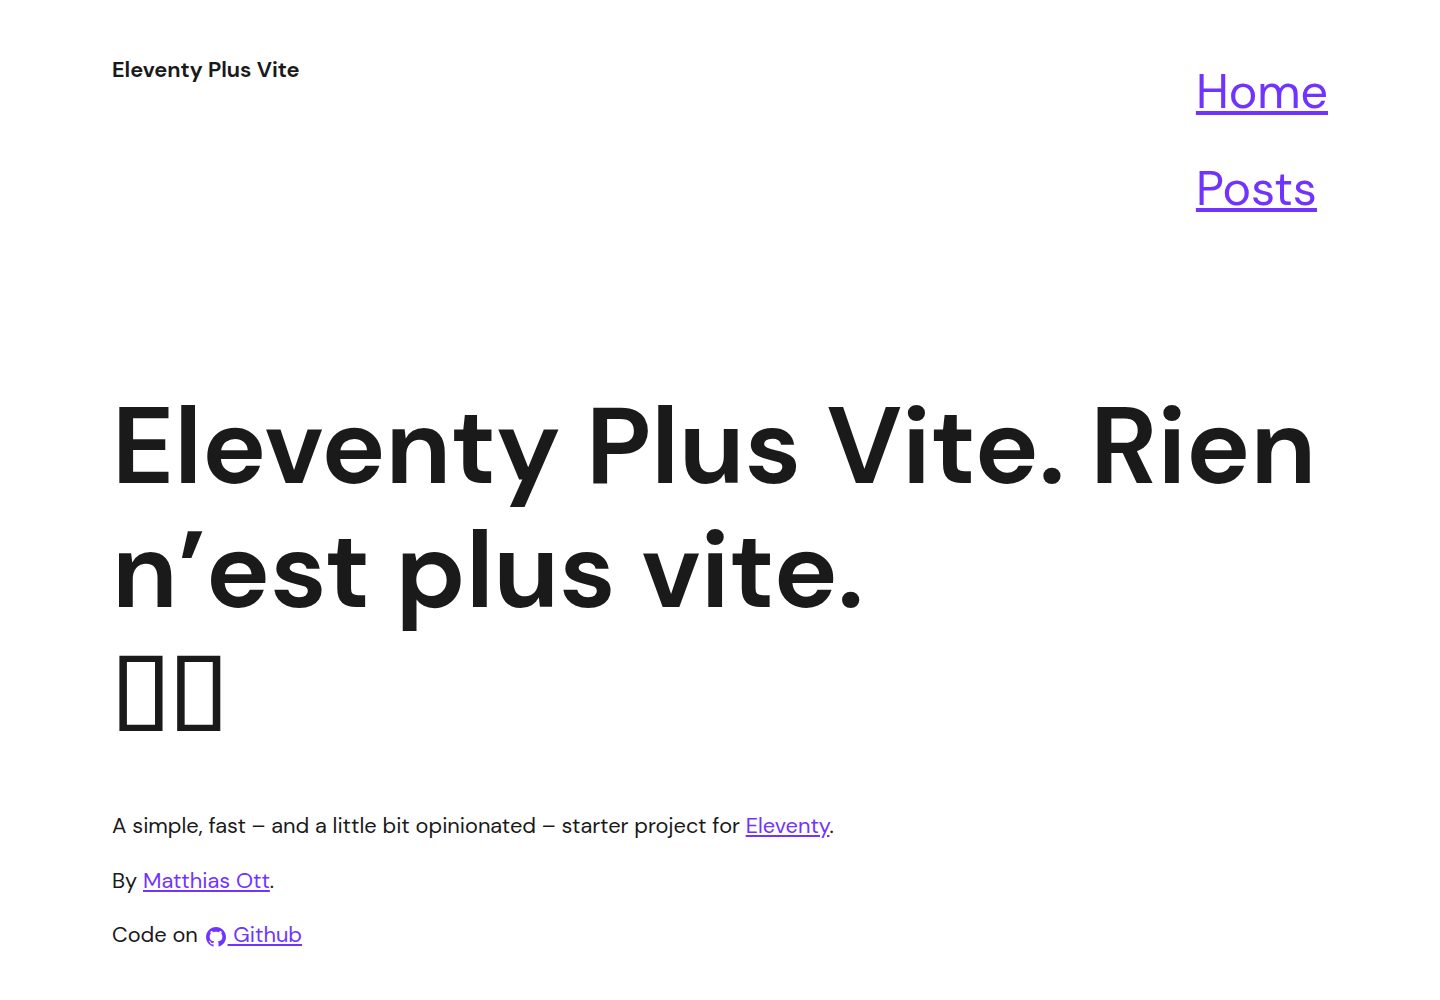
eleventy-plus-vite
A clean and fast Eleventy Starter Project with Vite
Eleventy · 启动器