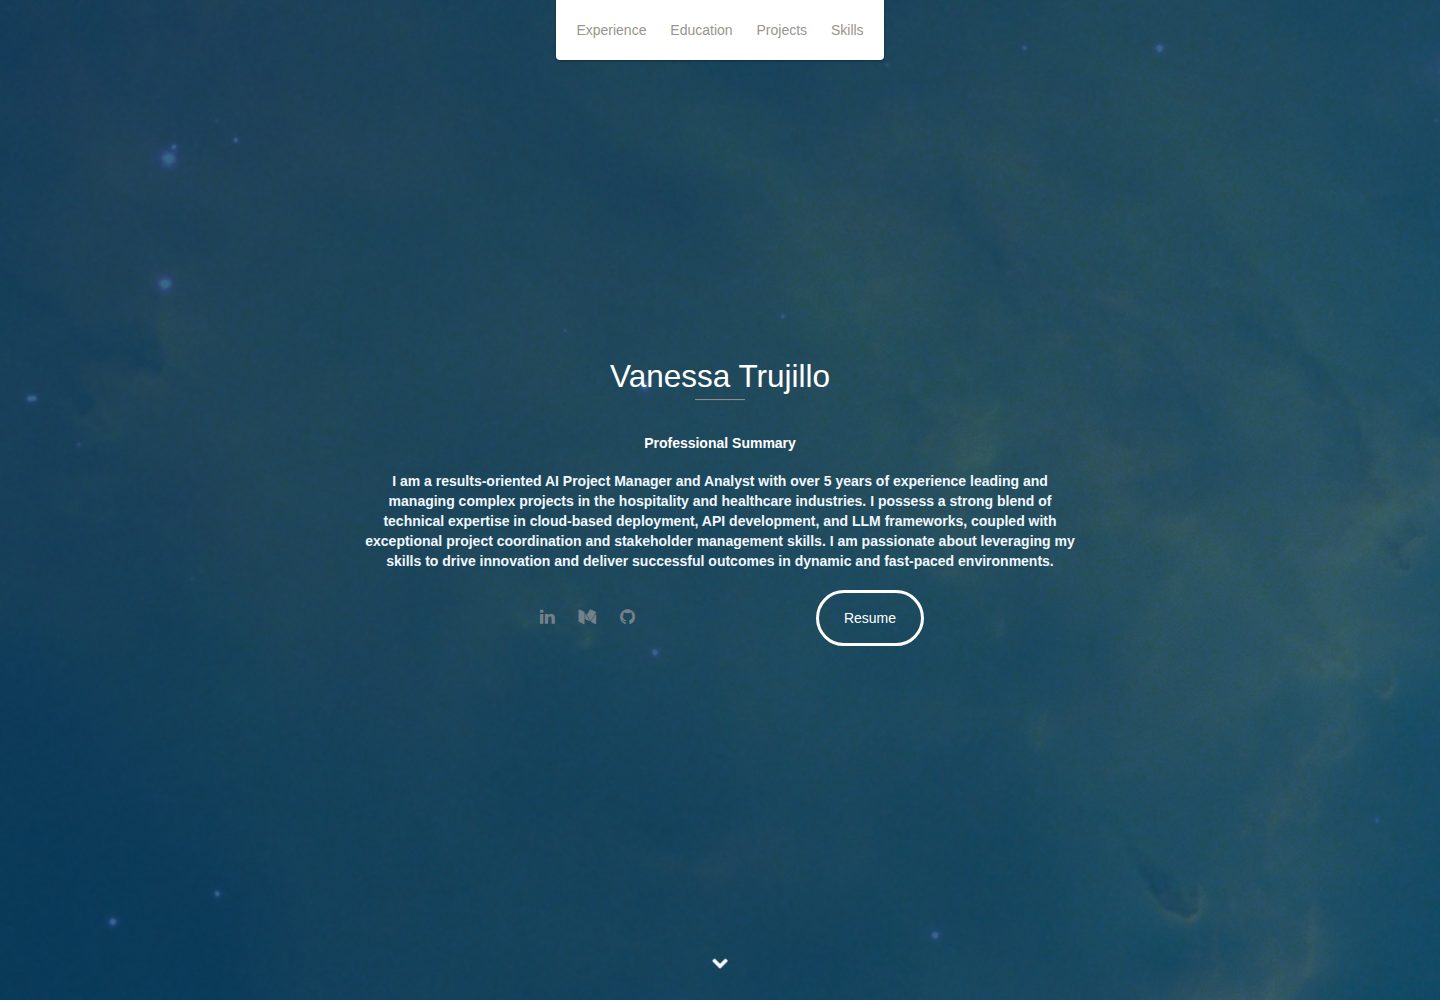
Static HTML pages, including header navigation and sections for about, experience, education, projects, skills, and contact
HTMLPortfolio
personal-website — HTML Portfolio Template
By trujivan
A static personal portfolio site customized from the Dev Portfolio template, using HTML, Sass, and JavaScript to present skills, experience, and resume for job applications to employers.
Explore the design
Compare the page layouts and mobile experience. Open any screenshot for a closer look.
Desktop homepage1 / 2
Desktop captureTop of page
Actual screenshot captured by the server browser.
All pages & views 2
Screenshots show visual appearance; interactive behavior may differ.
Recorded 2026-10-02View source
What stands out
A quick read of the recorded project description.
The experience section generates a vertical timeline via JavaScript, with dates configured through data-date attributes
Styles are written in Sass, with colors and other aspects uniformly adjusted through stylesheet variables
The projects section supports both with-image and without-image formats, and can optionally use a 'see more projects' collapsible feature
The contact form integrates Formspree and requires hosting on a server that can generate a referrer header
Provides a Gulp workflow that can automatically compile Sass and minify JavaScript
Template Details
This is a personal portfolio website derived from RyanFitzgerald's Dev Portfolio template, used by the author to present their skills, experience, and resume to potential employers. The site is a static page, with styles written in Sass, experience timeline generated by JavaScript, and the Bootstrap grid system and Font Awesome icons included.
The page structure includes header navigation, a name and job title display area, and sections for about, experience, education, projects, skills, contact, and footer. The experience section generates a vertical timeline via js/scripts.js, with data written in the HTML data-date attributes; the projects section supports both with-image and without-image formats, and optionally implements a 'see more projects' collapsible display; the skills section is a skill cloud in the form of an unordered list. The contact form relies on the Formspree service, requires the page to be hosted on a server that can generate a referrer header, and requires filling in the email address pointed to by the form action.
There are two ways to use it: when using the ready-made page directly, simply keep the css, images, js, libs directories and index.html, and replace the text and images within; when needing to modify styles or scripts, install Gulp dependencies via npm, run Gulp watch or npm run watch, and let Sass compile to css/styles.css and JavaScript minify to js/scripts.min.js. The color scheme is uniformly adjusted through variables such as $base-color in the stylesheet.
In terms of limitations: the repository is a personal customized branch with 0 stars, and the README content basically follows the upstream template description; project images, background images, etc. in the template are placeholder assets and need to be replaced by yourself; Formspree quotas and fees, as well as licenses for third-party assets such as fonts and icons, need to be checked separately.
HTMLPortfolio
Is it right for your project?
Use Cases
- Job seekers organizing personal skills, experience, and projects to create an online resume page for employers
- Directly replacing text and images in index.html to quickly launch a static personal homepage
- Adjusting primary and background colors in Sass variables to change the site-wide color scheme
- Updating work experience display by modifying timeline data in js/scripts.js
Suitable For
- Developers who need a static personal portfolio or resume page
- Users familiar with HTML and Sass who are willing to manually edit content
- People who want to make minor customizations based on an existing template and deploy it themselves
Getting started & customization
Use these recorded setup notes alongside the repository instructions for your chosen version.
- 1
When using the ready-made page directly, keep the css, images, js, libs directories and index.html, and replace the content and images within
- 2
When needing to modify styles or scripts, first run npm install to install Gulp dependencies, then run Gulp watch or npm run watch to compile
- 3
The contact form requires replacing the email in the Formspree form action with your own address, and ensuring the page is hosted on a server that can generate a referrer header
- 4
The project images and background images included in the template are placeholder assets; it is recommended to replace them with personal content
- 5
Formspree service quotas and fees, as well as licenses for third-party assets such as fonts and icons, need to be checked separately
License & source material
Usage conditions & limitations
Free to use · keep license noticeThis entry covers the free version under the MIT license in the public repository; the free scope is the code of this version and does not mean external services or third-party assets are free.
Must comply with when using
- Allows free use, modification, commercial use, and distribution of this version's code.
- When distributing copies or substantial portions of the code, retain the original author's copyright notice and the full MIT license notice.
- The code is provided as is; warranties and limitations of liability are governed by the original license and applicable law.
Additional costs & items to verify
- The contact form relies on the Formspree service, and the page must be hosted on a server that can generate a referrer header; opening the HTML directly locally will not allow the form to work.
- Using the contact form requires replacing the email in the Formspree form action with your own address, otherwise the form cannot be delivered properly.
- The main background image comes from Unsplash, whose license differs from the project code license; you need to check and comply with the corresponding asset authorization yourself.
- Project images and other assets are placeholders and should be replaced or removed; they cannot be used directly as final content.
- The README mentions the Formspree form service; actual submission requires configuring a service endpoint, and its usage quotas and fees need to be checked separately.
- Demo images, fonts, icons, and other third-party assets need to be checked according to their respective licenses; they cannot be judged solely based on the code's MIT license.
- External services such as domains, hosting, databases, payments, or AI may incur additional charges.
View Original Text Basis
Permission is hereby granted, free of charge
Original License Text
To use it, you must have the page hosted on a server (loading a basic HTML page won't work) where a referrer header is generated.
Original README
simply add the email to the action
Original README
this is the main background image provided via [Unsplash](https://unsplash.com/)
Original README
https://github.com/trujivan/personal-website/blob/master/LICENSE.mdhttps://github.com/trujivan/personal-website/blob/master/README.mdThese are simply placeholders and should either be replaced or removed.
Original README
Compiled by DeepSeek based on repository license and README ·2026-10-03. Results only cover the materials read; dependencies, images, fonts, and subsequent term changes are subject to their respective original texts.
Project checks & description sources
Template Information
- Source platforms
- GitHub
- Documentation and maintenance reference score
- Partly documented · 74 / 100
- Technologies
- HTML
- Website type
- Portfolio
How this score is calculated
Our heuristic uses license records (up to 30), a demo link (12), a preview (10), stars (15), recorded maintenance (15), description completeness (8), feature records (5) and classification data (5). It is not a code, security or performance test, or a Google score. A link does not establish tested functionality.
What to verify for this project
- Repository update recorded
- 2025-01-18
- Screenshot last checked
- 2026-10-03
A demo link is listed. Check it with your own content and viewport sizes; its presence does not confirm that forms, authentication or payments work.
The catalog identifies HTML as the primary stack. Check the actual dependency manifest and lockfile for versions and hosting requirements. These notes use recorded metadata, not a code audit or a deployment test.
Use a selection guide →How this description was prepared
AI-assisted description based on catalog records and repository material. Repository authors are not automatically the reviewers of this description.
Review declaration: [email protected] · 2026-10-04
Inspect the recorded source material
SHA-256: efde03c1b5cf17c275043f07d2e5149e09baac083585a17cb0c051a1642dbd62
2026-10-03T23:17:47.049Z
Source file / repository# Dev Portfolio
This repo contains an easy-to-customize personal dev portfolio template that was created with Sass and JavaScript. It is lightweight and fully responsive, as well as comes with the Bootstrap grid system and loaded with Font Awesome. The site is static and comes production ready if you just want to add your information and go. Alternatively, you can edit styles, colours, and scripts fairly easily. The site was built as modular as possible to make it easy to shift around styles and content.
To view a live demo, [click here](https://ryanfitzgerald.github.io/devportfolio/).
Looking for a blog template? Checkout [DevBlog](https://github.com/RyanFitzgerald/devblog).
## Features
* Gulp ready (compiles Sass and minifies JS)
* Sass ready with lots of commenting
* Fully responsive
* Comes with Bootstrap grid system
* Easy colour changes can be done through simple variable edits
## Contents
- [Setup and Configuration](#setup-and-configuration)
- [Making Edits / Customizing the Template](#making-edits--customizing-the-template)
- [Using the Template As Is](#using-the-template-as-is)
- [Customization and Editing](#customization-and-editing)
- [General](#general)
- [Images](#images)
- [Header Section](#header-section)
- [Lead Section](#lead-section)
- [About Section](#about-section)
- [Experience Section](#experience-section)
- [Education Section](#education-section)
- [Projects Section](#projects-section)
- [Skills Section](#skills-section)
- [Contact Section](#contact-section)
- [Footer Section](#footer-section)
- [Optional Sections](#optional-sections)
- [Changelog](#changelog)
- [License](#license)
## Setup and Configuration
The setup required can be broken into two types:
1. If you want to make edits or customize the template
2. If you just want to add your information as use as is
### Making Edits / Customizing the Template
To setup, simply fork the repo and run `npm install` in order to get all the Gulp dev dependencies. Next, run `Gulp watch` to compile the Sass and minify the JavaScript. Alternatively, if you don't have Gulp installed globally, you can run the npm script `npm run watch`. Any changes done to the JavaScript (js/scripts.js) or Sass (sass/styles.scss) will be autocompiled and ready to go.
All scripts are within `js/scripts.js` and get minified to `js/scripts.min.js`. All styles are in `sass/styles.scss` and get compiled to `css/styles.css`. Both the minified scripts file and compiled CSS file are what is loaded on the page by default.
At this point, the page is ready to go and you can begin to add your own information and make any needed changes. The sections below contains a quick breakdown of each of the default sections and how they work.
### Using The Template As Is
If you wish to use the template as is (i.e. how it's seen in the demo), then all that's required is the `css`, `images`, `js`, `libs` folders and the `index.html` file. You would then add your content to `index.html` as needed and you're good to go!
## Customization and Editing
### General
In general, most styles on the page are based off the definitions of variables in the variable section of the style sheet:
```SCSS
// Define base and accent colors
$base-color: #3498db;
$base-color-hover: darken($base-color, 10%);
// Define background colors
$background: #fff;
$background-alt: #f2f2f5;
// Define border colors
$border: #dcd9d9;
// Define text colors
$heading: #374054;
$text: #74808a;
```
If you wish to change the general colour scheme of the page for example, simply change the value of `$base-color`.
There is also a number of default CSS classes that can be applied such as `.shadow`, `.shadow-large`, `.btn-rounded-white`, and various others. These can be found under the General Styles section in the style sheet.
### Images
By default, the template comes with a number of images, some of which can be kept and others which act simply as placeholders and should be switched. The template contains the following:
* Main background (images/lead-bg.jpg) - this is the main background image provided via [Unsplash](https://unsplash.com/). This can be kept or changed easily by replacing `images/lead-bg.jpg` with your new background (recommended size of at least 1920x1080).
* Favicon (/favicon.ico) - this is the favicon used for the page. Similar to the main bg, this can kept or changed easily by replacing the `favicon.ico` with your new one.
* Project image - these are the images associated with the projects under the project section. These are simply placeholders and should either be replaced or removed.
### Header Section
The header section can be found within the `<header>` tag and simply contains an unordered list of anchors to different sections of the page. If you add a new section and want to be able to quickly navigate to it from the top, simply add another list element with an anchor that has the href of the ID of the section. Conversely, if you remove a section, don't forget to remove the associated navigation element.
If you wish to add a header link to an external page, simply add the class `no-scroll` to the anchor. For example:
```HTML
<li>
<a href="https://google.com" class="no-scroll">Google</a>
</li>
```
If you wish to have a sticky (fixed) header, you simply need to add a class of `sticky` to the main header. For example, that would be accomplished as follows:
```HTML
<header class="sticky">
<!-- Header content -->
</header>
```
### Lead Section
The Lead section is pretty straightforward, it contains an h1 for your name and an h2 for your title. It also contains a link that can be used to link to your resume should you wish to add it as well.
If you want your resume to automatically download when the button is clicked instead of opening up in another tab (the default behaviour), add the following code (Thanks to jkfran for the suggestion) in the lead:
```HTML
<a href="path/to/resume.pdf" download="resume.pdf" class="btn-rounded-white">Download Resume</a>
```
The href attribute points to where your resume is stored and the download attribute is what triggers the download / provides the name the file will be downloaded as when the user clicks the button (In this case, it will download as resume.pdf).
### About Section
The about section contains a quick about blurb that can be edited by changing the text within the paragraph tags.
### Experience Section
The experience section creates a vertical timeline with all your relevant experience. The code for the timeline creation can be found within `js/scripts.js` and is an adaptaion of [RyanFitzgerald/vertical-timeline](https://github.com/RyanFitzgerald/vertical-timeline).
The default format is as follows:
```HTML
<div id="experience-timeline">
<div data-date="September 2015 – September 2016">
<h3>Employer Name</h3>
<h4>Job Title</h4>
<p>
Lorem ipsum dolor sit amet, consectetur adipiscing elit. Curabitur in iaculis ex.
</p>
</div>
</div>
```
The data attribute `data-date` is what is used to add a date to the associated timeline point. All that is really required is a wrapping div (i.e. `#experience-timeline`) and nested divs to build the timeline. The h3, h4, and p tags are optional and the contents of the div can be styled however you wish.
To add additional section, simply add additional nested divs under the main wrapping div.
### Education Section
The Education is just a series of `.education-block` classes with some details associated with them. By default, it shows school name, date, degree, and some additional details. For example:
```HTML
<div class="education-block">
<h3>University of Ottawa</h3>
<span class="education-date">Sept 2016 - Sept 2017</span>
<h4>Bachelor of Science in Computer Science</h4>
<p>
Lorem ipsum dolor sit amet, consectetur adipiscing elit. Curabitur in iaculis ex.
</p>
</div>
```
To add additional section, simply add additional `.education-block` elements.
### Projects Section
The Project section contains a number of `.project` elements that represent each of your projects. By default, it contains a 300x300 image under `.project-image` and relevant project information under `.project-info`. An example is as follows:
```HTML
<div class="project">
<div class="project-image">
<img src="images/project.jpg" />
</div>
<!-- End .project-image -->
<div class="project-info">
<h3>Project Name Here</h3>
<p>
Lorem ipsum dolor sit amet, consectetur adipiscing elit. Curabitur in iaculis ex.
</p>
<a href="#">View Project</a>
</div>
<!-- End .project-info -->
</div>
```
If you want to hide some projects by default, you can throw them in an additional row and add the markup for the "Show More" button. This would be done as follows:
```HTML
<!-- Projects Above -->
<a id="view-more-projects" href="#">View More Projects</a>
<div id="more-projects" class="row">
<div class="project shadow-large">
<div class="project-image">
<img src="images/project.jpg" />
</div>
<!-- End .project-image -->
<div class="project-info">
<h3>Project Name Here</h3>
<p>
Lorem ipsum dolor sit amet, consectetur adipiscing elit. Curabitur in iaculis ex. Etiam volutpat laoreet urna. Morbi ut tortor nec nulla commodo malesuada sit amet vel lacus. Fusce eget efficitur libero. Morbi dapibus porta quam laoreet placerat.
</p>
<a href="#">View Project</a>
</div>
<!-- End .project-info -->
</div>
<!-- End .project -->
</div>
```
This will add a link that says "View More Projects" under the current projects and when clicked, all projects in the "More-projects" div will be shown. This is optional functionality and isn't provided by default. It is important that you keep the wrapping div ID intact ("#more-projects") as well as the anchor ID ("#view-more-projects"), however the contents of the div and the anchor text itself can be edited however you like.
#### Projects without images
If you do not wish to have a project image associated with a project, you can simply add `no-image` as an additional class to the project. It would look like the following:
```HTML
<div class="project no-image">
<div class="project-info">
<h3>Project Name Here</h3>
<p>
Lorem ipsum dolor sit amet, consectetur adipiscing elit. Curabitur in iaculis ex.
</p>
<a href="#">View Project</a>
</div>
<!-- End .project-info -->
</div>
```
### Skills Section
The Skills section is simply an unordered list that spits out a "Skill Cloud" with all the skills listed. To add / remove skills, simply edit or add list elements, like so:
```HTML
<ul>
<li>JavaScript</li>
<li>Python</li>
<li>Ruby</li>
<li>Go</li>
<li>Node.js</li>
</ul>
```
### Contact Section
Since the page is static, I opted to use the awesome Formspree to allow for a contact form without the need for anything else. To use it, you must have the page hosted on a server (loading a basic HTML page won't work) where a referrer header is generated. Also, simply add the email to the action. An example is as follows:
```HTML
<form method="POST" action="https://formspree.io/[email protected]">
<input type="hidden" name="_subject" value="Contact request from personal website" />
<input type="email" name="_replyto" placeholder="Your email" required>
<textarea name="message" placeholder="Your message" required></textarea>
<button type="submit">Send</button>
</form>
```
For more information on configuration of the contact form or dealing with errors, check out [Formspree](https://formspree.io/).
For a quick tutorial about formspree, check out this [tutsplus tutorial](https://webdesign.tutsplus.com/tutorials/quick-tip-add-a-formspree-form-to-your-static-sites--cms-23870) that covers different aspects and features of the form tool.
### Footer Section
The Footer contains an optional copyright where you can place your name as well as an unordered list of all of your social or coding related profiles. By default it contains Github, Stack Overflow, Facebook, Twitter, and Google Plus. You can add or remove them easily and simply use the Font Awesome icon associated with the social profile you wish to use. For a list of all icons, [click here](http://fontawesome.io/icons/).
### Optional Sections
The template comes with an optional section that can be added to the page markup to list things like Certifications, Hobbies, and more (Note: these are not included by default). The markup for the additional optional section is as follows:
```HTML
<div class="optional-section background-alt">
<h2 class="heading">Section Name</h2>
<div class="optional-section-block">
<h3>Some content title</h3>
<p>
Lorem ipsum dolor sit amet, consectetur adipiscing elit. Curabitur in iaculis ex. Etiam volutpat laoreet urna. Morbi ut tortor nec nulla commodo malesuada sit amet vel lacus. Fusce eget efficitur libero. Morbi dapibus porta quam laoreet placerat.
</p>
<ul>
<li>
Lorem ipsum dolor sit amet, consectetur adipiscing elit.
</li>
<li>
Lorem ipsum dolor sit amet, consectetur adipiscing elit.
</li>
<li>
Lorem ipsum dolor sit amet, consectetur adipiscing elit.
</li>
</ul>
</div>
<!-- End .optional-section-block -->
</div>
<!-- End .optional-section -->
```
You can copy .optional-section-block for each new item you wish you have in the optional section. Also, the background-alt class may need to be removed depending on where the optional section is placed in your layout as this adds the grey background. If you play it at the bottom after "Skills", it can be used as is. Also, by default the border is applied at the top, but this can also be adjusted as needed.
The optional section blocks have styling for h3 (the block title), h4, p, and ul tags by default.
## Changelog
### 1.2.1
* Updated dependencies and gulpfile
* Added `no-image` optional class for projects without images (see above for usage)
### 1.2.0
* Added support for optional "Show More Projects" that hides some projects by default if included
* Added optional sections to display certifications, languages, etc.
### 1.1.3
* Added default favicon to be used or changed
* Added `sticky` class to make header fixed
* Updated docs to add image section
### 1.1.2
* Added `no-scroll` class option to header navigation anchor if you want to link to external site
* Changed contact form input / textarea colours to be based off `$base-color`
* Changed main background to 100vh so it doesn't overflow if viewport height < 700px
### 1.1.1
* Made input placeholder text more readable
* Removed timeline line when no JS
* Added some basic styling to timeline when no JS
### 1.1.0
* Fixed menu toggle on mobile devices
* Fixed z-index / scrolling issue with mobile menu
* Mobile menu now closes once a nav element is hit
## License
Completely free (MIT)! See [LICENSE.md](LICENSE.md) for more.
Explore similar templates
Compare previews and descriptions within the same stack and category.
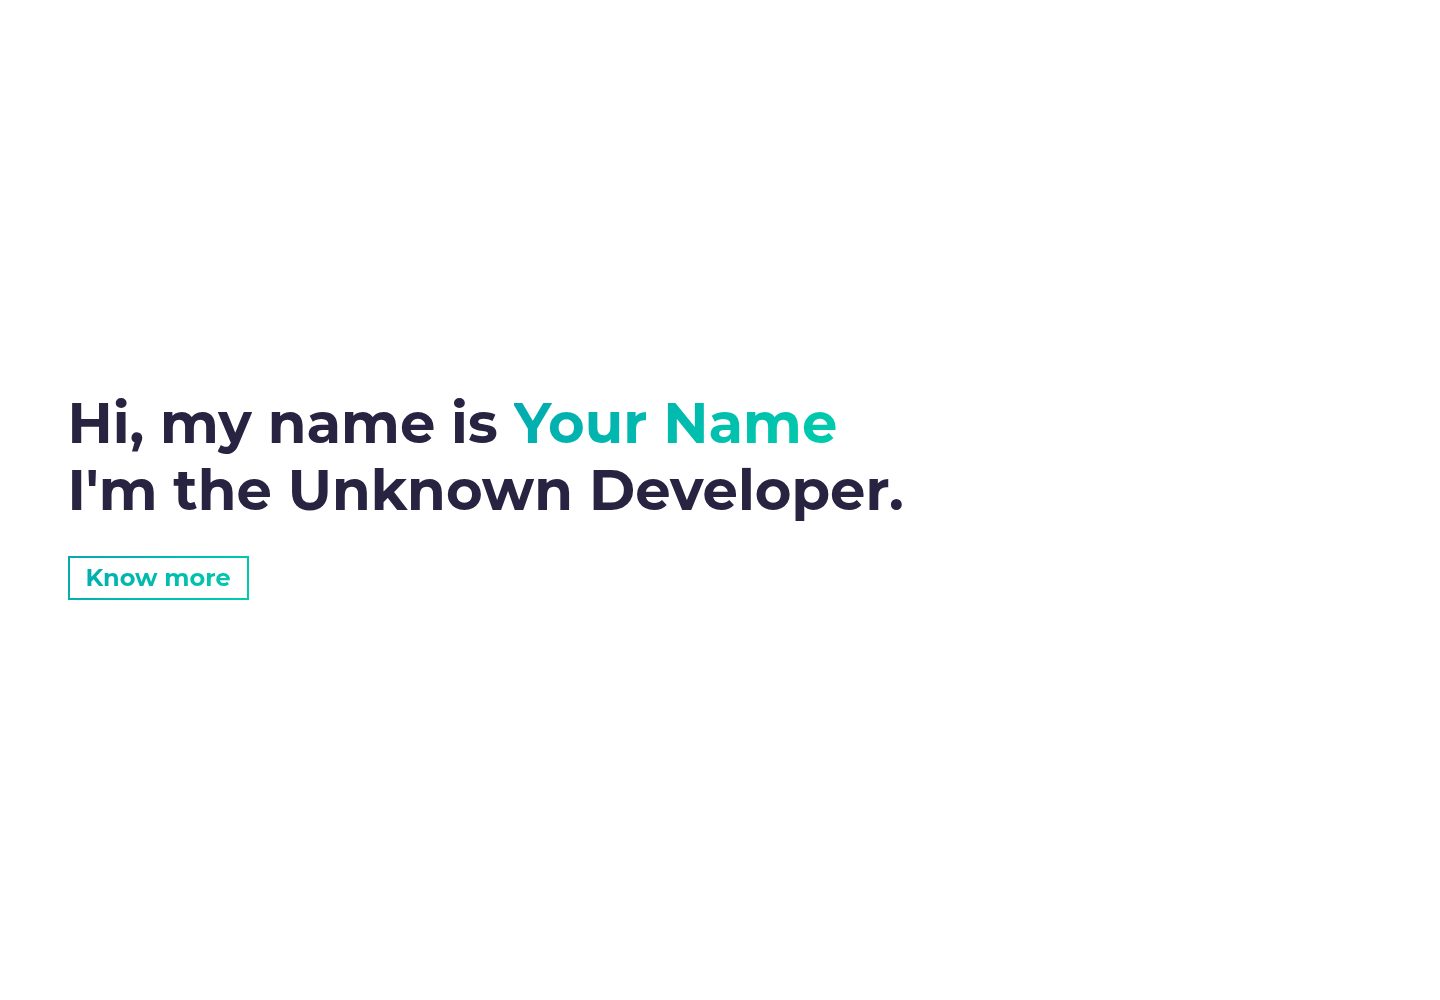
simplefolio
Simplefolio is a minimal single-page portfolio template for developers, built with HTML, Bootstrap, SCSS, and Parcel under the MIT license. It includes Hero, About, Projects, Contact, and Footer sections, with content edited in /src/index.html and theme colors controlled by two SCSS variables.
HTML · Portfolio
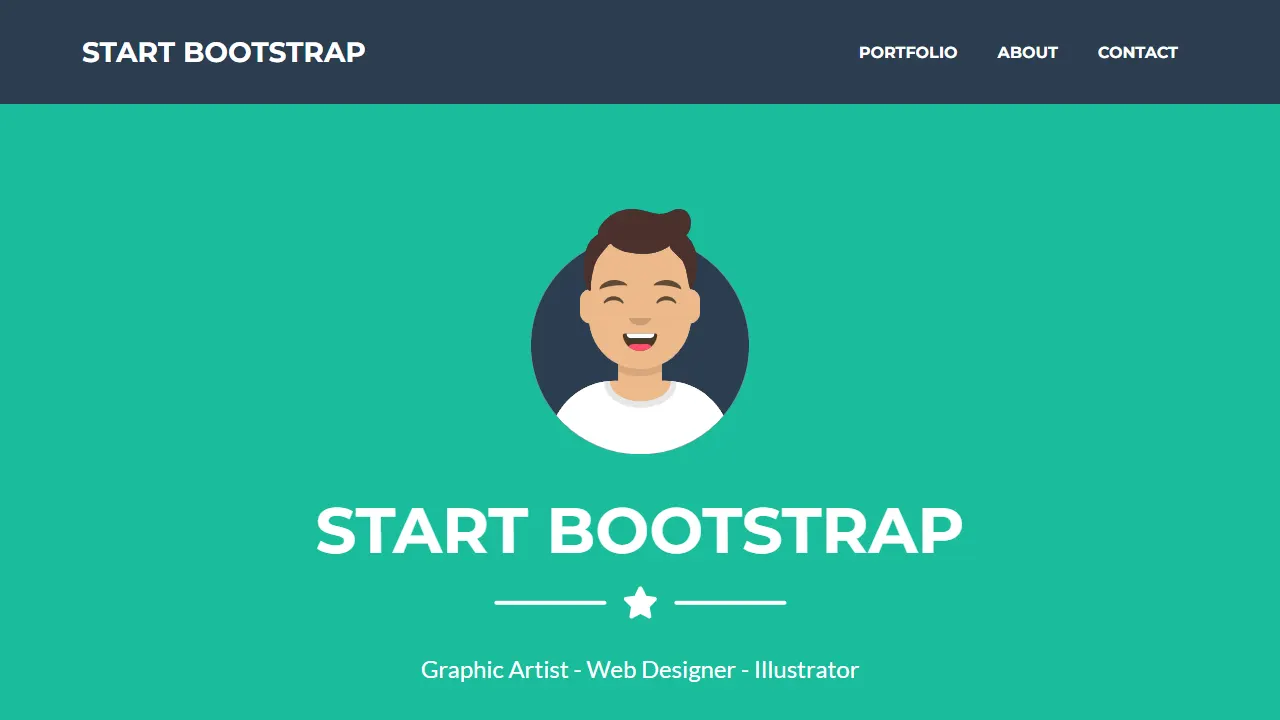
Freelancer
A bright, single-page Bootstrap portfolio template for freelancers, designers, and small studios. It includes a responsive portfolio grid with modal detail windows and an SB Forms contact form that requires an API token.
HTML · Portfolio
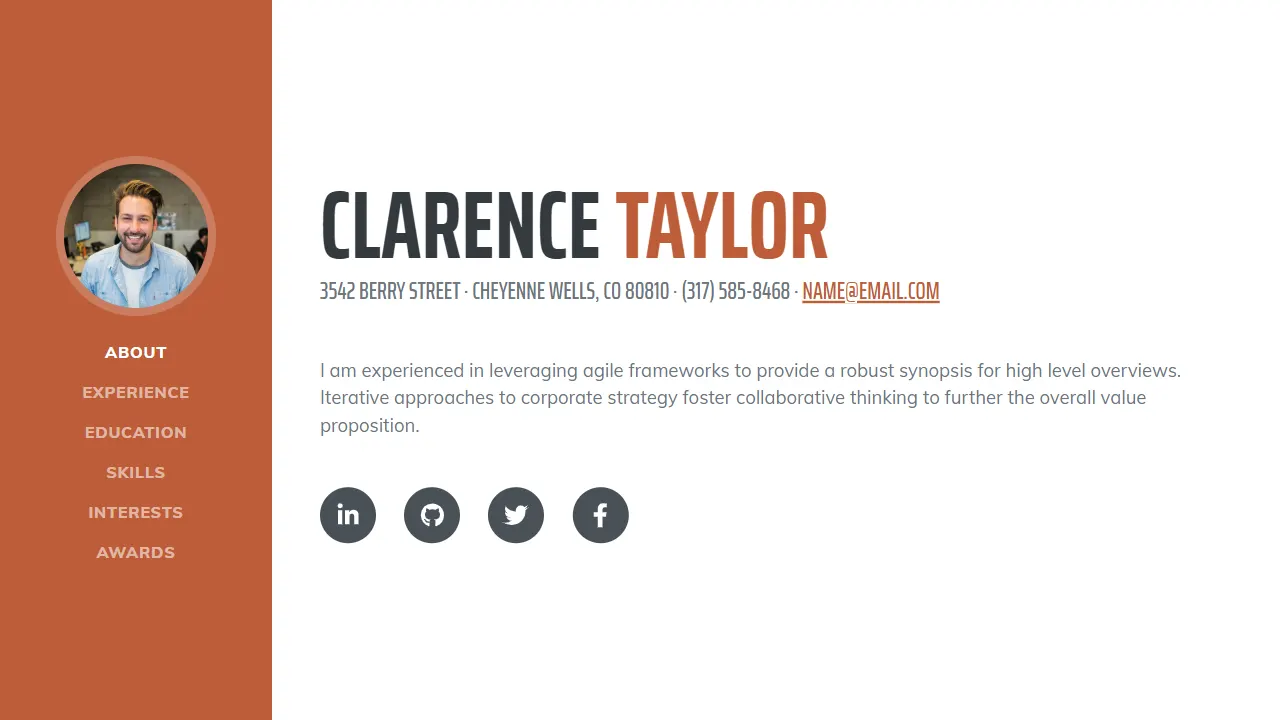
Resume
A single-page resume and CV template from Start Bootstrap, built on Bootstrap with a fixed sidebar and content sections.
HTML · Portfolio
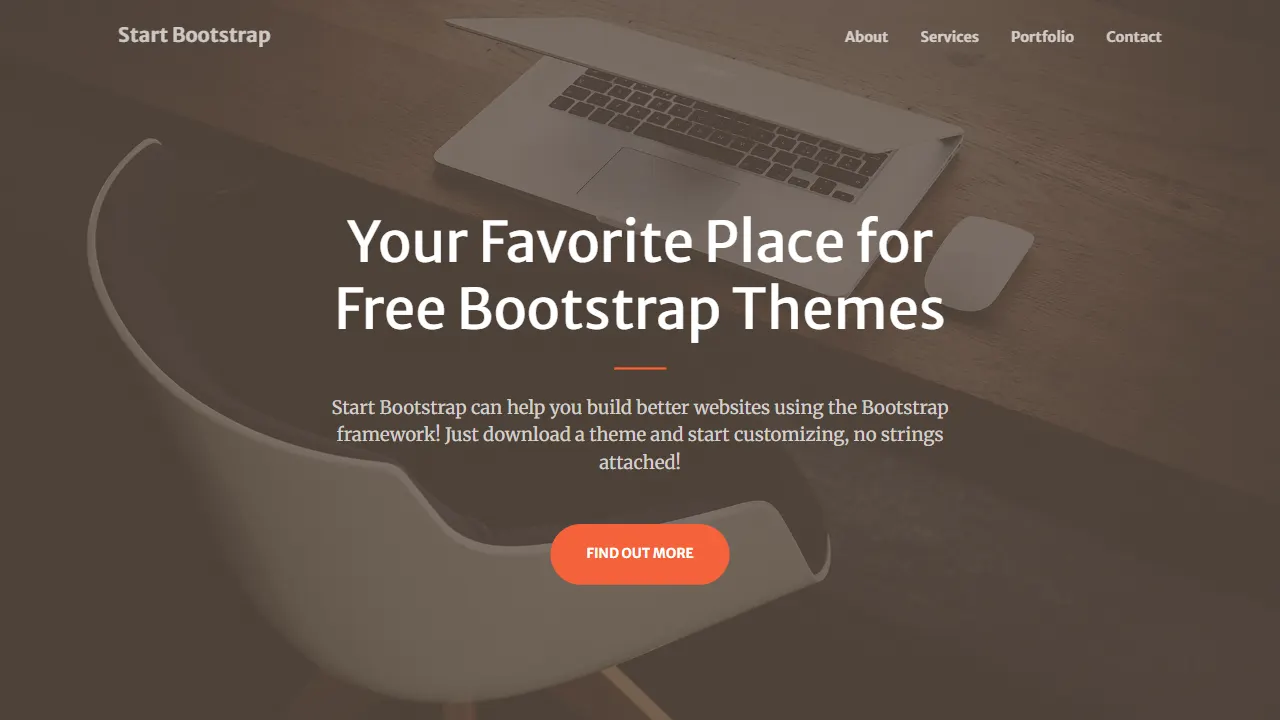
Creative
A single-page marketing template by Start Bootstrap for creative agencies and product services, built on Bootstrap with SCSS, featuring a portfolio grid and call-to-action sections. It includes pre-set SB Forms markers for form integration and npm build scripts for source customization.
HTML · Corporate Website
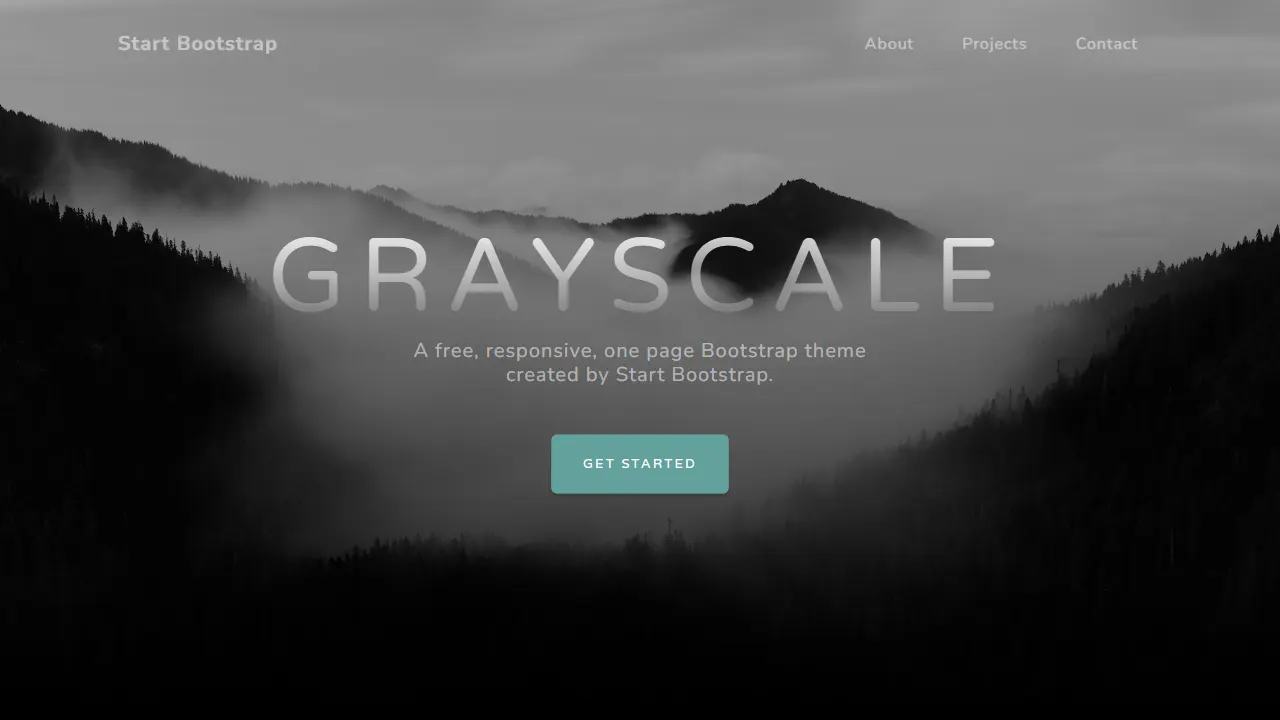
Grayscale
A dark single-page Bootstrap template from Start Bootstrap for photography, events and brand storytelling, with a large hero and clearly separated sections.
HTML · Corporate Website
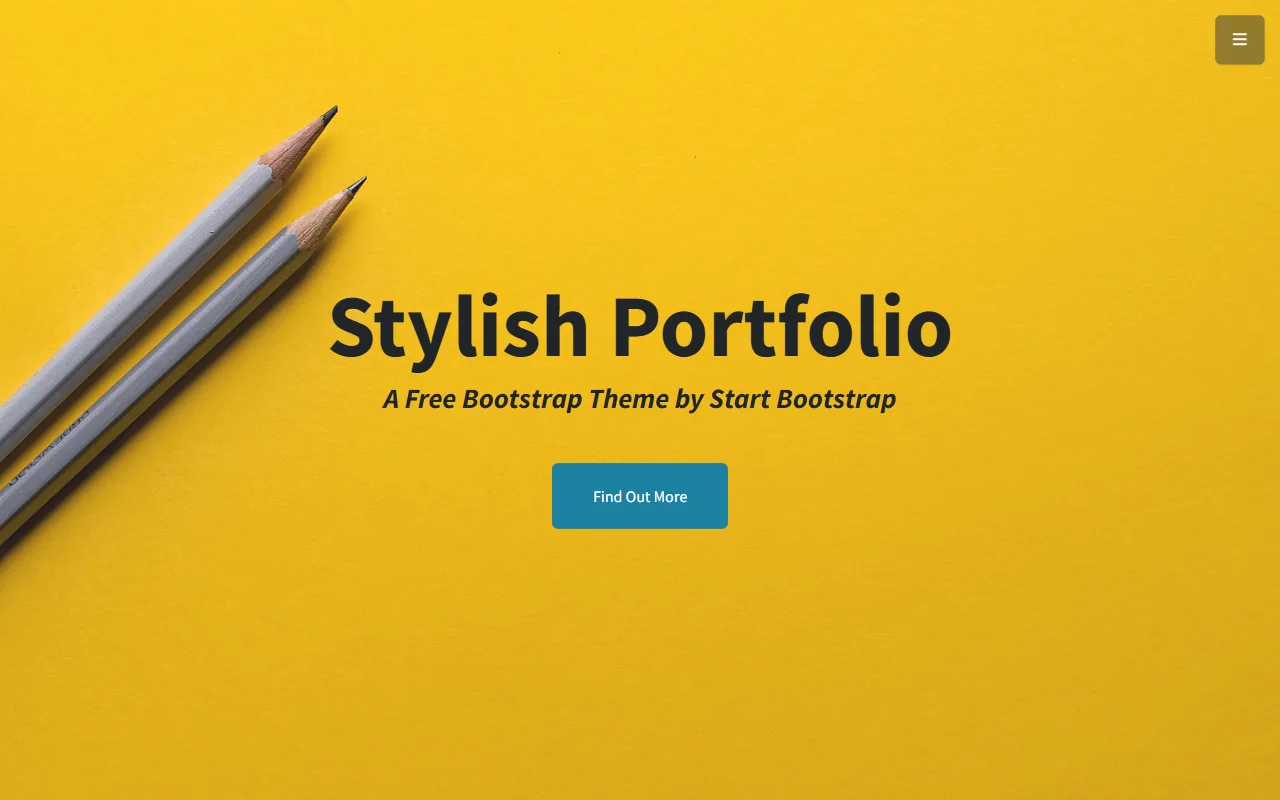
startbootstrap-stylish-portfolio
A one-page Bootstrap portfolio theme from Start Bootstrap with multiple content sections and an off-canvas navigation menu. Basic use means editing HTML/CSS under dist and opening index.html; advanced use relies on npm with Pug and SCSS build scripts.
HTML · Portfolio