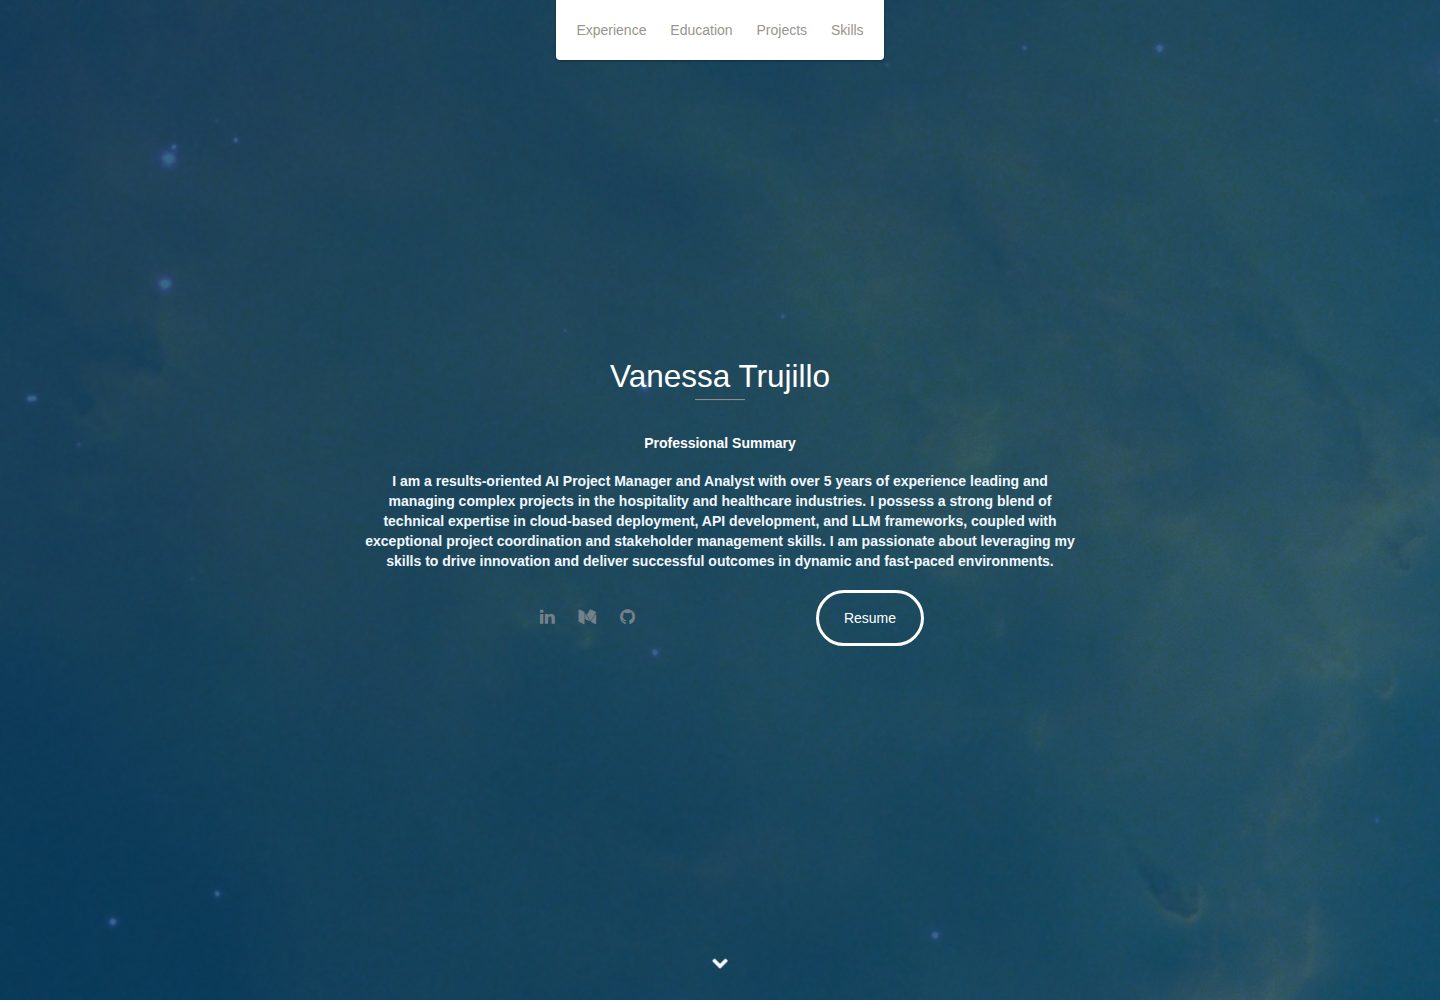
静态 HTML 页面,包含头部导航、关于、经历、教育、项目、技能、联系等区块
HTML作品集
personal-website — HTML 作品集模板
作者 trujivan
基于 Dev Portfolio 模板定制的个人作品集静态站点,用 HTML、Sass 与 JavaScript 展示技能、经历与简历,供求职时向雇主呈现。
看看你的网站会是什么样
浏览真实页面截图,比较内容排版与手机效果。点击下方缩略图切换,放大查看整页细节。
全部页面与视图 2
截图用于了解视觉与布局,交互效果请以实际项目为准。
采集于 2026-10-02查看来源
值得关注的模板亮点
从已有项目资料中,快速了解它的特点。
经历区由 JavaScript 生成垂直时间线,日期通过 data-date 属性配置
样式使用 Sass 编写,颜色等通过样式表变量统一调整
项目区块支持配图与不配图两种形式,并可选用“查看更多项目”折叠功能
联系表单接入 Formspree,需托管在可生成 referrer 头的服务器上
提供 Gulp 工作流,可自动编译 Sass 并压缩 JavaScript
模板详细介绍
这是一个从 RyanFitzgerald 的 Dev Portfolio 模板派生出的个人作品集网站,作者用它来呈现自己的技能、经历和简历,面向潜在雇主。站点为静态页面,使用 Sass 编写样式、JavaScript 生成经历时间线,并引入 Bootstrap 栅格系统与 Font Awesome 图标。
页面结构包含头部导航、姓名与职位展示区、关于、经历、教育、项目、技能、联系和页脚等区块。经历部分由 js/scripts.js 生成垂直时间线,数据写在 HTML 的 data-date 属性中;项目区块支持配图或不配图两种写法,并可选实现“查看更多项目”的折叠展示;技能区为无序列表形式的技能云。联系表单依赖 Formspree 服务,需要页面托管在能生成 referrer 头的服务器上,并填写表单 action 指向的邮箱。
使用方式有两种:直接使用现成页面时,只需保留 css、images、js、libs 目录与 index.html,替换其中的文字和图片即可;需要改样式或脚本时,则通过 npm 安装 Gulp 依赖,运行 Gulp watch 或 npm run watch,让 Sass 编译为 css/styles.css、JavaScript 压缩为 js/scripts.min.js。颜色方案通过样式表中的 $base-color 等变量统一调整。
限制方面:仓库为个人定制分支,星标数为 0,README 内容基本沿用上游模板说明;模板中的项目图片、背景图等属于占位素材,需自行替换;Formspree 的额度与费用、字体与图标等第三方素材的许可需单独核对。
HTML作品集
适合你的项目吗?
适用场景
- 求职者整理个人技能、经历与项目,制作面向雇主的在线简历页面
- 直接替换 index.html 中的文字与图片,快速上线一个静态个人主页
- 在 Sass 变量中调整主色与背景色,改变整站配色
- 通过修改 js/scripts.js 中的时间线数据,更新工作经历展示
适合人群
- 需要静态个人作品集或简历页面的开发者
- 熟悉 HTML 与 Sass、愿意手动编辑内容的使用者
- 希望基于现成模板做少量定制并自行部署的人
上手与定制指南
结合仓库当前版本的说明,按下面的资料检查内容、配置与运行要求。
- 1
直接使用现成页面时,保留 css、images、js、libs 目录与 index.html,替换其中的内容与图片即可
- 2
需要修改样式或脚本时,先运行 npm install 安装 Gulp 依赖,再运行 Gulp watch 或 npm run watch 进行编译
- 3
联系表单需将 Formspree 表单 action 中的邮箱替换为自己的地址,并确保页面托管在能生成 referrer 头的服务器上
- 4
模板自带的项目图片与背景图属于占位素材,建议替换为个人内容
- 5
Formspree 服务额度与费用、字体和图标等第三方素材的许可需单独核对
授权与来源资料
使用条件与限制
免费使用 · 保留许可声明本次收录的是公开仓库中采用 MIT 许可的免费版本;免费范围为该版本代码,不代表外部服务或第三方素材免费。
使用时需要遵守
- 允许免费使用、修改、商用和分发该版本代码。
- 分发代码副本或实质性部分时,保留原作者版权声明和完整 MIT 许可声明。
- 代码按现状提供;担保与责任限制以原许可证及适用法律为准。
额外费用与待核对事项
- 联系表单依赖 Formspree 服务,页面必须托管在能生成 referrer 头的服务器上,本地直接打开 HTML 无法使用该表单。
- 使用联系表单需将 Formspree 表单 action 中的邮箱替换为自己的地址,否则表单无法正常投递。
- 主背景图来自 Unsplash,其许可与项目代码许可不同,需自行核对并遵守相应素材授权。
- 项目图片等为占位素材,应替换或移除,不能直接作为最终内容使用。
- README 提及 Formspree 表单服务;真实提交需配置服务端点,其使用额度与费用需单独核对。
- 演示图片、字体、图标及其他第三方素材需按各自许可核对,不能仅凭代码的 MIT 许可判断。
- 域名、托管、数据库、支付或 AI 等外部服务可能另外收费。
查看原文依据
Permission is hereby granted, free of charge
许可证原文
To use it, you must have the page hosted on a server (loading a basic HTML page won't work) where a referrer header is generated.
README 原文
simply add the email to the action
README 原文
this is the main background image provided via [Unsplash](https://unsplash.com/)
README 原文
https://github.com/trujivan/personal-website/blob/master/LICENSE.mdhttps://github.com/trujivan/personal-website/blob/master/README.mdThese are simply placeholders and should either be replaced or removed.
README 原文
DeepSeek 根据仓库许可证和 README 整理 ·2026-10-03。结果仅覆盖已读取资料,依赖、图片、字体及后续条款变更以各自原文为准。
项目核对记录与介绍依据
模板资料
- 来源平台
- GitHub
- 资料与维护参考分
- 资料一般 · 74 / 100
- 技术栈
- HTML
- 网站类型
- 作品集
这个分数如何计算
本站按许可资料(最高30分)、演示链接(12分)、预览图(10分)、Star数(15分)、记录的维护时间(15分)、描述完整度(8分)、功能记录(5分)和分类资料(5分)计算。它不是代码、安全或性能测试,也不是 Google 评分;有链接不代表已实测可用。
这个项目需要核对什么
- 记录的仓库更新时间
- 2025-01-18
- 截图检查日期
- 2026-10-03
已收录演示链接。请用你的内容与屏幕尺寸检查;有演示不代表表单、认证或支付已经可用。
目录记录的主要技术栈是 HTML。请通过依赖清单和锁文件核对实际版本与托管要求。这些说明基于收录资料,不代表代码审计或部署实测。
查看具体选型方法 →介绍的制作与核对状态
介绍由 AI 辅助整理目录与仓库资料。仓库作者不等于这篇介绍的审核者。
审核声明: [email protected] · 2026-10-04
查看当时使用的来源资料
SHA-256: efde03c1b5cf17c275043f07d2e5149e09baac083585a17cb0c051a1642dbd62
2026-10-03T23:17:47.049Z
来源文件 / 仓库# Dev Portfolio
This repo contains an easy-to-customize personal dev portfolio template that was created with Sass and JavaScript. It is lightweight and fully responsive, as well as comes with the Bootstrap grid system and loaded with Font Awesome. The site is static and comes production ready if you just want to add your information and go. Alternatively, you can edit styles, colours, and scripts fairly easily. The site was built as modular as possible to make it easy to shift around styles and content.
To view a live demo, [click here](https://ryanfitzgerald.github.io/devportfolio/).
Looking for a blog template? Checkout [DevBlog](https://github.com/RyanFitzgerald/devblog).
## Features
* Gulp ready (compiles Sass and minifies JS)
* Sass ready with lots of commenting
* Fully responsive
* Comes with Bootstrap grid system
* Easy colour changes can be done through simple variable edits
## Contents
- [Setup and Configuration](#setup-and-configuration)
- [Making Edits / Customizing the Template](#making-edits--customizing-the-template)
- [Using the Template As Is](#using-the-template-as-is)
- [Customization and Editing](#customization-and-editing)
- [General](#general)
- [Images](#images)
- [Header Section](#header-section)
- [Lead Section](#lead-section)
- [About Section](#about-section)
- [Experience Section](#experience-section)
- [Education Section](#education-section)
- [Projects Section](#projects-section)
- [Skills Section](#skills-section)
- [Contact Section](#contact-section)
- [Footer Section](#footer-section)
- [Optional Sections](#optional-sections)
- [Changelog](#changelog)
- [License](#license)
## Setup and Configuration
The setup required can be broken into two types:
1. If you want to make edits or customize the template
2. If you just want to add your information as use as is
### Making Edits / Customizing the Template
To setup, simply fork the repo and run `npm install` in order to get all the Gulp dev dependencies. Next, run `Gulp watch` to compile the Sass and minify the JavaScript. Alternatively, if you don't have Gulp installed globally, you can run the npm script `npm run watch`. Any changes done to the JavaScript (js/scripts.js) or Sass (sass/styles.scss) will be autocompiled and ready to go.
All scripts are within `js/scripts.js` and get minified to `js/scripts.min.js`. All styles are in `sass/styles.scss` and get compiled to `css/styles.css`. Both the minified scripts file and compiled CSS file are what is loaded on the page by default.
At this point, the page is ready to go and you can begin to add your own information and make any needed changes. The sections below contains a quick breakdown of each of the default sections and how they work.
### Using The Template As Is
If you wish to use the template as is (i.e. how it's seen in the demo), then all that's required is the `css`, `images`, `js`, `libs` folders and the `index.html` file. You would then add your content to `index.html` as needed and you're good to go!
## Customization and Editing
### General
In general, most styles on the page are based off the definitions of variables in the variable section of the style sheet:
```SCSS
// Define base and accent colors
$base-color: #3498db;
$base-color-hover: darken($base-color, 10%);
// Define background colors
$background: #fff;
$background-alt: #f2f2f5;
// Define border colors
$border: #dcd9d9;
// Define text colors
$heading: #374054;
$text: #74808a;
```
If you wish to change the general colour scheme of the page for example, simply change the value of `$base-color`.
There is also a number of default CSS classes that can be applied such as `.shadow`, `.shadow-large`, `.btn-rounded-white`, and various others. These can be found under the General Styles section in the style sheet.
### Images
By default, the template comes with a number of images, some of which can be kept and others which act simply as placeholders and should be switched. The template contains the following:
* Main background (images/lead-bg.jpg) - this is the main background image provided via [Unsplash](https://unsplash.com/). This can be kept or changed easily by replacing `images/lead-bg.jpg` with your new background (recommended size of at least 1920x1080).
* Favicon (/favicon.ico) - this is the favicon used for the page. Similar to the main bg, this can kept or changed easily by replacing the `favicon.ico` with your new one.
* Project image - these are the images associated with the projects under the project section. These are simply placeholders and should either be replaced or removed.
### Header Section
The header section can be found within the `<header>` tag and simply contains an unordered list of anchors to different sections of the page. If you add a new section and want to be able to quickly navigate to it from the top, simply add another list element with an anchor that has the href of the ID of the section. Conversely, if you remove a section, don't forget to remove the associated navigation element.
If you wish to add a header link to an external page, simply add the class `no-scroll` to the anchor. For example:
```HTML
<li>
<a href="https://google.com" class="no-scroll">Google</a>
</li>
```
If you wish to have a sticky (fixed) header, you simply need to add a class of `sticky` to the main header. For example, that would be accomplished as follows:
```HTML
<header class="sticky">
<!-- Header content -->
</header>
```
### Lead Section
The Lead section is pretty straightforward, it contains an h1 for your name and an h2 for your title. It also contains a link that can be used to link to your resume should you wish to add it as well.
If you want your resume to automatically download when the button is clicked instead of opening up in another tab (the default behaviour), add the following code (Thanks to jkfran for the suggestion) in the lead:
```HTML
<a href="path/to/resume.pdf" download="resume.pdf" class="btn-rounded-white">Download Resume</a>
```
The href attribute points to where your resume is stored and the download attribute is what triggers the download / provides the name the file will be downloaded as when the user clicks the button (In this case, it will download as resume.pdf).
### About Section
The about section contains a quick about blurb that can be edited by changing the text within the paragraph tags.
### Experience Section
The experience section creates a vertical timeline with all your relevant experience. The code for the timeline creation can be found within `js/scripts.js` and is an adaptaion of [RyanFitzgerald/vertical-timeline](https://github.com/RyanFitzgerald/vertical-timeline).
The default format is as follows:
```HTML
<div id="experience-timeline">
<div data-date="September 2015 – September 2016">
<h3>Employer Name</h3>
<h4>Job Title</h4>
<p>
Lorem ipsum dolor sit amet, consectetur adipiscing elit. Curabitur in iaculis ex.
</p>
</div>
</div>
```
The data attribute `data-date` is what is used to add a date to the associated timeline point. All that is really required is a wrapping div (i.e. `#experience-timeline`) and nested divs to build the timeline. The h3, h4, and p tags are optional and the contents of the div can be styled however you wish.
To add additional section, simply add additional nested divs under the main wrapping div.
### Education Section
The Education is just a series of `.education-block` classes with some details associated with them. By default, it shows school name, date, degree, and some additional details. For example:
```HTML
<div class="education-block">
<h3>University of Ottawa</h3>
<span class="education-date">Sept 2016 - Sept 2017</span>
<h4>Bachelor of Science in Computer Science</h4>
<p>
Lorem ipsum dolor sit amet, consectetur adipiscing elit. Curabitur in iaculis ex.
</p>
</div>
```
To add additional section, simply add additional `.education-block` elements.
### Projects Section
The Project section contains a number of `.project` elements that represent each of your projects. By default, it contains a 300x300 image under `.project-image` and relevant project information under `.project-info`. An example is as follows:
```HTML
<div class="project">
<div class="project-image">
<img src="images/project.jpg" />
</div>
<!-- End .project-image -->
<div class="project-info">
<h3>Project Name Here</h3>
<p>
Lorem ipsum dolor sit amet, consectetur adipiscing elit. Curabitur in iaculis ex.
</p>
<a href="#">View Project</a>
</div>
<!-- End .project-info -->
</div>
```
If you want to hide some projects by default, you can throw them in an additional row and add the markup for the "Show More" button. This would be done as follows:
```HTML
<!-- Projects Above -->
<a id="view-more-projects" href="#">View More Projects</a>
<div id="more-projects" class="row">
<div class="project shadow-large">
<div class="project-image">
<img src="images/project.jpg" />
</div>
<!-- End .project-image -->
<div class="project-info">
<h3>Project Name Here</h3>
<p>
Lorem ipsum dolor sit amet, consectetur adipiscing elit. Curabitur in iaculis ex. Etiam volutpat laoreet urna. Morbi ut tortor nec nulla commodo malesuada sit amet vel lacus. Fusce eget efficitur libero. Morbi dapibus porta quam laoreet placerat.
</p>
<a href="#">View Project</a>
</div>
<!-- End .project-info -->
</div>
<!-- End .project -->
</div>
```
This will add a link that says "View More Projects" under the current projects and when clicked, all projects in the "More-projects" div will be shown. This is optional functionality and isn't provided by default. It is important that you keep the wrapping div ID intact ("#more-projects") as well as the anchor ID ("#view-more-projects"), however the contents of the div and the anchor text itself can be edited however you like.
#### Projects without images
If you do not wish to have a project image associated with a project, you can simply add `no-image` as an additional class to the project. It would look like the following:
```HTML
<div class="project no-image">
<div class="project-info">
<h3>Project Name Here</h3>
<p>
Lorem ipsum dolor sit amet, consectetur adipiscing elit. Curabitur in iaculis ex.
</p>
<a href="#">View Project</a>
</div>
<!-- End .project-info -->
</div>
```
### Skills Section
The Skills section is simply an unordered list that spits out a "Skill Cloud" with all the skills listed. To add / remove skills, simply edit or add list elements, like so:
```HTML
<ul>
<li>JavaScript</li>
<li>Python</li>
<li>Ruby</li>
<li>Go</li>
<li>Node.js</li>
</ul>
```
### Contact Section
Since the page is static, I opted to use the awesome Formspree to allow for a contact form without the need for anything else. To use it, you must have the page hosted on a server (loading a basic HTML page won't work) where a referrer header is generated. Also, simply add the email to the action. An example is as follows:
```HTML
<form method="POST" action="https://formspree.io/[email protected]">
<input type="hidden" name="_subject" value="Contact request from personal website" />
<input type="email" name="_replyto" placeholder="Your email" required>
<textarea name="message" placeholder="Your message" required></textarea>
<button type="submit">Send</button>
</form>
```
For more information on configuration of the contact form or dealing with errors, check out [Formspree](https://formspree.io/).
For a quick tutorial about formspree, check out this [tutsplus tutorial](https://webdesign.tutsplus.com/tutorials/quick-tip-add-a-formspree-form-to-your-static-sites--cms-23870) that covers different aspects and features of the form tool.
### Footer Section
The Footer contains an optional copyright where you can place your name as well as an unordered list of all of your social or coding related profiles. By default it contains Github, Stack Overflow, Facebook, Twitter, and Google Plus. You can add or remove them easily and simply use the Font Awesome icon associated with the social profile you wish to use. For a list of all icons, [click here](http://fontawesome.io/icons/).
### Optional Sections
The template comes with an optional section that can be added to the page markup to list things like Certifications, Hobbies, and more (Note: these are not included by default). The markup for the additional optional section is as follows:
```HTML
<div class="optional-section background-alt">
<h2 class="heading">Section Name</h2>
<div class="optional-section-block">
<h3>Some content title</h3>
<p>
Lorem ipsum dolor sit amet, consectetur adipiscing elit. Curabitur in iaculis ex. Etiam volutpat laoreet urna. Morbi ut tortor nec nulla commodo malesuada sit amet vel lacus. Fusce eget efficitur libero. Morbi dapibus porta quam laoreet placerat.
</p>
<ul>
<li>
Lorem ipsum dolor sit amet, consectetur adipiscing elit.
</li>
<li>
Lorem ipsum dolor sit amet, consectetur adipiscing elit.
</li>
<li>
Lorem ipsum dolor sit amet, consectetur adipiscing elit.
</li>
</ul>
</div>
<!-- End .optional-section-block -->
</div>
<!-- End .optional-section -->
```
You can copy .optional-section-block for each new item you wish you have in the optional section. Also, the background-alt class may need to be removed depending on where the optional section is placed in your layout as this adds the grey background. If you play it at the bottom after "Skills", it can be used as is. Also, by default the border is applied at the top, but this can also be adjusted as needed.
The optional section blocks have styling for h3 (the block title), h4, p, and ul tags by default.
## Changelog
### 1.2.1
* Updated dependencies and gulpfile
* Added `no-image` optional class for projects without images (see above for usage)
### 1.2.0
* Added support for optional "Show More Projects" that hides some projects by default if included
* Added optional sections to display certifications, languages, etc.
### 1.1.3
* Added default favicon to be used or changed
* Added `sticky` class to make header fixed
* Updated docs to add image section
### 1.1.2
* Added `no-scroll` class option to header navigation anchor if you want to link to external site
* Changed contact form input / textarea colours to be based off `$base-color`
* Changed main background to 100vh so it doesn't overflow if viewport height < 700px
### 1.1.1
* Made input placeholder text more readable
* Removed timeline line when no JS
* Added some basic styling to timeline when no JS
### 1.1.0
* Fixed menu toggle on mobile devices
* Fixed z-index / scrolling issue with mobile menu
* Mobile menu now closes once a nav element is hit
## License
Completely free (MIT)! See [LICENSE.md](LICENSE.md) for more.
看看同类模板
对比同技术栈与用途的模板,找到更适合的视觉与内容结构。
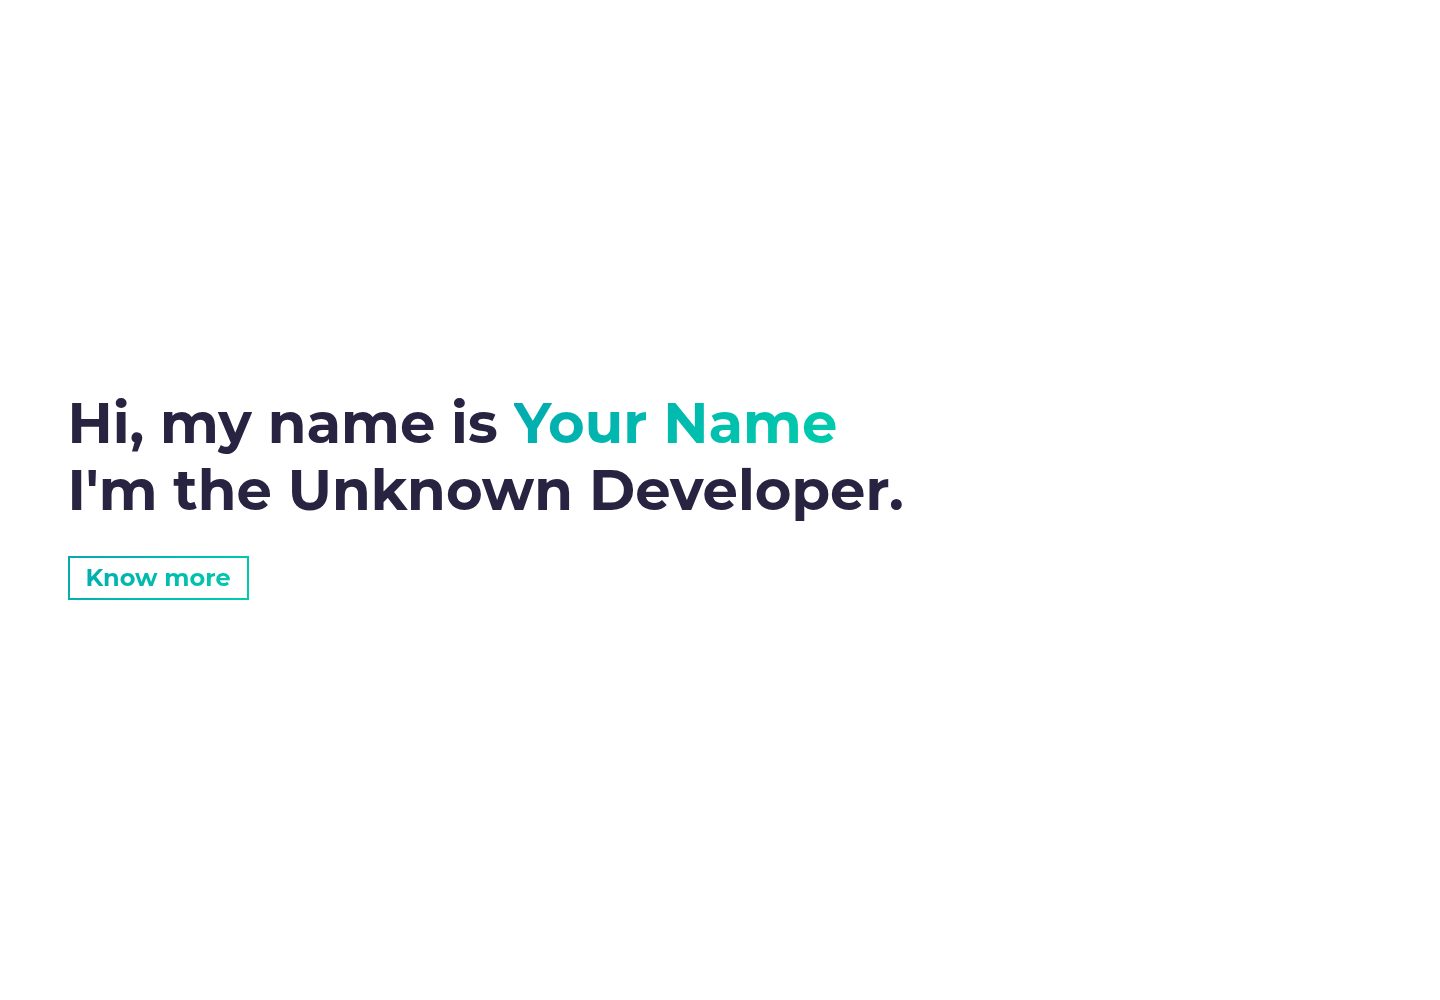
simplefolio
⚡️ A minimal portfolio template for Developers
HTML · 作品集
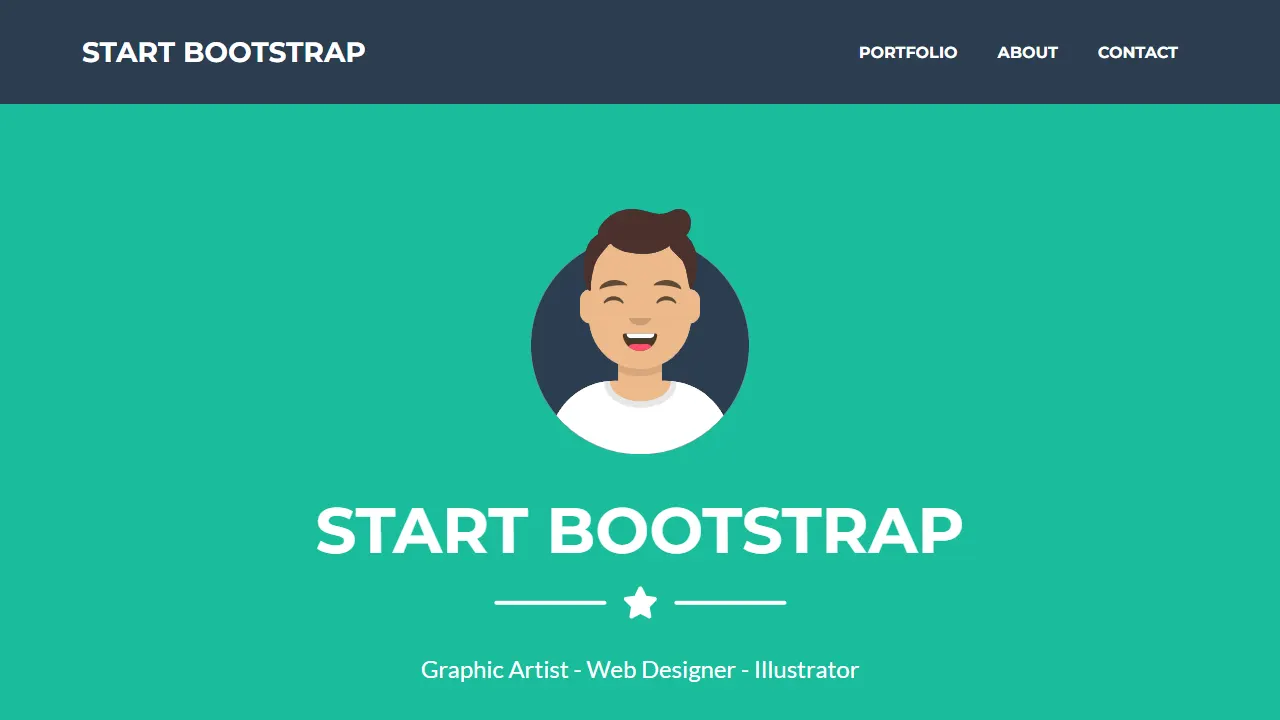
Freelancer
Freelancer 是 Start Bootstrap 出品的单页作品集模板,专为自由职业者、设计师和小型工作室设计。 页面结构清晰,包含多个内容区块、响应式作品集网格,每个作品项目配有模态窗口展示详情。
HTML · 作品集
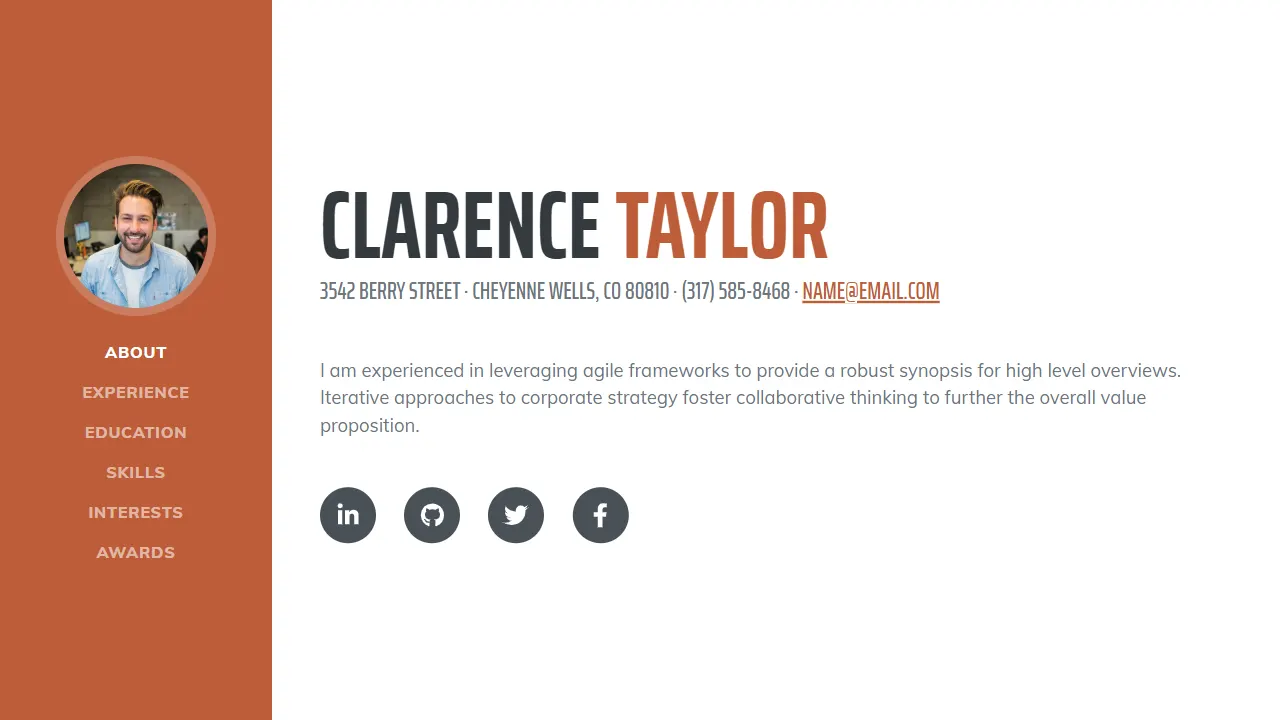
Resume
Resume 是 Start Bootstrap 推出的简历与 CV 主题,基于 Bootstrap 构建,采用固定侧边栏加内容区块的结构。
HTML · 作品集
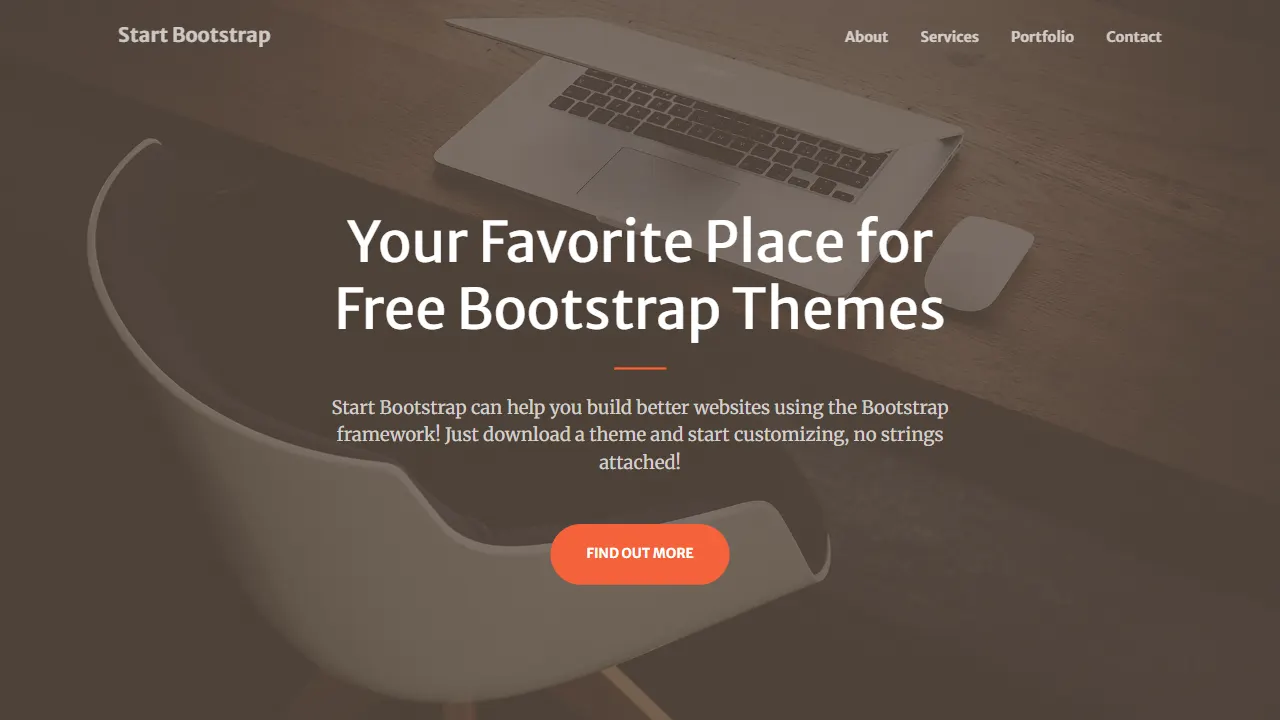
Creative
Creative 是 Start Bootstrap 团队维护的一款单页营销模板,定位明确:为创意机构或产品服务提供一个以作品展示和行动号召为核心的落地页。
HTML · 企业官网
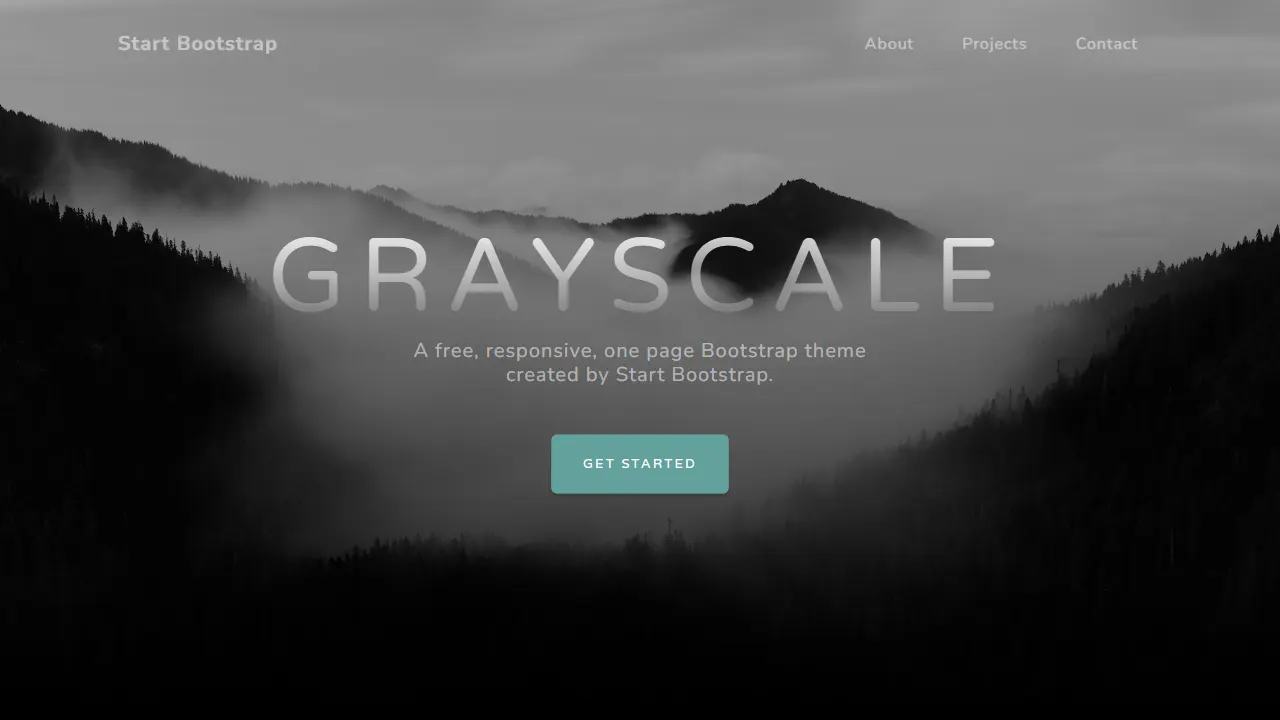
Grayscale
Grayscale 是 Start Bootstrap 出品的深色系单页 HTML 模板,基于 Bootstrap 构建。 它的视觉重心放在大尺寸首屏和清晰的内容分区上,整体氛围偏暗,适合摄影、活动或品牌叙事类网站。
HTML · 企业官网
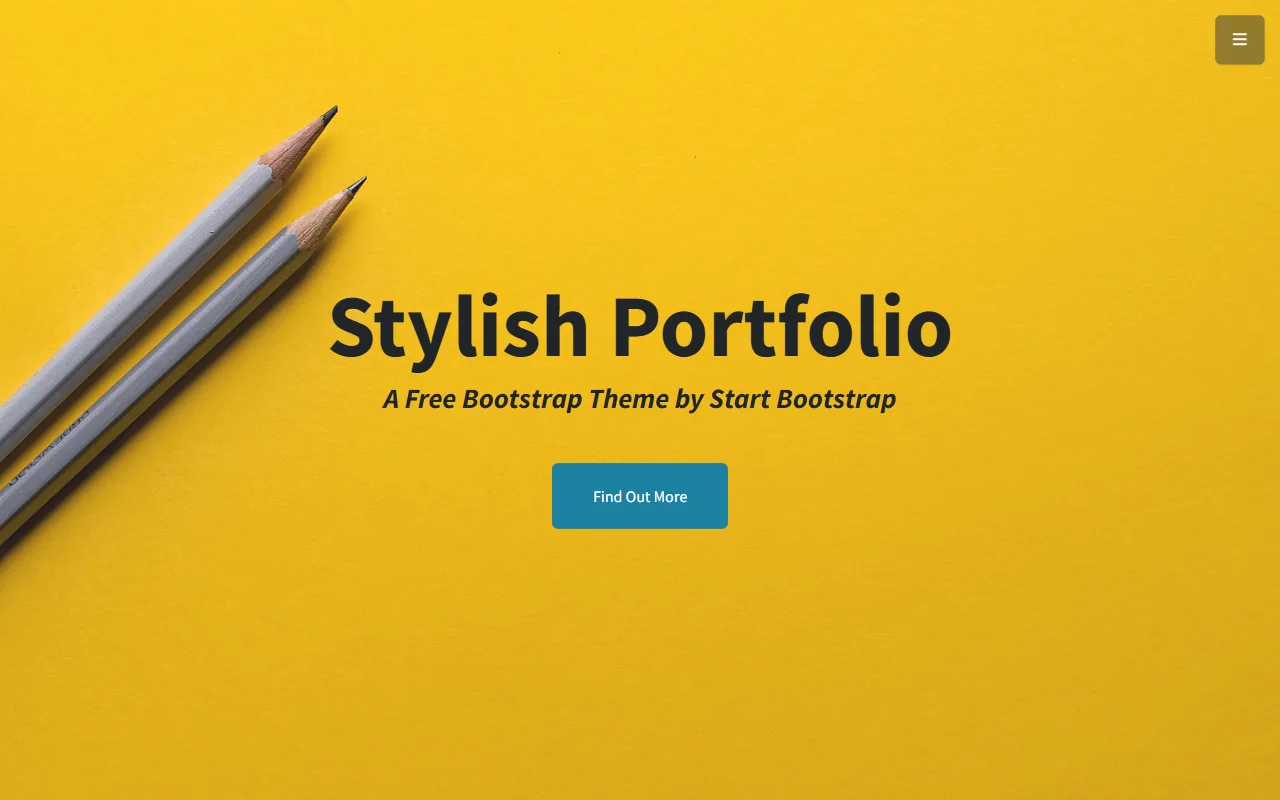
startbootstrap-stylish-portfolio
Stylish Portfolio 是 Start Bootstrap 维护的单页作品集主题,基于 Bootstrap 构建,采用多个内容区块加离屏导航菜单的结构。
HTML · 作品集