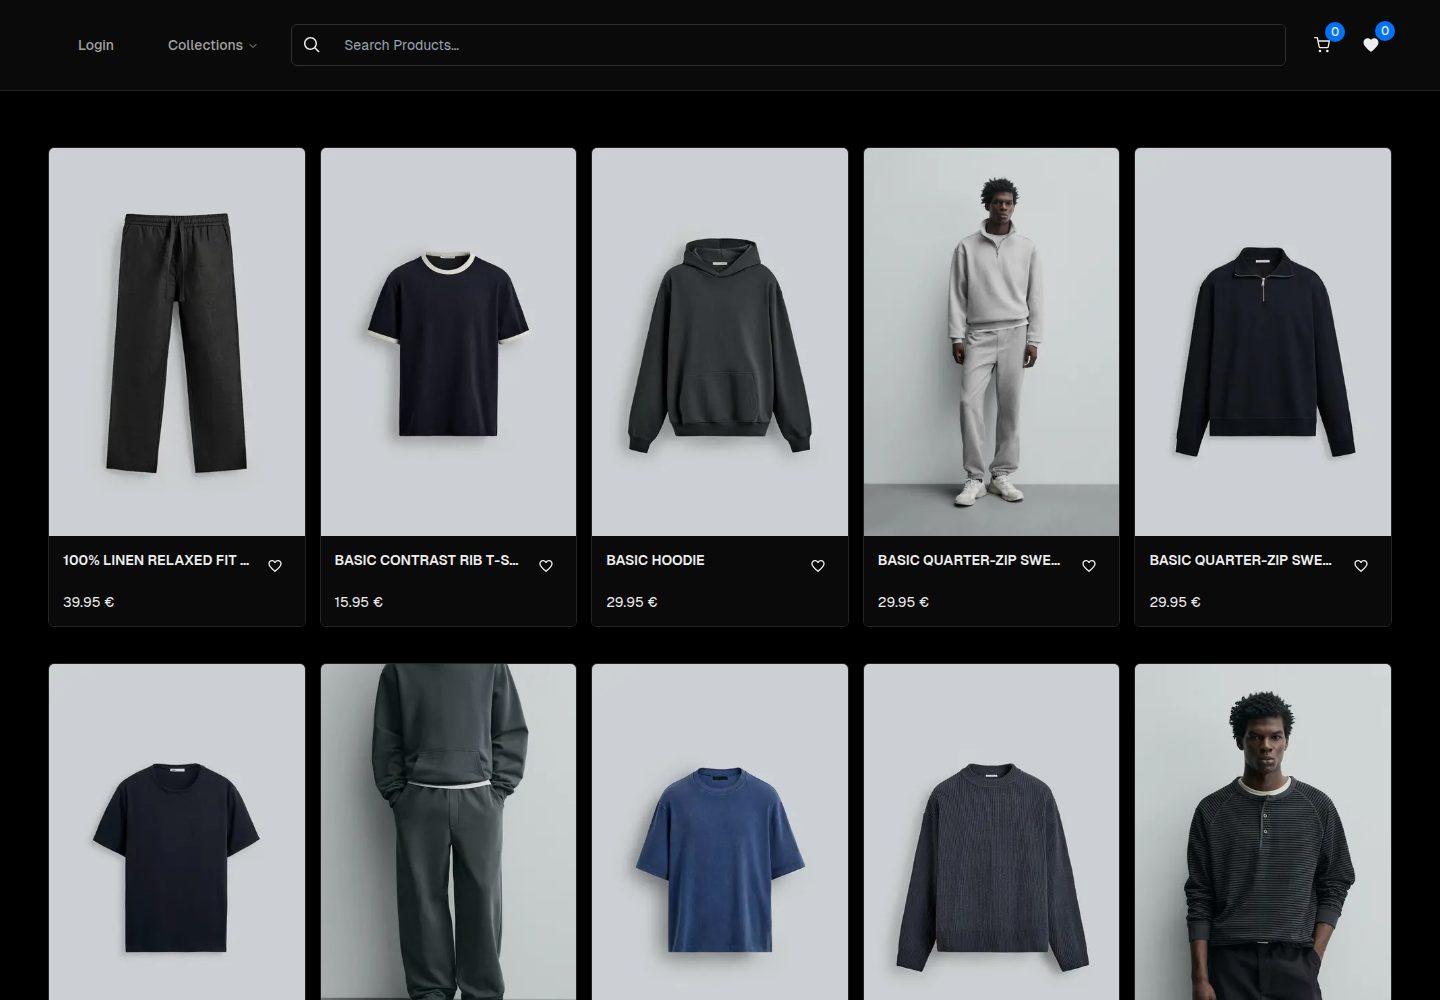
Written with Next.js App Router and TypeScript, styled with TailwindCSS
Next.jsReactE-commerce
ecommerce-template — Next.js Ecommerce Template
By whitefog425dev
An ecommerce template built with Next.js, TypeScript, and TailwindCSS, integrating Google login, MongoDB data storage, and Cloudinary image management.
Explore the design
Compare the page layouts and mobile experience. Open any screenshot for a closer look.
Desktop homepage1 / 2
Desktop captureTop of page
Actual screenshot captured by the server browser.
All pages & views 2
Screenshots show visual appearance; interactive behavior may differ.
Recorded 2026-10-02View source
What stands out
A quick read of the recorded project description.
Integrates Google login (NextAuth) for user registration, login, and profile management
Uses MongoDB to store product catalog, user information, orders, and cart data
Manages product images via Cloudinary, supporting image upload and responsive images
Includes front-end flows such as product catalog, categories, search filtering, shopping cart, checkout, and order history
Provides an admin dashboard for managing products, orders, users, and inventory
Template Details
This is an ecommerce website template with a tech stack of Next.js (App Router structure) and React, written in TypeScript, and styled with TailwindCSS. The repository description and README indicate its target scenario is building an online store with a user system and admin management.
Functionally, the template includes product catalog and categories, product search and filtering, shopping cart, checkout flow, order history, user profile management, and an admin dashboard for managing products, orders, users, and inventory, with support for uploading and managing product images via Cloudinary. User authentication uses Google login (NextAuth), data storage uses MongoDB, and the README lists required environment variables such as MONGODB_URI, GOOGLE_CLIENT_ID, GOOGLE_CLIENT_SECRET, NEXTAUTH_SECRET, NEXTAUTH_URL, and three Cloudinary credentials.
Regarding usage limitations, the template relies on external services like MongoDB, Google OAuth, and Cloudinary, requiring self-registration and credential configuration; the README mentions payment processing but does not specify a payment provider or integration instructions, so actual payment capabilities must be verified in the code and configuration. The repository does not provide dependency list verification information, so specific framework version numbers are not listed here. The code is under the MIT license, allowing free use, modification, commercial use, and distribution, but third-party assets such as demo images, fonts, and icons must be checked separately under their respective licenses, and external services like domains, hosting, databases, and payments may incur additional charges.
Next.jsReactEcommerce
Is it right for your project?
Use Cases
- Building an online store front-end and back-end with a user account system
- As a reference project for learning Next.js full-stack ecommerce structure
- Quickly starting an ecommerce site with existing MongoDB and Cloudinary accounts
- Ecommerce prototypes requiring Google login and product image management capabilities
Suitable For
- Developers familiar with Next.js and TypeScript
- Teams that have or are willing to register for MongoDB, Google OAuth, and Cloudinary
- Ecommerce projects requiring product management and order back-end
- Individuals or teams looking to build upon MIT-licensed code for secondary development
Getting started & customization
Use these recorded setup notes alongside the repository instructions for your chosen version.
- 1
Run npm install to install dependencies, then npm run dev to start the local development server, accessible by default at http://localhost:3000
- 2
Copy .env.example to .env.local and fill in MONGODB_URI, GOOGLE_CLIENT_ID, GOOGLE_CLIENT_SECRET, NEXTAUTH_SECRET, NEXTAUTH_URL
- 3
Create a database in MongoDB, configure OAuth credentials in Google, and obtain cloud name and API keys from Cloudinary
- 4
NEXTAUTH_SECRET can be generated as a random key using npx auth secret
- 5
Before deploying to Vercel, configure production environment variables, production database, authentication callbacks, and image optimization settings, and independently confirm the payment service integration method
License & source material
Usage conditions & limitations
Free to use · keep license noticeThis entry covers the free version under the MIT license in a public repository; the free scope is the code of this version and does not imply that external services or third-party assets are free.
Must comply with when using
- Allows free use, modification, commercial use, and distribution of this version's code.
- When distributing copies or substantial portions of the code, retain the original author's copyright notice and the full MIT license notice.
- The code is provided as-is; warranties and liability limitations are governed by the original license and applicable law.
Additional costs & items to verify
- Using the template requires self-registration and configuration of a MongoDB database connection; the template itself does not provide database services.
- User authentication relies on Google OAuth, requiring self-creation of Google credentials and configuration of client ID and secret.
- Product image management relies on the external Cloudinary service, requiring self-registration of an account and configuration of cloud name and API keys.
- The README mentions payment processing but does not specify a provider; actual payment capabilities require self-integration and may incur external service fees.
- Demo images, fonts, icons, and other third-party assets must be checked under their respective licenses and cannot be judged solely by the code's MIT license.
- External services such as domains, hosting, databases, payments, or AI may incur additional charges.
View Original Text Basis
Permission is hereby granted, free of charge
Original License Text
MONGODB_URI=your_mongodb_uri
Original README
GOOGLE_CLIENT_ID=your_google_client_id
Original README
CLOUDINARY_CLOUD_NAME=your_cloudinary_name
Original README
https://github.com/whitefog425dev/ecommerce-template/blob/master/LICENSEhttps://github.com/whitefog425dev/ecommerce-template/blob/master/README.mdConfigure payment processing for production
Original README
Compiled by DeepSeek based on repository license and README ·2026-10-02. Results only cover the materials read; dependencies, images, fonts, and subsequent term changes are subject to their respective original texts.
Project checks & description sources
Template Information
- Source platforms
- GitHub
- Documentation and maintenance reference score
- More documented · 79 / 100
- Technologies
- Next.js · React
- Website type
- E-commerce
How this score is calculated
Our heuristic uses license records (up to 30), a demo link (12), a preview (10), stars (15), recorded maintenance (15), description completeness (8), feature records (5) and classification data (5). It is not a code, security or performance test, or a Google score. A link does not establish tested functionality.
What to verify for this project
- Repository update recorded
- 2025-09-29
- Screenshot last checked
- 2026-10-02
A demo link is listed. Check it with your own content and viewport sizes; its presence does not confirm that forms, authentication or payments work.
The catalog identifies Next.js as the primary stack. Check the actual dependency manifest and lockfile for versions and hosting requirements. These notes use recorded metadata, not a code audit or a deployment test.
Use a selection guide →How this description was prepared
AI-assisted description based on catalog records and repository material. Repository authors are not automatically the reviewers of this description.
Automatically checked against source and license rules; no manual editorial review.
Inspect the recorded source material
SHA-256: ef4ad0b2fc711af2504693e631e82700572766e389cfb1441c2b36bae914d709
2026-10-02T14:14:12.419Z
Source file / repository# Next.js E-commerce Template A modern, fully-featured e-commerce template built with Next.js, featuring Google Authentication, MongoDB for data storage, and Cloudinary for product images management. ## 🚀 Features - Responsive Modern Design - User Authentication with Google - Product Catalog with Categories - Shopping Cart Functionality - Product Search and Filtering - User Profile Management - Image Management with Cloudinary - Secure Payment Processing - Order History - Admin Dashboard - Responsive Product Gallery - SEO Optimized ## 🛠 Installation & Set Up 1. Install dependencies ```bash npm install ``` 2. Run the development server ```bash npm run dev ``` 3. Open [http://localhost:3000](http://localhost:3000) with your browser to see the result. ## ⚙️ Environment Variables Rename `.env.example` to `.env.local` in the root directory and configure the following variables: ### Required Environment Variables: ```env # Database Configuration MONGODB_URI=your_mongodb_uri # Authentication GOOGLE_CLIENT_ID=your_google_client_id GOOGLE_CLIENT_SECRET=your_google_client_secret NEXTAUTH_SECRET=your_nextauth_secret NEXTAUTH_URL=http://localhost:3000 # Image Storage CLOUDINARY_CLOUD_NAME=your_cloudinary_name CLOUDINARY_API_KEY=your_cloudinary_key CLOUDINARY_API_SECRET=your_cloudinary_secret ``` ### Setting Up Services: #### MongoDB Database - Create a free MongoDB database [following this guide](https://www.mongodb.com/resources/products/fundamentals/create-database) - Perfect for storing: - Product catalog - User information - Orders - Shopping cart data #### Google Authentication - Set up Google OAuth for secure user authentication [following this guide](https://developers.google.com/identity/protocols/oauth2) - Enables: - User registration - Secure login - Profile management #### NextAuth Secret Generate a random secret key by running: ```bash npx auth secret ``` #### Cloudinary Configuration - Set up Cloudinary for product image management [following this guide](https://cloudinary.com/documentation/cloudinary_credentials_tutorial) - Used for: - Product images storage - Image optimization - Responsive images ## 📁 Project Structure ``` src/ ├── app/ │ ├── api/ # API endpoints │ ├── products/ # Product pages │ ├── cart/ # Cart pages │ ├── checkout/ # Checkout process │ ├── admin/ # Admin dashboard │ ├── auth/ # Authentication pages │ └── layout.tsx # Root layout ├── components/ │ ├── layout/ # Layout components │ ├── products/ # Product-related components │ ├── cart/ # Shopping cart components │ ├── auth/ # Authentication components │ └── ui/ # Reusable UI components ├── styles/ # CSS and styling ├── lib/ │ ├── mongodb.ts # Database configuration │ ├── auth.ts # Authentication utilities │ └── cart.ts # Cart management ├── models/ # MongoDB models └── utils/ # Helper functions ``` ## 🛍️ E-commerce Features ### For Customers - Browse product catalog - Search and filter products - Add items to cart - Secure checkout process - Order tracking - User profile management - Order history ### For Administrators - Product management - Order management - User management - Analytics dashboard - Inventory tracking - Image upload and management ## 🔒 Security Features - Secure authentication - Protected API routes - Secure payment processing - Data encryption - Input validation - XSS protection ## 🚀 Deployment The easiest way to deploy your Next.js app is to use the [Vercel Platform](https://vercel.com/new?utm_medium=default-template&filter=next.js&utm_source=create-next-app&utm_campaign=create-next-app-readme). Deployment Checklist: 1. Configure environment variables 2. Set up production database 3. Configure payment processing for production 4. Update authentication callbacks 5. Set up proper image optimization ## 🤝 Contributing 1. Fork the repository 2. Create your feature branch (`git checkout -b feature/AmazingFeature`) 3. Commit your changes (`git commit -m 'Add: AmazingFeature'`) 4. Push to the branch (`git push origin feature/AmazingFeature`) 5. Open a Pull Request ## 📚 Learn More - [Next.js Documentation](https://nextjs.org/docs) - [MongoDB Documentation](https://docs.mongodb.com/) - [Cloudinary Documentation](https://cloudinary.com/documentation) - [NextAuth.js Documentation](https://next-auth.js.org/) ## 📝 License This project is licensed under the MIT License - see the [LICENSE](LICENSE) file for details.
Explore similar templates
Compare previews and descriptions within the same stack and category.

Next.js Commerce
Vercel's officially maintained Next.js App Router ecommerce starter with deep Shopify integration, offering a complete product catalog, cart, and checkout flow. Core logic is modular for swapping backends, and community provider versions exist for BigCommerce, Medusa, and Saleor.
Next.js · E-commerce
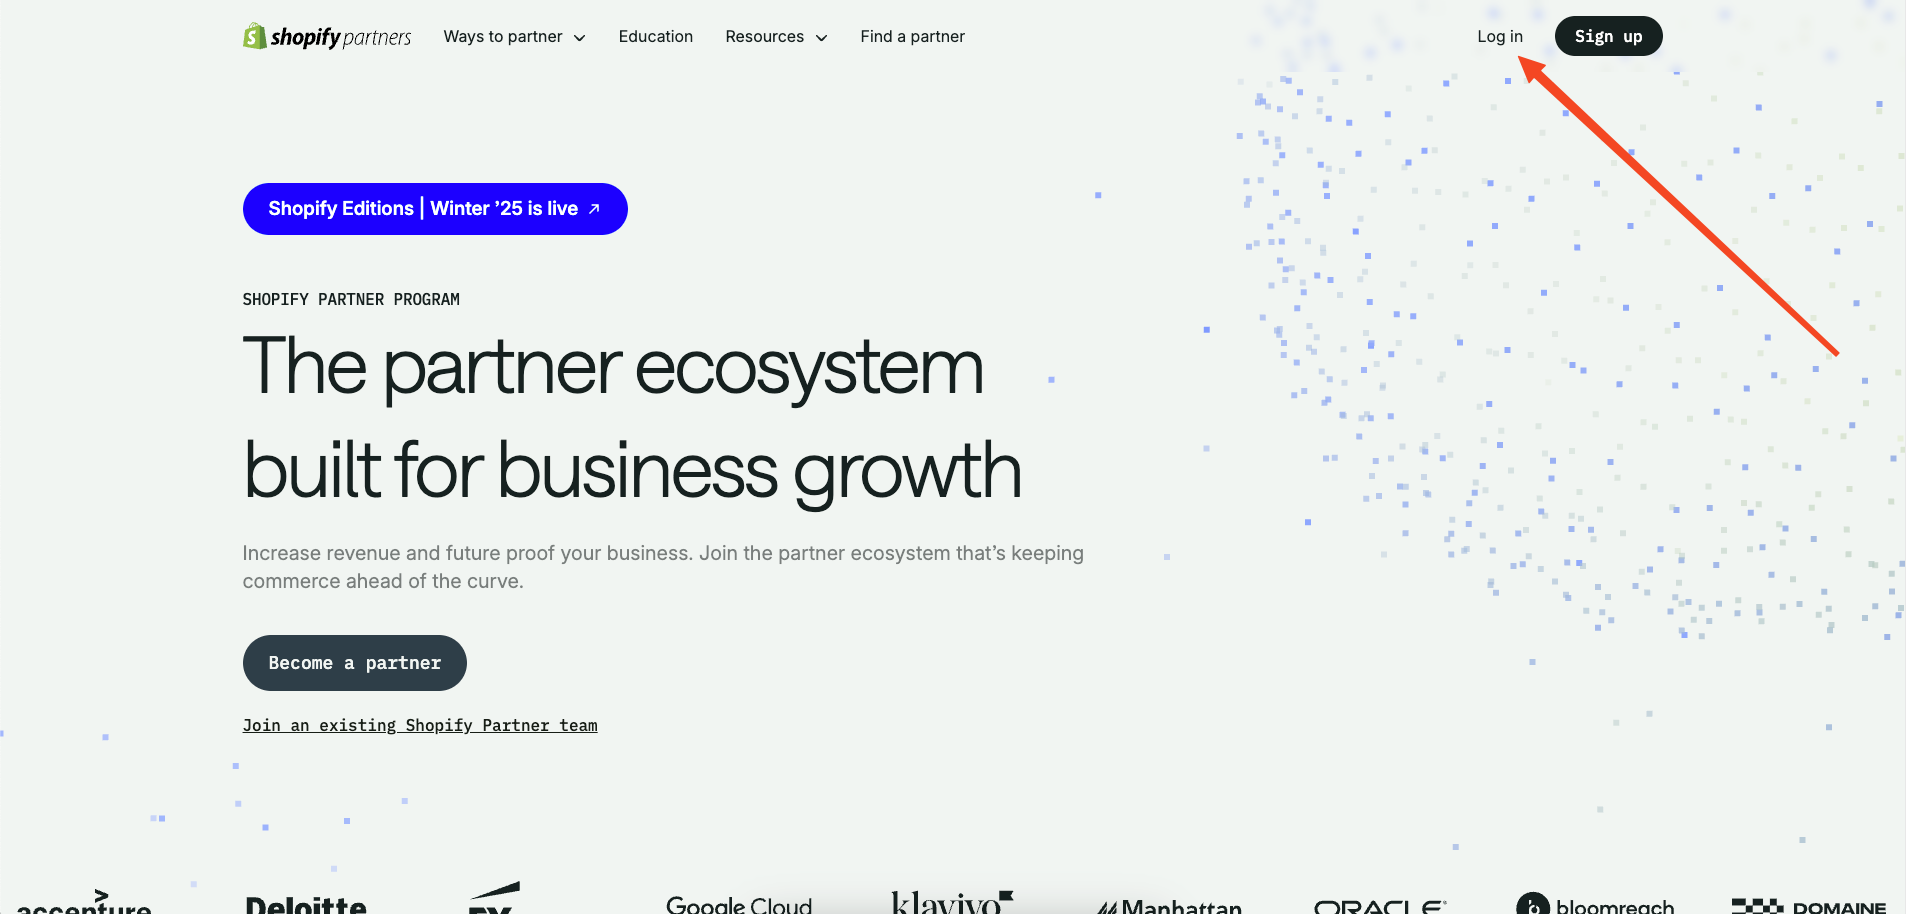
commerceplate
A free Shopify e-commerce starter template built with Next.js 16, Tailwind CSS 4, and TypeScript, using the Shopify Storefront API (GraphQL).
Next.js · E-commerce
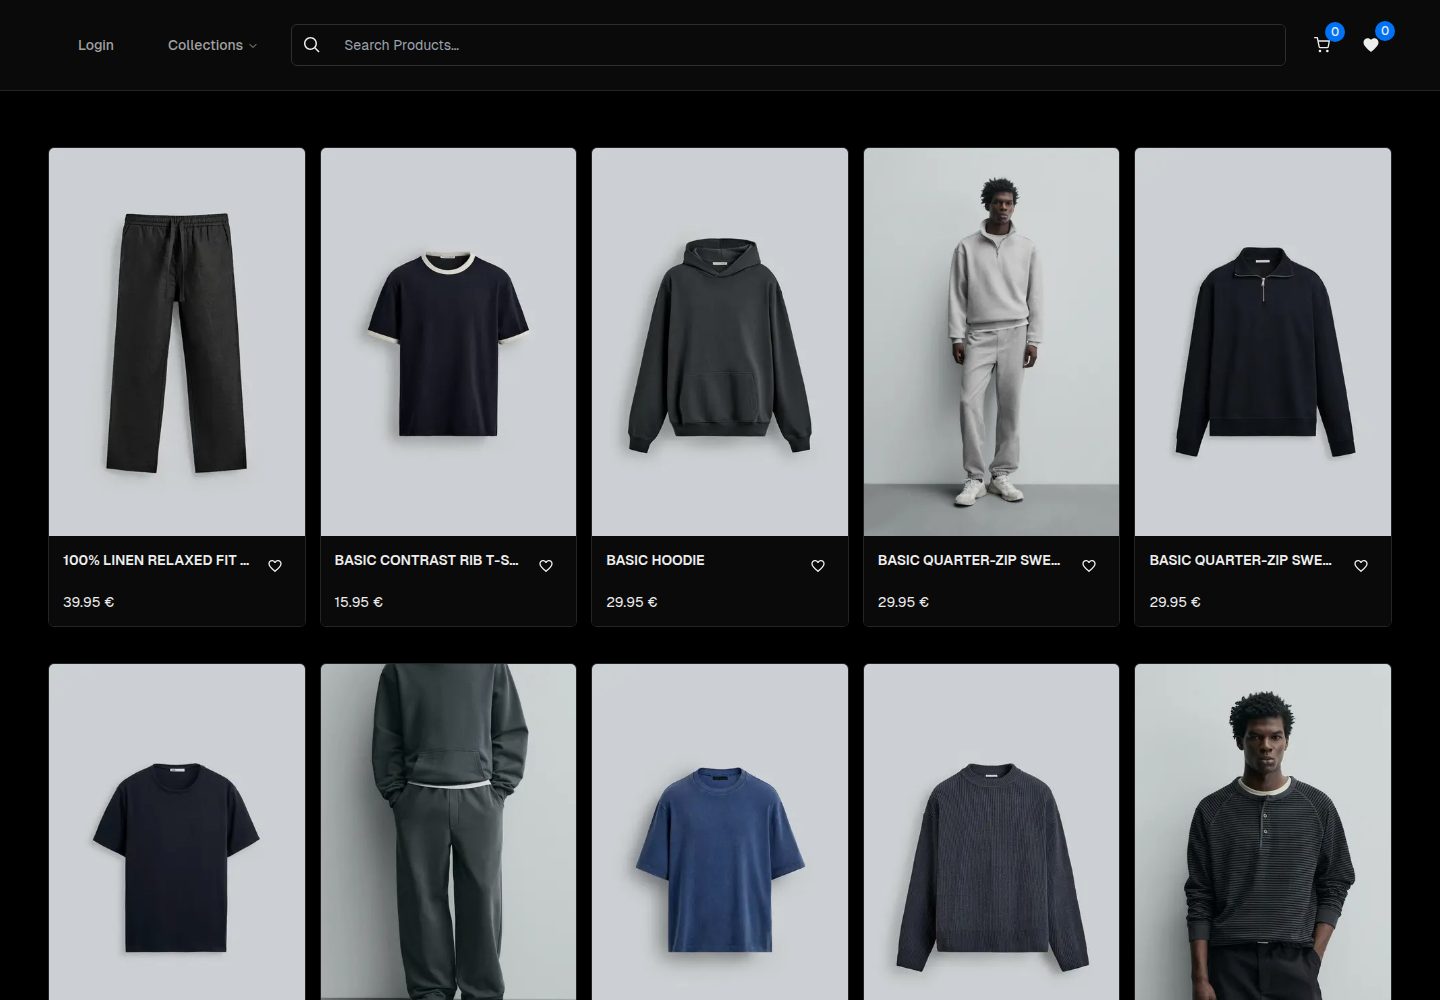
ecommerce-template
A Next.js App Router ecommerce template built with TypeScript, Tailwind CSS, Radix UI, and TanStack Query.
Next.js · E-commerce
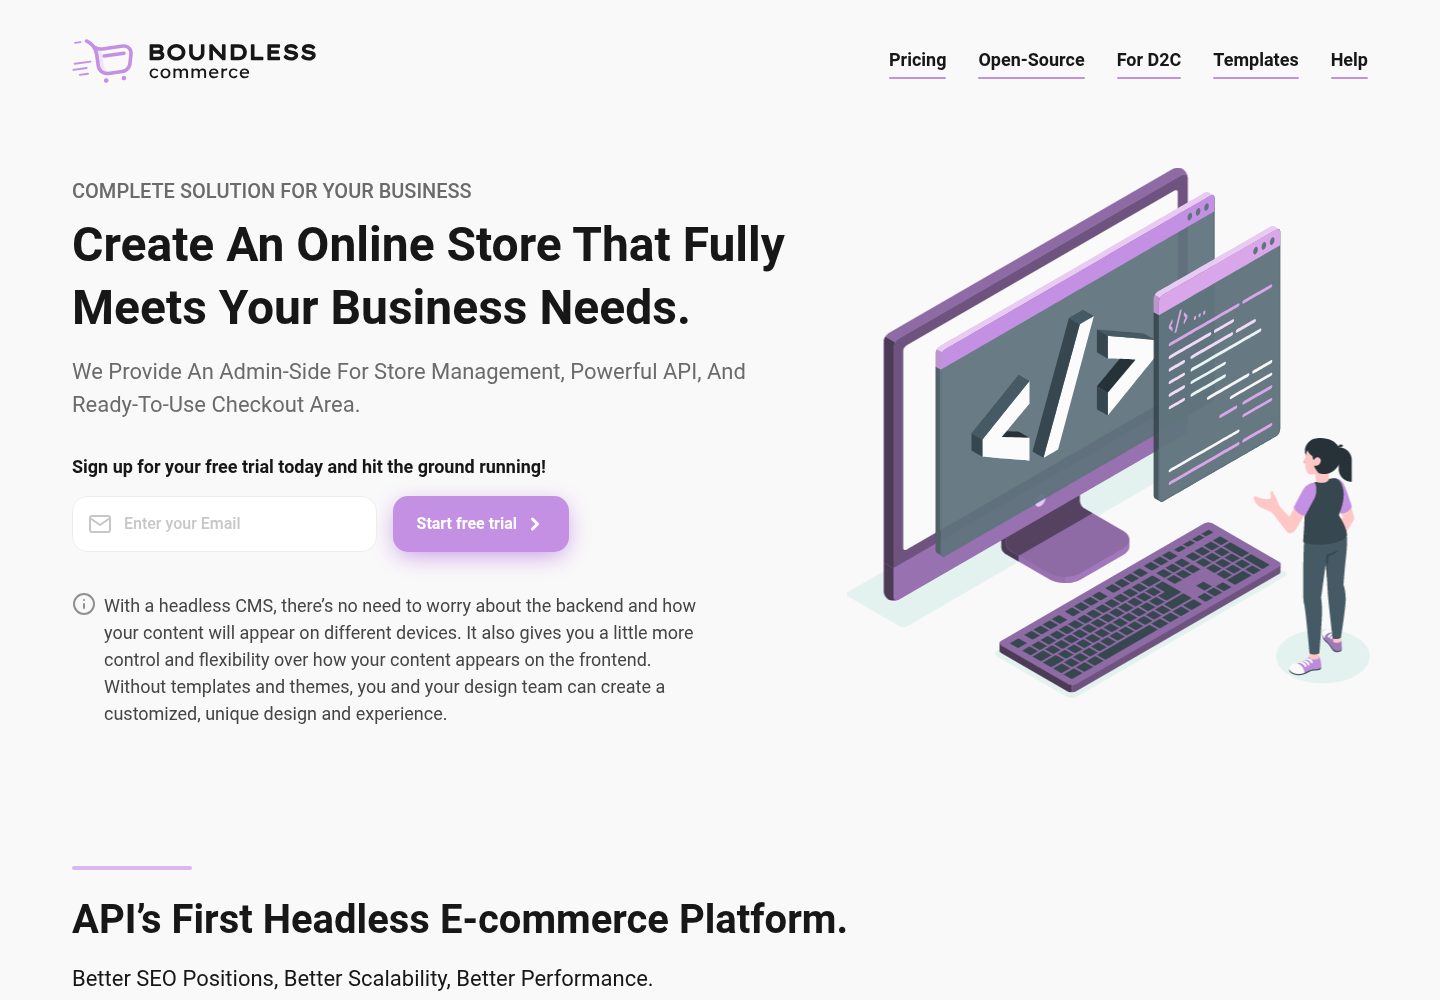
boundless-nextjs-ecommerce-template
A free Next.js and TypeScript e-commerce frontend starter kit from Boundless Commerce.
Next.js · E-commerce
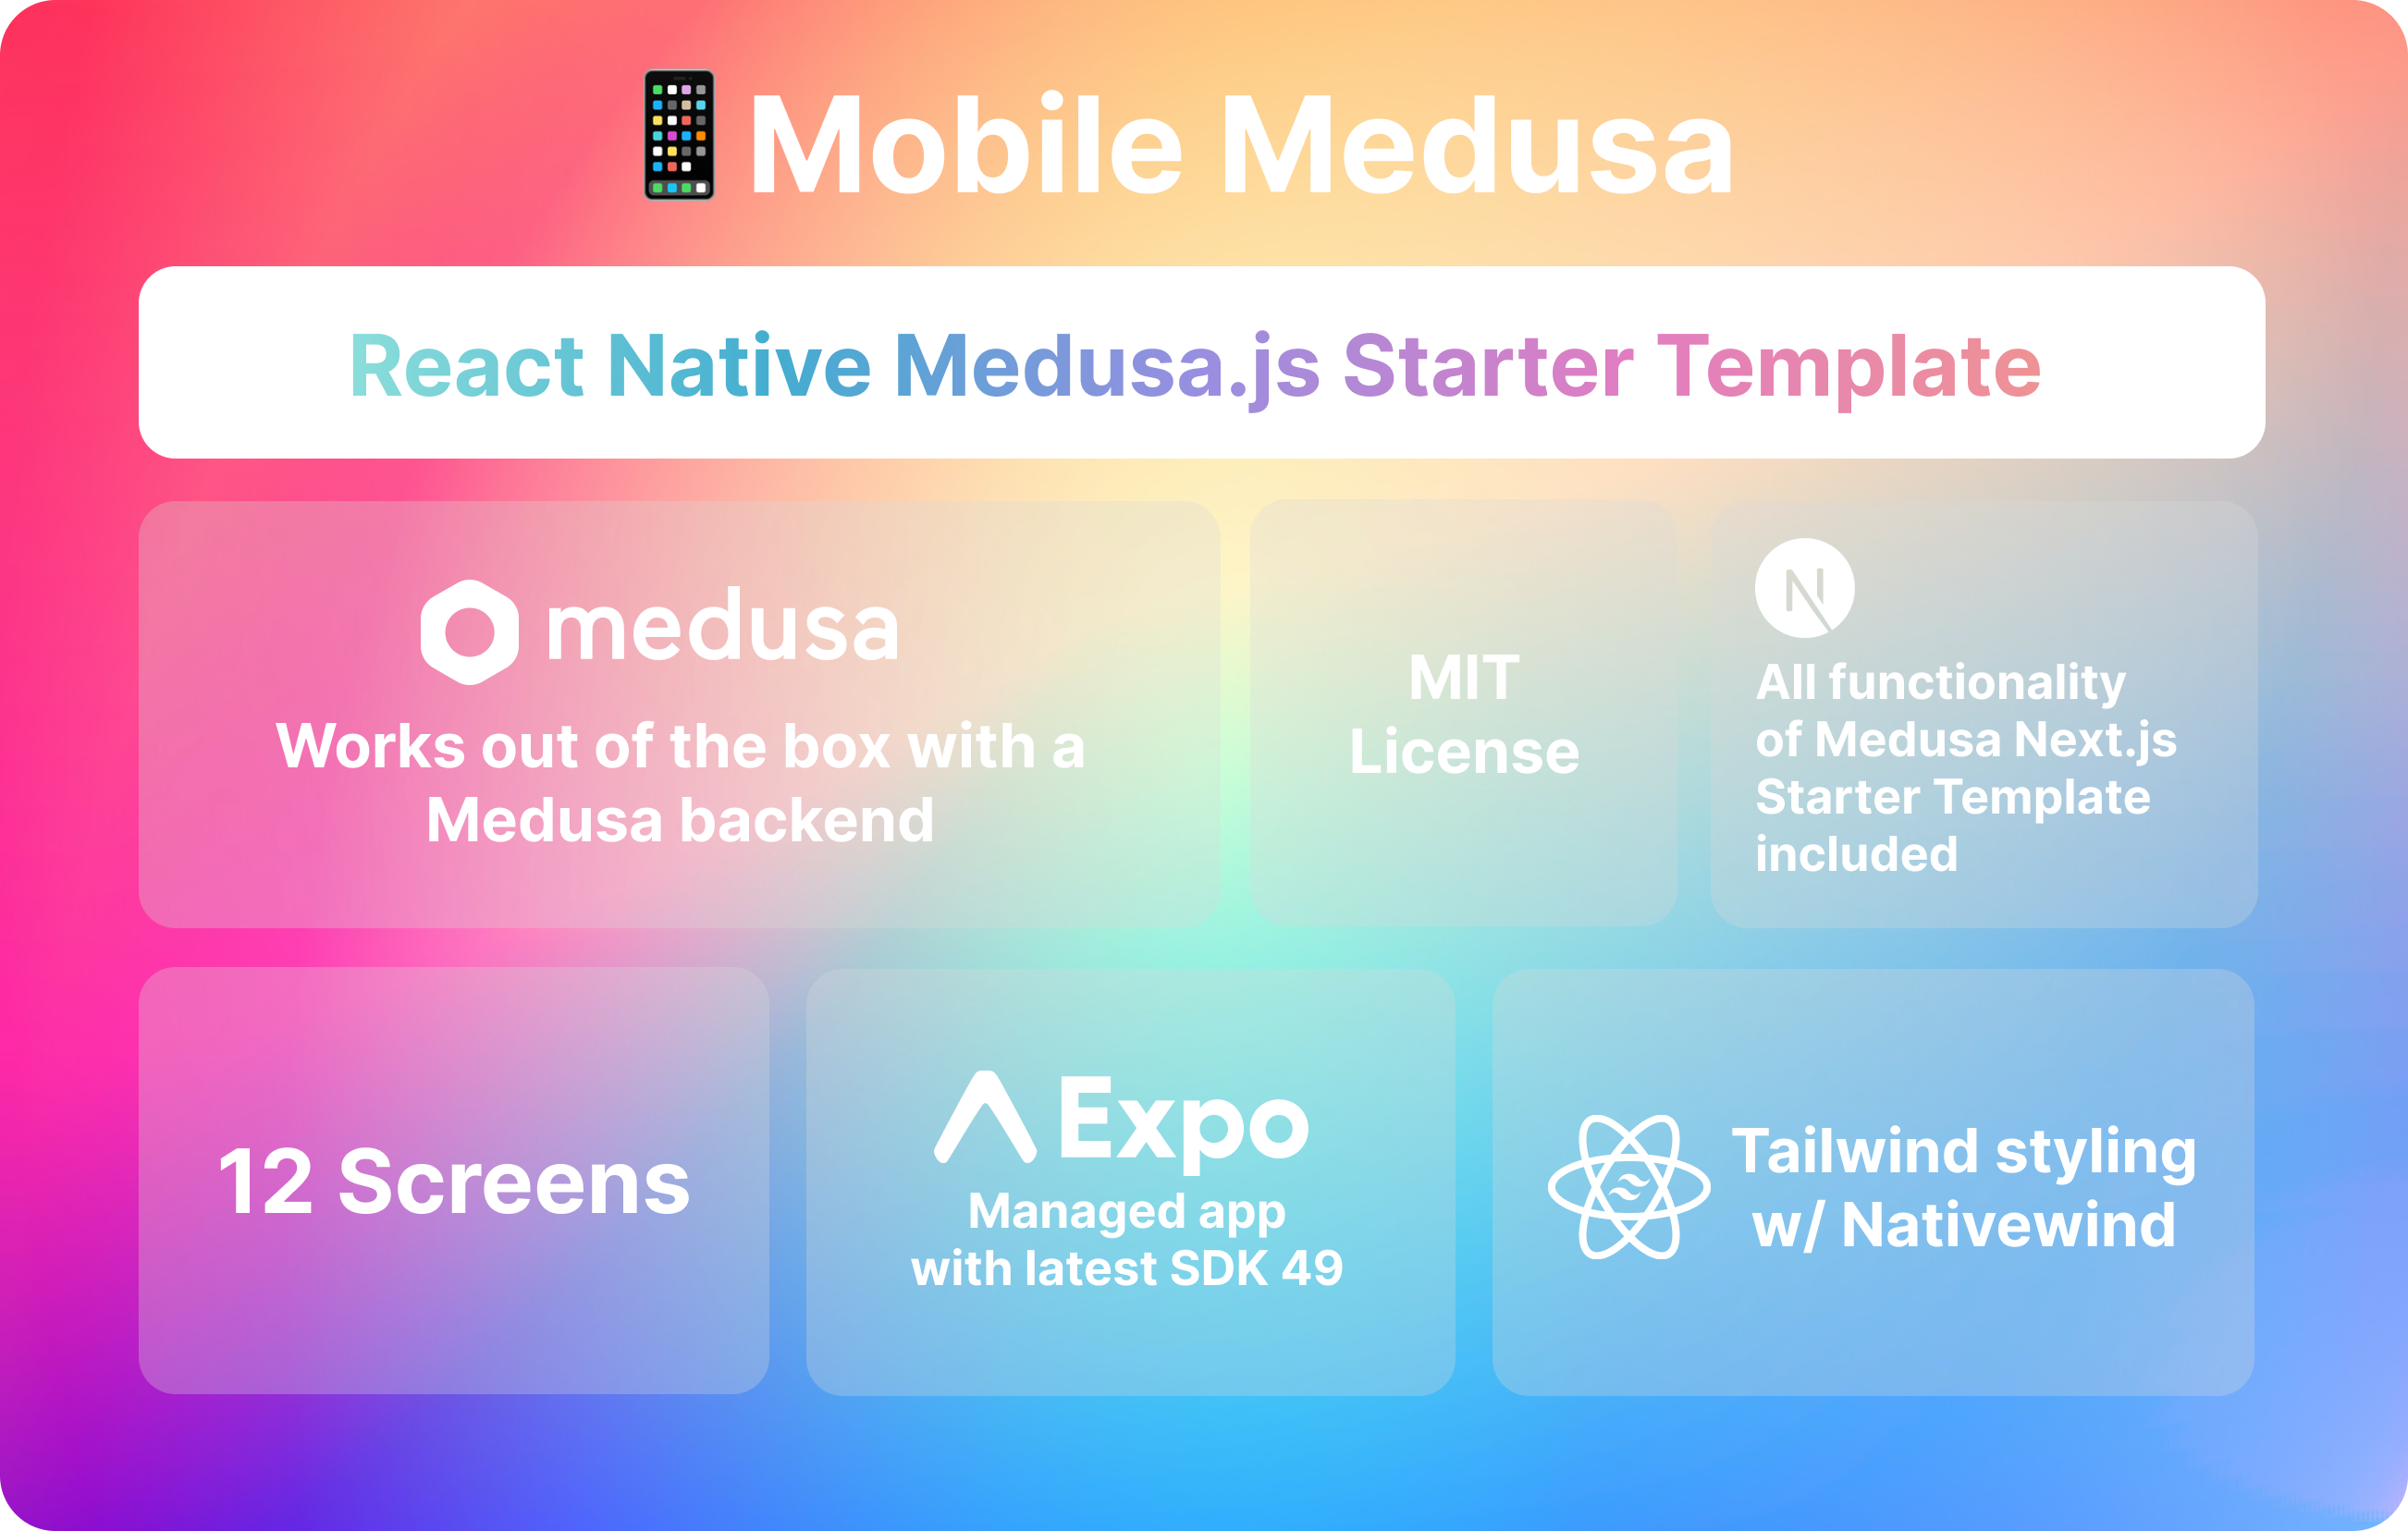
mobile-medusa
Mobile Medusa is an Expo-based React Native mobile e-commerce starter template that connects to a Medusa backend and aligns its pages and user flows with the Medusa Next.js Starter.
Next.js · E-commerce
template-ecommerce-webapp-nextjs
An official Contentful-maintained Next.js ecommerce starter template that fetches content via the Contentful GraphQL API and uses graphql-codegen to generate a type-safe SDK.
Next.js · E-commerce