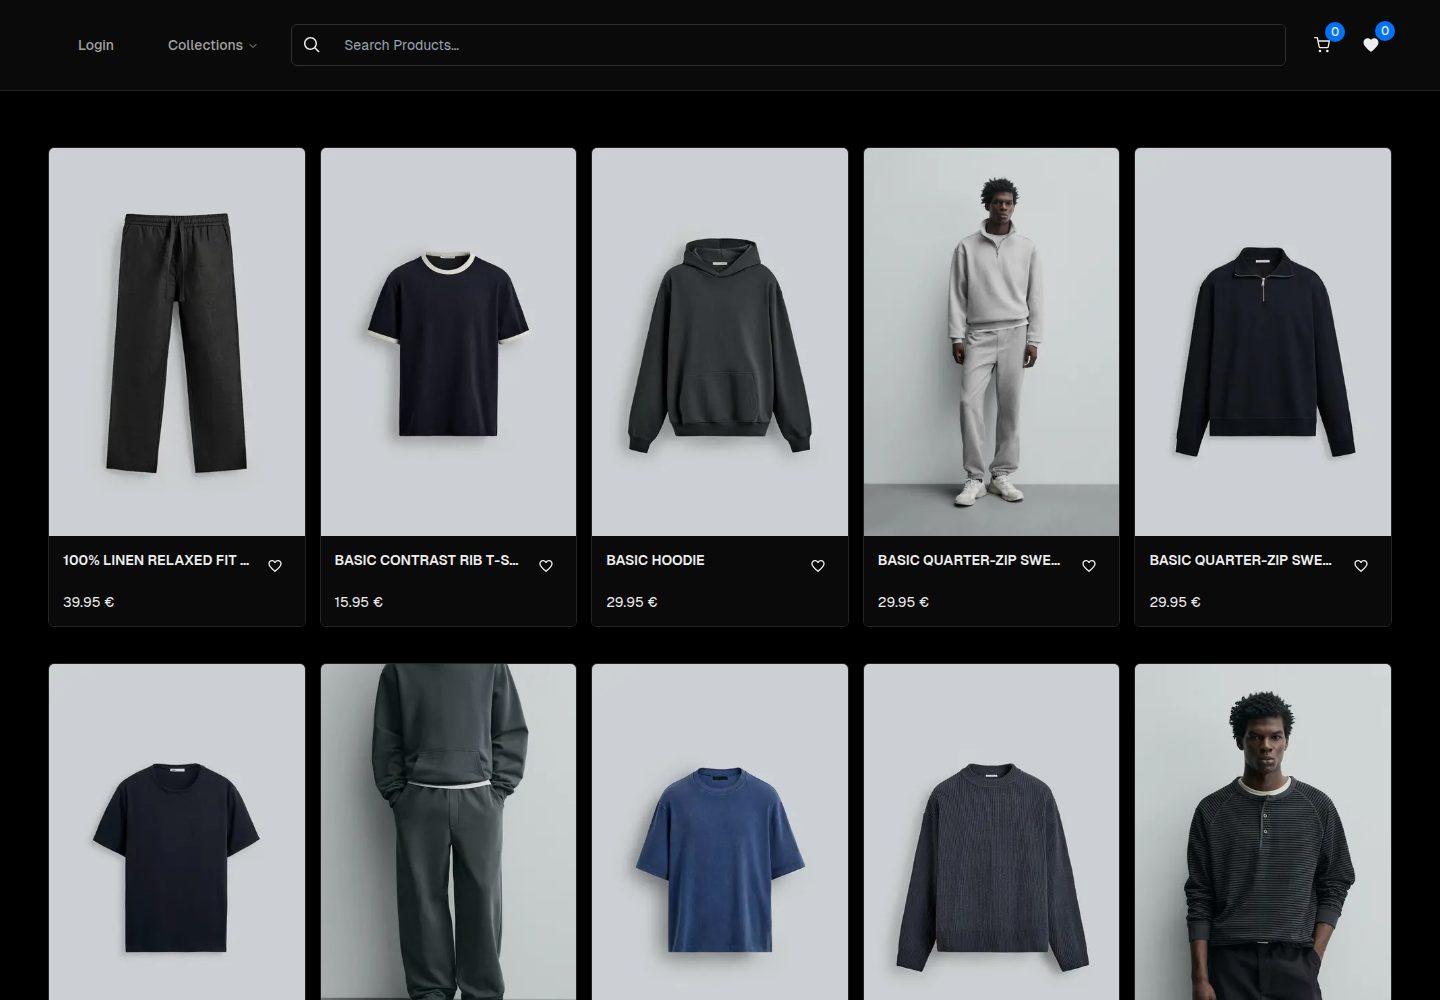
使用 Next.js App Router 与 TypeScript 编写,样式基于 TailwindCSS
Next.jsReact电商
ecommerce-template — Next.js 电商模板
作者 whitefog425dev
基于 Next.js 与 TypeScript、TailwindCSS 的电商模板,集成 Google 登录、MongoDB 数据存储与 Cloudinary 图片管理。
看看你的网站会是什么样
浏览真实页面截图,比较内容排版与手机效果。点击下方缩略图切换,放大查看整页细节。
全部页面与视图 2
截图用于了解视觉与布局,交互效果请以实际项目为准。
采集于 2026-10-02查看来源
值得关注的模板亮点
从已有项目资料中,快速了解它的特点。
集成 Google 登录(NextAuth)实现用户注册、登录与资料管理
使用 MongoDB 存储商品目录、用户信息、订单与购物车数据
通过 Cloudinary 管理商品图片,支持图片上传与响应式图片
包含商品目录、分类、搜索筛选、购物车、结算与订单历史等前台流程
提供管理员后台,用于商品、订单、用户与库存管理
模板详细介绍
这是一个电商方向的网站模板,技术栈为 Next.js(App Router 结构)与 React,使用 TypeScript 编写,样式基于 TailwindCSS。仓库描述与 README 显示其目标场景是搭建带用户体系与后台管理的在线商店。
功能上,模板包含商品目录与分类、商品搜索与筛选、购物车、结算流程、订单历史、用户资料管理,以及面向管理员的后台面板,用于商品、订单、用户与库存管理,并支持通过 Cloudinary 上传和管理商品图片。用户认证使用 Google 登录(NextAuth),数据存储使用 MongoDB,README 中列出 MONGODB_URI、GOOGLE_CLIENT_ID、GOOGLE_CLIENT_SECRET、NEXTAUTH_SECRET、NEXTAUTH_URL 以及 Cloudinary 三项凭据等必需环境变量。
使用限制方面,模板依赖 MongoDB、Google OAuth、Cloudinary 等外部服务,需要自行注册并配置凭据;README 提到支付处理,但未给出具体支付服务商或接入说明,实际支付能力需自行核对代码与配置。仓库未提供依赖清单核对信息,因此不在此列出具体框架版本号。代码采用 MIT 许可,可免费使用、修改、商用和分发,但演示图片、字体、图标等第三方素材需按各自许可单独核对,域名、托管、数据库、支付等外部服务可能另行收费。
Next.jsReact电商
适合你的项目吗?
适用场景
- 搭建带用户账号体系的在线商店前台与后台
- 作为学习 Next.js 全栈电商结构的参考项目
- 在已有 MongoDB 与 Cloudinary 账号的前提下快速起步电商站点
- 需要 Google 登录与商品图片管理能力的电商原型
适合人群
- 熟悉 Next.js 与 TypeScript 的开发者
- 已有或愿意注册 MongoDB、Google OAuth、Cloudinary 的团队
- 需要商品管理与订单后台的电商项目
- 希望以 MIT 许可代码为基础二次开发的个人或团队
上手与定制指南
结合仓库当前版本的说明,按下面的资料检查内容、配置与运行要求。
- 1
执行 npm install 安装依赖,再用 npm run dev 启动本地开发服务器,默认访问 http://localhost:3000
- 2
将 .env.example 复制为 .env.local,并填写 MONGODB_URI、GOOGLE_CLIENT_ID、GOOGLE_CLIENT_SECRET、NEXTAUTH_SECRET、NEXTAUTH_URL
- 3
在 MongoDB 创建数据库,在 Google 配置 OAuth 凭据,在 Cloudinary 获取 cloud name 与 API 密钥
- 4
NEXTAUTH_SECRET 可用 npx auth secret 生成随机密钥
- 5
部署到 Vercel 前需配置生产环境变量、生产数据库、认证回调与图片优化设置,并自行确认支付服务的接入方式
授权与来源资料
使用条件与限制
免费使用 · 保留许可声明本次收录的是公开仓库中采用 MIT 许可的免费版本;免费范围为该版本代码,不代表外部服务或第三方素材免费。
使用时需要遵守
- 允许免费使用、修改、商用和分发该版本代码。
- 分发代码副本或实质性部分时,保留原作者版权声明和完整 MIT 许可声明。
- 代码按现状提供;担保与责任限制以原许可证及适用法律为准。
额外费用与待核对事项
- 使用模板需自行注册并配置 MongoDB 数据库连接,模板本身不提供数据库服务。
- 用户认证依赖 Google OAuth,需自行创建 Google 凭据并配置客户端 ID 与密钥。
- 商品图片管理依赖 Cloudinary 外部服务,需自行注册账号并配置云名称与 API 密钥。
- README 提及支付处理但未指定服务商,实际支付能力需自行接入并可能产生外部服务费用。
- 演示图片、字体、图标及其他第三方素材需按各自许可核对,不能仅凭代码的 MIT 许可判断。
- 域名、托管、数据库、支付或 AI 等外部服务可能另外收费。
查看原文依据
Permission is hereby granted, free of charge
许可证原文
MONGODB_URI=your_mongodb_uri
README 原文
GOOGLE_CLIENT_ID=your_google_client_id
README 原文
CLOUDINARY_CLOUD_NAME=your_cloudinary_name
README 原文
https://github.com/whitefog425dev/ecommerce-template/blob/master/LICENSEhttps://github.com/whitefog425dev/ecommerce-template/blob/master/README.mdConfigure payment processing for production
README 原文
DeepSeek 根据仓库许可证和 README 整理 ·2026-10-02。结果仅覆盖已读取资料,依赖、图片、字体及后续条款变更以各自原文为准。
项目核对记录与介绍依据
模板资料
- 来源平台
- GitHub
- 资料与维护参考分
- 资料较完整 · 79 / 100
- 技术栈
- Next.js · React
- 网站类型
- 电商
这个分数如何计算
本站按许可资料(最高30分)、演示链接(12分)、预览图(10分)、Star数(15分)、记录的维护时间(15分)、描述完整度(8分)、功能记录(5分)和分类资料(5分)计算。它不是代码、安全或性能测试,也不是 Google 评分;有链接不代表已实测可用。
这个项目需要核对什么
- 记录的仓库更新时间
- 2025-09-29
- 截图检查日期
- 2026-10-02
已收录演示链接。请用你的内容与屏幕尺寸检查;有演示不代表表单、认证或支付已经可用。
目录记录的主要技术栈是 Next.js。请通过依赖清单和锁文件核对实际版本与托管要求。这些说明基于收录资料,不代表代码审计或部署实测。
查看具体选型方法 →介绍的制作与核对状态
介绍由 AI 辅助整理目录与仓库资料。仓库作者不等于这篇介绍的审核者。
已完成服务器许可规则与 AI 来源核对;未经过人工编辑审核。
查看当时使用的来源资料
SHA-256: ef4ad0b2fc711af2504693e631e82700572766e389cfb1441c2b36bae914d709
2026-10-02T14:14:12.419Z
来源文件 / 仓库# Next.js E-commerce Template A modern, fully-featured e-commerce template built with Next.js, featuring Google Authentication, MongoDB for data storage, and Cloudinary for product images management. ## 🚀 Features - Responsive Modern Design - User Authentication with Google - Product Catalog with Categories - Shopping Cart Functionality - Product Search and Filtering - User Profile Management - Image Management with Cloudinary - Secure Payment Processing - Order History - Admin Dashboard - Responsive Product Gallery - SEO Optimized ## 🛠 Installation & Set Up 1. Install dependencies ```bash npm install ``` 2. Run the development server ```bash npm run dev ``` 3. Open [http://localhost:3000](http://localhost:3000) with your browser to see the result. ## ⚙️ Environment Variables Rename `.env.example` to `.env.local` in the root directory and configure the following variables: ### Required Environment Variables: ```env # Database Configuration MONGODB_URI=your_mongodb_uri # Authentication GOOGLE_CLIENT_ID=your_google_client_id GOOGLE_CLIENT_SECRET=your_google_client_secret NEXTAUTH_SECRET=your_nextauth_secret NEXTAUTH_URL=http://localhost:3000 # Image Storage CLOUDINARY_CLOUD_NAME=your_cloudinary_name CLOUDINARY_API_KEY=your_cloudinary_key CLOUDINARY_API_SECRET=your_cloudinary_secret ``` ### Setting Up Services: #### MongoDB Database - Create a free MongoDB database [following this guide](https://www.mongodb.com/resources/products/fundamentals/create-database) - Perfect for storing: - Product catalog - User information - Orders - Shopping cart data #### Google Authentication - Set up Google OAuth for secure user authentication [following this guide](https://developers.google.com/identity/protocols/oauth2) - Enables: - User registration - Secure login - Profile management #### NextAuth Secret Generate a random secret key by running: ```bash npx auth secret ``` #### Cloudinary Configuration - Set up Cloudinary for product image management [following this guide](https://cloudinary.com/documentation/cloudinary_credentials_tutorial) - Used for: - Product images storage - Image optimization - Responsive images ## 📁 Project Structure ``` src/ ├── app/ │ ├── api/ # API endpoints │ ├── products/ # Product pages │ ├── cart/ # Cart pages │ ├── checkout/ # Checkout process │ ├── admin/ # Admin dashboard │ ├── auth/ # Authentication pages │ └── layout.tsx # Root layout ├── components/ │ ├── layout/ # Layout components │ ├── products/ # Product-related components │ ├── cart/ # Shopping cart components │ ├── auth/ # Authentication components │ └── ui/ # Reusable UI components ├── styles/ # CSS and styling ├── lib/ │ ├── mongodb.ts # Database configuration │ ├── auth.ts # Authentication utilities │ └── cart.ts # Cart management ├── models/ # MongoDB models └── utils/ # Helper functions ``` ## 🛍️ E-commerce Features ### For Customers - Browse product catalog - Search and filter products - Add items to cart - Secure checkout process - Order tracking - User profile management - Order history ### For Administrators - Product management - Order management - User management - Analytics dashboard - Inventory tracking - Image upload and management ## 🔒 Security Features - Secure authentication - Protected API routes - Secure payment processing - Data encryption - Input validation - XSS protection ## 🚀 Deployment The easiest way to deploy your Next.js app is to use the [Vercel Platform](https://vercel.com/new?utm_medium=default-template&filter=next.js&utm_source=create-next-app&utm_campaign=create-next-app-readme). Deployment Checklist: 1. Configure environment variables 2. Set up production database 3. Configure payment processing for production 4. Update authentication callbacks 5. Set up proper image optimization ## 🤝 Contributing 1. Fork the repository 2. Create your feature branch (`git checkout -b feature/AmazingFeature`) 3. Commit your changes (`git commit -m 'Add: AmazingFeature'`) 4. Push to the branch (`git push origin feature/AmazingFeature`) 5. Open a Pull Request ## 📚 Learn More - [Next.js Documentation](https://nextjs.org/docs) - [MongoDB Documentation](https://docs.mongodb.com/) - [Cloudinary Documentation](https://cloudinary.com/documentation) - [NextAuth.js Documentation](https://next-auth.js.org/) ## 📝 License This project is licensed under the MIT License - see the [LICENSE](LICENSE) file for details.
看看同类模板
对比同技术栈与用途的模板,找到更适合的视觉与内容结构。

Next.js Commerce
Next.js Commerce 是 Vercel 团队维护的电商启动模板,基于 Next.js App Router 构建,采用服务端渲染、React Server Components、Server Actions …
Next.js · 电商
commerceplate
Commerceplate 是一个基于 Next.js 16、Tailwind CSS 4 和 TypeScript 的 Shopify 电商启动模板,由 Zeon Studio 开发并免费开源。
Next.js · 电商
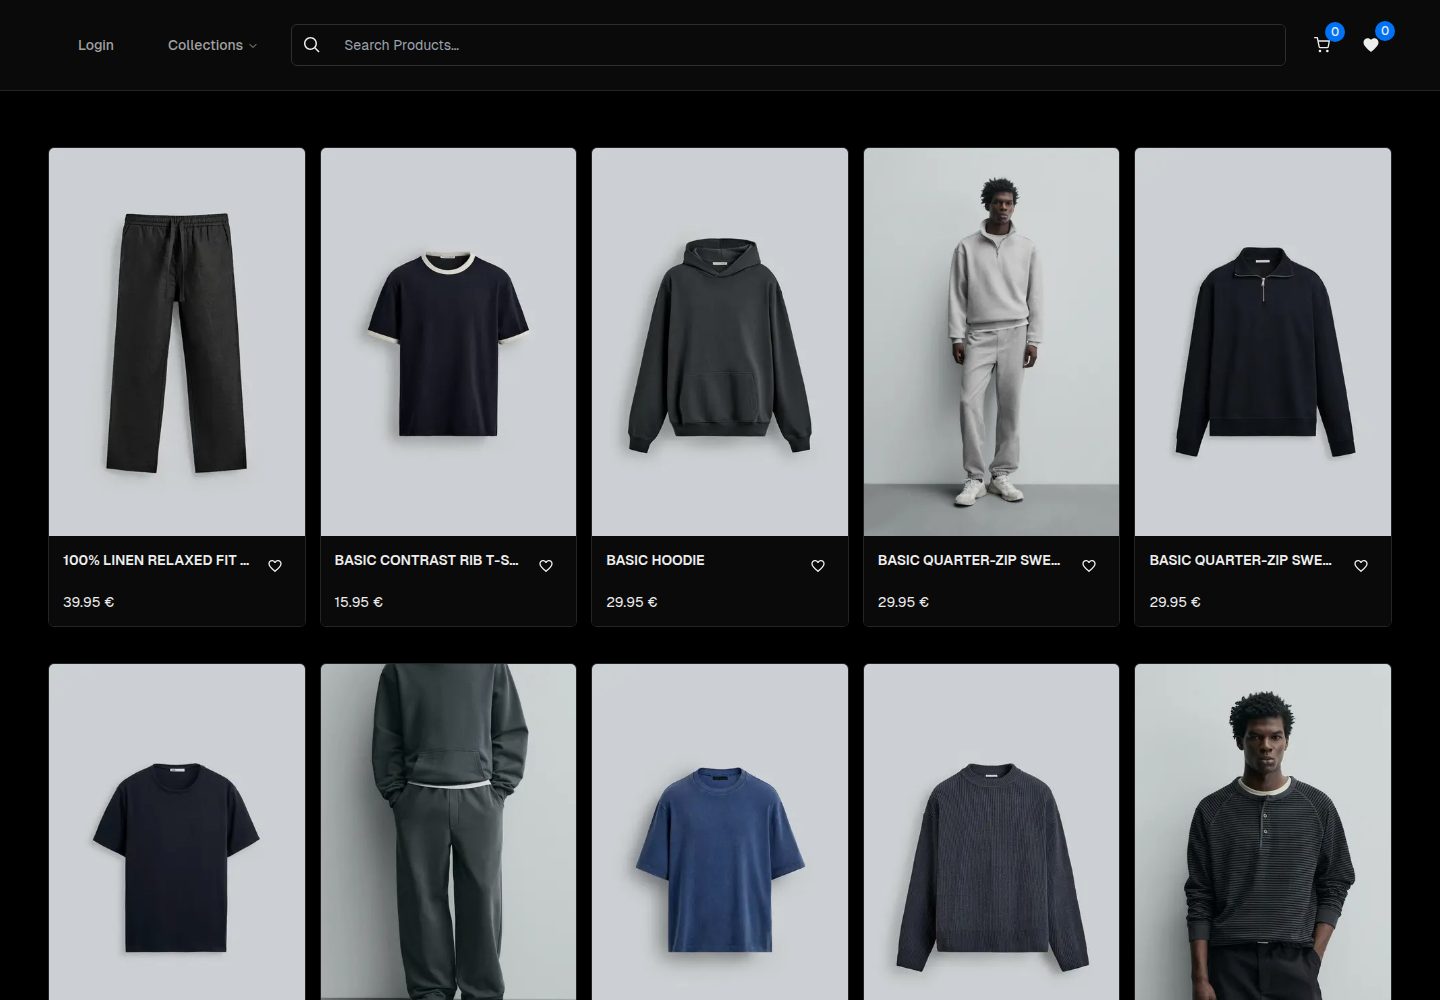
ecommerce-template
An ecommerce template built with NextJS 16, TypeScript and TailwindCSS
Next.js · 电商
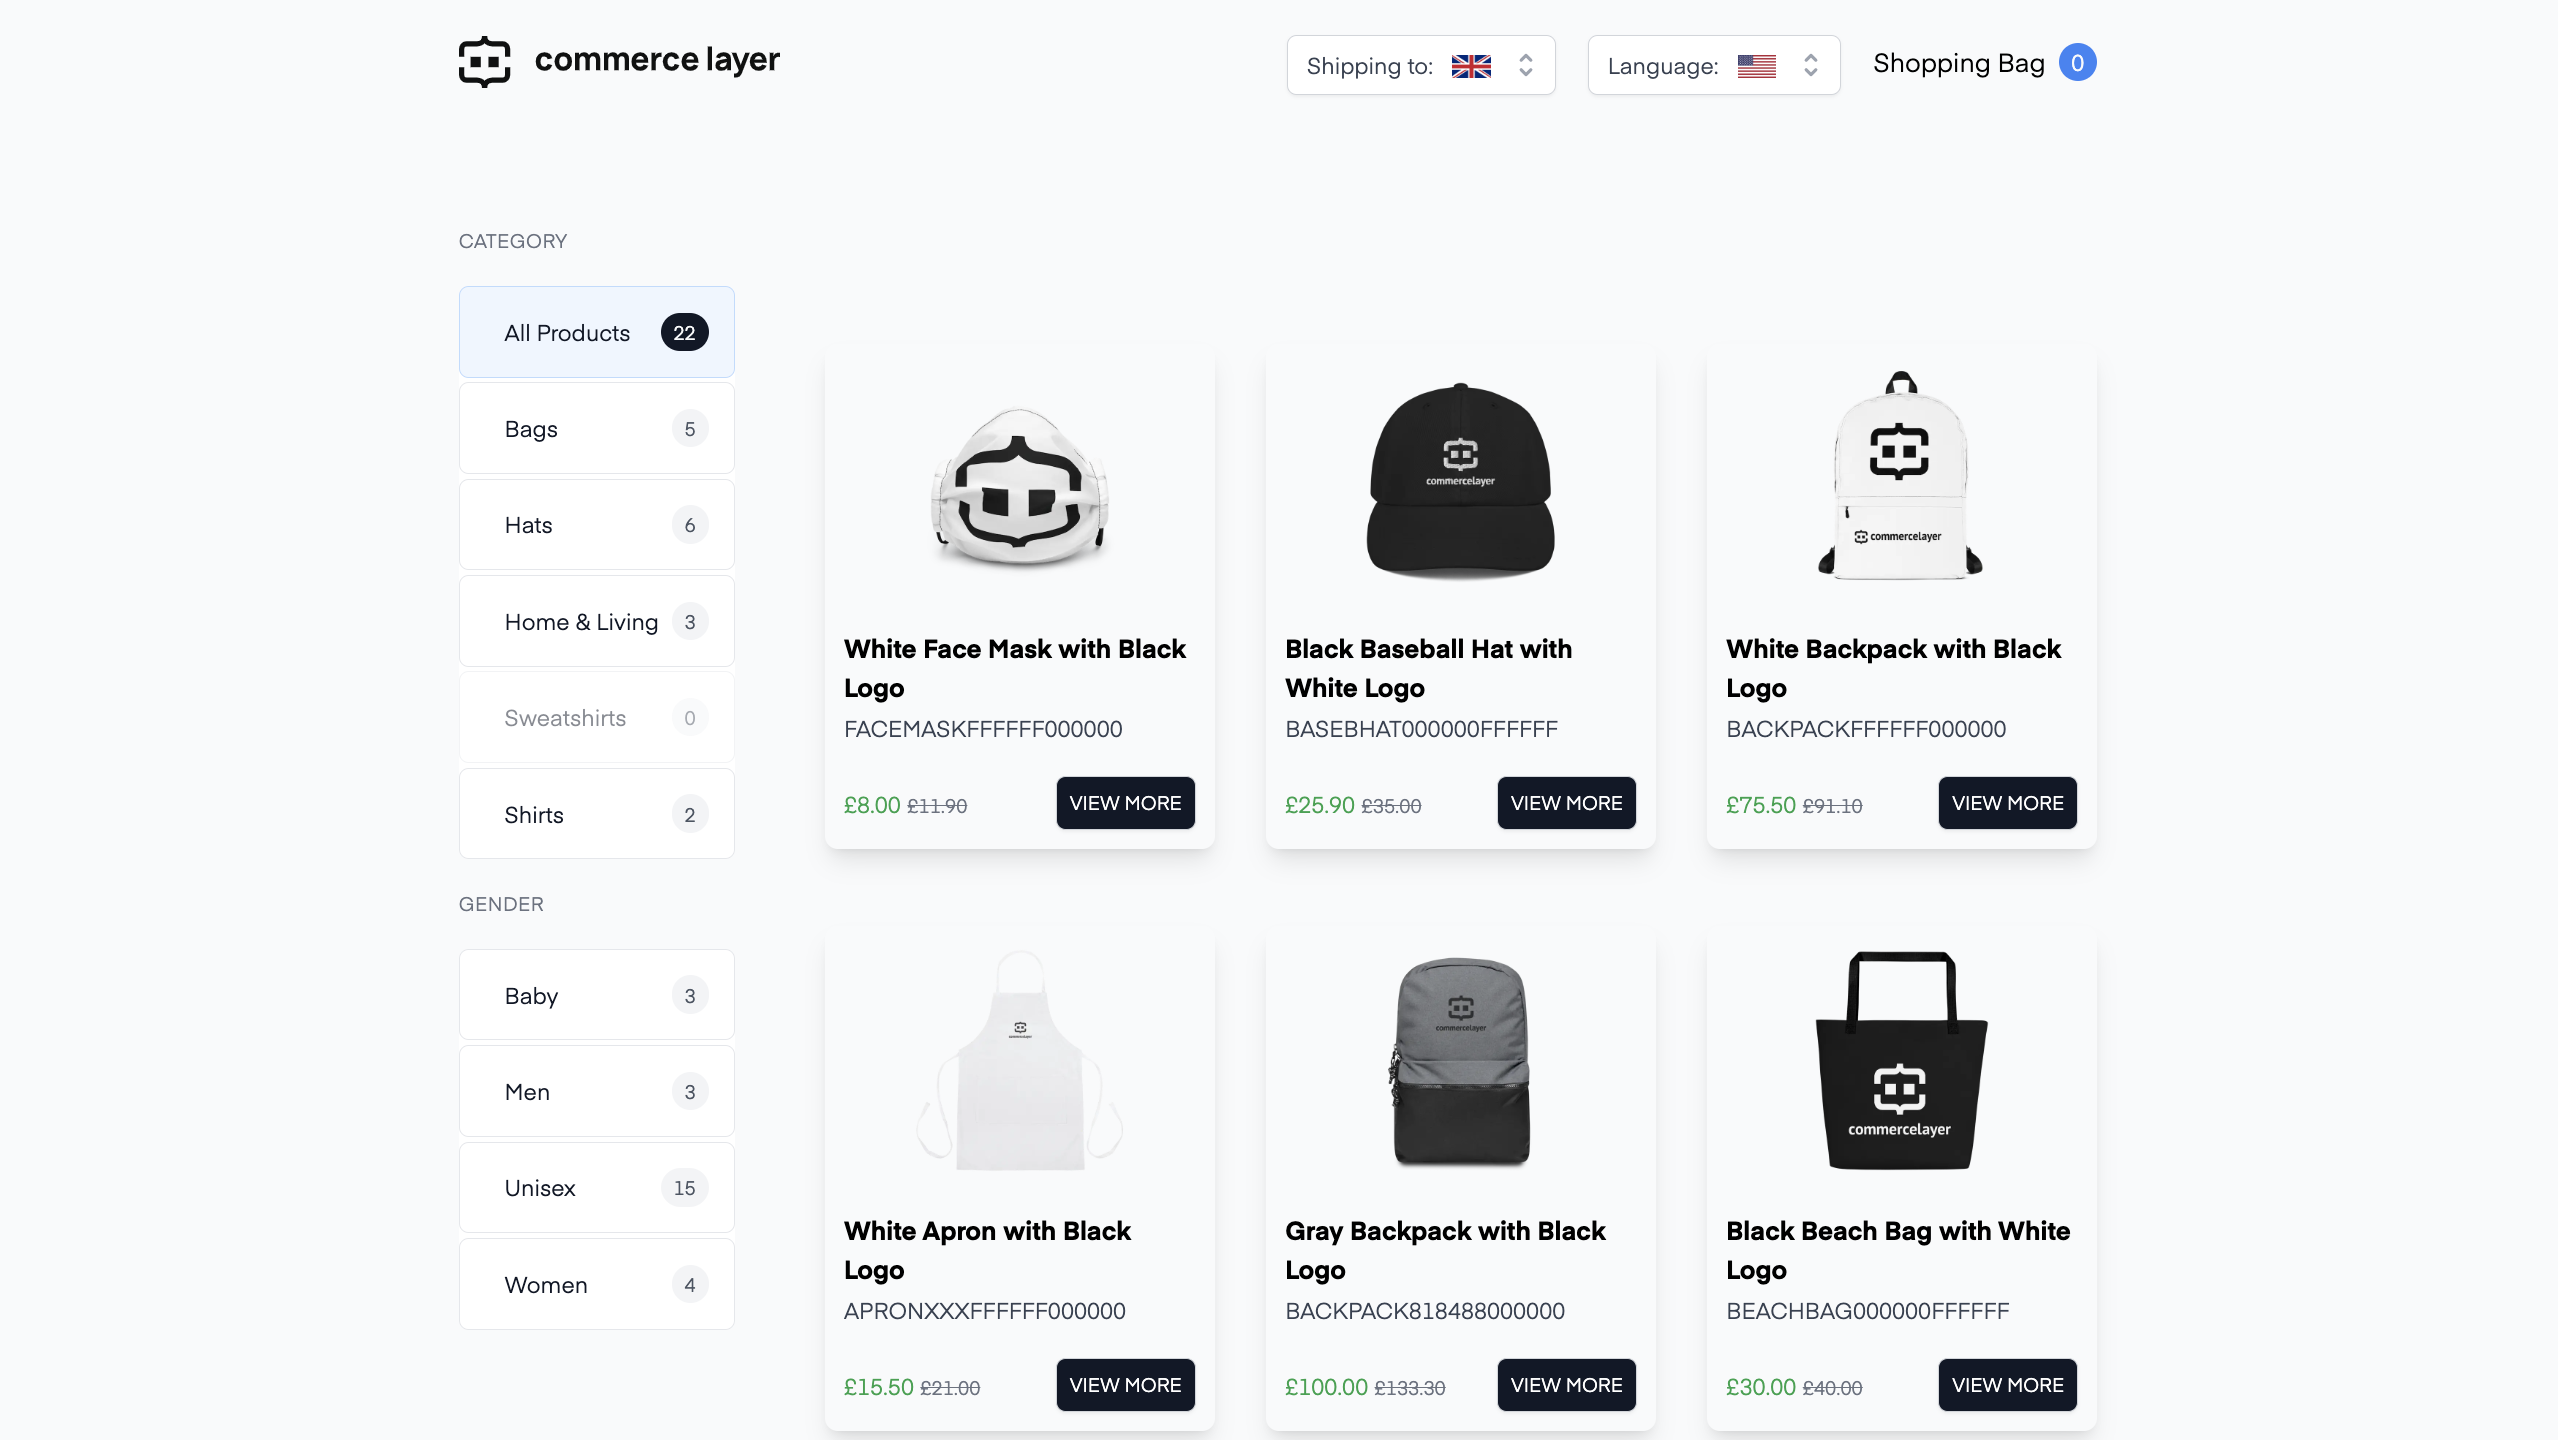
commercelayer-sanity-template
A multi-country ecommerce template built with Commerce Layer, Next.js, Sanity studio, and deployed to Netlify.
Next.js · 电商
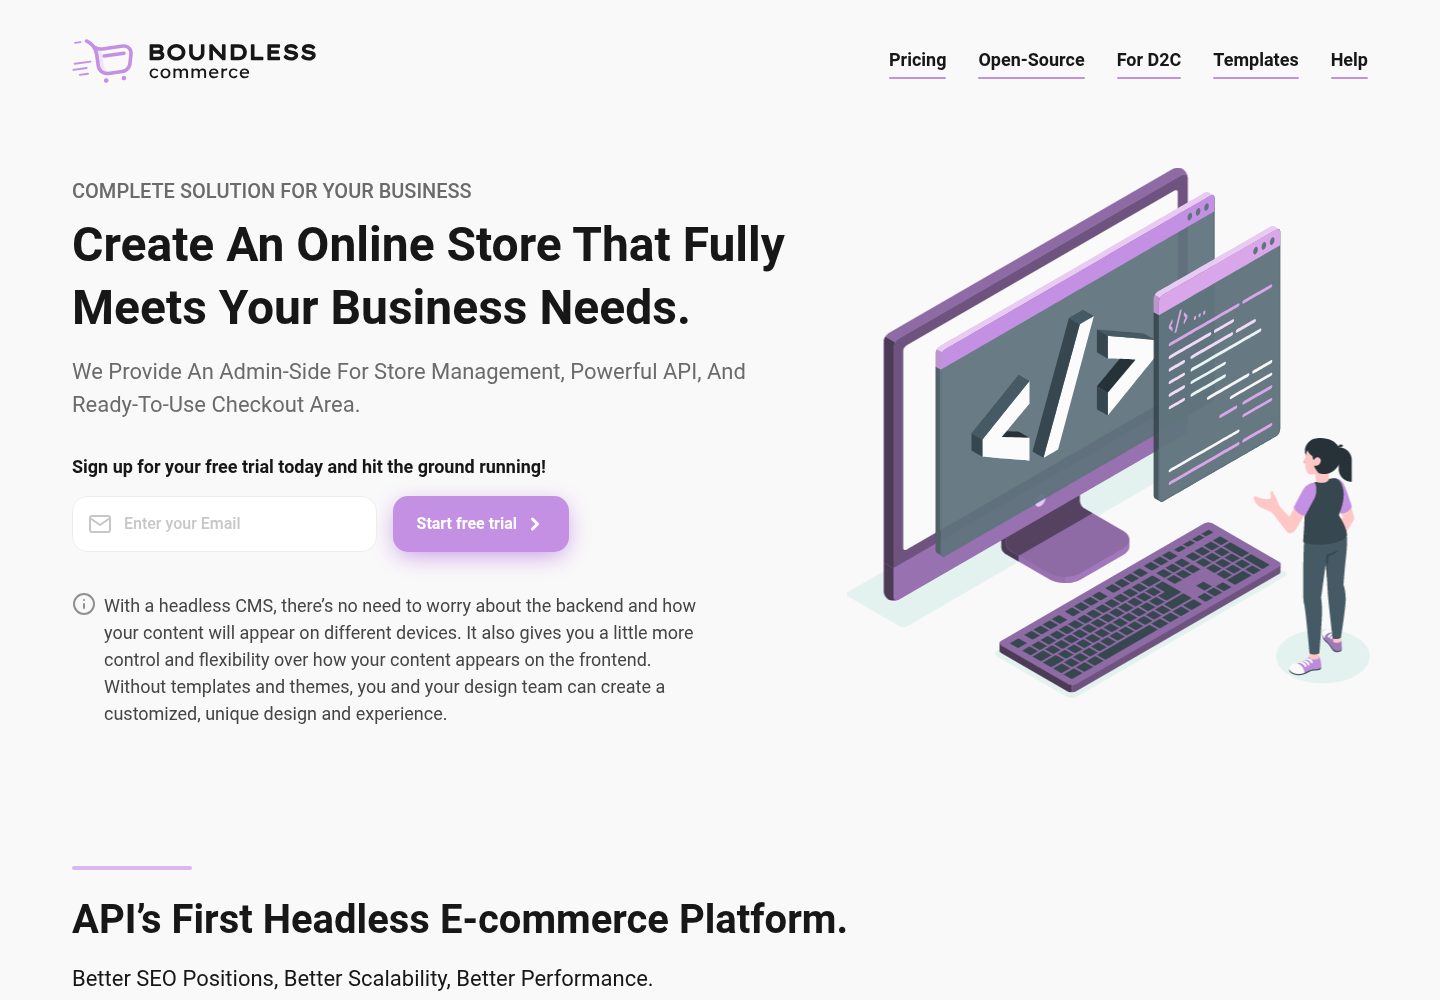
boundless-nextjs-ecommerce-template
Next.js E-Commerce template. Strong TypeScript, Ready to use, For high-performance e-commerce websites.
Next.js · 电商
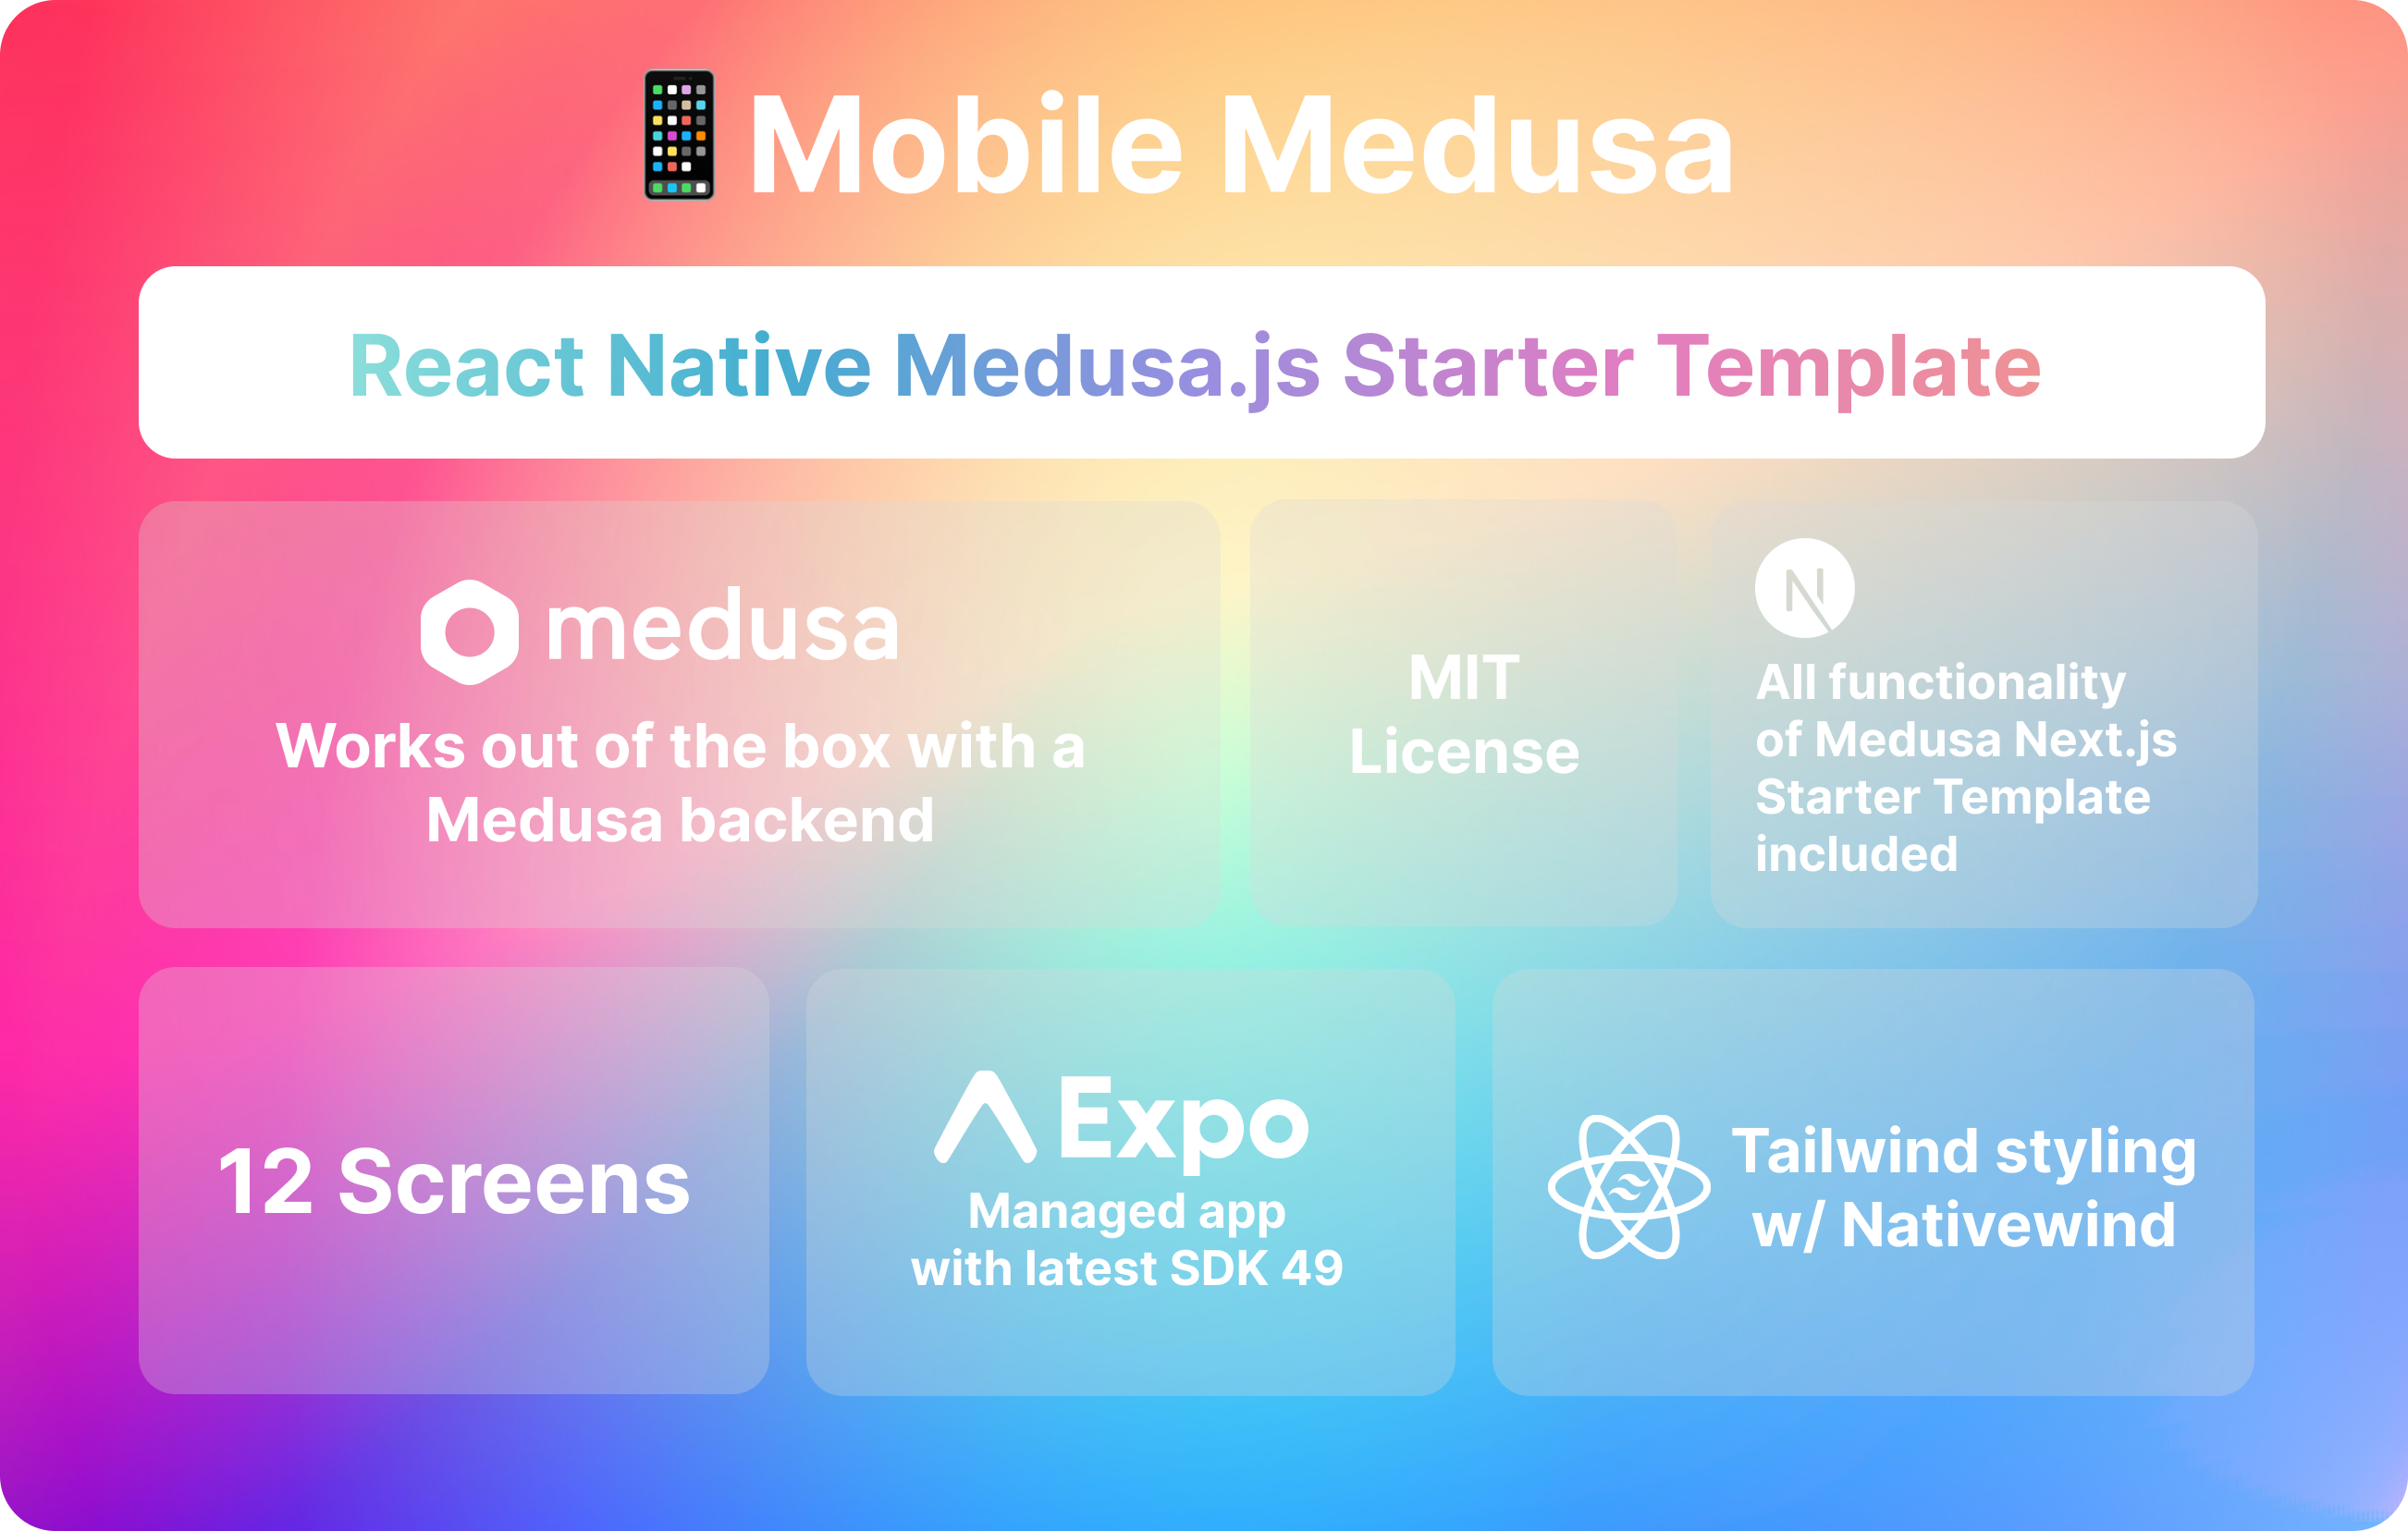
mobile-medusa
📱 Combine your Medusa.js e-commerce backend and/or web storefront with a Expo mobile app that matches Medusa …
Next.js · 电商