Technology combination of Vue 3 + Vite + TypeScript + Pinia + UnoCSS + Element Plus + pnpm
VueViteAdmin dashboard
clover-admin-vue — Vue Admin dashboard Template
By wzc520pyfm
A mid-to-back-office admin template based on Vue 3, Vite, TypeScript, Pinia, UnoCSS, Element Plus, and pnpm, offering auto-imports, an icon system, and Docker deployment configuration.
Explore the design
Compare the page layouts and mobile experience. Open any screenshot for a closer look.
Author preview
Author-provided preview
Preview provided in the project README.
One original preview is available. Open the full image to inspect the design.
Screenshots show visual appearance; interactive behavior may differ.
Recorded 2026-10-02View source
What stands out
A quick read of the recorded project description.
Auto-imports for Vue, Vue Router, and Pinia; automatic registration and declaration of components under src/components
Support for reactivity syntax sugar ($ref, etc.), with scripts required to uniformly use TS
Icon system covering Element Plus, Iconify icon sets, and local SVG, with dynamic rendering support
Provides Dockerfile and nginx.conf for building images and running in containers
Built-in configuration for testing and standards tools including Vitest, Cypress, ESLint, and commitlint
Template Details
clover-admin-vue is a mid-to-back-office frontend template combining Vue 3, Vite, TypeScript, Pinia, UnoCSS, and Element Plus, with pnpm as the package manager. The project establishes several development-experience conventions: Vue, Vue Router, and Pinia use auto-imports; components under src/components are automatically registered and declared; and Vue reactivity syntax sugar ($ref, etc.) is enabled. Consequently, component scripts must uniformly use <script lang="ts" setup> or <script lang="ts">.
For icons, the template supports the Element Plus icon set and the Iconify icon set through unplugin's IconsResolver. Additional icon set prefixes can be added to enabledCollections in build/plugins/unplugin.ts. It also supports local SVG icons under src/assets/svg-icon and dynamic rendering via the svg-icon component. Styling uses UnoCSS with presetUno integrated by default, supporting valueless syntax as well as custom shortcuts and rules, configured in uno.config.ts.
In terms of project configuration, Vite plugins are split into the build/plugins directory, including code compression, HTML injection and compression, mock, auto-import and component registration, and bundle dependency analysis. Environment variables are divided into .env, .env.development, .env.production, and .env.config.ts. The repository also provides project-level .vscode settings, extension recommendations, and code snippets, as well as a .devcontainer remote development configuration. Testing and quality tools include Vitest unit tests, Cypress end-to-end tests, ESLint, and commitlint.
For deployment, the docker directory provides a Dockerfile and nginx.conf, allowing the image to be built and run as a container. The license is MIT, permitting use, modification, commercial use, and distribution of this version of the code. However, third-party assets such as demo images, fonts, and icons must be checked against their respective licenses, and external services such as domains, hosting, and databases may incur separate charges.
VueViteAdmin
Is it right for your project?
Use Cases
- Projects needing a Vue 3 + TypeScript mid-to-back-office frontend base while reducing manual imports and component registration
- Projects needing a unified icon solution while using Element Plus icons, Iconify icon sets, and local SVG
- Interface development that wants to use UnoCSS atomic styles with custom shortcuts and rules
- Projects needing Docker images and Nginx configuration for frontend deployment
- Teams needing Vitest unit tests, Cypress end-to-end tests, and commit convention enforcement
Suitable For
- Developers familiar with Vue 3 and TypeScript who accept auto-imports and reactivity syntax sugar
- Teams needing a mid-to-back-office template as a project starting point and extending business modules themselves
- Frontend projects using pnpm as the package manager
- Projects needing containerized deployment of frontend static assets
Getting started & customization
Use these recorded setup notes alongside the repository instructions for your chosen version.
- 1
Install dependencies with pnpm i, start development with pnpm dev, and run type checking and production build with pnpm build.
- 2
Unit tests use pnpm test:unit (Vitest); end-to-end tests use pnpm test:e2e:dev or build first and then pnpm test:e2e (Cypress).
- 3
For Docker deployment, run docker build -t clover-admin-vue:v0.0.0 -f docker/Dockerfile . and then start with docker run --name clover -p 80:80 -d.
- 4
Icon set prefixes must be registered in enabledCollections in build/plugins/unplugin.ts; local icons go into src/assets/svg-icon.
- 5
Component scripts must use <script lang="ts" setup> or <script lang="ts">; avoid mixing in plain JS, which would break TypeScript and ESLint type-checking cooperation.
License & source material
Usage conditions & limitations
Free to use · keep license noticeThis entry covers the free version from the public repository under the MIT license; the free scope is the code of this version and does not imply that external services or third-party assets are free.
Must comply with when using
- Free use, modification, commercial use, and distribution of this version of the code are permitted.
- When distributing copies or substantial portions of the code, retain the original author's copyright notice and the full MIT license notice.
- The code is provided as is; warranties and limitations of liability are governed by the original license and applicable law.
Additional costs & items to verify
- When using this template, component scripts must use <script lang="ts" setup> or <script lang="ts">; plain JavaScript should not be written, otherwise TypeScript and ESLint type-checking cooperation will fail.
- To patch dependencies, pnpm 7.4.0 or later is required; earlier pnpm versions do not support this patching workflow.
- When installing Cypress, if the network is poor, set the CYPRESS_DOWNLOAD_MIRROR environment variable to a mirror address; otherwise the download may fail.
- Docker deployment requires a Docker environment to be installed separately; the README provides steps for installing Docker from scratch, which is an external environment dependency.
- Demo images, fonts, icons, and other third-party assets must be checked against their respective licenses; they cannot be judged solely by the code's MIT license.
- External services such as domains, hosting, databases, payments, or AI may incur separate charges.
View Original Text Basis
Permission is hereby granted, free of charge
Original License Text
请务必使用`<script lang='ts' setup>`或者`<script lang='ts'>`, 不要再写纯JS
Original README
注意: pnpm在v7.4.0开始支持打补丁
Original README
设置CYPRESS_DOWNLOAD_MIRROR常量为https://download.cypress.io/desktop
Original README
https://github.com/wzc520pyfm/clover-admin-vue/blob/master/LICENSEhttps://github.com/wzc520pyfm/clover-admin-vue/blob/master/README.md如果您未安装Docker, 以下步骤将从零安装Docker
Original README
Compiled by DeepSeek based on repository license and README ·2026-10-02. Results only cover the materials read; dependencies, images, fonts, and subsequent term changes are subject to their respective original texts.
Project checks & description sources
Template Information
- Source platforms
- GitHub
- Documentation and maintenance reference score
- More documented · 90 / 100
- Technologies
- Vue · Vite
- Website type
- Admin dashboard
How this score is calculated
Our heuristic uses license records (up to 30), a demo link (12), a preview (10), stars (15), recorded maintenance (15), description completeness (8), feature records (5) and classification data (5). It is not a code, security or performance test, or a Google score. A link does not establish tested functionality.
What to verify for this project
- Repository update recorded
- 2025-09-04
- Screenshot last checked
- 2026-10-02
A demo link is listed. Check it with your own content and viewport sizes; its presence does not confirm that forms, authentication or payments work.
The catalog identifies Vue as the primary stack. Check the actual dependency manifest and lockfile for versions and hosting requirements. These notes use recorded metadata, not a code audit or a deployment test.
Use a selection guide →How this description was prepared
AI-assisted description based on catalog records and repository material. Repository authors are not automatically the reviewers of this description.
Automatically checked against source and license rules; no manual editorial review.
Inspect the recorded source material
SHA-256: 2538ed0042c811e35e1d3dac411816d25dc897ac0a7813c6d784cfbfbacda234
2026-10-02T11:39:16.326Z
Source file / repository# clover-admin-vue
一个使用Vue3,Vite3,Typescript,Pinia,Unocss,Element-plus,pnpm的中后台模板,易上手,可配置,多功能,有点潮。
## Recommended IDE Setup
[VSCode](https://code.visualstudio.com/) + [Volar](https://marketplace.visualstudio.com/items?itemName=Vue.volar) (and disable Vetur) + [TypeScript Vue Plugin (Volar)](https://marketplace.visualstudio.com/items?itemName=Vue.vscode-typescript-vue-plugin).
## Type Support for `.vue` Imports in TS
TypeScript cannot handle type information for `.vue` imports by default, so we replace the `tsc` CLI with `vue-tsc` for type checking. In editors, we need [TypeScript Vue Plugin (Volar)](https://marketplace.visualstudio.com/items?itemName=Vue.vscode-typescript-vue-plugin) to make the TypeScript language service aware of `.vue` types.
If the standalone TypeScript plugin doesn't feel fast enough to you, Volar has also implemented a [Take Over Mode](https://github.com/johnsoncodehk/volar/discussions/471#discussioncomment-1361669) that is more performant. You can enable it by the following steps:
1. Disable the built-in TypeScript Extension
1) Run `Extensions: Show Built-in Extensions` from VSCode's command palette
2) Find `TypeScript and JavaScript Language Features`, right click and select `Disable (Workspace)`
2. Reload the VSCode window by running `Developer: Reload Window` from the command palette.
## Customize configuration
See [Vite Configuration Reference](https://vitejs.dev/config/).
## Project Setup
```sh
pnpm i
```
### Compile and Hot-Reload for Development
```sh
pnpm dev
```
### Type-Check, Compile and Minify for Production
```sh
pnpm build
```
### Run Unit Tests with [Vitest](https://vitest.dev/)
```sh
pnpm test:unit
```
### Run End-to-End Tests with [Cypress](https://www.cypress.io/)
```sh
pnpm test:e2e:dev
```
This runs the end-to-end tests against the Vite development server.
It is much faster than the production build.
But it's still recommended to test the production build with `test:e2e` before deploying (e.g. in CI environments):
```sh
pnpm build
pnpm test:e2e
```
### Lint with [ESLint](https://eslint.org/)
```sh
pnpm lint
```
### Docker部署
- 构建镜像
> docker build -t clover-admin-vue:v0.0.0 -f docker/Dockerfile .
- 创建并启动容器
> docker run --name clover -p 80:80 -d clover-admin-vue:v0.0.0
- 访问CloverAdmin
浏览器访问`http://localhost`
如果您未安装Docker, 以下步骤将从零安装Docker(以Ubuntu20.04为例):
- 更新软件包索引, 安装必要依赖, 添加一个新的https软件源
> sudo apt update
>
> sudo apt install apt-transport-https ca-certificates curl gnupg-agent software-properties-common
- 导入源仓库GPG key
> curl -fsSL https://download.docker.com/linux/ubuntu/gpg | sudo apt-key add -
- 添加Docker APT软件源
> sudo add-apt-repository "deb [arch=amd64] https://download.docker.com/linux/ubuntu $(lsb_release -cs) stable"
- 安装最新版本的Docker, 一旦安装完成, Docker服务会自动启动
> sudo apt update
>
> sudo apt install docker-ce docker-ce-cli containerd.io
- 安装指定版本的Docker
- 查看可以的版本
> sudo apt update
>
> apt list -a docker-ce
- 安装(可用的Docker版本看起来是`5:19.03.9~3-0~ubuntu-focal`)
> sudo apt install docker-ce=<VERSION> docker-ce-cli=<VERSION> containerd.io
## 项目配置
### 目录结构
```tree
clover-admin
|-- .devcontainer // vscode远程开发配置
| |-- devcontainer.json
| |-- Dockerfile
|-- .husky // git commit提交钩子
|-- .vscode // vscode插件、设置、代码片段
| |-- clover.code-snippets // 代码片段
| |-- extensions.json // 插件
| |-- setting.json // 设置
|-- build // 构建的相关配置和插件
| |-- config
| |-- plugins // vite插件
| | |-- compress.ts // 代码压缩
| | |-- html.ts // html(注入变量、压缩代码)
| | |-- mock.ts // mock插件
| | |-- unplugin.ts // vue宏增强、自动导入、注册注册声明、Icon封装、UI组件
| | |-- visualizer.ts // 打包依赖分析
| |-- utils
|-- cypress // e2e测试框架
|-- doc // 文档相关
|-- docker // docker配置
| |-- .dockerignore
| |-- Dockerfile
| |-- nginx.conf
|-- mock // mock服务
|-- public
|-- src
| |-- assets // 静态资源
| | |-- animation // lottie动画资源
| | |-- svg-icon // 本地svg图标
| |-- components // 全局组件(自动导入)
| | |--business // 业务相关组件
| | |--common // 公共组件(常用组件)
| | |--custom // 自定义组件
| |-- composables // 组合式函数
| |-- config // 全局静态配置
| |-- constants // 全局常量
| |-- directives // vue指令
| |-- enum // TS枚举
| |-- hooks // 组合式的函数hooks(内部状态)
| |-- layout // 布局组件
| |-- plugins // 插件
| |-- router // vue路由
| | |-- guard
| | |-- helper
| | |-- modules
| | |-- routes
| |-- sdk // 三方sdk
| |-- service // 网络请求
| | |-- api
| | |-- request
| |-- stores // pinia状态管理
| |-- styles // 全局样式
| | |-- css
| | |-- less
| | |-- scss
| |-- typings // TS类型声明
| | |-- api.d.ts // 接口相关的类型声明
| | |-- auto-import.d.ts
| | |-- business.d.ts // 业务相关的类型声明
| | |-- components.d.ts
| | |-- env.d.ts // 项目级、vite相关配置
| | |-- expose.d.ts // vue组件导出类型
| | |-- global.d.ts // 全局类型
| | |-- package.d.ts // 包类型
| | |-- route.d.ts // 路由类型
| | |-- router.d.ts // 路由类型
| | |-- system.d.ts // 系统类型
| | |-- vue.d.ts // vue相关类型
| |-- utils // 工具函数
| | |-- auth
| | |-- common
| | |-- crypto
| | |-- filters
| | |-- router
| | |-- service
| | |-- storage
| |-- views // 页面
| |-- App.vue // vue文件入口
| |-- globalProperties.ts // vue全局变量
| |-- main.ts // 项目入口文件
|-- .editorconfig // 统一编辑器配置
|-- .env // 通用环境配置
|-- .env.config.ts // 请求环境的配置
|-- .env.development // 开发环境配置
|-- .env.production // 生产环境配置
|-- .eslintignore // 配置哪些文件忽略eslint检查
|-- .eslintrc-auto-import.json // auto-import插件的eslint生成文件
|-- .eslintrc.cjs // eslint配置文件
|-- .gitattributes // git配置
|-- .gitignore // 配置git记录时哪些文件忽略
|-- .npmignore // 可忽略
|-- .npmrc // npm配置
|-- .prettierrc.json // prettier代码格式化插件配置
|-- commitlint.config.js // commitlint提交规范插件配置
|-- commitlint.config.ts // commitlint提交规范插件配置
|-- cypress.config.ts // e2e测试框架配置
|-- index.html
|-- LICENSE
|-- package.json
|-- pnpm-lock.yaml
|-- README.md
|-- tsconfig.app.json
|-- tsconfig.config.json
|-- tsconfig.json // TS配置
|-- tsconfig.vitest.json
|-- uno.config.ts // unocss配置
|-- vite.config.ts // vite配置
|-- vitest.config.ts // vitest配置
```
如果你觉得项目根目录太过于庞大,你可以开启VsCode的文件嵌套功能(fileNesting.enabled),因为根目录中大多为配置文件,不同的软件包提供的配置文件格式不统一(不单单是json,软件包为提供更好的定制能力,将配置文件格式定为ts、js等),且部分软件包不支持更改配置文件目录,因此,根目录庞大不是本项目文件组织的问题,此问题更应该归由IDE解决。
推荐插件: antfu.file-nesting
### vscode
项目期望保持一致的开发体验, 配置了一系列vscode配置:
1. 项目级的vscode扩展
- see: `./.vscode/extensions.json`
2. 项目级的vscode设置
- see: `./.vscode/settings.json`
3. 项目级的代码模板
- see: `./.vscode/clover.code-snippets`
4. 如果你熟悉vscode的远程开发功能, 项目也做好了相关配置以保持一致的开发体验
- see: `./.devcontainer`
5. 项目级的精心挑选的vscode图标, 包括文件和文件夹图标
- see: `./.vscode/settings.json`
- <img src="./doc/pic/icons-root.png"></img><img src="./doc/pic/icons-src.png"></img>
### 以新的姿态使用vue
#### 自动导入、自动注册组件、响应式语法糖
项目使用自动导入的方式来使用vue、vue-router、pinia、etc, 并且结合自动注册组件和vue3的[响应式语法糖](https://cn.vuejs.org/guide/extras/reactivity-transform.html).
在以前, 我们使用vue可能是这样的:
```vue
<template>
<div>{{ count }}</div>
<HelloComponent />
</template>
<script lang='ts' setup>
import HelloComponent from '@/components'
import { ref, computed } from 'vue'
const count = ref(0)
const doubled = computed(() => count.value * 2)
</script>
```
现在将使用更加简洁的方式:
无需再手动导入vue、vue-router、pinia,所有在`./src/components`目录下的组件都将自动注册声明, 响应式语法糖可以自动脱取`.value`等.
```vue
<template>
<div>{{ count }}</div>
<HelloComponent />
</template>
<script lang='ts' setup>
const count = $ref(0)
const doubled = computed(() => count * 2)
</script>
```
请务必使用`<script lang='ts' setup>`或者`<script lang='ts'>`, 不要再写纯JS, 当使用TS时, TypeScript可以和ESLint很好地配合提供类型检查,但当混入纯JS时他们无法很好地工作, 目前前端社区没有好的解决方案。
#### 为vue注册全局属性
1. 在`./src/globalProperties.ts`中
2. 以注册全局属性`$filters`为例
```typescript
// globalProperties.ts
export function setupGlobalProperties(app: App) {
installGlobalProperties(filters, "$filters");
// ...
}
```
还需要在`./src/typings/vue.d.ts`中为$filters定义类型
```typescript
export {};
declare module "vue" {
/** 定义在vue实例上自定义的全局属性的类型 */
export interface ComponentCustomProperties {
$filters: typeof import("@/utils/filters");
}
}
```
3. 如何访问?
```vue
// 模板中
<template>
<p>{{ $filters }}</p>
</template>
```
```vue
<script lang="ts" setup>
// setup中
const vm = getCurrentInstance()!;
const { $filters } = vm.appContext.config.globalProperties;
</script>
```
#### 引入资源
一些三方库在使用时需要导入其css样式文件, 一般会把他们导入在main.ts中, 这导致main.ts会越来越臃肿, 因此本项目将其拆分, 所有的资源文件统一放置在`./src/plugins/assets.ts`进行导入.
### vite
vite的配置在vite.config.ts中, 但其plugins配置被拆分到了build目录下, 因为plugins往往会有很长的配置.
### 使用图标
#### 使用element-plus的图标
直接从官网复制来的图标如下:
```html
<el-icon><Search /></el-icon>
```
因为项目使用了自动导入图标的方式, 所以需要改为如下格式:
```html
<el-icon><i-ep-Search /></el-icon>
```
element-plus的图标自动导入见官方文档: https://element-plus.org/zh-CN/component/icon.html#%E8%87%AA%E5%8A%A8%E5%AF%BC%E5%85%A5
#### 使用其他图标集
本项目支持源自https://iconify.design/的所有图标, 只需简单的配置即可.
element-plus的图标也是https://iconify.design/中的一个图标集合, 现在在https://iconify.design/中挑选一个新图标集合:
1. 以Material Design Icons为例: https://icon-sets.iconify.design/mdi/
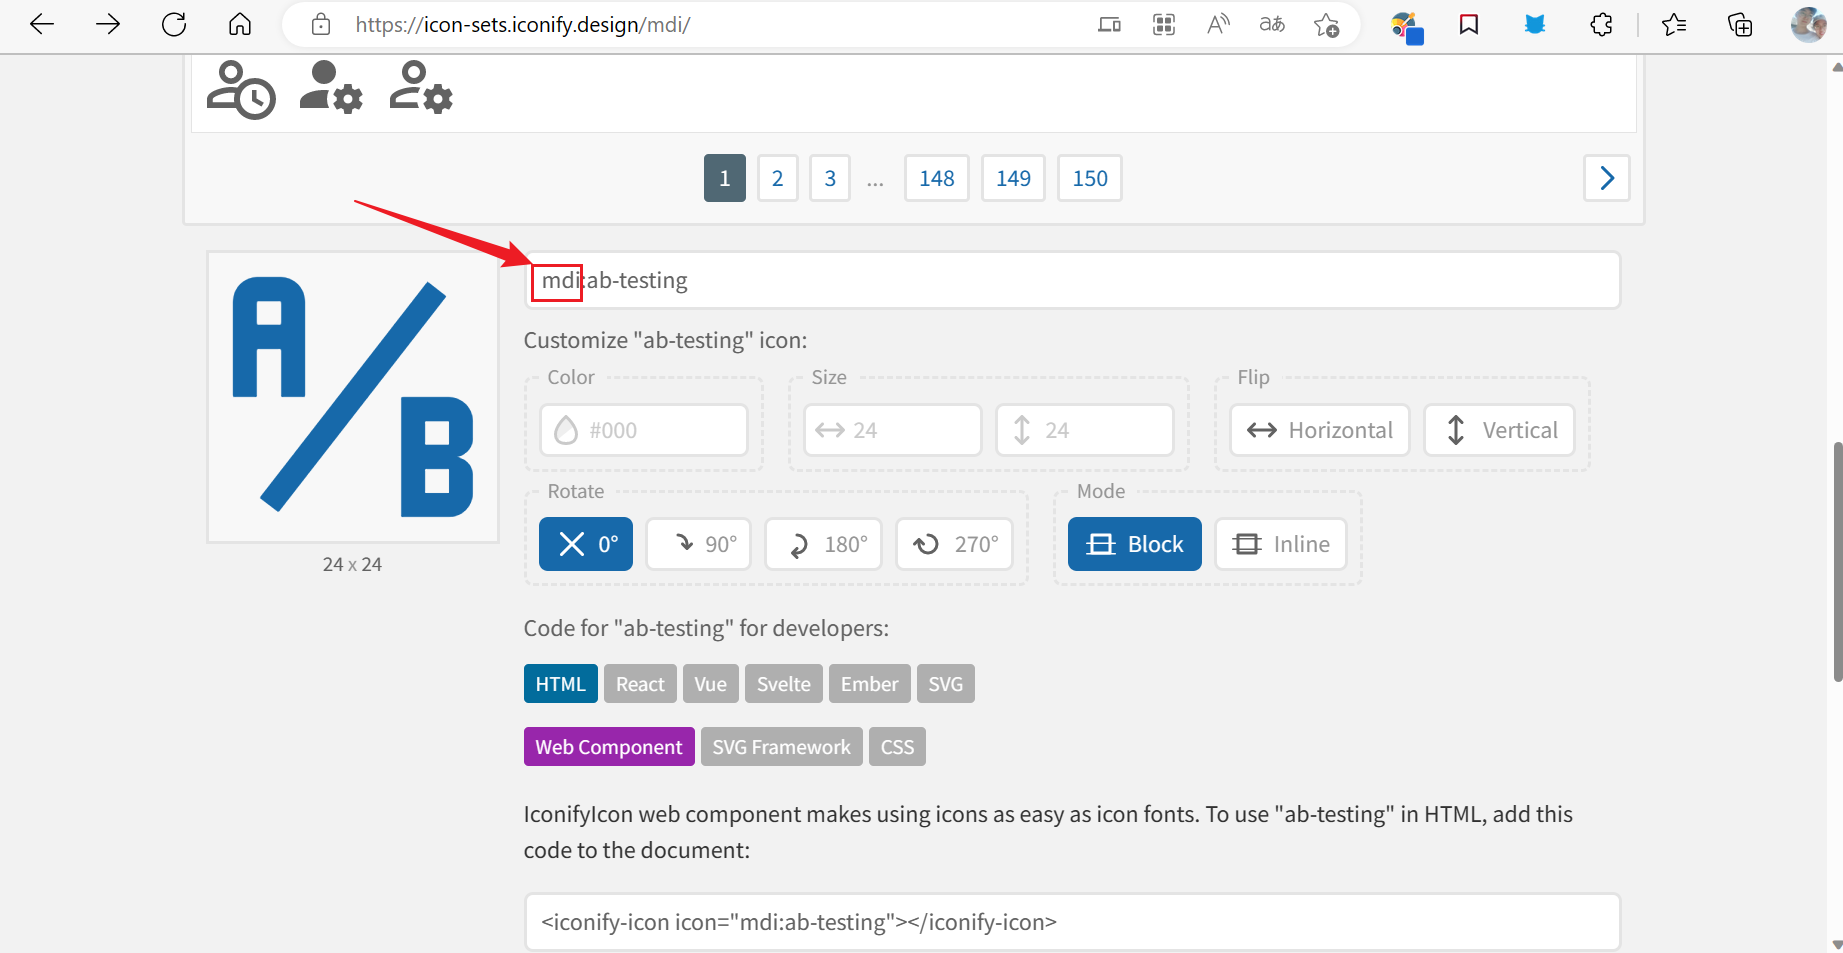
2. 点击任意一个图标, 可以看到此图标集合的前缀名(mdi):
<img src="./doc/pic/iconify-mdi.png"></img>
3. 在`./build/plugins/unplugin.ts`中写入此图标集合的前缀名(mdi):
```typescript
Components({
dts: "src/typings/components.d.ts",
resolvers: [
IconsResolver({
// 自动注册图标组件 how to use: <i-ep-location />
enabledCollections: ["ep", "mdi"], // 'ep'是element图标集在https://iconify.design/ 里的集合名, 如果你引入或使用了其他图标集, 需要在此把其集合名写上
// ...
}),
]
}),
```
4. 现在可以像使用element-plus的图标一样使用Material Design Icons了:
```html
<i-mdi-github class="text-22px" />
```
#### 使用本地图标
本项目也支持使用本地图标, 首先需要下载一个svg图标并放在`./src/assets/svg-icon`目录下, 接着便可在项目使用:
```html
// 假设我们有一个名为403.svg的图标在@/src/assets/svg-icon目录下
<i-local-403 />
// 也可以使用el-icon将其包裹
<el-icon :size="400"><i-local-403 /></el-icon>
```
#### 动态渲染图标
本项目支持动态渲染图标集图标和本地图标, 参见如下示例:
```html
<!-- iconify图标(动态渲染) -->
<svg-icon icon="mdi-github" />
<!-- 本地图标(动态渲染) -->
<svg-icon local-icon="link-icon" />
```
tip: 如果在使用svg-icon组件动态渲染本地图标后, 出现icon颜色不跟随父级而改变, 这是由于本地图标中的fill属性造成了覆盖, 删除本地图标中的fill属性即可.
### 使用unocss
本项目使用unocss, 当需要编写css时, 可去官方查找相应的css类名: https://uno.antfu.me/, 或者也可以参考[tailwindcss](https://www.tailwindcss.cn/)和[WindiCSS](https://windicss.org/).
unocss的文档: https://github.com/unocss/unocss
项目默认集成了unocss的presetUno属性包, 你可以继续集成其他属性包, 这一切配置在uno.config.ts中.
```html
// 一张圆形的图片
<img class="w-32 h-32 rounded-full" src="" />
// 等价于
<img style="width: 32rem; height: 32rem; border-radius: 9999px;" src="" />
```
项目同时也开启了unocss的无值写法(无需再写class):
```html
// 一张圆形的图片
<img w-32 h-32 rounded-full src="" />
```
如果现有的css快捷写法不能满足你, 你可以自行配置:
```ts
// uno.config.ts
export default defineConfig({
// ...
shortcuts: {
"wh-full": "w-full h-full",
"flex-center": "flex justify-center items-center"
}
})
```
```html
<div class="wh-full"></div>
// 等价于
<div class="w-full h-full"></div>
```
如果上述写法仍无法满足需求, 也可以为unocss配置解析规则:
```ts
export default defineConfig({
// ...
rules: [
/^wh-(\d+)px$/,
([, d]) => ({
width: `${d}px`,
height: `${d}px`,
}),
]
})
```
```html
<div class="wh-20"></div>
// 等价于
<div class="w-20px h-20px"></div>
```
unocss也支持配置主题:
```typescript
export default defineConfig({
// ...
// see: https://tailwindcss.com/docs/theme
theme: {
colors: {
dark: "#18181c",
},
}
})
```
```html
<div class="bg-dark"></div>
// 等价于
<div class="bg-#18181c"></div>
// 等价于普通css
<div style="background-color: #18181c;"></div>
```
unocss暗黑模式:
```typescript
export default defineConfig({
// 开启
presets: [presetUno({ dark: "class" })],
})
```
```html
// bg-dark仅在暗黑模式下生效
<div class="dark:bg-dark"></div>
```
### 配置路由
1. 路由配置在`./src/router/modules`中, 以`关于`页面为例
2. 在`./src/router/modules`新建`about.ts`
```typescript
import Layout from "@/layout/index.vue";
const about = [
{
name: "about",
path: "/about",
component: Layout, // 全局框架
redirect: "/about/index", // 重定向
meta: { title: "关于", hidden: true /** 在侧边菜单中隐藏这一级菜单 */, order: 7 /** 此菜单在侧边菜单中的显示顺序 */ },
children: [
{
path: "index",
name: "about_index", // 请遵循此书写规则"about_index", about即父级的name, index即当前的path
component: () => import("@/views/about/index.vue"), /** 页面组件 */
meta: {
title: "关于", /** 侧边菜单中显示的label */
icon: "ep-warning", /** 侧边菜单中显示的icon */
},
},
],
},
];
export default about;
```
icon配置支持element-plus内置icon、iconify图标(需先在vite的unplugin中引入)以及本地图标,如下:
- 使用element-plus内置的图标:`icon: "ep-icon-name"` (将`icon-name`替换为你的图标名, ep为element-plus图标在iconify的图标集前缀)
- 使用iconify中mdi图表集的图标: `icon: "mdi-icon-name"` (将`icon-name`替换为你的图标名, mdi为图表集的前缀)
- 使用本地图标: `icon: "local-icon-name"` (将`icon-name`替换为`@/assets/svg-icon`目录下的文件名)
3. 页面写在`./src/views`中
在`./src/views`中新建目录about, 在about目录中新建index.vue:
```vue
<template>
<dark-mode-container class="h-full">
<el-card class="h-full">关于</el-card>
</dark-mode-container>
</template>
<script lang="ts" setup></script>
<style lang="less" scoped>
.el-card {
#ep.el-card-rounded();
}
</style>
```
### 发起网络请求
本项目将网络请求统一放置在`./src/service`目录下.
如果你想参考示例, 请见: `./src/views/function/request`.
要声明一个api, 需按照如下步骤:
1. 在`./src/service/request/index.ts`中创建一个Request实例
```typescript
import { createRequest } from "./request";
export const mockRequest = createRequest({ baseURL: "/mock" });
```
2. 在`./src/service/api`目录下声明api
```typescript
// /api/auth.ts
import { mockRequest } from "../request";
export function fetchLogin(username: string, password: string) {
return mockRequest.post<ApiAuth.Token>("/login", { username, password });
}
```
3. 在`./src/typings/api.d.ts`中声明api相关的数据类型
```typescript
declare namespace ApiAuth {
/** token */
interface Token {
token: string;
}
}
```
4. 在合适的位置调用fetchLogin, 假如就在login.vue中:
```vue
<script lang="ts" setup>
import { fetchLogin } from "@/service";
const requestLogin = async () => {
const { data } = await fetchLogin("lalala", "123456");
if (data) {
console.log("data", data); // { token: "这是token" }
}
}
</script>
```
5. 注意你无需做任何的code判断, 因为`./src/service/request`中已经统一做好了处理:
- 当axios请求发生错误时, 会弹出el-message提示, 会依据不同的错误类型弹出不同提示, 见: `./src/utils/service/error.ts`中的handleAxiosError
- 当http状态失败时, 会弹出el-message提示, 会根据http状态码不同而匹配显示不同的错误信息, 见: `./src/config/service.ts`中的ERROR_STATUS
- 当后端接口一切正常但返回业务上的错误时, 会弹出el-message提示, 提示内容是后端返回的message字段信息
6. 项目默认后端接口返回的数据结构如下:
```typescript
const response = {
code: 200,
message: "成功",
data: "SomeObjectOrOther"
}
```
如果后端返回的数据结构与上述不符, 可以在创建Request时进行配置:
```typescript
export const mockRequest = createRequest({ baseURL: "/mock" }, {
codeField: "statusCode",
dataField: "data",
msgField: "msg",
successCode: 0,
});
```
现在, 当你使用mockRequest发起请求时, 当后端返回的statusCode不为0时, 将弹出el-message错误提示, 提示内容就是msg字段的内容.
7. 默认情况下, 发起请求将为你返回其data内容:
```vue
<script lang="ts" setup>
import { fetchLogin } from "@/service";
const requestLogin = async () => {
const { data } = await fetchLogin("lalala", "123456");
if (data) {
console.log("data", data); // { token: "这是token" }
}
}
</script>
```
如你所见, 你只能拿到接口返回的data的内容, 如果你想获取其他内容, 比如响应头, 你可以在声明api时进行配置:
```typescript
export function fetchLogin(username: string, password: string) {
// entries可以配置所有的AxiosResponse的key
return mockRequest.post<ApiAuth.Token>("/login", { username, password }, { entries: ["data", "headers"] });
}
```
现在, 你可以拿到响应头了
```vue
<script lang="ts" setup>
import { fetchLogin } from "@/service";
const requestLogin = async () => {
const { data, headers } = await fetchLogin("lalala", "123456");
console.log("data", data); // { token: "这是token" }
console.log("headers", headers);
}
</script>
```
8. 有些变更类的后端接口, 返回的数据中不会包含data, 例如:
```typescript
const message = {
code: 200,
message: "成功"
}
```
本项目会自动为其补充data:
```typescript
const message = {
code: 200,
message: "成功",
data: "success"
}
```
9. 开启代理
```typescript
// .env.config.ts
const serviceEnv: ServiceEnv = {
// 项目默认启动在5574端口
dev: [
/**
* 代理:
* - 将http://127.0.0.1:5574/my-api/xx代理到http://127.0.0.1:5976/backend-api/xx
* - 也可以不写rewritten, 默认情况下将: http://127.0.0.1:5574/my-api/xx代理到http://127.0.0.1:5976/xx
*/
{
url: "http://127.0.0.1:5976",
urlPattern: "/my-api",
rewritten: "/backend-api"
}
],
test: [],
prod: []
}
```
### 设计模式
项目鼓励使用设计模式解决实际问题, 下面例举一些场景.
注意: 具体属于哪种设计模式也取决于看待问题的角度, 比如组件, 可以认为是工厂模式(传入简单的参数即可获取到一段模板), 也可以认为是门面模式(组件内部会执行复杂的逻辑, 而使用者无需关心它们).
* 策略模式: 见`@/utils/common/pattern.ts`
* use:
```ts
// 策略模式会执行所有条件为true的策略
const actions = [
[
true,
() => "执行"
],
[
false,
() => "不执行"
]
]
exeStrategyActions(actions);
```
* 在axios里面无法使用useRouter和useRoute, 我们可以通过globalRouter来操作router, 我们可以依据是否在axios为策略, 执行不同的获取router方式.
* 中介模式: 在引入三方库时(比如crypto), 我们会对其做封装, 之后使用我们的封装对象来对三方库进行操作, 这便是中介模式.
* 代理模式: 我们使用的vue就是代理模式的好例子!
* 门面模式: 我们将复杂操作封装, 提供简单调用, 便是门面模式.
* 适配器模式: 我们定义了一个处理接口返回值的函数, 但有一些三方接口与我们后端接口返回结果不一致, 导致接口处理函数不能工作, 这时就可提供一个处理三方接口返回值的适配器函数.
* 原型模式: 有时我们需要一个数组,我们会对其内部做处理但不希望影响原数组, 此时就可以利用原型模式获取原数组一个copy(数组常常使用slice方法获取副本).
* 工厂模式: 我们为组件传入一些参数即可或得一段html模板, 这便是一种工程模式.
* 责任链模式: 为实现某种功能, 依次尝试可使用的方法. 见`@utils/common/responsibilitiesChain.ts`
* use: 提供灵活的调用方式
```ts
// 示例1: 按照添加顺序, 进行链处理
const canBuyChain = new CustomChain();
// 按照添加顺序组成责任链
canBuyChain.append(
new ResponsibilitiesChainNode(
() => false, // 条件
() => "一号" // 条件匹配时执行的动作
)
);
canBuyChain.append(
new ResponsibilitiesChainNode(
() => true,
() => "二号"
)
);
canBuyChain.append(
new ResponsibilitiesChainNode(
() => true,
() => "三号"
)
);
// 一旦执行成功就返回
const res = canBuyChain.execute(); // 二号
```
```ts
// 示例2: 灵活设置链处理顺序
const canBuyChain2 = new CustomChain();
const chain1 = new ResponsibilitiesChainNode(
() => true,
() => "哦耶1"
);
const chain2 = new ResponsibilitiesChainNode(
() => true,
() => "哦耶2"
);
const chain3 = new ResponsibilitiesChainNode(
() => true,
() => "哦耶3" // 在最后一个chain设置的成功函数的返回值会返回给链外
);
chain1.setNext(chain2);
chain2.setNext(chain3);
canBuyChain2.append(chain1);
// 执行到底返回最后结果, 遇到失败则结束
const res2 = canBuyChain2.executeAll(); // 哦耶3
// 执行到底返回全部结果, 遇到失败则结束
const res22 = canBuyChain2.executeAllSettled(); // ["哦耶1", "哦耶2", "哦耶3"]
```
```ts
// 示例3: 支持自定义chainNode类
class MyChainNode1 extends ResponsibilitiesChain {
public canHandle(): boolean {
return false;
}
public doHandle() {
return "一号节点执行成功";
}
public errHandle() {
return;
}
}
class MyChainNode2 extends ResponsibilitiesChain {
public canHandle(): boolean {
return true;
}
public doHandle() {
return "二号节点执行成功";
}
public errHandle() {
return;
}
}
const myChainNode1 = new MyChainNode1();
const myChainNode2 = new MyChainNode2();
const myChain = new CustomChain();
myChain.append(myChainNode1);
myChain.append(myChainNode2);
const myRes = myChain.execute();
```
你也可以查看`@/views/component/complex-form/components/ResponsibilityValidatorForm.vue`, 在这里提供了一个小游戏来解释责任链的使用
### 三方功能库
项目使用了诸多三方库, 以下列出其文档
* BatterScroll: https://better-scroll.github.io/docs/zh-CN/
* Swiper: https://swiperjs.com/
* 高德地图: https://lbs.amap.com/
* ECharts:https://echarts.apache.org/zh/index.html
* Iconify:https://icones.netlify.app/
* AliOSS:https://help.aliyun.com/product/31815.html
* markdown编辑器:https://github.com/Vanessa219/vditor
* 富文本编辑器:https://github.com/wangeditor-team/wangEditor
* 视频播放器:https://github.com/bytedance/xgplayer
### 常见问题
#### 安装Cypress太慢
参考自: https://www.lfhacks.com/tech/cypress-download-failure/
网络不畅, 且此资源较大, 官方给出的解决方式: 设置CYPRESS_DOWNLOAD_MIRROR常量为https://download.cypress.io/desktop,但不同操作系统设置常量的方式不同, 以下列出几种:
windows命令行
```shell
set CYPRESS_DOWNLOAD_MIRROR=https://download.cypress.io/desktop
```
windowsPowerShell
```shell
$env:CYPRESS_DOWNLOAD_MIRROR="https://download.cypress.io/desktop"
```
Linux、Mac
```shell
CYPRESS_DOWNLOAD_MIRROR="https://download.cypress.io/desktop"
```
设置完成后再次install即可
#### 自动导入eslint报错
按照AutoImport插件介绍, 需要在第一个运行项目时设置`eslintrc: {enabled: true}`生成eslint文件, 后续可改为false.
本项目AutoImport位置在./build/plugins/unplugin.ts
```typescript
AutoImport({
// ...
eslintrc: {
enabled: false, // 自动生成全局声明文件, 不需要eslint检查(在.eslintrc-auto-import.json生成成功之后就可以改为false)
filepath: "./.eslintrc-auto-import.json",
globalsPropValue: true,
},
}),
```
#### 项目依赖的库有bug, 需要修改
开发时, 遇到项目依赖的库有bug, 等不及库作者修复, 可以自行修改打补丁
- 注意: pnpm在v7.4.0开始支持打补丁
流程如下:
1. 执行下述命令生成一个依赖库的拷贝(yourPkg必须指定版本)
> pnpm patch [email protected]
>
>You can now edit the following folder: C:\Users\ADMINI~1\AppData\Local\Temp\482a1b2c5aaad6b4abb4d39bab8ef39c\user
2. 打开提示的目录, 对库代码进行更改
3. 执行下述命令, 生成库代码的补丁文件(依据你的系统, 决定是否需要为文件路径使用转移符号)
> pnpm patch-commit C:\Users\ADMINI~1\AppData\Local\Temp\482a1b2c5aaad6b4abb4d39bab8ef39c\user
这会在项目目录下生成`patches/[email protected]`文件, 且在package.json中自动更新如下配置:
```json
{
"pnpm": {
"patchedDependencies": {
"[email protected]": "patches/[email protected]"
}
}
}
```
### 提交规范
好的提交规范可以清晰地了解到开发者试图做什么, 并且有助于自动生成更改日志.
推荐使用项目内置的`pnpm cz`命令进行git提交, 这是一个交互式的git提交界面.
#### 提交消息的模板
```md
feat(components): [HoverLink] 增加悬浮链接组件(使用命令式语气)
主体行和主体内容之间用空白行隔开(可以有预期时间)
通过一行或多行描述你的修改信息(大批量更改务必描述修改详情)
每一行的首字母大写
且每一行的总字符数限制在72个以内最优, 超过了将不易于他人理解
- 你也可以通过添加子项列表符号来为内容布局
```
主题标题的格式是:
```md
[type](scope 域): [messages]
```
#### 通用git惯例
<a href="https://www.conventionalcommits.org/" class="vp-link" target="_blank" rel="noopener noreferrer">通用惯例<svg preserveAspectRatio="xMidYMid meet" viewBox="0 0 24 24" width="1.2em" height="1.2em" class="link-icon"><path fill="currentColor" d="M10 6v2H5v11h11v-5h2v6a1 1 0 0 1-1 1H4a1 1 0 0 1-1-1V7a1 1 0 0 1 1-1h6zm11-3v8h-2V6.413l-7.793 7.794l-1.414-1.414L17.585 5H13V3h8z"></path></svg></a>
#### 保持git提交历史简介
<a href="https://about.gitlab.com/blog/2018/06/07/keeping-git-commit-history-clean/" class="vp-link" target="_blank" rel="noopener noreferrer">保持 git 提交历史简洁<svg preserveAspectRatio="xMidYMid meet" viewBox="0 0 24 24" width="1.2em" height="1.2em" class="link-icon"><path fill="currentColor" d="M10 6v2H5v11h11v-5h2v6a1 1 0 0 1-1 1H4a1 1 0 0 1-1-1V7a1 1 0 0 1 1-1h6zm11-3v8h-2V6.413l-7.793 7.794l-1.414-1.414L17.585 5H13V3h8z"></path></svg></a>
如果你更喜欢中文, 项目也对此作好了翻译, <a href="./doc/git-commit-history-clean-cn.md" target="_blank">点这里浏览</a>
Explore similar templates
Compare previews and descriptions within the same stack and category.
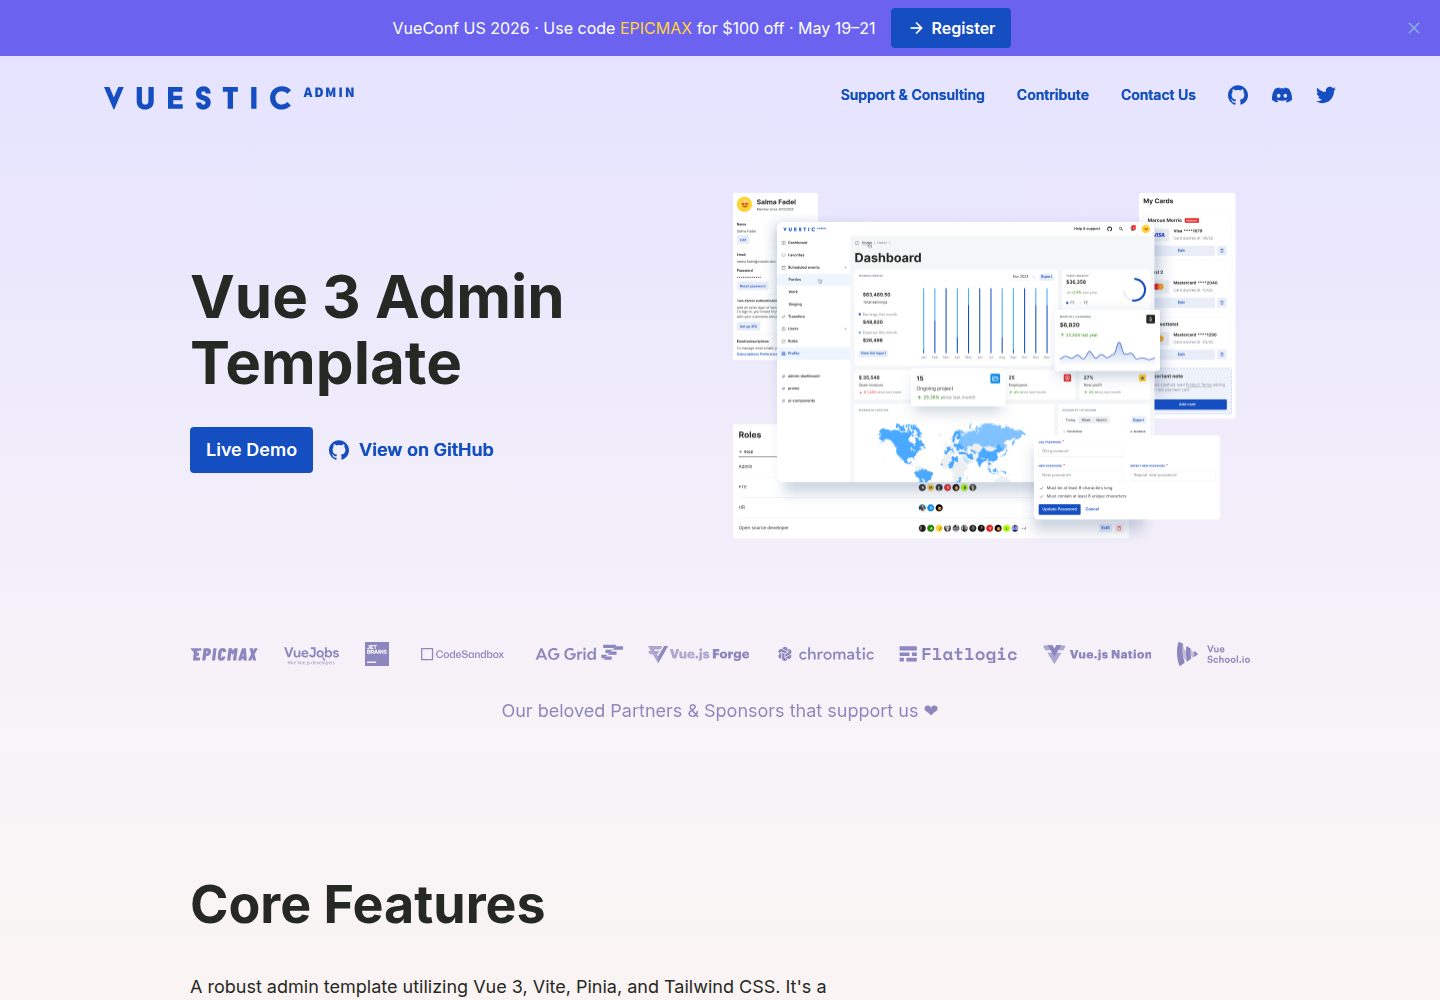
vuestic-admin
Vuestic Admin is an open-source Vue 3 admin template maintained by Epicmax, built on Vuestic UI with Vite, Pinia, and Tailwind CSS. It provides a ready-to-run dashboard with a dark theme, global configuration, i18n internationalization, and responsive layout.
Vue · Admin dashboard
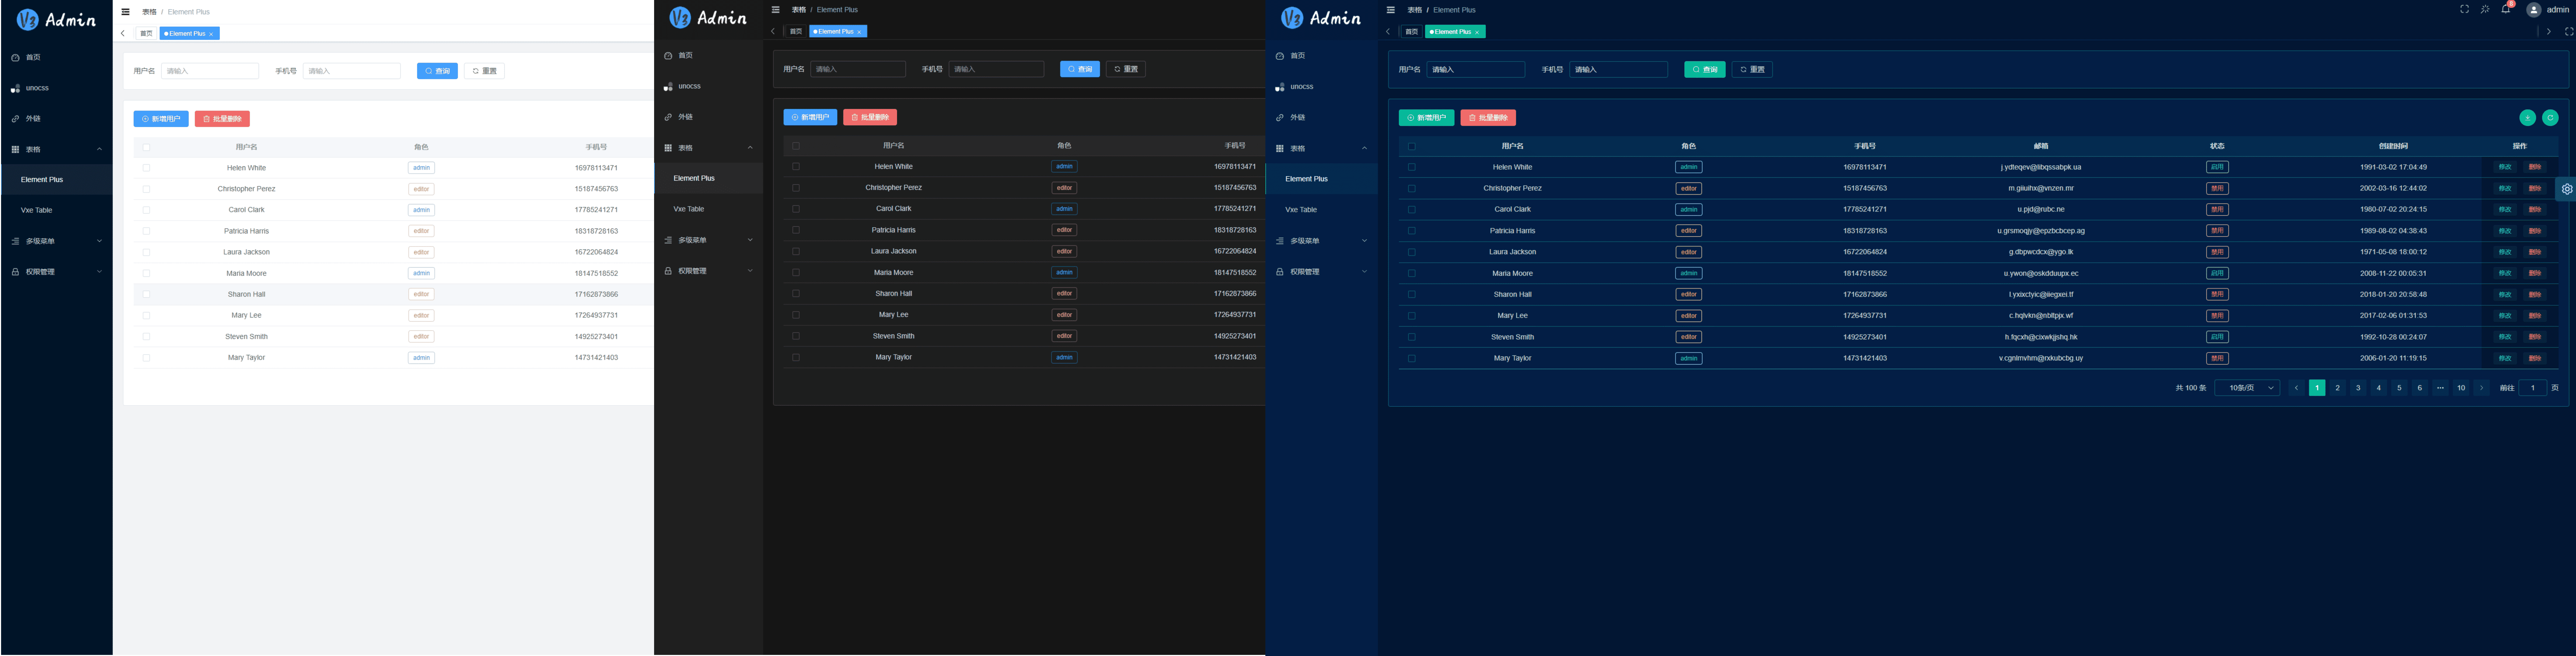
v3-admin-vite
v3-admin-vite is an AI-friendly Vue3 admin template built on Vue3, Vite, TypeScript, and Element Plus. It keeps a lean structure with detailed comments, supports backend-controlled dynamic route permissions, page-level and button-level permissions, multiple themes and layouts, and mobile compatibility.
Vue · Admin dashboard
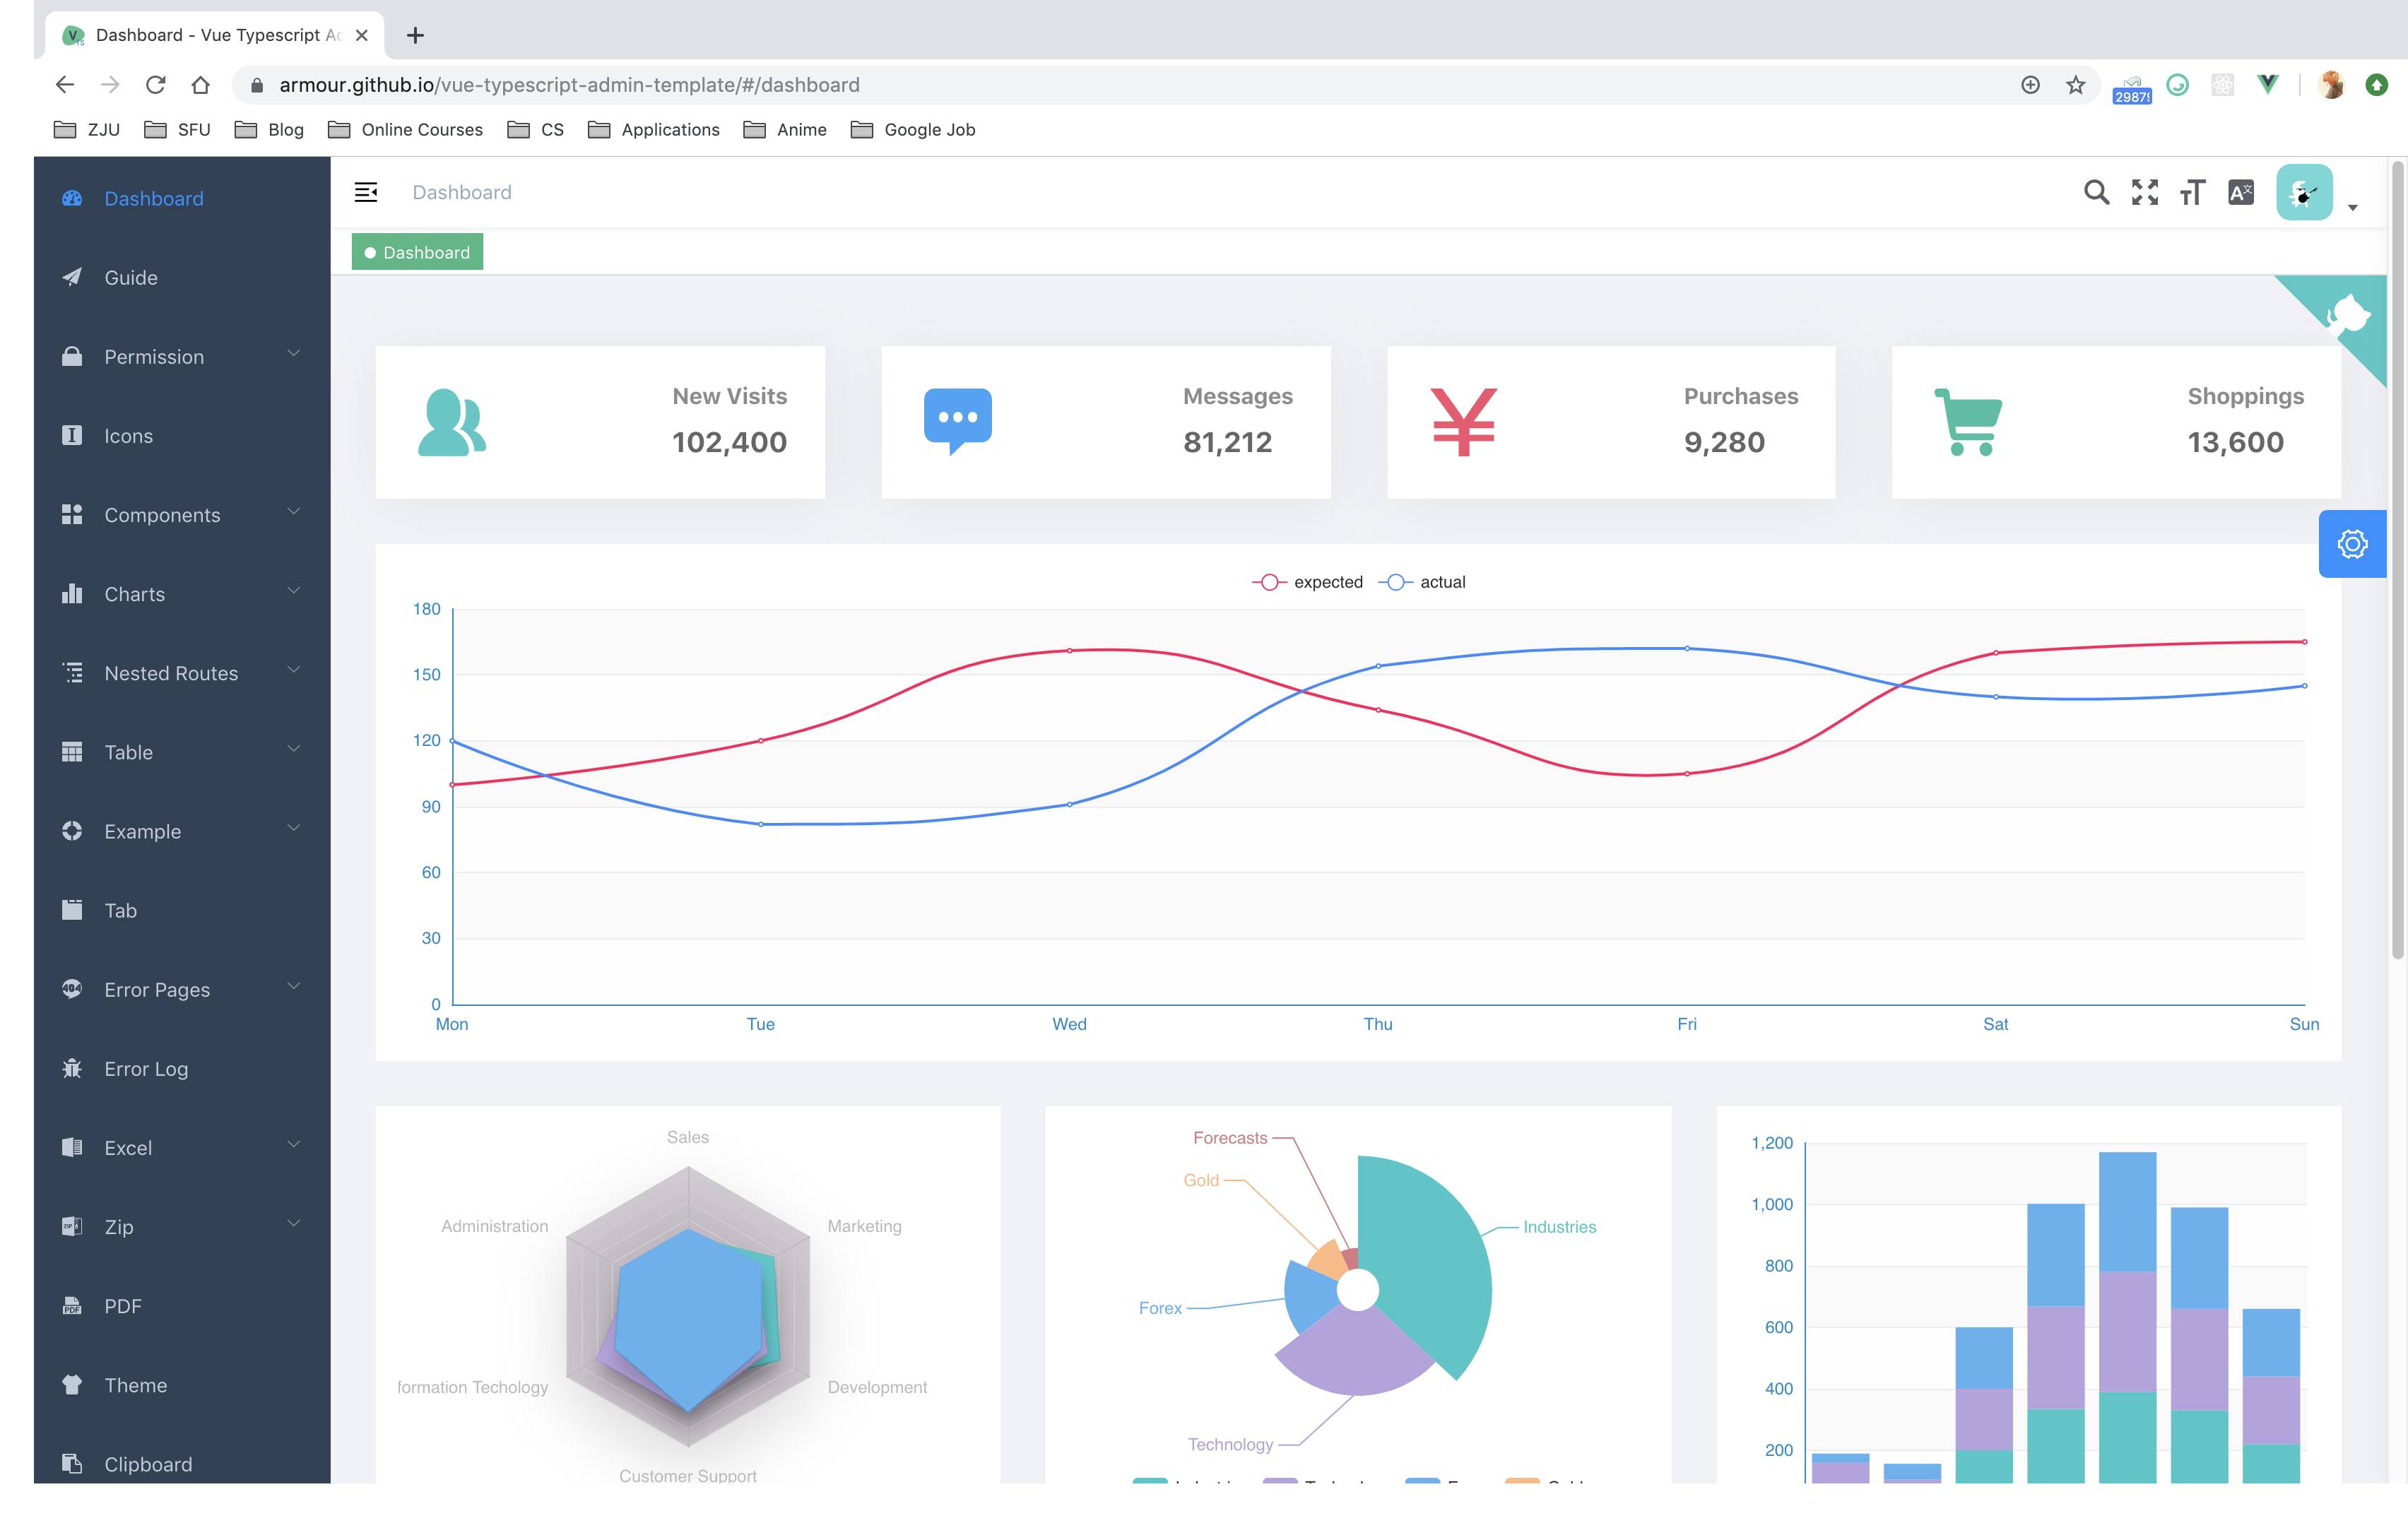
vue-typescript-admin-template
A Vue 2.6 + TypeScript + Element UI admin template ported from vue-element-admin, offering type safety and enterprise features like permission authentication, internationalization, dynamic themes, editors, charts, Excel/PDF handling, and PWA support.
Vue · Admin dashboard
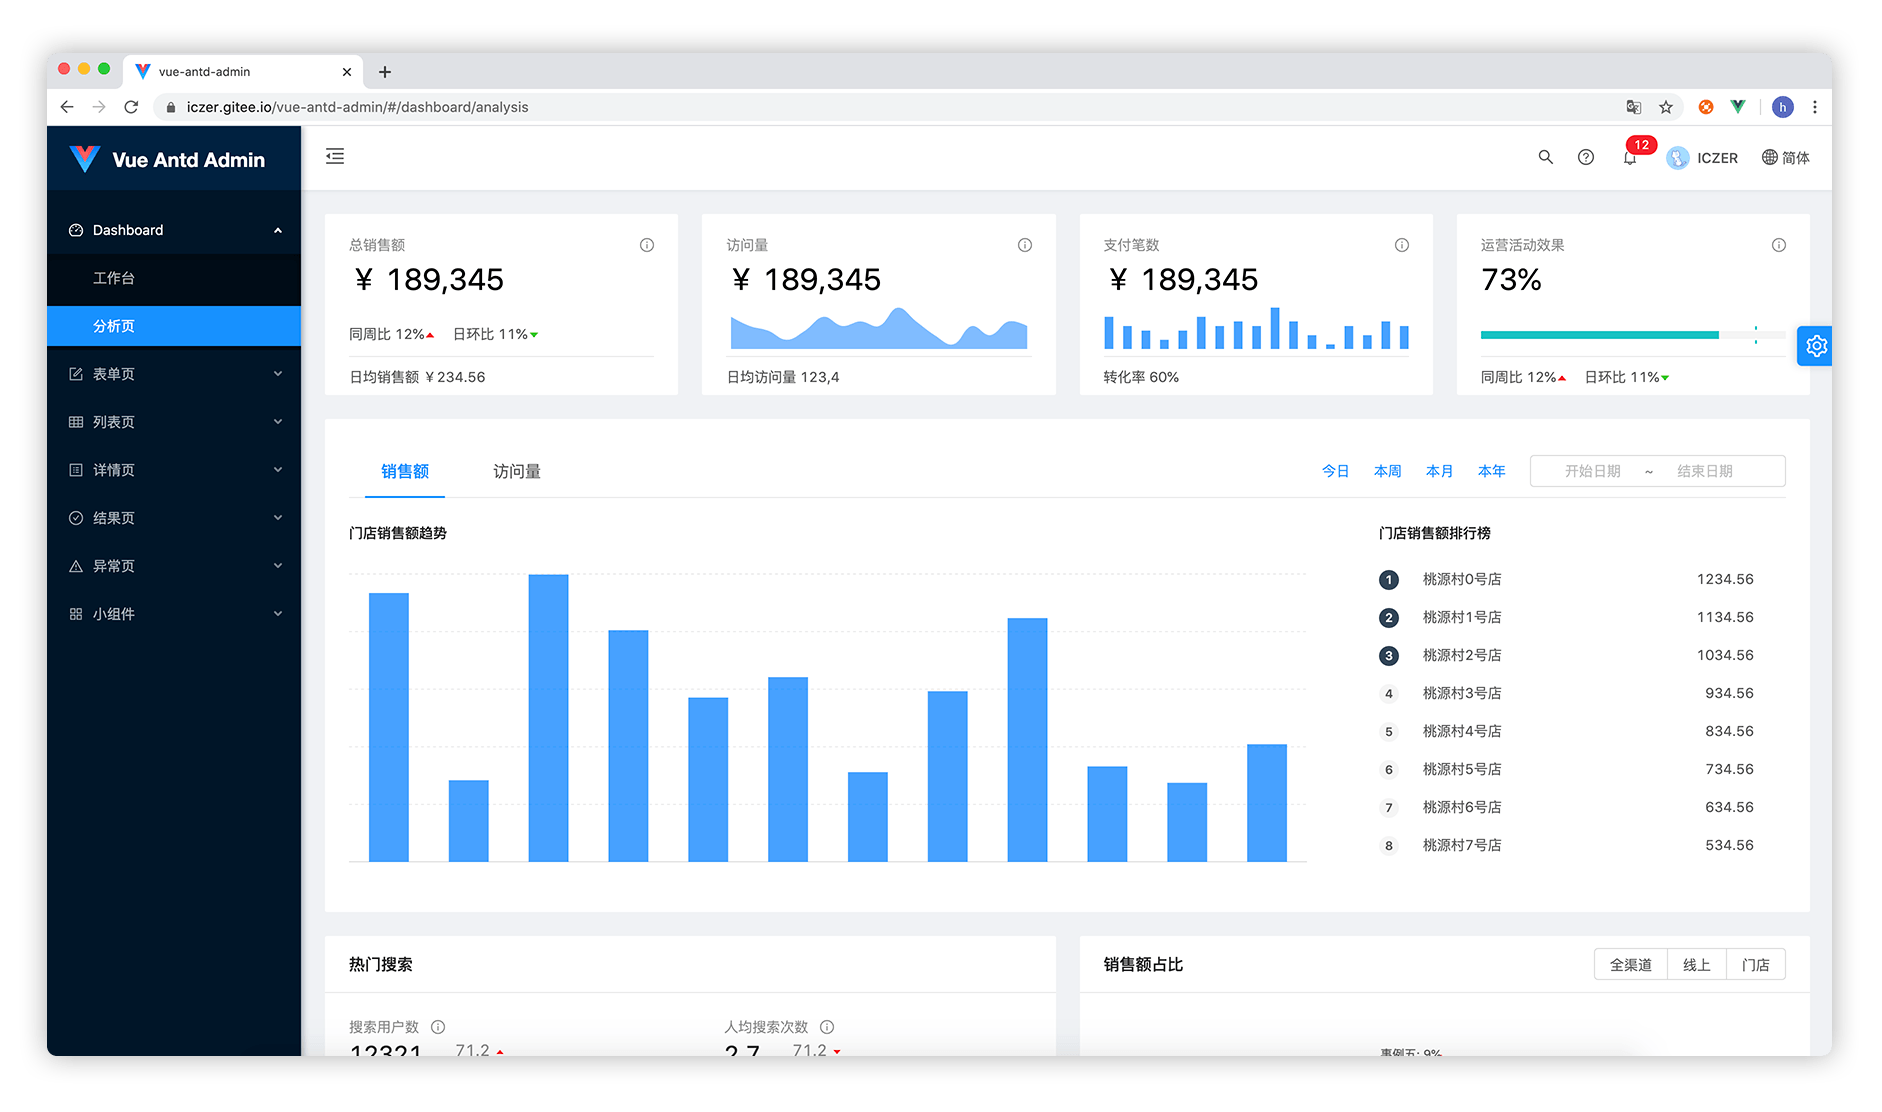
vue-antd-admin
Vue Antd Admin is the Vue implementation of Ant Design Pro, providing an out-of-the-box front-end and design solution for admin dashboards.
Vue · Admin dashboard
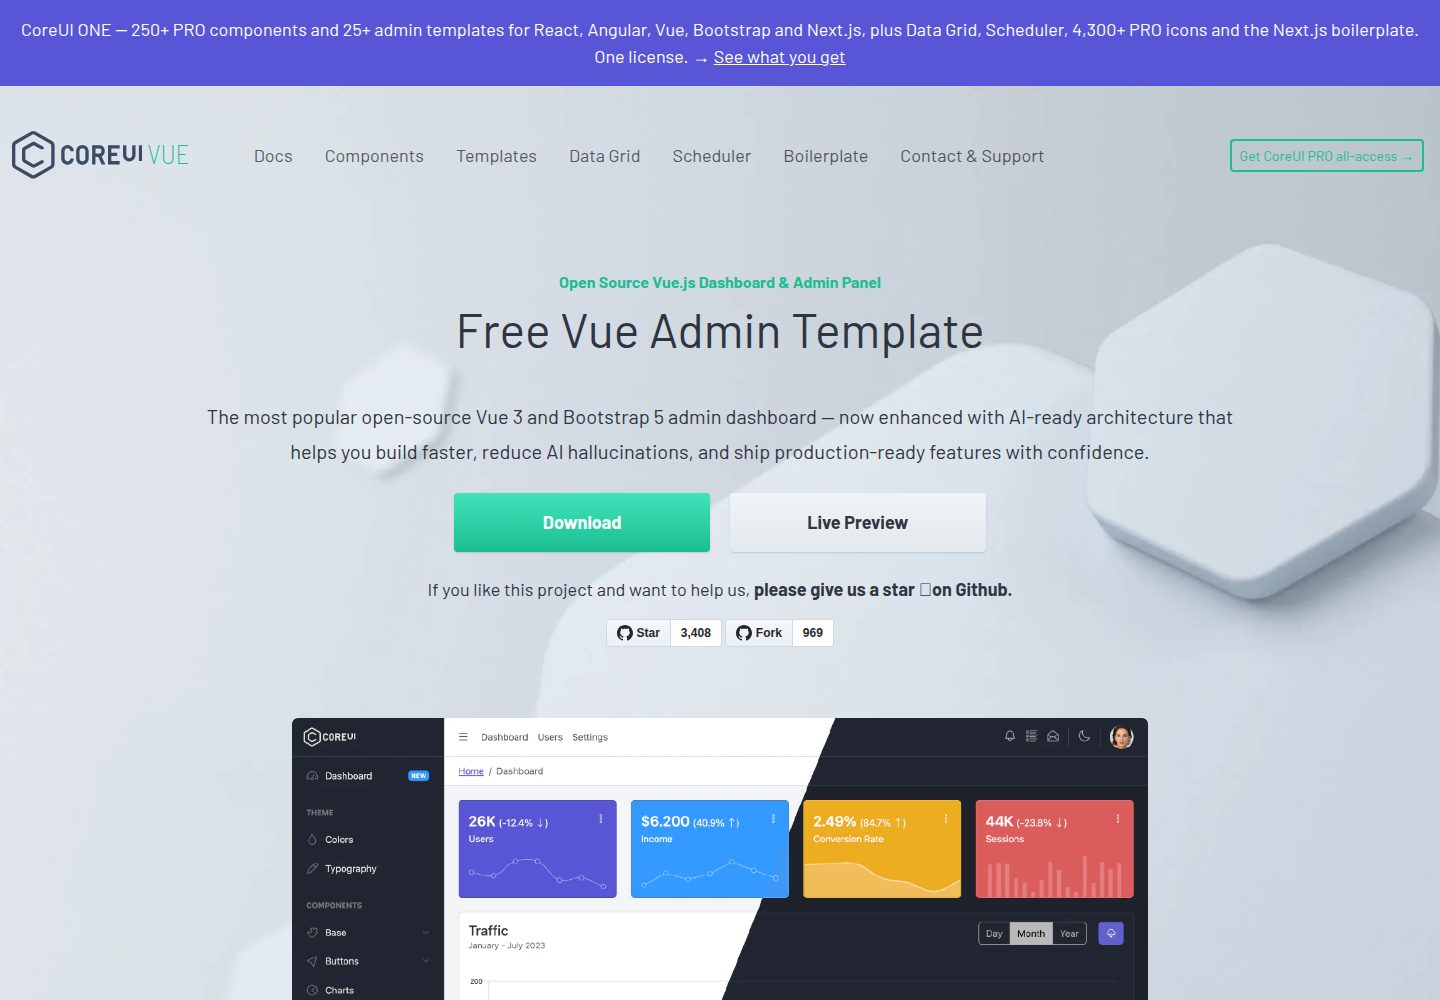
coreui-free-vue-admin-template
CoreUI's official free Vue admin template, MIT licensed, built on Vue 3 and the CoreUI component library with Vue Router, Pinia, and Vite.
Vue · Admin dashboard
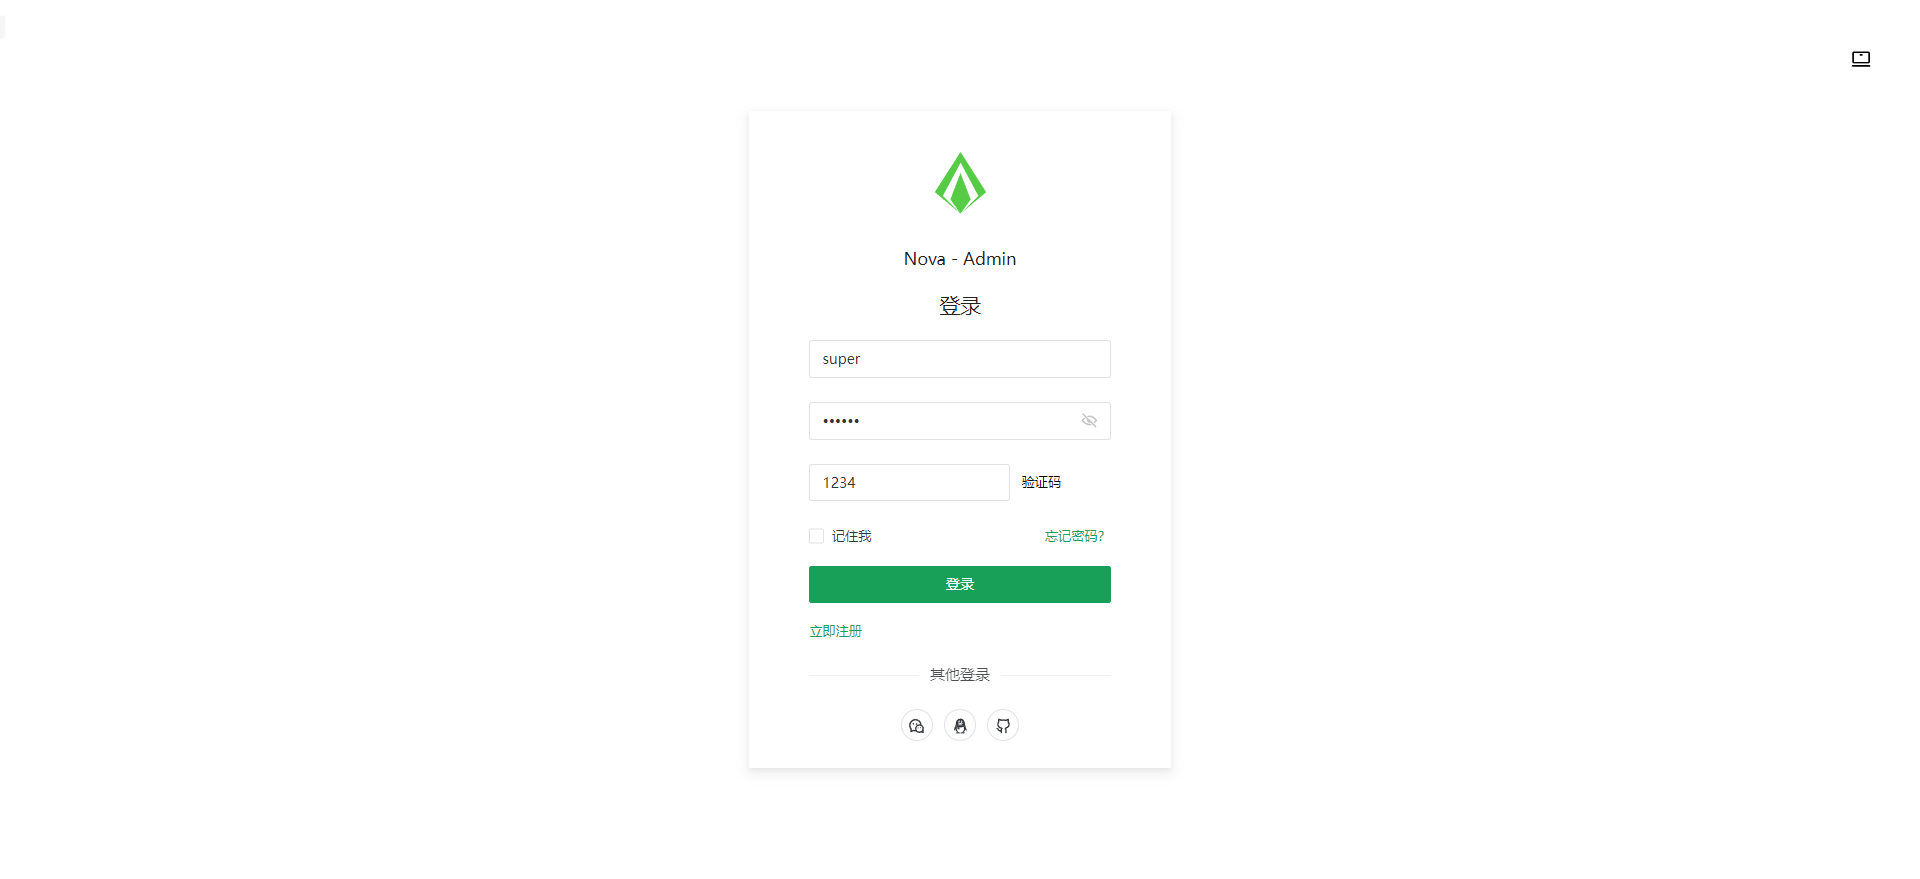
nova-admin
Nova Admin is an admin template built on Vue3, Vite, TypeScript, and Naive UI, with Unocss for styling.
Vue · Admin dashboard