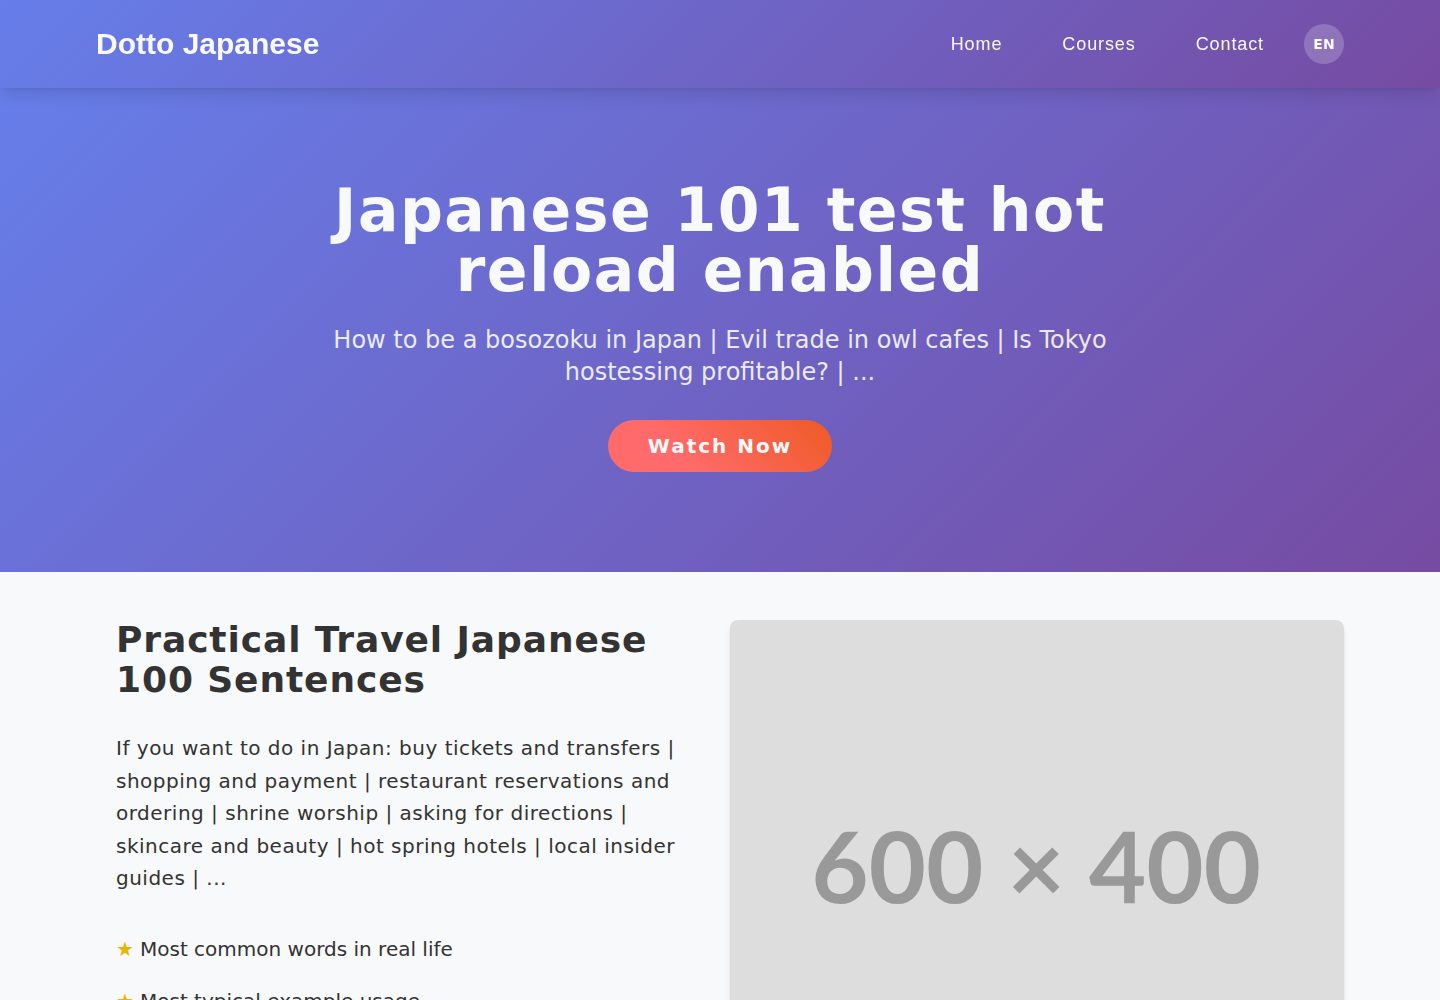
Separated front end and admin panel: two independent applications, a public blog front end (3002) and a React admin panel (3001)
ReactAdmin dashboardBlog
blog-template-express-react — React Admin dashboard Template
By ZurichParis
A full-stack blog template built on React, Express, and MongoDB, comprising a public blog front end, an admin panel, and a REST API backend with Socket.IO real-time updates.
Explore the design
Compare the page layouts and mobile experience. Open any screenshot for a closer look.
Desktop homepage1 / 2
Desktop captureTop of page
Actual screenshot captured by the server browser.
All pages & views 2
Screenshots show visual appearance; interactive behavior may differ.
Recorded 2026-10-13View source
What stands out
A quick read of the recorded project description.
Express + Socket.IO backend, where content changes in the admin panel can be pushed to the front end in real time
MongoDB stores articles and admin data, with a seeder that writes sample data and a default admin
Supports filtering articles by topic and difficulty, with an interface available in Chinese, English, and Japanese
The contact form sends via EmailJS, with credentials configured in blog-client's .env
Provides docker-compose.dev.yml to start MongoDB, the backend, the admin panel, and the front end with one command
Template Details
This template is a full-stack blog concept project made up of three independently runnable parts: a public-facing React blog front end (blog-client, port 3002), a React admin panel (blog-admin, port 3001), and an API service built on Express.js with Socket.IO integration (blog-backend, port 5050), with data stored in MongoDB (port 27017). The front end supports filtering articles by topic and difficulty; the admin panel provides article creation, editing, and deletion; and changes made in the admin panel can be reflected on the front end in real time via WebSocket. The interface supports Chinese, English, and Japanese, and the contact form sends user inquiries through EmailJS.
The project provides a Docker Compose development configuration that starts MongoDB, the backend, the admin panel, and the front end at once, and writes sample data and a default admin account through a seeder service. It also supports a manual approach without Docker, installing dependencies and starting each of the three directories separately. The backend, front end, and admin panel each use their own .env file for configuration, and the example files cover ports, the MongoDB connection string, the JWT secret, CORS origins, seed admin information, API addresses, and EmailJS credentials.
The README explicitly lists items for improvement: in the development version, login passwords are sent in plain text and are not yet encrypted; for production, you need to write your own Dockerfile and Compose configuration. The default admin account is [email protected] / admin123, intended only for local development and must be changed before going live.
ReactAdmin panelBlog
Is it right for your project?
Use Cases
- As a starting skeleton for a full-stack blog project, to build article publishing and browsing features on top of it
- To demonstrate how a React front end, a React admin panel, and an Express API work together as three separate ends
- Real-time blog scenarios that require changes in the admin panel to sync immediately to the front-end display
- Content site prototypes that need a multilingual interface and browsing by topic and difficulty
Suitable For
- Developers who want to learn or reference a React + Express + MongoDB full-stack structure
- Teams that need a ready-made blog front-end and admin skeleton and will extend the business logic themselves
- Project prototypes that need the admin panel separated from the public site and equipped with real-time update capability
Getting started & customization
Use these recorded setup notes alongside the repository instructions for your chosen version.
- 1
Docker is recommended: copy each directory's .env.example to .env, run docker compose -f docker-compose.dev.yml up -d, then run the seeder with the tools profile to write sample data
- 2
The manual approach requires npm install in blog-backend, blog-client, and blog-admin separately, and ensuring a local MongoDB is running on port 27017
- 3
The default admin account is [email protected] / admin123; in production it should be changed via the SEED_ADMIN_* variables
- 4
The contact form requires creating a service and template in EmailJS and filling SERVICE_ID, TEMPLATE_ID, and PUBLIC_KEY into blog-client/.env
- 5
The README notes that the development version sends login passwords in plain text and that production Dockerfile and Compose configurations are not yet provided and must be added by the user
License & source material
Usage conditions & limitations
Free to use · keep license noticeThis entry covers the free version in a public repository under the MIT license; the free scope applies to that version's code and does not mean external services or third-party assets are free.
Must comply with when using
- You may use, modify, commercially use, and distribute this version's code for free.
- When distributing copies or substantial portions of the code, retain the original author's copyright notice and the full MIT license notice.
- The code is provided as is; warranties and limitations of liability are governed by the original license and applicable law.
Additional costs & items to verify
- Demo images, fonts, icons, and other third-party assets must be checked against their own licenses and cannot be judged solely by the code's MIT license.
- External services such as domains, hosting, databases, payments, or AI may incur separate charges.
- The contact form feature depends on the third-party service EmailJS; you must register an EmailJS account and create a service and email template yourself, otherwise the contact form will not work.
- Using the contact form requires filling your own EmailJS credentials (SERVICE_ID, TEMPLATE_ID, PUBLIC_KEY) into blog-client/.env, which is an external service configuration requirement.
- Running it requires your own MongoDB database (local 27017 or a modified MONGODB_URI); the template itself does not include database hosting.
- The default admin account [email protected] / admin123 is for development only; in production, credentials must be changed via the SEED_ADMIN_* variables.
- The development version sends login passwords in plain text and is not yet encrypted, which is a security limitation and makes it unsuitable for direct production use.
- The Dockerfile and Compose configuration required for production are not yet provided and must be written by the user.
View Original Text Basis
Permission is hereby granted, free of charge
Original License Text
To enable the contact form functionality: 1. Create an account at [EmailJS](https://www.emailjs.com/)
Original README
Update `blog-client/.env` with your EmailJS credentials:
Original README
Ensure MongoDB is running locally on port 27017, or update the `MONGODB_URI` in your environment files.
Original README
⚠️ **Important**: Change these credentials in production by updating the `SEED_ADMIN_*` variables in `blog-backend/.env`.
Original README
- **Security**: Login password encrypt (dev version is sending plein text)
Original README
https://github.com/ZurichParis/blog-template-express-react/blob/main/LICENSEhttps://github.com/ZurichParis/blog-template-express-react/blob/main/README.md- Write proper Dockerfiles and Composer file for Prod with optional multistages structure to minimize the image size
Original README
Compiled by DeepSeek based on repository license and README ·2026-10-13. Results only cover the materials read; dependencies, images, fonts, and subsequent term changes are subject to their respective original texts.
Project checks & description sources
Template Information
- Source platforms
- GitHub
- Documentation and maintenance reference score
- More documented · 79 / 100
- Technologies
- React
- Website type
- Admin dashboard · Blog
How this score is calculated
Our heuristic uses license records (up to 30), a demo link (12), a preview (10), stars (15), recorded maintenance (15), description completeness (8), feature records (5) and classification data (5). It is not a code, security or performance test, or a Google score. A link does not establish tested functionality.
What to verify for this project
- Repository update recorded
- 2025-08-13
- Screenshot last checked
- 2026-10-13
A demo link is listed. Check it with your own content and viewport sizes; its presence does not confirm that forms, authentication or payments work.
The catalog identifies React as the primary stack. Check the actual dependency manifest and lockfile for versions and hosting requirements. These notes use recorded metadata, not a code audit or a deployment test.
Use a selection guide →How this description was prepared
AI-assisted description based on catalog records and repository material. Repository authors are not automatically the reviewers of this description.
Review declaration: [email protected] · 2026-10-13
Inspect the recorded source material
SHA-256: d1a1c61aa01ce5287a5f9e614debb3dbb5ecba97f598adbfb06043a3ac4b2642
2026-10-13T10:37:49.641Z
Source file / repository# Blog Application A full-stack blog platform with real-time updates, built with React, Express.js, and MongoDB. The application consists of a public blog interface, an admin dashboard for content management, and a RESTful API backend with WebSocket support for live updates. CHECK DEMO CLIENT PAGE HERE: https://blog-template-express-react.vercel.app/ ## What This Application Is For This is a blog platform that allows: - **Public users** to browse, read, and filter blog posts by theme and difficulty level - **Administrators** to create, edit, delete, and manage blog content through a dedicated admin interface - **Real-time updates** so changes made in the admin panel appear instantly on the public blog - **Multi-language support** with Chinese, English, Japanese - **Contact functionality** with EmailJS integration for user inquiries ## Architecture - **blog-client**: Public-facing React blog interface (port 3002) - **blog-admin**: Administrative React dashboard (port 3001) - **blog-backend**: Express.js API server with Socket.IO (port 5050) - **MongoDB**: Database for storing blog posts and admin data (port 27017) ## Furthur to improve - **Security**: Login password encrypt (dev version is sending plein text) ## Prerequisites ### Docker Setup (Recommended) - **Docker**: 4.37.2 (179585) ### Manual Setup (Alternative) - **Node.js**: v24.4.0 - **npm**: 11.4.2 - **MongoDB**: 8.0.11 ## Quick Start with Docker ### 1. Clone and Setup ```bash git clone https://github.com/ZurichParis/blog-template-express-react.git cd blog-template-express-react ``` ### 2. Configure Environment Variables (Optional for dev) Copy the example environment files and configure them: ```bash # Backend configuration cp blog-backend/.env.example blog-backend/.env # Edit blog-backend/.env with your MongoDB URI and JWT secret # Client configuration cp blog-client/.env.example blog-client/.env # Edit blog-client/.env with your EmailJS credentials # Admin configuration cp blog-admin/.env.example blog-admin/.env # No changes needed for basic setup ``` ### 3. Start All Services # Start all services (MongoDB, backend, admin, client) ```bash docker compose -f docker-compose.dev.yml up -d ``` # Seed the database with sample data and admin account ```bash docker compose -f docker-compose.dev.yml --profile tools up seeder ``` ### 4. Access the Application - **Public Blog**: http://localhost:3002 - **Admin Dashboard**: http://localhost:3001 - **Backend**: http://localhost:5050 - **Backend Debugger**: http://localhost:9229 ### 5. Stop Services # Stop all services ```bash docker compose -f docker-compose.dev.yml stop ``` ## Manual Setup (without Docker) ### 1. Install Dependencies ```bash cd blog-backend npm install ``` ```bash cd ../blog-client npm install ``` ```bash cd ../blog-admin npm install ``` ### 2. Setup MongoDB Ensure MongoDB is running locally on port 27017, or update the `MONGODB_URI` in your environment files. ### 3. Configure Environment Variables Copy and edit the `.env.example` files as described in the Docker setup section. ### 4. Start Services # Terminal 1: Start backend ```bash cd blog-backend npm run dev ``` # Terminal 2: Seed database (run once) ```bash cd blog-backend npm run seed ``` # Terminal 3: Start client ```bash cd blog-client npm run dev ``` # Terminal 4: Start admin ```bash cd blog-admin npm run dev ``` ## Default Admin Account After running the seeder, you can log in to the admin dashboard with: - **Email**: [email protected] - **Password**: admin123 ⚠️ **Important**: Change these credentials in production by updating the `SEED_ADMIN_*` variables in `blog-backend/.env`. ## EmailJS Setup To enable the contact form functionality: 1. Create an account at [EmailJS](https://www.emailjs.com/) 2. Create a new service (Gmail, Outlook, etc.) 3. Create an email template with the following variables: - `{{from_name}}` - Sender's name - `{{from_email}}` - Sender's email - `{{message}}` - Message content 4. Update `blog-client/.env` with your EmailJS credentials: ``` VITE_EMAILJS_SERVICE_ID=your_service_id VITE_EMAILJS_TEMPLATE_ID=your_template_id VITE_EMAILJS_PUBLIC_KEY=your_public_key ``` ## Environment Variables Reference ### blog-backend/.env.example ``` PORT=5050 MONGODB_URI=mongodb://localhost:27017/blogdb JWT_SECRET=your-super-secret-jwt-key-change-this-in-production CORS_ORIGIN=http://localhost:3002,http://localhost:3001 SEED_ADMIN=admin [email protected] SEED_ADMIN_PW=admin123 ``` ### blog-client/.env.example ``` VITE_API_URL=http://localhost:5050/api VITE_EMAILJS_SERVICE_ID=your_service_id VITE_EMAILJS_TEMPLATE_ID=your_template_id VITE_EMAILJS_PUBLIC_KEY=your_public_key ``` ### blog-admin/.env.example ``` VITE_API_URL=http://localhost:5050/api ``` ## Development ### Linting ```bash # Lint frontend code cd blog-client && npm run lint cd blog-admin && npm run lint ``` ### Building for Production - Write proper Dockerfiles and Composer file for Prod with optional multistages structure to minimize the image size ## Troubleshooting ### Docker Issues 1. **Permission errors**: Ensure Docker daemon is running and you have permissions 2. **Build failures**: Try rebuilding with `docker compose build --no-cache` 3. **Database persistence**: Data is stored in Docker volumes, use `docker-compose down -v` to reset ## Support For development guidance and architecture details, see [CLAUDE.md](./CLAUDE.md).
Explore similar templates
Compare previews and descriptions within the same stack and category.
ant-design-pro
Ant Design Pro is an enterprise-grade React admin scaffold built on React 19, Umi Max 4, and antd 6 with TypeScript.
React · Admin dashboard
coreui-free-react-admin-template
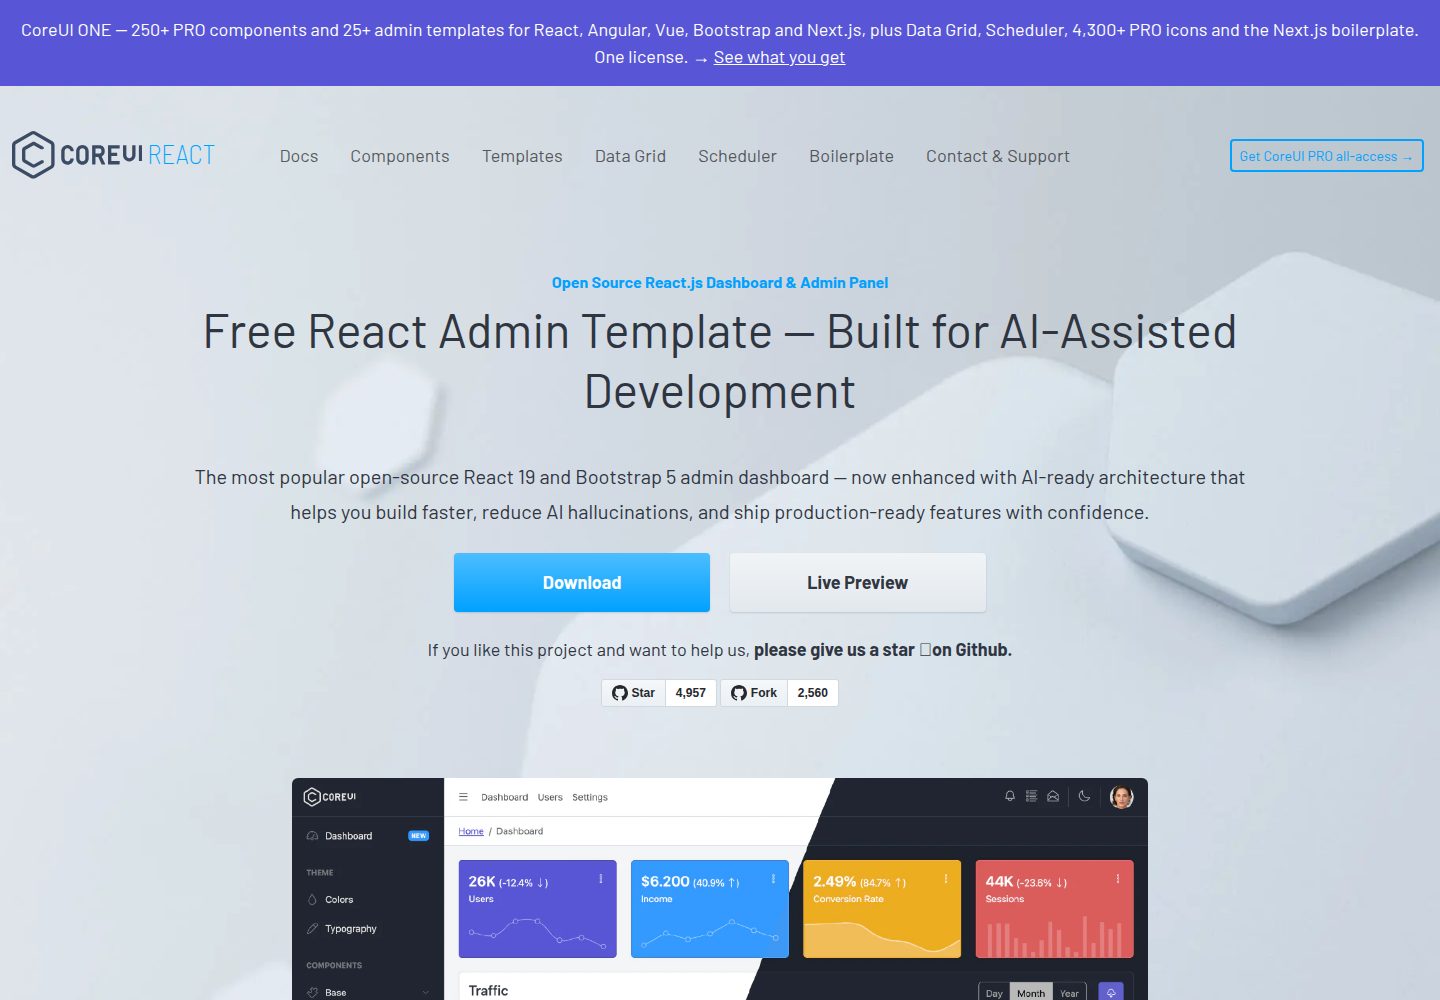
CoreUI's free React admin template, built on React and the CoreUI component library, provides dashboard layouts, sidebar navigation, routing, and example views. It includes .cursorrules, ARCHITECTURE.md, and DEVELOPMENT.md context files, plus JSDoc comments and PropTypes, to support AI-assisted development.
React · Admin dashboard
fastapi-react
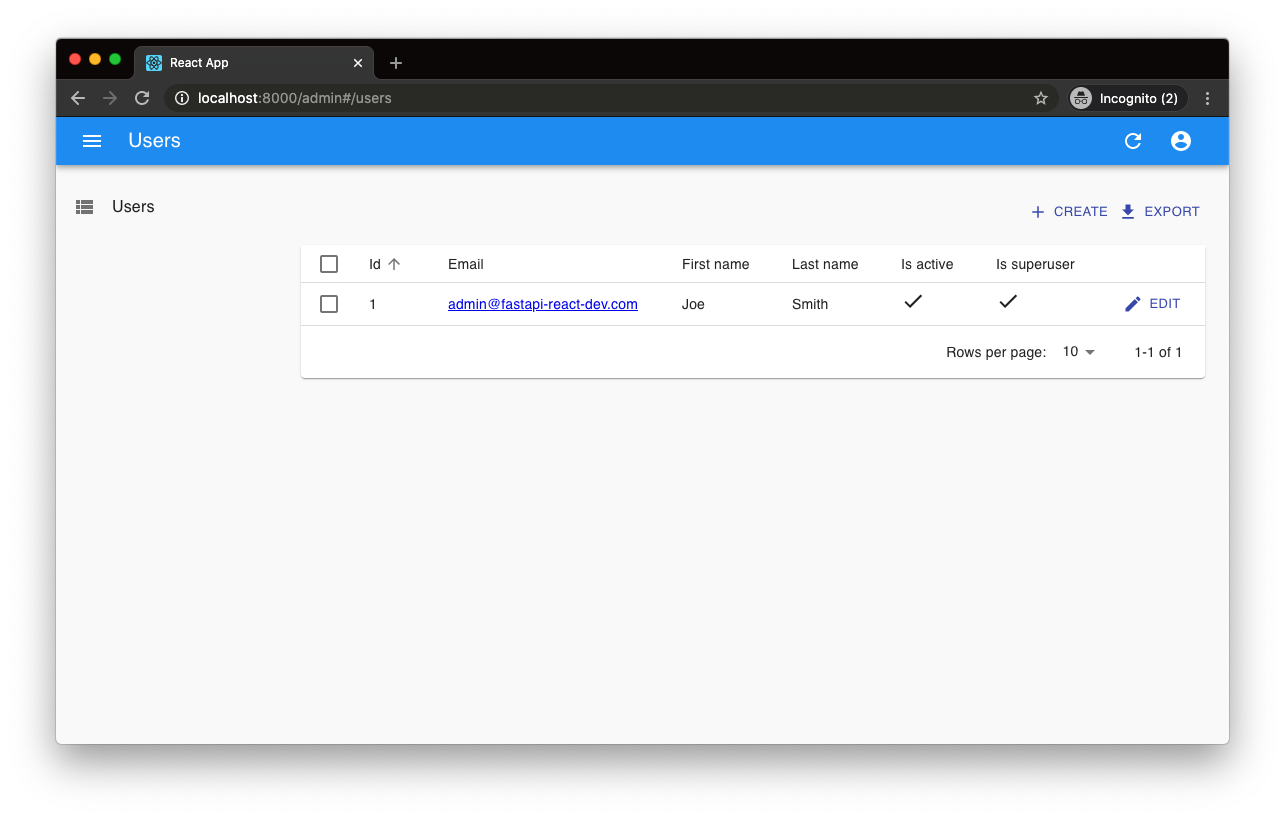
A Cookiecutter template for FastAPI + React (TypeScript) full-stack projects, integrating PostgreSQL, SQLAlchemy, Alembic, Celery, Redis, JWT authentication, a react-admin admin panel, and a Docker Compose development environment with Nginx reverse proxy.
React · Admin dashboard

react-antd-admin-template
A React + Ant Design admin template for mid- and back-office products, with built-in login/logout, dynamic routing, permission checks, and user management.
React · Admin dashboard
react-saas-template
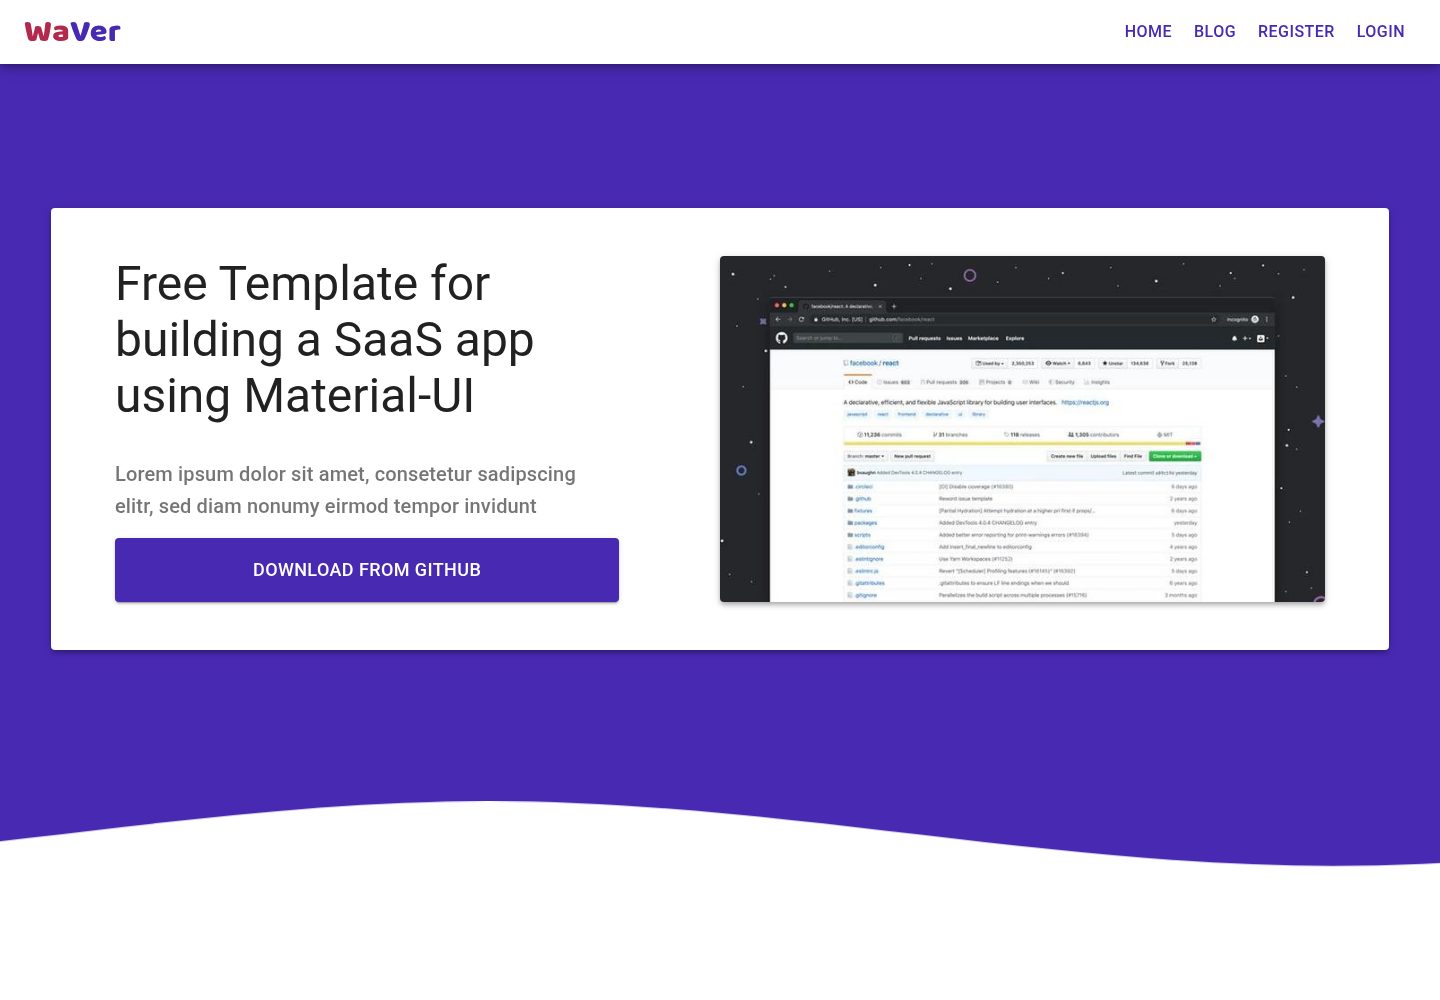
A React and Material-UI template for SaaS or admin websites, offering dashboard, chart, blog, payment, and file upload components. It uses Create-React-App, React-Router, Recharts, React-Stripe-js, React-Dropzone, and React-Cropper, with theme colors centralized in src/theme.js.
React · Admin dashboard
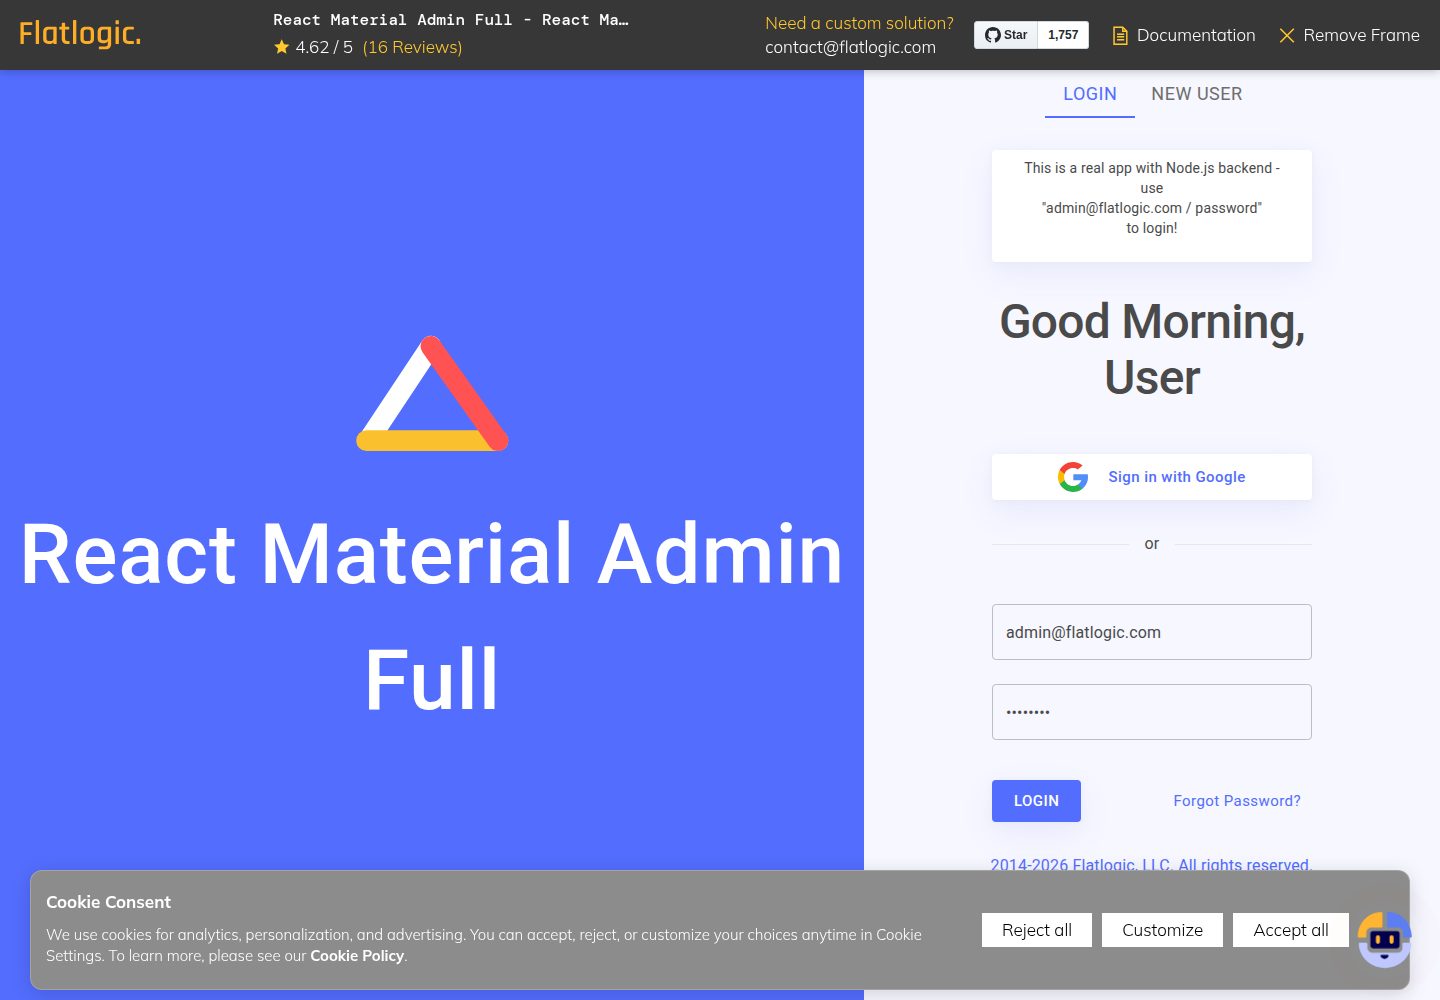
react-material-admin
React Material Admin is an MIT-licensed React admin template by Flatlogic, built on Material-UI. It provides dashboards, charts, tables, authentication, profile, and notification pages, with three color themes and responsive layouts.
React · Admin dashboard