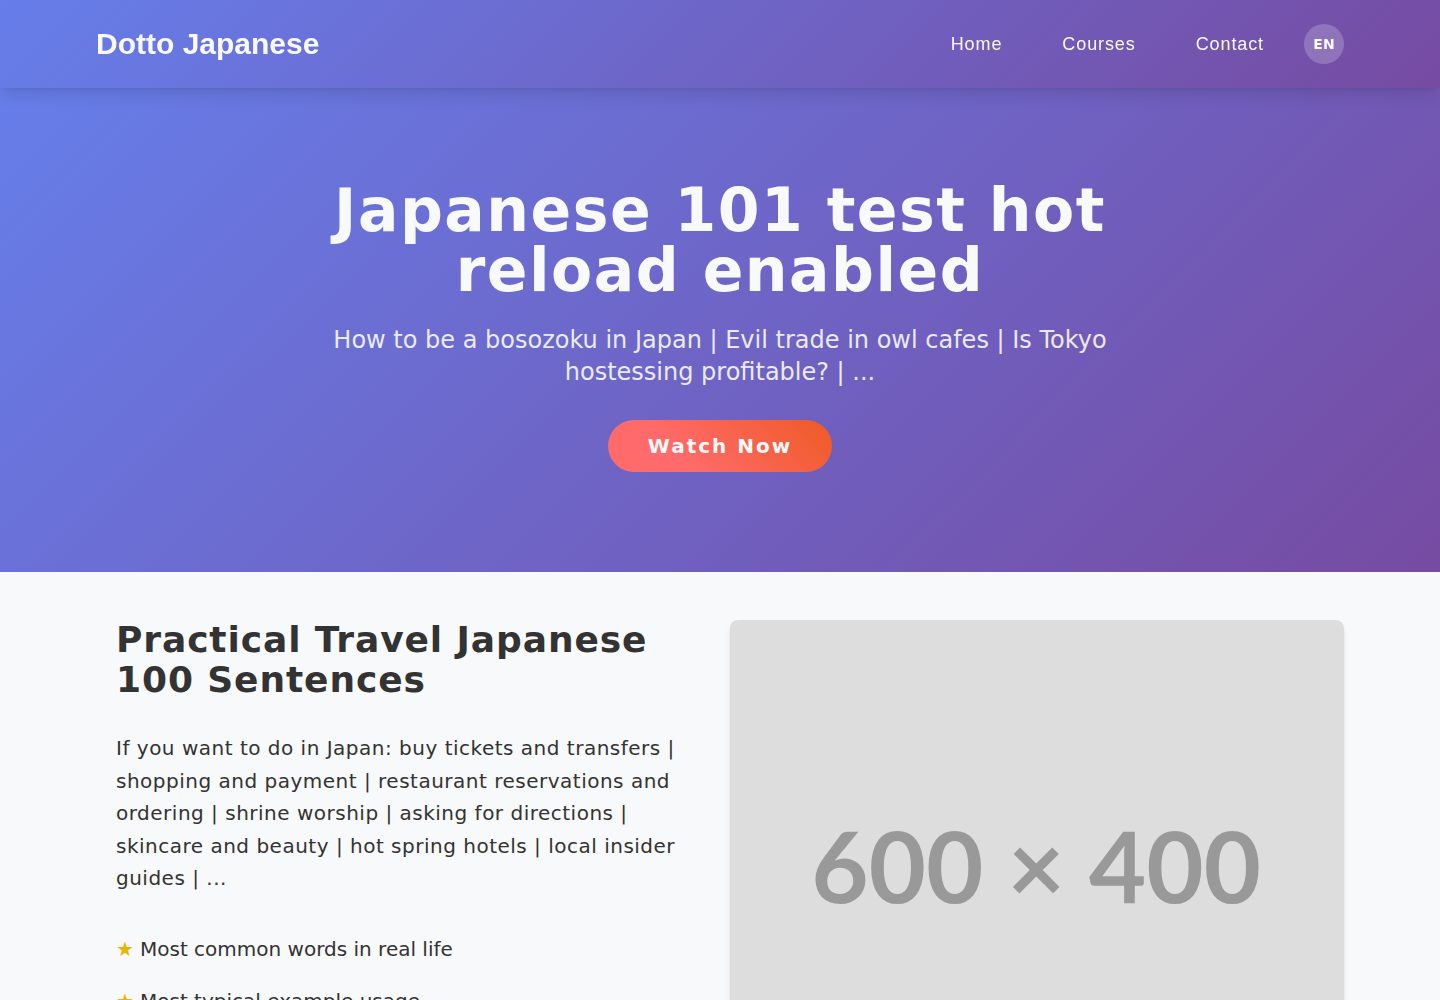
前后台分离:公开博客前台(3002)与 React 管理后台(3001)两个独立应用
React后台博客
blog-template-express-react — React 后台模板
作者 ZurichParis
基于 React、Express 与 MongoDB 的全栈博客模板,包含公开博客前台、管理后台和带 Socket.IO 实时更新的 REST API 后端。
看看你的网站会是什么样
浏览真实页面截图,比较内容排版与手机效果。点击下方缩略图切换,放大查看整页细节。
全部页面与视图 2
截图用于了解视觉与布局,交互效果请以实际项目为准。
采集于 2026-10-13查看来源
值得关注的模板亮点
从已有项目资料中,快速了解它的特点。
Express + Socket.IO 后端,管理端内容变更可实时推送到前台
MongoDB 存储文章与管理员数据,提供 seeder 写入示例数据和默认管理员
支持按主题与难度筛选文章,界面提供中文、英文、日文三种语言
联系表单通过 EmailJS 发送,凭据在 blog-client 的 .env 中配置
提供 docker-compose.dev.yml 一键启动 MongoDB、后端、后台与前台
模板详细介绍
该模板是一个全栈博客概念项目,由三个可独立运行的部分组成:面向公众的 React 博客前台(blog-client,端口 3002)、React 管理后台(blog-admin,端口 3001),以及基于 Express.js 并集成 Socket.IO 的 API 服务(blog-backend,端口 5050),数据存储在 MongoDB(端口 27017)。前台支持按主题和难度筛选文章,后台提供文章的创建、编辑与删除,管理端的改动可通过 WebSocket 即时反映到前台。界面支持中文、英文、日文三种语言,联系表单通过 EmailJS 发送用户咨询。
项目提供 Docker Compose 开发配置,可一次启动 MongoDB、后端、后台与前台,并通过 seeder 服务写入示例数据和默认管理员账号;也支持不使用 Docker 的手动方式,分别在三个目录安装依赖并启动。后端、前台和后台各自使用 .env 文件配置,示例文件覆盖端口、MongoDB 连接串、JWT 密钥、CORS 来源、种子管理员信息、API 地址与 EmailJS 凭据。
README 明确列出待改进项:开发版本登录密码以明文发送,尚未加密;生产环境需要自行编写 Dockerfile 与 Compose 配置。默认管理员账号为 [email protected] / admin123,仅用于本地开发,上线前需修改。
React后台博客
适合你的项目吗?
适用场景
- 作为全栈博客项目的起步骨架,在此基础上开发文章发布与浏览功能
- 用于演示 React 前台、React 后台与 Express API 三端分离的协作方式
- 需要管理端改动即时同步到前台展示的实时博客场景
- 需要多语言界面与按主题、难度分类浏览文章的内容站点原型
适合人群
- 希望学习或参考 React + Express + MongoDB 全栈结构的开发者
- 需要现成博客前后台骨架并自行扩展业务逻辑的团队
- 需要管理后台与公开站点分离、并带实时更新能力的项目原型
上手与定制指南
结合仓库当前版本的说明,按下面的资料检查内容、配置与运行要求。
- 1
推荐使用 Docker:复制各目录的 .env.example 为 .env,执行 docker compose -f docker-compose.dev.yml up -d,再以 tools profile 运行 seeder 写入示例数据
- 2
手动方式需在 blog-backend、blog-client、blog-admin 分别 npm install,并确保本地 MongoDB 运行在 27017 端口
- 3
默认管理员账号为 [email protected] / admin123,生产环境应通过 SEED_ADMIN_* 变量更换
- 4
联系表单需在 EmailJS 创建服务与模板,并在 blog-client/.env 填入 SERVICE_ID、TEMPLATE_ID 与 PUBLIC_KEY
- 5
README 指出开发版登录密码为明文传输,且生产用 Dockerfile 与 Compose 尚未提供,需自行补充
授权与来源资料
使用条件与限制
免费使用 · 保留许可声明本次收录的是公开仓库中采用 MIT 许可的免费版本;免费范围为该版本代码,不代表外部服务或第三方素材免费。
使用时需要遵守
- 允许免费使用、修改、商用和分发该版本代码。
- 分发代码副本或实质性部分时,保留原作者版权声明和完整 MIT 许可声明。
- 代码按现状提供;担保与责任限制以原许可证及适用法律为准。
额外费用与待核对事项
- 演示图片、字体、图标及其他第三方素材需按各自许可核对,不能仅凭代码的 MIT 许可判断。
- 域名、托管、数据库、支付或 AI 等外部服务可能另外收费。
- 联系表单功能依赖第三方服务 EmailJS,需自行注册 EmailJS 账号并创建服务与邮件模板,否则联系表单无法使用。
- 使用联系表单需在 blog-client/.env 中填入自己的 EmailJS 凭据(SERVICE_ID、TEMPLATE_ID、PUBLIC_KEY),属于外部服务配置要求。
- 运行需自备 MongoDB 数据库(本地 27017 或修改 MONGODB_URI),模板本身不包含数据库托管服务。
- 默认管理员账号 [email protected] / admin123 仅用于开发,生产环境必须通过 SEED_ADMIN_* 变量更换凭据。
- 开发版本登录密码以明文发送,尚未加密,存在安全限制,不适合直接用于生产环境。
- 生产环境所需的 Dockerfile 与 Compose 配置尚未提供,需使用者自行编写。
查看原文依据
Permission is hereby granted, free of charge
许可证原文
To enable the contact form functionality: 1. Create an account at [EmailJS](https://www.emailjs.com/)
README 原文
Update `blog-client/.env` with your EmailJS credentials:
README 原文
Ensure MongoDB is running locally on port 27017, or update the `MONGODB_URI` in your environment files.
README 原文
⚠️ **Important**: Change these credentials in production by updating the `SEED_ADMIN_*` variables in `blog-backend/.env`.
README 原文
- **Security**: Login password encrypt (dev version is sending plein text)
README 原文
https://github.com/ZurichParis/blog-template-express-react/blob/main/LICENSEhttps://github.com/ZurichParis/blog-template-express-react/blob/main/README.md- Write proper Dockerfiles and Composer file for Prod with optional multistages structure to minimize the image size
README 原文
DeepSeek 根据仓库许可证和 README 整理 ·2026-10-13。结果仅覆盖已读取资料,依赖、图片、字体及后续条款变更以各自原文为准。
项目核对记录与介绍依据
模板资料
- 来源平台
- GitHub
- 资料与维护参考分
- 资料较完整 · 79 / 100
- 技术栈
- React
- 网站类型
- 后台 · 博客
这个分数如何计算
本站按许可资料(最高30分)、演示链接(12分)、预览图(10分)、Star数(15分)、记录的维护时间(15分)、描述完整度(8分)、功能记录(5分)和分类资料(5分)计算。它不是代码、安全或性能测试,也不是 Google 评分;有链接不代表已实测可用。
这个项目需要核对什么
- 记录的仓库更新时间
- 2025-08-13
- 截图检查日期
- 2026-10-13
已收录演示链接。请用你的内容与屏幕尺寸检查;有演示不代表表单、认证或支付已经可用。
目录记录的主要技术栈是 React。请通过依赖清单和锁文件核对实际版本与托管要求。这些说明基于收录资料,不代表代码审计或部署实测。
查看具体选型方法 →介绍的制作与核对状态
介绍由 AI 辅助整理目录与仓库资料。仓库作者不等于这篇介绍的审核者。
审核声明: [email protected] · 2026-10-13
查看当时使用的来源资料
SHA-256: d1a1c61aa01ce5287a5f9e614debb3dbb5ecba97f598adbfb06043a3ac4b2642
2026-10-13T10:37:49.641Z
来源文件 / 仓库# Blog Application A full-stack blog platform with real-time updates, built with React, Express.js, and MongoDB. The application consists of a public blog interface, an admin dashboard for content management, and a RESTful API backend with WebSocket support for live updates. CHECK DEMO CLIENT PAGE HERE: https://blog-template-express-react.vercel.app/ ## What This Application Is For This is a blog platform that allows: - **Public users** to browse, read, and filter blog posts by theme and difficulty level - **Administrators** to create, edit, delete, and manage blog content through a dedicated admin interface - **Real-time updates** so changes made in the admin panel appear instantly on the public blog - **Multi-language support** with Chinese, English, Japanese - **Contact functionality** with EmailJS integration for user inquiries ## Architecture - **blog-client**: Public-facing React blog interface (port 3002) - **blog-admin**: Administrative React dashboard (port 3001) - **blog-backend**: Express.js API server with Socket.IO (port 5050) - **MongoDB**: Database for storing blog posts and admin data (port 27017) ## Furthur to improve - **Security**: Login password encrypt (dev version is sending plein text) ## Prerequisites ### Docker Setup (Recommended) - **Docker**: 4.37.2 (179585) ### Manual Setup (Alternative) - **Node.js**: v24.4.0 - **npm**: 11.4.2 - **MongoDB**: 8.0.11 ## Quick Start with Docker ### 1. Clone and Setup ```bash git clone https://github.com/ZurichParis/blog-template-express-react.git cd blog-template-express-react ``` ### 2. Configure Environment Variables (Optional for dev) Copy the example environment files and configure them: ```bash # Backend configuration cp blog-backend/.env.example blog-backend/.env # Edit blog-backend/.env with your MongoDB URI and JWT secret # Client configuration cp blog-client/.env.example blog-client/.env # Edit blog-client/.env with your EmailJS credentials # Admin configuration cp blog-admin/.env.example blog-admin/.env # No changes needed for basic setup ``` ### 3. Start All Services # Start all services (MongoDB, backend, admin, client) ```bash docker compose -f docker-compose.dev.yml up -d ``` # Seed the database with sample data and admin account ```bash docker compose -f docker-compose.dev.yml --profile tools up seeder ``` ### 4. Access the Application - **Public Blog**: http://localhost:3002 - **Admin Dashboard**: http://localhost:3001 - **Backend**: http://localhost:5050 - **Backend Debugger**: http://localhost:9229 ### 5. Stop Services # Stop all services ```bash docker compose -f docker-compose.dev.yml stop ``` ## Manual Setup (without Docker) ### 1. Install Dependencies ```bash cd blog-backend npm install ``` ```bash cd ../blog-client npm install ``` ```bash cd ../blog-admin npm install ``` ### 2. Setup MongoDB Ensure MongoDB is running locally on port 27017, or update the `MONGODB_URI` in your environment files. ### 3. Configure Environment Variables Copy and edit the `.env.example` files as described in the Docker setup section. ### 4. Start Services # Terminal 1: Start backend ```bash cd blog-backend npm run dev ``` # Terminal 2: Seed database (run once) ```bash cd blog-backend npm run seed ``` # Terminal 3: Start client ```bash cd blog-client npm run dev ``` # Terminal 4: Start admin ```bash cd blog-admin npm run dev ``` ## Default Admin Account After running the seeder, you can log in to the admin dashboard with: - **Email**: [email protected] - **Password**: admin123 ⚠️ **Important**: Change these credentials in production by updating the `SEED_ADMIN_*` variables in `blog-backend/.env`. ## EmailJS Setup To enable the contact form functionality: 1. Create an account at [EmailJS](https://www.emailjs.com/) 2. Create a new service (Gmail, Outlook, etc.) 3. Create an email template with the following variables: - `{{from_name}}` - Sender's name - `{{from_email}}` - Sender's email - `{{message}}` - Message content 4. Update `blog-client/.env` with your EmailJS credentials: ``` VITE_EMAILJS_SERVICE_ID=your_service_id VITE_EMAILJS_TEMPLATE_ID=your_template_id VITE_EMAILJS_PUBLIC_KEY=your_public_key ``` ## Environment Variables Reference ### blog-backend/.env.example ``` PORT=5050 MONGODB_URI=mongodb://localhost:27017/blogdb JWT_SECRET=your-super-secret-jwt-key-change-this-in-production CORS_ORIGIN=http://localhost:3002,http://localhost:3001 SEED_ADMIN=admin [email protected] SEED_ADMIN_PW=admin123 ``` ### blog-client/.env.example ``` VITE_API_URL=http://localhost:5050/api VITE_EMAILJS_SERVICE_ID=your_service_id VITE_EMAILJS_TEMPLATE_ID=your_template_id VITE_EMAILJS_PUBLIC_KEY=your_public_key ``` ### blog-admin/.env.example ``` VITE_API_URL=http://localhost:5050/api ``` ## Development ### Linting ```bash # Lint frontend code cd blog-client && npm run lint cd blog-admin && npm run lint ``` ### Building for Production - Write proper Dockerfiles and Composer file for Prod with optional multistages structure to minimize the image size ## Troubleshooting ### Docker Issues 1. **Permission errors**: Ensure Docker daemon is running and you have permissions 2. **Build failures**: Try rebuilding with `docker compose build --no-cache` 3. **Database persistence**: Data is stored in Docker volumes, use `docker-compose down -v` to reset ## Support For development guidance and architecture details, see [CLAUDE.md](./CLAUDE.md).
看看同类模板
对比同技术栈与用途的模板,找到更适合的视觉与内容结构。
ant-design-pro
Ant Design Pro 是 Ant Design 官方推出的企业级中后台前端脚手架,基于 React 19、Umi Max 4 和 antd 6 构建,内置 TypeScript 支持。
React · 后台
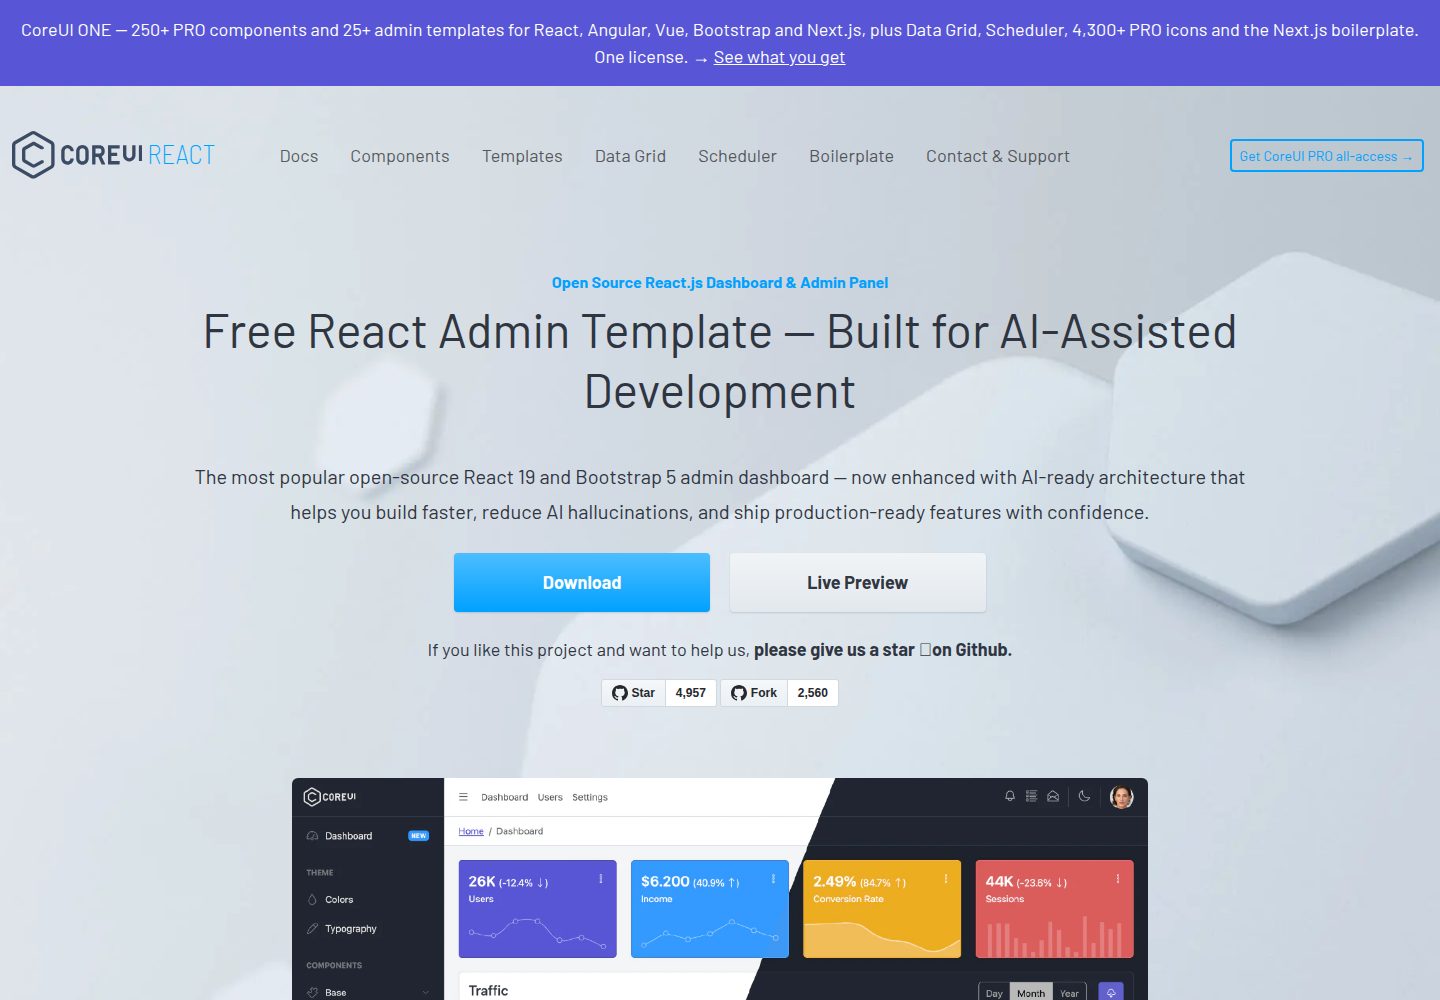
coreui-free-react-admin-template
Free React Admin & Dashboard Template Built for AI-Assisted Development
React · 后台
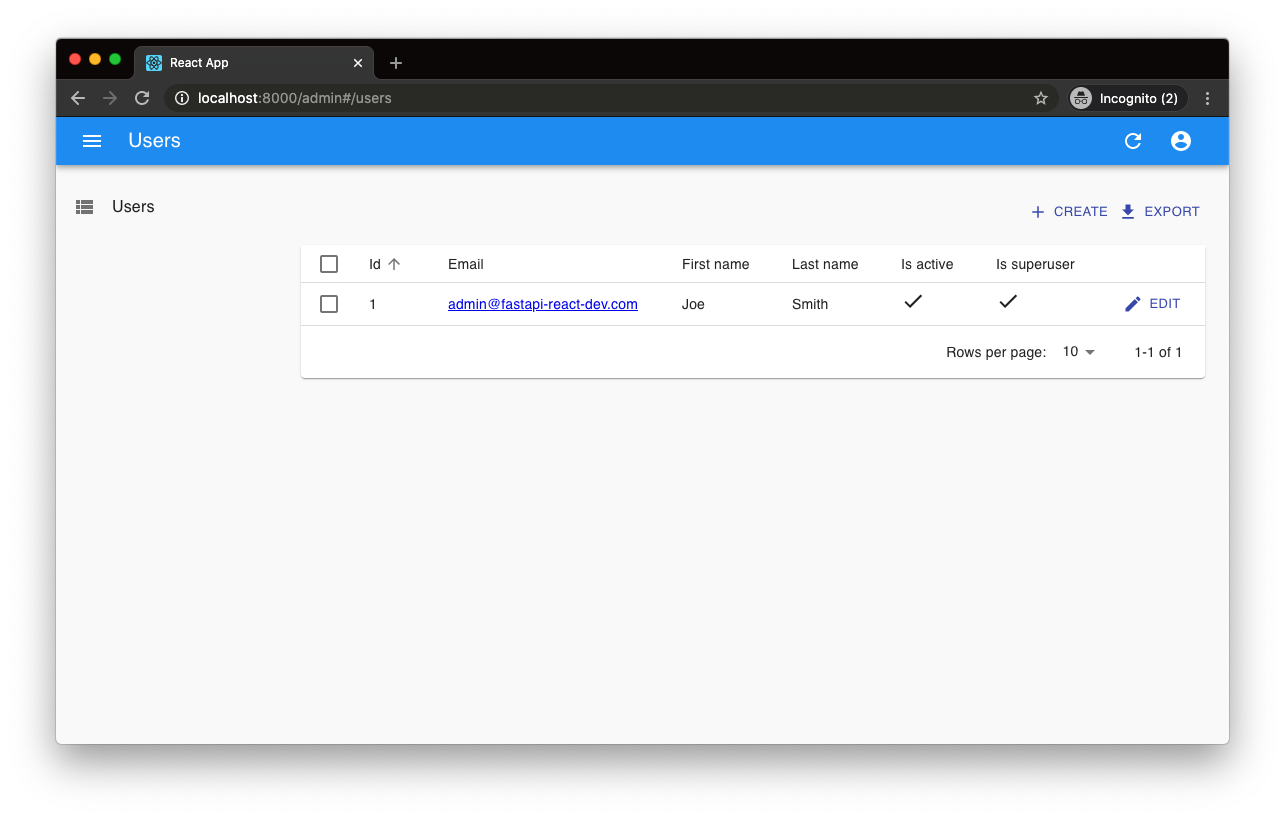
fastapi-react
fastapi-react 是一个基于 Cookiecutter 的模板,用于快速搭建 FastAPI 与 React(TypeScript)的全栈项目。
React · 后台
react-antd-admin-template
一个基于React+Antd的后台管理模版,在线预览https://nlrx-wjc.github.io/react-antd-admin-template/
React · 后台
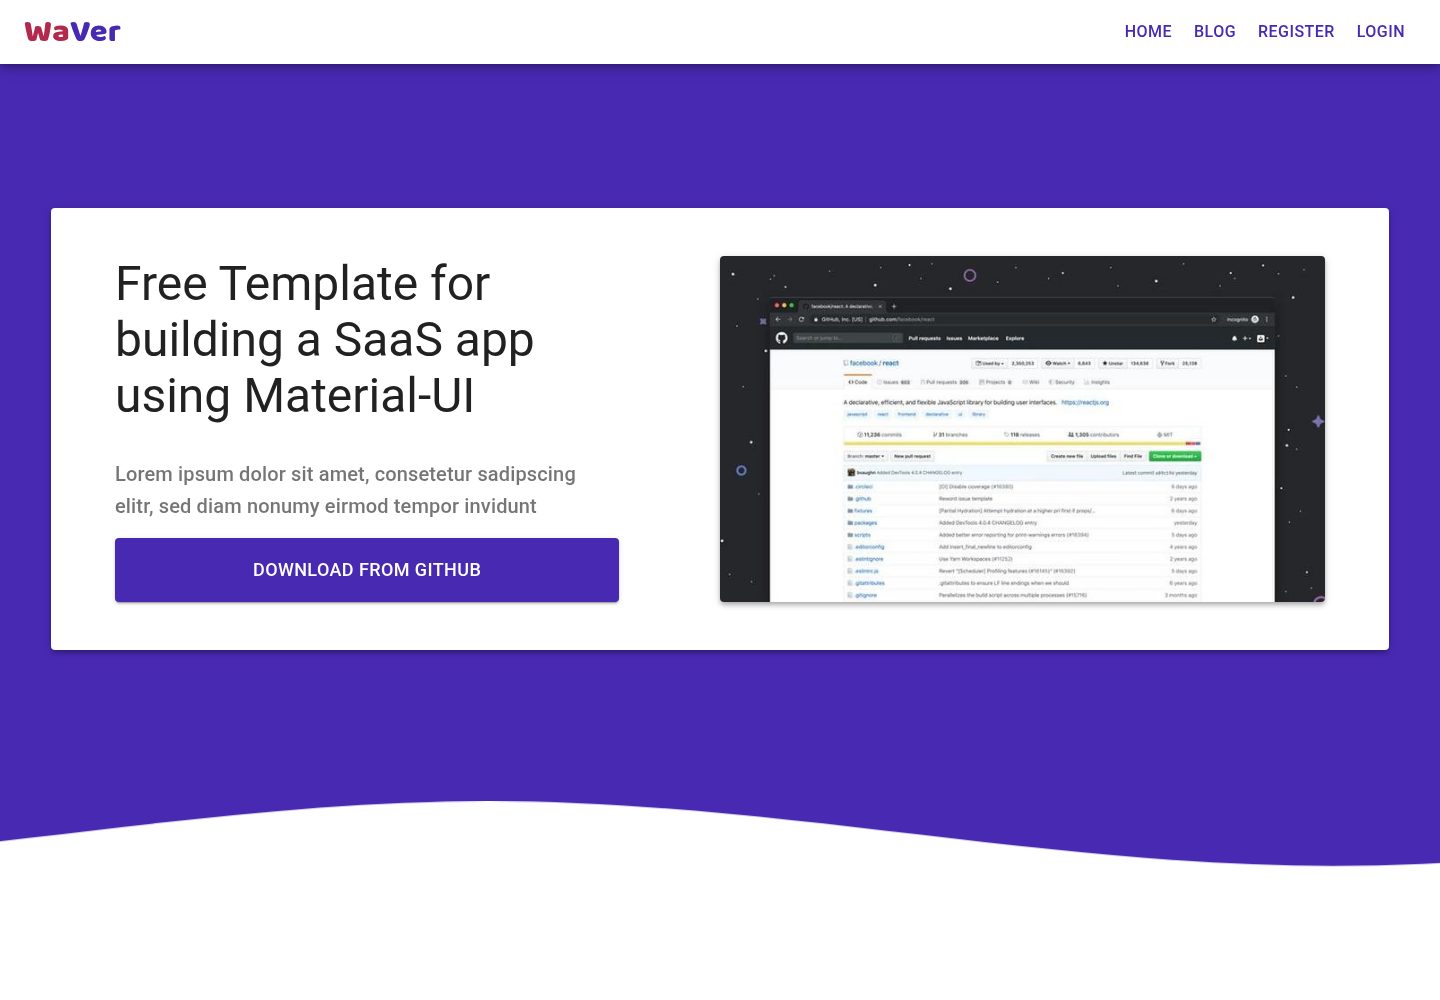
react-saas-template
🌊 Template for building an SaaS / admin website using React + Material-UI
React · 后台
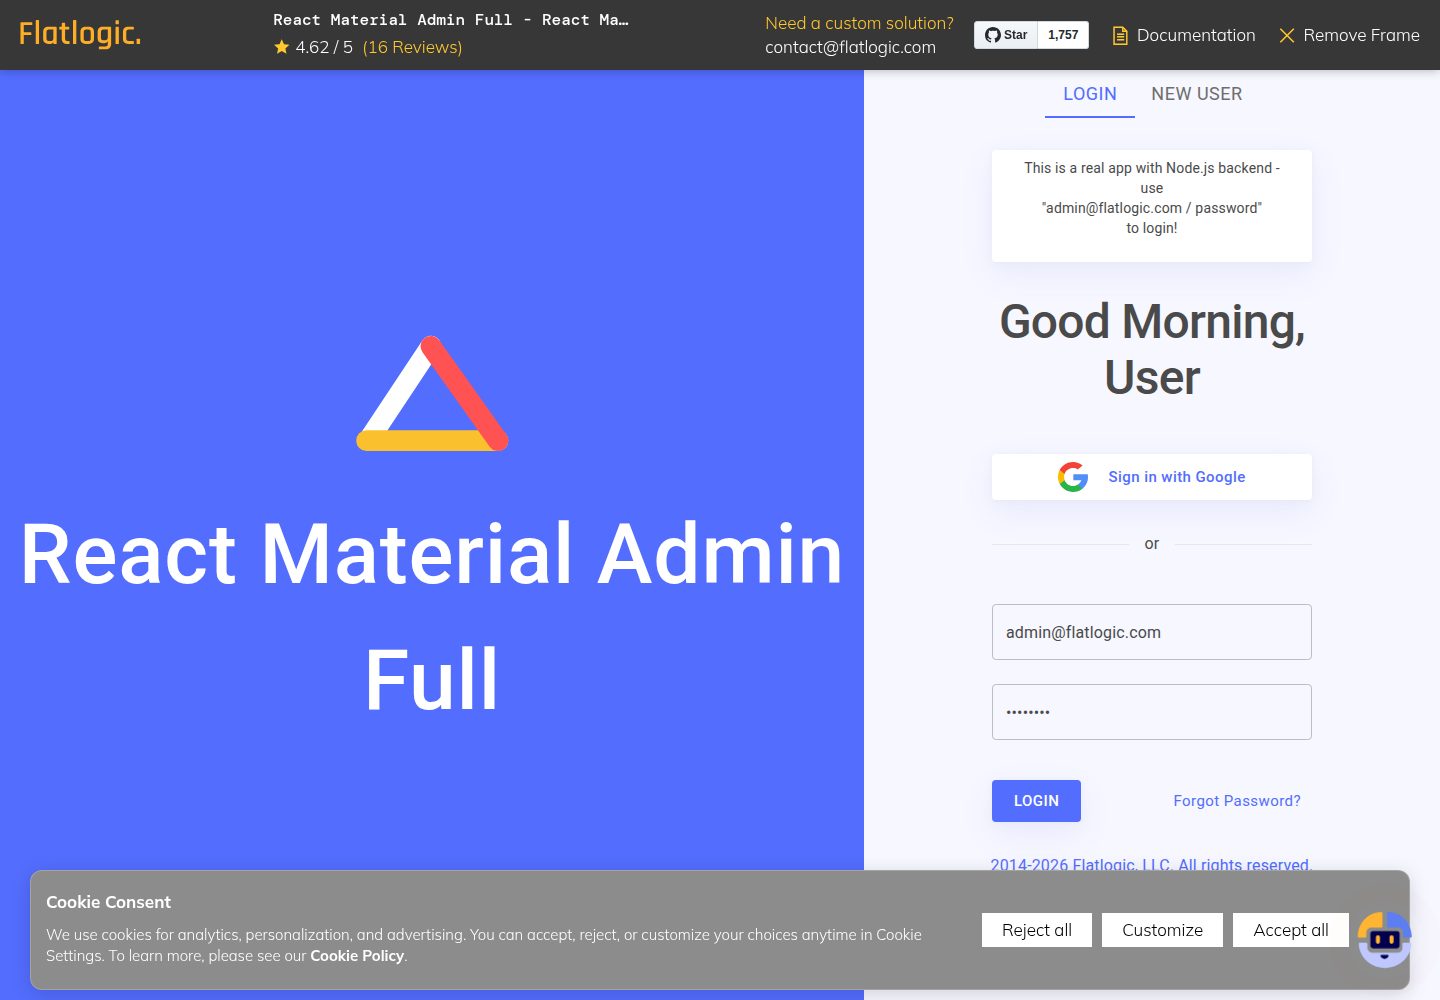
react-material-admin
☄️React Material Admin is a React template built with Material-UI
React · 后台