单页布局,包含 hero、about、projects、contact、footer 区块
HTML作品集
DevFolio (AnilSeervi) — HTML 作品集模板
作者 AnilSeervi
DevFolio 是一个面向开发者的单页作品集 HTML 模板,使用 SCSS 编写样式,附带本地预览与 GitHub Pages 托管说明。
看看你的网站会是什么样
浏览真实页面截图,比较内容排版与手机效果。点击下方缩略图切换,放大查看整页细节。
全部页面与视图 2
截图用于了解视觉与布局,交互效果请以实际项目为准。
采集于 2026-09-30查看来源
值得关注的模板亮点
从已有项目资料中,快速了解它的特点。
内容与链接直接在 index.html 中填写,无需构建工具或包管理器
样式为自定义 SCSS,通过两个颜色变量调整渐变主题
集成 ScrollReveal.js 滚动出现效果与 Tilt.js 倾斜视差效果
README 提供本地预览与 GitHub Pages 部署的逐步说明
模板详细介绍
DevFolio 是一个纯 HTML 的单页开发者作品集模板,仓库采用 MIT 许可。页面由 hero、about、projects、contact 和 footer 等区块组成,内容直接在 index.html 中填写:标题、关键词、描述、个人简介、简历链接、项目标题与说明、项目链接与仓库链接、邮箱以及社交图标链接。样式使用自定义 SCSS,主题色通过 style/base/_variables.scss 中的 $main-color 与 $secondary-color 两个变量调整,再由 Live Sass Compiler 编译为 CSS。模板引入 ScrollReveal.js 和 Tilt.js 两个脚本库,用于滚动出现与倾斜视差效果。README 给出了从克隆仓库、移除 origin、删除 .github 目录,到在 VSCode 中开启 Watch Sass 与 Live Preview 的完整本地流程,以及推送到 GitHub 后在仓库设置中启用 GitHub Pages 的托管步骤。使用前需注意:README 建议删除 CNAME 文件、移除 Google Analytics 标签、可清空原 README 并将 style 目录加入 .gitignore;项目图片与头像需放入 assets 目录,README 给出的参考尺寸为头像 450×450px、项目图 1366×767px。模板依赖 VSCode 及其 Live Preview、Live Sass Compiler 扩展完成预览与样式编译,未使用 Node 或包管理器。
HTML作品集
适合你的项目吗?
适用场景
- 个人开发者搭建展示简介、项目与联系方式的单页作品集
- 作为学习 HTML 与 SCSS 的静态页面练习项目
- 在 GitHub Pages 上免费托管个人作品集页面
适合人群
- 熟悉或愿意使用 VSCode 编辑 HTML 与 SCSS 的开发者
- 希望用纯静态页面、不引入 Node 构建流程的用户
- 需要把作品集托管在 GitHub Pages 上的个人开发者
上手与定制指南
结合仓库当前版本的说明,按下面的资料检查内容、配置与运行要求。
- 1
需安装 VSCode 与 Git,并在 VSCode 中安装 Live Preview 和 Live Sass Compiler 扩展
- 2
克隆仓库后移除原 origin 远程,并删除 .github 目录
- 3
在 VSCode 中开启 Watch Sass 编译 SCSS,通过 Live Preview 在本地预览页面
- 4
推送前删除 CNAME 文件、移除 Google Analytics 标签,并可将 style 目录加入 .gitignore
- 5
头像与项目图片放入 assets 目录,README 建议尺寸分别为 450×450px 与 1366×767px
授权与来源资料
使用条件与限制
免费使用 · 保留许可声明本次收录的是公开仓库中采用 MIT 许可的免费版本;免费范围为该版本代码,不代表外部服务或第三方素材免费。
使用时需要遵守
- 允许免费使用、修改、商用和分发该版本代码。
- 分发代码副本或实质性部分时,保留原作者版权声明和完整 MIT 许可声明。
- 代码按现状提供;担保与责任限制以原许可证及适用法律为准。
额外费用与待核对事项
- 使用该模板需在本地安装 VSCode 与 Git 才能按 README 流程编辑与推送代码。
- 本地预览与 SCSS 编译依赖 VSCode 的 Live Preview 和 Live Sass Compiler 两个扩展,需自行安装。
- 推送前需移除模板中自带的 Google Analytics 标签,否则会把统计代码一并发布。
- 推送前需删除仓库中的 CNAME 文件,避免沿用原作者的域名配置。
- README 建议不推送 style 目录,可将其加入 .gitignore,仅发布编译后的 CSS。
- 头像与项目图片需放入 assets 目录,README 建议尺寸为头像 450×450px、项目图 1366×767px。
- 演示图片、字体、图标及其他第三方素材需按各自许可核对,不能仅凭代码的 MIT 许可判断。
- 域名、托管、数据库、支付或 AI 等外部服务可能另外收费。
查看原文依据
Permission is hereby granted, free of charge
许可证原文
You'll need [VSCode](https://code.visualstudio.com/) and [Git](https://git-scm.com/) installed on your computer.
README 原文
You'll also need these two extensions [Live Preview](https://marketplace.visualstudio.com/items?itemName=ms-vscode.live-server) and [Live Sass Compiler](https://marketplace.visualstudio.com/items?itemName=glenn2223.live-sass) installed in your VSCode.
README 原文
Remove google analytics tag before pushing it to GitHub.
README 原文
Delete the file [`CNAME`](./CNAME) before you push it.
README 原文
Also you don't need to push the [`style`](./style) folder, so you can add [`style`](./style) to [`.gitignore`](./.gitignore) file to ignore it while pushing it to the repo.
README 原文
https://github.com/AnilSeervi/DevFolio/blob/master/LICENSEhttps://github.com/AnilSeervi/DevFolio/blob/master/README.mdyour project image must live in [`assets/`](./assets) folder
README 原文
DeepSeek 根据仓库许可证和 README 整理 ·2026-09-30。结果仅覆盖已读取资料,依赖、图片、字体及后续条款变更以各自原文为准。
项目核对记录与介绍依据
模板资料
- 来源平台
- GitHub
- 资料与维护参考分
- 资料较完整 · 76 / 100
- 技术栈
- HTML
- 网站类型
- 作品集
这个分数如何计算
本站按许可资料(最高30分)、演示链接(12分)、预览图(10分)、Star数(15分)、记录的维护时间(15分)、描述完整度(8分)、功能记录(5分)和分类资料(5分)计算。它不是代码、安全或性能测试,也不是 Google 评分;有链接不代表已实测可用。
这个项目需要核对什么
- 记录的仓库更新时间
- 2024-06-24
- 截图检查日期
- 2026-09-30
已收录演示链接。请用你的内容与屏幕尺寸检查;有演示不代表表单、认证或支付已经可用。
目录记录的主要技术栈是 HTML。请通过依赖清单和锁文件核对实际版本与托管要求。这些说明基于收录资料,不代表代码审计或部署实测。
查看具体选型方法 →介绍的制作与核对状态
介绍由 AI 辅助整理目录与仓库资料。仓库作者不等于这篇介绍的审核者。
已完成服务器许可规则与 AI 来源核对;未经过人工编辑审核。
查看当时使用的来源资料
SHA-256: 85a681e555b533102f37a2a850a73d3ad58e87dd5319beaa9c4c88970e1a7d25
2026-09-30T10:57:29.244Z
来源文件 / 仓库<h1 align="center"> ⚡️ DevFolio ⚡️</h1>
[](https://github.com/AnilSeervi/DevFolio/blob/master/README.md)   
## A Modern Portfolio Template for Developers!
<h2 align="center">
<img src="assets/devfolio.gif" alt="Devfolio" />
</h2>
## Features
⚡️ Modern UI Design + Reveal Animations + Hover Effects\
⚡️ Well organized documentation\
⚡️ One Page Layout\
⚡️ Custom SCSS\
⚡️ Fully Responsive\
⚡️ Valid HTML5 & CSS3\
⚡ Fast and SEO Optimized
To view a demo example, **[Click Here](https://devfolio.js.org)**\
To view a live example, **[Click Here](https://anilseervi.github.io/Portfolio/)**\
To view live example repo, **[Click Here](https://github.com/AnilSeervi/Portfolio/)**
## Getting Started 🚀
Here's a **Complete Guide** to walk you through the process of setting your own Portfolio Website with this minimal template on your local machine as well as hosting it on GitHub.
### Prerequisites 📋
You'll need [VSCode](https://code.visualstudio.com/) and [Git](https://git-scm.com/) installed on your computer.
You'll also need these two extensions [Live Preview](https://marketplace.visualstudio.com/items?itemName=ms-vscode.live-server) and [Live Sass Compiler](https://marketplace.visualstudio.com/items?itemName=glenn2223.live-sass) installed in your VSCode. You will be automatically promted to install these extensions once you open this project in VSCode.
---
## How To Use 🔧
In VSCode, Open the terminal(<kbd>Ctrl</kbd>+<kbd>\\</kbd> ) and clone the DevFolio Repo.
```bash
# Clone this repository
$ git clone https://github.com/AnilSeervi/DevFolio.git
# Go into the repository
$ cd DevFolio
# Remove current origin repository
$ git remote remove origin
```
And delete the [`.github`](./.github) folder as you don't need it.
Now Simply click on **Watch Sass** in the bottom status bar to watch all your `.scss` file chages and compile them to vanilla `.css`.
And also open `index.html`, right click inside the file and select _Show Preview_ to start a preview at `http://127.0.0.1:3000/`.
<h3 align="center">
OR
</h3>
Press <kbd>Ctrl</kbd>+<kbd>Shift</kbd>+<kbd>P</kbd> or <kbd>F1</kbd> to Show Command Palette, Search for **Live Sass: Watch Sass** and turn it on. Also search for **Live Preview: Start Server** and turn it on. Doing this will watch all your Sass files for changes and will spin up a live server for you at `http://127.0.0.1:3000/`.
---
## Template Instructions
### Step 1 - STRUCTURE
Open [`index.html`](./index.html) and fill your information, there are 6 sections:
### Head Section
- Add a title to your Portfolio website within the `<title>` tag.
- Add some keywords and description to your Portfolio website as directed in the [`index.html`](./index.html) file.
```html
<!-- Title: add your Portfolio websites's title here -->
<title>[Your name here] | Developer</title>
<!-- Add some coding keywords below, Ex: (javascript, yourusername, etc) -->
<meta name="keywords" content="[username], [name], skill" />
<!-- Improve your SEO by adding a small descrption of you -->
<meta name="description" content="[Your name here] | Developer" />
```
- Remove google analytics tag before pushing it to GitHub.
### Hero Section
- On `.hero-title`, put your custom title.
- On `.hero-cta`, put your custom button cta.
```html
<!-- Hero Section -->
<div id="hero">
<section class="container">
<h1 class="hero-title">
Hi, my name is <span class="text-color-main name">Your Name</span>
<br />
I'm the Unknown Developer.
</h1>
<p class="hero-cta">
<a class="cta-btn cta-btn--hero" href="#about">Get in touch</a>
</p>
</section>
<a href="#about" class="scroll-down-link" aria-label="scroll-down">
<div class="scroll-down"></div>
</a>
</div>
<!-- /END Hero Section -->
```
### About Section
- On `<img>` tag, fill the `src` attribute with your profile picture, your picture must be located inside [`assets/`](./assets) folder.
- Recommended size for your profile image is (_450 x 450px_).
- On `<p>` tag with class-name `.about-wrapper__info-text`, include information about you, I recommend to use 2 paragraphs in order to work well and a maximum of 3 paragraphs.
- On last `<a>` tag, include your resume url on `href` attribute.
```html
<!-- About Section -->
<section id="about">
<div class="container">
<h2 class="section-title">About Me</h2>
<div class="row about-wrapper">
<div class="about-wrapper__image">
<img class="img-fluid" src="./assets/profile.png" alt="Profile Image" />
</div>
<div class="about-wrapper__info">
<p class="about-wrapper__info-text">
Lorem ipsum dolor sit amet consectetur adipisicing elit.
</p>
<p class="about-wrapper__info-text">
Lorem ipsum dolor sit amet consectetur adipisicing elit.
</p>
<span class="about-wrapper__cta">
<a href="#" class="cta-btn cta-btn--resume">View Resume</a>
</span>
</div>
</div>
</div>
</section>
<!-- /END About Section -->
```
### Projects Section
- Each project lives inside `row` class.
- On `<h3>` tag with class-name `.project-wrapper__text-title`, include your project title.
- On `<p>` tag with `loremp ipsum...` text, include your project information.
- On first `<a>` tag, put your project url on `href` attribute.
- On second `<a>` tag, put your project repository url on `href` attribute.
---
- Inside `<div>` tag with class-name `.project-wrapper__image`, put your project image url on the `src` of the `<img>` and put again your project url on `href` attribute of `<a>` tag.
- Recommended size for project image (_1366 x 767px_), your project image must live in [`assets/`](./assets) folder. You can remove the default images and replace them with yours.
```html
<!--Projects Section-->
<section id="projects">
<div class="container">
<div class="project-wrapper">
<h2 class="section-title dark-blue-text">Projects</h2>
<!-- Each .row is a project -->
<div class="row">
<div class="project-wrapper__text">
<h3 class="project-wrapper__text-title">Project Title</h3>
<p class="project-wrapper__text-info">
Lorem ipsum dolor sit amet consectetur adipisicing elit.
</p>
<div class="project-wrapper__text-btns">
<a
href="#"
target="_blank"
class="cta-btn cta-btn--hero cta-btn--projects"
>See Live</a
>
<a href="#" target="_blank" class="cta-btn text-color-main"
>Source Code</a
>
</div>
</div>
<div class="project-wrapper__image">
<a href="#" target="_blank">
<div class="thumbnail rounded">
<img
src="./assets/project.png"
class="img-fluid"
alt="Project Image"
/>
</div>
</a>
</div>
</div>
...
</section>
<!-- /END Project -->
```
### Contact Section
- On `<p>` tag with class-name `.contact-wrapper__text`, include some custom call-to-action message.
- On `<a>` tag, put your email address on `href="mailto:` attribute.
```html
<!-- Contact Section -->
<section id="contact">
<div class="container">
<h2 class="section-title">Contact</h2>
<div class="contact-wrapper">
<p class="contact-wrapper__text">[Put your call to action here]</p>
<a href="mailto:" class="cta-btn cta-btn--resume">Call to Action</a>
</div>
</div>
</section>
<!-- END Contact Section -->
```
### Footer Section
- Put your social media link on each `<a>` links.
- If you have more social-media accounts, see [Font Awesome Icons](https://fontawesome.com/icons) to put the corresponding additional social icon classNames.
- You can delete or add as many `<a>` links your want.
```html
<!-- Footer Section -->
<footer class="footer">
...
<div class="social-links">
<a href="#!" target="_blank">
<i class="fa-brands fa-twitter"></i>
</a>
<a href="#!" target="_blank">
<i class="fa-brands fa-instagram"></i>
</a>
<a href="#!" target="_blank">
<i class="fa-brands fa-codepen"></i>
</a>
<a href="#!" target="_blank">
<i class="fa-brands fa-linkedin"></i>
</a>
<a href="#!" target="_blank">
<i class="fa-brands fa-github"></i>
</a>
</div>
...
</footer>
<!-- END Footer Section -->
```
### Step 2 - STYLES
Change the color theme of the website ( choose 2 colors to create a gradient ):
Go to [`style/base/_variables.scss`](./style/base/_variables.scss) and only change the values on these properties `$main-color` and `$secondary-color` to your prefered HEX color.
Save the `.scss` file so that the **Live Sass Compiler** extension compiles it to `.css`.
```scss
// Default values
$primary-color: #36d1dc;
$secondary-color: #5b86e5;
```
**NOTE**: I highly recommend to checkout gradients variations on [UI Gradient](https://uigradients.com/#Scooter)
---
- You can clear the README.md file and add you own readme to it.
- Also you don't need to push the [`style`](./style) folder, so you can add [`style`](./style) to [`.gitignore`](./.gitignore) file to ignore it while pushing it to the repo.
- Delete the file [`CNAME`](./CNAME) before you push it.
---
## Deployment 📦
- Head to your GitHub account and create a new repo. And set a new remote for our template repo.
Note: remote URL will be different.
```bash
# set a new remote
$ git remote add origin https://github.com/user.repo.git
```
- Now commit all your changes with a commit message and push the code to your newly created repo.
```bash
# commit changes
$ git commit -m 'created my portfolio'
# push the changes
$ git push -u origin master
```
- Refresh your repo page and head to the settings tab. Now scroll down till you see GitHub Pages. In the Source section select the branch to be master and save it!
- Voilà your Portfolio should be live at `https://username.github.io/repoName/`
## Technologies used 🛠️
- [Sass](https://sass-lang.com/documentation) - CSS extension language
- [ScrollReveal.js](https://scrollrevealjs.org/) - JavaScript library
- [Tilt.js](https://gijsroge.github.io/tilt.js/) - JavaScript tiny parallax library
## Authors
- **Anil Seervi** - [https://github.com/AnilSeervi](https://github.com/AnilSeervi)
## License 📄
This project is licensed under the MIT License - see the [LICENSE](LICENSE) file for details.
## Acknowledgments 🎁
I was motivated and inspired while learning [ZTM: Complete Web Developer](https://www.udemy.com/course/the-complete-web-developer-zero-to-mastery/) to create a simpler version of [simplefolio](https://github.com/cobidev/simplefolio) for those who didn't know node and packages.
---
<h2 align="center">Have Fun Creating Your Own Portfolio Website.</h2>
看看同类模板
对比同技术栈与用途的模板,找到更适合的视觉与内容结构。
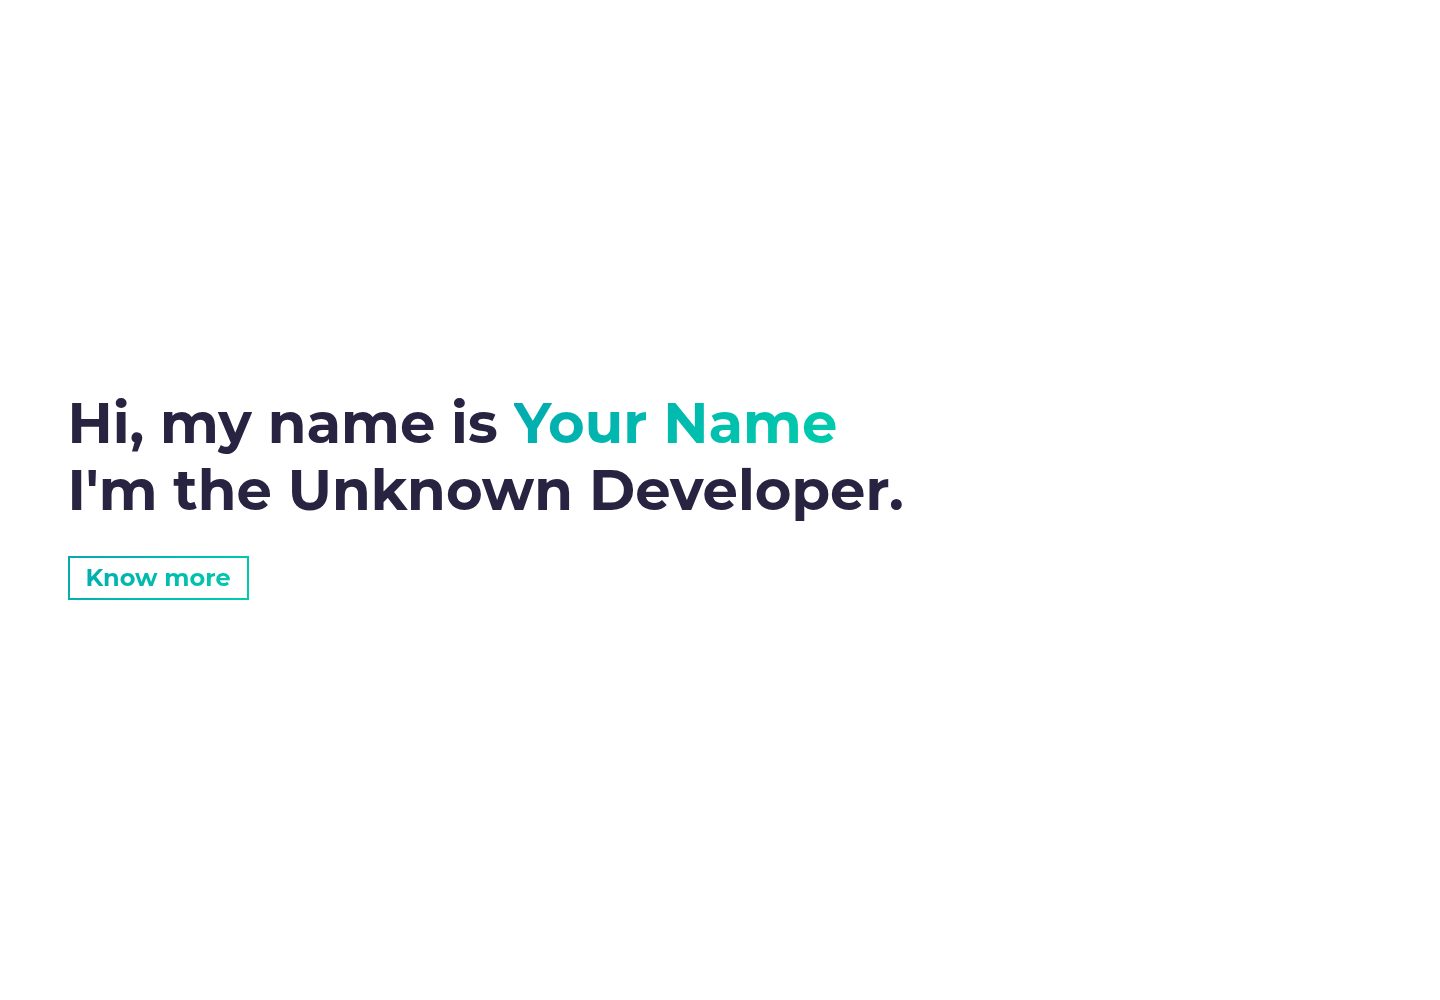
simplefolio
⚡️ A minimal portfolio template for Developers
HTML · 作品集
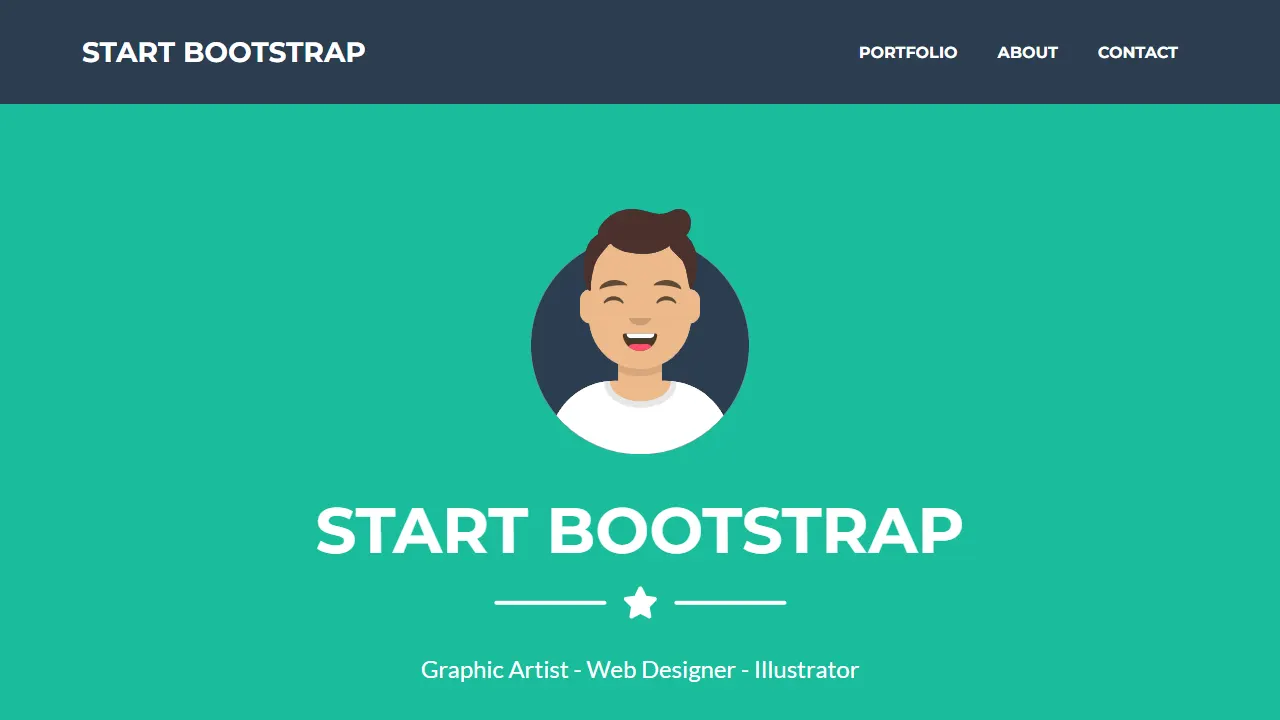
Freelancer
Freelancer 是 Start Bootstrap 出品的单页作品集模板,专为自由职业者、设计师和小型工作室设计。 页面结构清晰,包含多个内容区块、响应式作品集网格,每个作品项目配有模态窗口展示详情。
HTML · 作品集
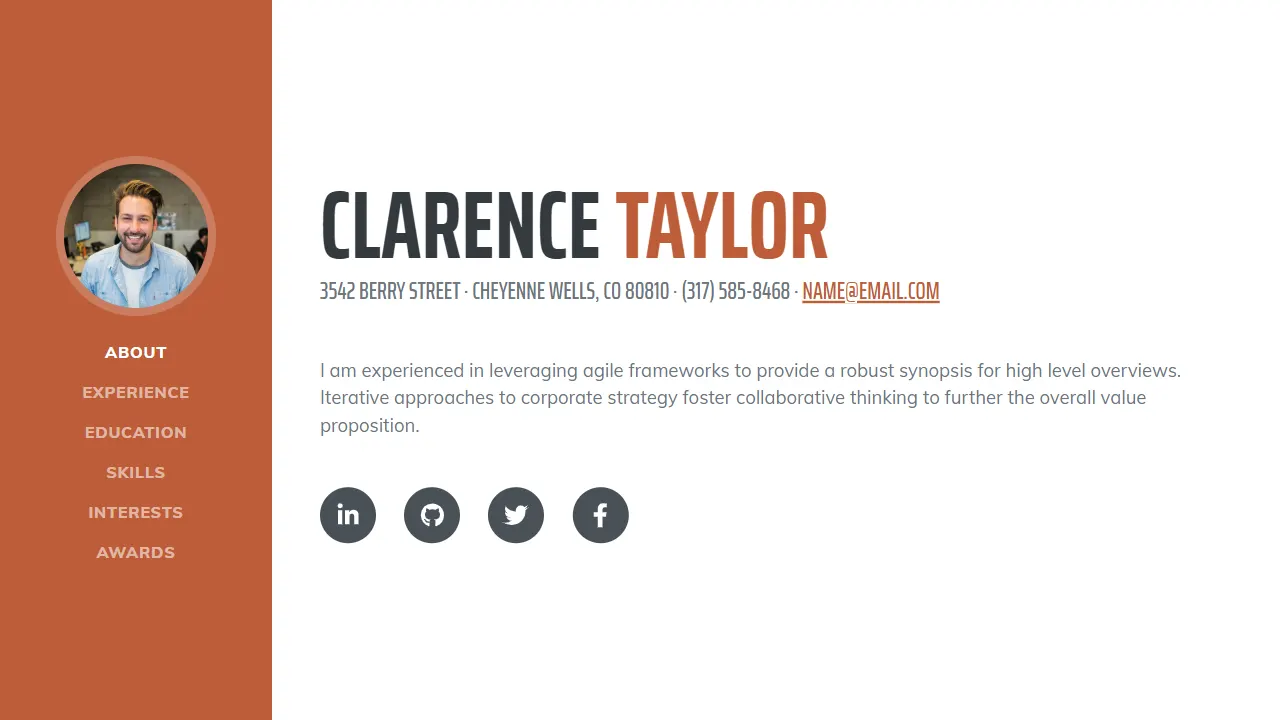
Resume
Resume 是 Start Bootstrap 推出的简历与 CV 主题,基于 Bootstrap 构建,采用固定侧边栏加内容区块的结构。
HTML · 作品集
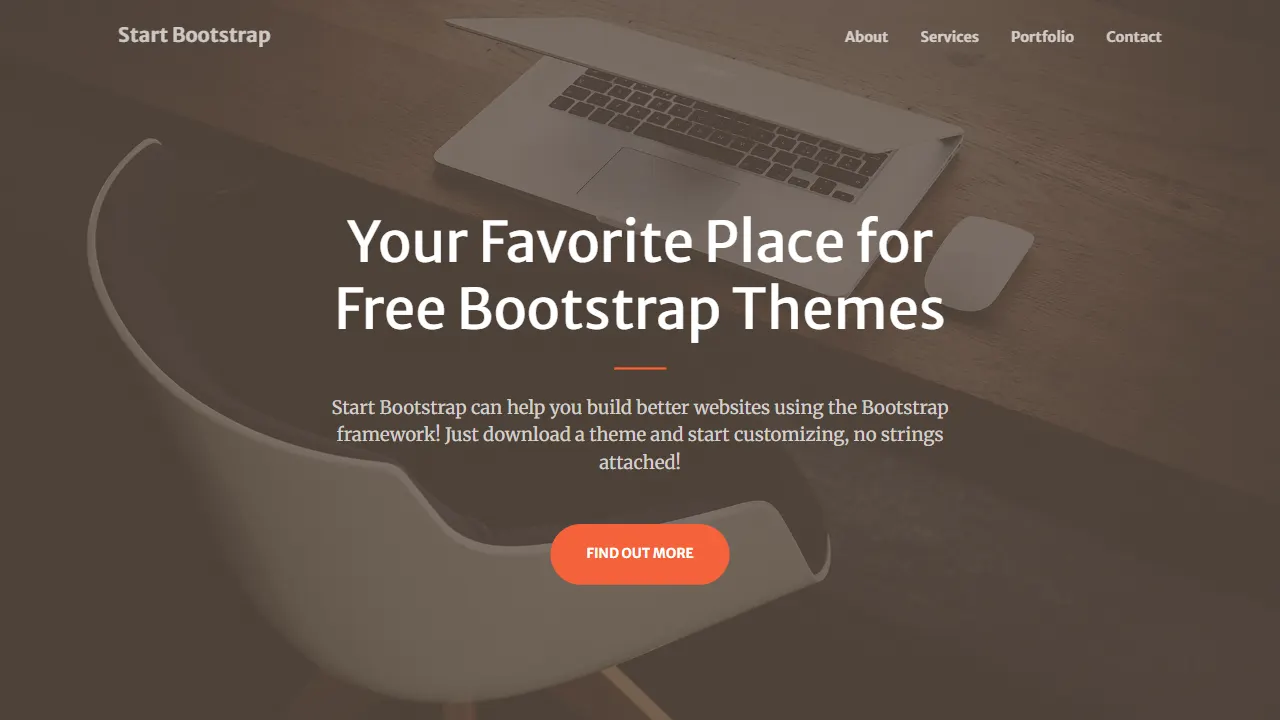
Creative
Creative 是 Start Bootstrap 团队维护的一款单页营销模板,定位明确:为创意机构或产品服务提供一个以作品展示和行动号召为核心的落地页。
HTML · 企业官网
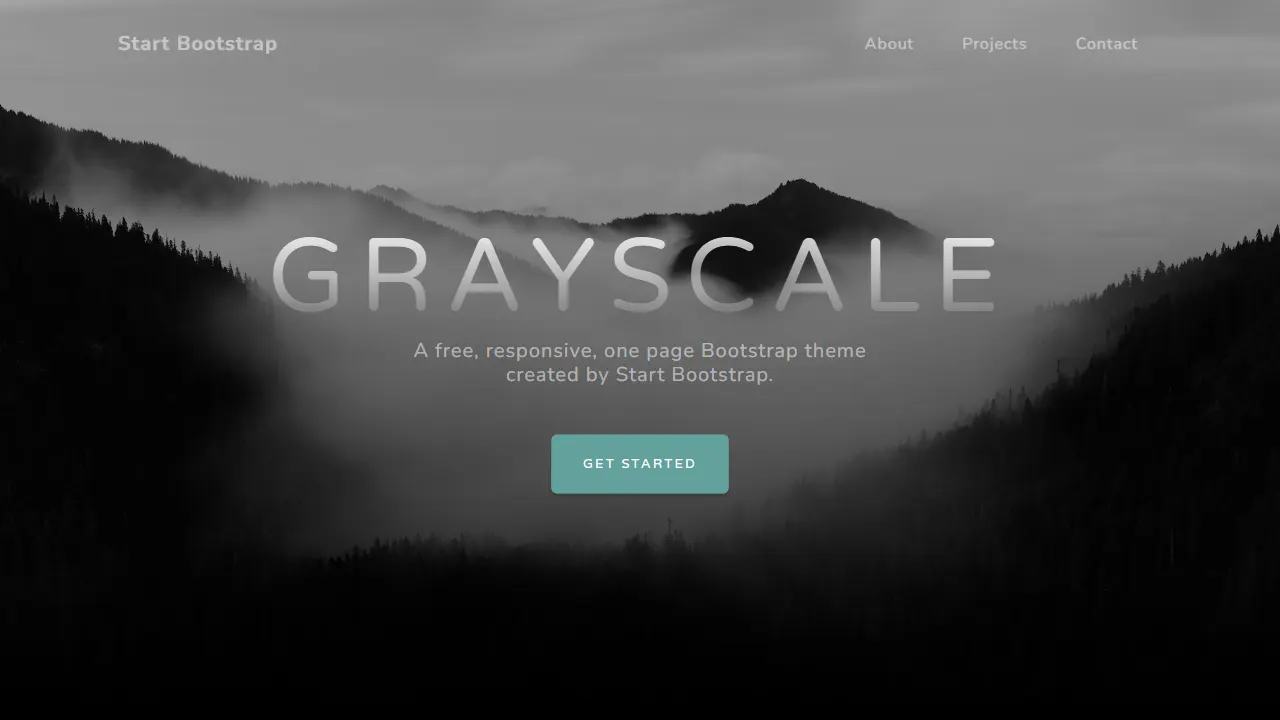
Grayscale
Grayscale 是 Start Bootstrap 出品的深色系单页 HTML 模板,基于 Bootstrap 构建。 它的视觉重心放在大尺寸首屏和清晰的内容分区上,整体氛围偏暗,适合摄影、活动或品牌叙事类网站。
HTML · 企业官网
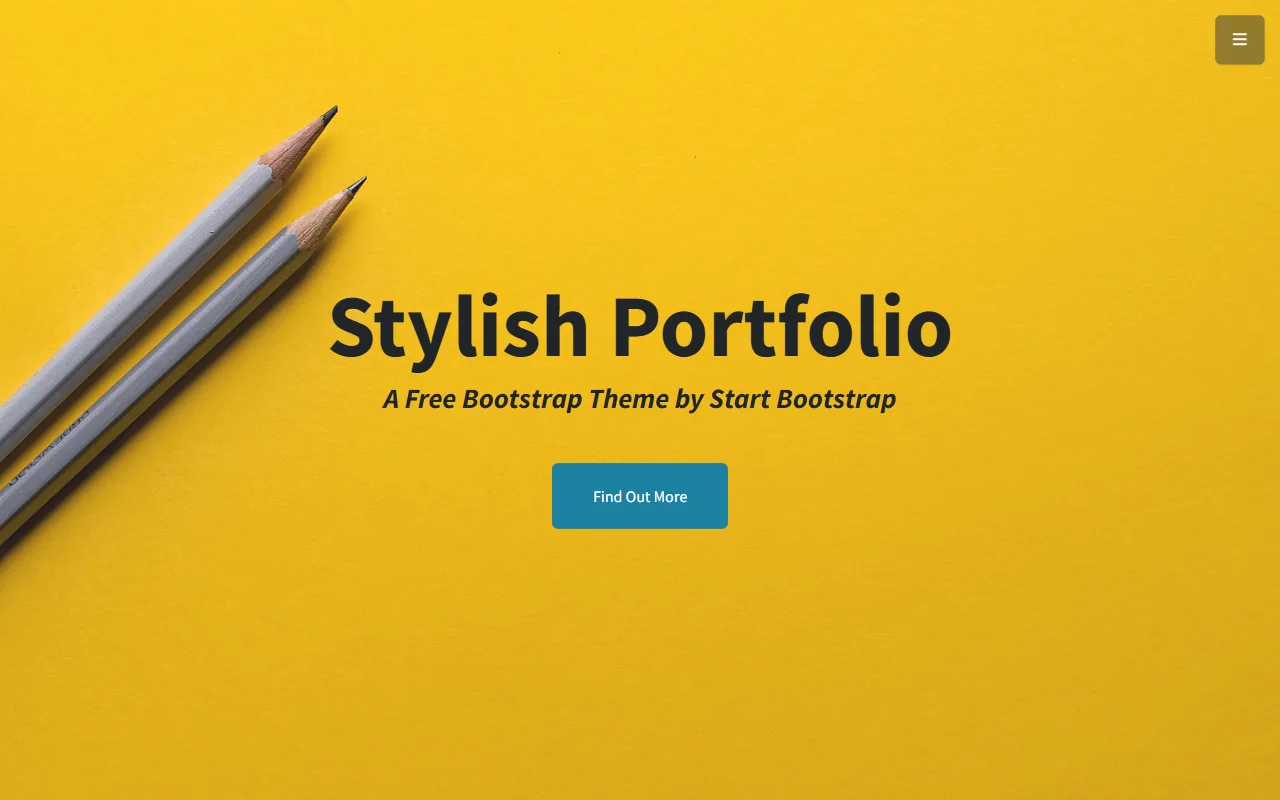
startbootstrap-stylish-portfolio
Stylish Portfolio 是 Start Bootstrap 维护的单页作品集主题,基于 Bootstrap 构建,采用多个内容区块加离屏导航菜单的结构。
HTML · 作品集